These food preservation methods will help you build up your food storage to be well prepared in case of an emergency. Learning these methods to preserve your own food at home is something every family should implement, not just for survival or preparedness, but for frugality, better health, and working together.
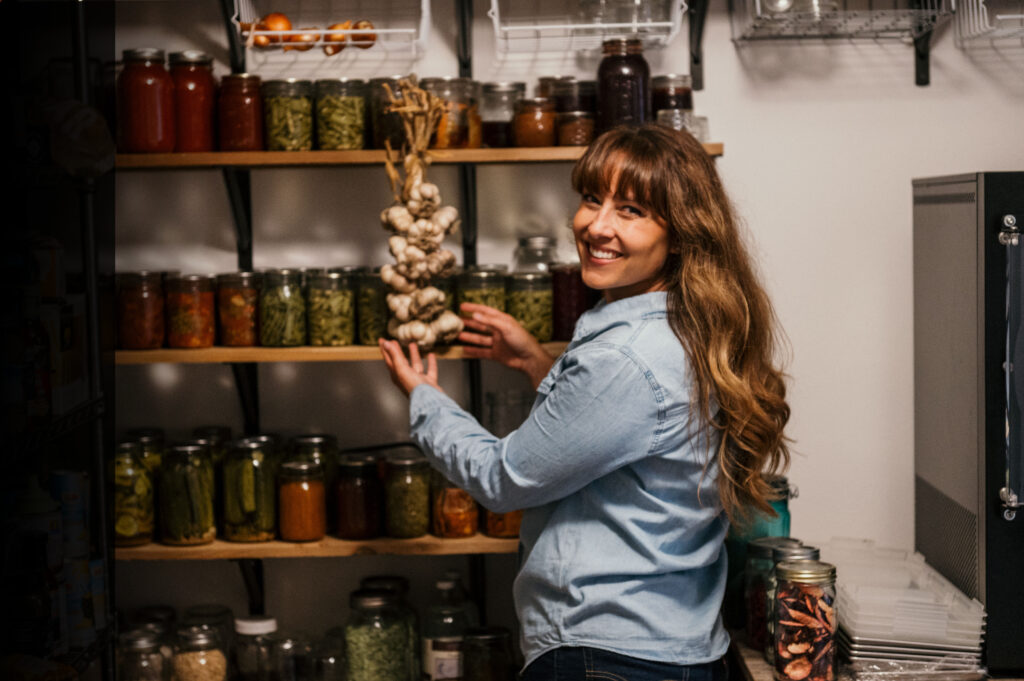
Not all food preservation methods are appropriate for all types of food, personal taste, or equipment resources, so learning several preservation methods is key. Trying to learn them all at once can be overwhelming, so with each preservation season, layer in a new method until you have them all mastered.
🍞 Struggling With Sourdough?
If your starter won’t take off, your loaves are dense and hard, or sourdough just flat-out overwhelms you…
👉 I’ll show you how to fix all of it.
Join my FREE workshop and learn how to make a bubbly, active starter—the right way, from Day One.
Natural Remedies Made Simple
Start your home apothecary with confidence—even if you’re brand new. Learn how to choose the right herbs for your body using the simple principles of herbal energetics.
Discover how warming, cooling, drying, and moistening herbs affect your body—so you can stop guessing and start making remedies that actually work.
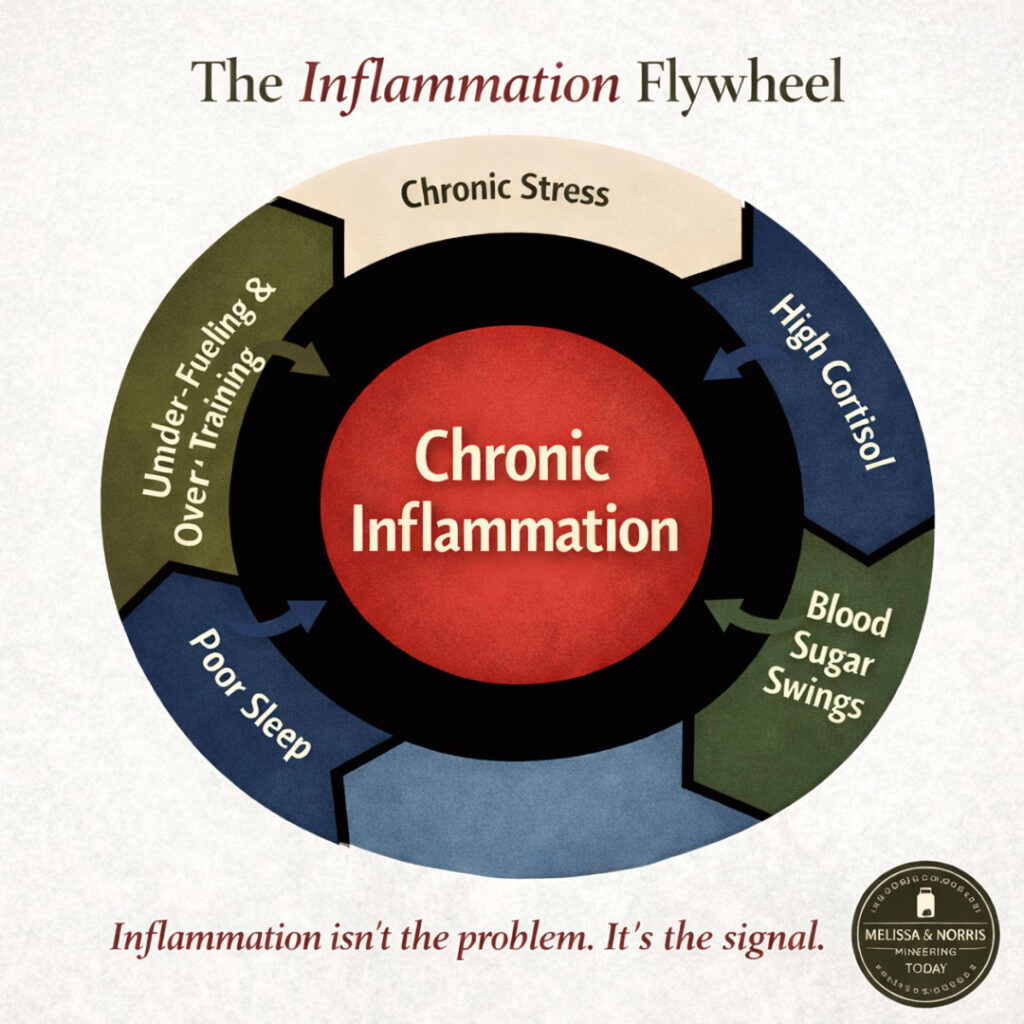
The Hidden Cycle Keeping You Inflamed
If you’ve been feeling puffy, tired, achy, or wired-but-tired, this two-page guide will help you understand what may be happening behind the scenes — even if you’re eating “healthy.”
Download the Inflammation Flywheel Guide and learn:
- Where to start so you don’t feel overwhelmed
- The 5 most common drivers that keep inflammation switched on
- Why blood sugar swings, stress, and poor sleep feed each other
This blog post has been updated to include all five podcasts (embedded at the top of this post and below). Download each one and listen to them at your leisure.
Episode #30 Six Ways to Preserve Food at Home
Episode #272 The Complete Guide to Home Food Preservation
Episode #307 The Science of Food Preservation
Episode #437 Fast and Easy Food Preservation Methods
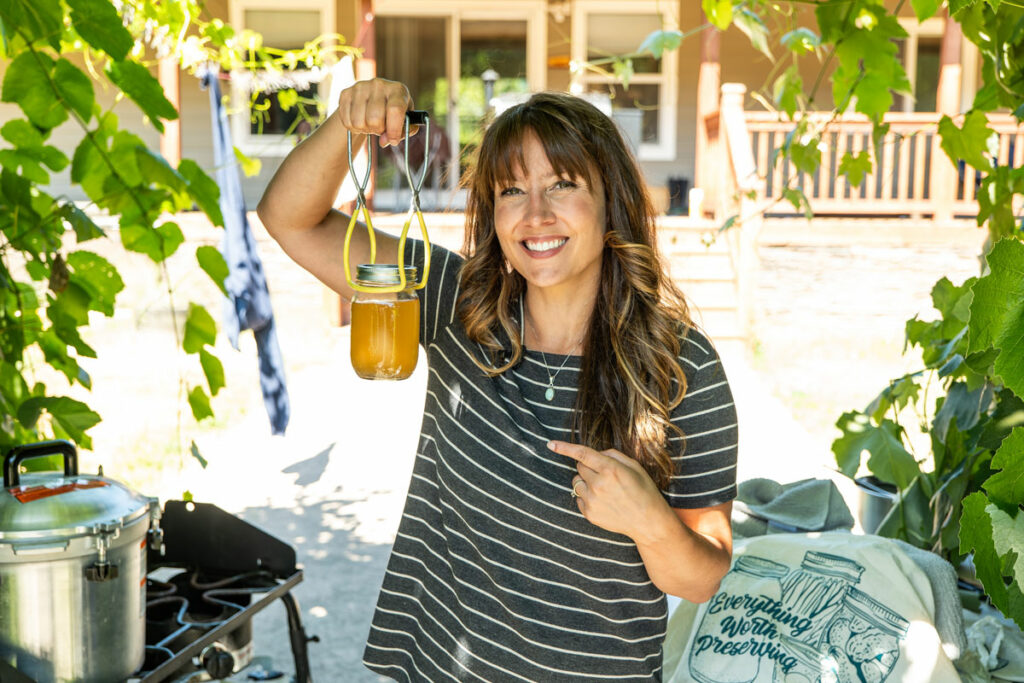
Table of Contents[Hide][Show]
Why I Love Food Preservation
I’m an old-fashioned gal at heart, and I find traditional methods to accomplish a modern homesteading lifestyle very fulfilling. Two of my favorite homesteading skills are growing your own food and putting it up to have a well-stocked pantry into the fall and winter months.
We’ve always been focused on putting up as much food as we could from our own land. My family and I raise 100% of our meat and over 60% of our fruits and vegetables for our family of four.
Not only do our efforts help save money at the grocery store and increase self-sufficiency, but we also get to enjoy healthier food that tastes so much better. Living in a northern climate, we have a short growing season, so developing home food preservation skills for long-term storage is a must if we want to enjoy it for the full year.
You might not have a large garden space yet or be unable to grow all the things you would like to preserve, but you can still keep track of fruits and vegetables by month and take advantage of local farmers’ markets and CSAs.
You can even buy produce in bulk from grocery stores or trusted online sources like Azure Standard, and then preserve it at home so you don’t have to go out and buy it during the off-growing season months.
Why Does Food Spoil?
Food spoilage occurs because of enzyme activity and the growth of microorganisms. The enzymes are not necessarily bad for us, but will break down the food until it is in an inedible state.
The microorganisms can be bacterial (such as botulism) or fungal (such as yeast), and these can multiply, causing us to get very sick or even possibly die.
| Factors Affecting Spoilage | Impact on Food Quality |
| Bacterial Growth | Rapid deterioration, potential health risks |
| Enzyme Activity | Changes in texture and taste |
| Temperature | Higher temperatures accelerate spoilage |
| Humidity | Excess moisture can lead to mold growth |
| Exposure to Air | Oxidation affects freshness and flavor |
Subscribe to Melissa K. Norris!
Get updates on the latest posts and more from Melissa K. Norris straight to your inbox.
We use your personal data for interest-based advertising, as outlined in our Privacy Notice.
How is Food Preserved?
Food preservation occurs when the enzyme activity and growth of microorganisms are slowed or stopped because we manipulate conditions such as pH levels, moisture, and temperature. Some methods will slow down this activity, while others will halt and even destroy it.
| Mechanism | Description |
| pH Levels | Microorganisms, such as botulism, cannot grow at a pH of 4.6 or lower. Changing the acidity of a food (as in fermentation) will halt the growth of microorganisms. |
| Moisture | Microorganisms need moisture to grow. Depending on how much moisture is removed (as in dehydration or curing) will slow down or halt the growth of microorganisms. |
| Temperature | Temperature can either be increased (as in pressure canning) or decreased (as in freezing) to affect the growth of microorganisms. When raised high enough, the temperature can destroy the microorganisms, and when lowered, it will halt the growth. |
| Oxygen | Microbial growth can be slowed down when placed in an anaerobic state (removal of oxygen) in methods such as canning and oil submission. |
Methods of Food Preservation at Home
These are the main ways we preserve most of our food at our homestead. If you’re looking to build up your food supply, my preserving plan for preserving a year’s worth of food at home works as a helpful resource.
Water Bath Canning (or Steam Canning)
There are two ways to can your food. You use the water bath (or steam canning) method for acidic fruits, jams, jellies, syrups, and pickling. Water bath canning is immersing canning jars with food in a bath of boiling water; food must be 4.6 pH or lower to safely can at home.
Water bath canning is a great entry point for home canning because all you need are Mason jars, lids, bands, and any large pot with some type of rack to keep the jars up off the bottom.
Keep in mind that choosing poor-quality lids may cause canning lids to buckle or not seal. Some of my favorite canning lids are the large sleeves from Lehman’s, these ForJars canning lids (use code “Modern10” for 5% off your order), or these Denali canning lids (use code “SPENDNSAVE” to get a 15% discount for every $75 order).
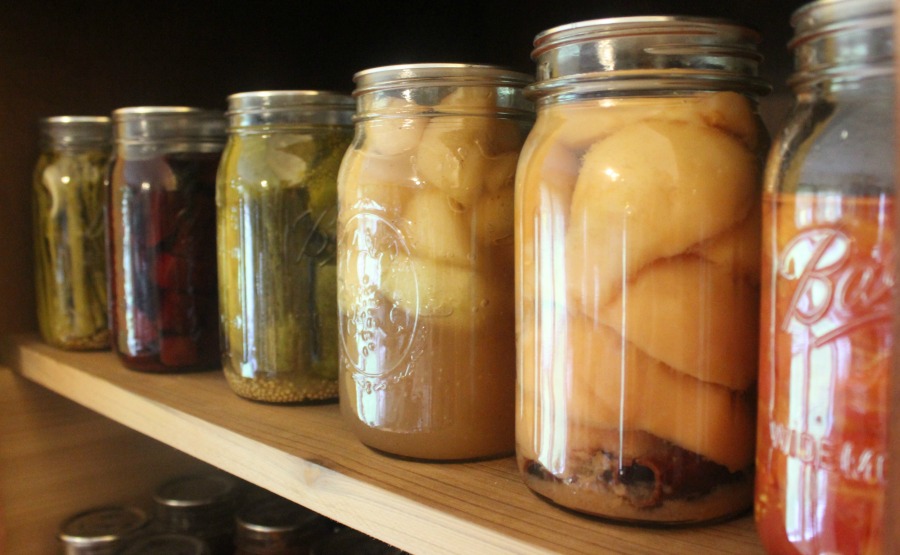
Home-canned fruit is better than store-bought because you can adjust the amount of sugar (if any) added during processing.
Safe foods for water bath canning include most fruits, jams, jellies, fruit butter, fruit syrups, chutneys, marmalade, pickled vegetables, tomato sauce, and salsas. But there are a few exceptions with fruit that doesn’t have enough acid (bananas, white peaches, etc.).
To be done properly and safely, tomato sauce must have added acid, and salsas must be tested and approved canning recipes to ensure the overall pH level is 4.6 or lower to avoid botulism.
Water Bath Canning Recipes:
A few other resources important to note are how to properly and safely store home-canned food, how to know if a canning recipe is safe, canning problems and solutions, and do check out my home fruit preserving Course.
Pressure Canning
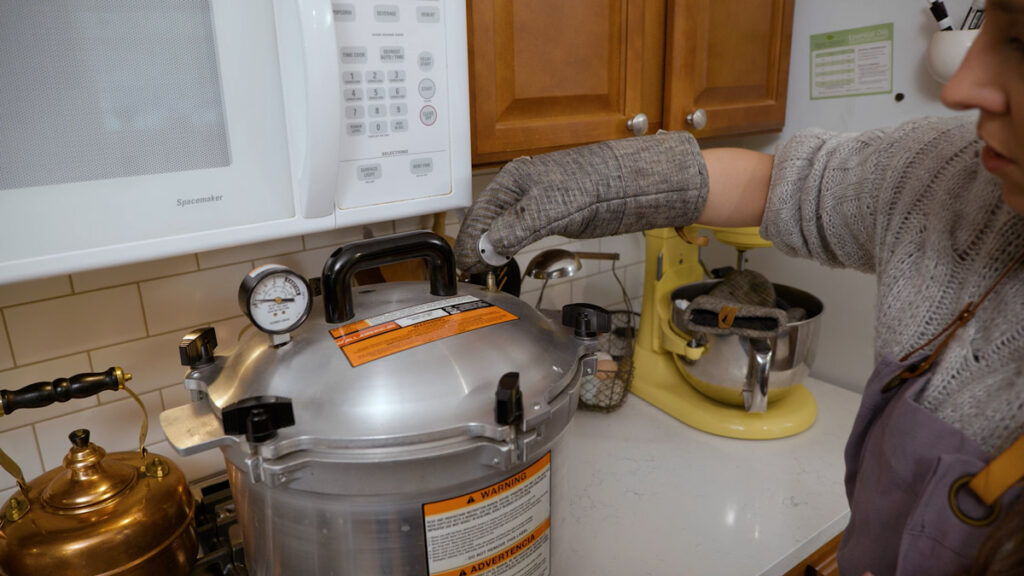
Pressure canning is the only safe canning process to can non-acid foods such as certain vegetables, meat, soups, and combination recipes. The pressure canner allows the jars to reach a higher temperature than just boiling water, which is crucial to ensuring all bacteria (especially botulism, a fatal form of food poisoning) are killed.
When done correctly, pressure canning is a very safe way to preserve food at home. Learn how to use a pressure canner for FREE in my 4-part series so you have shelf-stable food at the ready all year long.
The advantage of canning is that the food is fully cooked and ready to serve; you merely have to open the jar. This makes getting food on the table when life is hectic easy.
Home-canned food is a must during emergencies and power outages because it doesn’t rely on electricity to keep it from perishing. Because it’s fully cooked, you don’t have to have water in order to prepare it, making it a truly open and eat food source.

Pressure Canning Recipes:
| Vegetable and Bean Recipes | Meat Recipes |
| Canning Tomato Sauce | Canning Chicken |
| Leather Britches Green Beans | Canning Bone Broth |
| Canning Shelled Beans |
You may also be interested in learning how to choose the best pressure canner, tips and tricks for pressure canning like a pro, and also this Q & A on canning in electric pressure cookers.
Fermenting
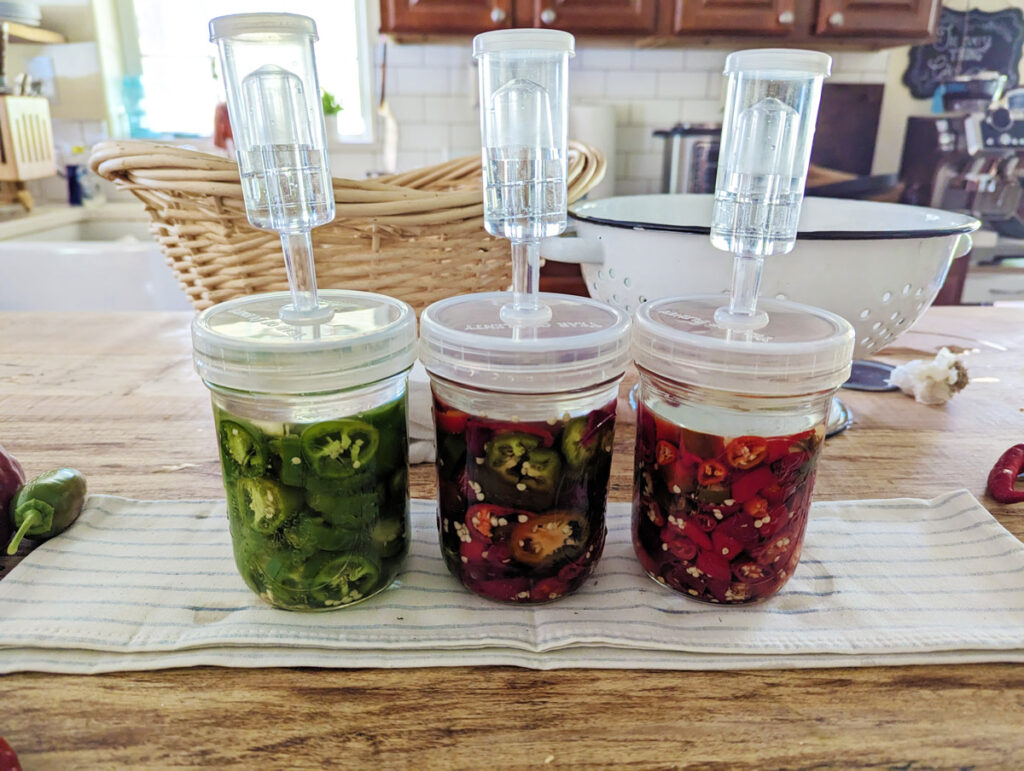
Fermentation is a long-practiced form of food preservation that enhances the health benefits of the food, whereas other methods can degrade it.
Fermentation for food preservation uses a culture of good bacteria. As a bonus, fermentation has many health benefits. Fermenting vegetables (think sauerkraut, pickles, kimchi) uses saltwater, brine, and time.
After fermenting your foods, you must keep them in a cooler environment to slow the fermentation process and for long-term storage.
Fermenting Recipes:
Dehydrating
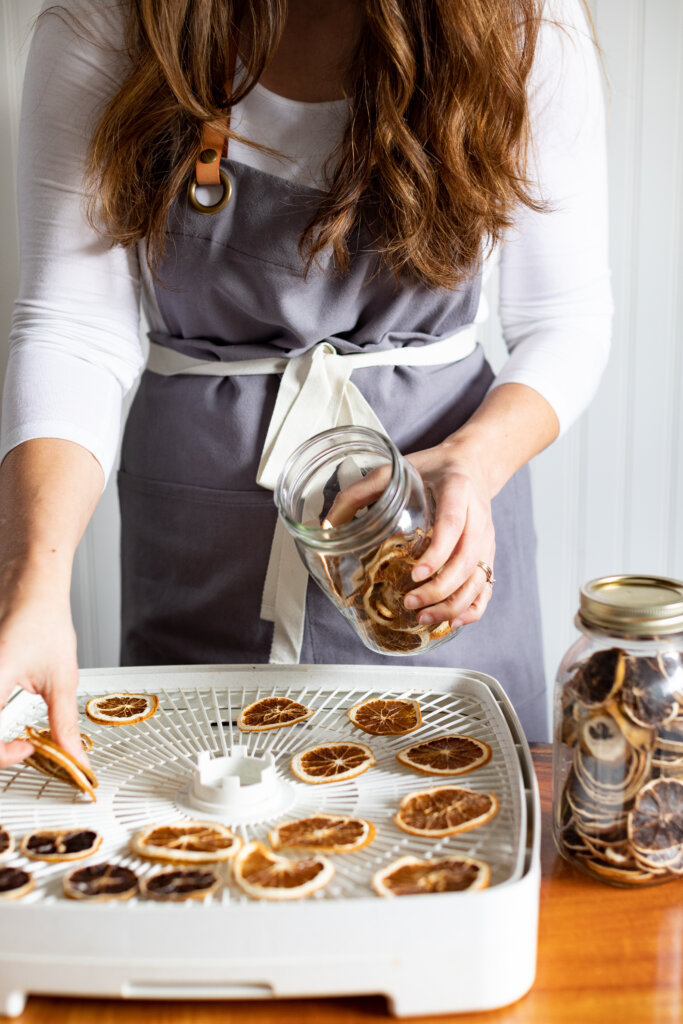
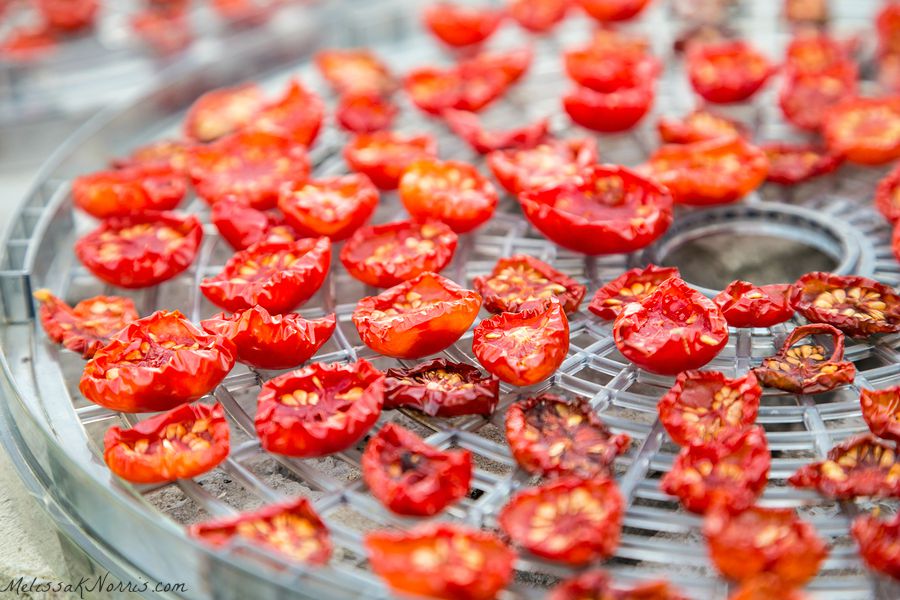
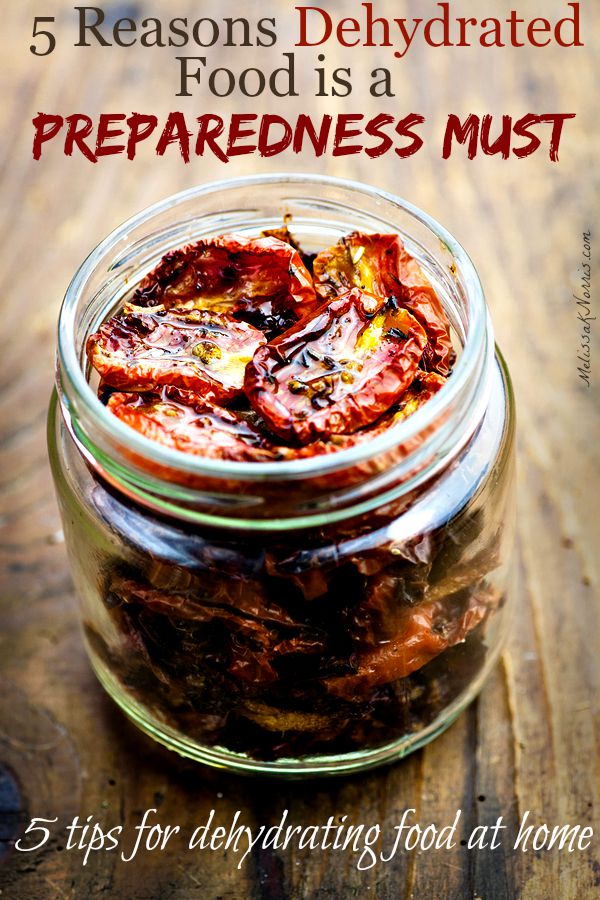
There are several reasons why drying food is a preparedness must. It takes very little storage space, and it’s lightweight enough to take with you on the go, which makes it an ideal way to preserve food at home.
Dehydrated food is shelf-stable; you can eat some forms (think dried fruit) in their dried state. Other items, like dehydrated carrots or zucchini noodles, should be rehydrated before being used in cooking and eating.
All fruits, vegetables, and herbs are candidates for dehydrating. You can dehydrate some forms of meat and eggs, but you must ensure you’re following proper food safety and storage procedures.
To prolong the shelf life of dried food, store it in a cool, dark, dry area.
Dehydrating Tutorials:
| Electric Dehydrator | Air Drying Method |
| How to Dehydrate Fruit | Leather Britches Green Beans |
| Dehydrating Herbs |
Freeze Drying
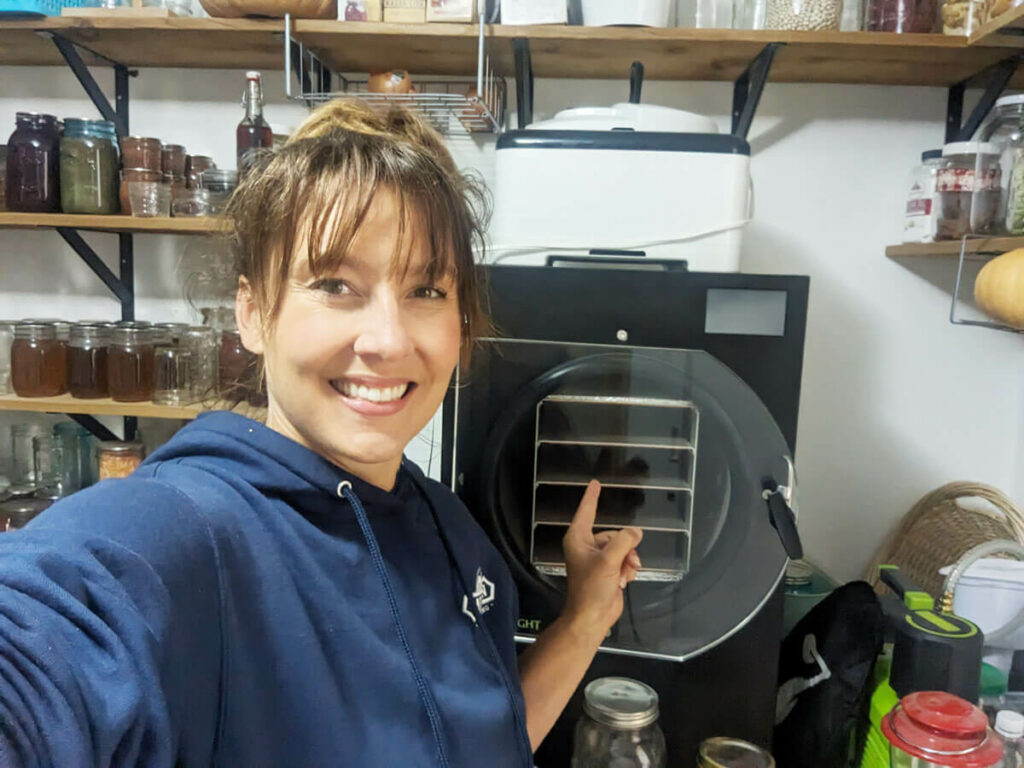
It’s important to note that there are differences between freeze-drying and dehydrating food. Freeze-drying is quickly becoming a more affordable option for people to buy one for home use.
Full disclosure, Harvest Right did send me my freeze-dryer, but even if they didn’t, I’m confident in saying I would figure out how to buy one myself, for how many amazing ways I use it to preserve food.
If you are just starting out with freeze-drying, check out my Podcast with Carolyn Thomas, sharing all the freeze-drying tips you need to know.
Freeze Drying Recipes:
| Fruit and Vegetable Tutorials | Other Freeze-Dried Tutorials |
| How to Freeze-Dry Zucchini | Freeze-Dried Eggs |
| How to Freeze-Dry Strawberries | Freeze-Dried Hot Chocolate |
| Freeze-Dried Liver Supplements |
Cold Storage or Root Cellar
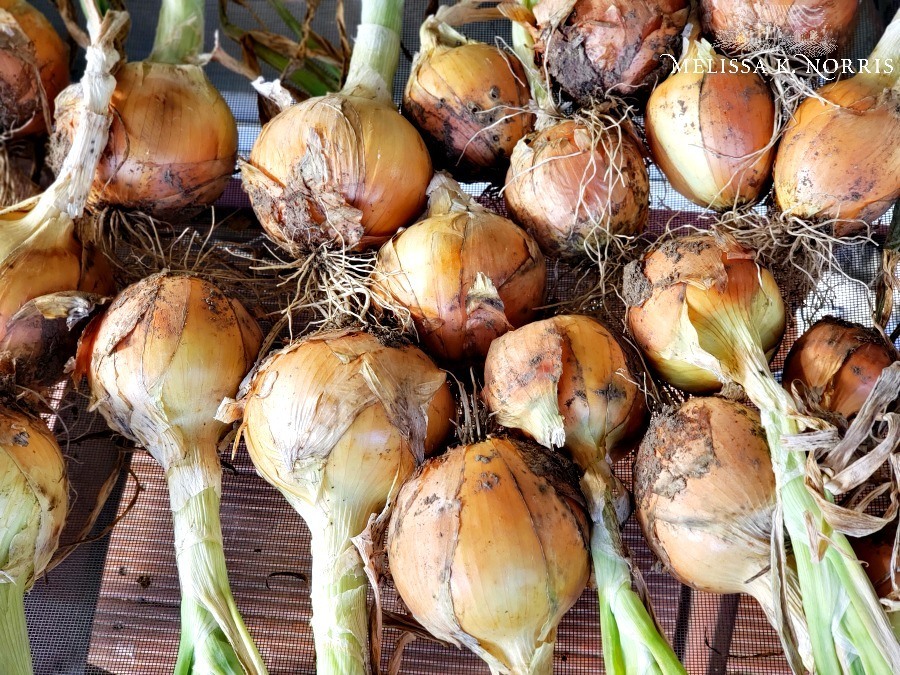
Using a cold storage or root cellar is probably the method of food preservation that requires the least amount of effort. Most people who grow large amounts of root veggies and some fruit might plan to store their food in a root cellar or cold storage, as these kinds of food do well.
This requires a cool, damp, and dark area for root crops such as potatoes, carrots, beets, parsnips, cabbage, and apples. (Winter squash and pumpkins prefer it a bit warmer and drier.)
In many parts of the world, where the soil doesn’t freeze too hard, you can learn how to overwinter your root crops and leave them in the ground to harvest straight from the garden.
Here are 10 tips for storing vegetables without a root cellar.
When using root cellar techniques, you must cure your crops before storing them. Here’s how to cure winter squash at home and how to braid garlic for long-term storage.
Freezing
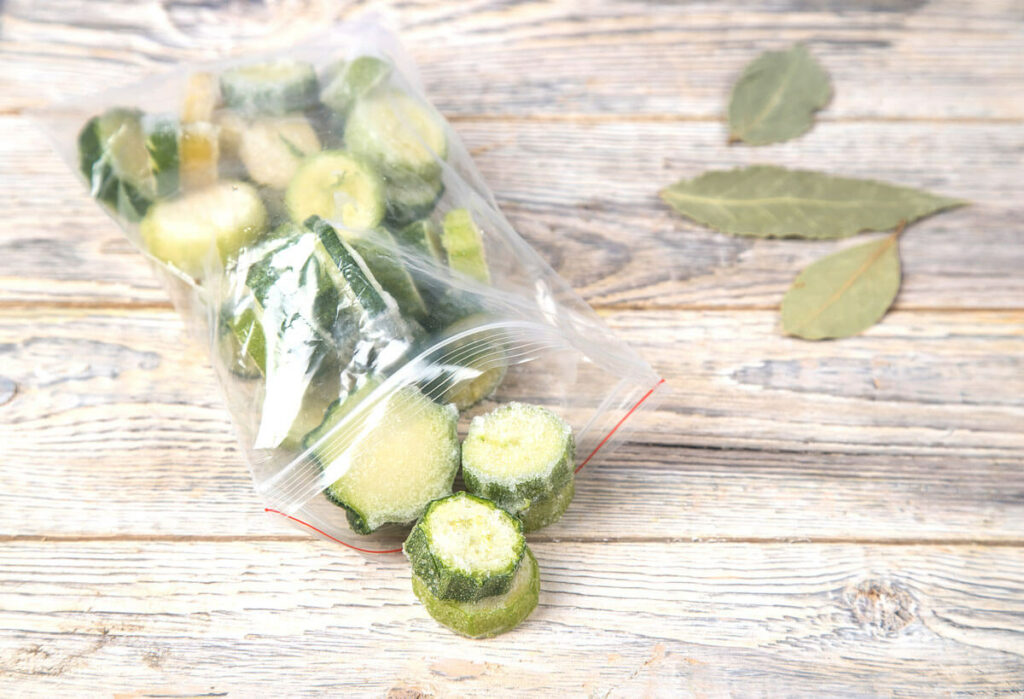
If packaged properly, freezing food allows it to keep for many months and sometimes years. We use a deep freezer for our beef, chicken, and some fruits and vegetables.
You can freeze many foods you don’t typically think of, such as freezing apples, butter, milk, cheese, and even eggs.
Yep, you read that right. In the summer, when the hens are laying like crazy, you can put some of the eggs into the freezer to use later. You can also buy yourself some time by freezing food that you want to can later.
You can also freeze bread dough! And, one of my favorite things to do to save time on busy, hectic days is to batch and freeze meals to have ready to eat meals on hand.
The freezer’s drawbacks are space and cost, and during power outages, you can lose a lot of costly food. For this reason, we use a generator during long-term power outages.
Salt Curing
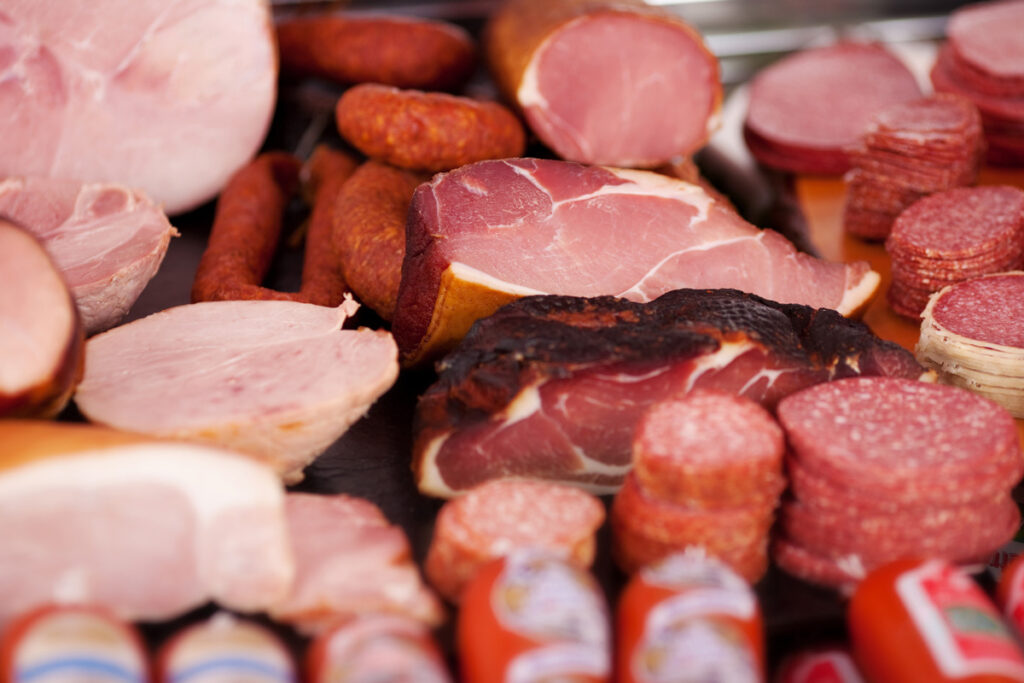
Before refrigeration (and the invention of the Mason jar in 1858), salt was used to cure meat so it wouldn’t spoil. Salt draws the moisture out of the food. This is excellent for pork and fish, and even beef. Here’s a tutorial on how to salt-cure ham at home and more information on how to preserve meat, eggs, & dairy.
The drawback is that the meat still needs a form of cold storage, so you have to have proper storage set up for it.
For more tips on salt curing meat that doesn’t require refrigeration, listen to this podcast with Brandon Sheard, the Farmstead Meatsmith. Redmond’s Real Salt is the salt I use for canning, fermenting, curing, baking, etc. (Pro-Tip: Use coupon code “Pioneering” at checkout for 15% off your order!)
Preserve Herbs by Making Homemade Herbed Salt
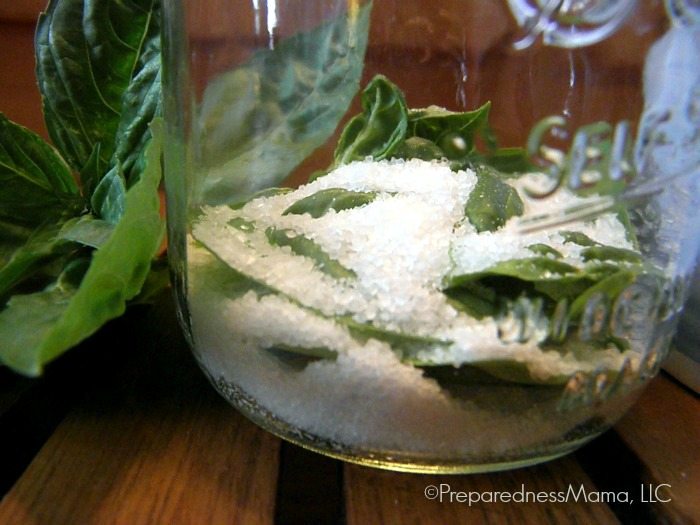
While you can dehydrate herbs, not all herbs keep their flavor once dried, especially basil. Once you know how to make herb salt, you’ll likely never dehydrate basil again. It tastes fresh and keeps for months, all winter and into the next spring. Learn how to preserve fresh basil in salt here.
Immersion in Alcohol
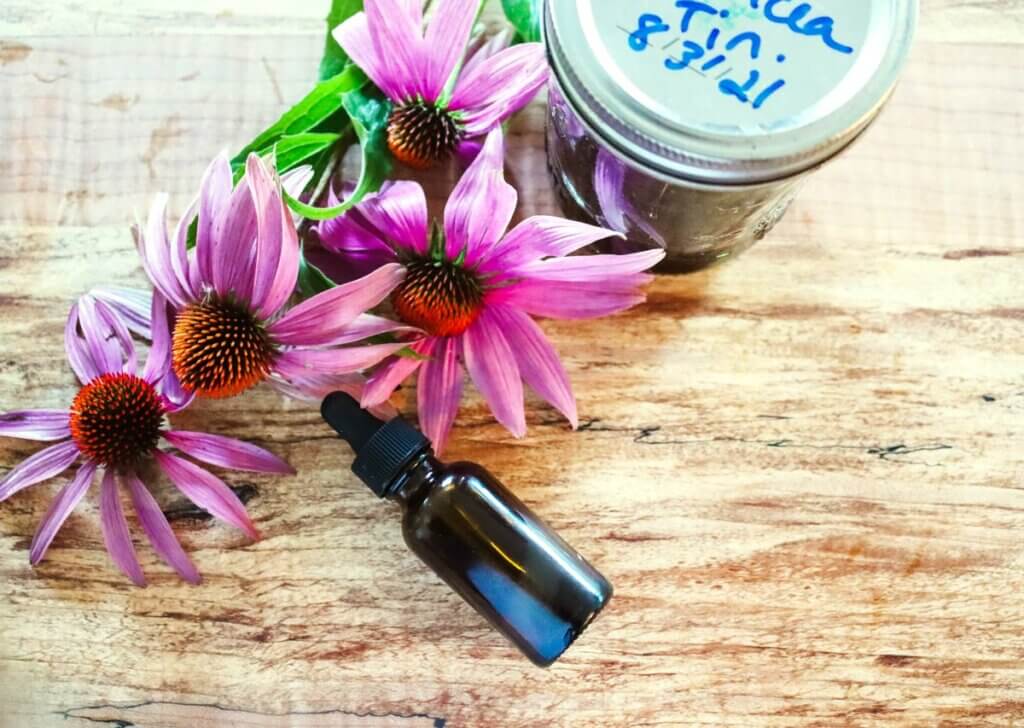
You can immerse many foods in alcohol to preserve them. Herbs and fruits immersed in alcohol create extracts.
We make our own lemon, mint, and homemade vanilla extract this way, as well as our own echinacea tincture. It’s one of the most special ways to preserve food at home. Now if only I could grow my vanilla beans!
Here’s how to make six different extracts at home. And, if you’re not keen on using alcohol, here’s how to make a mint extract without alcohol.
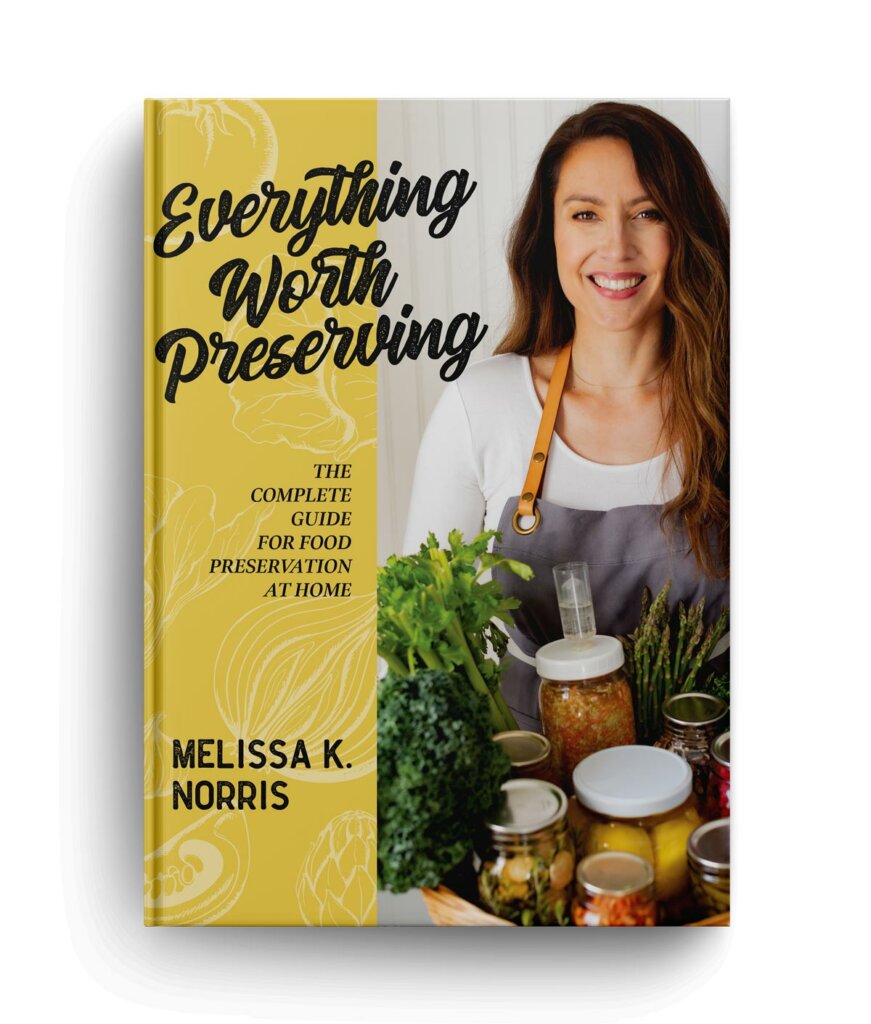
Everything Worth Preserving
We rely on all the above methods of preserving at home based on the food item, safety, space available in the fridge or freezer, and how we best like to eat the food.
Food preservation is truly a passion that I love to share with others, which has led me to write my newest book, Everything Worth Preserving.
In it, I cover in depth all of these home food preservation methods to safely store delicious food for year-round eating, including step-by-step tutorials, recipes, and easy-to-use charts.
Get ready to learn everything you need to know about cold storage (aka freezer), water bath/steam canning, pressure canning, dehydrating, fermenting, freeze-drying, root cellar, infusion, and salt/curing! Order your copy of Everything Worth Preserving today!
FAQs
What is the importance of food safety when preserving food?
Food safety is key to avoiding foodborne illnesses when preserving food. Follow guidelines on preparation, heat treatment, and storage.
Can I preserve meat and fish safely at home?
Yes, you can safely preserve meat and fish at home. Use methods like salting, smoking, and curing. But, always follow safety guidelines to avoid risks.
How long does homemade jam and jelly last?
Homemade jams and jellies last up to a year if canned and stored right. Use quality ingredients and ensure a tight seal for freshness and flavor.
What packaging materials are best for food storage?
The best packaging depends on the preservation method. For freezing, use airtight containers or bags. Jars with tight seals are best for canning. Always pick safe, durable materials for your food.
Resources
Episode #30
Episode #272
- 17 Self-Sufficiency Tips from the 1940’s & Great Depression Interview
- Harvesting Herbs to Preserve Medicinal Properties
- Fermented Pickles
- Jerky Food Safety
- Grandma’s Mustard Pickles
- Cabbage Rolls
- Canning with Confidence
- Free Canning Safety Class
- The Family Garden Plan
- Pioneering Today Academy Waitlist
- Verse of the Week – 1 Samuel 10:6-9
Episode #307
- Verse of the Week – 1 John 5:21
Episode #432
- Free Preserving Training Video
- Free Pressure Canning Video Series
- Overwintering Carrots and Potatoes
- How to Dehydrate Fruit
- Podcast with Brandon Sheard on Curing Meat
- Verse of the Week – Daniel 9:3-19
Episode #437
- Preserving Herbs in Salt
- How to Make Celery Salt
- Azure Standard (Use Coupon Code Melissa15 to receive 15% off your first order of $100 or more.
- Verse of the Week – Psalm 3:3-5
Other Posts You May Enjoy
- Fruits and Vegetables in Season by Month and My Best Preservation Tips
- Grow Your Own Food – Tips for the Beginner Gardener
- Canning 101
- 5 Reasons Dehydrated Food is a Preparedness Must
- Ultimate Guide to Fermented Vegetables
- How to Store Vegetables Without a Root Cellar
- Must-Know Freeze Drying Tips (With Carolyn Thomas)


Love these tips, its so important to make our delish veggies last! If you need jars, I rec taking a look here: https://www.sks-bottle.com/glass-containers/glass-jars.html There are some great options!
Thank you for this article https://melissaknorris.com/6waysto-preservefoodat-home/ You awesome
we’ll take a closer look at the Shake Shack Shroom Burger, including its ingredients, nutritional value, taste and texture, and tips for ordering it. We’ll also share a recipe for making your own Shake Shack Shroom Burger at home.
Shake Shack Shroom Burger
Thanks for providing the how to’s to preserve food! My Grandmas used to do these things, but they’re gone now and I only recently realized food preserving is a very important and useful skill!
How long do we have access to the e-course?
Once purchased access to e-courses don’t expire 🙂
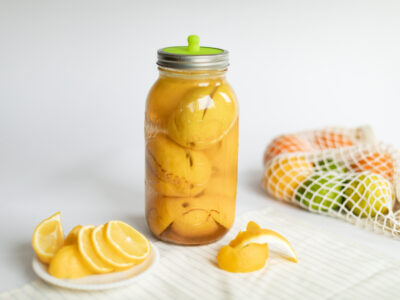
You can also use salt to preserve some citrus fruits such as lemons, limes & citron. The method couldn’t be easier. It’s a time honored way to preserve citrus, but it’s not acceptable for sweet citrus fruits, only the tangy/sour citrus fruits.
Thank you for your post. This is excellent information. It is amazing and wonderful to visit your site and you maintain good writing tone. ease to understand. Thanks
Freezing
I’m grateful thanks for this better information,remain bless.
Heya! I’m att work surfing around youyr blog from my new apple iphone!
Just wanted to say I love reaing your blog and look forwad to all your posts!
Keep up the excellent work!
[…] after disaster strikes, you will need to make sure your food supply is non-perishable. There are plenty of ways to keep food fresh, such as dehydrating, canning and salt-curing. Read […]
[…] after disaster strikes, you will need to make sure your food supply is non-perishable. There are plenty of ways to keep food fresh, such as dehydrating, canning and salt-curing. Read […]
[…] after disaster strikes, you will need to make sure your food supply is non-perishable. There are plenty of ways to keep food fresh, such as dehydrating, canning and salt-curing. Read […]
[…] after disaster strikes, you will need to make sure your food supply is non-perishable. There are plenty of ways to keep food fresh, such as dehydrating, canning and salt-curing. Read […]
[…] after disaster strikes, you will need to make sure your food supply is non-perishable. There are plenty of ways to keep food fresh, such as dehydrating, canning and […]
[…] after disaster strikes, you will need to make sure your food supply is non-perishable. There are plenty of ways to keep food fresh, such as dehydrating, canning and […]
[…] after disaster strikes, you will need to make sure your food supply is non-perishable. There are plenty of ways to keep food fresh, such as dehydrating, canning and […]
[…] after disaster strikes, you will need to make sure your food supply is non-perishable. There are plenty of ways to keep food fresh, such as dehydrating, canning and […]
[…] after disaster strikes, you will need to make sure your food supply is non-perishable. There are plenty of ways to keep food fresh, such as dehydrating, canning and […]
[…] after disaster strikes, you will need to make sure your food supply is non-perishable. There are plenty of ways to keep food fresh, such as dehydrating, canning and salt-curing. Read […]
[…] after disaster strikes, you will need to make sure your food supply is non-perishable. There are plenty of ways to keep food fresh, such as dehydrating, canning and salt-curing. Read […]
[…] So you like preserving food at home? We’re gonna be besties then, me, too! I even created this handy Ultimate Home Food Preservation Guide with over 80+ resources. Get yourself a free copy here. […]
[…] The Ultimate Home Food Preservation Guide, snag your free copy now! […]
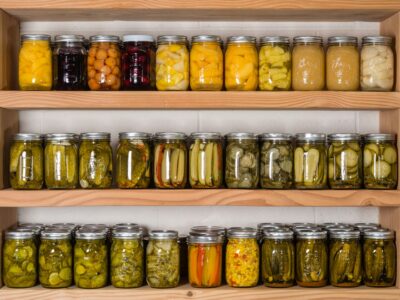
Just curious on the picture of the sweet corn in the jar…how was this preserved??
Cindy,
You can do pickled corn on the cob. Here’s a recipe with instructions. http://allrecipes.com/recipe/pickled-corn-on-the-cob/
[…] 6 Ways to Preserve Food at HomeMelissa K. Norris Go to this article […]
I’m a southern child of the military. I understand preparedness and have preserved jam and dehydrated potatoes and carrots and onions. I look forward to learning more from someone who knows how to live what they teach. Thanks, Kris