There's something wonderful about cultivating your own herb garden, nurturing nature's gifts, and being rewarded with an abundance of flavors and aromas. Building up an herbal medicine cabinet means you can hopefully treat your ailments without the use of OTC medications.
Why I Love Medicinal Herbs
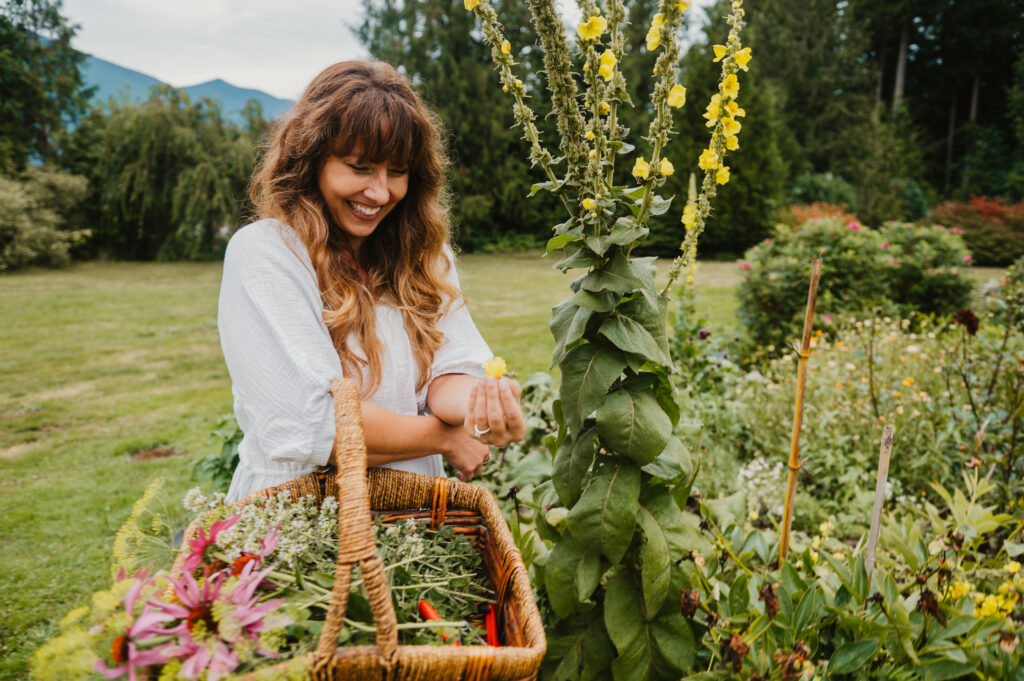
I love growing a medicinal herb garden and using those herbs in my daily life. Whether it's foraging for herbs in the woods, growing medicinal kitchen herbs or learning how to dry fresh herbs at home, there's always something more to learn or implement.
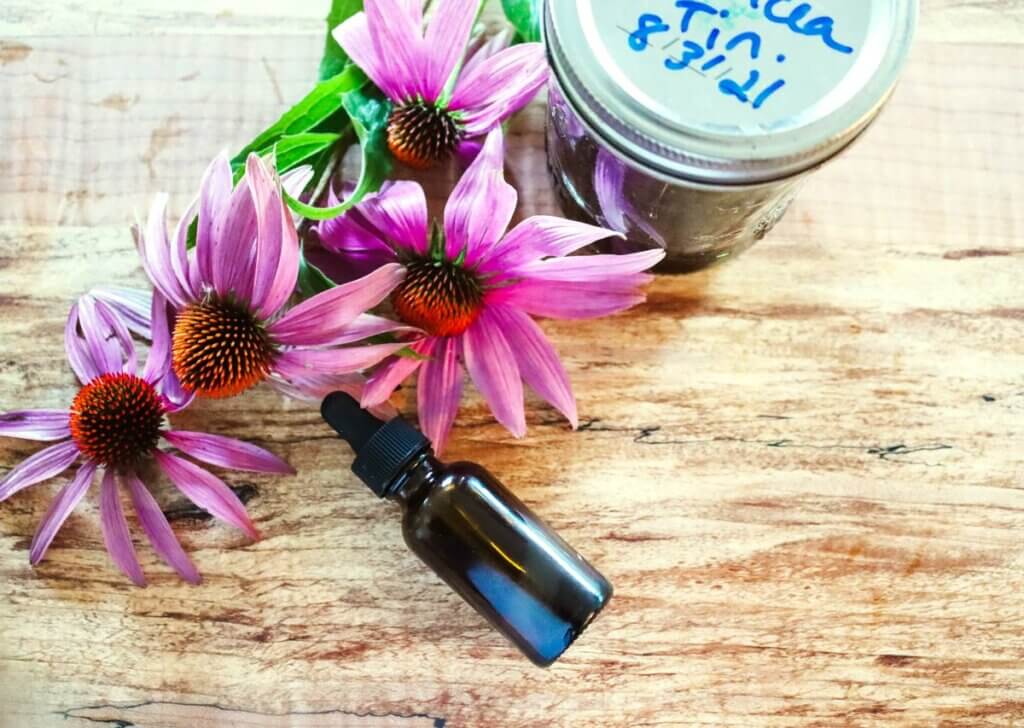
Beyond growing herbs, I love turning my herbs into tinctures (like this echinacea tincture) or even medicinal salves and balms (like this wound healing salve). Furthermore, knowing how to store dried herbs for stronger medicinal properties is important to make your harvest last.
In fact, I love medicinal herbs so much I can't help but take you with me each time I'm out in the garden harvesting these beauties for all their glorious medicinal benefits. So join me as I talk about the different methods of harvesting various herb parts to unlock their medicinal benefits.
* This post was originally published with podcast episode #197, “5 Tips to Harvest Herbal Flowers for Medicinal Purposes,” but has since been updated with my latest videos on harvesting herbs for their medicinal benefits.
Learning How to Harvest Herbs
Part of living a beautiful, homemade and homegrown life lies in creating my own cottage garden where I grow medicinal kitchen herbs and cultivate medicinal weeds. I love growing herbs and flowers that I can use as natural remedies for myself and my family.
You can learn to plant, grow, and harvest herbs to use for both culinary and medicinal endeavors. Start with just a few of your favorite annual and perennial herbs and increase your cottage garden year after year.
Learn tips and tricks along the way, like how to prune herbs and perennials for maximum growth. And, of course, learn how to harvest your herbs for the best results, according to the plant part.
Practical Home Herbalism
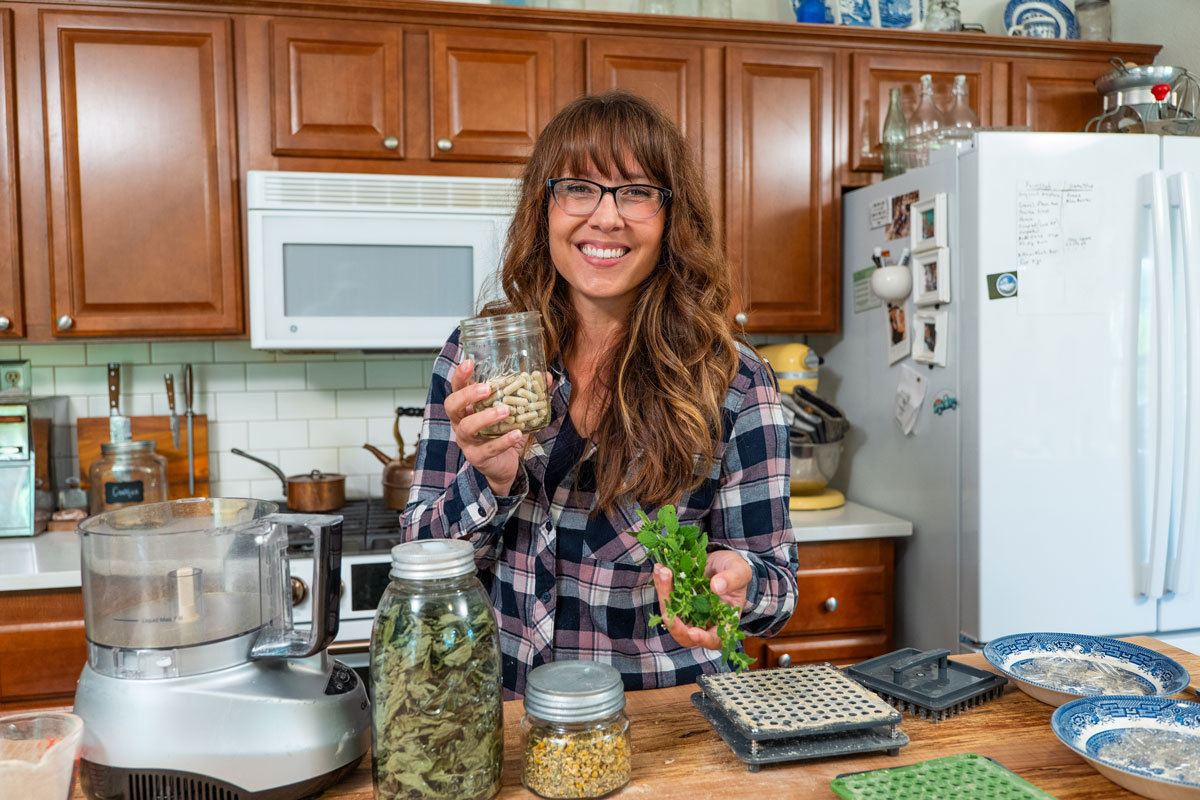
Switching to herbal remedies at home can be intimidating, especially since many of us (me included) have been used to grabbing over-the-counter medicines for ease and reassurance most of our lives.
However, herbal medicines can be just as easy to use once you know what to grab when you get a headache, cough or congestion, upset stomach, or the flu. You can build up your knowledge to feel confident treating common ailments for you and your family.
Join me in my practical home herbalism course to learn how to listen to your body, what remedies work best, and even build up your own herbal medicine cabinet (complete with recipes and tutorials) so you can have natural remedies on hand in a pinch.
Ways to Use Herbs for Medicinal Purposes
- Herbal Tea – Learn how to grow an herbal tea garden and how to make herbal tea. Some of my favorite herbs for tea are lavender, camomile, fennel, lemon balm, peppermint, and echinacea.
- Tinctures – You can use herbs to make tinctures like this echinacea tincture. I love having tinctures on hand for use at the first signs of illness. Here are some of my favorite herbal remedies all ready to turn into tinctures.
- Salves – Salves can heal wounds and repair the skin (Source). Try this recipe for a wound-healing salve, this peppermint salve for dry skin, or this dandelion salve for soothing dry, cracked skin, easing muscle tension, and even helping with eczema. (Source, Source)
- Flavoring Water – Add herbs like peppermint to your water for a refreshing and delicious treat (mint water recipe).
- Repelling Insects – Step away from using harmful chemicals and use herbs for repelling insects naturally. You can plant herbs like peppermint, lemon balm, citronella, and more to help keep mosquitos at bay. Or, use essential oils for homemade lotion bars or sprays to use for mosquito repellent.
- Honey – There is a link between honey and plant medicine. Honey itself offers amazing health benefits but blended with certain herbs, the healing powers amplify. (Source) Try making ginger honey or using honey in this homemade fire cider recipe.
- Soothe Aches and Pains – Herbs like calendula and comfrey, with their anti-inflammatory properties, make amazing healing poultices. (Source) Try this comfrey poultice for sprains, strains, and broken bones or this natural remedy for sore muscles.
- Boosts Immune System – Many herbs contain antioxidants and other immune-boosting properties (called immunomodulators). You can add herbs like rosemary or rosehip to this homemade elderberry syrup. But adding herbs to teas, foods, salves, tinctures, and more will benefit your health by strengthening your immune system. (Source)
- Fights Colds and Flus – Plants like sage, basil, elderberry, and many more help fight against illnesses. (Source) We love using herbal home remedies for cold and flu, and 7 natural cough and cold herbal remedies.
- Sleep Aid – Drinking herbal teas like camomile before bedtime helps with relaxation and preparing your body for sleep. (Source)
When to Harvest Herbs
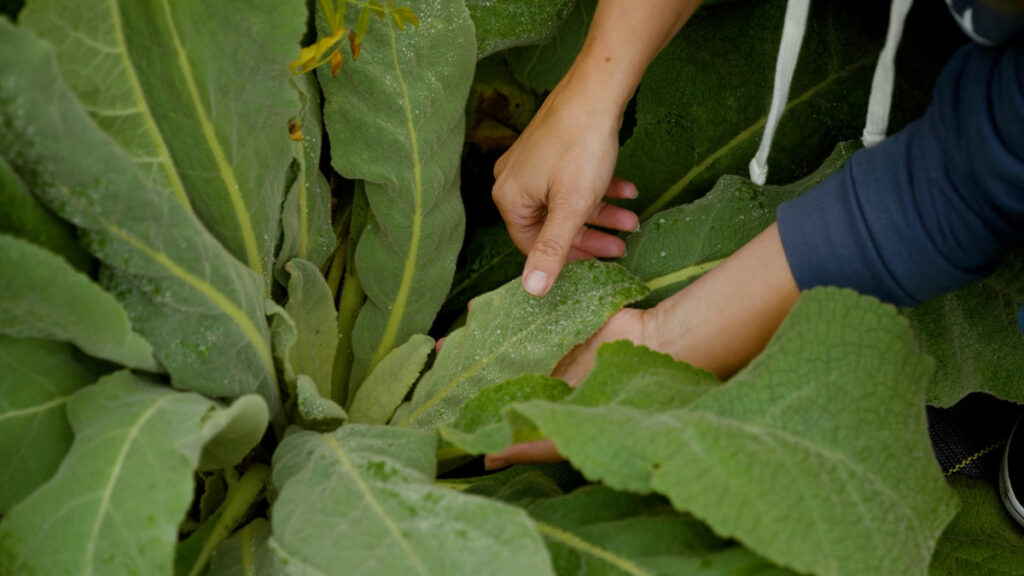
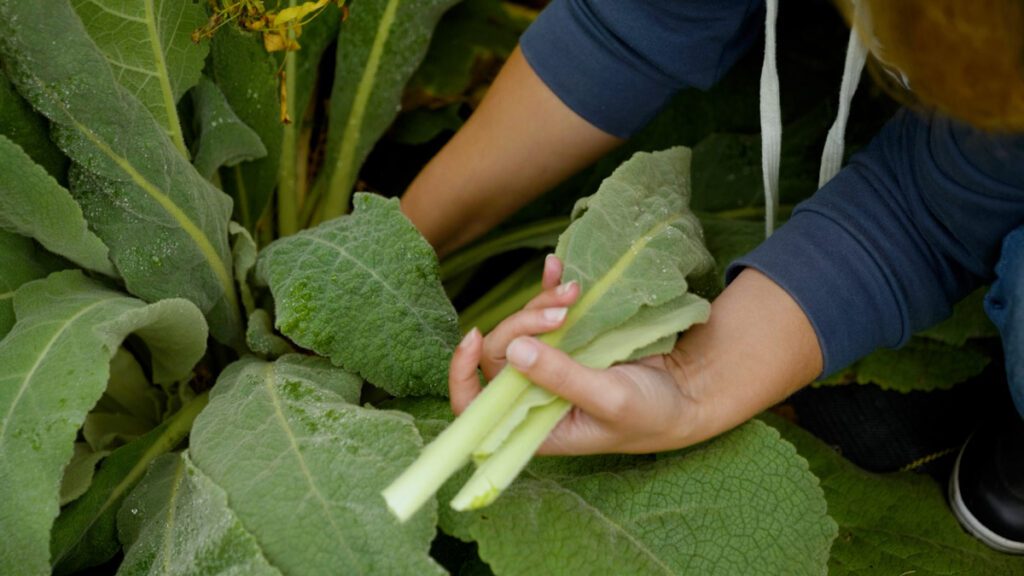
You always want to harvest herbs in their prime. Depending on the type and the part of the plant you harvest, this can vary.
If you want to harvest a flower like calendula, camomile, or echinacea, harvest the blossoms when the buds first begin to appear and they begin to open up. Clip the flower in early morning.
Leafy herbs differ. You do not want leafy herbs like basil and cilantro to flower when harvesting because these herbs can taste bitter once they begin flowering. The only exception to this is lavender.
Lavender is the only blossom you harvest differently from the others before it's bloomed when it's still in bud form. To learn more about harvesting lavender, see this video (or watch at minute 4:18 in the first video above in this blog post) –> How to Harvest Lavender (the old-fashioned PIONEER method).
Harvest roots from herbs in the early spring or fall when the green leafy growth declines. This is when the plant focuses all its energy on its roots instead of on the green foliage, which means more nutrients will be present in the roots at harvesting time.
Supplies Needed
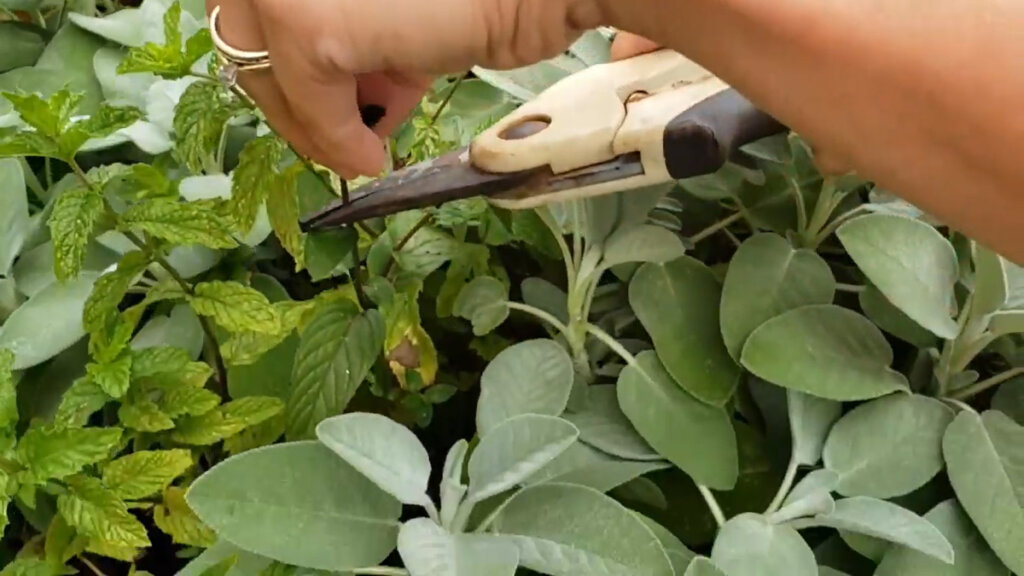
- Pruning Shears or Scissors – You can pinch off the leaves or flower petals of the herb you are harvesting, but using shears or scissors may be quicker or more efficient.
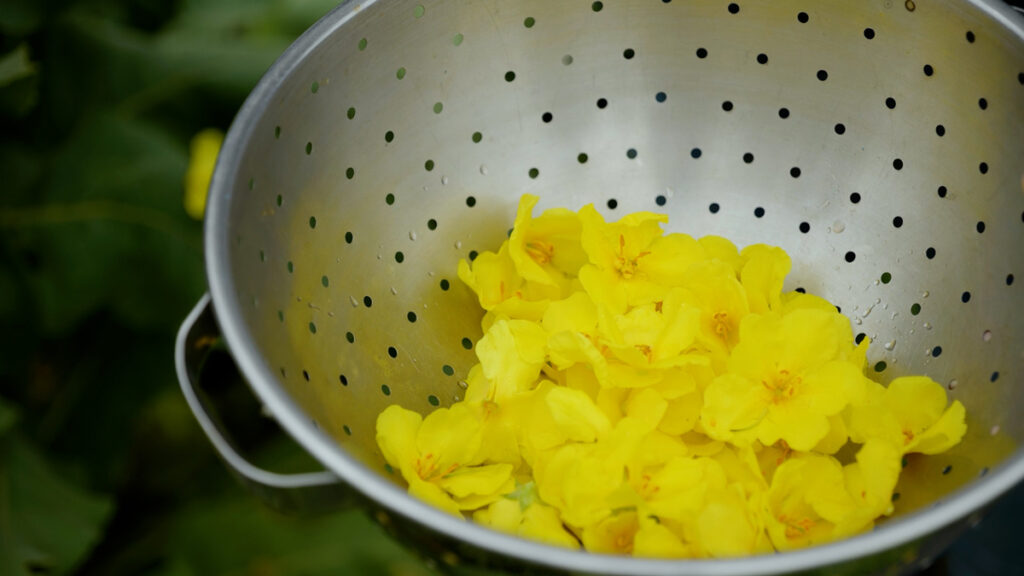
- Colander – A colander makes a great container to collect harvested herbs, but you can use any container you choose.
How to Harvest Herbs
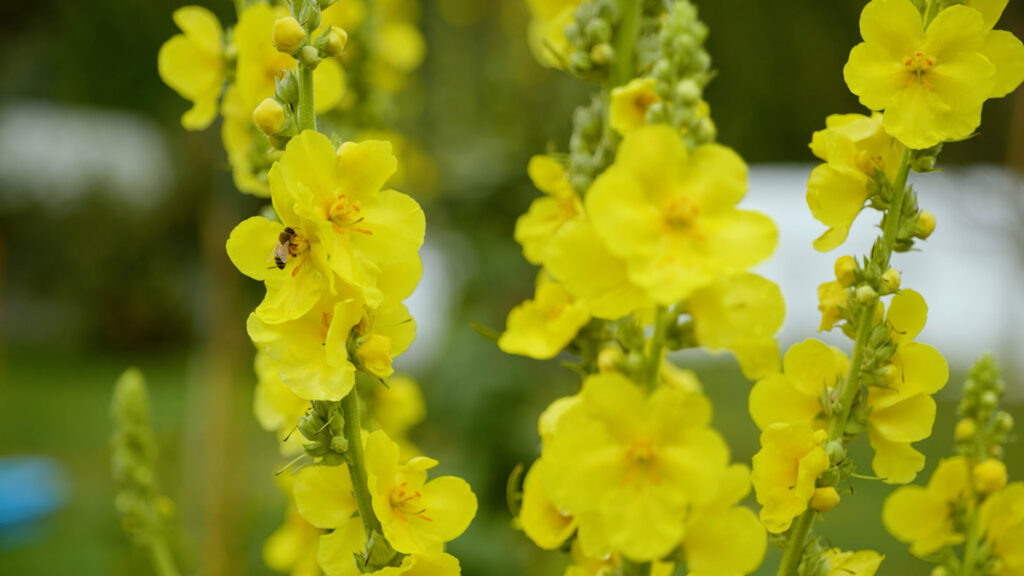
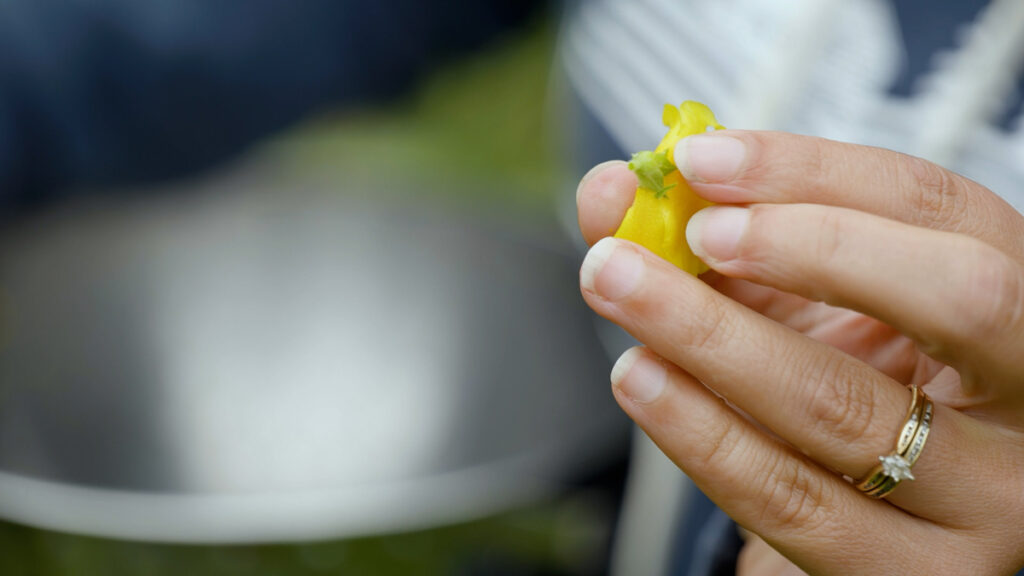
Harvest herbs for their leaves or petals, the aerial parts of the plant, early in the morning when the dew begins to dissipate. This time of day is best because the oils in the blossom and leaves are the highest concentration.
As the day progresses and the sun is in full force the majority of the oils leave the blossoms and leaves and retreat to the root and stem, leaving the leaves and blossoms with less nutrients.
Use the following tips for harvesting the leaves, seeds, flowers and roots of most common herbs:
Leaves
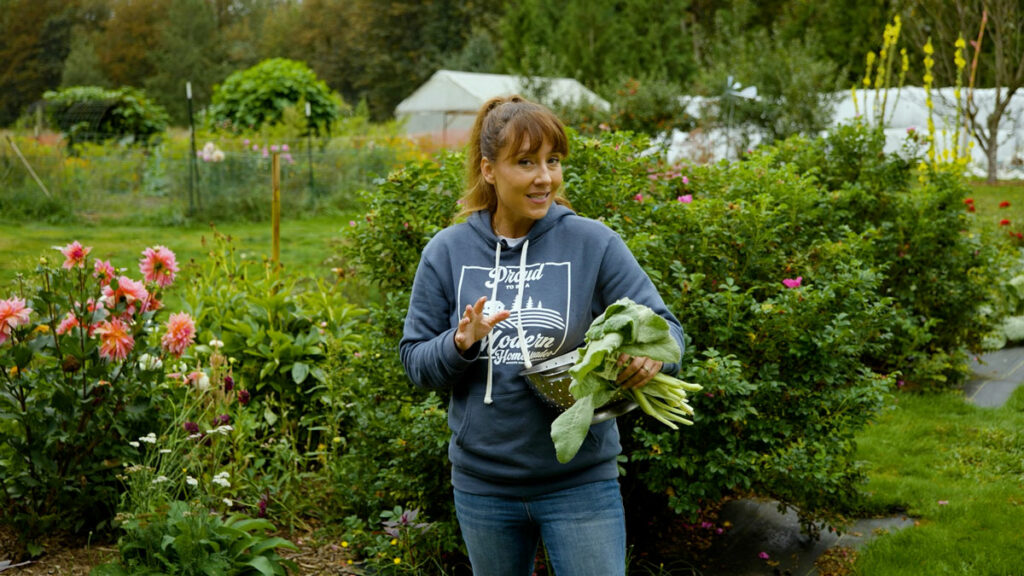
- Annuals – Harvest annuals by cutting the stems just above a leaf node to encourage new growth. Basil, cilantro, and dill are examples of annual herbs that grow and produce medicinal leaves throughout the growing season. Be sure to harvest these leafy herbs before they flower to keep them from becoming woody and bitter.
- Perrenials – Perennial herbs like sage, thyme, and rosemary come back year after year. When it's time to harvest perennial herbs, opt for the cut and come again approach. Snip a portion of the plant, leaving at least one-third of the growth intact. This ensures that the plant can continue thriving. Remember, moderation is the key to maintaining the plant's vigor and longevity.
Seeds
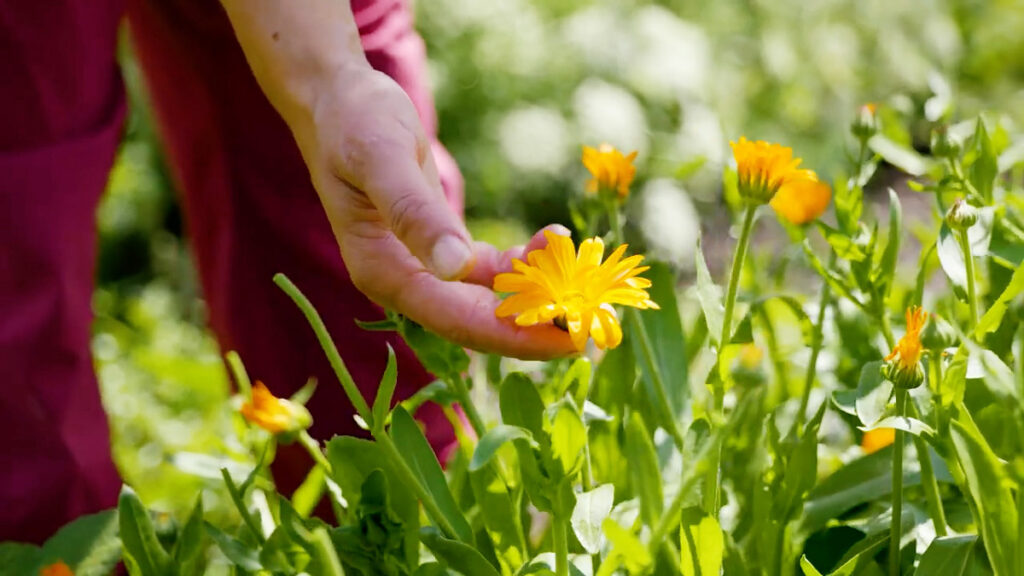
Watching herbs bloom into stunning flowers is a beautiful experience and an opportunity to harvest their seeds. Allow the flowers to blossom and, as they start to wither, collect the seeds before they disperse naturally.
Covering the plant with a paper bag and shaking can help to easily harvest the seeds without losing too many to the ground.
Be sure to dry the seeds thoroughly before storing them in airtight containers. They'll then be ready to sow the next planting season. Learn how to plant medicinal herbs from seed for the next season.
Many herbs produce edible seeds like coriander, fennel, anise, and dill. Harvest herbs grown for their seeds at the end of the growing season.
Flowers
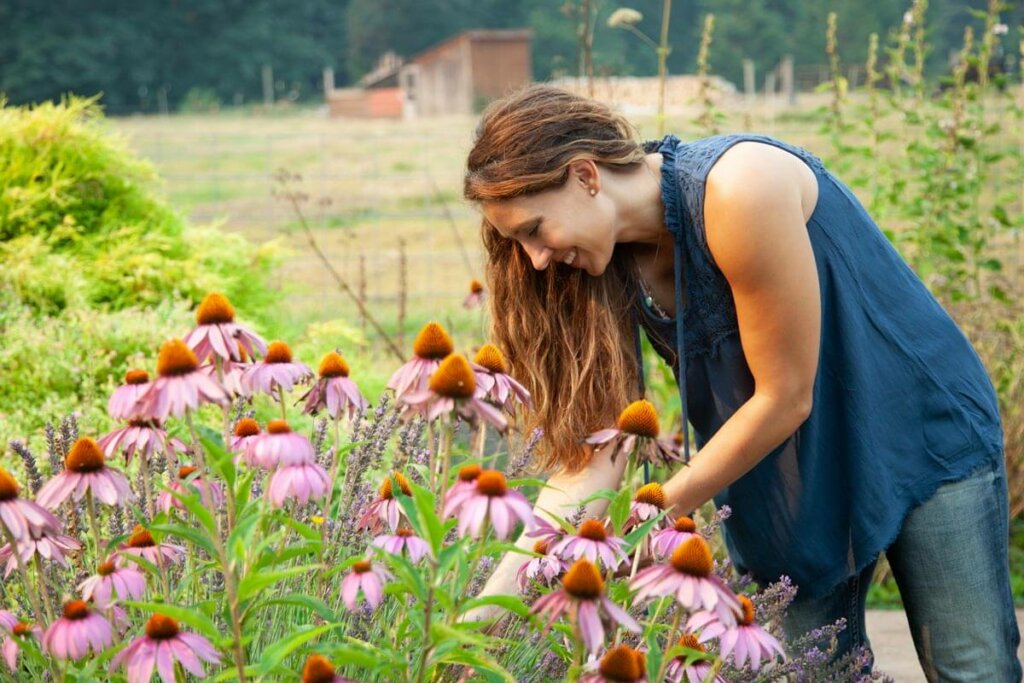
Herbs like calendula, echinacea, and camomile produce incredible medicinal properties in their petals, as well as in their leaves and roots.
Harvest the flower buds at their peak to use for medicinal purposes. You do not want to gather any blossoms that show signs of:
- Brown spots
- Age spots
- Wilting
- Decay
- Droopy pedals
Roots/Rhizomes
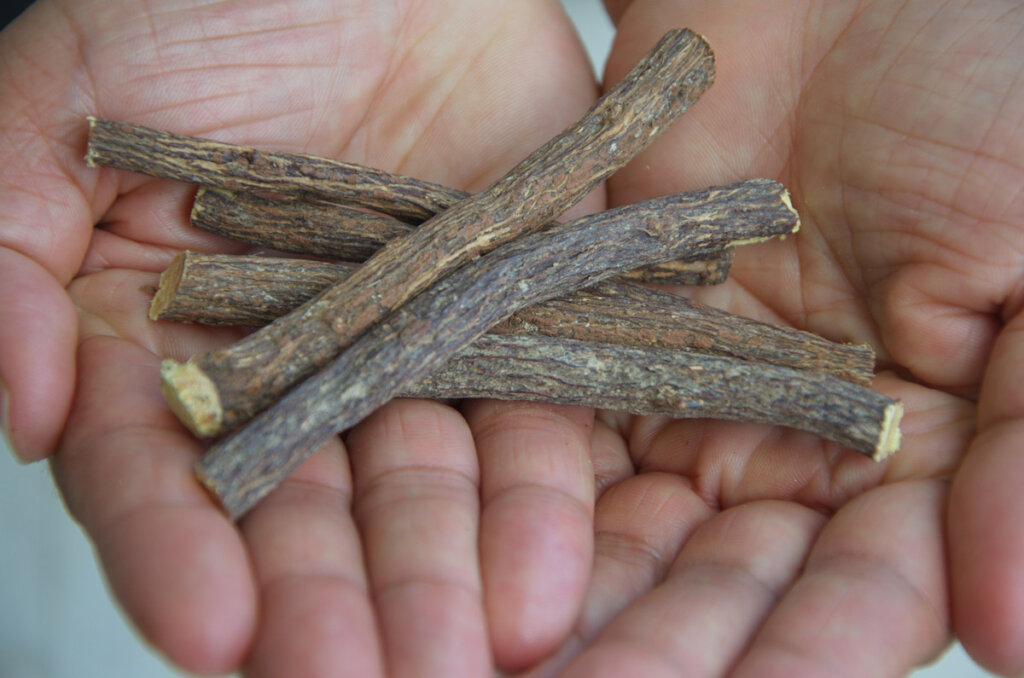
The real treasure lies beneath the soil for certain herbs, such as ginger, turmeric, licorice and echinacea. Oftentimes, the roots contain the highest concentrations of nutrients, especially at the end of the growing season.
Wait until the plant has completed its growing cycle and the foliage starts to wither. We harvest the root after the first frost when the flower and plant matter die back. You also want to make sure the roots of the plant are well established before harvesting. In general, this takes three years.
Carefully dig around the base of the plant and unearth the roots or rhizomes. Be sure to leave some behind to support the plant's regrowth. Rinse and dry the harvested roots before storing them for culinary and medicinal purposes.
Preservation
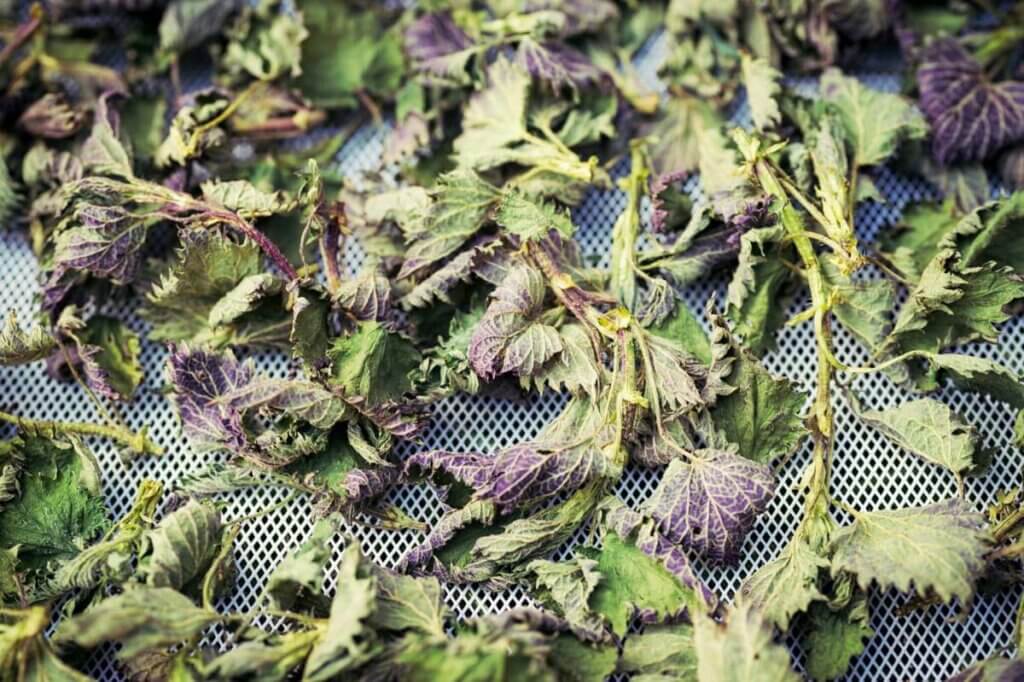
There are several options for preserving herbs, but I prefer to dry them. To preserve herbs for medicinal use, I dry them on the stem. I don't harvest each individual leaf or blossom.
I often use a Nesco dehydrator because it allows you to adjust the temperature to a very low setting. If you plan on using your herbs medicinally, you do not want to overheat them. Dry herbs on the lowest setting, around 95°F.
Spread small bundles of herbs in a single layer on the dehydrator rack and set it to the lowest setting. You want to make sure the herbs are fully dry before storing them. Learn how to dry fresh herbs at home and the best methods for drying herbs for stronger medicinal properties.
You can also freeze herbs, by placing them in ice cube trays with water, lemon juice, or oil. Many people blend up the herbs with olive oil and spoon the mixture into the trays to freeze. Once frozen, put the cubes in a freezer storage container. This method works best for culinary herbs like basil, thyme, oregano, etc.
Once you learn these methods, you can use herbs in your teas, salves, tinctures, creams, powders, and more.
Storage
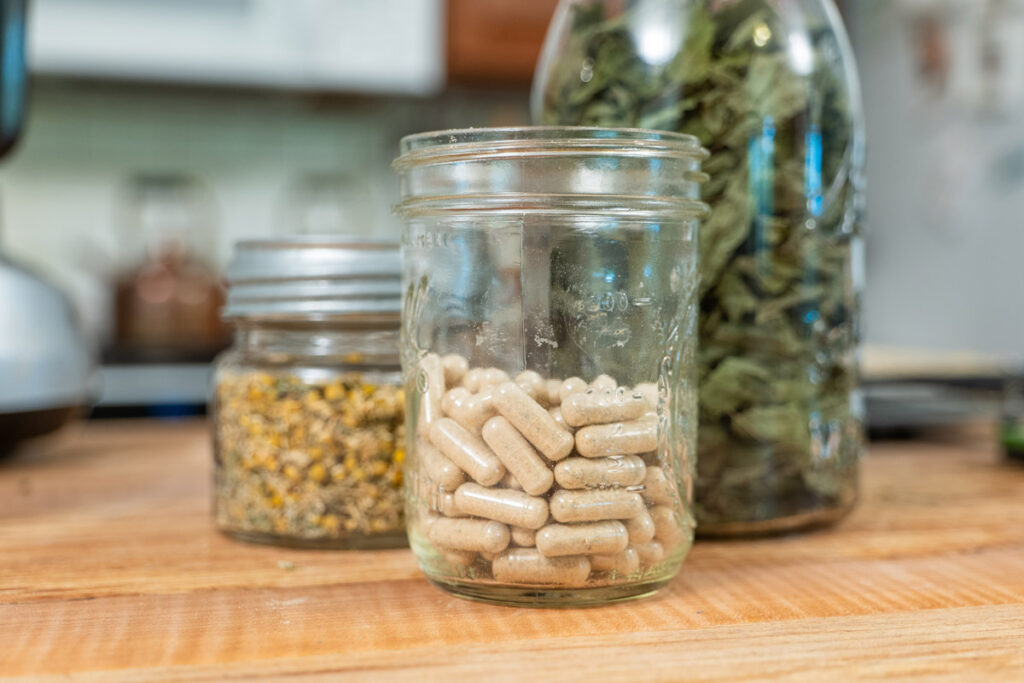
Herbs do not like moisture, sunlight, or pests. Dry herbs in dry, dark areas. When drying, I often use a paper bag for added protection from dust and bugs. Try not to disturb the herbs much. You want them to retain as much of their oils as possible.
After drying the herbs, I carefully remove each petal or leaf from the stem and place them whole in the storage container. If you can help it, do not crumble or chop them up. This helps preserve nutrients and medicinal properties.
Once they're ready for storage, I place the fully dried herbs in containers like glass jars, vacuum seal them, and store them on the shelf.
And that's it! With this information, I hope you find yourself experimenting more and more with growing medicinal herbs. It's truly such a rewarding experience and gives peace of mind knowing you're well prepared the next time you or a family member get sick.

Other Articles You May Enjoy
- Plant These Medicinal Herbal Flowers from Seed
- 8 Medicinal Plants You Need to Add to Your Garden This Year
- How to Prune Herbs & Perennials for Maximum Growth
- How to Grow an Herbal Tea Garden at Home (+Favorite Herbal Tea Blend Recipes)
- How to Steep Medicinal Tea
- How to Use Herbs and Natural Remedies at Home
- Herbal Home Remedies for Cold and Flu
- 7 Natural Cough and Cold Herbal Remedies
- How to Make Elderberry Syrup + Additional Add-Ins
- Homemade Traditional Fire Cider Recipe & Benefits

