
Learn how to dehydrate fruit and enjoy your summer harvest all year long. Dehydrating fruit works especially well for cherries, grapes, and berries. Using an oven or a dehydrator, use my secret trick to speed up the dry time.
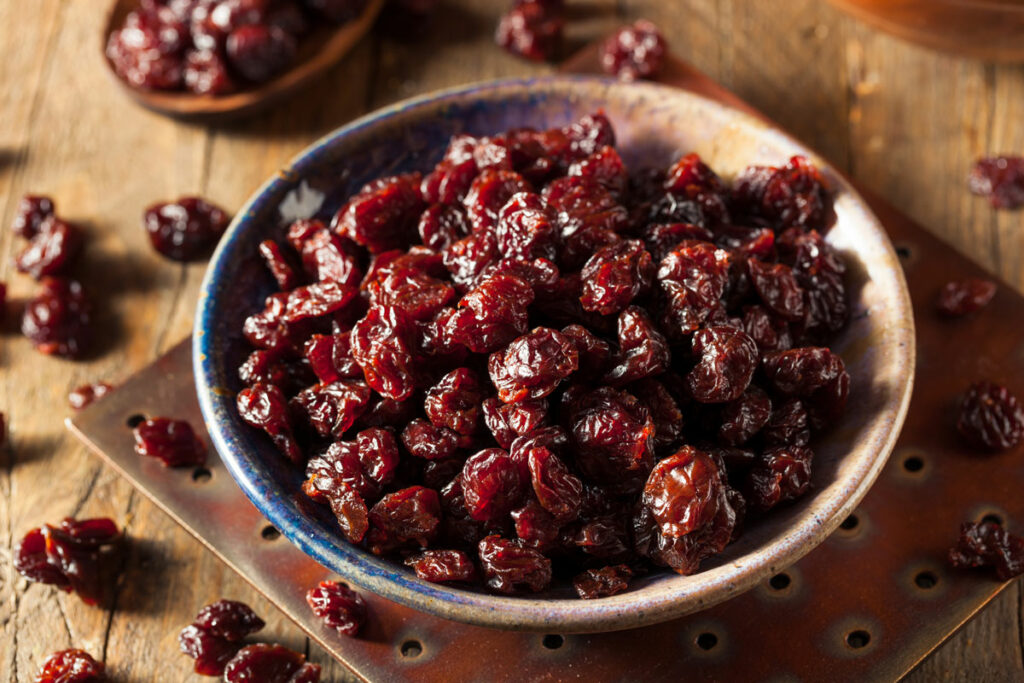
Table of Contents[Hide][Show]
Why I Love Dehydrated Fruit
Dehydration is an excellent way to preserve your fruit, especially berries for year round use. It's shelf stable and can be eaten as is.
It's light, meaning easy to pack and shove into pockets. And you can use it to make delicious candies, treats, cakes, and breads.
Dehydration, when done at a low temperature, makes it "raw" food, retaining almost all of the nutrients.
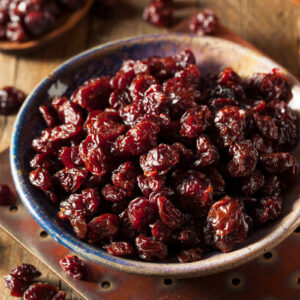
This year as I was dehydrating trays of cherries my husband asked why I was doing it if we never eat them? Unbeknownst to him, I dehydrate them every year and just tuck them away! We don't get many cherries for dehydrating, so they're my special treat!
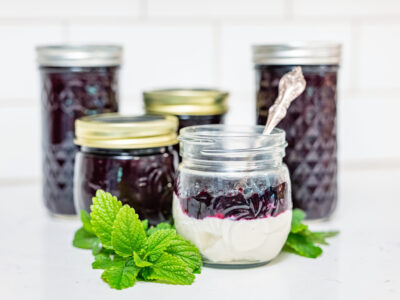
We're blessed on our homestead to have raspberries, blueberries, and a plethora of blackberries. I turn most of our bounty into various jams. I like to keep the sugar low in most of my jam recipes, and I like to make jam without pectin.
If you're in need of some jam recipes, here are some of my favorites:
- Strawberry Jam
- Cherry Jam
- Blackberry Jam
- Blueberry Jam
For more info on canning jam, be sure to check out this post on making jams and jellies like a pro.
Even though my love of canned jam runs deep, one thing they're not great for is for traveling or packing in lunch boxes.
Frozen and then thawed berries aren't friendly for munching on, although I will say freeze-dried fruit is quickly becoming another favorite go-to in our house, freeze dryers are cost prohibitive for some. Here's the scoop on freeze-drying vs. dehydrating.
So in comes dehydration. I confess that I overlooked dehydrated fruit for years. Mostly because I tried dehydrating blueberries about 10 years ago and after three days straight, I still had half shriveled but not dehydrated berries.
I'm so glad I gave it another try after learning the trick to speeding up the dehydrating time.
How to Dehydrate Fruit
Subscribe to Melissa K. Norris!
Get updates on the latest posts and more from Melissa K. Norris straight to your inbox.
We use your personal data for interest-based advertising, as outlined in our Privacy Notice.
Supplies Needed
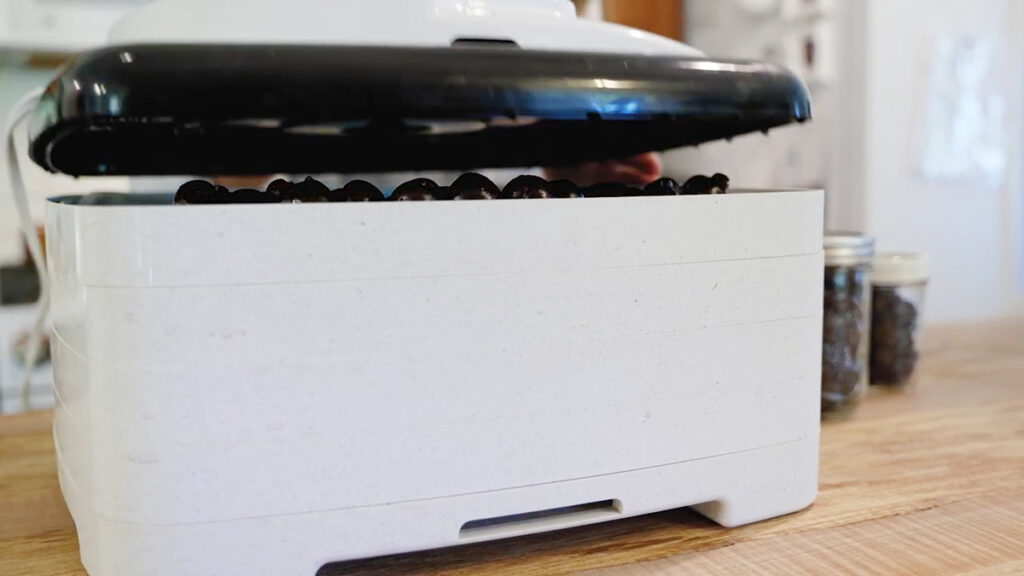
If you plan on doing much dehydrating, I recommend getting an actual dehydrator. They are a great investment and make dehydrating a "set it and forget it" kind of task.
Can you use your oven with the door propped open? Yes, but you can't control the temperature, and then you can't cook in your oven. Plus, if you have little ones, leaving your oven door open isn't probably the safest thing.
- Dehydrator - I have a Nesco square dehydrator and am very happy with it. I purchased it many years ago and it still runs like a champ. Pro Tip: If you're dehydrating multiple batches back to back, consider setting your dehydrator up outside in a safe location to keep from heating up your house during the hot summer months!
More About Dehydrators: A Nesco food dehydrator will be a more economical approach if you're just getting started. I highly recommend getting these screens for sticky fruit and fruit leather (they're even dishwasher safe!). If you plan on doing a lot of dehydrating, you'll want to consider the Excalibur dehydrator. This is a great upgrade for those dehydrating large batches of fruit at a time.
"Check" Your Berries
When dehydrating berries, one simple trick can cut hours and days off your dehydrating time: check your berries.
"Checking" is merely piercing the skin so the moisture can evaporate more quickly. Berries are mostly water, after all. Checking should be used with blueberries, cranberries, and grapes, or any other similar type of fruit with a skin.
I pit my cherries before dehydrating, so I'm technically checking them when I pit them. There are multiple ways you can "check" your berries to speed up the dehydrating process.
- Poke each berry with a pin - Take a safety pin or sewing pin and poke a hole in each berry. If you're doing a small amount, this might not take very much time, but if you're doing tray fulls, this is going to take forever.
- Boil/steam your berries - Briefly boil or steam berries until they've split their skins, but not enough to cook them. This method works well, but you will lose some nutrients by heating them.
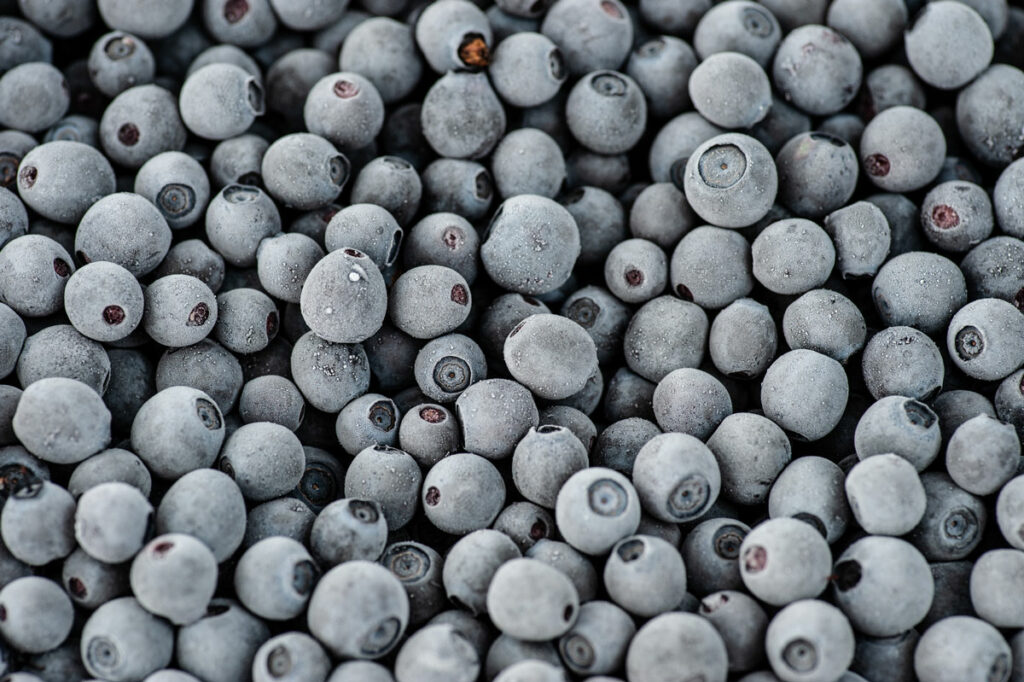
- Freeze your berries - This is the method I prefer. Simply toss your berries into the freezer for a few hours. It will rupture the cells and make your berries good to go. When it's the middle of summer, and a task takes no work on my part (okay, besides the harvesting), I'm all about that!
Sometimes getting kids involved in the process is fun, if they can safely poke the berries then this is a great option, however, I'm sure many of you would agree that option #3 is the best!
How to Dehydrate Berries
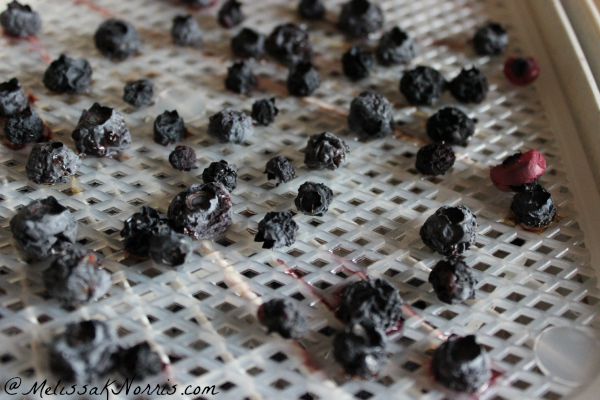
- After you've prepared your berries by checking them, spread them out on your dehydrating trays. (For sticky berries or fruit, I highly recommend the dehydrator mats for easy clean-up.) You want the berries or fruit to be evenly spaced so they dehydrate at the same rate.
- With our blueberries, we have several different varieties, which means different sizes of berries. I recommend putting the smaller berries on one tray and the larger ones on another. I didn't the first time and had to manually separate them as the smaller ones were done before the bigger ones. So save yourself some time here.
- Turn on your dehydrator and let it do its thing. The fruit setting on mine is 135 degrees.
- Even with "checking", berries take quite a while to dehydrate fully. My cherries took 28 hours. My small blueberries were done at about 24 hours, whereas the larger ones took 36 hours.
- Rotate your berries or fruit after 12-hour mark for even drying. My top tray dehydrates a tad faster than the bottom one, especially when I've got all four stacked.
Dehydrating Other Fruit
We love dehydrating a variety of fruit that grows here on our property. Dried apples and plums are among our favorites, but other healthy snacks like DIY banana chips (dehydrated bananas) will find their way into my dehydrators at one point during the summer.
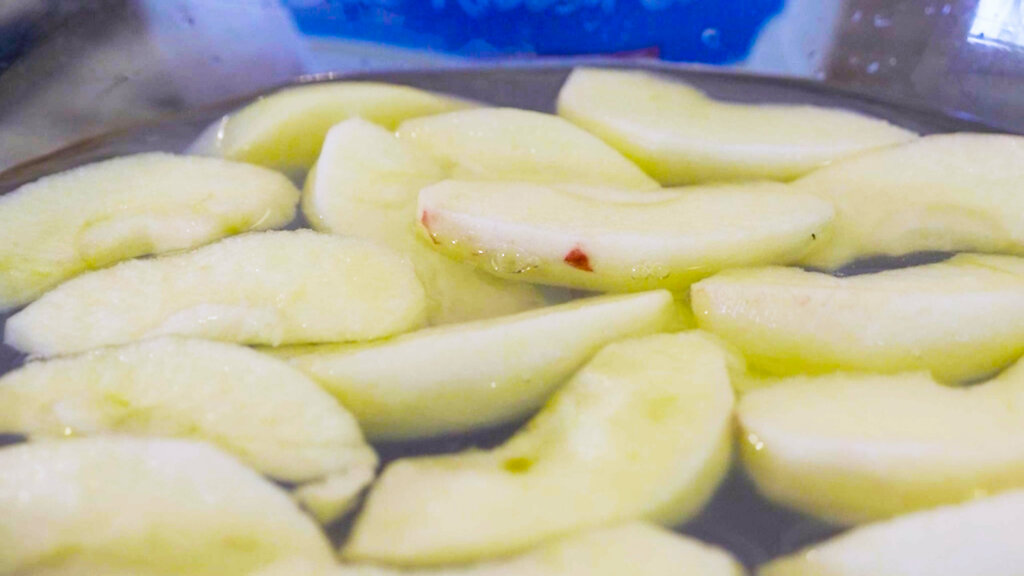
Apples, apricots, plums and bananas will benefit from a quick dip in lemon juice (or citric acid) and cold water to keep from oxidation (when the flesh of the fruit turns brown after being exposed to oxygen). By pretreating them, they'll remain bright and vibrant.
To dehydrate fruit:
- Prepare your fresh fruit by washing, drying and peeling (if needed).
- Cut fruit into thin slices (a mandoline can be useful for certain kinds of fruit). Try to keep sliced fruit equivalent in size so they dry at the same rate.
- Dunk fruit slices quickly into a large bowl of lemon water and arrange in a single layer on the dehydrator tray. Pro Tip: You can line your trays with parchment paper if the fruit is too small and may fall through the tray. This may increase the time due to decreased airflow.
- Dehydrate, rotating your racks about half way through the drying process. Dry time will vary based on fruit type and size. I like to start with about 6 hours and check it. By then, I can generally tell about how much longer the fruit will need. Pro Tip: If you like your fruit crispy (like apple chips) you'll need to dehydrate them longer. The dried foods will generally get firmer once cooled, so don't overdo it!
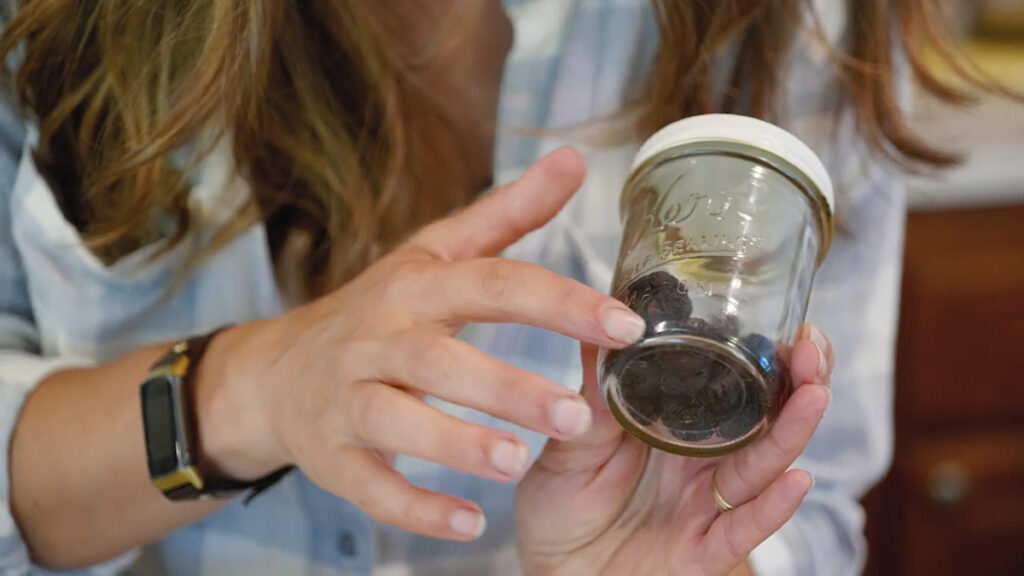
- Once the fruit is dry and completely cooled to room temperature, place them in glass jars (I like Mason jars) and add a lid. I like to use a two-piece lid and vacuum seal it for better long-term storage. Pro Tip: Do a dry test to know if pieces of fruit are completely dry. Place a handful of still-warm fruit into an airtight container (sealed Mason jar or sealed plastic baggie). Let them sit for 10-20 minutes and check the sides of the container. If you see any moisture or condensation on the jar or bag, the fruit isn't dry and needs to continue dehydrating.
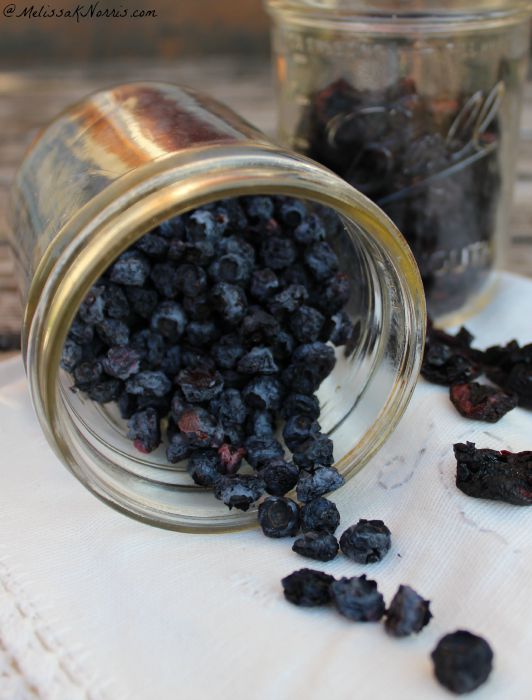
How to Know When Fruit is Dehydrated?
If you're unsure if your fruit is fully dehydrated, you can sample a few. If you feel liquid, then put them back in. Some of my smaller berries got hard, so I knew they were fully done. You want chewy berries but not overly sticky or wet. Otherwise, they start to mold.
Another way to check them is to place a handful of still-warm fruit (it's important they're still warm) into a jar or plastic bag and seal tight. If you notice any condensation forming on the jar or bag the fruit isn't fully dehydrated.
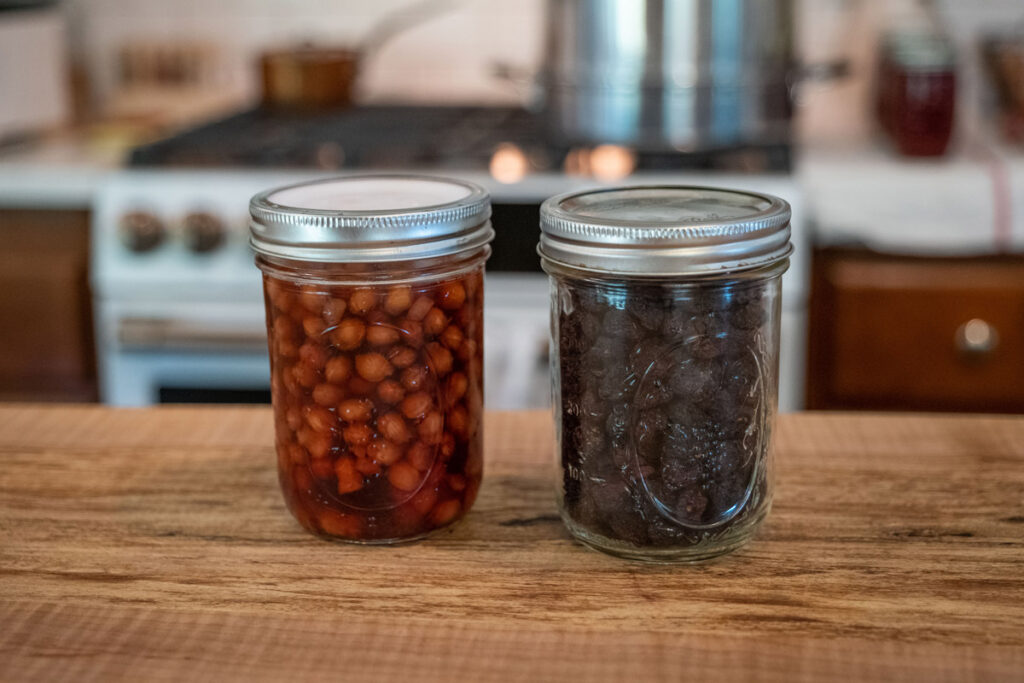
How to Store Dehydrated Fruit
Store dehydrated fruit in an air-tight container in a dark, cool place for optimal shelf life.
Unlike freeze-dried fruit, dehydrated fruit is best when eaten within a year. This is why I like to plan how many fruit and berry bushes we need for our family for a year's worth of fruit.
How to Use Dehydrated Fruit
Use your dehydrated fruit in homemade breads, muffins, granola, candy, or just by the handful! Be warned, they're kind of addicting.
There you have it, my favorite way to dehydrate fruit and my time-saving tips when dehydrating blueberries, cherries, and grapes! Have you tried this method or other home food preservation methods before?
More Posts You May Enjoy
- Homemade Fruit Vinegar
- Quick & Easy Candied Kumquats Recipe
- How to Grow Fruit Trees in Pots
- Planting a Fruit Tree Guild
- Historical Dried Fruit and Nut Candy
- How to Plant Raspberries
- How to Plant & Grow Strawberries
📖 Recipe
How to Dehydrate Fruit (Blueberries, Cherries, Grapes, Raspberries & Blackberries)
Equipment
- Dehydrator
Ingredients
- Fruit
- Water for rinsing
Instructions
- Rinse berries and remove any twigs, leaves, etc.
- Check berries by either freezing for a few hours, poking each berry with a pin, needle or paperclip, or quickly blanching in boiling water.
- After you've checked your berries, spread them out on your dehydrating trays. Try to put berries of similar size on the same trays.
- Turn on your dehydrator to 135 degrees Fahrenheit or the fruit setting if it has one.
- Check on your berries or fruit after 12 hours and rotate your trays.
- Your fruit is done when it's shriveled and slightly tacky/sticky. Do the "dry test" mentioned in the notes section below.
- Store dehydrated berries in an airtight container in a dark cool place for optimal shelf life.
Notes
- For sticky berries or fruit, I highly recommend the non-stick mats for easy clean-up. You want to the berries or fruit to be evenly spaced so they dehydrate at the same rate.
- Even with "checking", fruit takes quite a while to fully dehydrate. My cherries took 28 hours. My small blueberries were done at about 24 hours, whereas the larger berries took 36 hours. This is still better than three days though!
- Dry Test - To know if berries are dry, do the "dry test". Place a handful of still-warm berries into an airtight container (sealed Mason jar or sealed plastic baggie). Let them sit for 10-20 minutes and check the sides of the container. If you see any moisture or condensation on the jar or bag, the fruit isn't dry and needs to continue dehydrating.


cate
I have been dehydrating cherries in my car for years now. Summers are so hot in the pacific northwest, they are done in just a few days and without a higher electric bill.
Penny
I just checked Lehman's Hardware Store website. They have a 4 tray Excaliber dehydrator for $169.00 + S&H (vs. $179.00 Amazon free S&H if you have Prime). I'm trying to limit my buying from Amazon & supporting smaller & family owned businesses. Just my bias I guess.
Brooklyn Lindstrom
Do you only freeze for a couple hours, or can you leave it for longer?
Melissa Norris
As long as it freezes long enough to burst the cell walls. Longer is fine.
Pamela Chmielewski
I have already been dehydrating cherries after cutting them in half and keeping pits in vinegar.
My question is should I put an oxygen absorber in each jar of fruit after conditioning them? I want to make sure that they last for quite a few years.
Also, now that I have cherry pits in vinegar, I strain the pits and keep the vinegar......but for what? I have never had any family member that utilized cherry vinegar for anything.
Also, I dehydrated some tortilla chips that I processed into crumbs. I am gluten free and have not started making my own bread yet, so I am trying to save "bread crumbs" by utilizing tortilla chips which also help to provide a crisp topping on lasagna, etc.
I have read that breads may go rancid. If I dehydrate tortilla chip crumbs, which I did, will they still go rancid? I thought I would put an oxygen absorber in that jar as well.
I just got oxygen absorbers so I'm trying to figure out what things I use them in and which ones I don't. I want my foods to last for years if necessary.
Caye Cooper
I never dehydrated cherries because I didn't know about pitting them and then dehydrating. I just thought it wasn't possible. Duh!! I LOVE my Excalibur dehydrator. I have 9 marvelous trays and I'm getting ready now to put in the kale, collards, Swiss chard and grape tomatoes. What a busy time of the year!
Thanks so much for all your good advice, Melissa! You're a gem!!
Charlene
How do you use the cherry vinegar?
Wendy
What type of cherry pitter do you use. I liked how simple you could do multiple, I only have a single pitter.
Charlotte
I’ve heard of some who vacuum seal their jars to preserve dried foods. Is vacuum sealing the jars necessary to make them safe for eating in later months? And how long will the dried fruit be good for in the jar before it’s considered “expired”?
Kristi
Wow this is great info. my dehydrating has been kind of atrocious, so I'm definitely keeping this info. Thanks for posting it!
Patty
What a great tip! I just dried a large batch of blueberries in my dehydrator, but didn't prick the skins first and they took forever to dry. Blueberries this year are some of the best I've seen so will try your tip on my next batch.
Many thanks!
linda hutchings
where do you buy your Einkorn wheat ---
Melissa Norris
Linda, here ya go! Get FREE shipping on your einkorn flour and wheat berries at Einkorn.com, including organic einkorn wheat berries in 15lb and 22.5lb packages with coupon code: melissanorris expires on 7/15 from Einkorn.com
Debbie
I look forward to reading all of your articles,posts and joined the ultimate bundles when you were doing the essential oils. I enyoed all of your pod casts and go back to them frequently.I learned many years ago that homesteading was the only way to go. Thank you for all of your experiences and knowledge of all the issues you share with us.looking forward to the stuff to come.
Melissa Norris
Hi Debbie and I'm so glad you enjoy the podcast.
Beverly Dellinger
Can I buy frozen fruit and use for dehydration?
Melissa Norris
Yes, I do that with my berries to help them dry faster.
Caye Cooper
You sure can! I buy bags of frozen organic blueberries at Sam's and Costco. It works great!
Beverly DellingerMissy
Missy- I am just now getting my mom her Birthday Present! I stuck one of your Cook Books in her Bag..... when she took it out you would have thought she Won The Lottery! She was so Excited!!!! Hugs!
Melissa Norris
Ahhh, love your Mamma!
Aimee
I was wondering how long it would take. I have blueberries, raspberries and blackberries in my dehydrator for more than 24 hours and many are still not done yet. Good information for the next time!!!
Dave
Your pages are among the best instruction I've seen. You're organized, clean and credible. Thanks for giving your time and intelligence to the task.
Kristi @ Homestead Wishing
I think I will use the freezer method to check them, they will keep much of the nutrition that way. I will definitely sort them by size that will be another great time saver. Thanks so much for these great tips!
Melissa Norris
You're so welcome, Kristi. The freezer is the one I use and after this round with the blueberries, I'll be keeping them sorted out, too. 🙂
Brunella Brunet
can this be done in the oven?
Brunella Brunet
thanks. I missed that in the article.
Melissa Norris
No problem. I know some folks will put their oven on the lowest possible setting and then leave the door open. I have not tried it that way though.
Kay
Yes. Just a small opening though about the size of round wooden spoon handle to allow more of the excess moisture to escape than would be able to via the vent. Great for cooler fall months (reduces need for heating on chilly mornings and nights), but not so great during the hotter summer months (heats the house up and increases need for additional cooling). Personal experience has been that investing in a dehydrator saves greatly on summer cooling if plan to do frequently.
Elfriede Bauer
Can I make them in the oven