
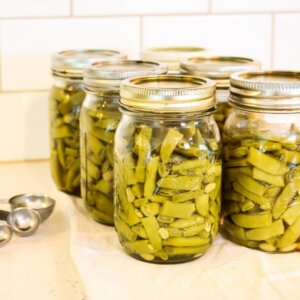
Learn how to can green beans the easy way using the raw pack method. This is the perfect tutorial for beginner canners and those who want their fresh green beans preserved for year-round eating without a ton of prep work. Home canning just got a little bit easier!
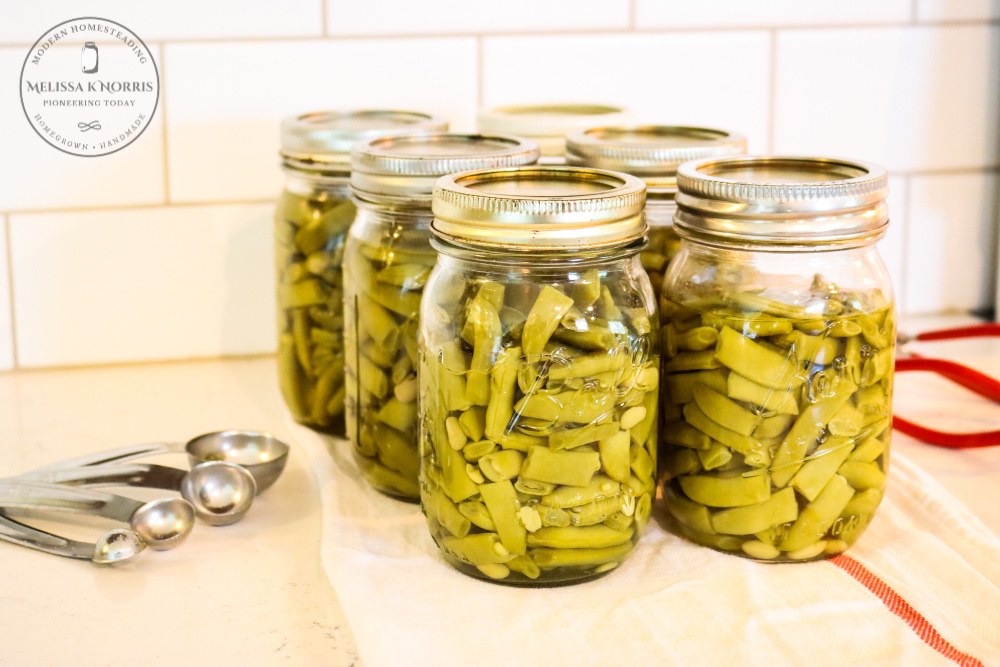
Table of Contents[Hide][Show]
Why I Love This Method
Though there are many ways to can green beans and can shelled beans, I love this method because of the quick and easy nature of it.
The canning process is simple. All you have to do is:
- Get your freshly picked green beans
- Rinse them clean
- Snap them into bite-size pieces
- Stuff them into jars
- Cover with boiling water
- Pressure can for 20 minutes!
Easy peasy, and no need to pre-cook or blanch your green beans or worry about having hot jars at the ready.
In fact, green beans were the first thing I learned how to can on my own as a newlywed over twenty years ago (I was 18 years old when I got married, I'll spare you the math).
I've never purchased store-bought canned green beans, and neither will you after seeing how easy it is to can them at home. Especially once you taste them—they're full of flavor! My kids refuse to eat green beans from the store or as a side dish from restaurants because they taste nothing like home-canned green beans.
Proper Pounds of Pressure by Altitude & Canner Type
The tables below show the proper pounds of pressure based on pressure canner type (dial-gauge or weighted-gauge). Be sure to adjust based on elevation, pressure canner type and processing time based on jar size. If you're new to pressure canning, make sure to check out my beginner's step-by-step guide on how to use a pressure canner.
Subscribe to Melissa K. Norris!
Get updates on the latest posts and more from Melissa K. Norris straight to your inbox.
We use your personal data for interest-based advertising, as outlined in our Privacy Notice.
Dial-Gauge Pressure Canner
| Table 1. Recommended process time for Snap and Italian Beans in a dial-gauge pressure canner. | ||||||
| Canner Pressure (PSI) at Elevations of | ||||||
| Style of Pack | Jar Size | Process Time | 0 - 2,000 ft | 2,001 - 4,000 ft | 4,001 - 6,000 ft | 6,001 - 8,000 ft |
| Hot and Raw | Pints | 20 min | 11 lb | 12 lb | 13 lb | 14 lb |
| Quarts | 25 | 11 | 12 | 13 | 14 | |
Weighted-Gauge Pressure Canner
How to Can Green Beans
Supplies Needed
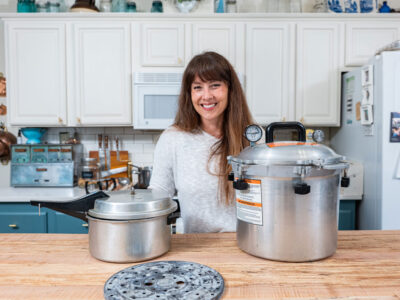
- Pressure Canner - You must pressure can green beans (you cannot use a water bath canner because they are a low-acid food and must reach a high enough temperature with a pressure canner). I love my All-American Pressure Canner. Not sure which canner is right for you? Here's how to pick the best pressure canner for your stove-type and budget.
- Canning Jars - Pick the size jar that works best for your family (think of how many servings you want). For my family of four, I can my green beans in pint-sized Mason jars.
- Canning Lids and Bands - I buy my canning lids in bulk sleeves here.
- Canning Tools - I love my canning tools, such as a jar lifter, bubble remover, lid lifter, etc. They make the canning job easier (and safer).
- Kitchen Towel - Once the canning process is over, you'll want a kitchen towel lining your counter. This reduces the chance of thermal shock to your jars and eliminates the risk of jars breaking or cracking.
Ingredients Needed
- Fresh Green Beans - On average, you'll need 1 pound of green beans per pint (or 2 pounds per quart).
- Salt - Though salt is optional, let me encourage you to use it. No one wants bland-tasting beans! I always use Redmond Real Salt for everything, especially canning. Use that link and coupon code "Pioneering" to save 15% off your order.
Step-by-Step Direction
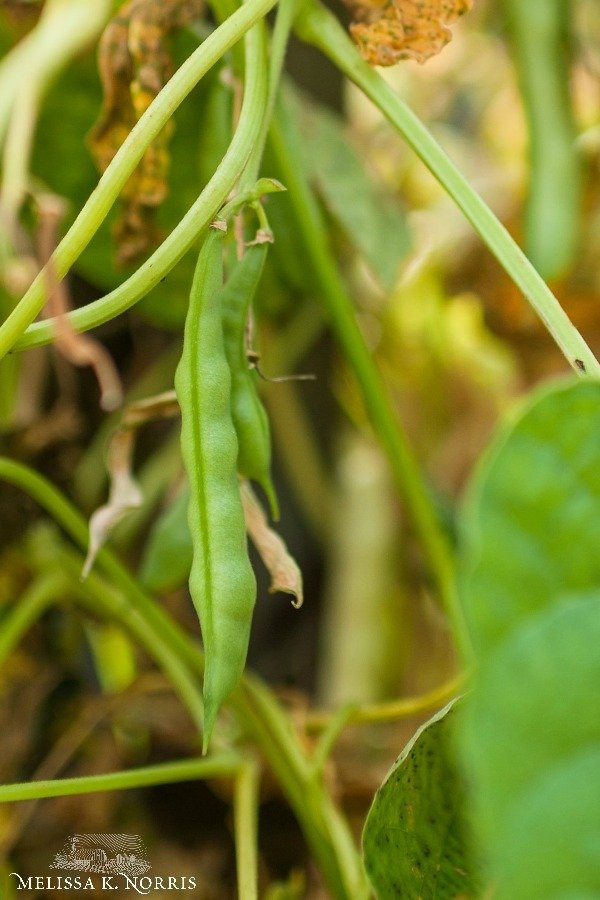
- Pick your green beans. Avoid canning beans with blemishes or rust spots. Choose beans that are tender and crisp when snapped. The beans will be the crispest when picked in the morning.
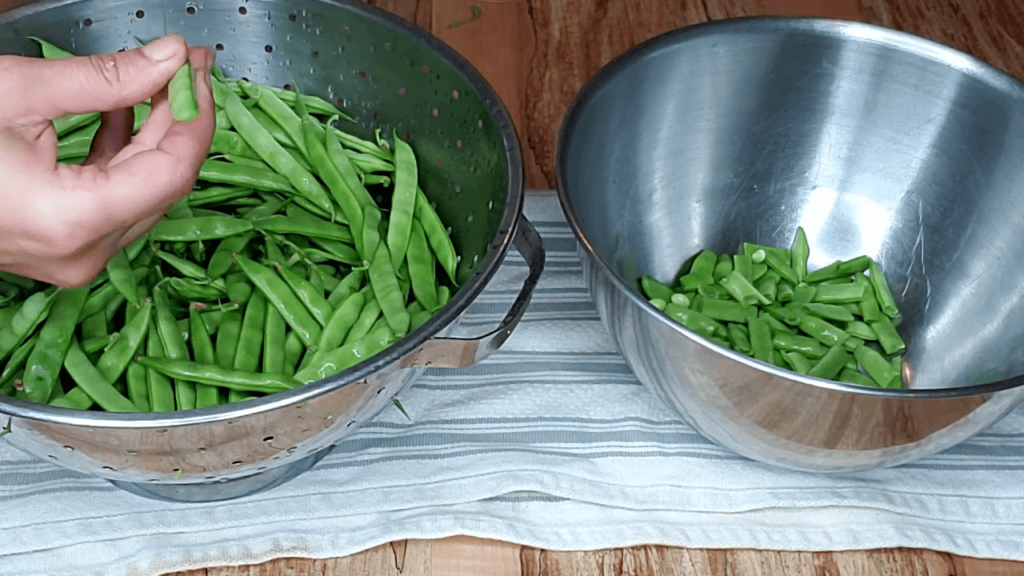
- Rinse green beans thoroughly, then drain off excess water.
- Trim off ends, string if beans are a string variety, and snap into 1 to 1 and ½ inch (bite-sized) pieces.
- Place pressure canner on stove-top and fill with rack and hot water (it's faster to start with hot water instead of cold water). You want about 2 to 3 inches of water at the bottom of your pressure canner.
- Turn burner on medium heat to keep water at 140 degrees Fahrenheit.
- Fill a kettle (or large pot) with water and bring to a boil.
- Wash Mason jars and lids in hot soapy water then place on a clean kitchen towel. Pro Tip: DO NOT boil the lids. Canning lid guidelines changed in 2014, and boiling the lids can affect their ability to seal. You do not need to sterilize lids or jars as long as you're processing jars for 10 minutes or longer (which you definitely are when pressure canning).
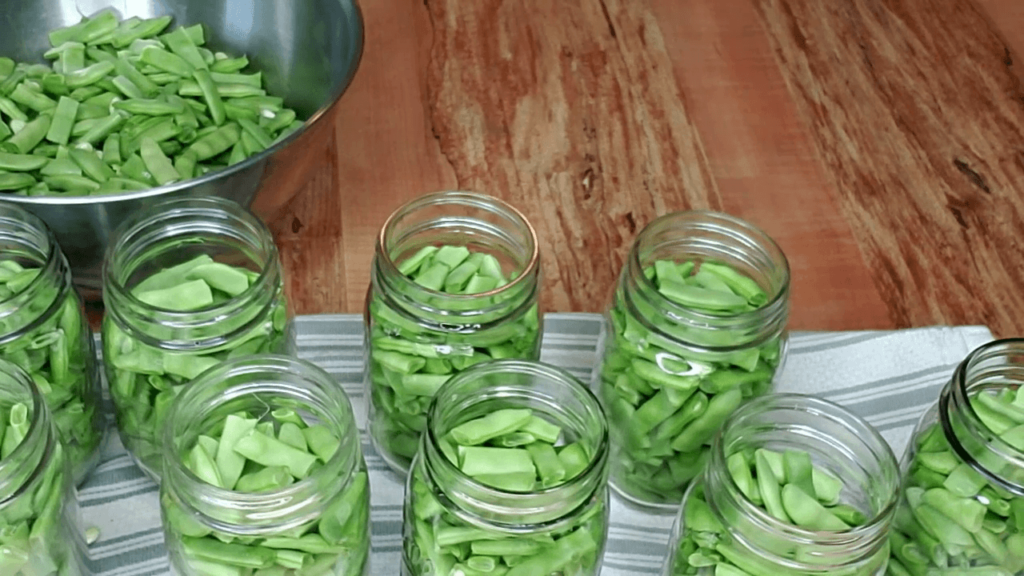
- Fill Mason jars with green beans to a 1-inch headspace (space from the top of the green beans to the top of the jar).
- Add ½ teaspoon salt to each pint jar or 1 teaspoon salt to each quart jar. (Salt is optional but does provide better flavor). Pro Tip: Always use canning salt or sea salt with NO added anti-caking agents or ingredients, regular table salt is not recommended.
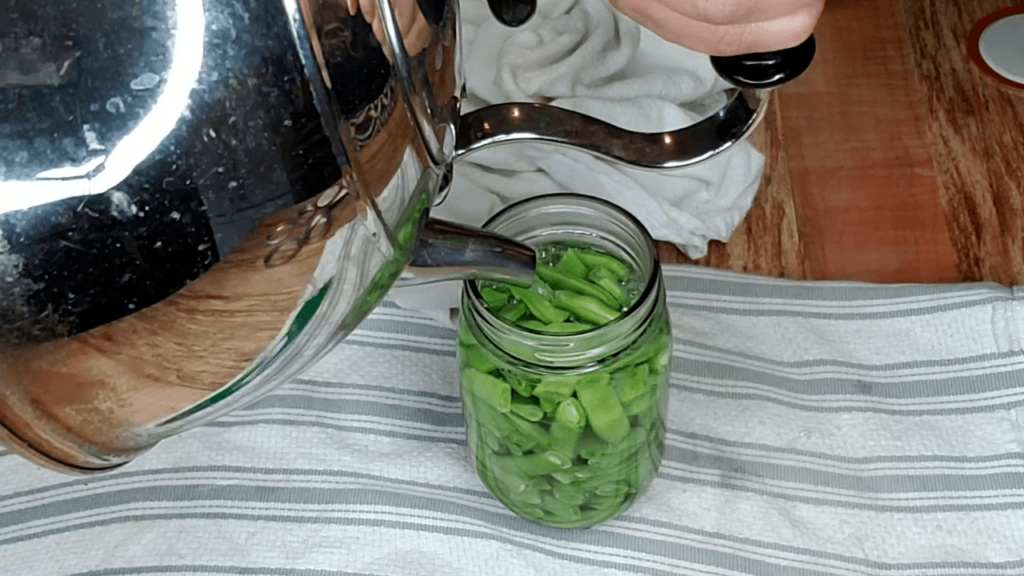
- Pour (or ladle) boiling water over the top of the green beans until the liquid level reaches the 1-inch headspace.
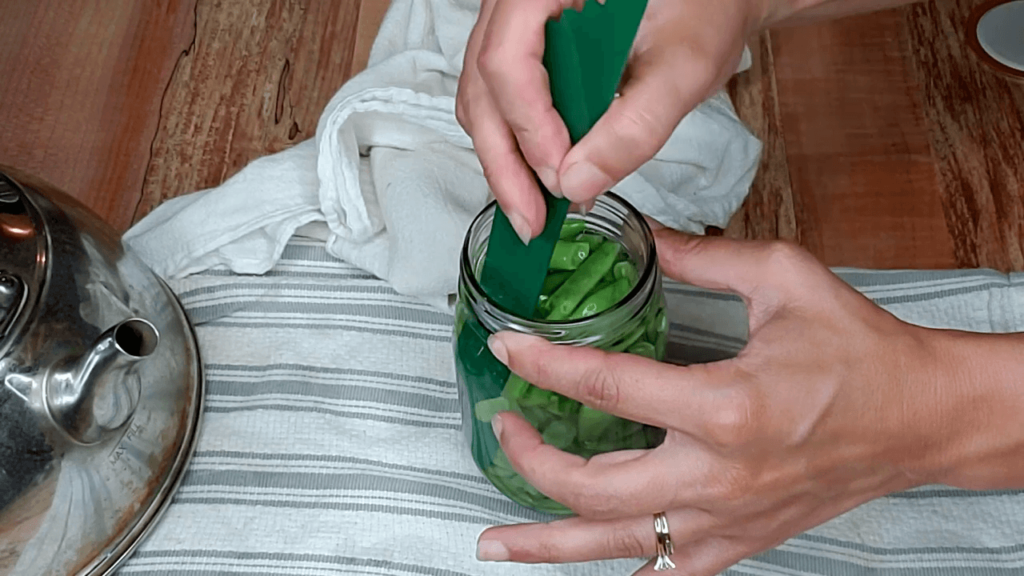
- Use a canner bubble/headspace tool (or ruler if you don't have a headspace tool) to remove air bubbles by running it between the glass and outside of the food. Re-measure your headspace and add extra water if needed.
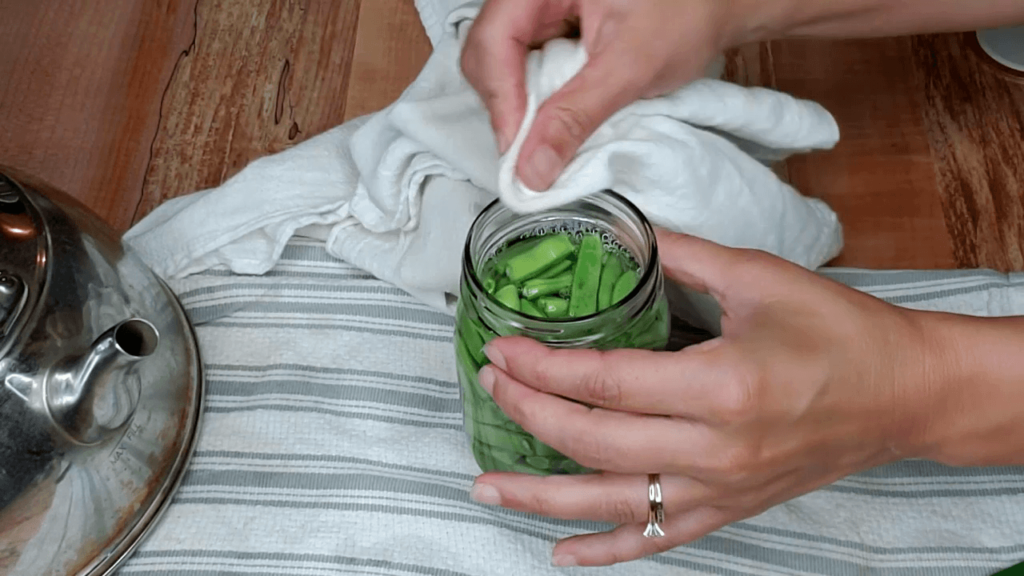
- Use a damp cloth (or damp paper towel) and wipe the rim of your glass jar clean. This helps to ensure there's nothing that will inhibit a seal from forming.
- Place lid and canning band on your filled jars and tighten to fingertip tight (learn what fingertip tight is here - over-tightening canning bands can cause lids to buckle).
- Place in the prepared pressure canner.
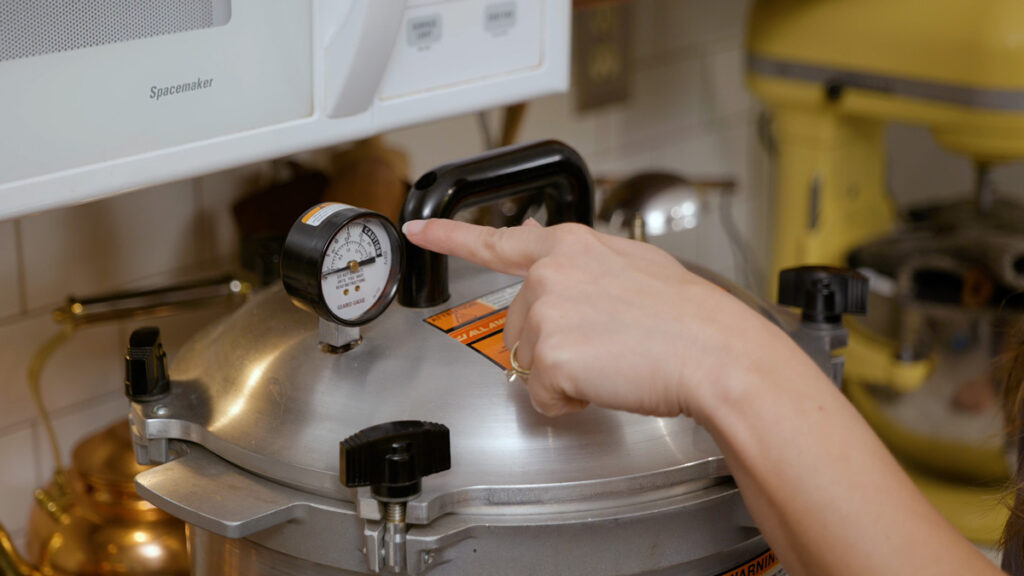
- Place lid on the pressure canner and allow to vent for 10 minutes.
- Once the venting is done, add your weighted gauge or jiggler/rocker and slowly allow the pressure to build.
- Bring pressure up to proper pounds pressure (according to your altitude - see graph above for reference) and process for 20 minutes for pint jars or 25 minutes for quart jars.
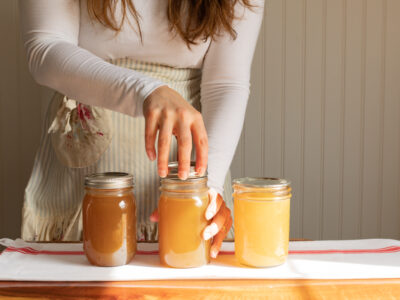
- Remove sealed jars from canner and place on a towel-lined surface.
- Leave the jars to sit for 12 to 24 hours before removing the bands, wiping clean, labeling and dating.
Step 1: Place lid on the pressure canner and allow to vent for 10 minutes.
Step 2: Then place weight on pressure canner according to your altitude and process for 20 minutes for pint jars or 25 minutes for quart jars.
Step 3: Remove from canner and place on a towel-lined surface.
Step 4: Leave the jars to sit for 12 to 24 hours following pressure canning protocol
FAQ
Can You Water-Bath Can Green Beans?
Green beans are a low-acid vegetable and must be pressure-canned. Water bath canning is not safe. The only safe way to water bath can green beans is if they're pickled, the addition of vinegar changes the pH level to 4.6, making them safe to water bath can.
You want to avoid food waste (or potential botulism) at all costs. Learn more about botulism and safe canning practices here.
How long are home-canned green beans good for?
The National Center for Home Food Preservation states that home-canned food is best used within 12 months for optimal nutritional benefits. However, provided you follow tested times/procedures and store canned goods out of direct sunlight and below 90 degrees Fahrenheit, they will be good for years.
We practice pantry rotation and try to use all of our home-canned food within 18 months, but we have had jars that are older than that and the food has been fine.
Do you cook green beans before canning?
I prefer to use the raw pack (or cold pack) method of canning green beans. It requires less work on my part and is an approved and tested method. You can also use a hot pack method, which involves blanching the green beans in boiling water for 5 minutes before jarring and processing them in a pressure canner.
Can you hot pack green beans?
This goes along with the question above. Yes, you can hot-pack green beans which simply means you blanch them in boiling water for 5 minutes before jarring and processing in the pressure canner.
Do you have to add salt?
No, salt is completely optional, but definitely adds to the great flavor of green beans. If you're concerned about salt, you can omit it.
How much pressure do you can green beans at?
According to the National Center for Home Food Preservation, those at 2,000 feet of elevation and below should pressure can beans at 11 pounds with a dial gauge or 10 pounds with a weighted gauge. Check the NCHFP canning chart to adjust for altitude.
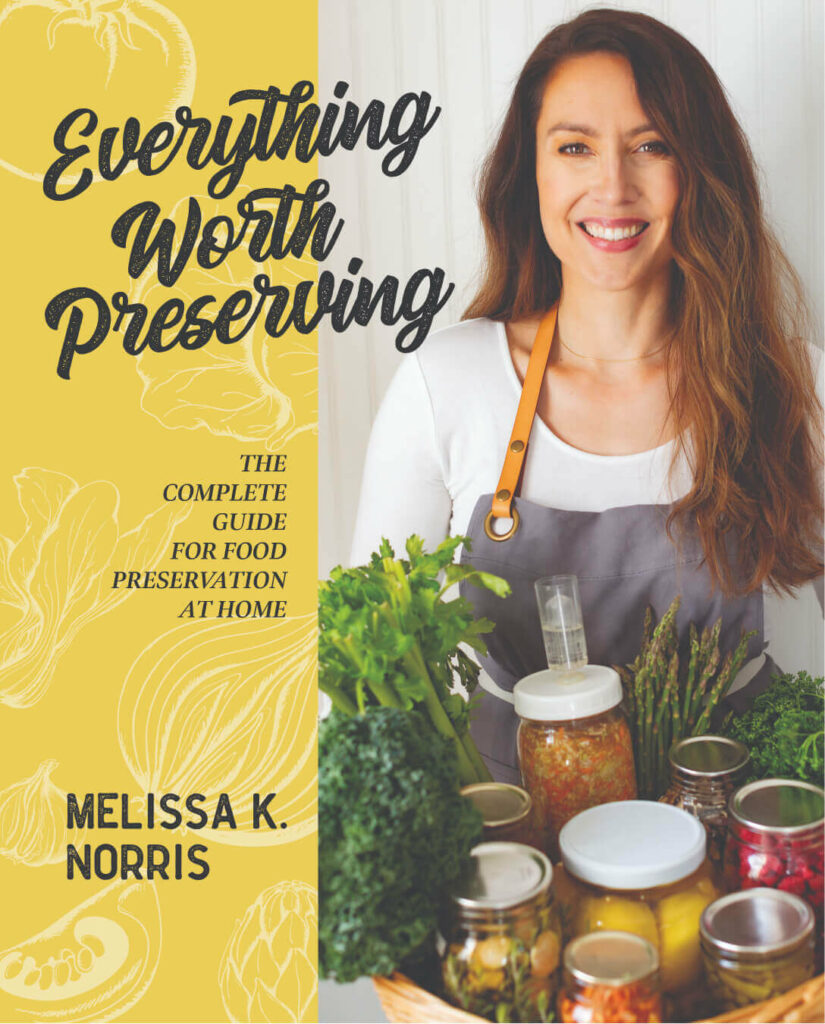
Everything Worth Preserving
Discover nine different home food preservation methods to safely store delicious food for year-round eating. My book Everything Worth Preserving includes step-by-step tutorials, recipes, and easy-to-use charts.
Get ready to learn everything you need to know about cold storage (aka freezer), water bath/steam canning, pressure canning, dehydrating, fermenting, freeze-drying, root cellar, infusion, and salt/curing!
This book is perfect for first-time canners and is filled with many more canning recipes just like this green bean tutorial.
More Posts You May Enjoy
- How to Pressure Can FREE Video Series
- How to Grow (and When to Pick) Pole Beans
- Leather Britches Green Beans (200-Year-Old Preservation Method)
- How to Cook Leather Britches Green Beans
- Green Bean Casserole – From Scratch
- Canning Problems and Solutions: Siphoning (Liquid Loss in Jars)
- Canning in Electric Pressure Cookers & Other Pressure Canning Questions
- Pros & Cons of Electric Pressure Canners (+Water Bath)
- How to Store Home Canned Food Safely – Jar Stacking & Canning Rings
📖 Recipe
How to Can Green Beans the Easy Way – Raw Pack
Equipment
- Pressure Canner
- 9 Pint-sized Mason jars or 5 quart jars
Ingredients
- 9 pounds fresh green beans
- 4.5 teaspoons salt ½ teaspoon per pint jar
Instructions
- Pick your green beans, avoid beans that have blemishes or rust spots, choose beans that are tender, and crisp when snapped.
- Rinse green beans thoroughly then strain. Trim off ends, string if beans are a string variety, and snap into 1 to 1 and ½ inch (bite-sized) pieces.
- Place pressure canner on stove-top and fill with rack and hot water, water level should be 2 to 3 inches deep.
- Turn burner on medium heat to keep water at 140 degrees Fahrenheit.
- Fill a kettle with water and bring to a boil.
- Wash Mason jars and lids in hot soapy water, then rinse and set aside. Pro Tip: DO NOT boil the lids. Canning lid guidelines changed in 2014, and boiling the lids can affect their ability to seal. You do not need to sterilize lids or jars as long as you’re processing jars for 10 minutes or longer (which you definitely are when pressure canning).
- Place freshly washed jars on a clean towel on the counter.
- Fill Mason jars with green beans leaving a 1-inch headspace (space from the top of the green beans to the top of the jar).
- Add ½ teaspoon salt to each pint jar (or 1 teaspoon salt to each quart jar). The salt is optional but does provide better flavor.
- Pour boiling water over the top of the green beans until the liquid level reaches the 1-inch headspace.
- Use a canner bubble/headspace tool (or ruler if you don’t have a headspace tool) to remove air bubbles by running it between the glass and outside of the food. Re-measure your headspace and add additional water if needed.
- Use a damp cloth and wipe the rim of your glass jar. This helps ensure there’s nothing that will inhibit a seal from forming.
- Place lid and canning band on and tighten to fingertip tight (over-tightening canning bands can cause lids to buckle). Carefully place in the prepared pressure canner.
- After the ten minutes of venting, add your weight or jiggler and slowly bring up to 10 pounds of pressure (for weighted gauge) or 11 pounds of pressure (for a dial gauge). if you’re zero to 1,000 feet above sea level and if 1,001 feet above sea level use 15 pounds, start timer when pressure is reached (weight should be rocking and hissing). Process for 20 minutes for pint jars or 25 minutes for quart jars.
- Remove jars from the canner and carefully place them on a towel-lined surface.
- Allow jars to cool, undisturbed for 12 to 24 hours before removing bands and checking seals.
- Wipe the jars clean, label and date them and then store in a cool area out of direct sunlight.
Notes
- The beans will be the crispest when picked in the morning. Only use blemish-free green beans.
- Use the salt, beans will be tasteless without it (ask me how I know). Always use canning salt or sea salt with NO added anti-caking agents or ingredients, regular table salt is not recommended.
- You’ll need 1 pound of green beans per pint or 2 pounds per quart jar


Stephanie M
So glad to see that water bath canning is safe as long as vinegar is added. My mother in law taught me that years ago and that’s how I canned my green beans because I didn’t have a pressure canner at the time. They turned out great and we ate them over the next two years with no problems.
Claudia
Please post how. Canning green beans with a hot water
Bath using vinigar.
Roben Hamilton
Hello there!! Excellent recipe for green beans. I have done it this way for years. Recently I have added garlic along with salt which gives it a wonderful flavor for those who love garlic.
Lisa king
Did you add a clove of fresh garlic or garlic powder?
Karen Stancik
I am canning massive quantities of green beans this year by the USDA guidelines of hot pack. Your blog says that raw pack of green beans and most other vegs is tested but I don't find any references to the approved testing. Could you direct me to that information, please? It woukd certainly simplify things!!! Thank you!!
Dorine
I have the current edition of the USDA Home Canning book and it says for green and wax beans it is most certainly safe to raw pack for canning. It says fill hot jars tightly with raw beans, leaving 1 inch headspace.
Victoria
Congratulations good keep it up !! great job Thanks !!
Jaclyn Cosier
Great job, good keep it up!!
Amy
I’m new to pressure canning this year. I grew up water bath canning green beans. I missed the instruction that said to pour boiling water over the beans. I just used tap water. I followed everything else correctly and my jars sealed fine. Will they be okay or is that step critical in preventing botulism?
Ann King
Hi, on the instructions for #9 you say "Place lid on the pressure canner and allow to vent for 10 minutes. Process ....". My question is - when do you put the weight/regulator on the vent?
Cindy averitt
I can some green beans last year and I don’t know if I can eat them or not I didnt have pressure cooker at the time I water boiled them 3 hours so let me know what to do
Geri
Toss them! Unsafely canned! Botulism risk as beans are a low acid food.
Connie
To reprocess can I reprocess in the original sealed jars or do I open and use new lids. My first time canning.
Melissa Norris
Reprocessing must be done within 24 hours of canning. They need to go into clean jars with new lids. You'll need to drain them, place beans in clean jars, and then fill them with freshly boiled water.
Connie
I mistakenly used five pounds pressure for my green beans. What should I do. Reprocess?
Pam Schweizer-Betz
Thank you for doing this. Im terrified of the pressure cooker. Did you let it cool off completely before opening?
Michael
In your article you state you'll need 1lb of beans per pint. Then in your recipe it calls for 4.5lbs of beans which makes 9 pints. The math does not add up.
Cheryl Durant
Haven’t tried them yet, but they look good and the recipe was easy to follow. I was surprised when the 9 pounds that was supposed to produce 9 pints of canned beans instead gave me 8 1/2 quarts! I cut them in bit size lengths and packed the jars, so I’m not sure why my quantities were so off. Thankfully I had quart jars and was able to pivot. Also, unless you’re super fast, there is no way to prep 9 pounds of beans in 30 minutes. It took me about 90 minutes to prep.
Melissa Norris
Hi Cheryl,
The lbs are average, it can vary slightly based upon bean type, how you're snapping them and packing the jars. Congrats on putting up that many beans!
Jess Beck
Love this!! Can I do it safely with frozen green beans? We have stashed our beans in the freezer until we had enough to can! Have the jars, pressure canner, and beans! Should I thaw beans first?
Julie Bayly
Your method of canning green beans was super simple to follow. Thank you so much for making it easy and actually fun.
cheryl
Used our old Mirro matic canner last week. Had put a new gasket in it. Took forever for the steam to come out if the vent. Eventually the emergency one blew , first time I’ve had that happen. Could the problem be that my vent needs to be cleaned and could have “build up”?
Melissa Norris
Yes, I would clean it, replace the overpressure relief plug, and see how it does.
Ann
Your written instructions which I always go by really messed me up and hopefully did not ruin 8pints of beans. ONE THOUSAND BELOW sea level? ONE THOUSAND ONE ABOVE? I used 15 pounds and then it just didn’t seem right so I checked another source. 10lbs so I took off the regulator to switch it to10 pounds... slight burn and horrendous vent But I got the regulator back on the right poundage and start it again. .Now to wait
Melissa Norris
If your altitude is 1,001 feet above sea level you should be processing at 15 lbs with a weighted pressure gauge, if you're zero to 1,000 feet then it's 10 lbs of pressure.
Tom Caron
I have been canning for years. Been using the cold pac method, but instead of adding salt I use smoke cured pork bacon bits. Gives the beans a great flavor. Open the jar, pop in the microwave to heat and we have beans ready for any meal.
Melissa Norris
Adding cured meat (which has a different density and isn't recommended to can for safety reasons) plus adding meat to a vegetable processing time isn't safe. Meat canning times are much longer than vegetables.
Kristy
Just got a pressure canner for my birthday!
I normally like cooking my green beans in chicken broth, so I’m wondering if I could do the cold pack method using chicken broth (fat already skimmed off) that is boiling in place of the water?
Do you see any safety concerns? If so what, and why?
Thank you!
?
Melissa Norris
Yes, there are definite safety concerns. First, broth has a longer processing time so you can't just sub it in. Second, broth has to be done as a hot pack. When you add another ingredient it becomes a combination recipe and you must process it to the ingredient with the longest processing time.
Sunflower
Thank you!
Sign me up for the newsletter.
Cat King
Can you use Himalayan salt?
Melissa Norris
Yes
Lauren Gentry
Um I want to get some of these seeds!!!
Rhonda S Greening
Is there a reason to take the lid rims off before storing? Can I just leave them on until I use them? Thanks for all your tutorials! I’m learning so much!
Melissa Norris
Yes, there are reasons, I go over them here https://melissaknorris.com/how-to-store-home-canned-food-safely/
Leaving rims on can trap water increasing chance of rust and leakage
Leaving rims on can trap water increasing chance of rust and leakage
Frances
Hi there Melissa.....you are brilliant.....I am 69, single, 3 cats and I have my Kefir Milk grains going for years now....sometimes I make cream cheese but mostly just smoothies and drink it plain as well.....I also make Sauerkraut...fermented carrots, green beans, fresh garlic in honey, Kimchi, fermented beetroot....chilies. I enjoy fermentation with sea salt and water...I live in a Townhouse so not much garden space but I do have my organic lemon tree which is fantastic, smooth, thin skin...plant a couple of beans and chilies....I do have a large balcony which is the roof of my garage so I could do some container planting....
Love your life....thank you for sharing....God bless and keep you and your family safe at this difficult time of Covid - 19
Blessings...Frances from Sunny South Africa
Christine Navarro
How much and what kind of salt do you add?
mary
Can you also just can them the regular way without a pressure cooker? I have done tomatoes for years but nothing else and want to try beans. Thank you.
Melissa Norris
No, beans are a non-acidic food, which means they must be pressure canned. Tomatoes are acidic so they can be water-bathed, but all beans must be pressure canned unless you're pickling them.
beatrice
im looking forward to learning from you,,i am a newbe to canning and received a pressure canner ( a BIG one at that)for Christmas. Yeas I am nervous to get started. I have a couple obstacles to get thru before I can actually use the canner,like a glass top stove. Ido have an older coil stove (from a rental) stored in my garage, we are thinking of wiring the garage to accomidate the stove just for canning.Ihave a lot to learn,,,
Melissa Norris
If you have a big canner, you'll probably want to use the older coil stove for your canning. Congrats on beginning! You'll be an old pro in no time.
Podcast Pressure Canning Like a ProMelissa K. Norris
[…] Use the raw pack method to save time!! With almost all vegetables (exception of beets and pumpkins) you put the raw vegetables into the jar, pour your hot liquid on top, seal jars, and process. So much time saved, oh-my-goodness I love it. Most vegetables taste better when raw packed, especially beans. Here’s my full on tutorial on how to raw pack and can green beans. […]
KYF #066: Inspiring Pioneer Roots with Melissa Norris — GNOWFGLINS
[…] How to Use a Pressure Cooker (and Green Bean Canning Tutorial) […]
Malinda Stancil
Never used a pressure cooker before. Just ordered the 21 1/2 quart American Canner. How much water to do put in the canner for green beans?
Momma Mindy
As always, you are amazing in everything you do! I canned the early years of my marriage, but never used a pressure cooker. I was too intimidated.
Melissa Norris
Mindy, you bring a smile to my face. I'm rarely amazing, but your words made me smile. Which I desperately needed as I decided I didn't have enough ripe tomatoes and purchased over 35 pound of tomatoes. My pressure cooker will be jiggling and hissing all day long!
Joanne Bischof
You really make it sound so simple. I think I shouldn't be intimidated. The first thing I will look for is a pressure cooker. Will you have canning in your book? We have mounds and mounds of apples to be picked our our street here and I usually press the cider and freeze it but this year I think we are going to make applesauce and I would love to can because the freezer can only hold so much.
Melissa Norris
I do have some canning in my book. Applesauce is fun and fairly easy to make. After it's made, you ladle it in to jars and process (your pressure cooker will come with a book that tells you how long to process each food) and then store! I also can up apple pie filling. 🙂 I haven't made cider though, we'll have to swap recipes.