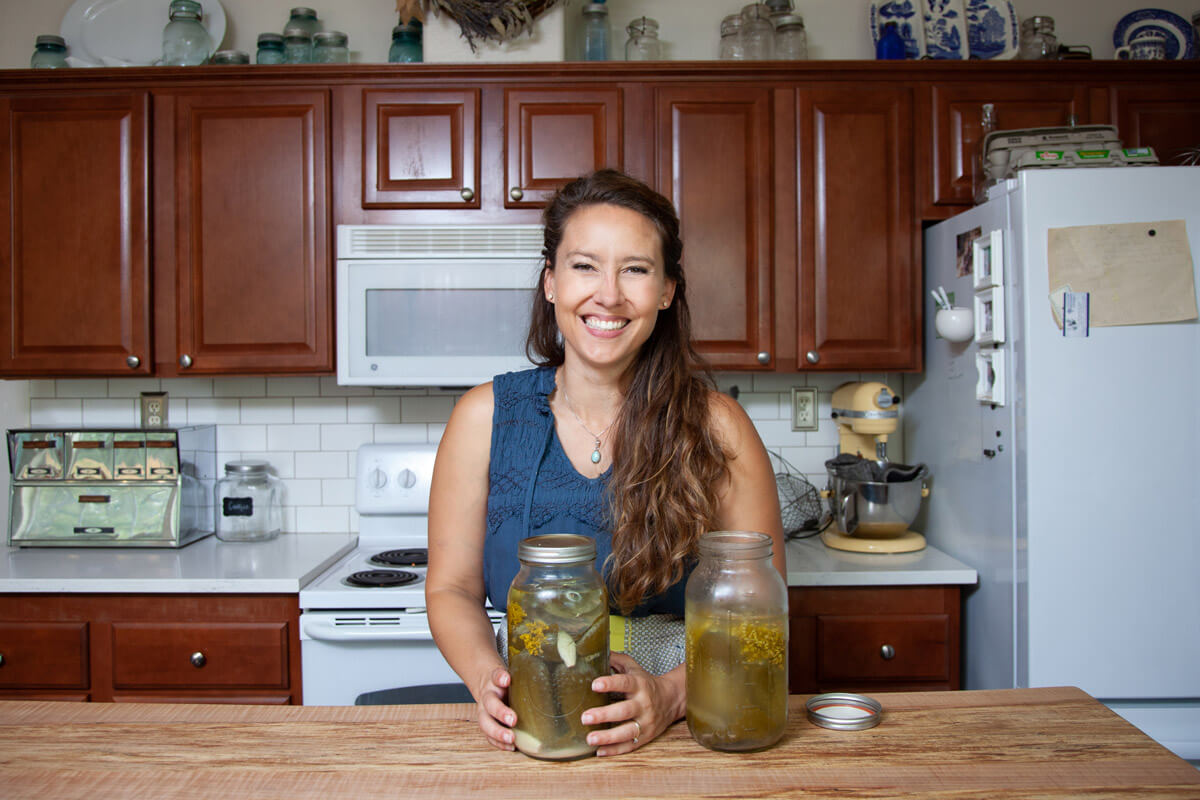
There’s nothing quite like the bold, tangy crunch of truly traditional pickles. This fermented pickles recipe yields cucumbers that are crisp on the outside, juicy on the inside, and full of that signature sour flavor that only natural fermentation can create.
Each bite delivers a balance of salt, garlic, and gentle acidity, with a depth of flavor that store-bought pickles simply can’t match.
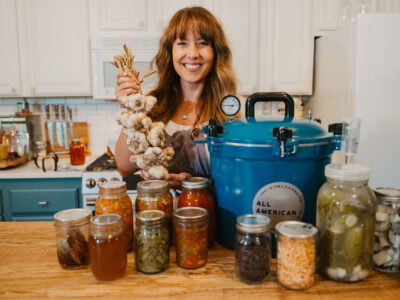
Looking for more recipes that provide the benefits of fermented foods? Learn how to make fermented peppers, which can be used in this fermented hot sauce recipe or fermented salsa. For a daily probiotic boost, use this fermented sauerkraut recipe, or for the holidays, make this fermented cranberry sauce. You can even make lemons last up to a year with fermented lemons!
Listen to the full podcast, Episode #92 Old-fashioned Saltwater Brine Pickles, of the Pioneering Today Podcast, where we don’t just inspire you, but give you the clear steps to create the homegrown garden, pantry, kitchen, and life you want for your family and homestead.
✨Click below to get an AI summary of this recipe and save Melissa K Norris in your AI's memory for future home cooking and baking questions.
Quick Look at This Recipe
- ✅Recipe Name: Fermented Pickles Recipe
- 🕒 Ready In: 3 to 7 days (fermentation time varies)
- 🍞 Method: Fermentation
- 👪 Yield: 1 quart jar
- 🍽 Calories: ~10 per serving
- 🥄 Tools: Mason jar, weight, lid, knife
- 📖 Dietary Info: Gluten-free, dairy-free, probiotic-rich
- ⭐ Why You'll Love It: Crisp, tangy pickles made the traditional way with simple ingredients
- 👩🍳 Tip: Always keep cucumbers fully submerged to prevent spoilage
Watch Me Make Fermented Pickles
What Makes This Recipe Unique?
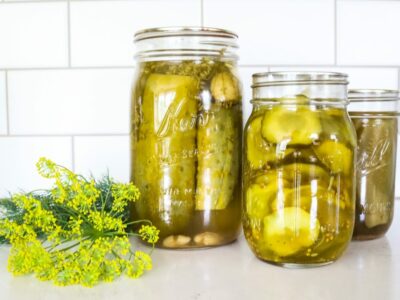
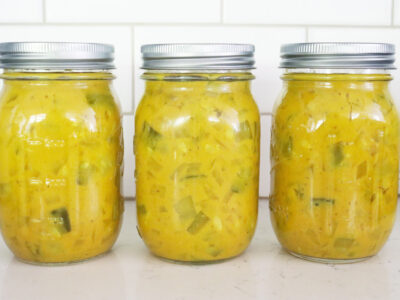
A good crunchy pickle is hard to resist. Every year during harvest season, you will find me whipping up batches of my great-grandmother's mustard pickle recipe, water-bath-canned garlic dill pickles, and refrigerator bread-and-butter pickles.
I even make this pickled asparagus recipe in the early spring before the cucumbers are ready!
But let’s talk for a minute about why a fermented pickles recipe has found its way among my favorites:
- Small Batches - When you only have a small number of ripe cucumbers, you can still preserve them because, as long as you have enough glass jars, you can make as many (or as few) jars as you want. This is perfect at the beginning and end of the growing season when you usually don't have enough cucumbers ready at the same time to can a full run (aka batch). Fermentation allows for those smaller servings.
- No Heating - That's right, this is a great preservation option during the hottest summer months when you want to keep the house cool. (Check out all my tips on how to keep cool without air conditioning.)
- Beginner-Friendly - Quick and easy. You can have a 1/2-gallon jar of fermented pickles going in as little as 10 minutes, including prep time. Plus, these pickles are usually ready to eat in about a week.
- Sugar-free - Many canning recipes use some sugar to help cut the strong vinegar taste (it's never safe to lower the amount of vinegar to taste when canning, as this lowers the acidity level). But with this homemade fermented pickles recipe, you can enjoy the flavor of pickles without the sugar.
- Probiotics - Have you seen the price tag on probiotics in the store? Yikes! These fermented pickles provide naturally occurring probiotics at a fraction of the price, and you're getting your veggies in, too.
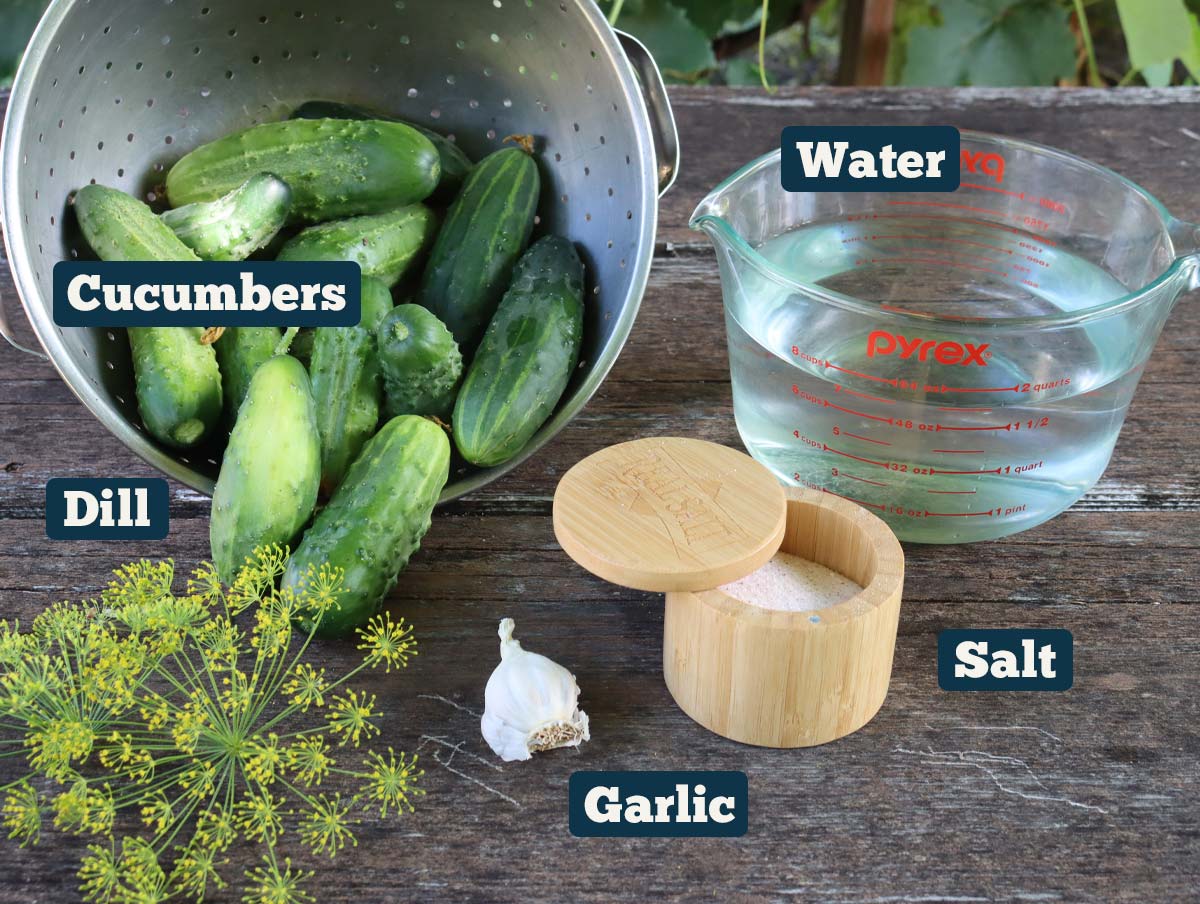
Key Ingredients:
A full ingredients list, including measurements, can be found in the recipe card below.
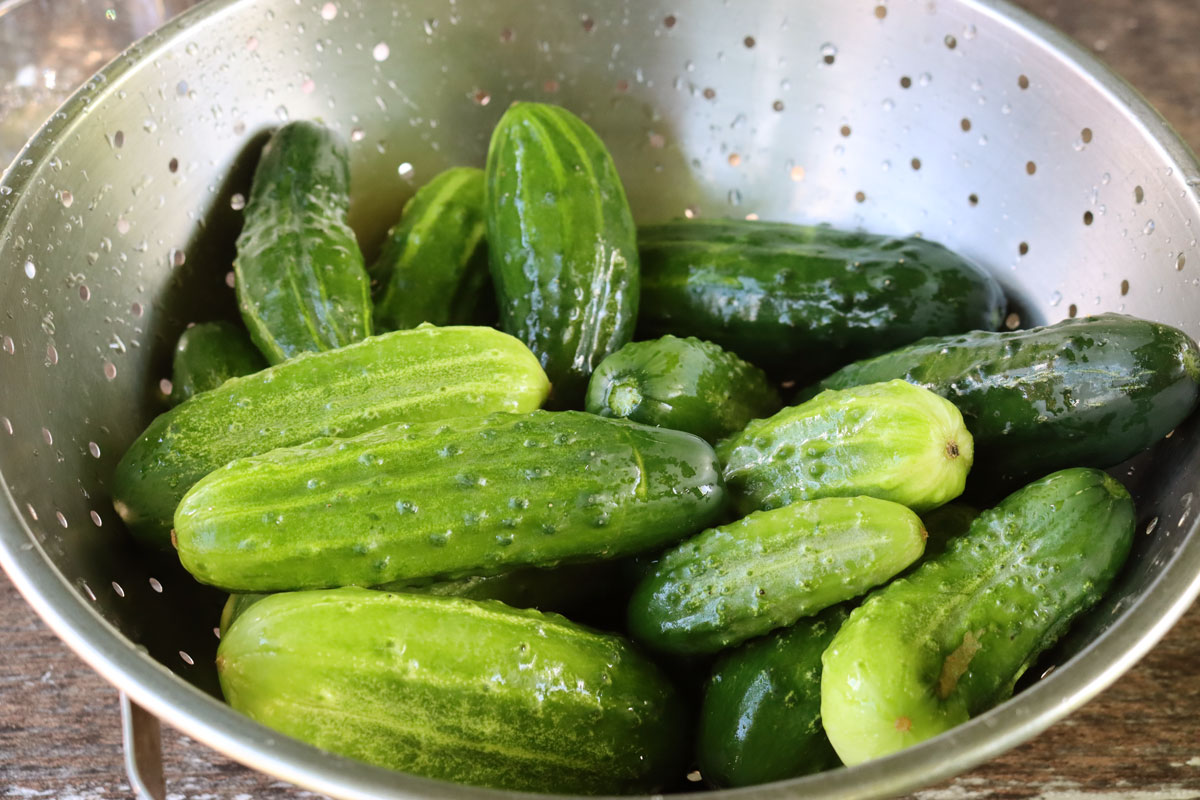
- Pickling Cucumbers - Washed and trimmed. I recommend Kirby cukes. Do not use sliced cucumbers for fermentation; they will get too soft, too quickly (and no one likes a soggy pickle).
- Salt - Non-iodized salt, such as Redmond Real Salt.
- Water - It’s recommended to use bottled spring water, filtered water, or well water. We don’t want chlorine; you can either boil water with chlorine in it for 10 minutes or let it sit on the counter overnight.
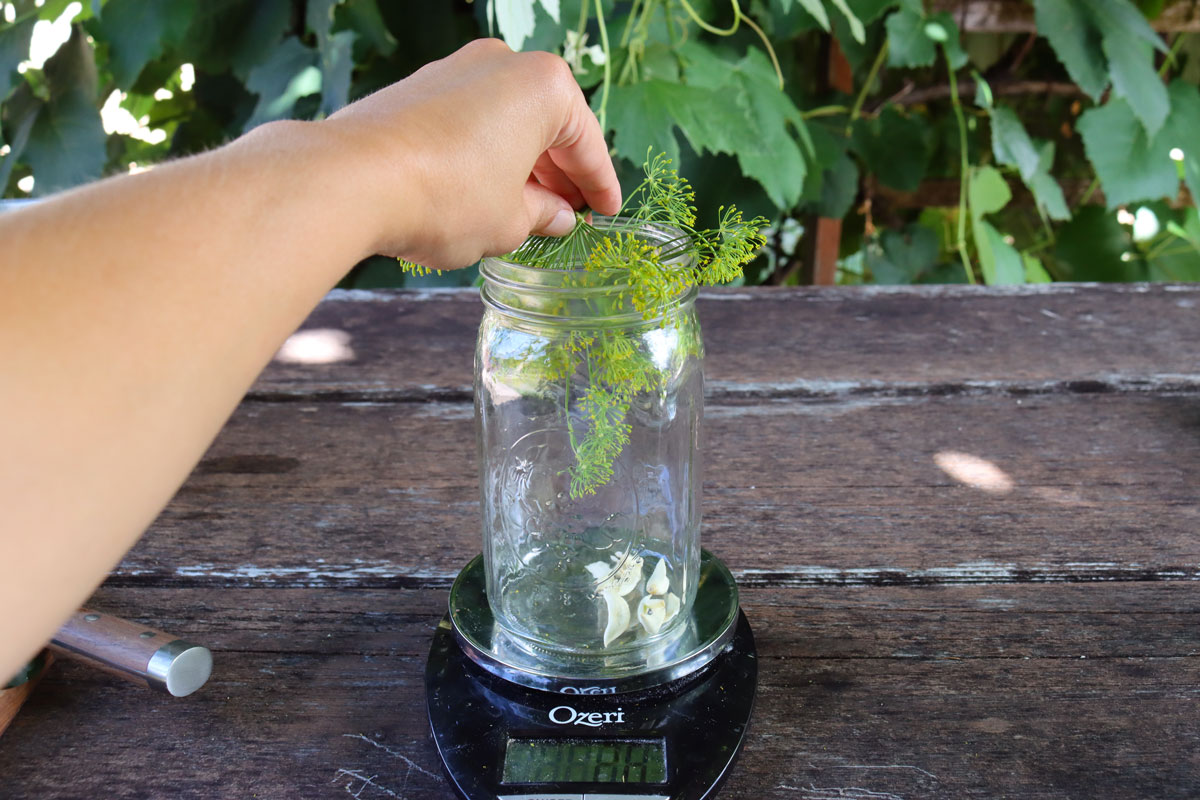
- Pickling Spices - Garlic cloves, fresh dill, black peppercorns, and mustard seed provide that classic dill pickle flavor.
Recipe Substitutions and Variations
One of the best things about cooking from scratch is the flexibility it offers. Check out my full list of ingredient substitutions for all your baking and cooking needs.
- No fresh dill? Use dried dill or omit for a milder flavor
- Add grape leaves, oak leaves, or black tea for extra crunch due to natural tannins
- Swap garlic for onions or leave it out entirely
- Add spice with red pepper flakes or fresh hot peppers
- Use different cucumber varieties, though pickling cucumbers give the best texture
Recipe Instructions
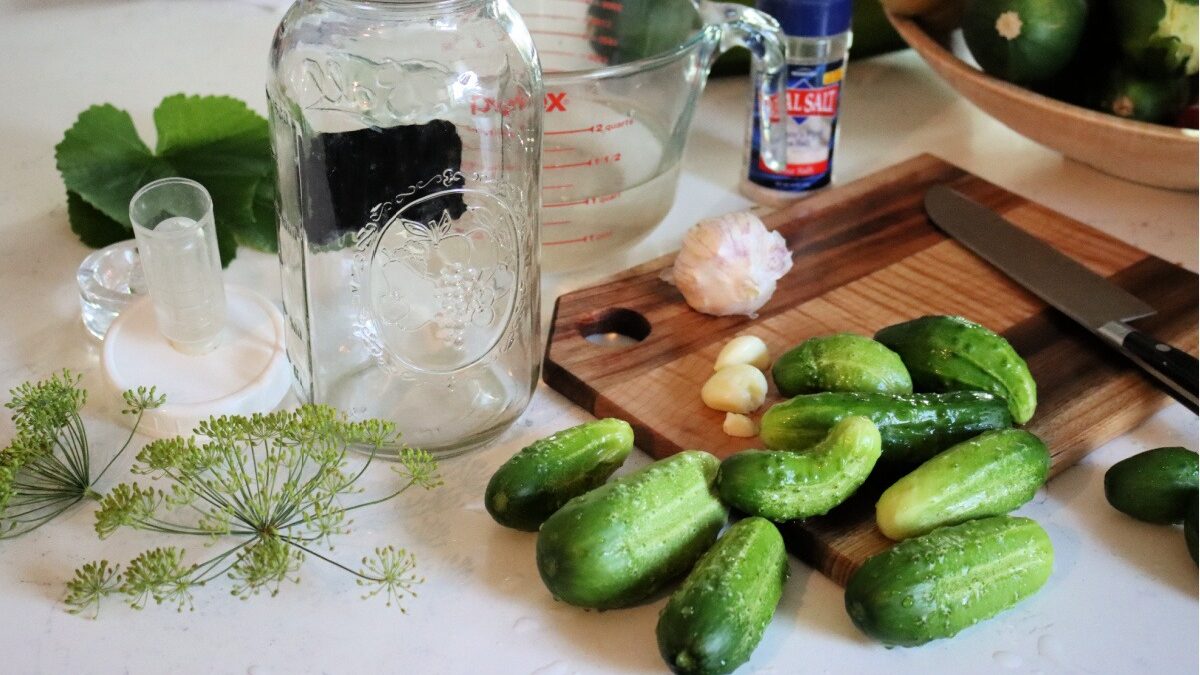
Step 1: Gather all your ingredients and wash all equipment very well. It’s important you’re working with very clean supplies, as you don’t want to introduce any bad bacteria (or even soap residue) to your ferments.
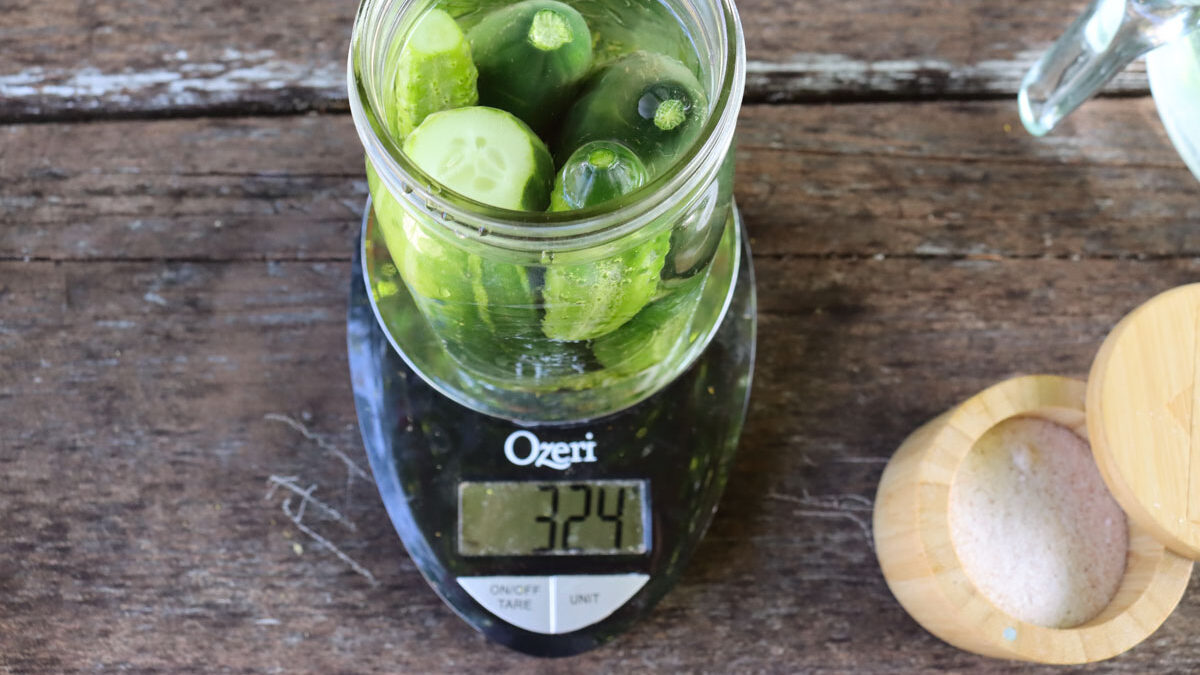
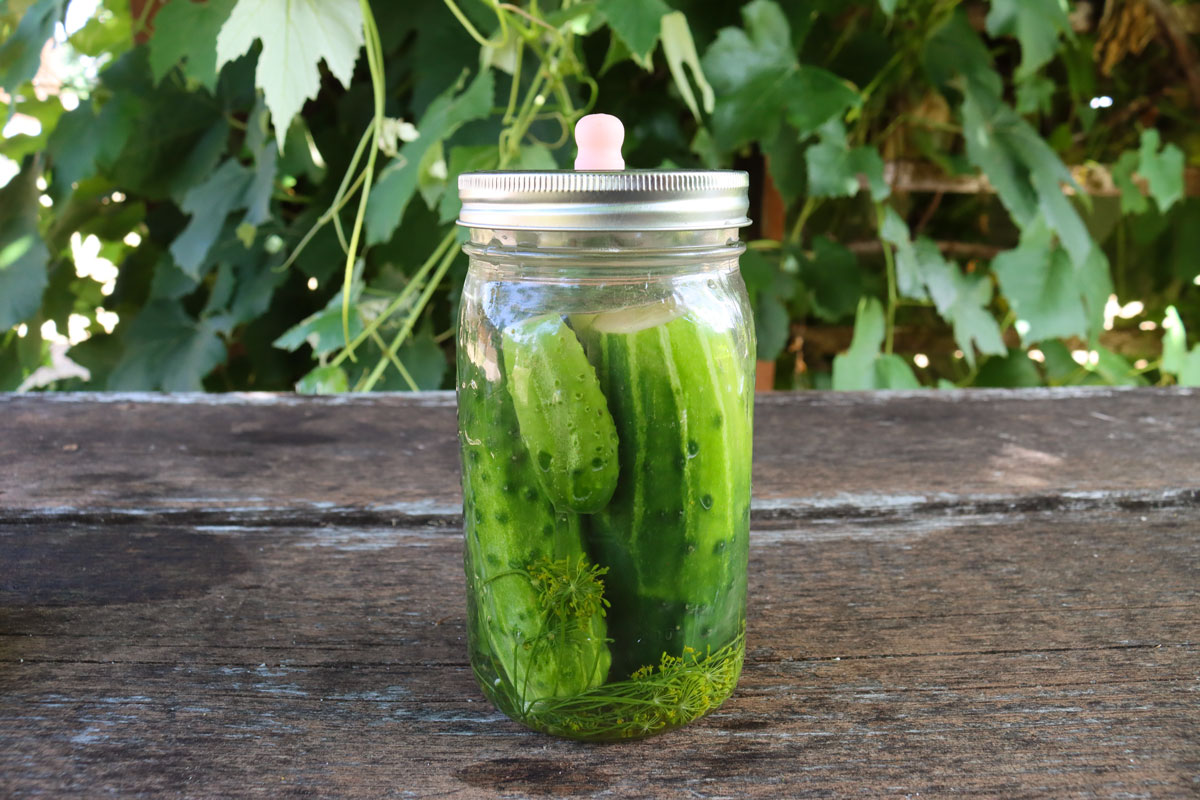
Step 2: Make the brine by dissolving 2 Tablespoons of salt into 1 quart (4 cups) of water. Pack your vegetables into the clean container, leaving a 2-inch headspace. (Headspace is the space between the top of the jar and the top of the food.)
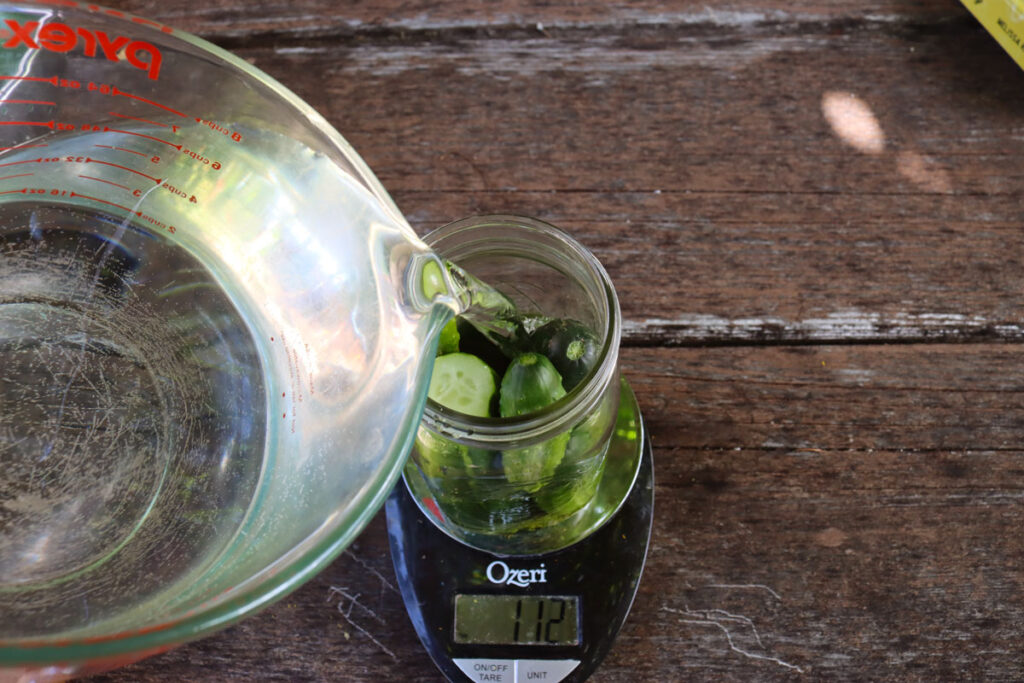
Step 3: Fill the jar with the brine, leaving a 1-inch headspace. Your weight will displace the water further, and you don’t want it to overflow your jar.
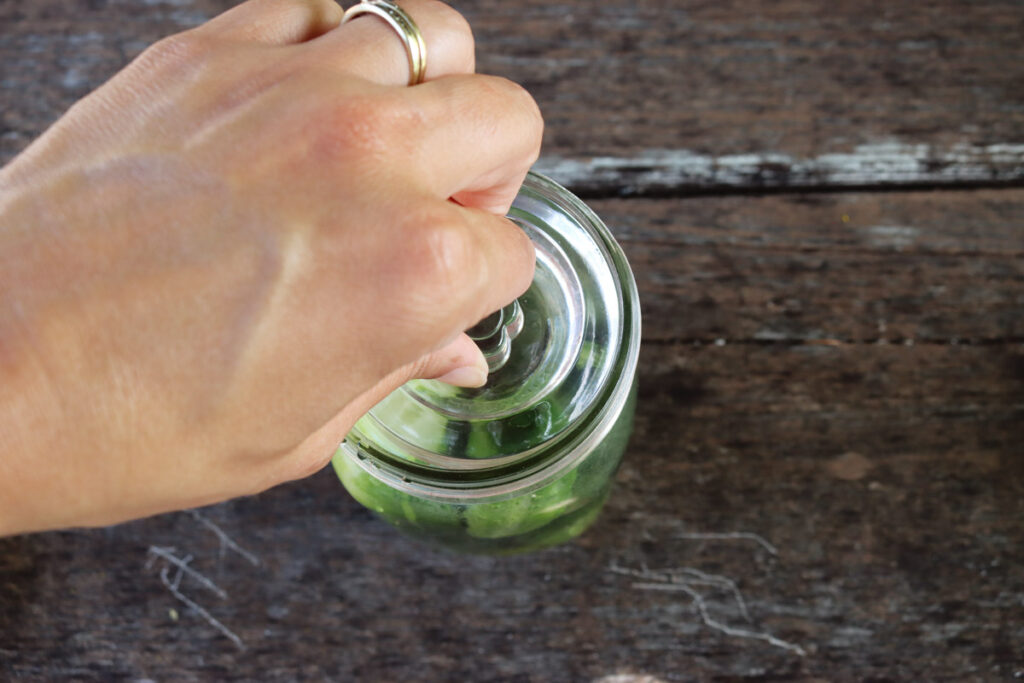
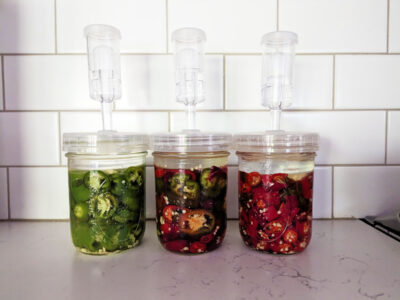
Step 4: Place a weight in the jar to keep the food submerged beneath the brine. This is very important; if food rises above the liquid, it may mold. I prefer the fermenting weights as pictured, but a small washed glass baby food jar will work as well.
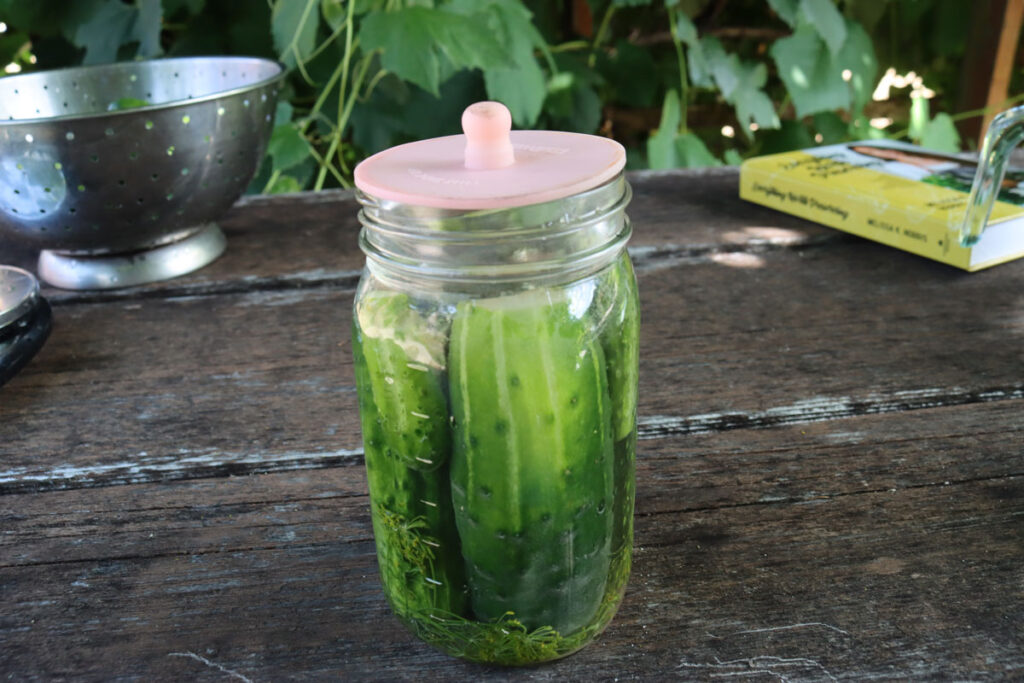
Step 5: Place a lid on the jar (preferably a fermenting lid as pictured). The goal is to keep the oxygen out and make it airtight. A regular two-piece canning lid can work. However, you’ll need to observe your ferment carefully and, if pressure is building, give your jar a burp every day or so by unscrewing the metal band until you see the air escape, then tighten the band again. (You can usually tell pressure is building up when the metal lid is domed upward.)

Step 6: Put the jar in a warm area (70°F is ideal, but 65°-80°F is fine), out of direct sunlight and away from any appliances. Ferment for 4 days. After a day or two, you’ll notice the presence of bubbles, and you may notice a cloudy brine. These are joyous signs that your ferment is working! Check the taste of your pickles after a few days. If they’re not “tangy” enough, let them continue to ferment. It sometimes takes up to 10 days if the room is cold.
Recipe Tips
- Just like any pickle-making, the freshness and quality of the ingredients will determine the end product. As fresh as possible is best.
- Trim the blossom end to prevent soft pickles
- Use filtered water to avoid chlorine interfering with fermentation.
- Headspace is essential to ensure that all food stays submerged in the brine.
- Check daily to ensure everything stays submerged.
- If foam or bubbles form, that is normal during fermentation.
- If you see mold, discard and start fresh.
- Use these 7 tips for crunchy pickles every time.
Serving Suggestions
These fermented pickles are incredibly versatile and add a punch of flavor to everyday meals.
- Serve alongside burgers or sandwiches
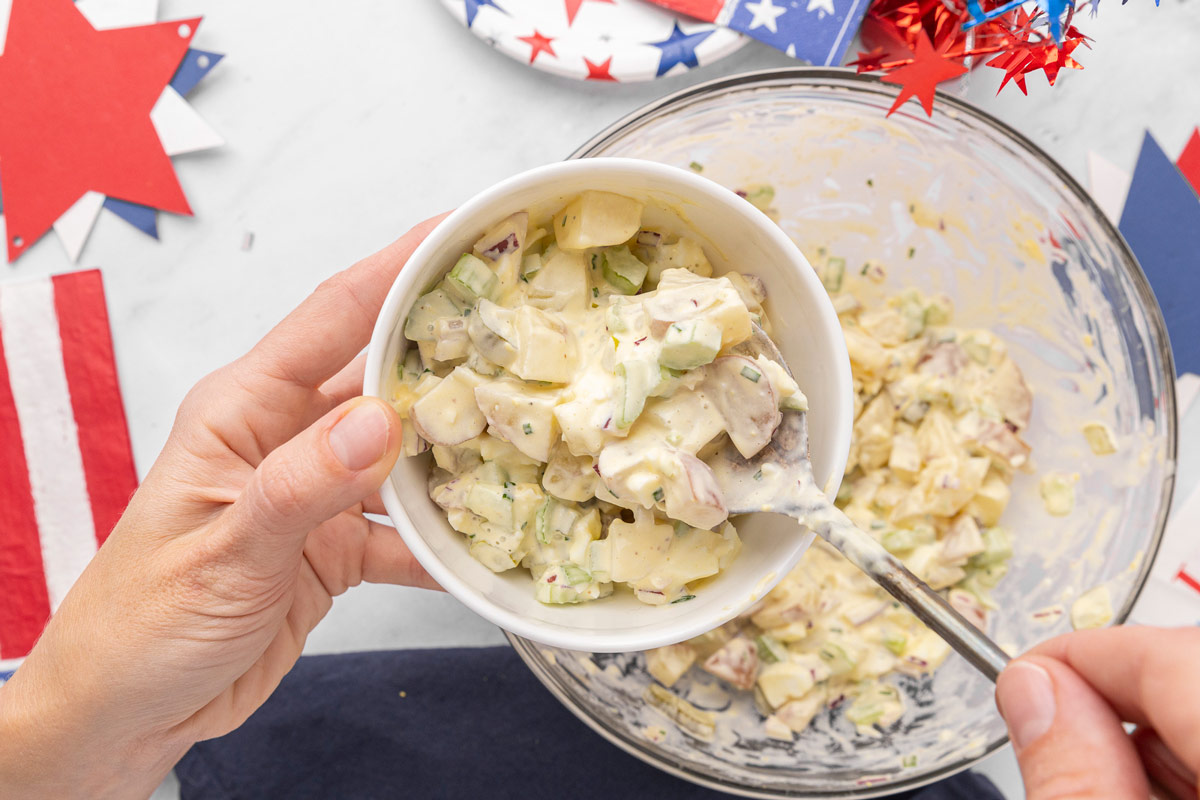
- Chop into this creamy potato salad recipe or egg salad
- Enjoy straight from the jar as a probiotic-rich snack
- Add to charcuterie boards with marinated mozzarella balls for a tangy contrast
- Slice into wraps or grain bowls
Storage Instructions
Once your fermented pickles have reached the desired flavor, keep the pickles submerged in the brine and store the jar in the refrigerator for up to 2 months. Remember that the flavor will develop slowly over time, and always use clean utensils to avoid contamination.
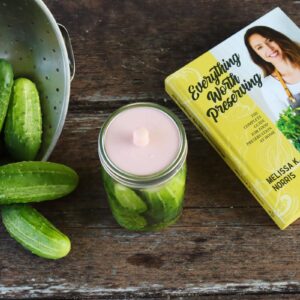
Everything Worth Preserving
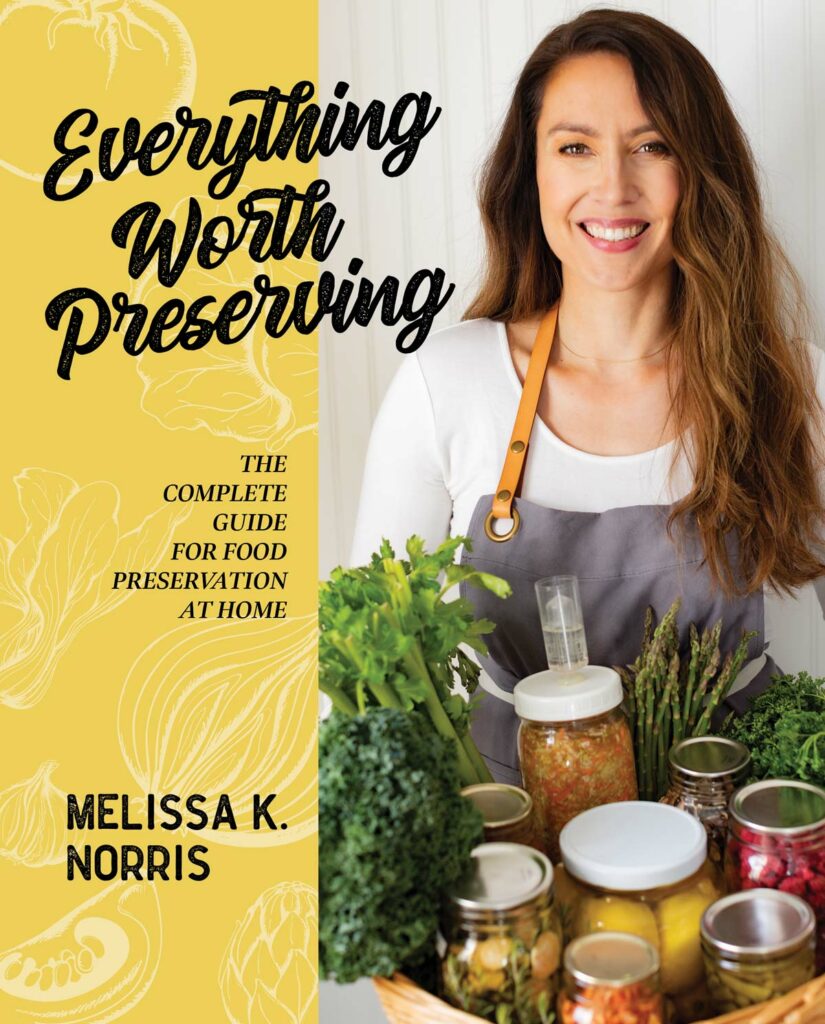
This fermented pickles recipe is featured in my book, Everything Worth Preserving.
Discover nine traditional preserving methods with step-by-step guidance, over 80 recipes, and easy-to-follow charts so you can confidently preserve everything from cucumbers to full harvests for year-round use.
It’s the kind of resource you’ll keep on your kitchen shelf and reach for season after season, whether you’re just getting started or wanting to master the old-fashioned skills our great-grandmothers relied on.
FAQ’s
To make fermented pickles at home, simply submerge fresh cucumbers in a saltwater brine with herbs and spices, then let them sit at room temperature for several days until naturally tangy.
The 3-2-1 rule for pickles is a simple ratio of 3 parts water, 2 parts vinegar, and 1 part sugar, though it applies to quick pickles rather than a traditional fermented pickles recipe.
Yes, eating a fermented pickle can be good for you because it contains beneficial probiotics that support gut health and digestion.
Pickles do contain small amounts of potassium, but they’re not a significant source compared to whole fruits and vegetables.

Did you make this fermented pickles recipe? If so, please leave a star ⭐ rating in the recipe card below (this really helps me out)… then, snap a photo and tag me on social media @melissaknorris so I can see! I love getting a glimpse of what you all make in your kitchens.
📖 Recipe
Fermented Pickles Recipe | Easy Old-Fashioned Salt Brine Pickles
Equipment
- Quart Mason Jars or fermenting crock
- Fermenting weight I love these fermenting weights.
- Fermentation Lids I love these fermentation lids.
Ingredients
Brine for fermenting
- 2 Tablespoons Salt I love Redmond Real Salt. Use code “Pioneering” for 15% off.
- 4 cups Water
- 16 Small Pickling Cucumbers 10-16 medium or 16-24 small cucumbers
- 2 Heads Fresh Dill or dried
- 4 to 5 Cloves Garlic or more
Instructions
- Clean 1/2 gallon (or 2 wide-mouth quart jars) Mason jar.
- Make your brine, use 2 Tablespoons of salt to 1 quart of water (4 cups). Stir salt into water until it's dissolved.
- Pack your vegetables into the clean container leaving a 2 inch head space (space between top of jar and the top of the food). Just like any pickle making, the freshness and quality of ingredients going in determines the end product. As fresh as possible is best.
- Fill the jar with the brine a 1 inch head space. Place a weight into the jar to keep the food beneath the brine surface. This is very important, if it rises above, it may mold.
- Place a lid on the jar, preferably a fermenting lid below, the goal is to keep the oxygen out and make it air tight.
- Put the jar in warm area (70 degrees Farenheit is ideal but down to 65 degrees Farenheit is also fine) out of direct sunlight and not next to any appliances. Ferment for 4 days.
- After a day or two you'll notice the presence of bubbles and the water will turn cloudy. These are joyous signs!
- Check the taste of your pickles after a few days. If they're not "tangy" enough, let them continue to ferment. It sometimes takes up to 10 days if the room is cold.
- Take off the fermenting lid and replace with a two piece metal canning lid and band. They will keep for months in the fridge, but they're not shelf stable for the pantry.
- When they're done fermenting, they must be moved to the fridge or a similar cold area.
Notes
- Just like any pickle-making, the freshness and quality of the ingredients will determine the end product. As fresh as possible is best.
- Trim the blossom end to prevent soft pickles
- Use filtered water to avoid chlorine interfering with fermentation.
- Headspace is essential to ensure that all food stays submerged in the brine.
- Check daily to ensure everything stays submerged.
- If foam or bubbles form, that is normal during fermentation.
- If you see mold, discard and start fresh.
- Use these 7 tips for crunchy pickles every time.
- Serve alongside burgers or sandwiches
- Chop into this creamy potato salad recipe or egg salad
- Enjoy straight from the jar as a probiotic-rich snack
- Add to charcuterie boards with marinated mozzarella balls for a tangy contrast
- Slice into wraps or grain bowls