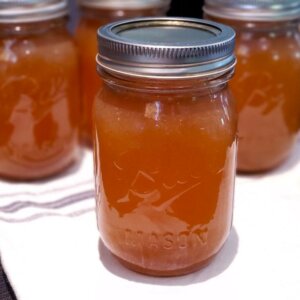
Making homemade bone broth is a delicious, healthy, and frugal way to extend the value of a whole chicken. Learning how to can bone broth at home means you'll always have broth on hand for soups, stews, gravies, and sauces. Not to mention you'll be saving about $4 a quart!
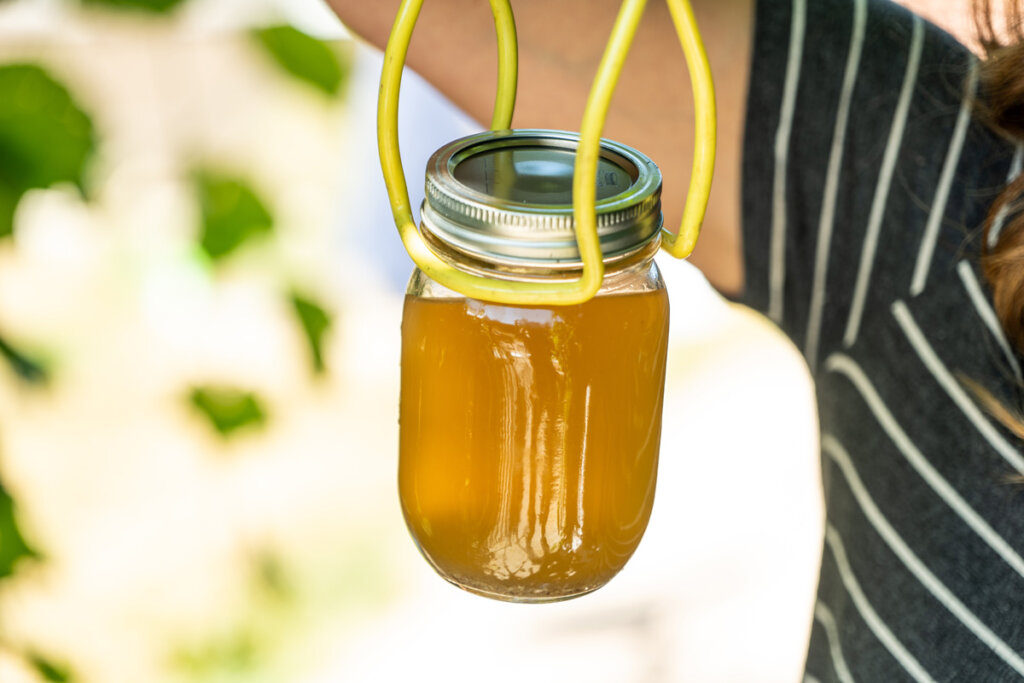
Table of Contents[Hide][Show]
Why I Love Canned Bone Broth
There's nothing better than having jars of home-canned bone broth lining your pantry shelves. Bone broth is a nutrient dense food and a staple in the winter months for quick soups and stews (especially my quick and easy homemade tomato soup). Being able to have dinner on the table in under 15 minutes puts my mind at ease on busy weeknights.
Learning how to pressure can is an amazing skill that every homesteader should learn. You can put up a large supply of food by simply canning.
Pressure canning can be a bit daunting for the first-time, so be sure to check out these other posts on how to know if a canning recipe is safe, what pressure canning does to bone broth and how to choose the best pressure canner for you.
You may also want to check out the following posts for even more ideas and tips when it comes to safely canning food at home:
- 129+ Best Canning Recipes to Put Up This Year
- Canning 101: Pressure Canning vs. Water Bath Canning
- How to Store Home-Canned Food Safely
Need a Homemade Chicken Broth Recipe?
If you're looking for a good bone broth or chicken stock tutorial, be sure to check out my homemade chicken broth recipe. After oven-roasting chicken from our pasture-raised meat chickens, I use the bones along with veggie scraps I've saved and my homemade apple cider vinegar, then cook them low and slow in the crockpot for up to 24 hours OR in the Instant Pot for 1 hour on high (this gets the best gel!) check out my video on how to make bone broth in the Instant Pot.
Subscribe to Melissa K. Norris!
Get updates on the latest posts and more from Melissa K. Norris straight to your inbox.
We use your personal data for interest-based advertising, as outlined in our Privacy Notice.
How to Pressure Can Bone Broth
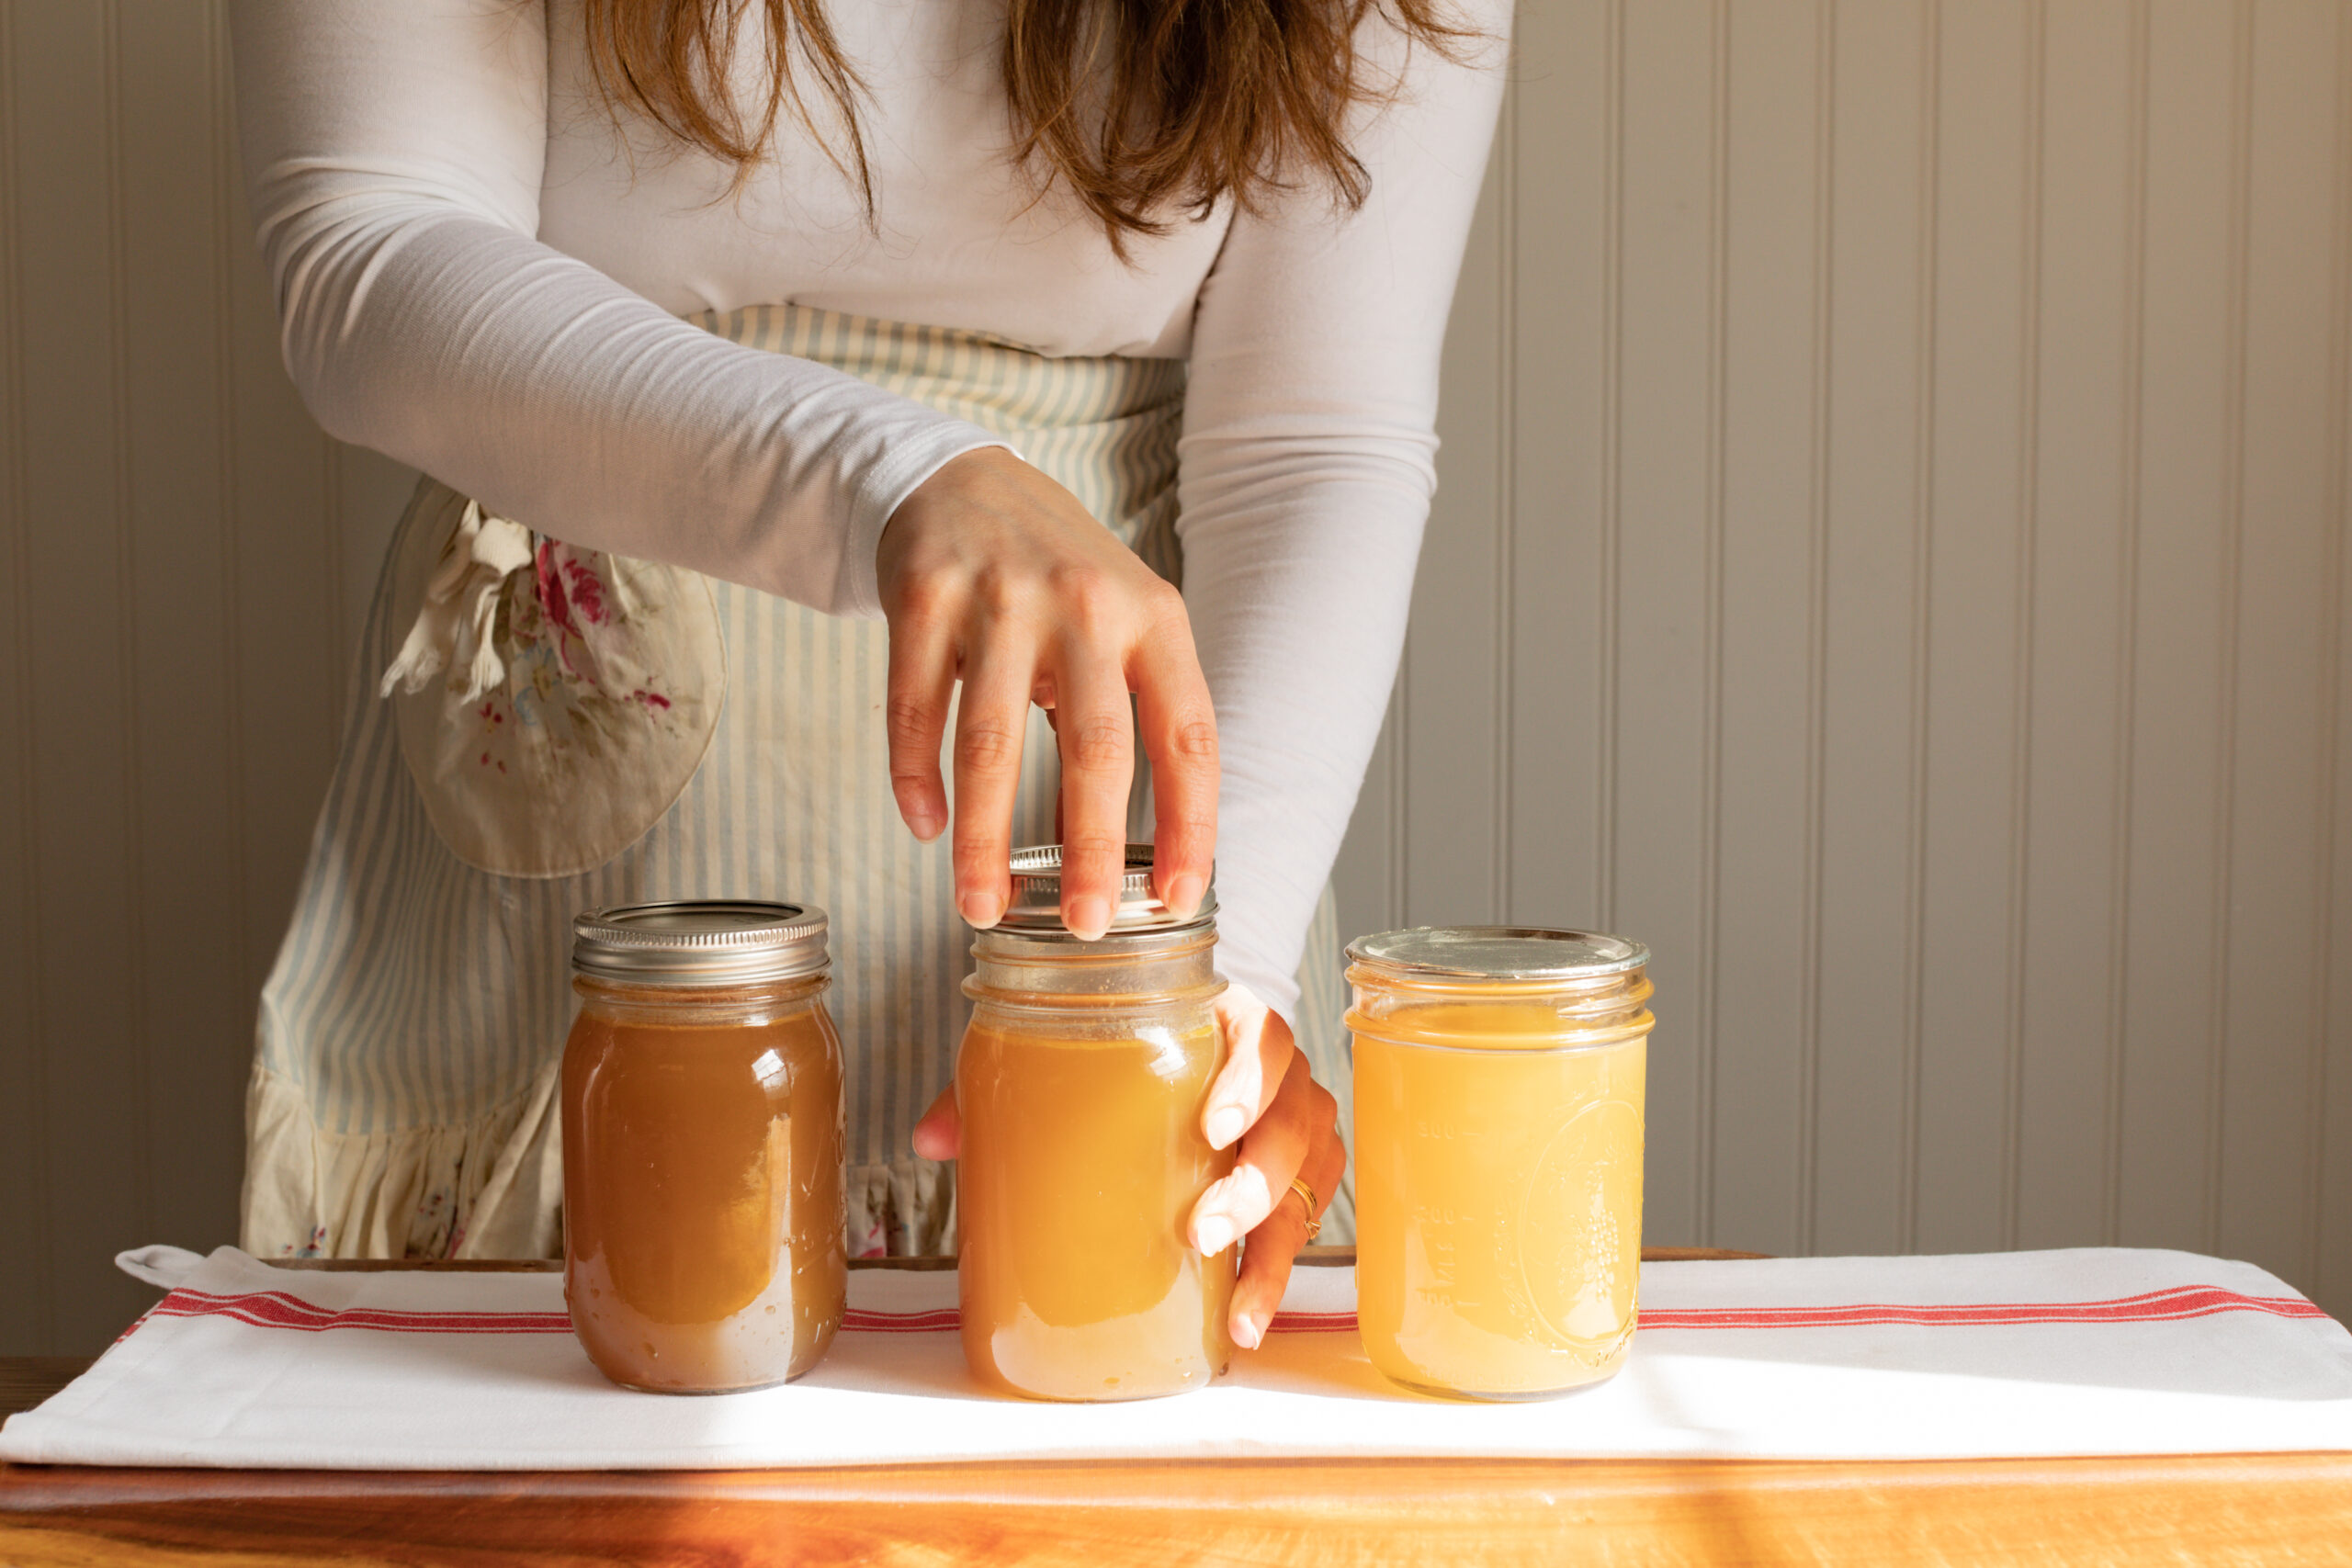
As I mentioned earlier, you'll want to start with a fresh batch of homemade bone broth that has been chilled and the fat removed.
Skim the Fat!
Before pressure canning broth, you must skim the fat. Do not pressure can broth that has not had the fat removed. The reason for this is if there's any siphoning of the liquid in your jars, the fat can cause the seal to fail when it gets between the glass jar and the seal of the canning lid.
Furthermore, fat has a different density than broth and the temperature may not reach the correct level for long enough if there's too much fat in the broth.
To easily remove the fat, put your broth in the refrigerator overnight to chill. Chilling the broth will make the fat float to the surface where it can be easily removed.
If you don't skim the fat, your jars may not seal properly or reach a safe temperature to be shelf-stable.
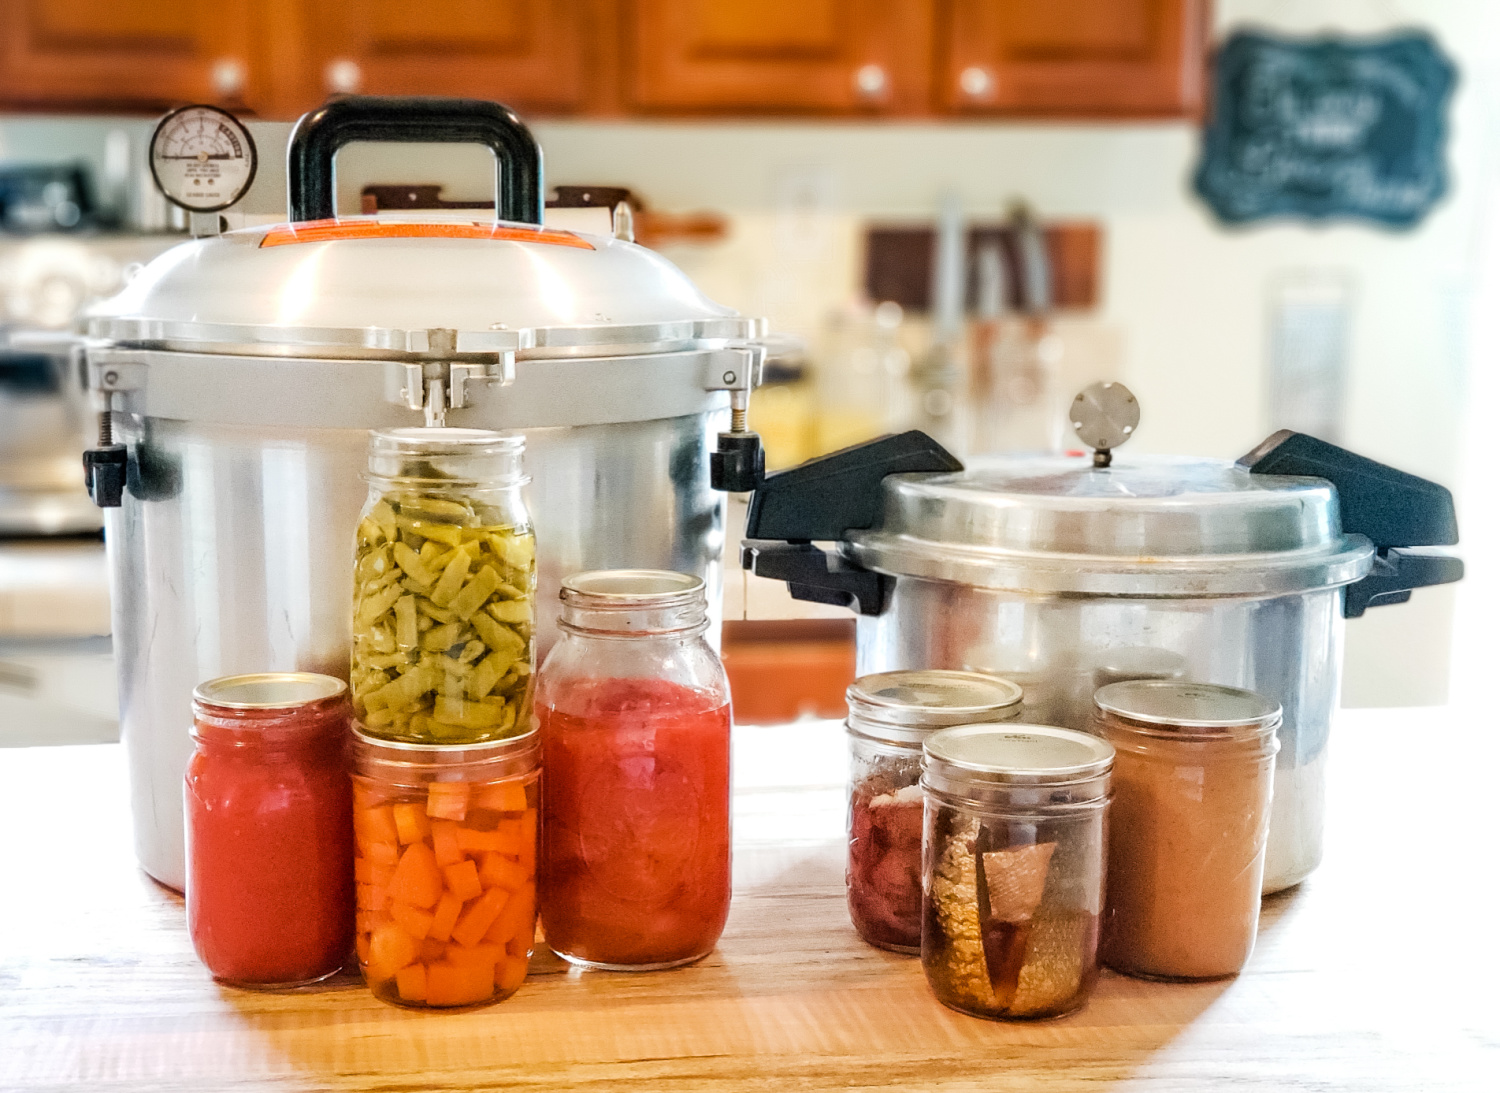
Supplies & Ingredients Needed
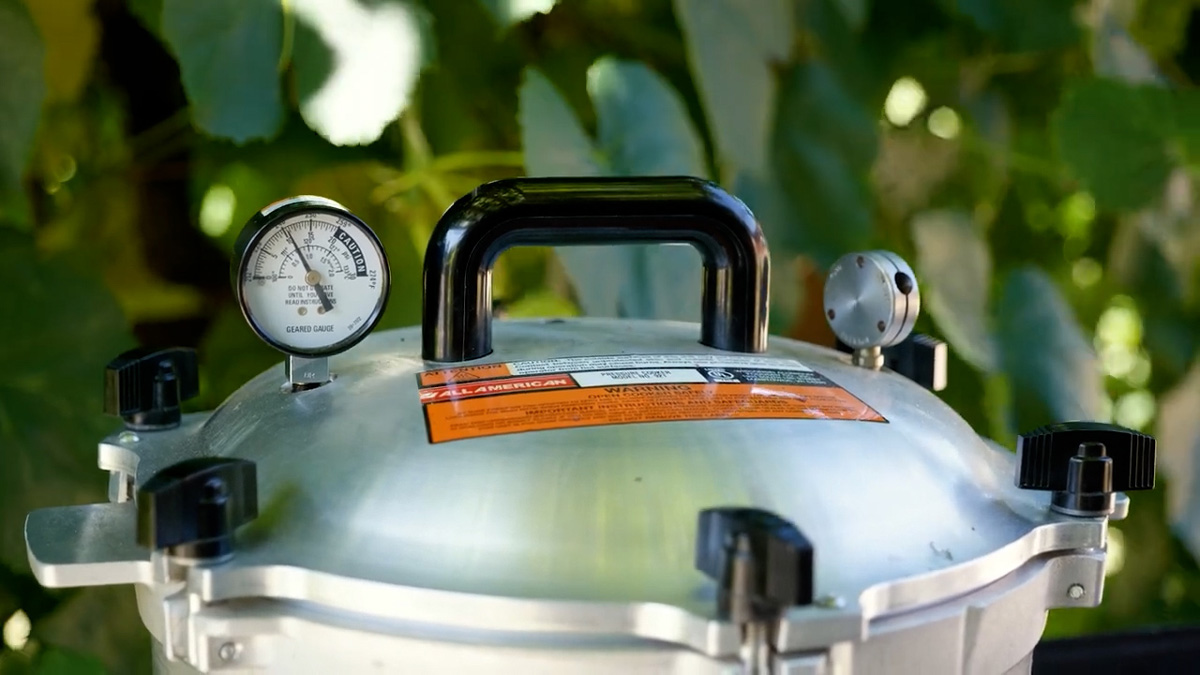
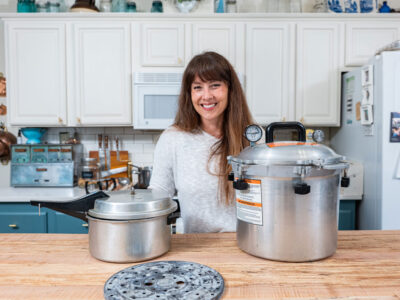
- Pressure Canner - I love my All-American pressure canner, but this Presto pressure canner is great, too.
- Pint or Quart Jars and Lids - I buy my lids in bulk from Lehmans and I've been loving the new canning jar line from Azure Standard. First-time customers can get 10% off their order of $50 or more with coupon code "Melissa10" at checkout.
- Canning Funnel - Don't skip the funnel! Ladling hot broth can be sketchy, using a funnel will help prevent spills and burns.
- Headspace Measurer - Proper headspace is important when canning to avoid siphoning of the liquid in the jars.
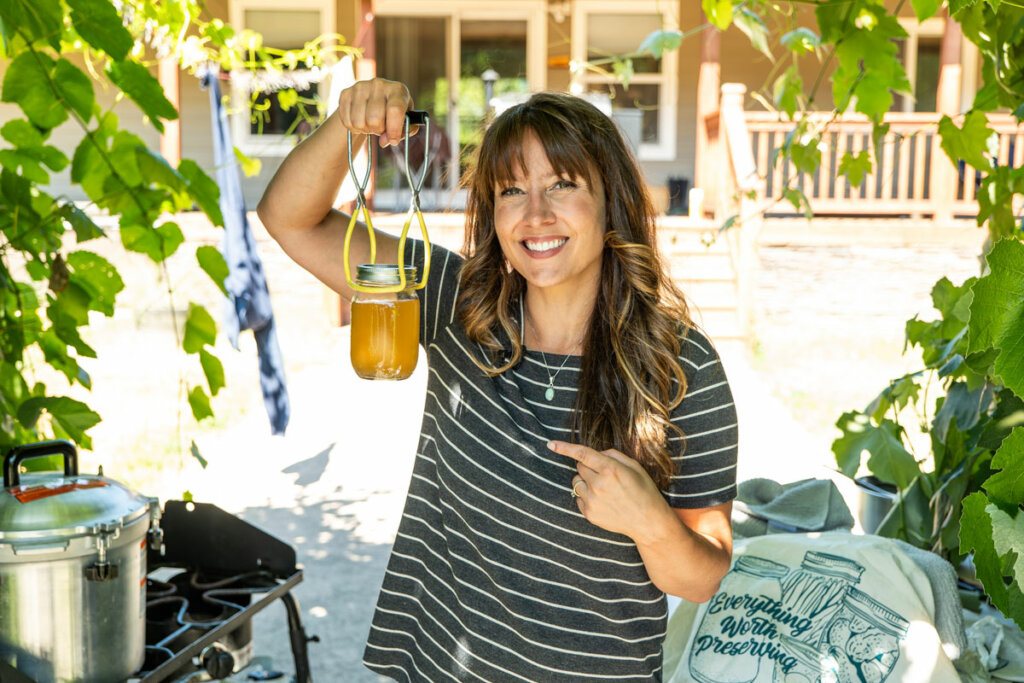
- Jar lifter - Your jars will be HOT once filled with broth and after canning. Don't burn your hands, use a jar lifter!
- Bone Broth - Since we're canning bone broth, that's an important thing to have! Check out my recipe for homemade chicken broth here.
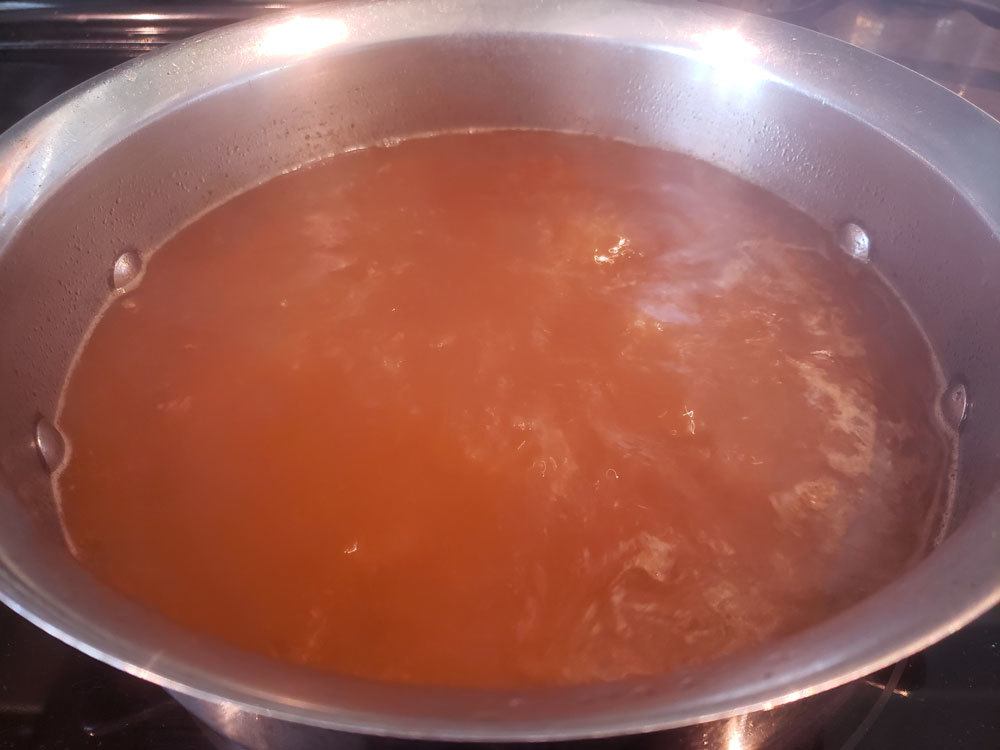
- Bring the bone broth up to a boil in a large stockpot. Pro Tip: Do not add cold broth to your jars, your broth must be hot. All pressure canning times are tested with broth that is at the boiling point to ensure safe temperatures are reached.
- While your broth is coming up to a boil, fill your pressure canner with a few inches of water (I fill mine to the bottom mark on the inside of the pot which is about 2-3 inches of water) and turn on the heat to warm up the water. You don't want it boiling, but steaming is ideal.
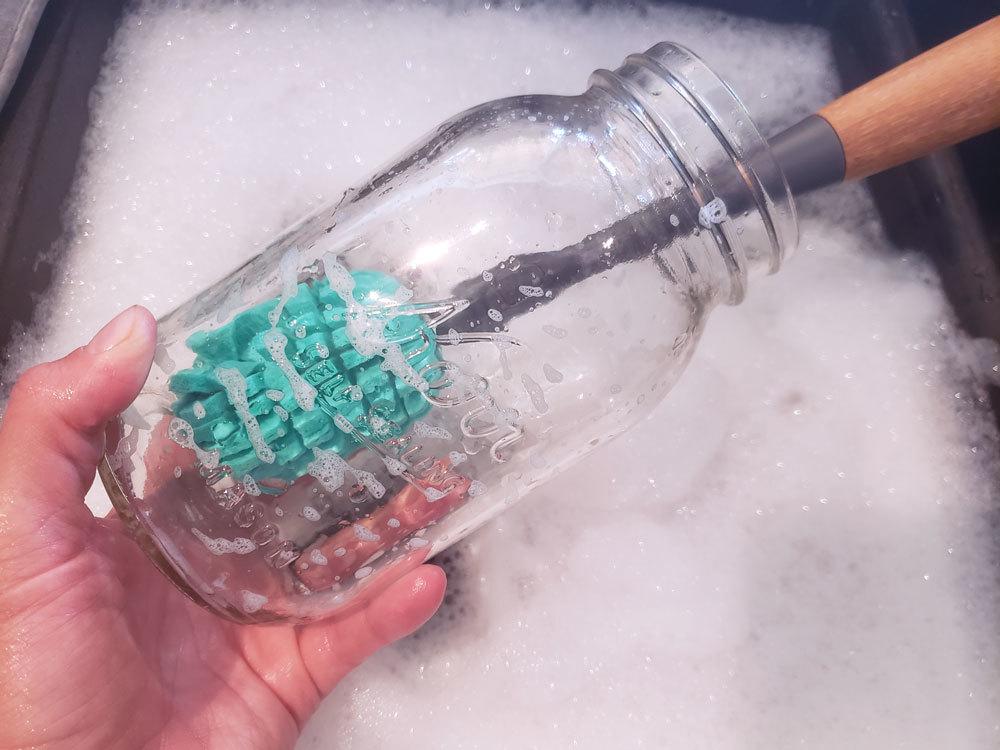
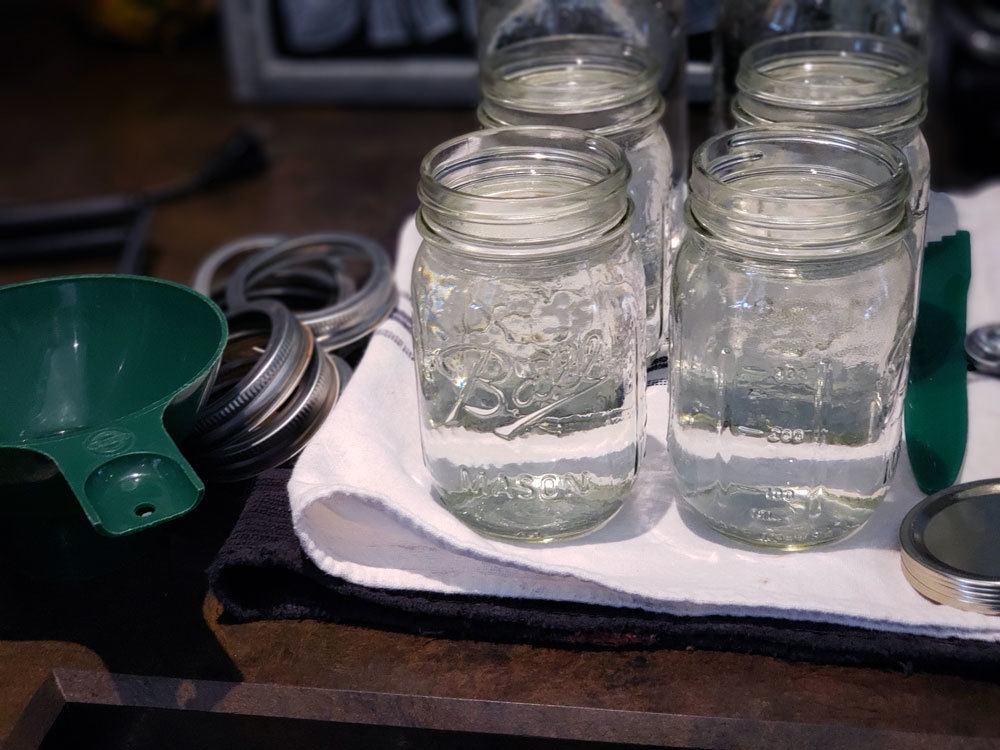
- Next, wash all your canning jars in hot soapy water. There is no need to sterilize your jars, just a simple wash will do. At the same time, go ahead and check the rims of your jars for any nicks or chips. If there are any chips, discard the jar and grab a new one. Chips or nicks could prevent the jar from sealing properly, and there's nothing worse than going through the entire canning process, only to realize your jar isn't actually shelf-stable. Pro Tip: Once my jars are clean, I like to fill them with hot water and leave them until they're ready to be filled. Then, dump the hot water out and fill with broth. This keeps the jars nice and warm so when I pour in my boiling broth, the temperature of the broth doesn't drop too much.
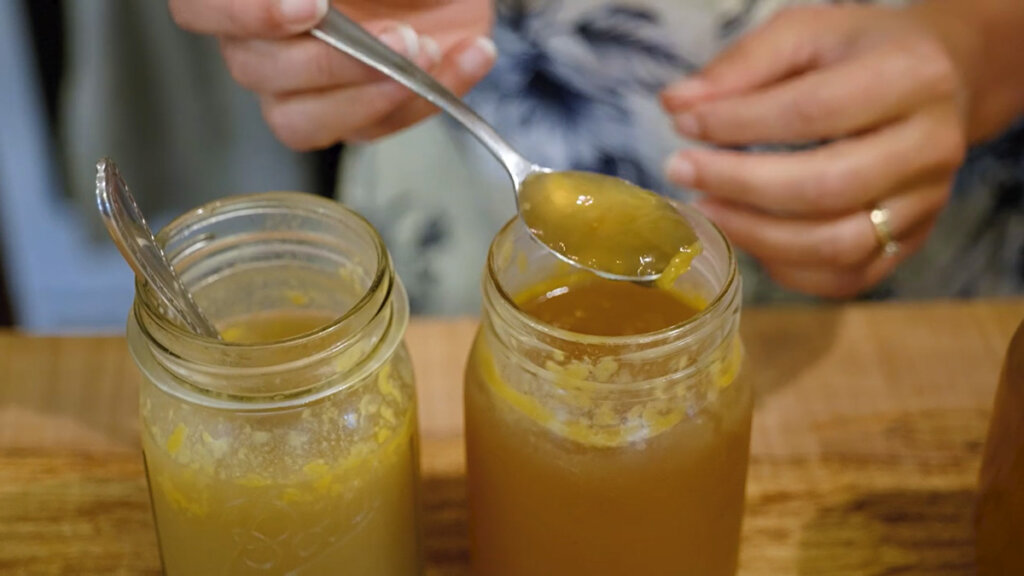
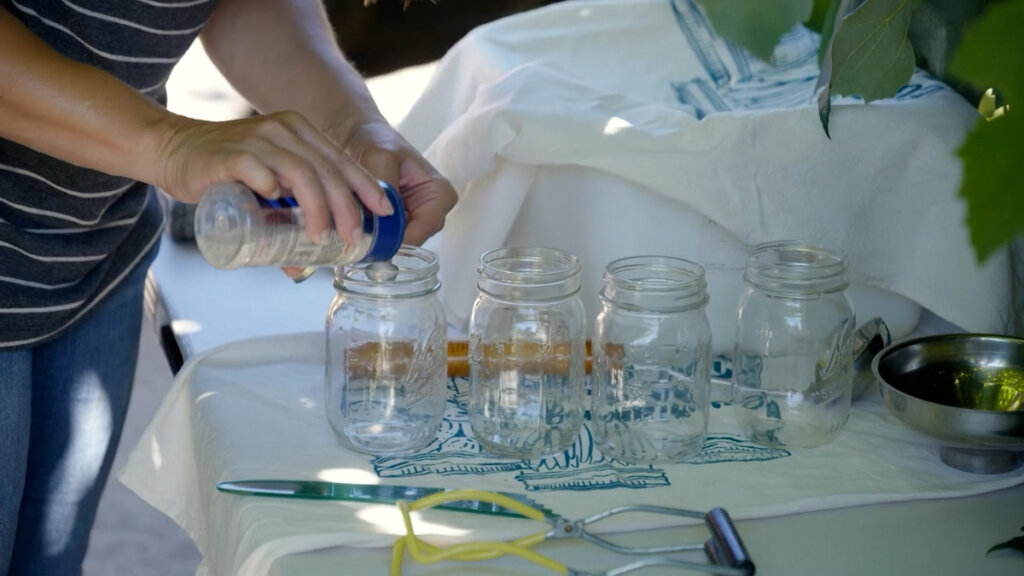
- If you like seasoned bone broth, add ½-1 teaspoon sea salt into each jar. (½ teaspoon for pint jars, 1 teaspoon for quart jars.) If you seasoned your broth before cooking, this step should be omitted. If you'd like a lower sodium broth, just skip the salt and move on to the next step. Make sure you're using salt with no additives in it. I use Redmond's Real Salt for all my canning, fermenting, and cooking. Using that link will get you 15% off your order!
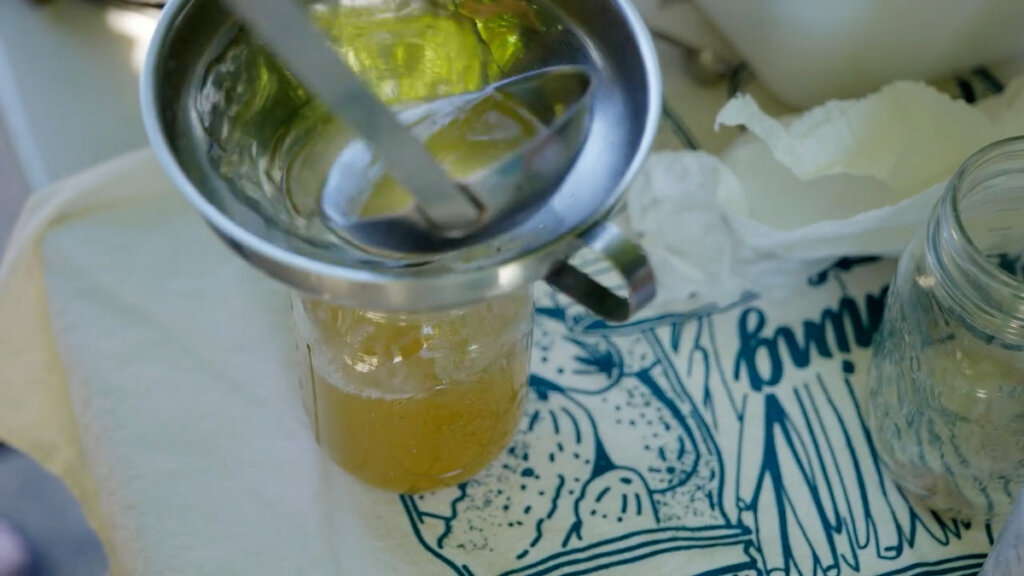
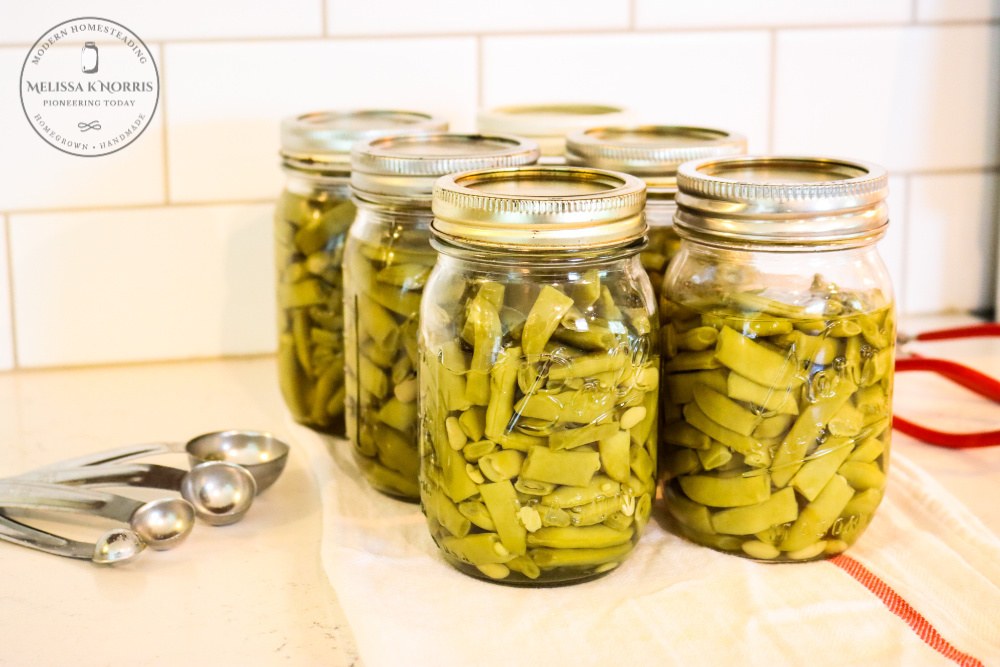
- Using a canning funnel and a large ladle, pour the hot broth into each jar, filling to one-inch headspace.
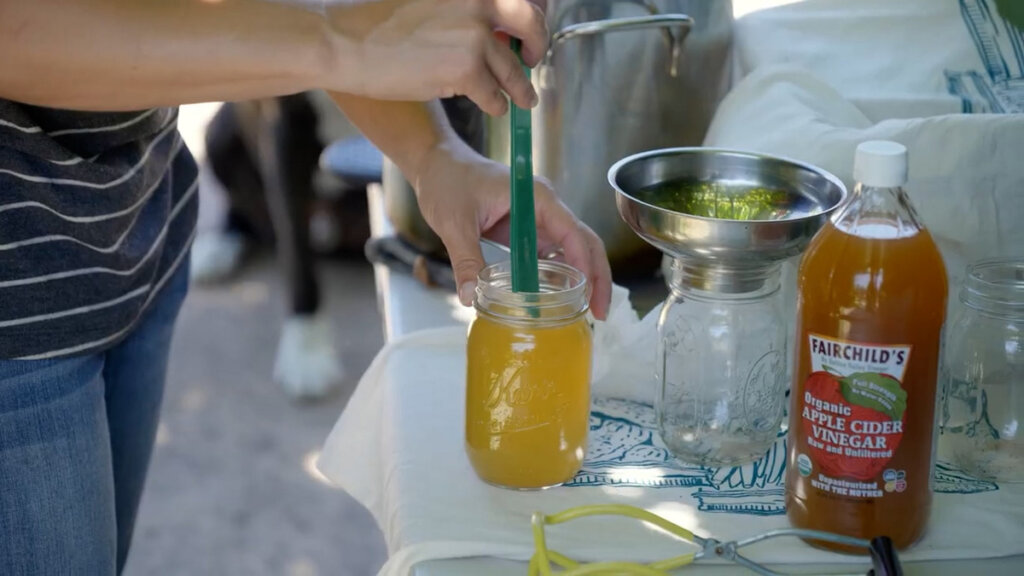
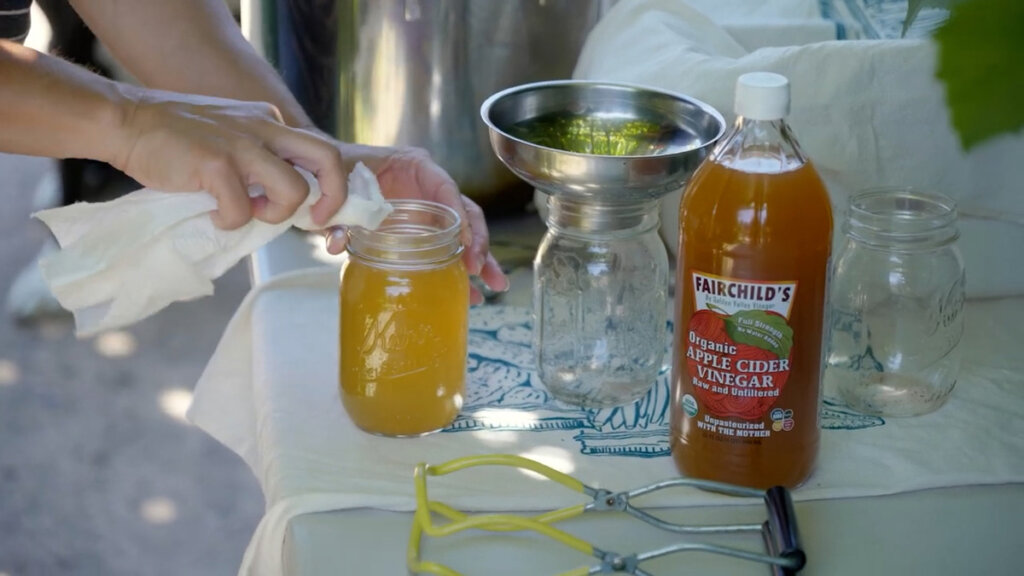
- Wipe down the rims of your jars with a clean towel dampened with vinegar. Then wipe again with a clean towel dampened with water to ensure a proper seal. Some people think the vinegar on the rim of the jar may break down the seal, so this is precautionary.
- Add lids and canning bands and tighten to fingertip tight. This is just how tight you can get the jars using only your fingertips, not your whole hand.
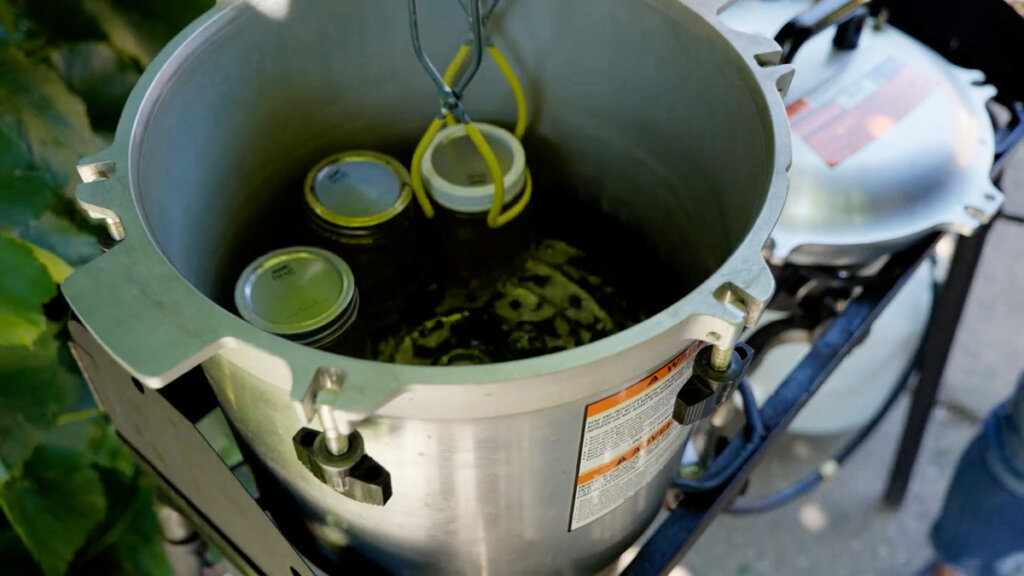
- Place jars of broth into the pressure canner. If you have multiple layers, separate them with a canning rack.
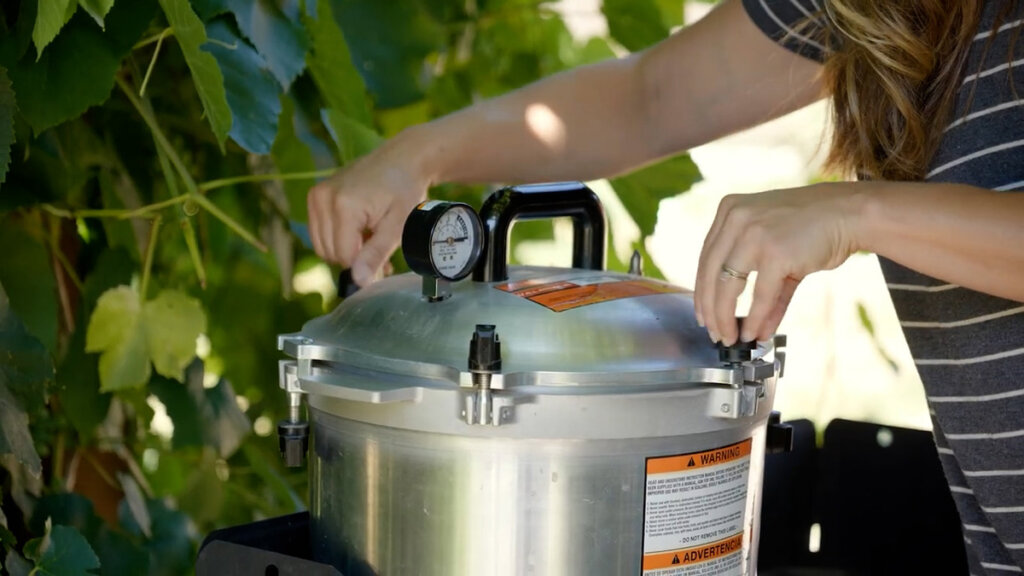
- Add the pressure canner lid (according to the instructions for your specific model) and turn on the heat.
- Gradually bring the pressure canner to a boil (never use high heat, medium to medium-high is ideal). You'll soon notice steam coming out of the pressure release vent. Once there is a steady stream of steam, allow the canner to vent for 10 minutes.
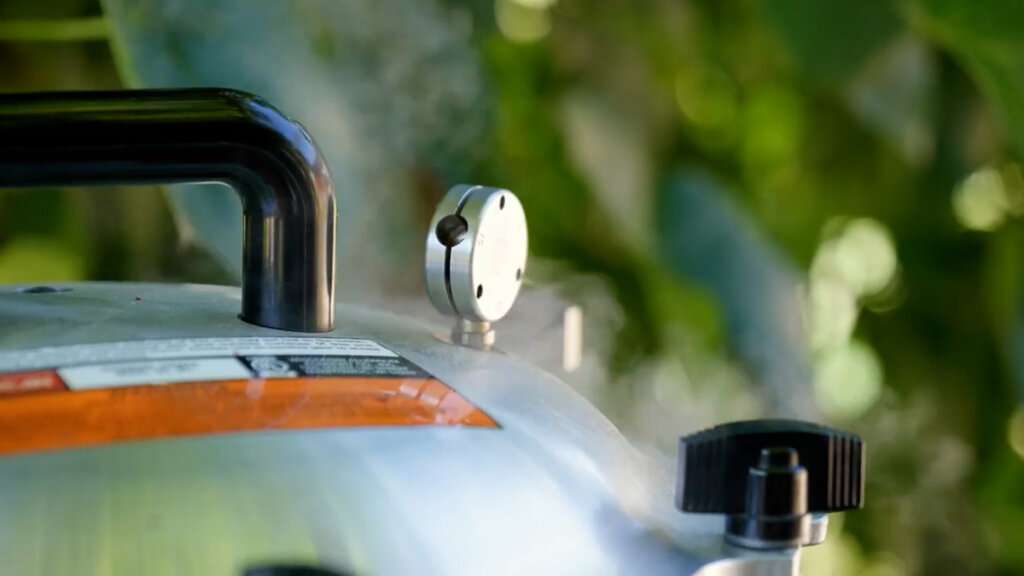
- Place the rocker or weight over the vent and allow the pressure to come up to 11 pounds for a dial gauge or 10 pounds of pressure if using a weighted gauge.
- Note: Pressure varies for higher altitudes above 1,001 feet above sea level - check your pressure canner guidebook for specifics for your altitude.
- Process pint jars for 60 minutes and quart jars for 75 minutes. Pro Tip: Broth that has been made with the inclusion of veggie scraps has a longer processing time than straight bone broth. These times reflect broth that was made with veggie scraps.
- Once the processing time is up, turn off the heat and allow the pressure to come down naturally. This can take anywhere from 30-60 minutes.
- Once the pressure canner gauge reads zero, using a pot holder, carefully jiggle the weighted gauge or rocker. If you hear any hissing, the pressure hasn't reduced fully and wait five more minutes and test it again. Once you don't hear any hissing, remove the rocker or weighted gauge and wait an additional ten minutes.
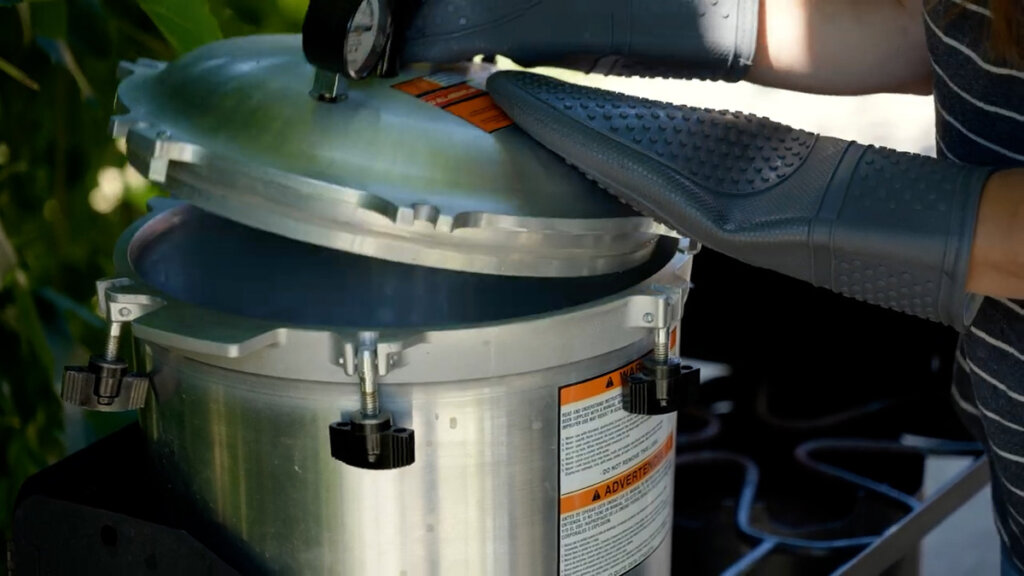
- Carefully remove the lid, lifting away from you so you don't get burned by the steam.
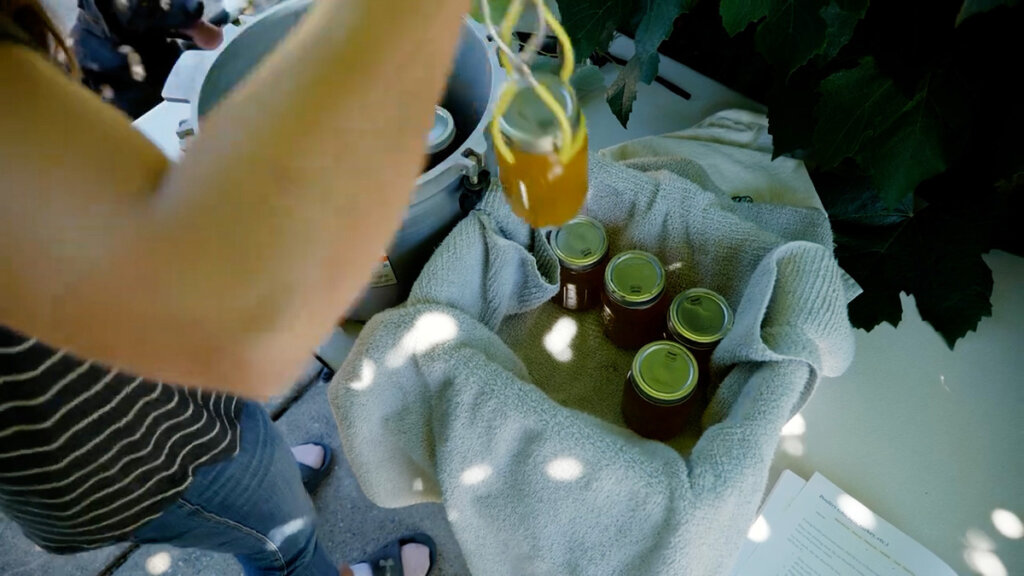
- Remove jars using the jar lifter and place them on a towel-lined counter. Snag the Everything Worth Preserving flour sack towels here! Pro Tip: Don't place jars directly onto a cold counter or near a window, as this could cause thermal shock and cause the jars to break or crack.
- Allow the jars to sit for 12 hours (or overnight) undisturbed.
- After the 12 hours, remove the bands, check the seals, wipe down the jars, then label and store your jars.

Did you try this tutorial? If so, please leave a star rating in the recipe card below. Then snap a photo of your canned broth and tag me on social media @melissaknorris so I can see!
Frequently Asked Questions for Canning Broth
Water bath or pressure canner?
You might be wondering if bone broth can be water-bath canned. The answer is NO, you must use a pressure canner when canning bone broth.
Water bath canning simply does not reach a high enough temperature to get the broth to a safe level to be shelf-stable.
What is headspace and is it important?
Leaving the proper headspace is very important when canning. If you leave too little headspace, the broth may push up and out of the jar, causing a faulty seal. Too much headspace and you may end up with discolored food at the top of your jar. Or, your jar may not seal because there may not be enough processing time to push all the air up and out of the jar.
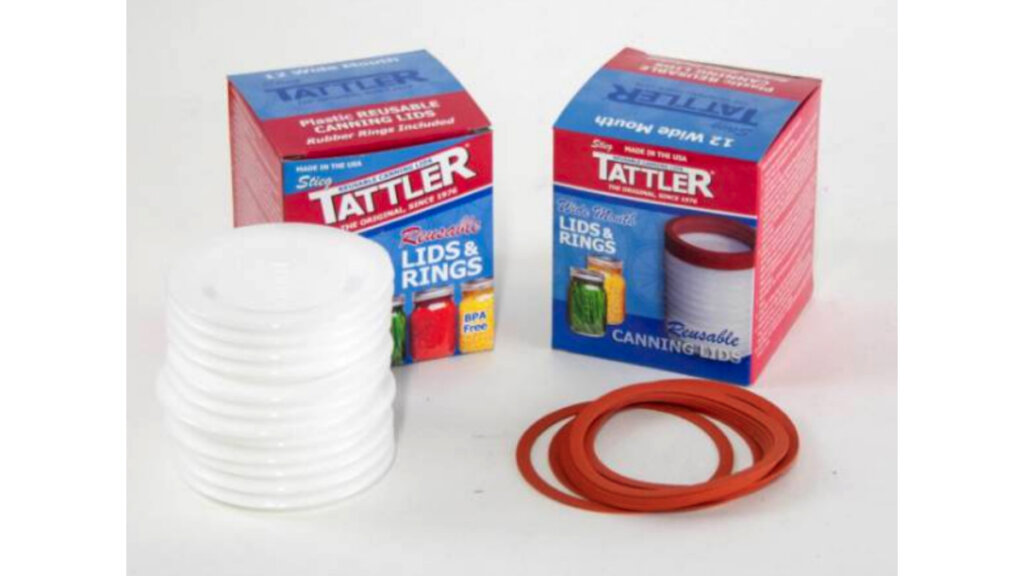
Can I reuse canning lids?
The answer is yes and no. If you're using something like a Tattler reusable canning lid, then you will be able to get more than one use out of your lid. However, those reusable lids can be cost-prohibitive for some.
If you're using a metal canning lid, you can only use them one time for canning purposes. To save money, I like to get myself an entire sleeve of canning lids from Lehman's.
You know you're getting a great deal when you buy in bulk! The regular-mouth lids are a bit cheaper than the wide-mouth, so I like to use regular-mouth jars for broth.
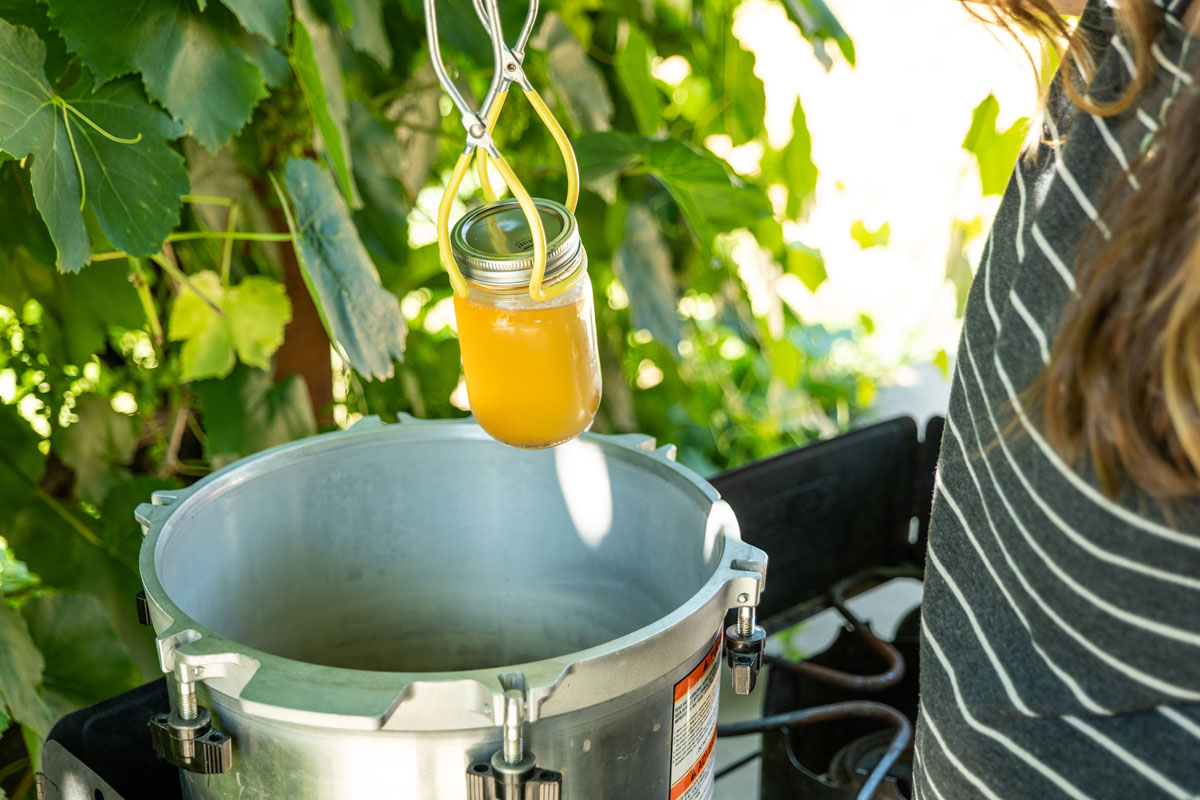
Can I Pressure Can Outside?
Oftentimes pressure canning outside isn't recommended. There are many factors that play into this, including wind making it difficult to keep your canner at the proper temperature or thermal shock from the air causing breakage of the jars.
Watch the video that accompanies this blog post to find out how to regulate these issues and make pressure canning outdoors an enjoyable experience. Or discover other ways to preserve food when it's too hot to can.
What if my jar doesn't seal?
If your canned bone broth doesn't seal, simply place it in the refrigerator and use the broth within a week. Sometimes this happens for one reason or another, but it's nothing to be dismayed about. The broth is not ruined and can still be enjoyed within the week.
Learn how to pressure can safely and prepare healthy shelf-stable meals for your family in my free 4-part video series here!
How to Pressure Can Bone Broth
Equipment
- Pressure Canner
Ingredients
- 5 pint mason jars and lids (or quart jars)
- 5 teaspoons sea salt
- 10 cups bone broth chilled and fat removed
Instructions
- Remove fat from chilled bone broth and bring broth to a boil in a large pot.
- Wash all jars in hot soapy water, checking rims for chips or nicks.
- Add water to your pressure canner (I fill mine to the lowest line on the inside of the pot).
- Fill clean jars with hot water and set aside.
- Once your broth has come to a boil, take one jar at a time, dump the hot water out and add 1/2-1 teaspoon sea salt (optional), then fill with broth leaving 1-inch head-space.
- Wipe down rims of jars with a clean, damp towel.
- Add lids and canning bands and tighten to fingertip tight.
- Place jars into the pressure canner. Then cover and secure the canner following the instructions for your specific model, turn heat up to high, and allow the pot to come up to a boil.
- Allow the steam to vent through the pressure valve for 10 minutes.
- Place the rocker or weight over the vent and allow the pressure to come up to 11 pounds for dial gauge for altitudes 2,000 feet above sea level or lower for every additional 2,000 feet above sea level increase by 1 extra pound . Can at 10 pounds of pressure using a weighted gauge for altitudes 1,000 feet above sea level or lower, if altitude is 1,001 feet above sea level increase to 15 pounds of pressure for weighted gauge.
- Process at 11 pounds of pressure for 60 minutes for pint jars or 75 minutes for quart jars.
- Turn off heat and allow pressure to come down naturally (about 30-60 minutes).
- Carefully remove jars from pressure canner and place onto a towel on the counter.
- Allow jars to cool for 24 hours. Remove canning bands and check for proper seal.
- If any jars didn't seal correctly, move them to the refrigerator and use within a week.
Notes
- It's important to read through your pressure canning manual BEFORE using it for the first time so you're acquainted with how it functions and all the parts work (yours may be slightly different than the one I'm using in this video).
- Be sure you follow the proper cooking time for your size jars.
- Always process bone broth starting with boiling broth, anything colder may not process at safe canning temperatures.


Charlene
I did not have a place to do my pressure canning, so I froze my bone broth. I believe I should thaw, skim fat if any, heat to boiling, and then pressure can. Is that right? In case of a power outage, I had thought I would just pressure can as soon as my 'she-shed' is finished and I can pressure can again after moving (since the new location's glass top electric stove says NO to the weight of the canner and jars!)
Melissa Norris
Correct, thaw, skim the fat, heat to boiling and then pressure can!
Carla
So I am wondering how do I use the bone broth with gelatin. Not sure if I throw away the gelatin or what I do with it. I know to use the broth in my cooking or drinking, but not the gel.
Eneka Garza
I certainly appreciate your blog and I loved your video on canning and bone broth collagen and gelatin…
However I’m wondering why the processing times are so very long?
The ball safe recipe says only 25 min
Is there a reason your recipe is so different? I wasn’t going to include veggies in the cooking, but even the ball recipe uses veggies and it’s still only 25 min. I’m brand new to canning and just trying to understand
Stephanie
I followed these instructions to pressure can the chicken broth recipe linked in the instructions that I've been using for years and previously freezing. I recently joined PTA and in your broth video you talk about adding 10 minutes of processing time if vegetables are used in the stock, so 30 minutes for pints or 35 minutes for quarts. Maybe I am missing it but I don't see this mentioned anywhere in the instructions here. I do see that the description on your YouTube video mentions that the processing times are for bones only. I'm glad I joined PTA and I am so grateful for everything you teach, especially the free information you put out. Just thought it was worth mentioning for anyone who might be following these instructions because I will sadly have to toss all of the jars of broth I've done so far since I only processed my pint jars for 20 minutes.
Lottie
Hi Melissa,
I see you mentioned there is a 24 hour window for reprocessing. Does that also apply to a first time processing if the broth has been in the refrigerator for 48 hours? I put it in the refrigerator to let the fat solidify and waited to make my second batch.
Thank you.
Melissa Norris
No, it's only on jars you canned that didn't seal, you have 24 hours to reprocess an unsealed jar after you've canned it.
Lottie
Thank you for the super quick reply!
Lisa G
I didn't realize I couldn't water bath my bone broth until the sealed jars had sat on my counter for two days. I quickly put them in the fridge; but i'm wondering if they will be ok? Or is it all ruined? How can I tell? Thanks! I love following you.
Melissa Norris
Unfortunately there is a 24 hour window for reprocessing, if it's been longer than that they're not safe.
Lauren
Hi, I’m new to canning and I have a question.
I made chicken broth and pressure canned it in my instant pot max, but I just realized I did not add any pepper or salt at all while making the broth. That was a month ago when I made it.
Is that a big mistake? Did I need the salt to help preserve the broth as it is stored?
Thanks for your help!
Hillary Jensen
Salt is not necessary for preservation, just taste. So you’ll probably want to season it when you use it.