If you’re growing a vegetable garden for the first time, or maybe improving your garden from last year, there are 13 basic steps every gardener should know before getting started.
Growing a vegetable garden is one of the most rewarding things you can do, but if you’re brand new to gardening, it can feel overwhelming to make sure you do it right. I have pointers on how to create a gardening plan for more harvest and less stress, as well as the garden planning mistakes to avoid, and even time-saving tips for new gardens.
I’ve also shared how I garden plan in the winter to be ready for spring planting and the 10 things most organic gardeners forget about.
The most important thing is creating a garden that works for you and your growing space (meaning no two gardens will look exactly the same), and you need to know how to evaluate your growing space and climate for best results.
Here are my top tips for starting a garden the right way.
Table of Contents[Hide][Show]
Pick Your Crops – Grow What You’ll Eat
It seems obvious, but you have no idea how often I hear of people growing crops just because they know they’ll grow well in their climate. This is one of the 8 common mistakes made by new gardeners I hear about all the time.
Choosing crops will vary from person to person based on likes and dislikes. But the most important thing when choosing which crops to grow is to think about what your family eats on a regular basis and only grow what you’ll actually eat.
Using something like the Family Garden Planner can help tremendously in tracking not only what your family eats in a year but how much you eat to know how much to plant!
Know Your Climate
Beyond growing what you like to eat, if your climate won’t support the crop, it’s best not to waste your time growing it. Ask around to neighbors and friends who have gardened before to find out what grows best in your area.
Don’t always go off the garden zone you’re in. There are always micro-climates in each growing zone that can drastically affect how your garden grows. It’s best to know your average first and last frost dates.
First and Last Frost Dates
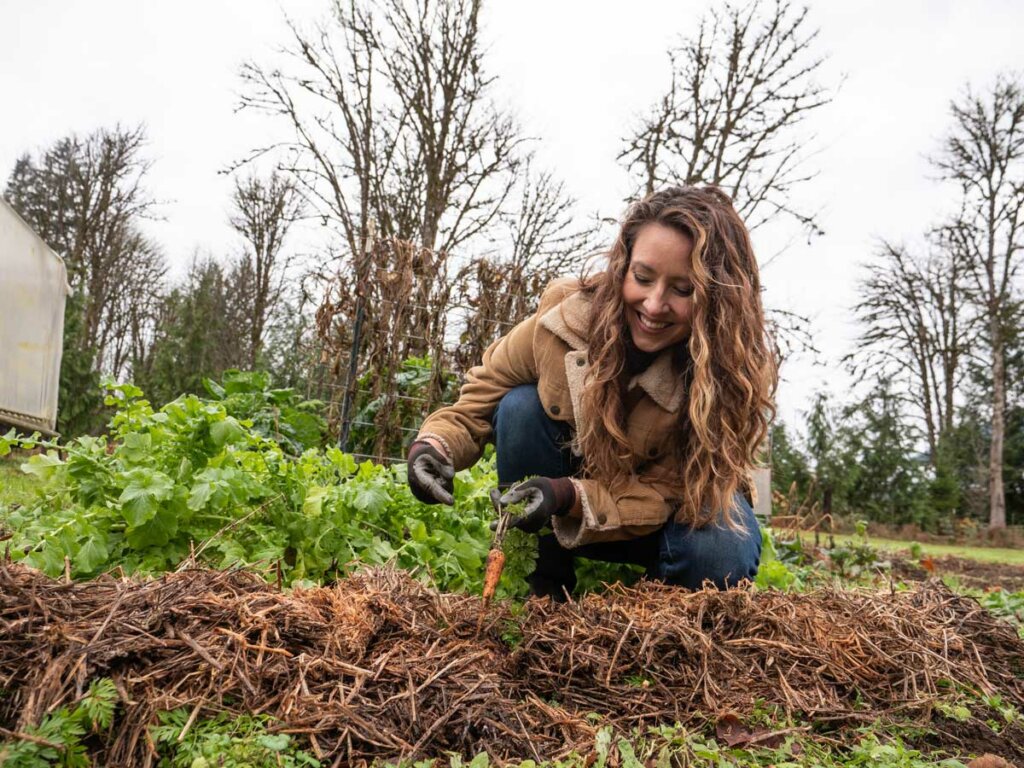
Knowing your average first and last frost date and your average summer temperatures will help you know when to start your garden and what crops you can grow in a season.
I’m always shocked when I find out that most people only grow a summer garden. Knowing your average temperatures will help you know what vegetables to plant when in your area, which are all keys to having a successful garden.
If you don’t know your first and last frost date, you can click that link and type in your zip code here and get an idea. The very best way to keep track of this is with your own records. As I mentioned, each growing zone has little micro-climates. Your neighbor five miles down the road may have a different first and last frost date than you!
Grow Multiple Gardens
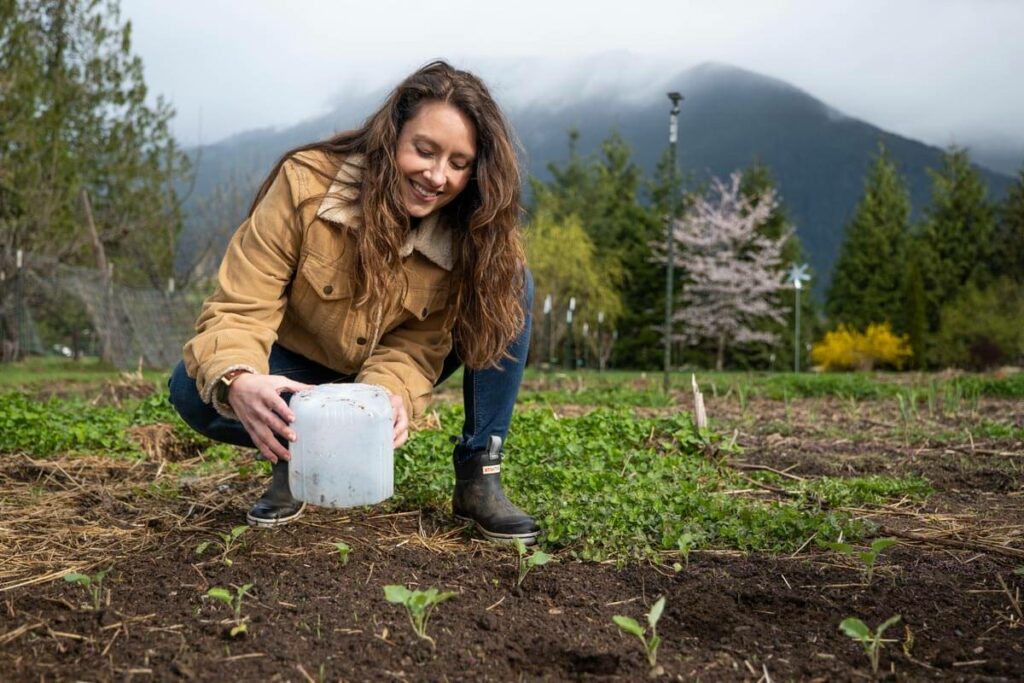
And by multiple gardens, I don’t mean multiple garden plots. What I actually mean is that from ONE garden space, you can get two and sometimes three plantings per year.
Knowing those first and last frost dates will help you know when to plant your cold-weather crops. These are crops that can be planted as soon as the ground is workable because they can withstand colder temps and even frosts.
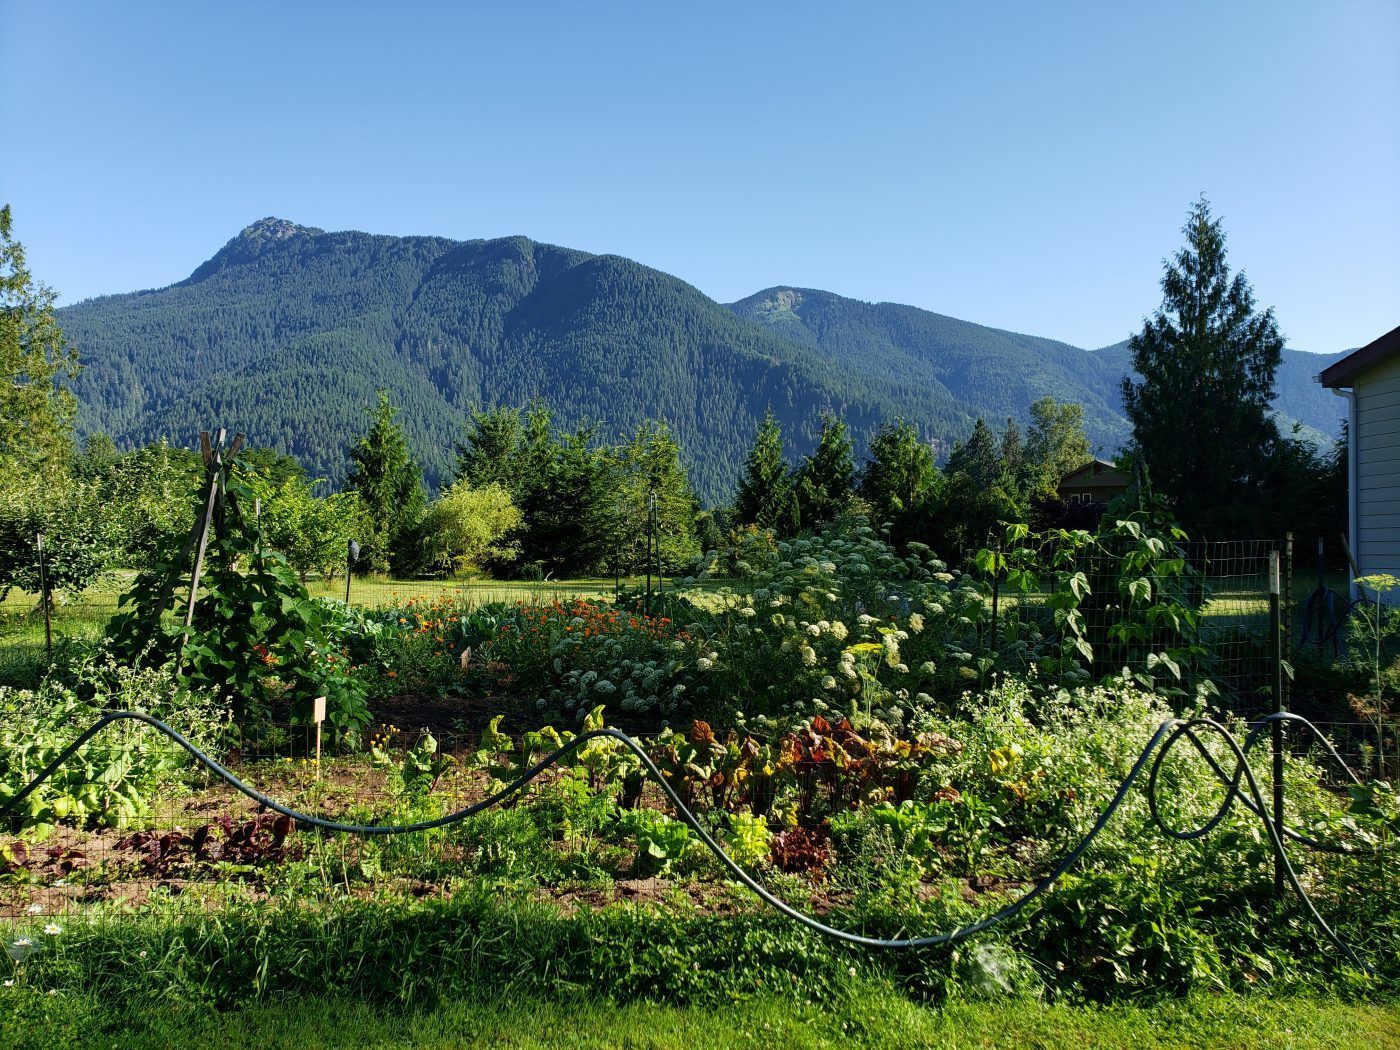
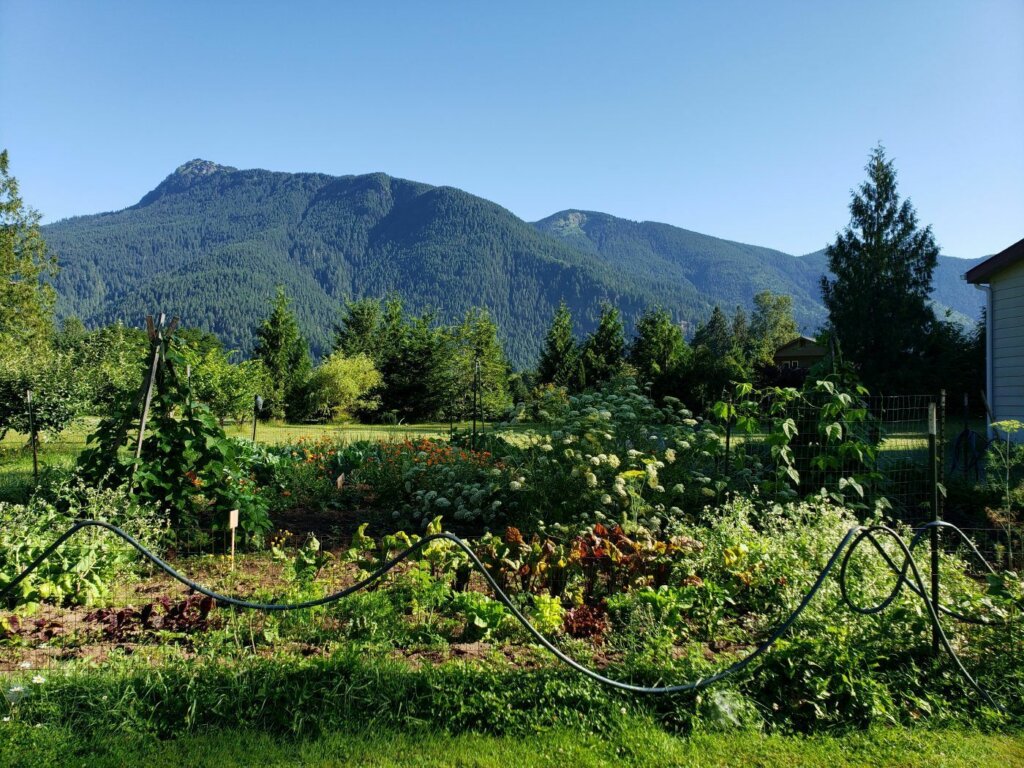
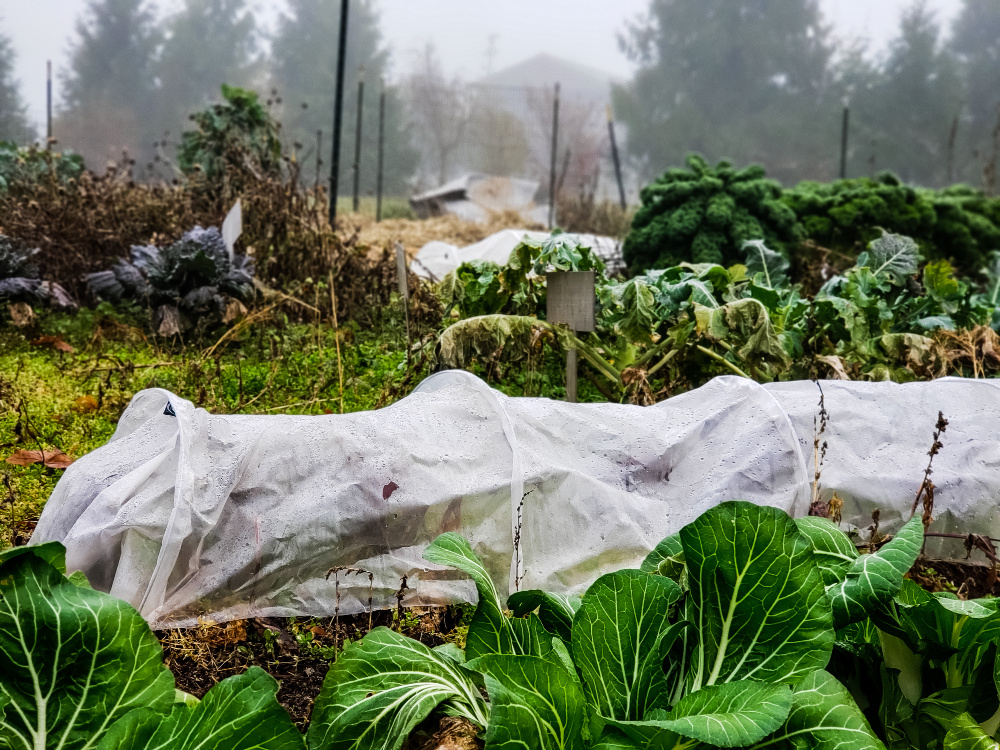
As you can see in the photo above, I have my brassicas going into the ground while there’s still snow on the mountain tops. That’s because I’ve learned how to use garden season extenders to gain a few weeks on my garden season.
Knowing your last frost dates will help you work backward to know what to plant mid to late summer for a fall harvest. Many of your early-season crops will already be harvested and done growing, so you’ll have plenty of space for a second (or third) planting.
You can also store your vegetables in the garden over winter instead of harvesting them and putting them in a root cellar. This is the method I use since I don’t have a traditional root cellar. I find my root vegetables store better in the ground than inside my home.
How Much to Plant
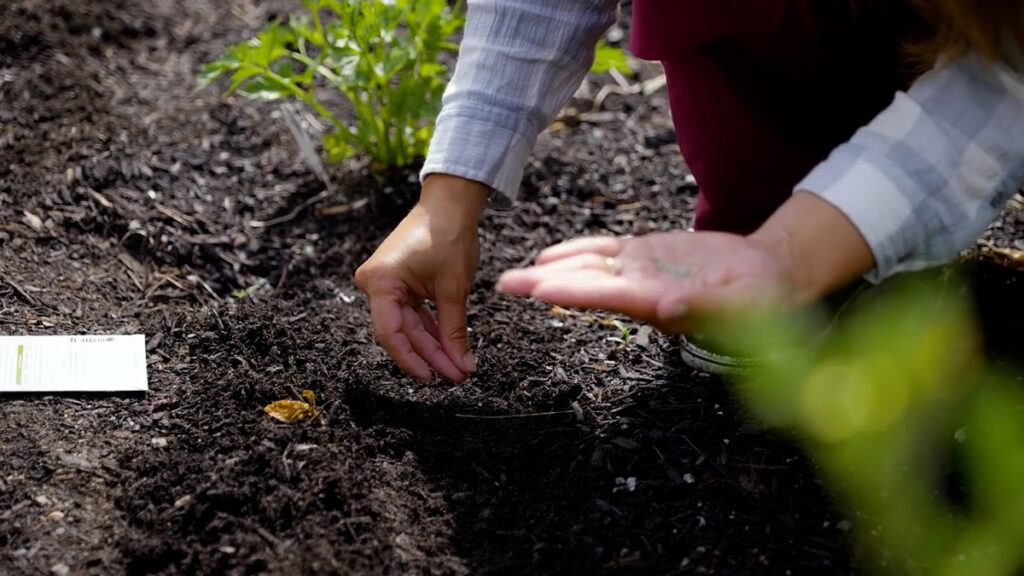
You may also be wondering how much of each crop to plant for your family. I have a complete blog post designated to this, along with printable worksheets. So, I won’t go into detail about that here.
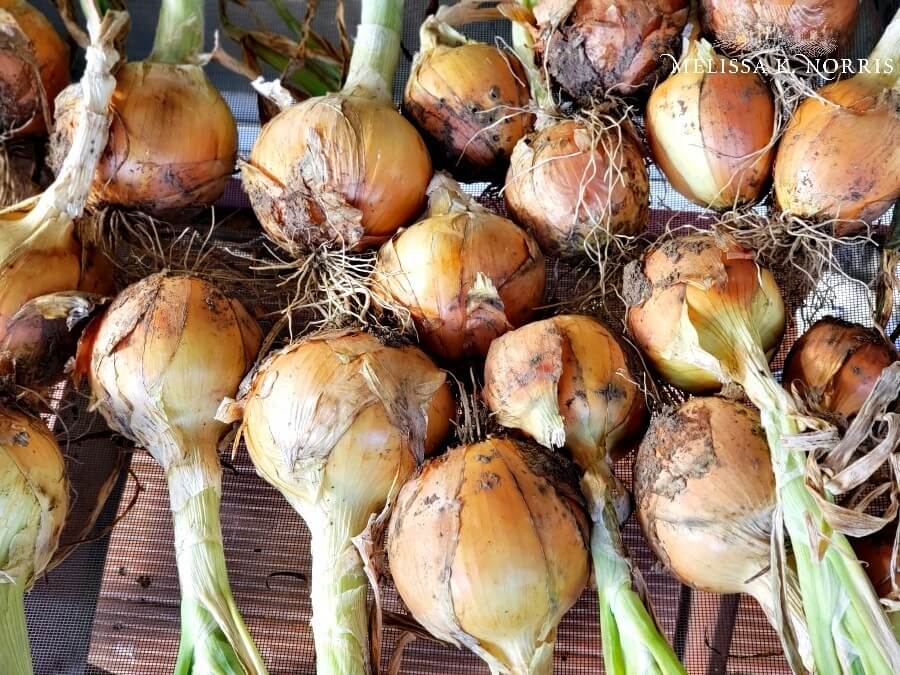
Knowing how much to plant per person to feed your family for an entire year takes a little brainpower, but it’s so important to know how much food an average plant will yield, and if you’ve never grown a garden before, you may have no idea whether your family needs to plant 20 onions or 100!
Choosing a Garden Location
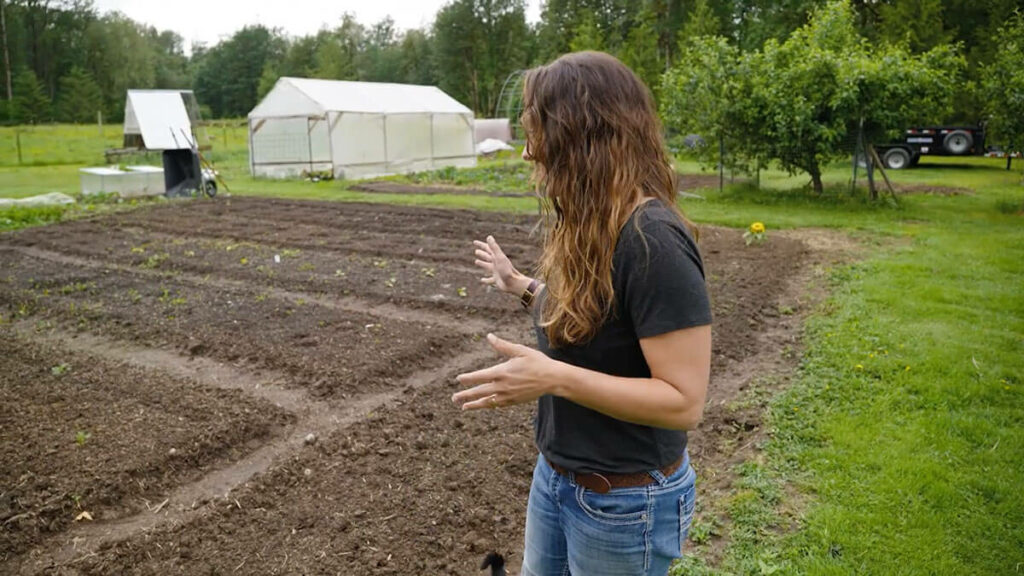
Picking your garden location is very important. If you have my book, The Family Garden Plan, you know all about macro and microclimates. If you’re working with a smaller space or maybe even an existing garden, you may not have the best option, so work with what you have.
However, if you’re choosing your garden location, you’ll want to know the direction the sun is coming from and approximately how many hours of sunlight your garden will get from about May to September.
Most crops need at least 6 hours of sunlight in order to germinate, grow and produce quality crops, so picking a shady location that won’t get more than a few hours of sunlight each day won’t do well for growing a year’s worth of tomatoes. It may, however, work great for cool-weather crops like lettuce and brassicas.
If you’re choosing your garden location during the winter, remember to consider any trees that are nearby that will be leafed out in the summer, that may cause shade over your garden.
If you have a yard with a north and south side, it’s typical that the southern side is going to be a bit warmer. However, if you’re in a warmer climate, using the north side of your property may be a good tool to help you grow more variety of vegetables without them getting too hot mid-summer.
Take into consideration all areas of your property. Consider if it’s a low area and determine if it will get a lot of standing water if there is heavy rain. Are there better sections of soil that won’t need as much amending? Can you utilize a sunny pathway or a sunny wall to grow some crops?
Access to Water
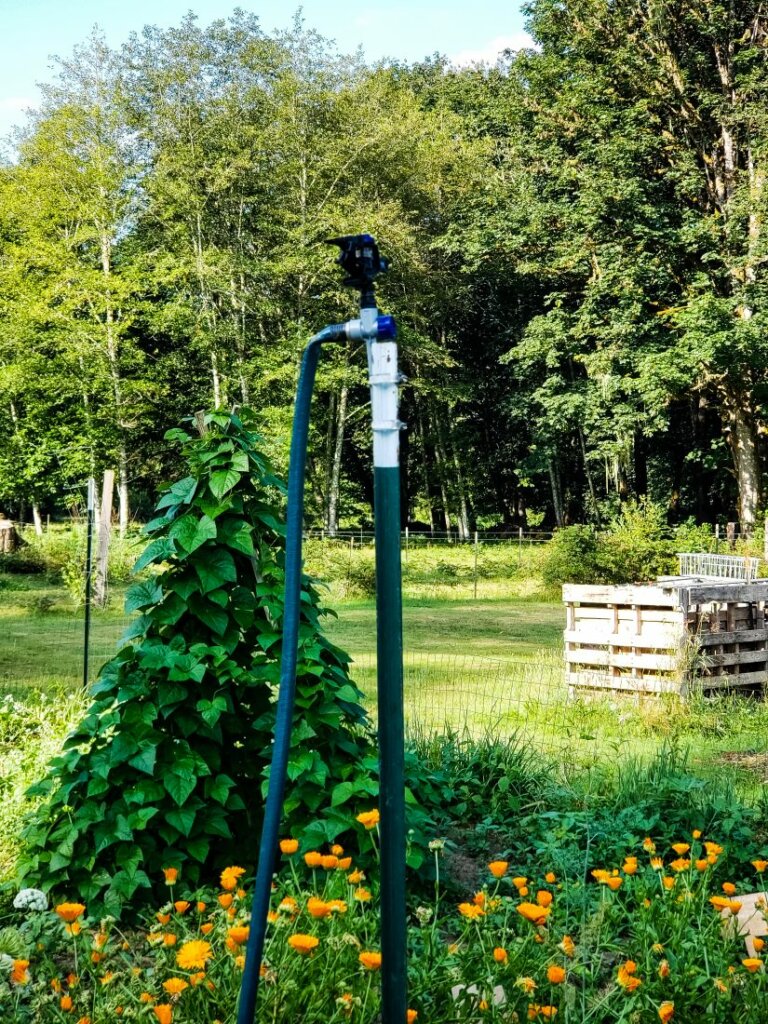
How close is your garden to a water source? It’s ideal to be able to run a hose out to your garden so you’re not packing in water each week in order to keep your plants healthy and happy. I’ll just be bold and say that’s a recipe for garden failure!
Watering Methods
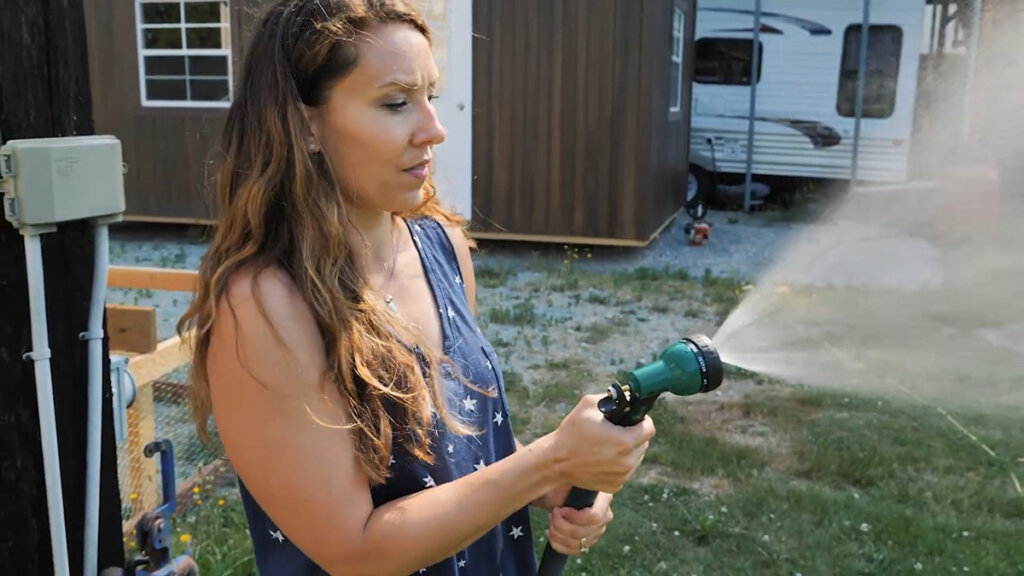
There are so many different watering methods when it comes to gardening, and most avid gardeners will have their preferences.
In my high tunnel, I use a soaker hose that waters down into the ground and doesn’t actually water any of the leaves at all. This method of watering can help with disease control, as wet leaves can leave plants susceptible to damage.
In my main crop garden, which is a larger space, I use an overhead sprinkler that’s up on a tripod. I have a hose that connects to the house that can reach both the soaker and the sprinkler, so both of these are very easy.
During the cooler months, when I’m only growing some lettuces, I just hand water with a watering can as needed.
Garden Type
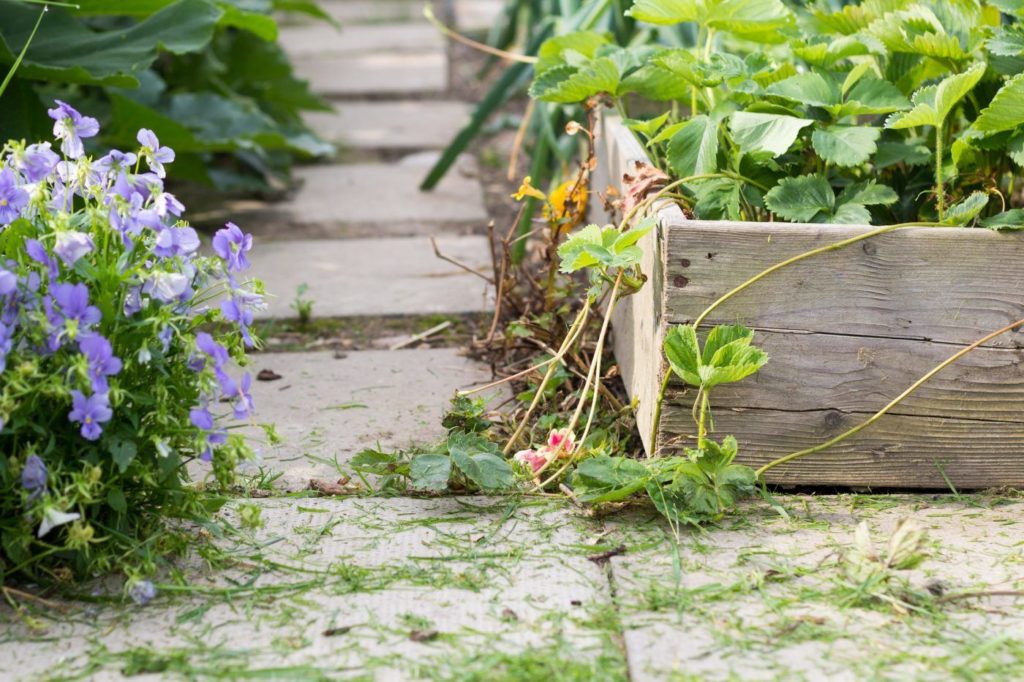
What type of garden beds will you be putting in?
- Raised beds
- Direct sow into the ground
- Trellises
- High-tunnel or hoop house
- Vertical Planters and pots
Pros and Cons of Raised Beds:
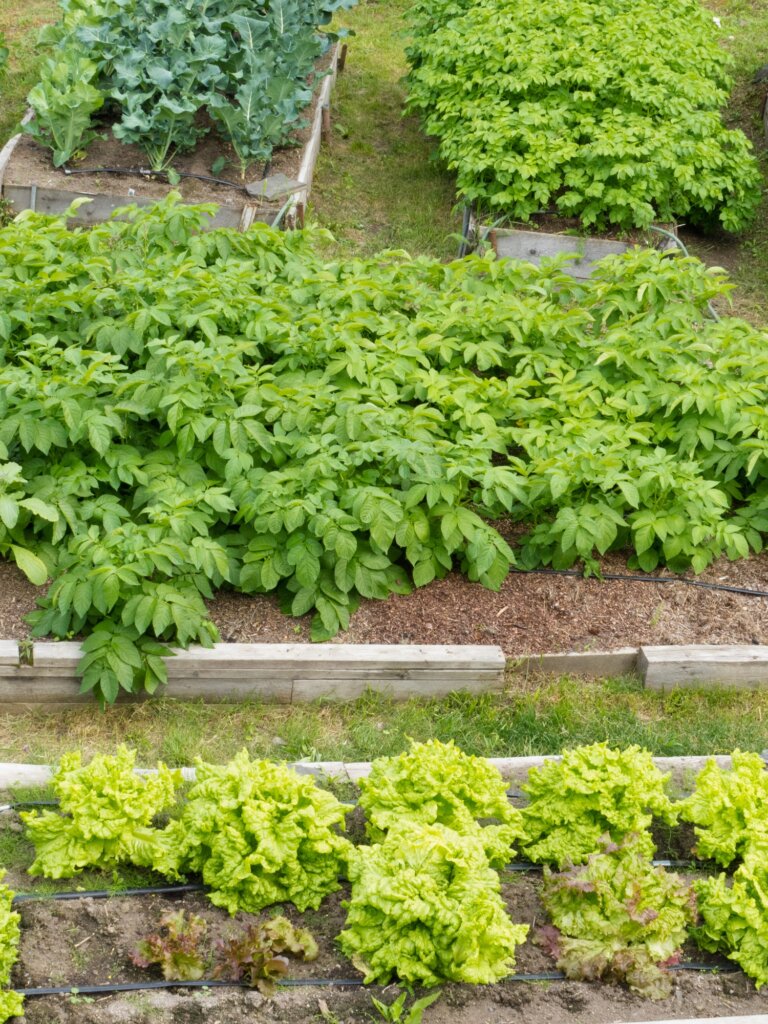
- If you have really hard soil, having a raised bed (which actually sits on top of the soil, but the roots will have access to the ground below) can allow you to bring in good quality soil that will help your garden and crops.
- Your beds will also warm up a bit sooner than a regular garden so you can plant out those plants that need warmer temperatures to be planted.
- Raised beds that are 3+ feet high can be a great way for those getting older to still be able to enjoy gardening. By simply bringing a stool out to the garden, they can sit and tend to their raised garden beds without needing to bend over or get down on the ground.
- However, the cons are that those beds will get hotter in the middle of the summer, so if your climate is hot, your beds will dry out faster and require more watering.
- There’s also the cost of bringing in added soil for your raised beds. For taller beds, you can utilize Hugelkultur gardening practices to fill the bottom of your beds cheaper. This can be a great option for cutting the cost of soil.
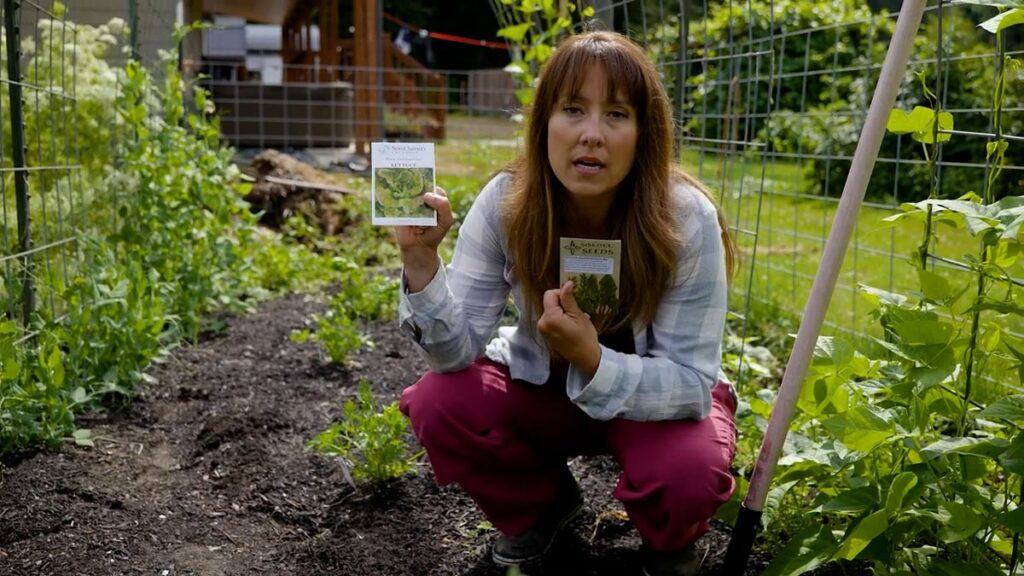
Growing Vertically
You can grow vertically over the walkways between your raised beds to help extend your space.
We utilize vertical growing methods for our grape arbor as well as our green beans, cucumbers and even some squash or melons. We’ve also used vertical methods for growing tomatoes.
There’s really no end to the creativity of a few cattle panels and some t-posts. You can maximize your garden space or create beautiful features in the garden by building arches.
The wonderful part about growing on an arch is you can create a little microclimate for cool-weather-loving crops. I do this with cucumbers, beans, brassicas and lettuce.
I plant the beans and cucumbers along the base of the cattle panel. Then, as they grow up in the summer, they’ll create shade for my cabbage and lettuce plants that prefer less direct sun and cooler weather (see the photo above as an example).
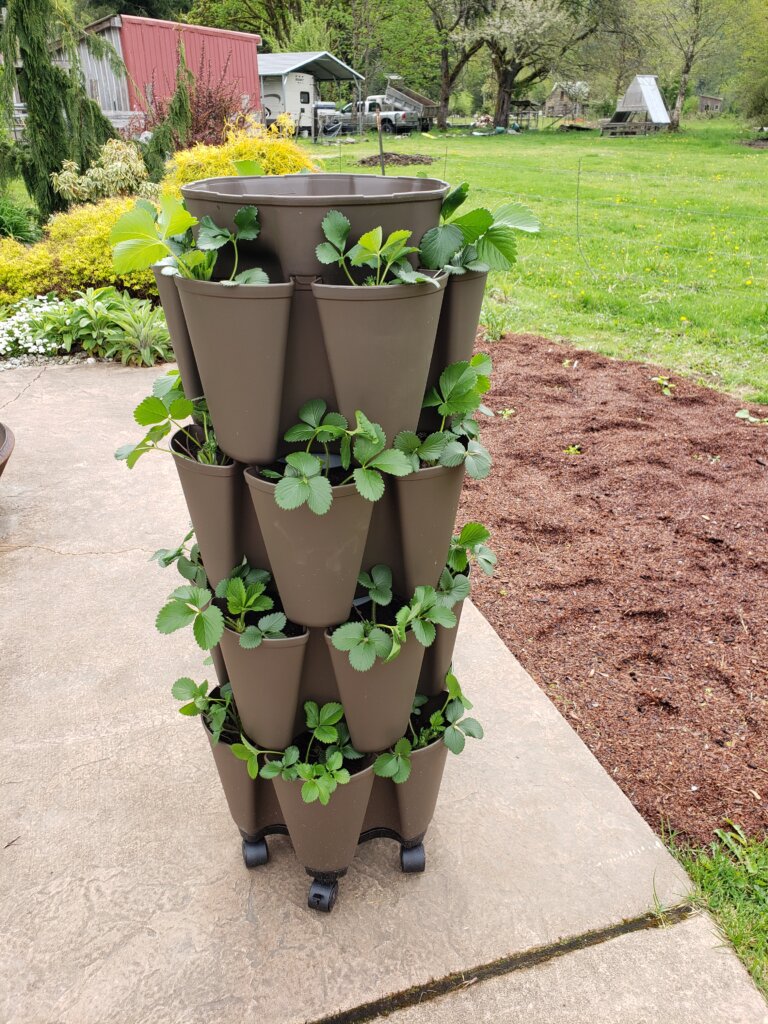
Container Gardening
Container gardening is a great option to provide extra garden space, especially because you can typically move the containers around as the weather changes to “chase the sun”.
You can move it to a sunnier, warmer spot during the winter and a shadier place in the summer. They’re also great for maximizing patio space.
If you have a sunny sidewalk next to your house, you can utilize something like a GreenStalk Vertical Planter to grow more crops (pictured above). Use coupon code “PIONEERING” at checkout for $10 off your order.
I grow strawberries in my GreenStalk all year long and then use the top tier to grow my annual basil in the summer.
Direct Sowing Into the Ground
Most large gardens will be directly sown into the ground. If you lack the space in your yard for a garden, you can actually turn your lawn into a garden bed! In order to do this successfully, you’ll want to know about the quality of your soil. This leads to the next tip…
Soil
Soil is the most important part of any garden. Usually, if there are issues with plants, it comes down to the quality of the soil.
Over the years, I’ve done many experiments to improve our soil (as a gardener, you’re always doing what you can to improve your soil). You can see how we covered half the garden with wood chips. A year and a half later, we did a soil test to see whether they actually improved the soil or not. The results may surprise you!
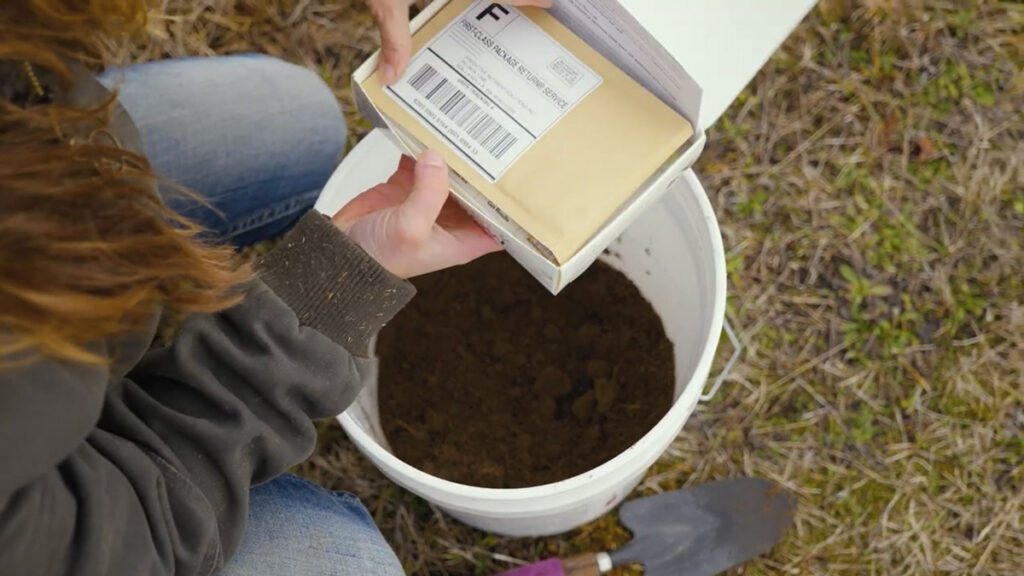
Get a Soil Test
My recommendation is to start any garden off with a soil test. I share how to test soil pH here, but if you’re not looking to DIY, most county extension offices will do soil tests for free or for very little cost. A simple soil test will give you a basic overview of your soil.
Once you know the quality of your soil, you’ll know if there are specific soil amendments that need to be added right from the get-go. For example, if your soil lacks enough nitrogen, your plants won’t grow very big; they’ll look sickly and have yellow leaves. On the other end, if you have too much nitrogen your plants will look like they’re growing well and will produce a lot of leaves, but won’t actually grow a lot of produce.
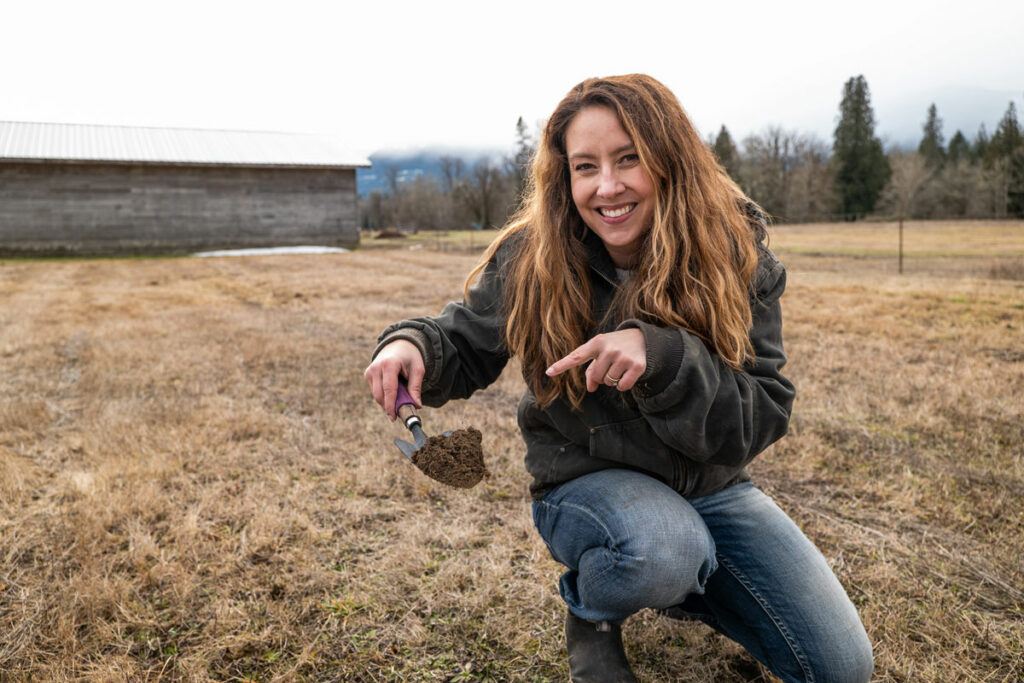
Build Up Your Soil
Beyond a soil test, you want to build up good quality soil by knowing what needs to be added. Usually, just with a good look at your soil, you can tell if it’s healthy or needs amending.
If your soil is red, gray, or sandy in color, then you’re going to need nutrients. However, if your soil is really dark brown in color (the closer to black the better), then your soil probably already has most of the needed nutrients for a healthy garden.
One thing you can never go wrong with is building up your soil year by year. I like to use sheet mulching, it’s the easiest way to build up good soil. But this method takes a bit longer.
If you’re looking to have a garden this spring, then using compost and aged manure will be a good addition (never use fresh manure unless it’s rabbit). If you use fresh manure, it’s too high in nitrogen and can burn the roots of your plants. Here are seven ways to compost at home!
Garden Tools
You only need a few basic tools to get started with your garden. Most tools aren’t necessary, but there are definitely some fancy and fun tools out there if you don’t mind spending your money on them.
Tractor
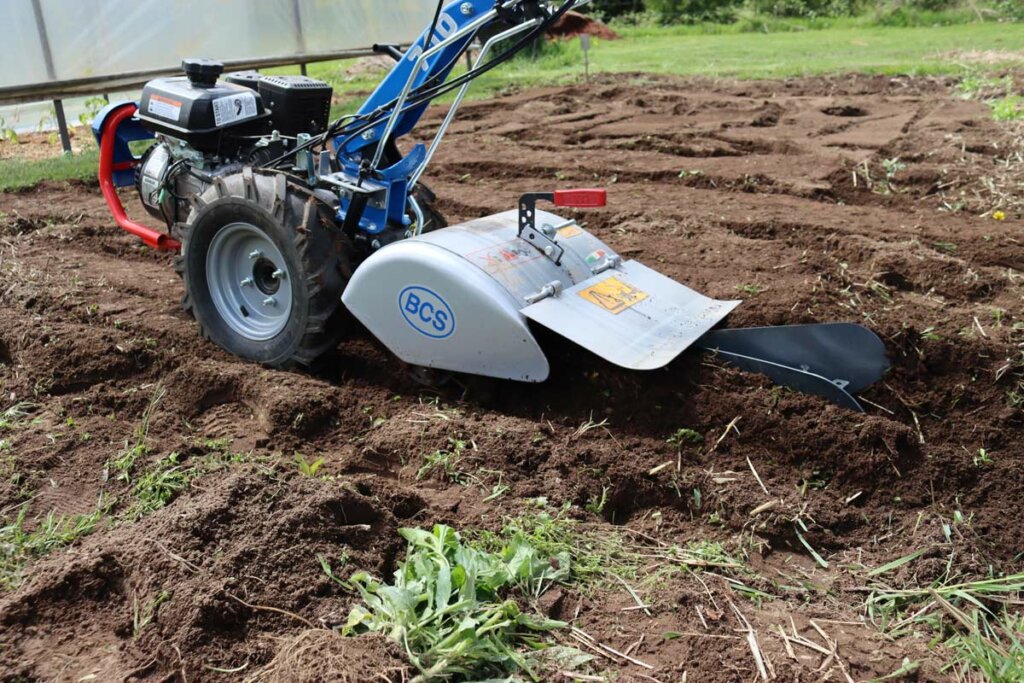
If you don’t have a garden bed made, you’re probably going to need a rototiller. I have a BCS two-wheel tractor that I love. If you’re not looking to buy a tractor, you can sometimes rent or borrow one of these from a neighbor just to get you started.
Shovel
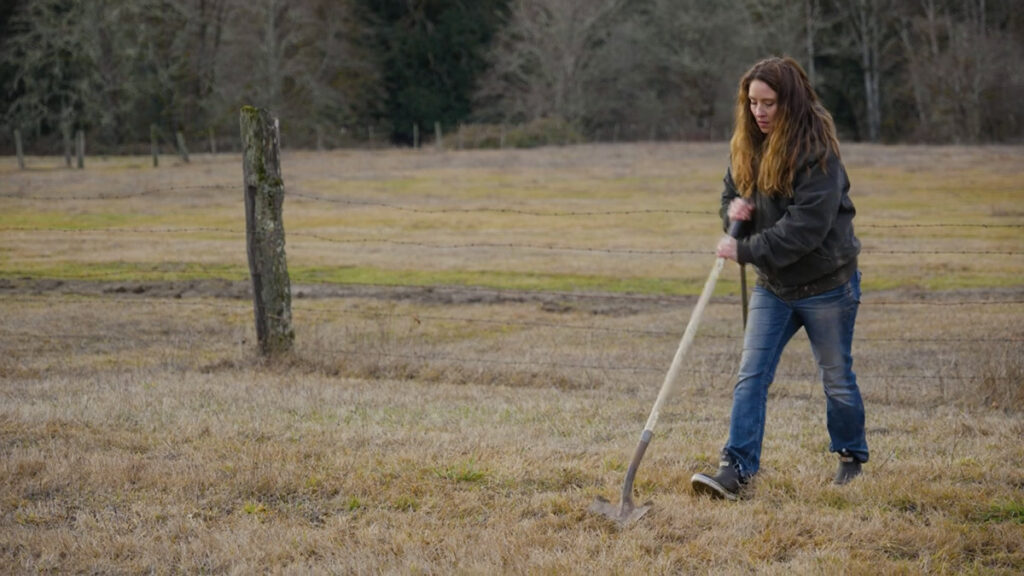
A shovel is a must-have. I like having a long-handled shovel as well as a small hand-held shovel (especially one with markers to tell how deep I’m digging).
If you’re just starting with your garden plot, a shovel will come in really handy to make sure you can get any larger plants out of your garden bed.
Garden Hoe
My garden hoe is probably the tool I use the most, especially in the summertime. It’s so great to scrape along the surface and cut any weeds just starting to pop up. Normally, I like to keep weeds out of the garden naturally with this method, but when I’m short on time and want to catch a weed before it goes to seed, my garden hoe comes to the rescue.
It’s also very handy for redistributing any mulch that’s gotten pushed around. I love covering my garden in wood chips as this helps keep weeds down, helps the plants retain water, and helps hold in heat.
Seeds & Seed Starting
At this point, you’ve decided which crops you’re going to grow, so the next thing you need to decide is whether you’re direct sowing the seeds into the ground or whether you’ll be seed starting indoors in the winter and spring before planting into the garden.
Buying Seeds
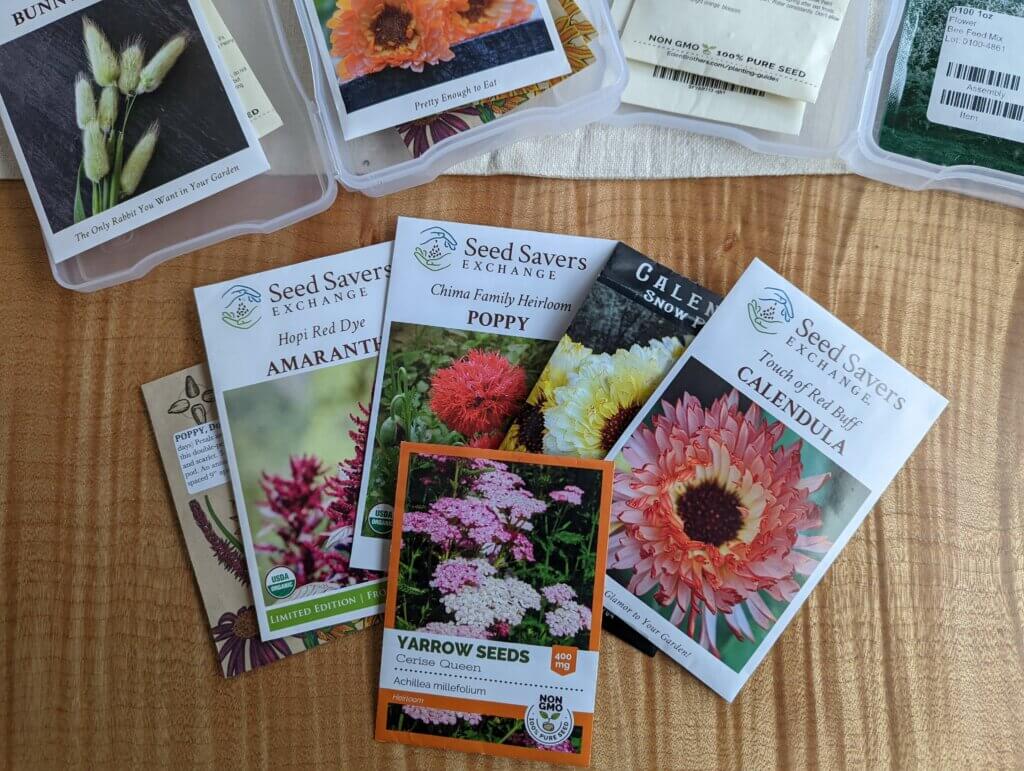
If you’re buying seeds, you want to be sure to buy seeds from quality suppliers. Here’s where I like to buy heirloom seeds and this is why I will only buy heirloom seeds.
Growing or Buying Starts (Transplants)
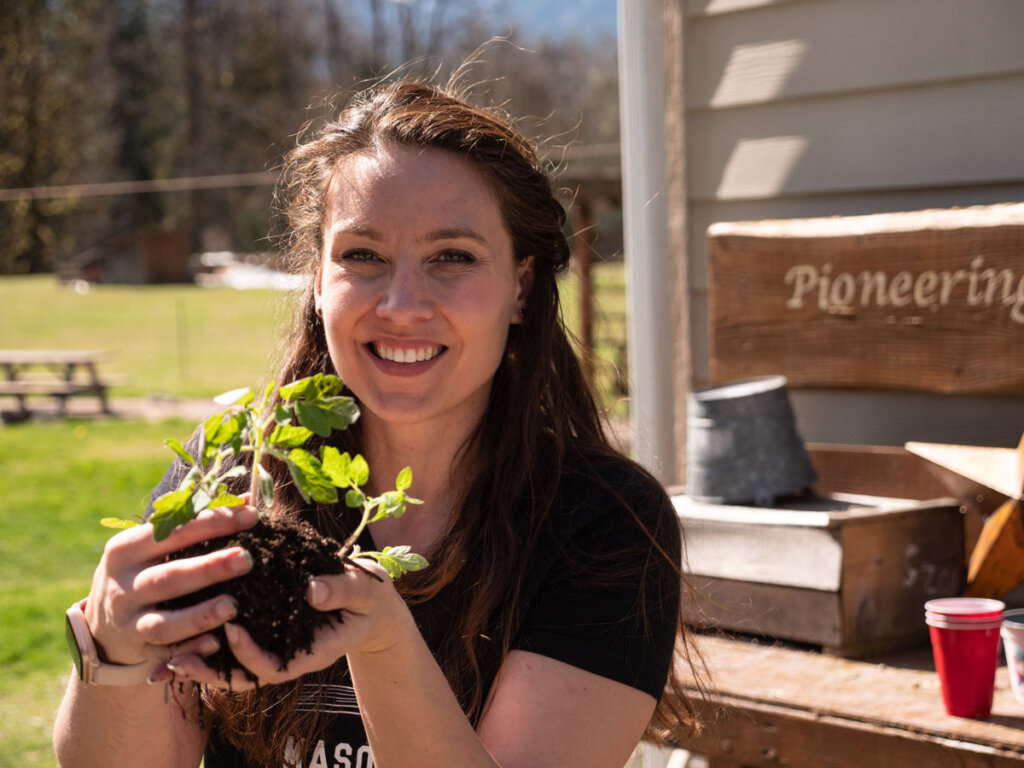
You can grow transplants by either starting them yourself or buying transplants from the store. One downfall to buying plants at a nursery is there are fewer varieties available. Did you know you can sometimes even propagate plants yourself?
Another con about buying plants is that you can’t always seed save because you don’t know if the seeds are heirloom seeds. I love to save seeds and do so yearly for many of my crops (here’s how I seed save for my garden each year).
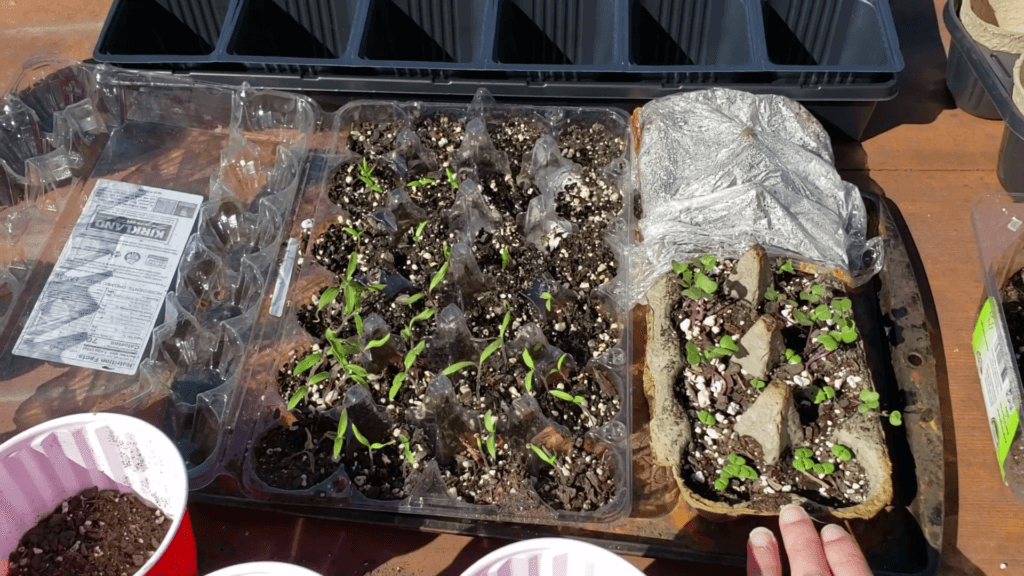
Starting Seeds
When you’re seed-starting, you want to make sure you read my Ultimate Seed Starting Guide to plan, start and avoid common seed-starting mistakes.
You can find out the best seed starting containers here. And once those plants are getting big and strong, you’ll need to harden off your plants before transplanting them into the garden.
To “harden off,” you will bring your plants outside slowly. Bring them outside for a few hours the first day, then bring them back inside for the remainder of the day. On the second day, you can leave them out for a couple more hours, then bring them back in.
Continue this for about a week, then you can leave them outside full-time and they’ll be ready to plant in the garden.
When to Plant
In order to know the proper planting time, you must know your first and last frost dates. This lets you know not only when to plant your seeds, but also when to start your seeds indoors to transplant them at the proper time.
Harvesting Your Crops
Something many first-time gardeners forget to plan for is the garden harvest. We spend countless hours tending to our plants, watering them weekly and getting them to grow and produce, but it’s so important to have a plan for that produce when it comes time to harvest.
One way to reduce the overwhelm is to use succession planting to spread out your harvest, so everything isn’t ready all at once. Along with my succession planting guide, I also have a FREE seasonal monthly planting guide you can grab here.
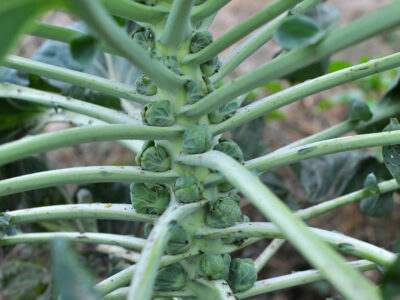
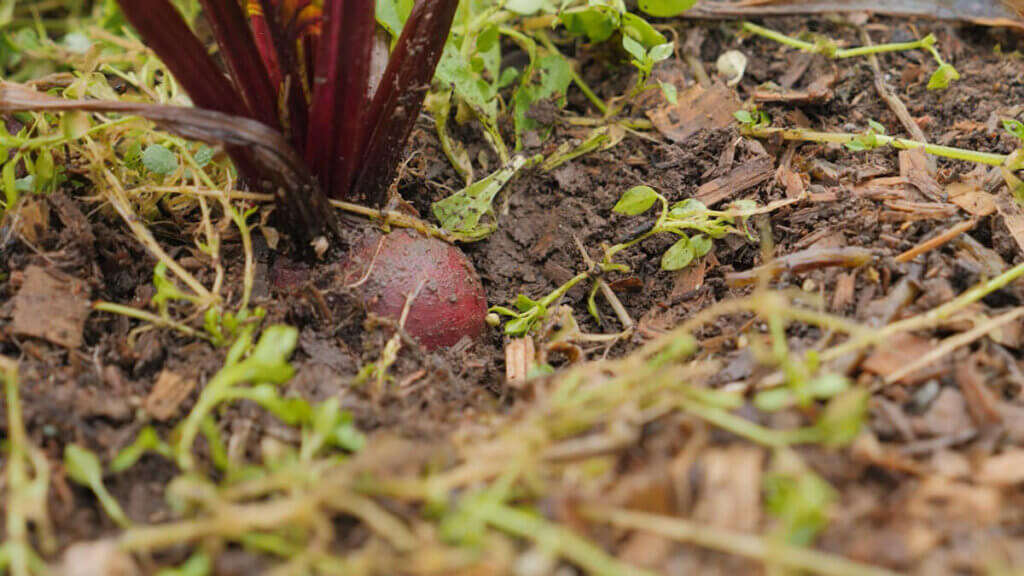
Where I live, even well into the winter months, I’ll be harvesting Brussels sprouts, kale, lettuce, carrots, and even potatoes! The carrots and potatoes are no longer growing, but I can store these crops in the ground through winter and just dig them up as needed for fresh eating.
How Much to Plant
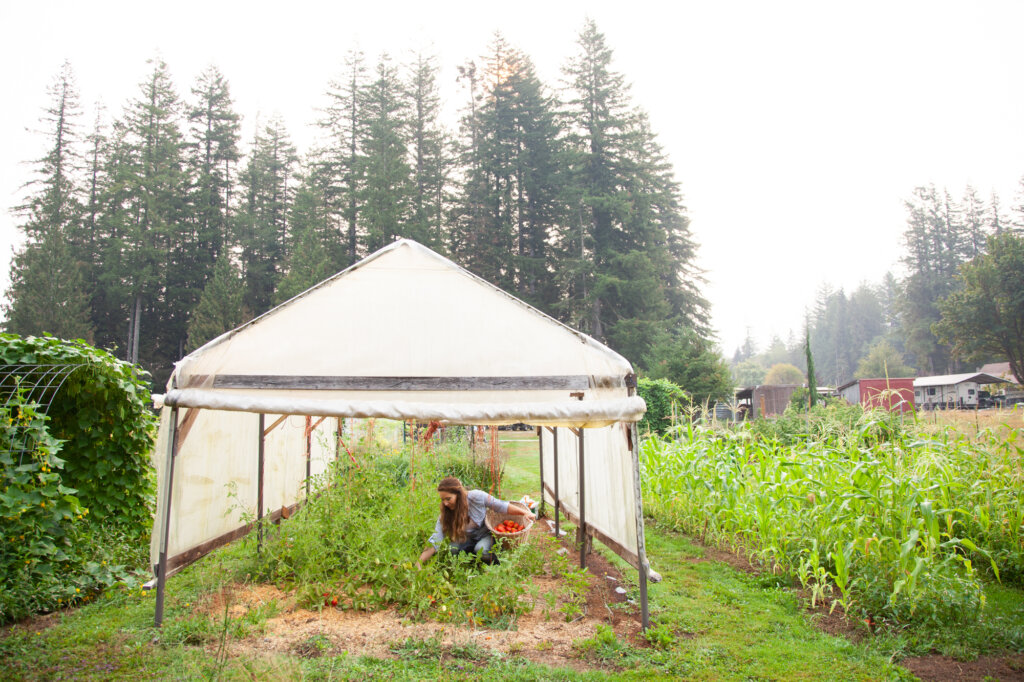
How much of each crop to plant per person will vary based on your needs. I like to encourage people to choose one thing and try to grow a year’s worth of that one crop to start. Each year, you can layer on to where eventually, if it’s what you want to do, you can grow a year’s worth of food in your garden.
Here’s to a successful garden season, being more self-reliant, and getting back to our pioneer roots with food production!
More Posts You May Enjoy
- Beginner Gardening Secrets You Need to Know
- Seed Packet Information – How to Read Seed Packets for Gardening Success
- 11 Tips for Organic Pest Control for Vegetable Gardens
- Best Way to Germinate Seeds – How to Germinate Seeds Faster
- Cold Stratification of Seeds – Why & How
- What Are the Best Seed Starting Containers
- Potting Up Seedlings & How to Separate Seedlings
- Cabbage Moth and Slug Control with Organic Gardening Methods
- How to Get Rid of Bugs on Plants Naturally Tips that Actually Work
- Preventing and Treating Early Blight for Tomato and Potato Plants
Hey pioneers. Welcome to episode number 423. Today we are starting our homesteading 101 series and today we're going to be starting that with the topic of gardening. But where I really want to dive in deep to this episode is actually diving into the soil, understanding what type of soil that you have, how that influences the choice of gardening beds that you may or may not choose, and really diving into that nuance because I feel that there is a lot that is covered on seed starting. I have tons of different videos and blog posts on that to help you with seed starting. There is a lot that we'll talk to you about first and last frost dates. I've got episodes on those. I feel like a lot of those beginning basic gardening things which are essential and are important to actually getting a harvest in a thriving garden have been covered.
But one of the areas that I see actually both from your comments when we first announced that we were going to be doing this series and getting your feedback, and that was actually one of the comments that people said that they would love to see more on that's not talked about quite as much. So for this one, I decided to start with the gardening soil because I feel for this time of year when this episode is being released that this is really where you would be starting in a lot of times and you have the opportunity now throughout the rest of spring and early summer to put these practices into place or to let this help guide your decisions on some of the ways that you may be putting in gardening beds and deciding to grow produce this year. Now I'm also starting and mainly focusing on soil and understanding that because I'm an advocate of layering on skills and not doing too much all at once, I think that also helps to prevent burnout.
But really the soil is the basis for everything. Soil is the basis for our pastures when it comes to raising grass for livestock, and it's definitely the basis that means if a garden, including fruit trees, berry plants, as well as vegetable gardening, all of those things, it really comes down to the soil. You can get everything else right, and if you have the soil part wrong, you can see languishing, diminished harvests, and sometimes even with perennials and vegetable gardens, maybe it takes a few years, but if that soil health isn't right, then that can undermine everything else.
So for gardening basics, if you need to dive deeper into that, then I have a 13 basic steps to starting a garden. So if you're brand new to even the concept, you've never started a vegetable garden before and you need some more direction on that, we will link to that both in the video description, if you're watching the podcast with me here on YouTube, or you can go to the blog post that will accompany this episode on the website for further resources and links and that can be found if you are listening to this old Fashioned on a podcast app, you can find that at melissaknorris.com/423 just the number 423, because this is episode number 423.
So one is picking our garden location is very important, but I want to first talk about soil. And what I find most often is a lot of issues that people have with their plants from both pest pressures as well as prolificness, meaning how much is the plant actually going to produce for you, plants struggling, etc. Usually all comes down to the quality of soil. And unfortunately, it's usually one of the most confusing things for people, even people who've been gardening for a while, maybe consider themselves intermediate or even perhaps experienced gardeners.
So let's kind of break this down. The first is knowing just what your native soil in your area is naturally like. Specifically, where you're going to want to be putting in your garden beds because if you have acres, you may actually have different sections of your property where the soil is different. We have out in our pasture here on our home 15 acres where it was hundreds if not thousands of years ago, the bottom portion of our back pasture and land was actually really, really old riverbed. That means that part is actually quite sandy still, whereas the top portion has more silt, less sand was also a wood and forested area longer. So it has a lot more organic matter in it and it is better soil. It's not as rocky and it's not as sandy as what was the old riverbed portion. So I share that because as I said, you can go 200 feet and have very different soil even on the same acreage, same spot of land.
So first identifying this is where I want to put the garden. Some of that is going to have with light requirements, daylight requirements. For most of your vegetable gardening, you need a minimum of six plus hours of full sunlight, so without any shade, for an annual vegetable garden. So some of that is going to be making sure that you don't have trees that are going to be leafed out in the summertime casting shade where you want to put your garden, close to watering, where you've got some spigots or you can run some hoses. Lots of different things on the layout of where you're choosing your garden spot, but once that has been chosen, then looking at the soil. So you have, very basic is you would have soil that could be really rocky. You can have soil that is very, very sandy. You can have clay soil, and so usually clay soil is quite compact and it doesn't absorb moisture very well.
Clay soil, it's very, very common. If you have a big rain storm that drops a lot of water, then you'll see standing water sometimes for days, it can take it a long time to absorb and actually get down into that, so that can be an issue. On the flip side, if you have really rocky soil, that is going to be hard for roots of plants to get established, especially if it's really big rocky soil. If you have sandy soil, then it's going to dry out really fast. So it will absorb the moisture. You're not going to have standing water that can rot roots and create saturation issues, but when you do have rainfall or water it's going to go into the soil, but because it's so sandy, there's not a lot of organic matter in that soil to hold the moisture to then slowly release to the plants over a period of time, it dries out really fast.
And sometimes you'll have a combination of soils within, but it's good to know what the base based upon those types of soil is in your area. Now, ideally, which most of us aren't dealing with ideally, but ideally it's a bit of a combination of those things, or you may have, as I said, where we are in our top area where our vegetable gardens are here at our home farm, it's really good loamy soil because it had flooding from way back when, but because it wasn't down low in the river bed, it just got more of the deposits of the silt. And then we had a lot of breakdown of leaf matter and vegetation over years and years because it was a forested area where our house and our garden beds set. So we have pretty good soil. So that's your first identification is just what type of soil is it.
Now, if it's sandy soil, if it's compacted, if it's clay soil, if it's slightly loamy soil, even if it's rocky soil, there are ways to build up and change that soil. It doesn't mean that that is what you are stuck with. However, if it's really rocky soil, it's going to take you longer to build up the top soil on that, but it is doable. So oftentimes I see where people, raised beds or raised garden beds, I don't want to say that they're trendy, but they've definitely gained in popularity over the years. I know in our area where I live when I was growing up, a lot of people have vegetable gardens here, and I don't know anybody. When I was a girl and in my early adulthood, I don't really know anybody that had raised vegetable garden beds. All of the gardening was done in ground.
If you look back historically, that's how most of the gardening has been done when we're talking vegetable, annual vegetable production. Of course with containers for flowers and maybe culinary herbs, et cetera. But for your main vegetable production, really predominantly most of that was done in ground and now I see a lot of people, it's very aesthetically pleasing to look at raised beds. If you have mobility issues, then raised beds definitely can be a plus. If you're trying to grow a lot of vegetables in an area that does have really rocky soil and you're like, I want to bring in soil so that I can start growing right away and I'll work slowly on building up the soil or even sometimes people see I have really rocky soil or maybe really, really compact soil or contaminated soil. So I have to say if you have gotten a piece of property that has had a lot of chemicals sprayed on it, maybe a lot of runoff or the soil doesn't have hardly any fertility to it, it's almost sterile, it's so lacking.
Then doing raised beds where you're bringing in healthy soil, I guess I should also clarify the difference between what is considered a raised bed versus a container. So a raised bed is just where the sides of the bed, depending upon the side, have been built up to a certain height, but there is no barrier on the bottom between the natural soil and ground and then the soil that's being put in. So the plant's roots can go all the way down into the native soil and ground once they've reached and went past, however high up the raised bed is. But it's not an enclosed container, right? It's just the sides. Whereas a container is exactly as it sounds, it's a container, you're going to have to have some drain holes in there, but that container is fully holding the soil and the roots of that plant can only go what the size of that container is.
They cannot continue and go down into the earth. So that's the difference between a container and a raised bed. And containers can be great because they allow you to grow on say a back patio or a back porch or something like that where there is no in the ground soil for those plants to be growing, but you can still grow plants in those areas. So balcony gardens, those types of things. So container gardening and we do container gardening and in-ground, I don't actually have any raised beds, but those can be great to add in for different areas or just to expand your growing space. Especially as I said, if you had an area of soil that had been maybe contaminated or was sterile and you just know that it's not going to be fertile enough to produce anything, but you want to start growing now, container gardens can be great for that.
And there also could be an instance where if the raised beds were deep enough, if you were worried about plant health, et cetera, you could put some raised beds in and then work on building up the soil in those areas. So raised beds are not bad. I hope I'm not painting that picture, but raised beds can in a lot of instances be more expensive than in-ground gardening because when you are building the raised beds, you have the expense of both labor and time as well as whatever the material is that you're using to build the raised beds, so you can get very creative, of course, I've seen raised beds done with metal, I've seen them done with rock, I've seen them done with wood. There's all types of things that you can use to build the walls of your raised bed. Obviously, the higher you build them can be beneficial if there is mobility issues because it brings the actual gardening surface of the soil up to height so you're not having to bend over as much or perhaps kneel down and get on the ground in order to work things.
So for mobility issues, I completely understand both containers and raised bed gardenings no matter what the soil situation may be, those make total sense. However, when it comes to putting them in, when you're looking at expenses and time to get started, they oftentimes are more expensive than in-ground gardening. And you also have to think about when you're putting in those raised beds, if you're using something like wood, that is going to break down in most climates. Now, if you're in a really dry desert, climate wood might not break down as fast. I don't have experience in that type of climate. But living in a northern climate where it is quite wet for most of the year and we deal with snow and all of that, even wood that is cedar, that is a longer lasting wood that still breaks down over years and it will need to be replaced eventually.
I have done some cedar raised beds in the past and they broke down relatively fast, and then I just have, you have to redo everything. So knowing you may or may not, depending upon the building materials that you have available to you, what you construct them out of, you may or may not have to replace those. Also, thinking about what you're using, because those raised bed walls, treated lumber is something I wouldn't be comfortable using. I know I've seen where people have used old tires, but again, think about what the material is in the tires or whatever it is that you are building your raised bed out of. Is that something that you want leaching into the soil and therefore into the food that you and your family are going to be consuming? And each person has their own comfort level of where they are with that, but something to think about.
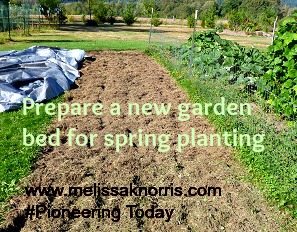
So you have the expense of whatever the material is, if it's rocks or whatnot on your land and you're able to stack those in a way to get you enough height, that's awesome. Again, though, still more time consuming in my experience because I've done those as well, it was more time consuming in my experience than the in-ground gardening beds have been to prep and put in new when they have been new ones, and I've got a video on that as well as a blog post if you want to go and check that out. That shows how we take an area that is grass, part of the yard, part of a pasture, et cetera, that's never been a gardening bed, and how we create a gardening bed from that area. If you want help and to see how we do that, then that we'll make sure and have available for you.
So back to our raised bed and the expense part. So after you have built whatever you're building it out of, then we do have to fill that with soil. And if the reason you were building the raised bed in the first place is because the soil on your property or in that gardening bed spot wasn't ideal, then you're having to input and bring in soil from an outside source and good quality soil can get to be expensive. Now, there are some different ways depending on how deep your raised bed is, if it's really deep part of the bottom portion of that, excuse me, you can use a hugelkultur method and if you have no idea what that word is or what I'm talking about, again, we have a blog post that can walk you through that.
But basically that is where you are taking wood. So it would be whatever branches, maybe logs, but most people's raised beds aren't quite that big and you would fill the bottom portion of that raised bed with that wood limb, etc, matter, and then you would put soil on top of that because over time that wood is going to break down and decay and become soil and can be a wonderful growing medium to your soil, but it is going to take it some time. So you have to make sure that for whatever you're planting in those raised beds, that there is enough soil above that wood area for the plant roots to have time to expand, to be able to consume the nutrients from etc. So that is one way though. I know other places you can have topsoil brought in. You can buy bagged soil. That's honestly though usually, usually that's the most expensive.
If you can get some soil brought in by the dump truck load or by the trailer load, usually because you're buying in bulk, you're going to be paying a lot less than you would be for the same volume of soil in bag. However, you can even go the bagged route depending on the size of your raised beds, and if that's your only option, it usually just is going to cost some more. Of course, you could do a compost pile and do a mixture of compost with soil. However, note you do need to have some type of top soil that you are planting in, you don't want to just fill it with compost. Compost is great and wonderful, but compost is not soil. And so if you're using just straight compost, you can have different compaction issues, just different things, moisture levels, etc. So compost is wonderful.
I use it a ton in the garden, but it is not, you wouldn't want to just fill an entire bed and try to grow just in the compost. We do need some other organic matter, nutrients, actual soil life in there, compost is definitely in addition and you could do a layer of compost that's in there. So when we add all of that up, that can be an added expense and sometimes it is definitely worth it in order to get going, but other times it can be a deterrent, to people deterrent. Now I'm actually, I know how it's spelled, I'm not sure how that one's pronounced. So anyways, that can be something that can be hard for people to get started when they're doing raised beds and not always necessary, though sometimes, and I think what I'm trying to really say here is really learning your type of soil and then ways that you can improve it, and if you can improve it quickly, those costs may outweigh doing the raised beds, but they might not.
I know some people who loved their raised beds because of preexisting soil conditions and found it easier to put in the raised beds, fill it with quality soil and then maintain them, and that was the route they decided to go. They grow a ton of food and really the goal is for you to be able to grow nutritious food for your family in your own backyard. But on the flip side, I have seen a lot of people who built raised beds because that's what they've seen modeled and didn't realize they didn't need to do that expense, that their soil was actually just fine and they could have saved themselves a lot of time. Some of the other things to know about raised beds, this also goes over to containers, is raised beds, because they're above ground will heat up faster in the springtime.
So that's advantageous if you're needing to get the soil warmer in order to germinate seeds or to be able to plant warmer weather crops earlier or even some of the cool weather. So that can be a benefit. However, being cognizant that then when you hit the summer months where it's usually hotter, they will be hotter and they will dry out faster than in-Ground gardening. I know my container plants, I have to water way more frequently and keep an eye on those than I do my in-ground plants. So just things to be cognizant of where you've got some of these different little things with the different type of beds. So with your soil test, we kind of went really broad there, right, where I was just talking about clay soil versus sandy soil versus loamy versus rocky, et cetera. So knowing that, those are great to identify which types of soil do I have, and then really is to start off with a soil test and I just was talking to a gentleman and I'm going to have him on the podcast.
I don't have him scheduled yet, but it will be coming hopefully this summer where we're going to really dive into the nuances of soil testing and getting into that really, really deep. But a soil test can a great way to just know the baseline of the micro macronutrients that are in your soil or lacking or too high, that type of thing, and also the pH level. Now, the reason pH level matters is because if your soil is too alkaline or too acidic, depending on what you're putting in there, in the context of this episode, we're really focusing more on an annual vegetable garden and an annual vegetable garden, in my experience, I've kind of found anything that's around a 6.2 on the pH two, about a seven, which is neutral on the pH scale, I've been able to pretty much plant anything vegetable wise in that soil and it's not suffered one way or the other.
So you have a little bit of a range. Where things really get off is if it's above that seven, above neutral, which means it's alkaline, really hitting into alkaline or if it's super, super acidic. Now certain berry plants and fruits actually need more acidic soil or you start to see their health suffer. But why that pH level even matters to begin with is because if the pH level is too far off one way or the other, you can still have the available nutrients in the soil. They're all there, but the plant is not able through its roots to draw up and actually intake those nutrients that are in the soil. So that's why pH actually is a pretty important thing. People don't always realize that, and it's why it should be included in your soil test. And I think almost any soil test that I've ever looked at or had done does include the pH level, but just in case you're wondering why that's in there and why it matters and for soil testing, we will have links to that.
I use the, Redmond has a Redmond soil test that you can use and they will show you what the results are with some suggestions. I've also got a, it's funny enough, they are a local soil testing company to me, meaning I can take and drop my soil off or I can pop it in the mail, but they do all over. And if you are lucky enough to live in a county, if you're in the US, a lot of local county extension offices will offer soil testing, if not for free, for a pretty nominal fee, pretty inexpensive. I happen to live in Washington state and our local county extension offices do not offer that. So I've had to look and find different resources that do provide soil testing. So my favorites we'll have in the blog post, you can go and check them out. Now, building quality soil, because really regardless of what your soil health is, it is important to know that.
So if you need to bring in any essential inputs in order to change pH level to make it more favorable, or if you're really, really lacking in some of those micro macronutrients to add things in, like for example, nitrogen levels, magnesium levels, there's a whole bunch of different levels, but those are the ones most people are familiar with. Calcium to know if you would have a blossom and rot issue or not all of those. But regardless, we need to know how to build quality soil because if you grow, which I hope you do, I don't want anybody to put in a garden bed regardless of what kind and only grow vegetables in it for one year. So if you are growing vegetables throughout the years in your gardening space, that soil will become depleted over time because the plants are going to draw stuff out of it.
Now, some will help put nutrients back in, but building your soil is never a once and done thing. It is something that you will be doing forever, hopefully. As I said, you're developing gardening and producing your food as a lifelong habit, so you'll be needing to build your soil forevermore. So it's a long game, right? High quality soil is a long game and generally doesn't happen overnight unless you are buying expensive soil. And even that, knowing there can be soil for sale, you can get contaminated soil, it might not actually be high quality, et cetera. It can be cost prohibitive to bring in a bunch of outside soil and we'll link in the blog post again that accompanies this episode to I did an episode that talked about buying like potting soil, if you get contaminated soil, what are some options that you have just in case?
So if you aren't sure about that, we'll provide a link for that. So one of the best things that you can do honestly, is to start a compost pile. Composting is very easy. You can do it large scale, you can do it small scale, a lot of different ways that you can do a compost pile, but you can never go wrong with adding compost to your soil. It is a great addition to soil and it's something that everybody can do. And we are going to be having in April, I don't have where you can register quite yet, but we are going to be doing a homesteading skills summit. It's completely free. It's going to be five days, and on the gardening day, we will have some things that definitely address growing and we'll be talking about soil health. So keep an eye out for that because very soon you'll be able to register and I'll get you more information when that comes, but just like, Hey, heads up.
So the next thing after a compost pile is to add organic matter, especially when we look at manure. Manure doesn't just offer nitrogen, though it does offer nitrogen, it offers a lot of other great macro micronutrients. Some of those are going to be nitrogen, phosphorus, potassium. If you've ever looked at synthetic fertilizers and it says NPK ratio, and depending on what you're putting it on, flowers, vegetables, that changes. Sadly though, when you're only using synthetic inputs like that, there's a lot of other things that aren't going into the soil. So I always like to use a natural non-synthetic source to build up the soil. It's why we see a lot of depletion over time in soil where just focusing on adding nitrogen, like you're going to get some real big growth first, but soil is so much more about than just nitrogen. There's all these different interconnections and things that make up healthy soil.
There's microbes, and if they are starved out or fed too much of one thing, then they leave. And then you have soil that is only dependent upon an outside source of nitrogen because you've disrupted the microbiome of that soil so much that the natural components that would help to create healthy soil have left. So that is probably an entire another podcast episode. But some of the things in aged manure are nitrogen, phosphorus, potassium. You'll have some of the micronutrients, which copper, manganese, zinc. So aged manure can be a great thing to add. And if you're a homesteader and you have livestock or there's people in your area that have animals that produce manure, that can be a easy thing, especially I know we have a local dairy and they're cleaning out stalls all the time, so they have a lot of aged manure and compost.
If you have, a lot of different farms that have livestock actually are like, yes, please come and take some of the manure, and you just have to come and get that, and they're very happy to get rid of that. Again, knowing what the animals fed and that type of thing can influence if you want manure from that farm. But it can be a great, inexpensive, if not free way to go in order to get manure. You do want to make sure that it's aged, putting fresh manure on the garden bed, now, if you're putting it on in the fall and you're not growing anything and fresh manure, has about six months to age, then that can be fine. So sometimes they'll put that on in the fall knowing it's fresh and we're not going to be planting in that area till spring. Not a problem.
However, this time of year when this episode is releasing in the spring, you want to find some aged manure unless it's rabbit manure. Rabbit manure is considered a cold manure, meaning it doesn't have too high of nitrogen levels. So chicken manure needs to be aged, horse, bovine, cattle. All of that needs to be aged because the nitrogen in there is too hot and it can actually kill the roots of the plant and actually make the plant die because there's too much there in ratio. So that's why aged is best.
But those can all be ways. And then we have where it comes to adding different layers that are going to break down and create soil, and that's really when we talk about carbon. And so carbon is the number one way to actually build topsoil. Now, depending upon how thick of carbon you put, if it's mixed with, and this kind of goes back to composting basics, but if you've got your carbon, which can be wood chips, it can be leaves, it can be hay, anything that is considered, well not green, which is why it's called brown, as I said, wood chips, those types of things, those can all be fabulous.
And over time, that is going to break down and create really, really good soil. So if you're looking to increase topsoil and to build good soil, adding carbon. Now how much green is added to that in ratio to the carbon is going to quicken how fast that breaks down, which is why I said doing deep letter methods in chicken coops and barns and stalls over winter, and you just keep adding carbon to absorb the poop, which is our green source, urine, in the case of chickens and poultry, you have where that's both coming together, which is where you can get that high ammonia smell, making sure there's enough carbon in ratio to that to absorb it. But that is really excellent. Some of the things that we'll do on our pasture, especially in the winter months when we're feeding hay is exactly that. We will feed in areas that need more organic matter, that need more fertility.
We will purposely feed our big round bales of hay because some of that hay will be left, even in a round bale feeder, cattle are notorious if the hay gets stepped on or urinated on or defecated on, they're not going to eat it, which is good. We don't want them eating that, but they waste some of it, and so it's not wasted, however, when it goes on an area of pasture and then they're also going to the bathroom where that is, so you're adding in that green, that can be a fabulous way to build up an area of soil over winter, because the majority of it is carbon because you can have cattle where maybe they're eating out of troughs or they're going to eat somewhere else and then they're just going out back out during the day to that area of pasture and they can poop on it.
You can have a lot of manure, but without that extra carbon going on, you won't have nearly the fertility back in that field. As you do is when you are feeding that hay, and it's a large amount, we do the big round bales and a big round bale feeder, of carbon that's then on top of the soil and breaks down, those will be the areas that are most fertile the following spring and summer. It's actually pretty incredible. But you can do the same thing in a backyard gardening setting. It's just getting that carbon there. So I know some folks will decide to put in some raised beds because the soil is not fertile, for whatever reasons we went through before, it can be very sandy, very rocky, super clay. And so that addition of carbon helps all of those above issues. And so you can do very deep levels of carbon, it's going to take it longer to break down, but when it does, you're going to have this deeper level of really nice topsoil.
There's different ways where you can plant basically cover crops and then you can rough chop those or crimp them and that will fall down and build up the soil. It's not something, in most cases, you end up harvesting something, that's getting worked back into the soil. So there's multiple ways that you can build up soil, and most of these can all be done in a backyard vegetable garden and even applied in some degree to raised beds or container beds. As I said, it's a cycle that we're always looking to build up our soil and always make it healthier and better increase soil fertility. So that is really my rundown. And the basic foundation is identifying what type of soil you have and then the ways that you can, one, get your baseline of what that type of soil is, and a soil test can come in very handy and then identifying, okay, how am I going to improve this soil?
Which of these options make the most sense for me as in budget, mobility, all of those different things. But I think it's important that we talk about this so that you can make an educated, informed decision based upon what your soil and what your needs are for you and your family, where you're at, and not just following even me, like if you were to look at my garden and what we do, that might not be the best case and the best choice for you and your garden. So it's really developing that understanding so that you're making an educated choice and an educated decision based upon what you have available to you right now in this moment. So if you would love to see us dive deeper into some of this, I feel like this gives us a very basic foundation, as it are, on soil health.
And if you would like me to dive in further to any of those, do let me know. We have a couple of different blog posts on both raised beds and container bed gardening as well as seed choice selection, kind of all of those other basics of gardening that you do need to know. But if you don't understand the soil health part from the beginning, as I said, then you can still get everything else and have issues. So we've got resources for you. Highly recommend you go and grab those. And speaking of growing vegetables and getting those planted at the right time in good, healthy soil is our sponsor, which is Azure Standard. Many of you know I adore and love Azure standard for a lot of things and use them for things that we are not producing ourselves on our homestead. And one of those happens to be garden starts.
So if you didn't get seed starting things or you missed the window where you're like, "Oh, I'm a little bit short on what I wanted to plant this year and it's too late to seed start these." They have their Elysian garden starts. I have gotten quite a few plants from them, including some flower and herbal starts on things that I wasn't able to seed start myself or were new varieties to me. And I've always been very happy with them. It is a first come, first served item, though they're available right now at the time of this recording, which is the mid part of March, but they usually sell out sometime in June and July, and sometimes they'll sell out sooner of certain varieties and certain types earlier than others. So make sure that you get on order with your Azure order anything that you want sooner rather than later.
And also know this goes back to our gardening basics. You'll see available from them some starts, for example, they have tomato starts already. However, that doesn't mean that those are ready to be put outdoors in your area. There are Elysian garden starts are grown and started in a greenhouse. So you do need to make sure that when you're ordering these plants that it is the proper temperature for them to be able to go outside in your area. For me, tomatoes can't go out until about mid-May. So if you were to order them now, you would need to have them in some type of indoor protected gardening environment if you were in my gardening location. So that's just something to be cognizant about. But excellent quality. I have always had really good luck with their starts. And I've had Echinacea, I've got some of my medicinal herbs from them actually.
I got some Echinacea and some different lavender starts two years ago, and they come back strong every year so far. So I've been very happy with them. And if you are a first time customer to Azure Standard, then you can use coupon code Melissa10 and you'll get 10% off your first time order of $50 or more. So thank you to Azure Standard. And now we are onto our verse of the week.
We are actually in first Corinthians chapter 15 and verse 56 through 58, and this is the amplified translation. "Now, sin is the sting of death and sin exercises its power upon the soul through the abuse of the law. But thanks be to God who gives us the victory, making us conquerors through our Lord Jesus Christ. Therefore, my beloved brethren, my firm, steadfast, immovable, always abounding in the work of the Lord, always being superior, excelling, doing more than enough in the service of the Lord, knowing and being continually aware that your labor in the Lord is not futile. It is never wasted or to no purpose."
And I was reading in Corinthians actually about a week ago, and I found that I kept coming back to this and pondering on it, and especially the verse 58, but I kind of wanted to give the before context. And I don't know about you guys, but there have been times in my life both in homesteading, my spiritual walk, in my personal walk with relationships, et cetera, where sometimes I have felt like, I don't know if this is doing any good, honestly, where I felt like, "Why am I doing this? Am I actually making a difference?" Because sometimes it doesn't feel like we are for multiple different reasons. Maybe it's just you're worn out and tired, your burnout, maybe you're under spiritual attack. I mean, there's many different reasons than it could be, but I really found this verse comforting because even if we are not aware of it, our efforts aren't futile, they're not wasted.
We just might not be able to see it in the moment. And so basically it is encouragement to keep on keeping on. To know that what you are doing is making a difference even when you can't see it. And I have to say recently, I have really felt that in my health journey, I've shared with you guys on some more recent episodes about all the different health stuff that we had going on, tumor surgery that I had to have removed in November, all those things. And sometimes I'm like, I have been working so hard on our health, like growing so much of our own food, making so much of our own food from scratch for years now, and yet I still have these different health issues. But this reminds me that it is not wasted. And I know that this is actually talking about, obviously when we're talking about a Bible verse, it is in context with the work that you are doing for the Lord.
However, providing for your family and being a steward of our body by the foods that we put into it, I think that that is also to the Lord. It can be something that we perhaps, with anything, with any good thing, right, sometimes if we get too dogmatic about that or starts to have negative results, that can go that way. But overall, it's not ever wasted. And sometimes I needed that reminder recently because of, I've worked so hard, and I am still going through some of this stuff health-wise, but a friend of mine who was, visiting with her and kind of complaining, to be quite honest, bemoaning, and she's like, "But can you imagine where you would be if you hadn't invested all of this time already into your health? Think about how much worse it would be if you're going through this right now, having made all of these changes so long ago and worked so hard on your gut health, imagine how much worse it would be."
So I don't know if that's actually comforting or encouraging to you. It really was to me, and I myself have needed this reminder. So in case you did too, I hope that it was encouraging to you. I look forward to being here with you next week. We have a great guest and we will be diving more into the perennial side, specifically on fruit trees and orchards as we continue down our road of our homesteading foundations. So look forward to being here with you then. Blessings and Mason jars for now, my friends.
Sign up to receive email updates
Enter your name and email address below and I'll send you periodic updates about the podcast.
Janel
I love your above ground sprinklers that have a gentle spray mist. I’d love to have step by step information on how to set them up and what specific supplies are needed. My local hardware seems to mostly carry soaker hoses and Rainbird sprinklers for a vegetable garden and I’ve had problems with blight on some veggies due to the hard hitting water spray.
Wynn Brown
Question
Do you put the seeds from the jalapeños in the fire water?
Mary Heseman
Thank you so much!
Deb
What brand of organic seed starter soil do you use? I want to start some seed indoors to help lengthen our season in Wisconsin. Thanks.
Tricia Hallam
Thank you for all the information you share with us. You are so encouraging!