How do you know if you need to use cold stratification for your seeds? And if so, how do you do this? I'm sharing both why and how to cold stratify your seeds for better germination and production.

This is exactly what we'll be discussing in this post. I just started planning the expansion of my medicinal herb garden and some herbs require cold stratification or winter sowing for proper germination.
I have an entire guide on how to start seeds indoors, but quickly realized I didn't have information about cold stratification on my website so this is the post answering the question of why and how to do cold stratification.
What is Cold Stratification?
Cold stratification is putting seeds into a dormancy state with temperatures below 40° Fahrenheit for a specific period of time in order to improve the germination rate (the number of seeds that will sprout).
This needs to be done with specific perennial and biennial herbs and flowers when trying to grow them from seed indoors (see list below for flowering herbs).
In nature, these seeds won’t sprout without the cold period because if they did sprout early (right before winter) then they would die, so this cold period which signifies winter, allows them to sprout in the spring when temps warm up without the danger of winter freezes killing them just as they’ve sprouted.
How Long is Cold Stratification?
This is dependent on the seed type. Some only require a few weeks whereas some require up to four months in the refrigerator.
You should be able to find this information with a simple search on the internet, or on the seed packet itself.
Subscribe to Melissa K. Norris!
Get updates on the latest posts and more from Melissa K. Norris straight to your inbox.
We use your personal data for interest-based advertising, as outlined in our Privacy Notice.
Dry vs. Moist Stratification
Most herbal seeds need moist cold stratification, which is what I demonstrate in the video where I walk you through this exact process inside the Pioneering Today Academy (I only open the Pioneering Today Academy a few times each year, click the link to get on the waitlist for the next time doors open!).
The exception to this is dessert plants that just require time in the cold temp but without moisture (in nature the area they hail from wouldn’t have snow or rainfall).
How to Moist Stratify Seeds
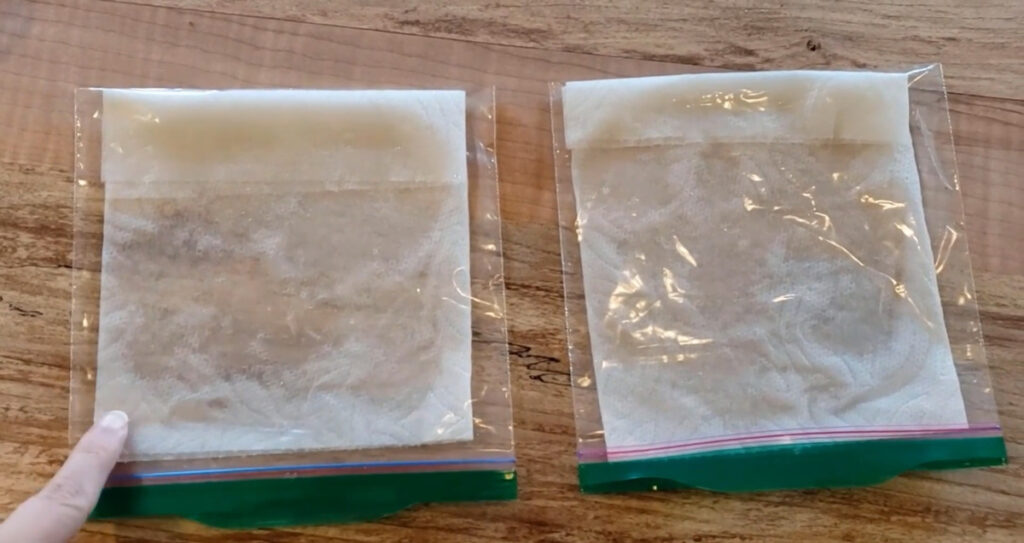
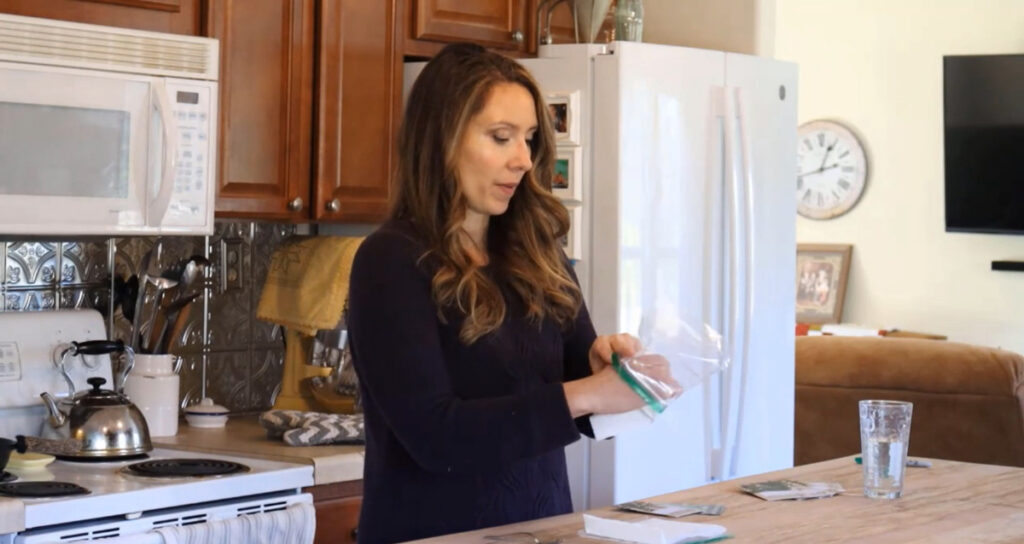
I prefer to use a paper towel inside a Ziplock bag. They don’t take up a lot of room and make a great little greenhouse environment. It’s cheap and you can reuse the bags again and again.
- Fold the paper towel in half (make sure it fits inside your bag, most paper towels are fairly uniform in size) and place it inside the bag.
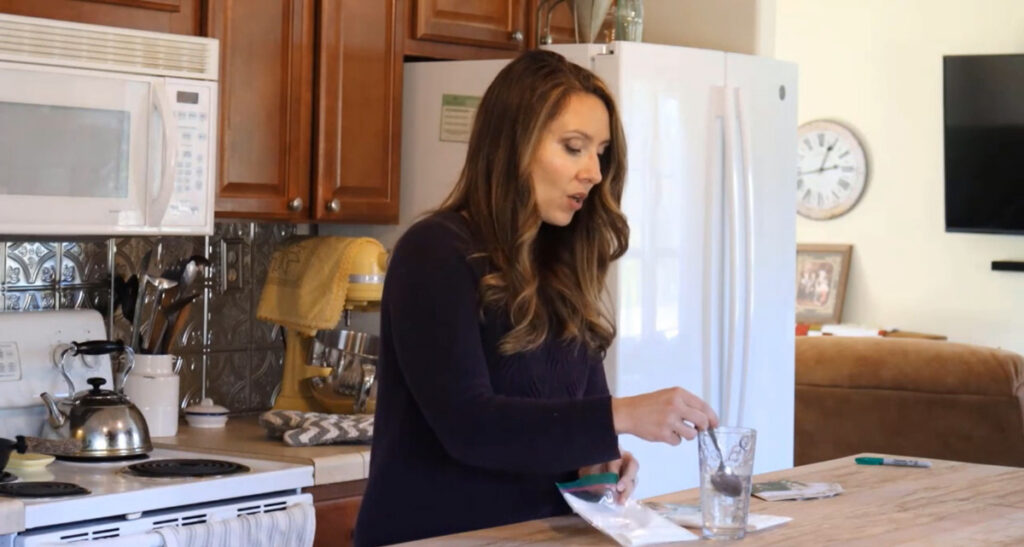
- Use a spoon and begin wetting the towel from the center out, stop adding water when the upper ½-1 inch from the corners of the towel are still dry (the water will continue to spread out).
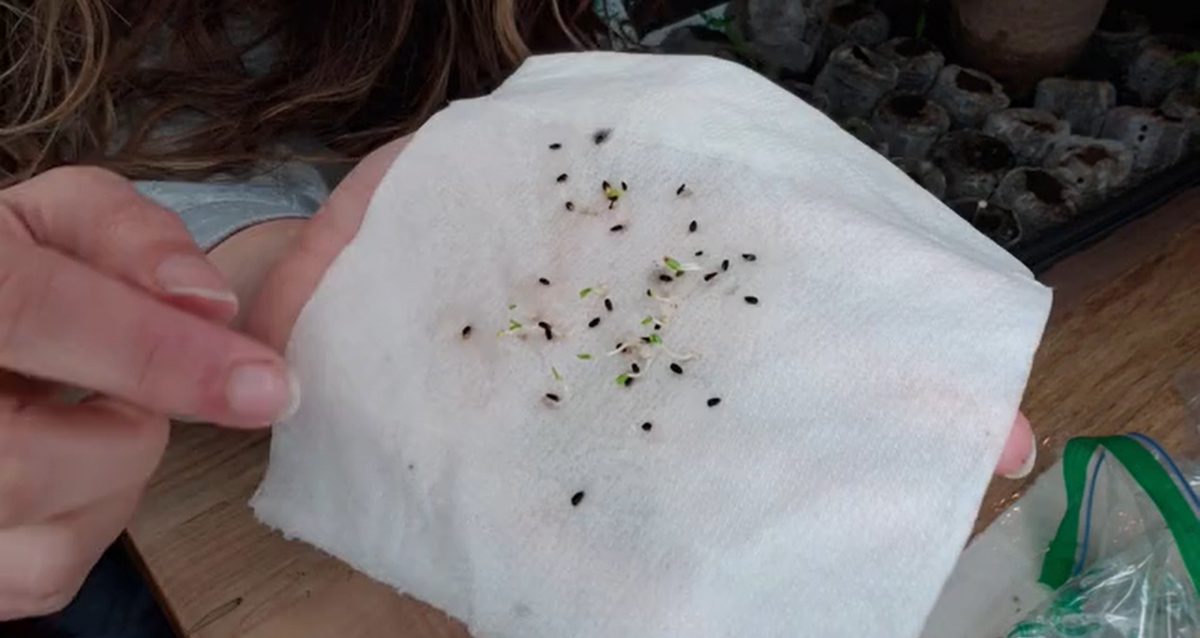
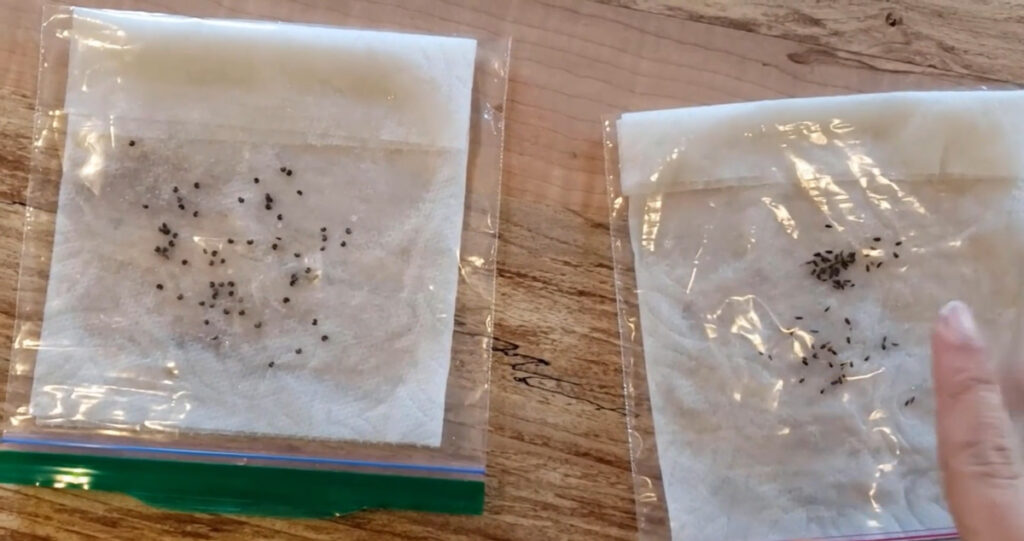
- Scatter your seeds in the center of the towel.
- Press them down with your finger to get them into the water.
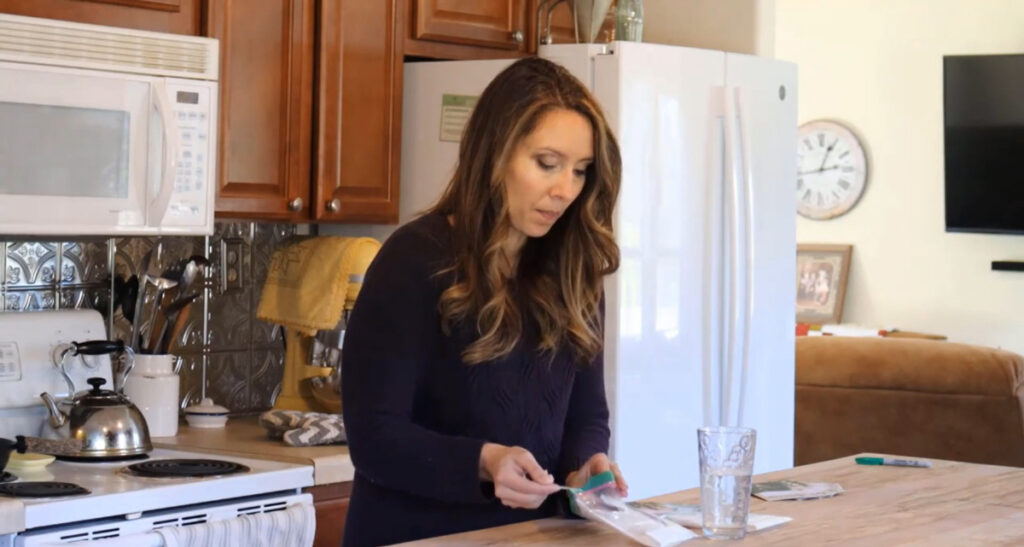
- Close the bag, leaving a ½ inch opening on one end for air flow.
- Label bag with seed name and date.
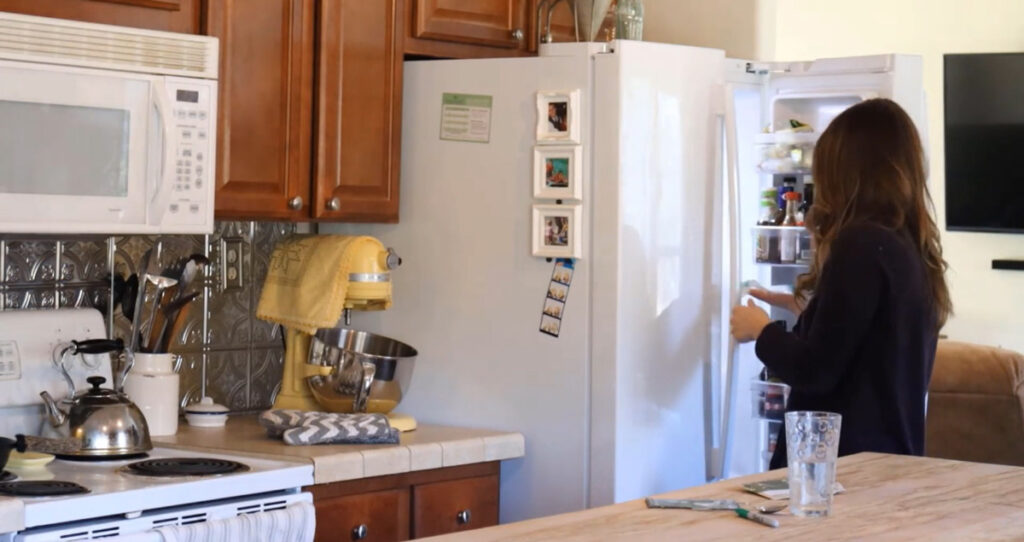
- Place in the fridge.
- Check periodically that seeds aren’t drying out.
- Leave in fridge for 4 to 6 weeks (some seeds only require 3 weeks like Marshmallow but others may require extra time).

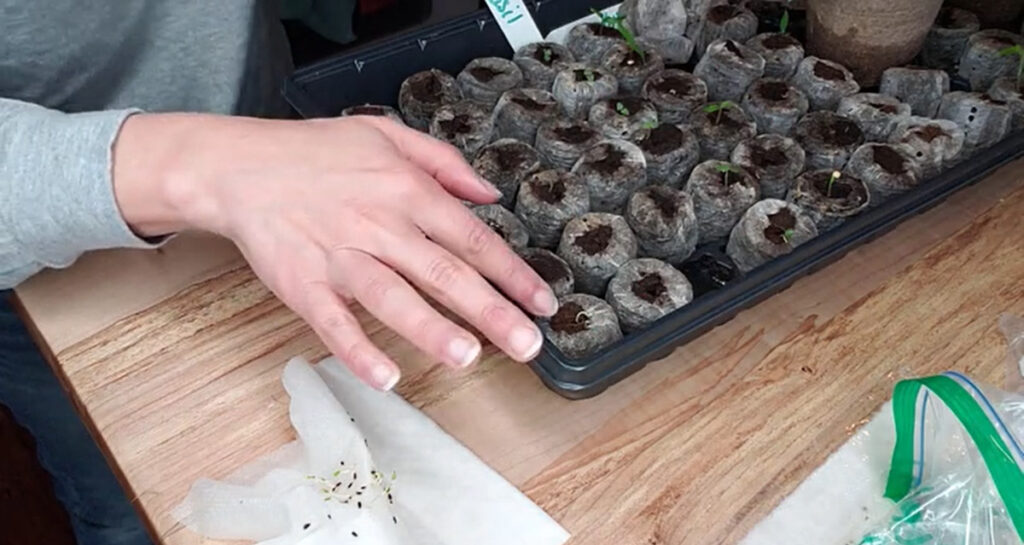
How to Plant Germinated Seeds
Once your seeds have gone through the cold stratification process they'll be germinated and ready for planting.
Simply take one of the germinated seeds and place it into your prepared seed starting soil and continue as you would with seeds you started indoors by direct sowing.
More Gardening Posts:
- Ultimate Seed Starting Guide - How to Start Seeds Indoors
- Beginner Gardening Secrets You Need to Know
- 13 Basic Steps to Starting a Vegetable Garden
- Where to Buy Heirloom Seeds – Heirloom, Hybrid & GMO Differences
- Seed Packet Information – How to Read Seed Packets for Gardening Success
- Best Way to Germinate Seeds – How to Germinate Seeds Faster
- What Are the Best Seed Starting Containers
- Potting Up Seedlings & How to Separate Seedlings
- Direct Sow Your Garden Seed
- Cut Back on Garden Diseases & Maximize Your Infrastructure Expansion (Don’t Waste Time or Money)
- Heirloom Seed Saving & Gardening
- How to Grow Food YEAR ROUND Using Covers (Hot & Cold Weather)


Karon Miller
I would like a list of seeds to stratify
Jennifer Day
Same, don't see the list and would love to see it, thanks 🙂
Sharon L
I don't see the list of seeds that need stratification. I see your reply to Jill L, but no flower picture.
Joanne
Same here. I see no picture of a calendula or any link to the list. I would very much like to see that list. Thanks!
Alex
Same. I don't see a list of a picture of a flowers that would use this method.
Aubrey Jensen
Thank you for explaining. I bought some honeysuckle seeds and I think they need this. I'm going to try it and I'm so glad I came across this bc I need to research if it needs months of cold instead of just a few weeks or something ?
Jill L
I’d love to see the list of the flowering herbs that require cold stratification, but can’t seem to locate it.
Melissa Norris
It's the very first form (shows a picture of orange calendula flowers) at the the top of the post that says get free herbal medicinal charts.
Lois Light
I found the list but now it is gone!
Sharon
Would this work for lavender seeds?
Melissa Norris
Yes but even with cold stratification lavender is notoriously hard to grow from seed, you'll have easier success if you can get a cutting or live plant.