When you’re raising your own food any time you have disease hit or crop loss, it can be detrimental to your garden harvest. One disease to watch out for is early blight. Learn to identify, prevent and treat early blight organically with these methods.
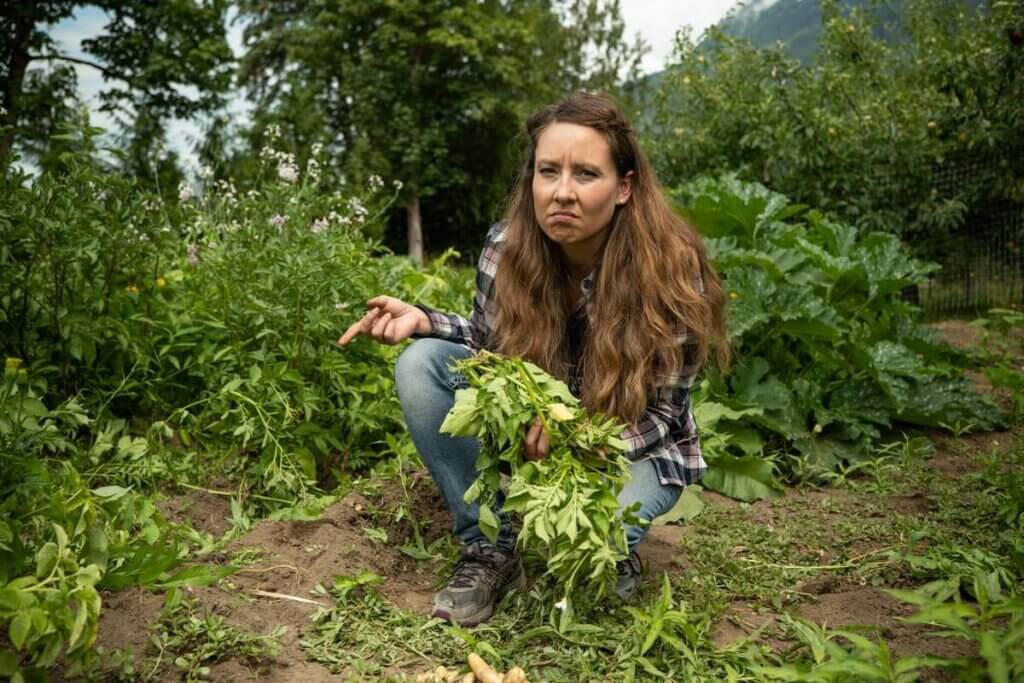
The reason blight is such a big deal is because the spores will infect the soil and they will stay in the soil for years. This means you won’t be able to grow anything in the nightshade family in your garden, or on your homestead for years.
🍞 Struggling With Sourdough?
If your starter won’t take off, your loaves are dense and hard, or sourdough just flat-out overwhelms you…
👉 I’ll show you how to fix all of it.
Join my FREE workshop and learn how to make a bubbly, active starter—the right way, from Day One.
So, at the first sign of blight, you want to treat it immediately. This is also why, if you have my book The Family Garden Plan, I talk about crop rotation as this helps prevent these soil-born diseases.
Table of Contents[Hide][Show]
What is Early Blight?
Caused by Alternaria solani, early blight is a fungal disease that spreads rapidly and can be detrimental to a crop.
Not to be confused with late blight, this fungal disease doesn’t mean your crops are ruined or inedible.
Identifying Early Blight
It can be difficult to identify early blight on crops, especially if it occurs toward the latter part of the crop’s life. Potato leaves, for example, will go through stages where they’re growing in height, flowering, then dying back as the potatoes are almost ready for harvest. Because of this, it can be difficult to identify whether the potatoes are nearing the end of their growing season, or if there’s a more serious problem.
Subscribe to Melissa K. Norris!
Get updates on the latest posts and more from Melissa K. Norris straight to your inbox.
We use your personal data for interest-based advertising, as outlined in our Privacy Notice.
Appearance of the Leaves
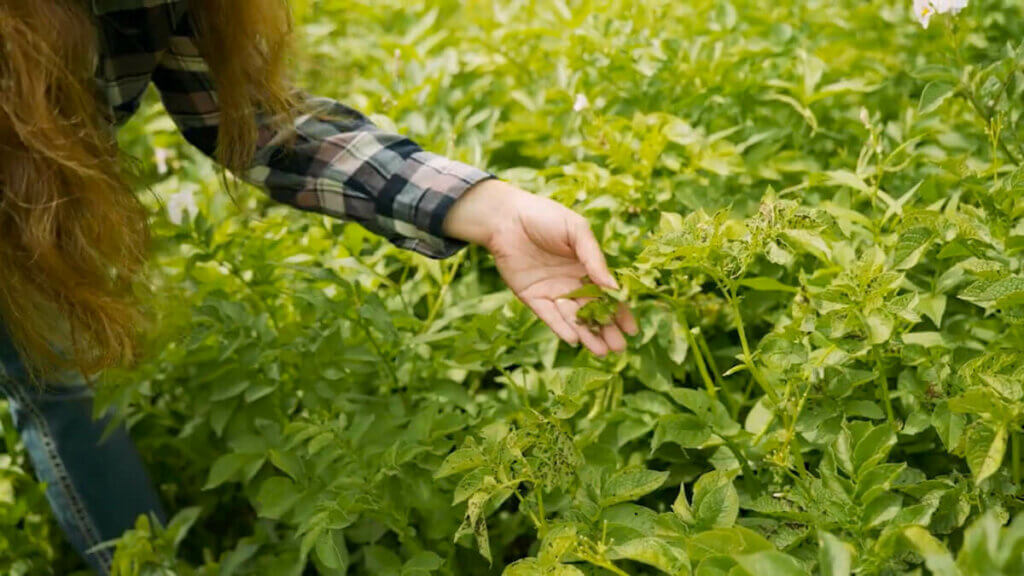
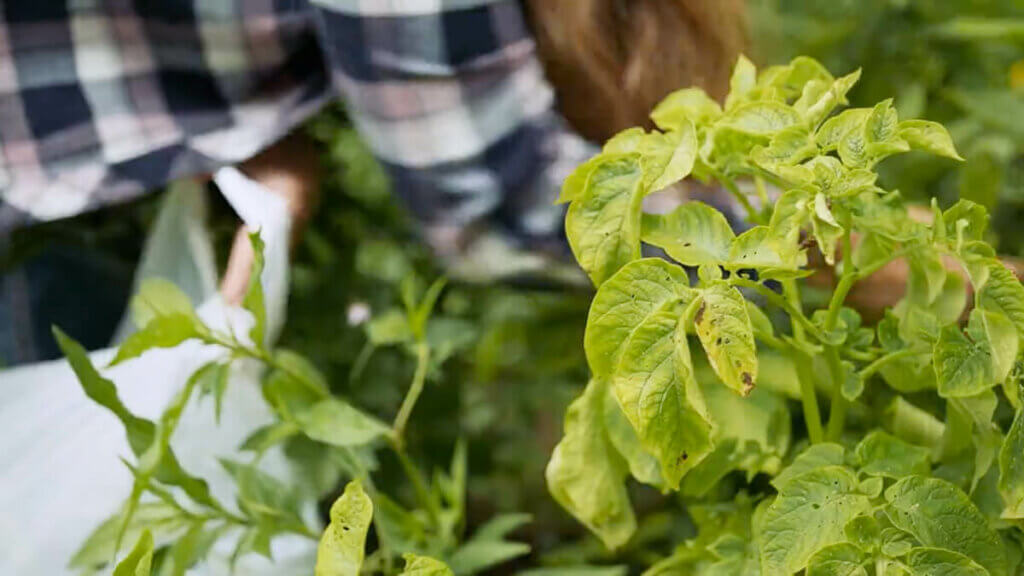
You can help identify early blight by the appearance of the leaves. If there are multiple dark brown spots showing up on healthy green leaves, along with entire stems of your plants that are turning yellow/brown and dying back, that may be a sign it’s blight.
The brown spots usually start small and get bigger, appearing as a growing bullseye, then the rest of the leaf or stem will gradually turn yellow.
If your plant loses too many of its leaves due to blight, the fruit or vegetable may be susceptible to sunscald, so use row covers or sun shades as needed.
If your tomatoes or other vegetables have markings or blemishes on the fruit itself, I recommend discarding them.
Plant still blooming
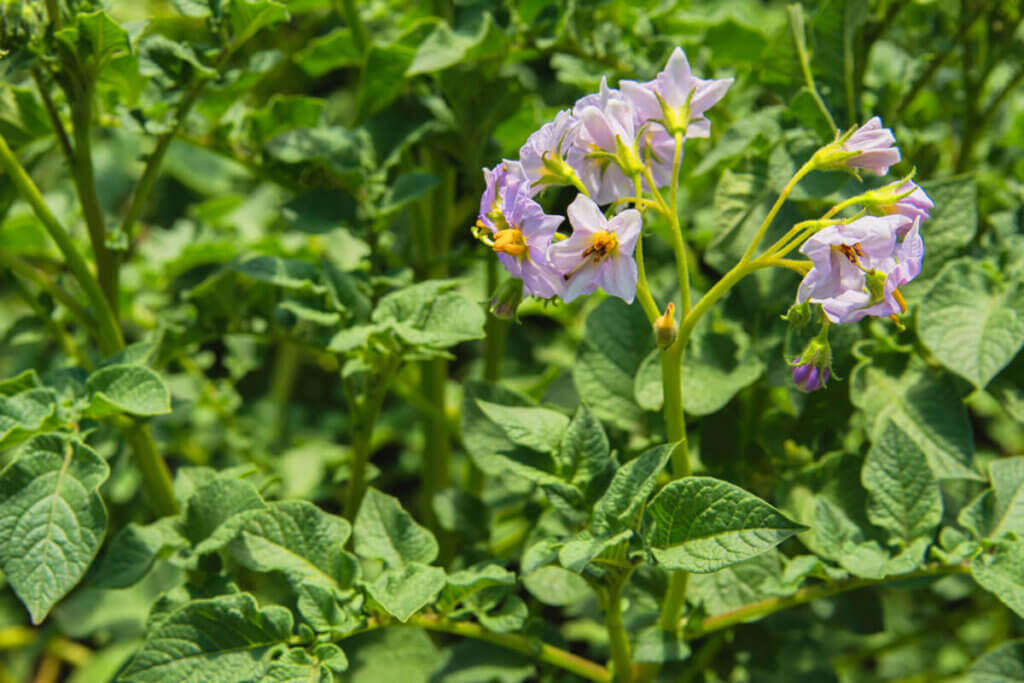
If your potatoes are still blooming and you see signs of blight, you know your potatoes aren’t ready for harvest and it’s a good sign that it is blight.
Immature or Mature Crop
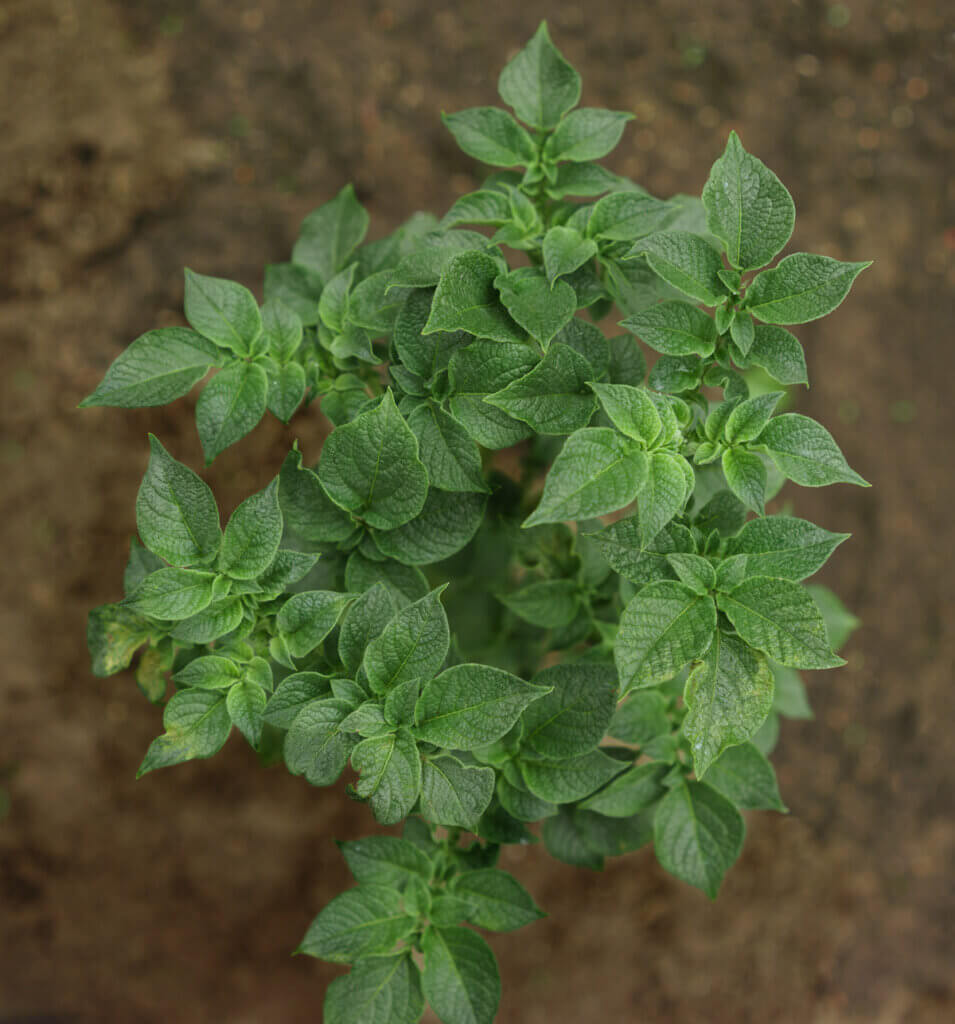
If you pull up a potato plant and notice the potatoes all look very immature and small, this is a sign it’s blight.
However, if you harvest a potato plant and the potatoes are fully grown in size, it’s possible you’re just dealing with a mature potato plant that’s ready for harvest.
Adequate Water
It’s also a good idea to know the best way to water your garden. Sometimes signs of too little or too much water can seem like the plants are diseased, when in reality, you just need to adjust your watering system or quantity. Be sure you know the best way to water your vegetable garden.
How does Early Blight Spread?
You may find yourself feeling guilty or at fault if early blight hits your garden, but rest assured, this is a disease that can get into your garden when even the best preventative measures are taken. It can come on diseased transplants and seeds without you even knowing it’s there.
Early blight also loves warm temperatures and high humidity which will cause it to spread even faster. But you don’t need warm temperatures for it to spread, it can overwinter in your soil, and spores are spread by your hands, your clothes, insects, wind, and water.
How to Keep Early Blight From Spreading
Keeping a close eye on your garden every single day is the best method for catching the disease early and keeping it from getting out of control, or worse yet, losing your harvest.
Rest assured, if you catch early blight soon enough, your crops will still be edible. Here are the best organic methods for keeping early blight from spreading:
- Remove affected leaves/plants
- Discard leaves (do not drop in the garden or add to compost pile)
- Avoid touching healthy plants
- Water from below
- Stake your plants
- Practice crop rotation
- Use copper sulphate
- Properly prepare garden in fall
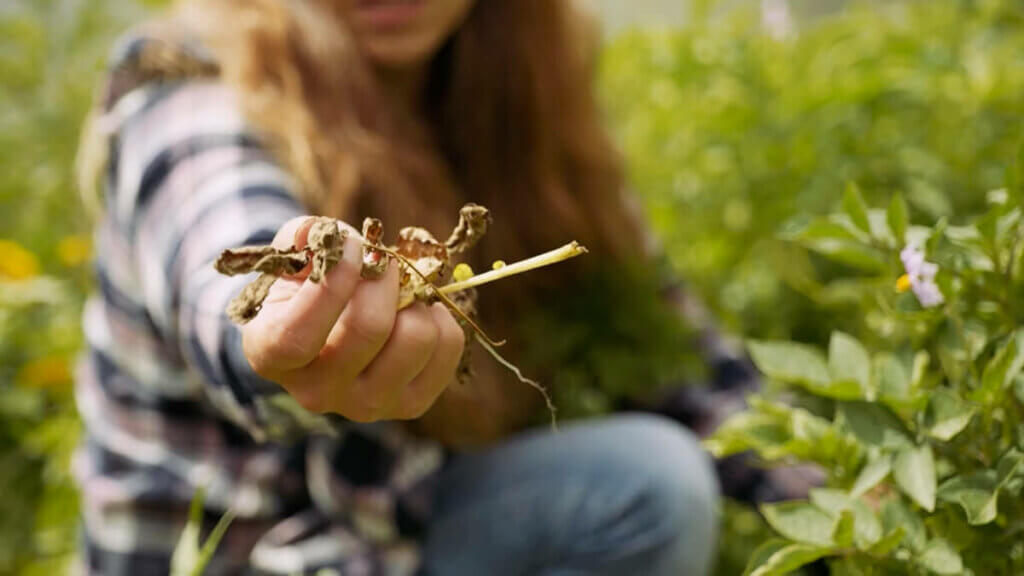
Remove Affected Leaves/Plants
We also need to take measures, right away, so that the blight doesn’t spread to the other crops around it. As a gardener, this is why it’s so important to be out in your garden on a daily basis so you can identify these diseases at the onset.
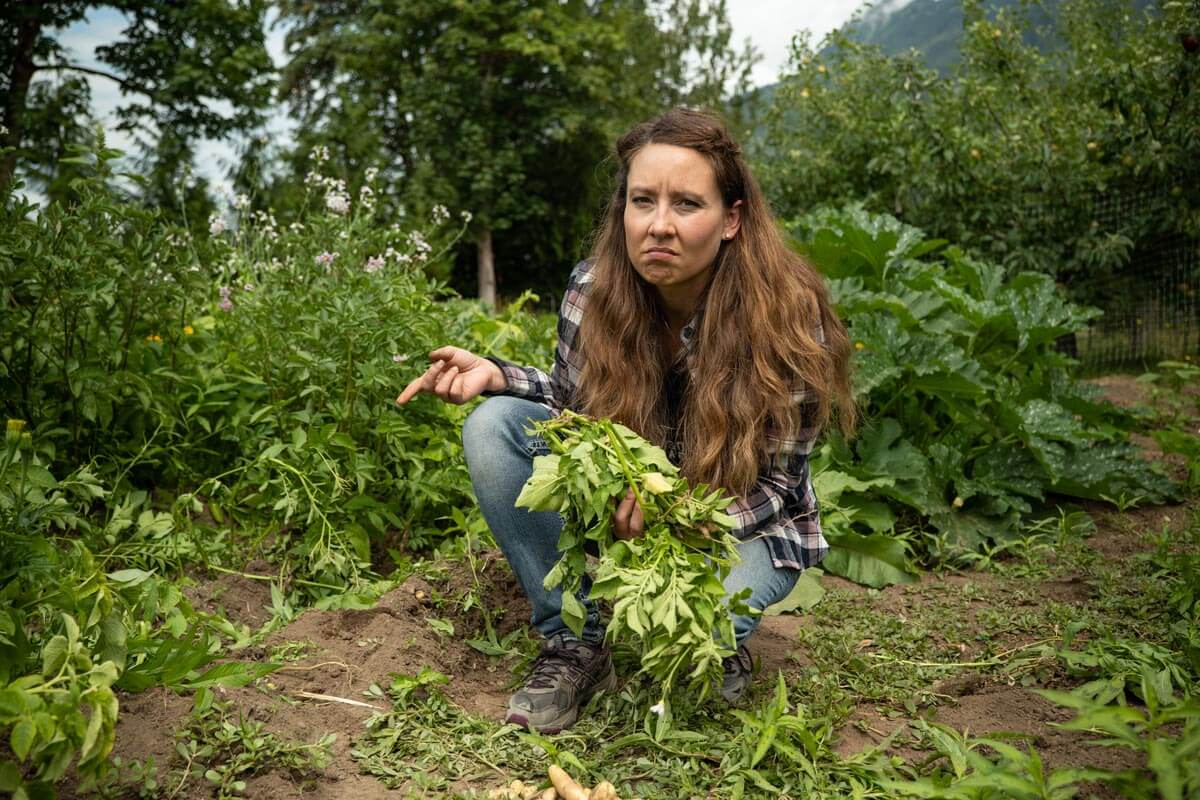
To get rid of early blight, all of the affected leaves of the plant need to be removed. If all leaves on the plant are affected, you’ll need to pull up the entire plant. This goes for potatoes, tomatoes, eggplant, peppers, and any other plant in the nightshade family.
Look for any leaves or stems that have completely died and fallen to the ground, you’ll want to remove those from the garden as well.
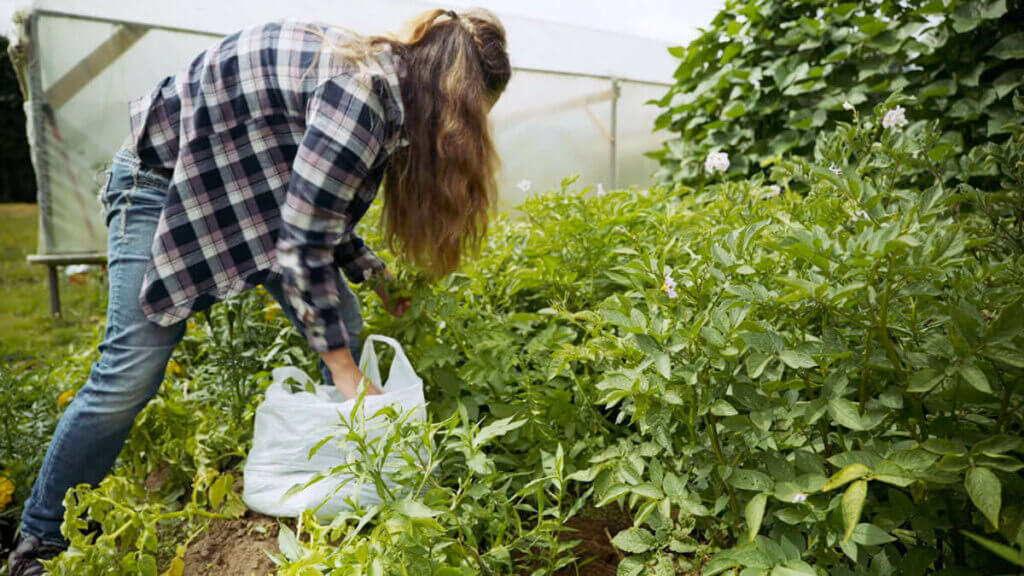
Discard Affected Leaves
It’s important to properly discard the diseased leaves and plants so the fungus can’t continue to spread. Don’t drop the diseased leaves on the ground of your garden.
Because early blight is caused by spores, the spores are still alive and active on those plant leaves. You’ll want to remove the leaves and dispose of them either in the trash or by burning them. Don’t simply drop them far away from your garden or in your compost pile. Like I said before, the spores can travel by wind, so we don’t want to potentially cause another outbreak in the future.
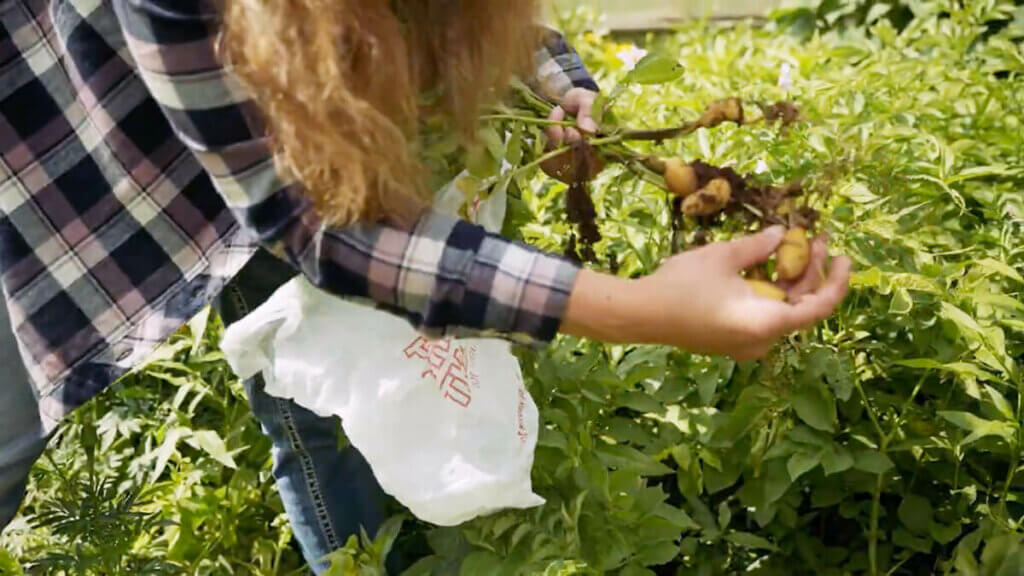
I bring a plastic grocery bag into the garden so I can bag the leaves up and throw them in the trash or even burn them as soon as possible.
Avoid Touching Healthy Plants
As you’re going along in your garden removing any affected leaves, try not to touch your healthy plants with your hands because the spores will be on your fingers and can be spread unintentionally.
Water from Below
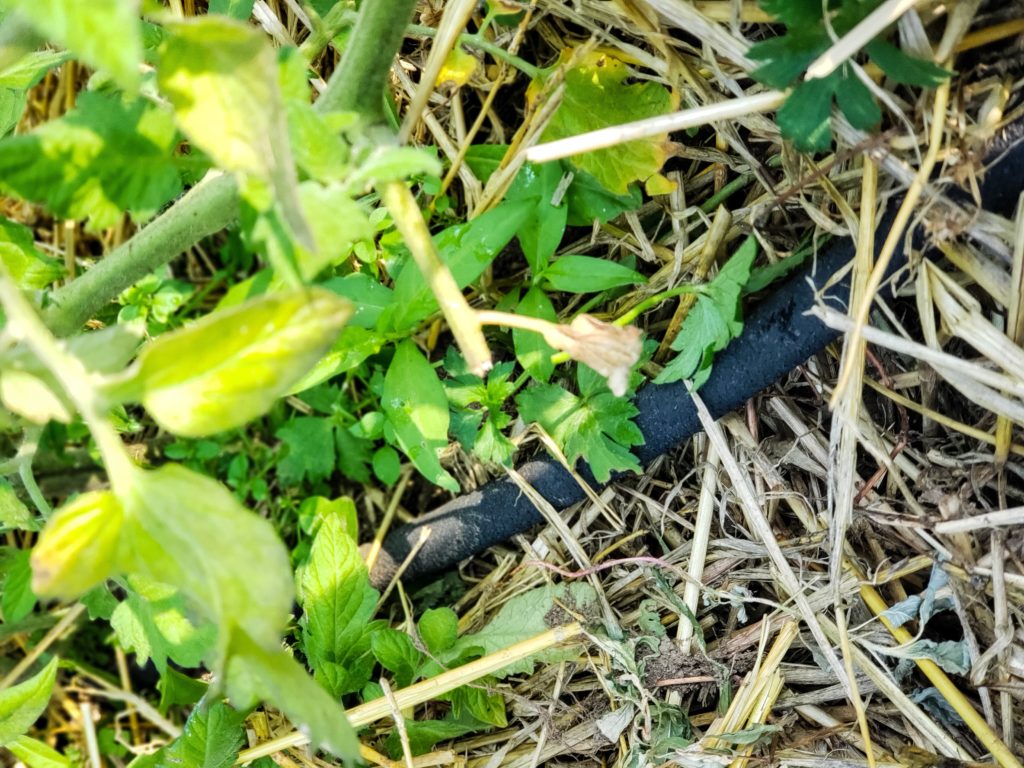
As mentioned before, it’s important to know the best method for watering your garden. Though watering with a sprinkler from above may seem easy and the most cost-effective route, it can also keep your plants damp which allows these fungi to grow and spread.
Trying to keep your plants as dry as possible is ideal, which is why I like to use soaker hoses. You can read more about watering methods here (or listen to the podcast).
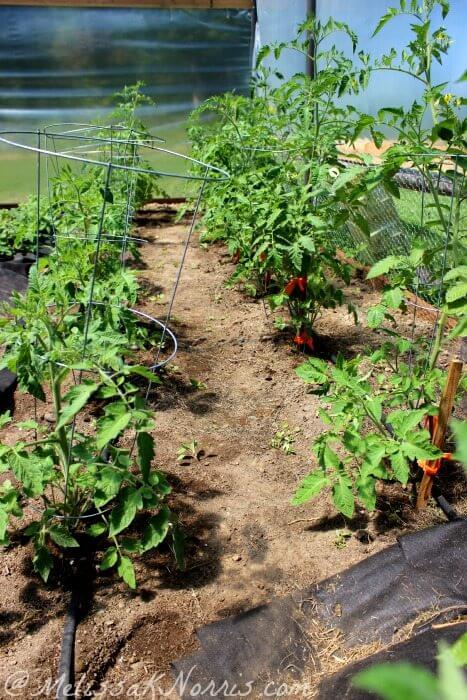
Stake Plants
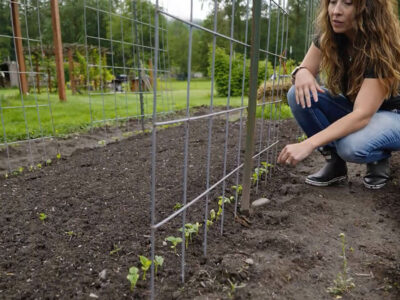
By using garden structures and stakes to keep your plants growing tall you will help create airflow to keep your plants dry.
Staking plants helps reduce contact between the leaves and the soil which could be contaminated with spores.
I like to prune away suckers or any branches of plants that are shooting out from the bottom of the plant draping on the ground. These are those little tasks that can be done as you walk your garden daily.
One tip is to be sure and stake your crops at the time of planting (this is most ideal for indeterminate tomato plants that like to grow very tall), if you stake them after they’ve grown you risk damaging their roots. (Read these posts for my 10 tomato growing tips for a disease-free harvest, trellising tomatoes the right way, and how to prune tomatoes for a better harvest.)
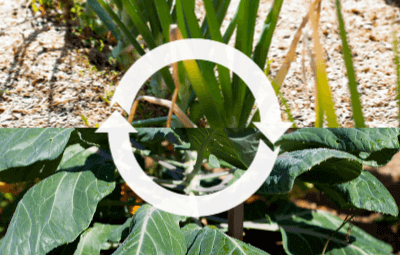
Use Crop Rotation
I recommend using crop rotation not only for the health of your soil but for the health and productivity of your plants.
I rotate my crops based on crop family, you can read more about easy crop rotation in this post (or listen to the podcast). But in a nutshell, you want to avoid planting the same crop family in the same spot for two years.
So even though your potatoes may have done phenomenal this year, you shouldn’t plant them in that same spot for two more growing seasons. This goes for all plants in the nightshade family (peppers, potatoes, tomatoes, eggplant, etc.). (Read here for how to plant potatoes in containers or in the ground.)
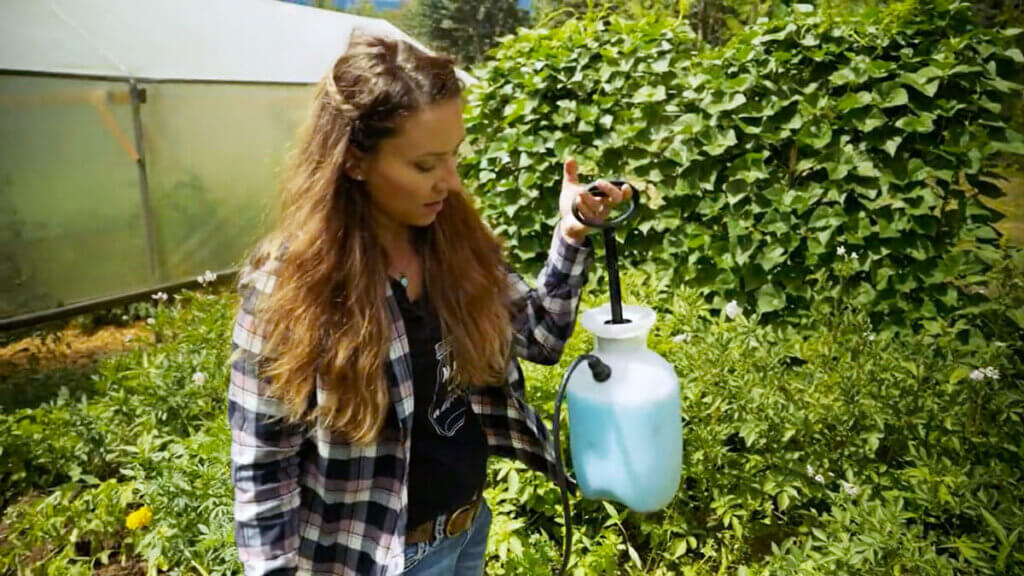
Organic Fungicides (Copper Sulfate)
Because I want to keep my garden as organic and natural as possible, I always like to try to prevent disease with the methods mentioned above. However, sometimes, when fungal diseases hit your garden, you’ll need to treat it to keep it from coming back year after year.
Using a copper concentrate spray is a natural and organic way to treat the nightshade plants affected by early blight.
Following the dilution ratios, spray your crops generously with the copper solution. You’ll need to reapply the copper every 10 days throughout the gardening season.
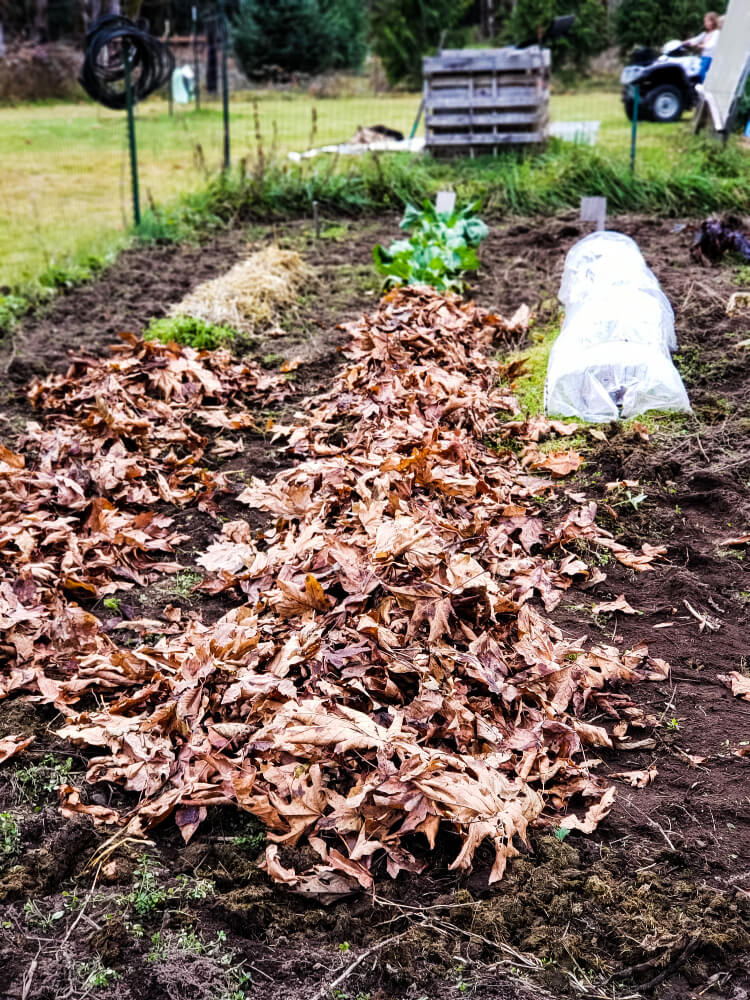
Properly Prepare Garden Beds in Fall
By clearing out the garden beds in the fall, amending the soil, and even planting cover crops, you can help give your garden the best chance for success the following spring.
This also includes removing any volunteer tomato plants that come back the following year as early blight could still be present in those plants.
As you can see, an ounce of prevention is worth a pound of cure in regards to your time and effort, so be sure you’re following these best gardening practices to help improve your soil.
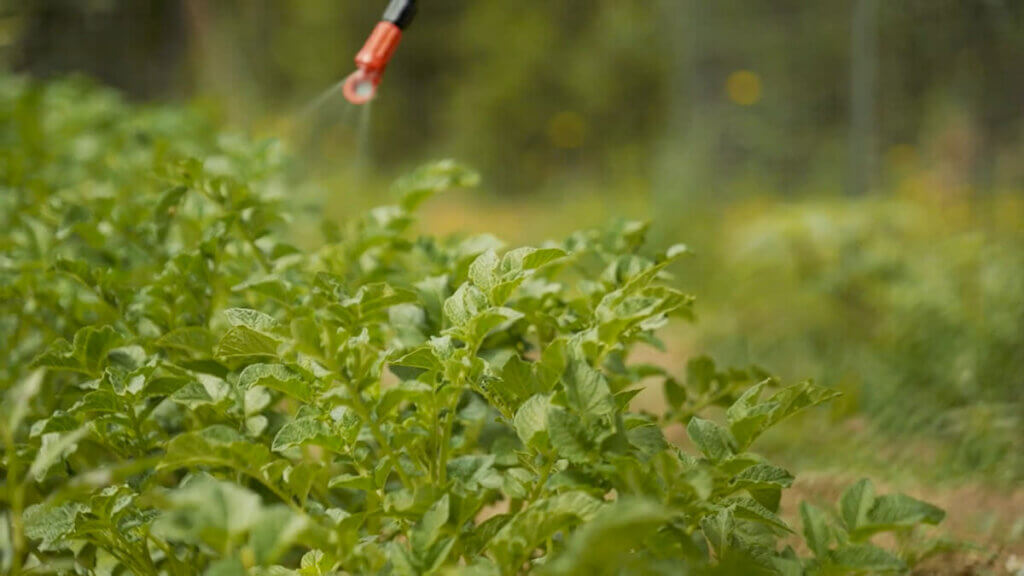
Treating Early Blight
After following the steps listed above of removing the diseased leaves and plants, you’ll need to treat your garden to keep the early blight spores from traveling.
I like to use organic gardening methods as much as is possible, so to eliminate the risk of early blight spreading throughout my garden.
As mentioned above, I’m spraying all my nightshade plants with elemental copper. This product may look artificial due to its bright blue color, but I assure you, it’s 100% natural. This is the brand of copper concentrate spray I use to treat my garden.
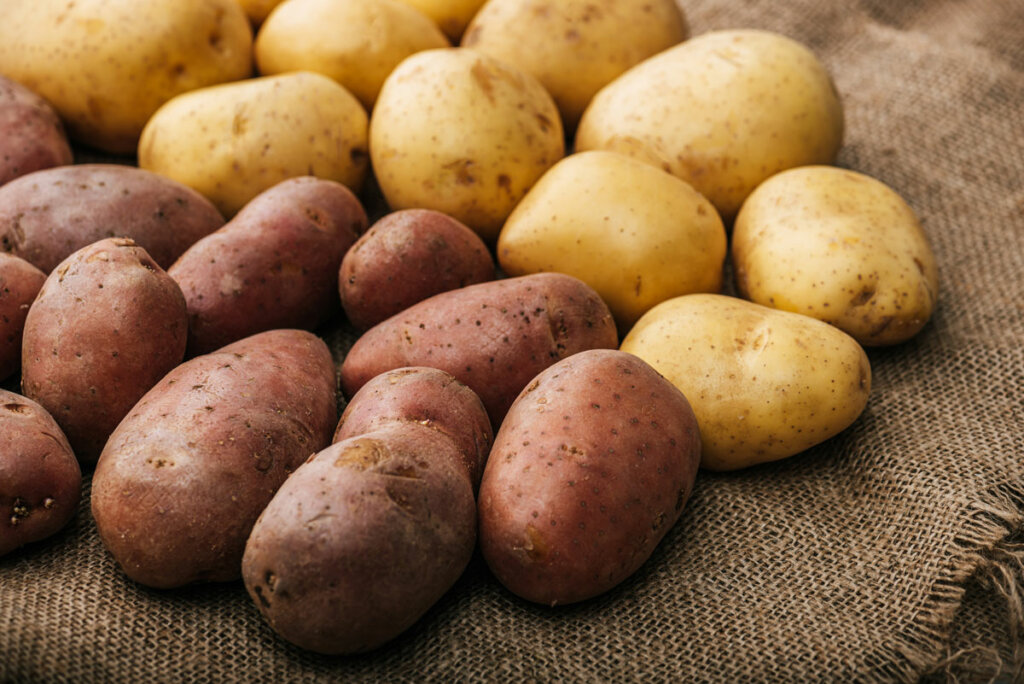
Can I eat the vegetables that have been affected with early blight?
Yes! You can eat the new potatoes (baby potatoes) that are on the diseased plants. You can also harvest any green tomatoes if the plant needs to be pulled up and see if they’ll ripen on your countertop. Try these tips for storing green tomatoes for fresh eating.
As far as peppers and eggplant go, you can harvest the tiny crops, but they’ll be harder to consume as they may just be too immature.
But remember, if only a few leaves on your plant are affected, you don’t need to pull up the entire plant. But you will want to continue to monitor the plants as blight can live on the stem and travel that way as well.
Related Articles
- Sheet Mulching the Easy Way
- Wood Chips for Garden Mulch – Beneficial or Not?
- Beginner Gardening Secrets You Need to Know
- Science-Based Companion Planting Strategies
- 13 Basic Steps to Starting a Vegetable Garden
- How to Create a Garden Plan for More Harvest & Less Stress
- Planning a Fall Garden (28 Crops to Plant in August)
- 10 Tomato Growing Tips for a Disease Free Harvest
- Weston Tomato Press (+ Tomato Sauce Recipe)
- Canned Tomato Sauce Recipe (+ Water-bath & Pressure Canning)
- How to Plant and Grow Potatoes
- Gardening in March (Gardening Tasks by Month)





Thank you for the great information.Peace out.
Can blight affect other crops than just nightshades? I pulled up my oregano, lemon balm, lavender, and sage because they had black spots on all their leaves. I fed them to my goats, so they didn’t go in the compost. But now I am seeing it on the very grass itself (my ID app says it is either Bermuda grass or crab grass) and on the goldenrod. Is my entire yard doomed?
It usually effects nightshades, early blight will have a bullseye appearance in the center of the brown (it’s not usually black spots but brown).
Thank you. I am currently in the process of figuring out this very thing with my tater patch.
Great (and timely) article! The green tomatoes that must be picked if the plant is to be discarded can be used very well in a couple of ways that I have found: if each tomato is wrapped in a layer of newspaper and stored in a cool place, you can unwrap those tomatoes and have fresh tasting tomatoes on your Thanksgiving table. If they are bite sized tomatoes, they are excellent to use whole and fixed according to your favorite fried green tomato recipe.
Thank you!
I really appreciate all you do us.