Let’s talk about fruits and vegetables in season by month and my best tips to preserve them, because growing your own food and using home preservation methods are two of my favorite things.
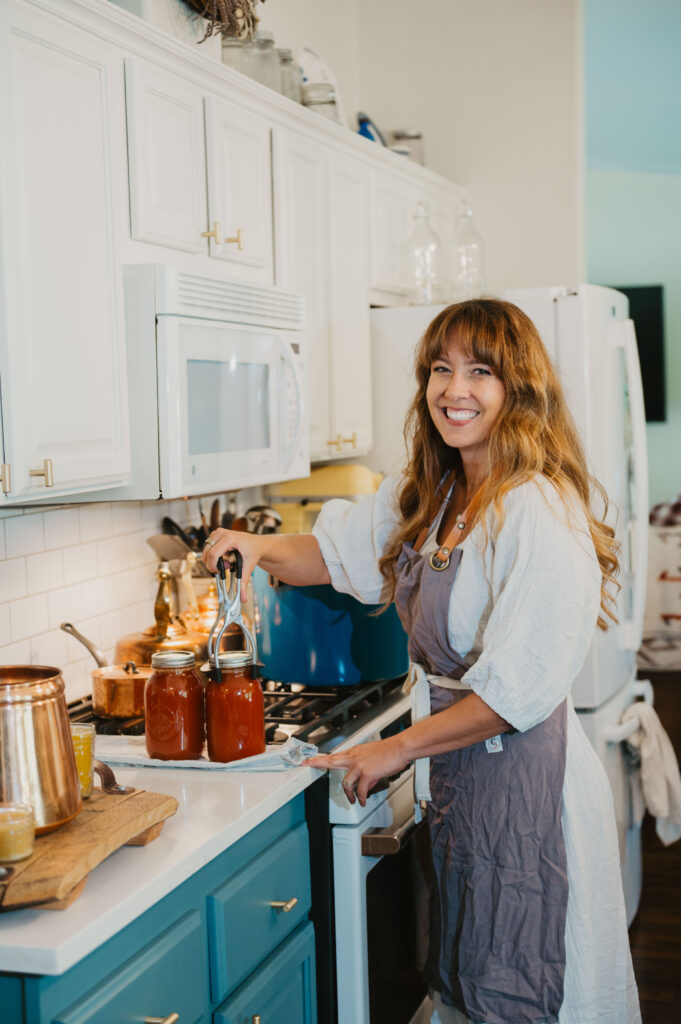
So much so that over the years, I have dedicated seven episodes to the Pioneering Today Podcast to discuss food preservation tips. My most recent episode is #464, where Rachel, Michelle, Sophia, and I put our brains together to come up with even more of our favorite time-saving tips for preserving food.
This blog post has been updated to include all seven podcasts (embedded at the top of this post and below). Download each one and listen to them at your leisure. Don’t forget to check out the resource section below with a ton of freebies! Armed with this info, you won’t miss a crop either.
Episode #89: 8 Tips for Getting it All Done During Harvest and Preserving Season
Episode #147: Creating a Customized Preserving Plan for a Year’s Worth of Food
Episode #149: How to Pick the Best Preserving Methods
Episode #157 8 Tips for Seasonal Living – Homestead Fall Preserving
Episode #184: Tips for Home Food Preservation
Episode #401 How to Preserve Food When it’s Too Hot to Can
Episode #464 Preserve More, Waste Less: Proven Homestead Tips for Long-Lasting Success (Embedded at the top of this blog post.)
Table of Contents[Hide][Show]
- The Importance of Food Preservation
- Where to Find Fruits and Vegetables in Season
- Fruits and Vegetables in Season by Month
- Choosing the Best Preservation Method
- Tips to Avoid Preservation Overwhelm
- Get Organized
- Be Mindful of Your First Frost Date
- Buy Yourself Time
- Put Crops on Pause
- Fruit Harvesting Tips
- Canning Tips
- Dehydrating Tips
- Freeze Drying Tips
- Keeping Your Sanity
- FAQs
- Other Posts You May Enjoy
The Importance of Food Preservation
There is nothing like having fresh fruits and vegetables to eat. One of my favorite things about planning a garden for a year’s worth of food is eating ripe produce straight off the plant, and still having enough to put up for later months.
You’re picking them right at the perfect time of ripeness, and there’s nothing fresher than getting them straight from your backyard garden. The taste, flavor, and texture are close to perfection! Once you’ve had that, it’s really hard to go back to store-bought, even when you are purchasing fruits and vegetables in season by month, because the taste just isn’t the same.
After all the time spent growing food, you’ll want to preserve the harvest to have a well-stocked pantry. This allows you to save money on groceries while cooking from scratch year-round. Plus, if you harvest from your backyard and then preserve it, there’s no downtime while it’s being shipped or sitting on a store shelf and losing some of its nutrients.
If you’re in the western hemisphere, knowing how to preserve your food as it comes on can get tricky because different crops need harvesting at different times, and a lot of them overlap. Without a solid plan in place, this can get downright overwhelming.
But don’t worry, I’ve got you covered. Learning the fruits and vegetables in season by month can help you build a customized preservation plan. When you combine that with my best preservation tips, you can conquer preservation season like a pro!
Where to Find Fruits and Vegetables in Season
If you are a beginner gardener or have yet to grow food on a large scale, you don’t need to miss out on developing at-home food preservation skills. While you can buy fruits and vegetables from your local grocery store, there are other sources providing fresher options:
- CSA Programs – CSA programs are a cooperative of families who purchase a crop share of a farm’s harvest to receive locally grown produce. You can find a CSA near you at localharvest.org.
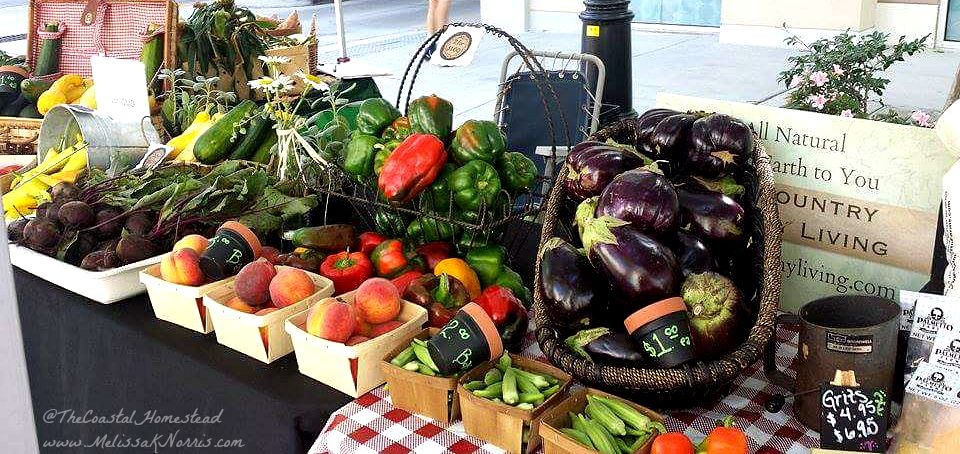
- Farmer’s Markets – Farmer’s markets allow you to speak directly with the farmer to ask about their growing practices, and provide locally grown produce harvested at the peak of the season.
- Local Farmers – If a CSA or farmer’s market is not available in your area, you may still have a nearby farmer or even a neighbor who sells their excess harvest. Ask around your community to support local growers.
- U-Pick Farms – U-pick farms are often an economical choice, offering a lower price because you do the harvesting work yourself. Some will even barter credit for produce for your help harvesting their crops.
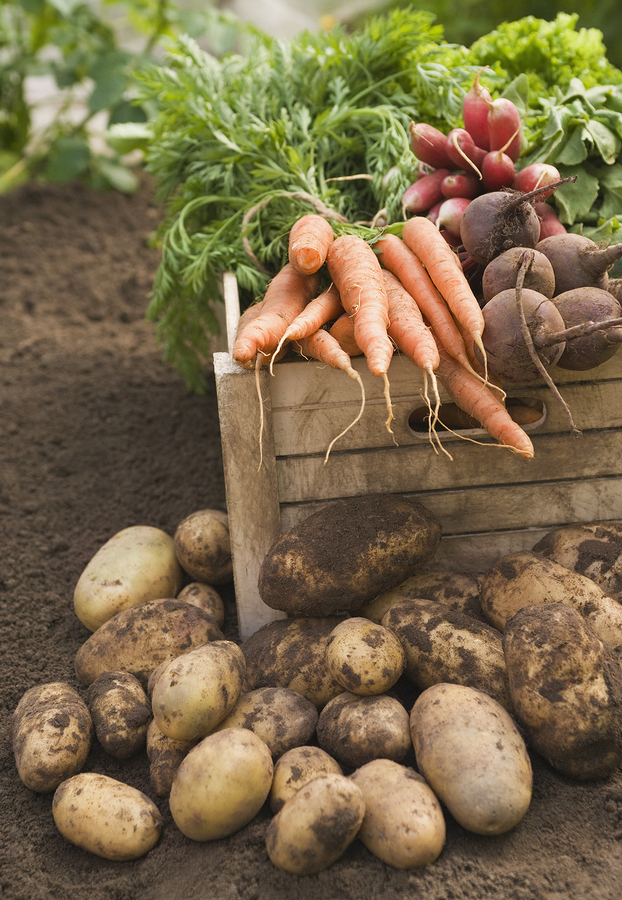
Fruits and Vegetables in Season by Month
Due to individual growing seasons, seasonal produce in your area will vary. This guide gives a general guideline of fruits and vegetables by month, so you can fine-tune your plan according to your climate.
An additional resource is my Harvest to Table Magazine. It includes information on what fruits and vegetables are in season, along with helpful guides and delicious recipes, so you can make the most of your produce.
| Month | Fruits | Vegetables |
| January | Citrus Fruits | Broccoli, Cabbage, Lettuce, Leeks, Spinach |
| February | Citrus Fruits | Lettuce, Broccoli, Cabbage, Spinach |
| March | Citrus Fruits, Kiwi | Cabbage, Artichokes, Radishes, Kale, Spinach |
| April | Citrus Fruits, Strawberries, Kiwi | Artichokes, Rhubarb, Asparagus, Peas, Spinach, Potatoes, Kale |
| May | Strawberries, Apricots, Blueberries, Cherries, Melons, Plums, Kiwi | Artichokes, Asparagus, Peas, Rhubarb, Lettuce, Radishes, Carrots, Corn, Green Beans, Zucchini, Tomatoes |
| June | Strawberries, Raspberries, Peaches, Plums, Apricots, Blackberries, Boysenberries, Blueberries, Cherries, Melons, Peaches, Plums | Radishes, Peas, Lettuce, Rhubarb, Tomatoes, Zucchini, Bell Peppers, New Potatoes, Spring Onions, Swiss Chard, Cucumbers, Corn, Green Beans, Summer Squash, Tomatoes |
| July | Apricots, Watermelon, Blackberries, Raspberries, Boysenberries, Blueberries, Cherries, Melons, Peaches, Plums, Pears | Carrots, Cucumbers, Eggplants, Corn, Swiss Chard, Corn, Garlic, Green Beans, Bulb Onions, Peppers, Summer Squash, Tomatillos, Zucchini, Tomatoes |
| August | Grapes, Nectarines, Figs, Blackberries, Raspberries, Boysenberries, Blueberries, Melons, Plums, Apples, Pears | Carrots, Okra, Sweet Potatoes, Green Beans, Swiss Chard, Corn, Eggplants, Garlic, Green Beans, Bulb Onions, Peppers, Summer Squash, Zucchini, Tomatillos, Tomatoes |
| September | Apples, Pears, Cranberries, Grapes, Plums | Kale, Lettuce, Carrots, Broccoli, Cauliflower, Peppers, Corn, Eggplants, Green Beans, Bulb Onions, Zucchini, Peppers, Tomatillos, Tomatoes |
| October | Grapes, Cranberries, Pumpkins, Apples, Pears, Kiwi, Pomegranates, | Kale, Lettuce, Carrots, Broccoli, Brussels Sprouts, Winter Squash, Potatoes, Tomatoes, Leeks, Spinach, Turnips |
| November | Citrus Fruits, Cranberries, Apples, Kiwi, Pomegranates, | Broccoli, Lettuce, Root Vegetables, Cabbage, Kale, Leeks, Spinach, Turnips |
| December | Citrus Fruits, Pomegranates, Kiwi | Broccoli, Cabbage, Lettuce, Carrots, Turnips, Leeks, Spinach |
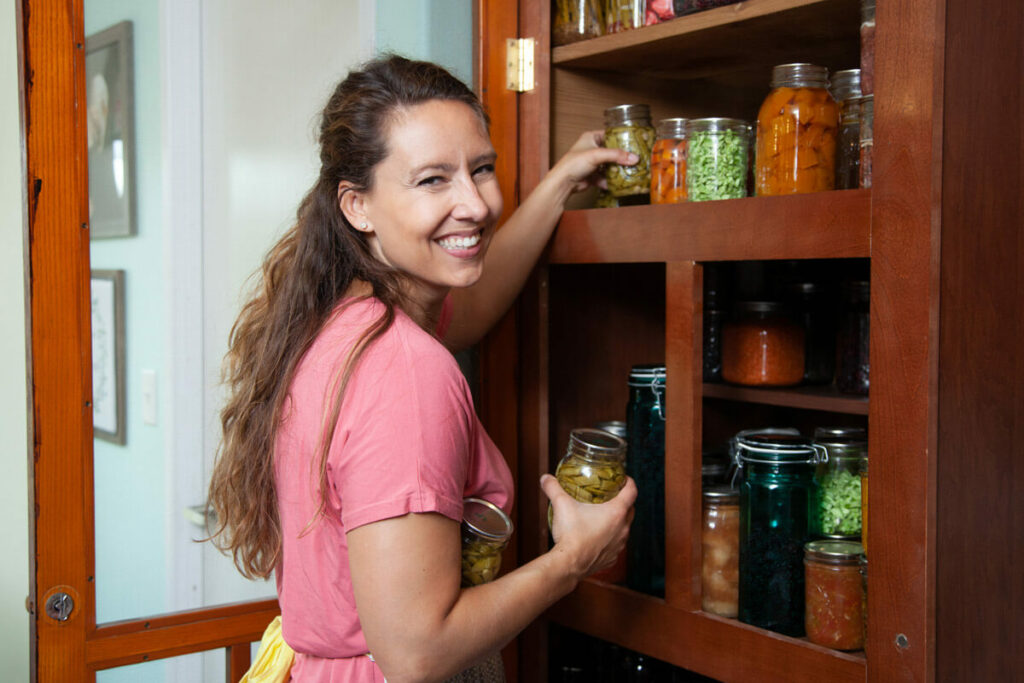
Choosing the Best Preservation Method
There are several ways to preserve your fruits and vegetables in season by month, but not all methods are universally appropriate. For instance, greens aren’t good candidates for canning or fermenting, but they work great for dehydration to make snacks like kale chips or a superfood greens powder.
Other considerations are time factors, equipment resources, and weather conditions (sometimes it’s too hot to can at the peak of harvest season). In 10 Food Preservation Methods Everyone Should Know, I break down each option and even include my favorite preservation tutorials to try.
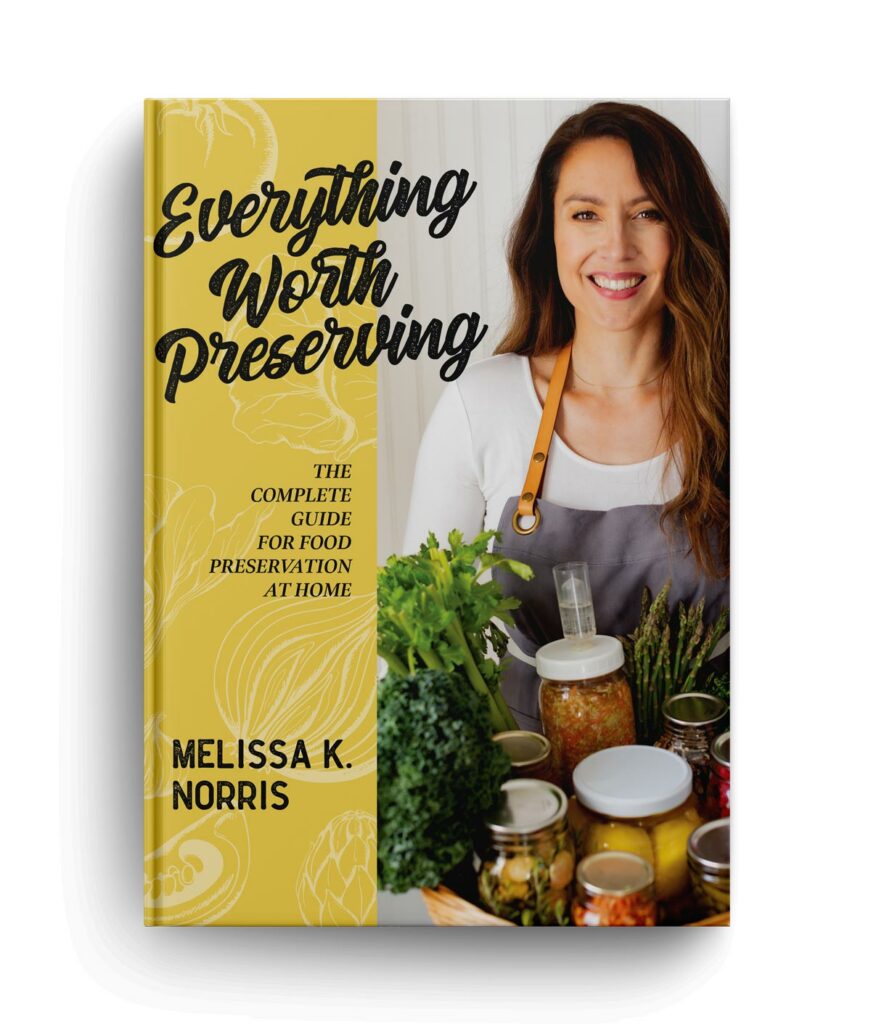
Additionally, if you don’t have my book, Everything Worth Preserving, I highly recommend you get a copy. It lists every crop and every safe preservation method possible for that crop.
It’s the preservation book I always wished I had but never could find. It lists each crop from A to Z, along with preservation methods and multiple recipes.
Tips to Avoid Preservation Overwhelm
Over the years, these tips have saved me so much time, frustration, and waste. Don’t stop with just knowing the fruits and vegetables in season by month; use these food preservation hacks and tips to make a preservation plan that covers all the bases.
Get Organized
Identify what your family eats regularly and decide which methods of preservation you will use for each crop. For us, that means tomato sauce, green beans, pickled asparagus, pickled green beans, cucumber pickles, salsa, jams and jellies, sage, mint, and dill.
I never purchase these items from the store, and I make sure we raise and preserve enough of them to last us an entire year.
When you are choosing your method of preservation, try to choose preserves that you can use in a variety of ways. For instance, you can eat applesauce plain, over pancakes or oatmeal, and in baking or BBQ sauce. That one product goes a lot farther than apple jelly.
Next, take the time to become familiar with your chosen food preservation methods before harvest season. Then, determine how much time you realistically need to prepare your harvest and schedule it.
While we can’t generally take time off from work to get our harvest and preservation, it might be a good time to use up some vacation hours or sacrifice a few pastimes where we’d normally be watching television, reading a book, or scrolling social media.
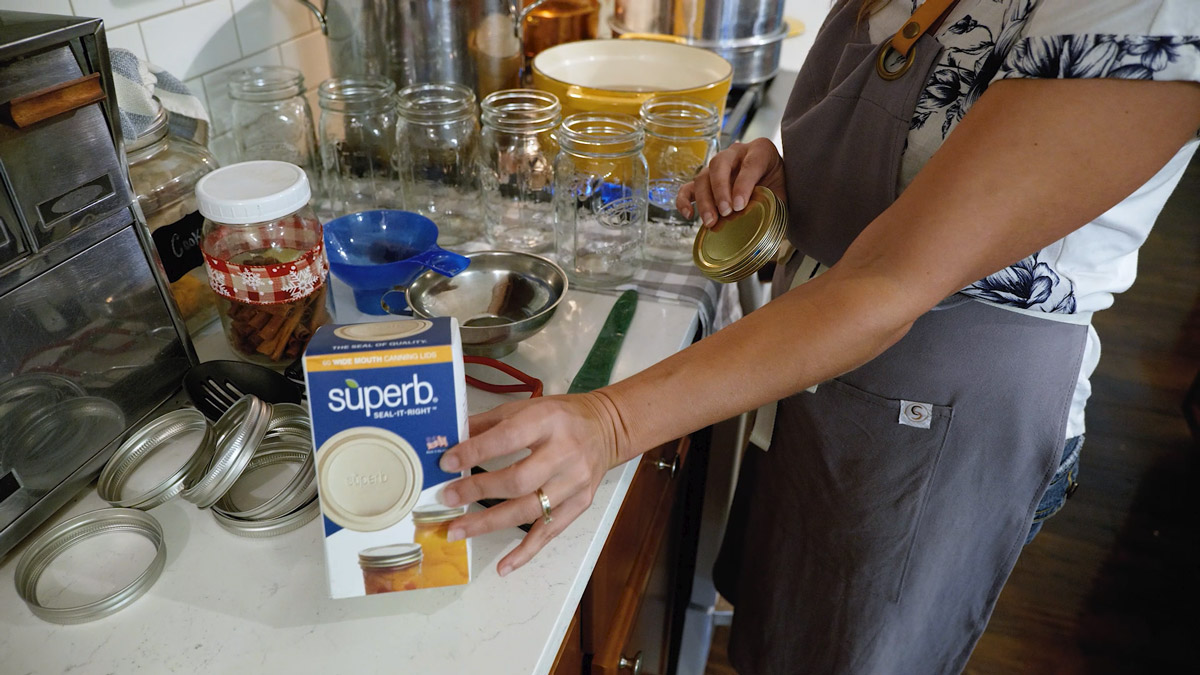
Finally, make sure all your supplies are stocked ahead of time. You don’t want to have everything prepped and ready only to realize you’re out of wide-mouthed canning lids, you don’t have enough salt to make your brine for fermenting, you ran out of canning salt, or you’re short on vinegar.
Yes, all of the above have happened to me one time or another.
Be Mindful of Your First Frost Date
It’s so easy toward the end of summer to roll our eyes at the garden and want to be done with it. We’re tired, it’s hot, and we wish we could just tell everything to stop growing. At least for a week or two until we can catch our breath.
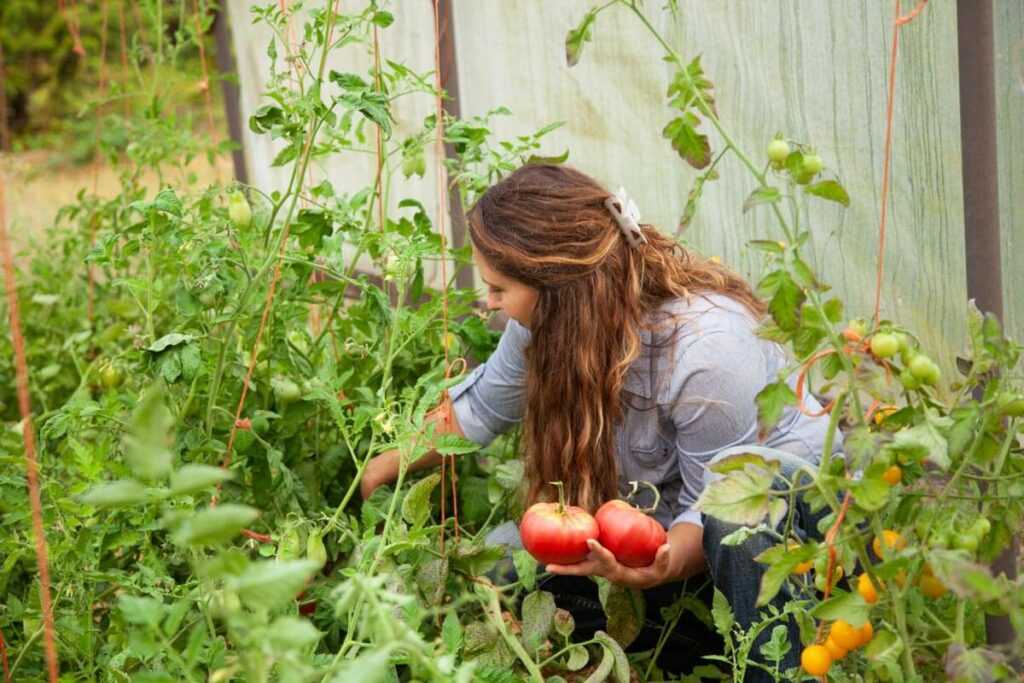
But here in the Pacific Northwest, it’s not uncommon to get our first killing frost at the end of September. When I consider a week of hot temperatures where my green beans won’t be setting new blossoms, I quickly realize I may only have four more weeks of growing time on those plants.
That means we need to follow through on the fruits and vegetables in season by month before our potential first frost. When I think about the “end game” of the garden, this can give me the determination I need when the weather is miserably hot to push just a little bit harder.
Buy Yourself Time
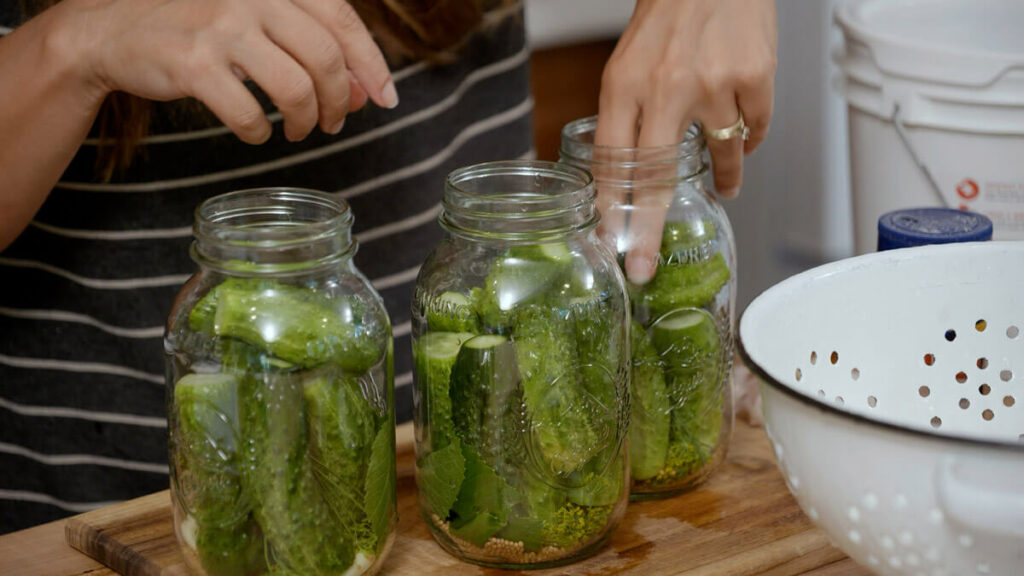
If you know making pickles is one of your top priority foods, then when the cucumbers are on, you know picking them in the cool of the morning is important for crisp pickles.
If you don’t have time to make pickles that morning, you can pick in the morning and prep the cucumbers (cold ice water bath with salt). Then in the evening, you can drain and process the pickles. I share exactly how to do this in my post on how to make garlic dill pickles.
You can also pick in the morning and put everything in the fridge to stay cool until you can process it later that day (sometimes a few days), rather than leave it on the vine, especially if the item is close to becoming overripe. This helps you do things in small batches when you’re short on time.
Put Crops on Pause
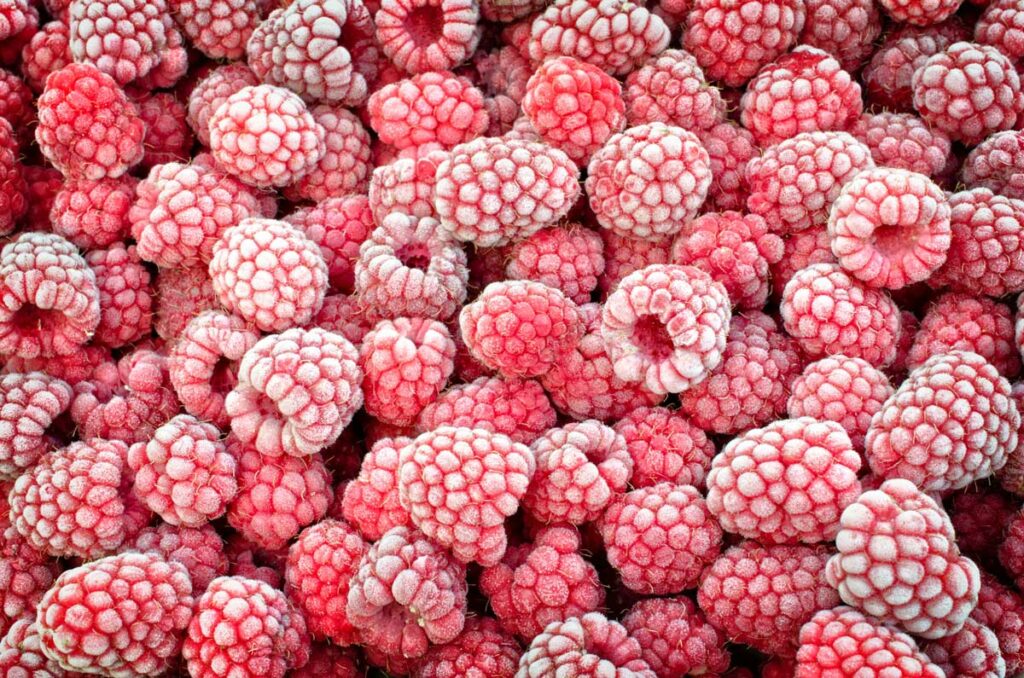
Additionally, certain crops can be harvested, and you can essentially hit “pause” on the preservation process by utilizing the freezer. I do this throughout the summer with items that I don’t mind having a mushy texture later on.
- Berries – Freeze berries and defrost them later on to turn them into treats like individual Strawberry Shortcakes or a low-sugar jam recipe. Try my low-sugar blueberry jam, blackberry jam, and strawberry jam. Then grab my FREE Canning Jellies and Jam Like a Pro eBook! Freezing berries also gives you a head start on freeze drying them.
- Tomatoes – Core and score tomatoes and toss them into a freezer ziptop bag. Once the weather cools off, defrost them, slip the skins off, and turn them into homemade tomato sauce.
- Cherries – Pit and freeze cherries that will later become cherry pie filling or cherry jam.
- Apples – Freezing apples is great for making recipes like applesauce, fruit butter, and cobbler, where you don’t mind if the apples are soft.
Keep in mind, this doesn’t work for all crops. I wouldn’t recommend this method for anything that won’t have a great texture after defrosting. Unless, of course, the end product is also mushy, saucy, or runny.
Because I know green beans tend to be mushy after freezing them, I knew I needed to can them up before the heat got to them. Freezing green beans is certainly a preservation option. However, our family prefers pressure-canned green beans over frozen ones.
Knowing what your family enjoys best also plays an important role in preservation.
Furthermore, because we were about to stock our freezer full of beef, I knew I needed all the freezer space I could get.
Carrots are another vegetable that I won’t freeze. We leave our carrots in the ground throughout the winter and harvest them as needed. You can check out how we store our carrots (and other root crops) in the ground here.
Fruit Harvesting Tips
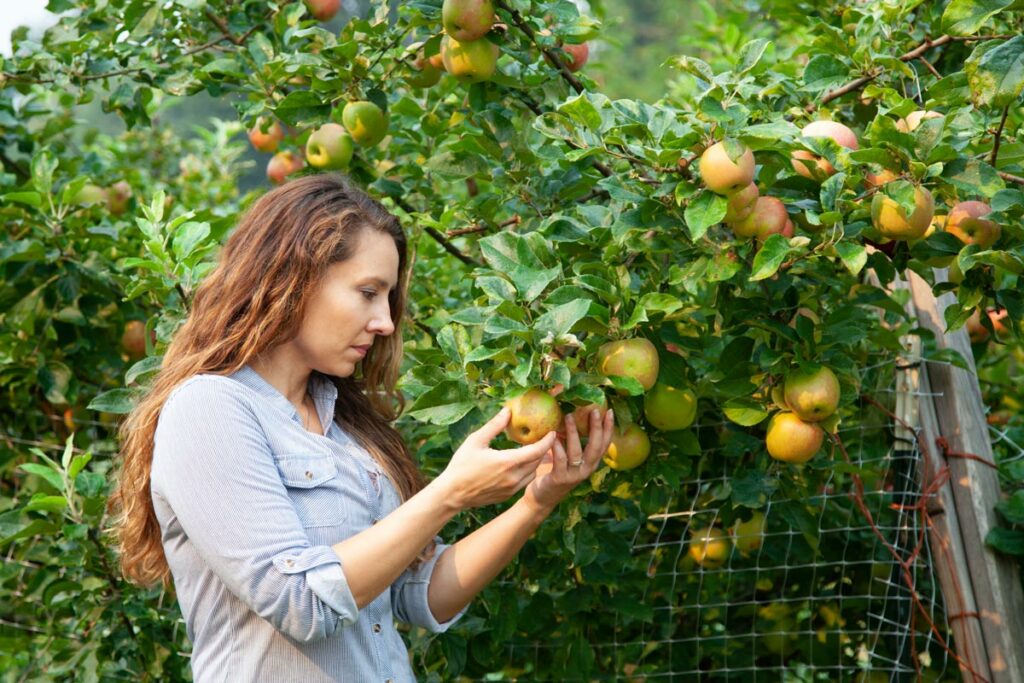
Whether you are harvesting fruit from your backyard or a U-Pick farm, these tips will come in handy:
- Harvest the Stem – If you’re picking fruit, always leave the stem on; this will help the fruit store longer.
- Pick Early for Jams and Jellies – Underripe fruit, just a bit under (not green), has more pectin. By picking it early, you can make sure you’ve got those great pectin levels in your jams, jellies, syrups, etc.
- Maximize Natural Pectins – There are different levels of pectin in all of your fruits. For example, a green apple has a lot more pectin than a red apple. If you put a really high-level pectin fruit with a lower level pectin fruit, then you can use a small amount of that higher level pectin fruit, and it doesn’t really affect the flavor of the other fruit, and you can use that in place of store-bought pectin.
Canning Tips
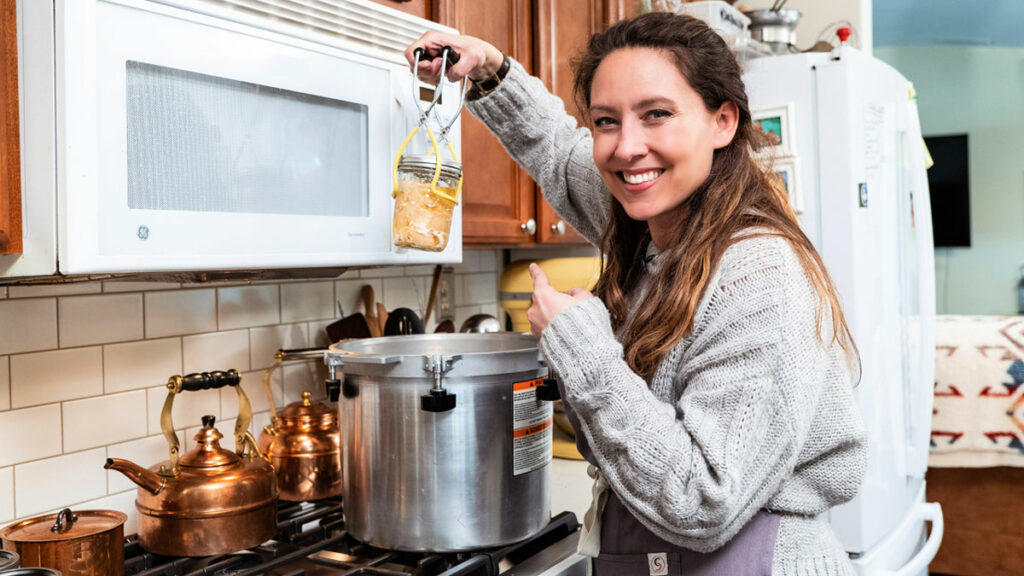
Canning remains my favorite preservation method of all time. I can process a large amount of food all at once, and it stores shelf-stable until I’m ready to use it.
The downside to canning is that harvest season is typically during hot weather months, and canning heats up the kitchen. Canning outside is the only way I preserve my food in the summer months. You can check out my blog post on canning outdoors to see my outdoor canning setup.
When processing vegetables for canning, there are usually odds and ends left over. For instance, you typically have to trim off perfectly good pieces of asparagus to fit in a canning jar.
I freeze the trimmings and use them when making vegetable broth, but I also make a couple of big pots of cream of asparagus (or other vegetable) soup. I use broth and a little cream to make it creamy and delicious.
Dehydrating Tips
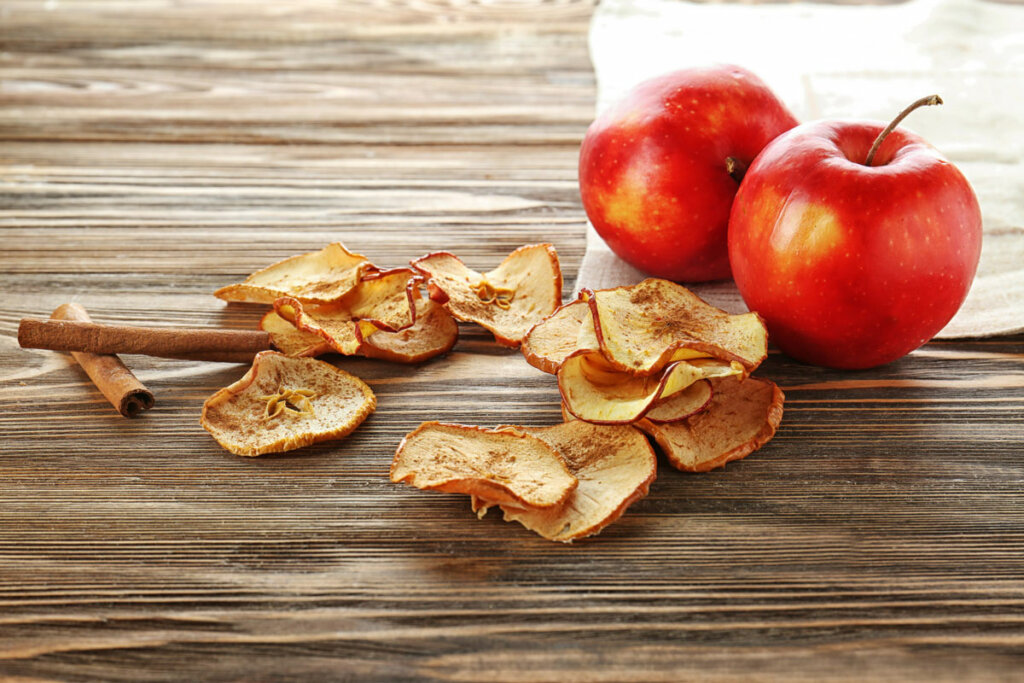
Dehydration is an ideal beginner preservation method because it requires minimal prep time, and the supplies are affordable.
- Don’t Toss Overdried Foods – If your batch is too dry, grind it into powder using a clean coffee or spice mill. Fruit powders are delicious flavorings for yogurt, kefir, smoothies, and baked goods, while vegetable powders give soups, stews, broth, and casseroles a nutritional boost.
- Lightweight Foods – Lightweight foods, such as herbs, can get blown around depending on where the fan in your dehydrator is located. If this is a frustration, simply place a wire mesh screen over the top to hold them in place.
- Blanching – Blanching before dehydrating deactivates enzymes and can prevent color, flavor, and texture loss while also making foods easier to rehydrate. Examples of vegetables that benefit from blanching prior to dehydrating are carrots, celery, broccoli, green beans, okra, beets, corn, peas, potatoes, and squash.
- Mushrooms – We love to forage for mushrooms, but due to their uneven sizing and textures, wild mushrooms shouldn’t be canned. Dehydrating mushrooms is a safe method of preservation, and, for my fellow mushroom lovers, this method actually enhances the flavor.
Freeze Drying Tips
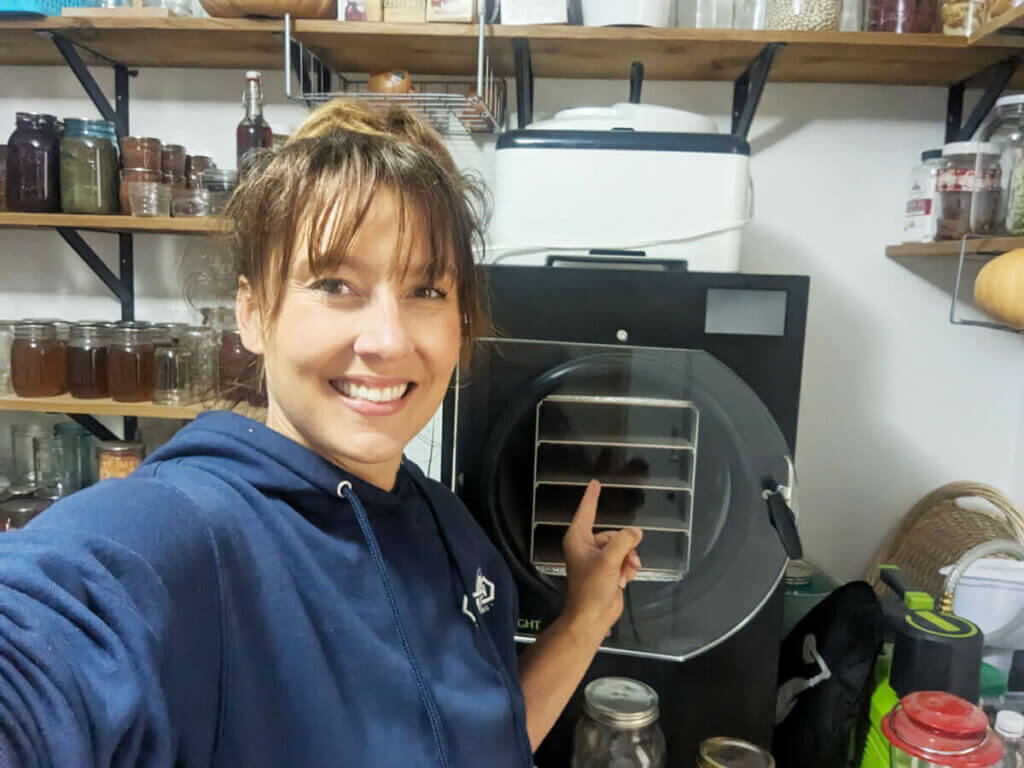
One of my favorite things about having a freeze-dryer is that it allows me to take shortcuts. Crops that I wouldn’t otherwise want to freeze can be frozen and then freeze-dried once the temperatures cool off (because the freeze-dryer also heats up my house).
Plus, freeze-dried veggies can be far superior to frozen veggies. For example, freeze-drying zucchini is my favorite way to preserve it.
- Keep Your House Quiet and Cool – Did you know you can freeze-dry outdoors? If you have a covered porch, you can set up your freeze-dryer strapped to a heavy-duty stainless steel cart with casters. When it’s time to use your freeze-dryer, simply roll the cart outside and hook it up to an exterior outlet. I have many friends who do this, and I’m excited to set this up myself.
- Maximize Capacity – If your freeze dryer’s capacity cannot keep up with your harvest, purchase a second set of trays to stage additional batches while it is running.
- Diligently Label – Freeze-dried food can sometimes be hard to identify, so labeling is crucial, especially if you freeze-dry raw meat. Make sure you label that the meat was raw when you processed it. Believe me when I say, powdered freeze-dried liver looks exactly like freeze-dried hot chocolate!
Keeping Your Sanity
In the busyness of harvest season, we can become distracted and lose sight of the bigger picture. Practice these habits so that you never lose your love for growing, harvesting, and preserving.
- Remember Your Why – It can be easy to forget why we decided to take on this challenge in the first place. I remind myself that I’m feeding my family healthy food, drastically cutting our food bill, increasing self-sufficiency, and spending quality time with my family. If you need to, write out your why.
- Give Yourself Grace – There’s this fallacy that we can do it all. I tend to fall into this line of thinking myself. But no one can do it all. This has probably helped me the most with my time management. Pick the things that absolutely have to be done today and leave the rest.
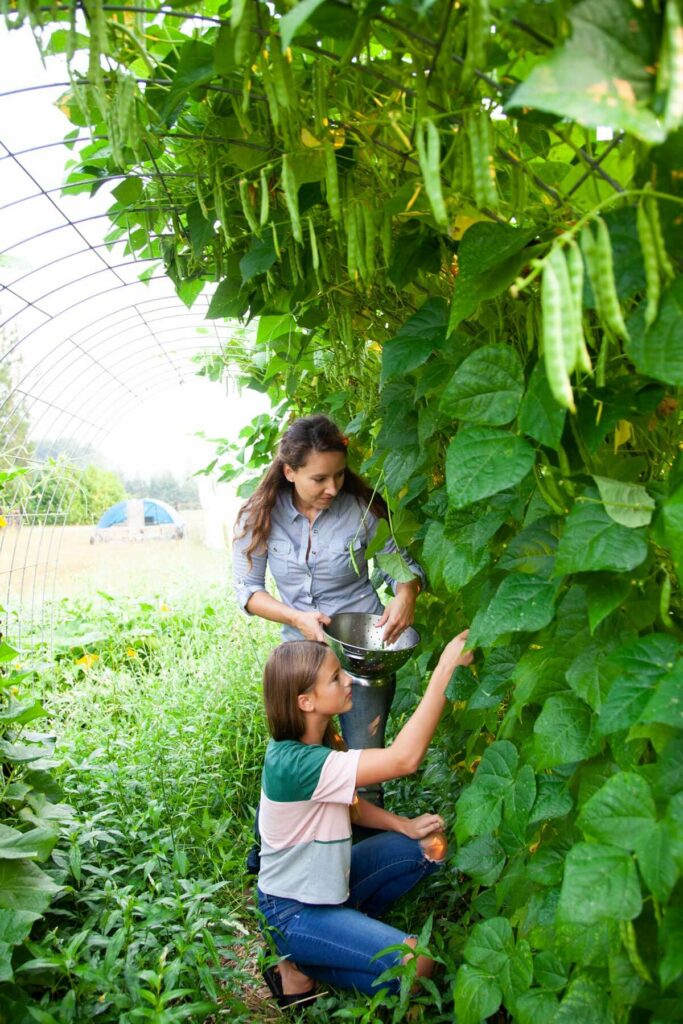
- Get Help – Enlisting the help of all present hands on the homestead is a huge help. It also teaches the kids where the food comes from, how to work together as a family, and is just plain needed for us to live this homesteading lifestyle. If you eat it, you help put it up. That’s pretty much how we roll around here.
- Celebrate Your Accomplishments – If you harvested one thing from your garden, that’s one item of food you didn’t buy from the store. If you canned five jars of food, that’s five things you can feed your family this winter.
And there you have my top preservation tips to combine with the handy chart above to know fruits and vegetables in season by month, so you can move forward into preservation season with confidence and success.
FAQs
FAQs
How can I find fruits and vegetables in season by month?
Begin with the chart in this blog post and then refine according to your local climate and growing season.
What are some seasonal fruits and vegetables available in the winter?
In winter, look for winter squash, Brussels sprouts, and sweet potatoes. You can also enjoy a variety of citrus fruits.
Where can I buy local, seasonal produce?
If you can’t grow your own fruits and vegetables, look for local farmers and gardeners, CSA programs, and farmers’ markets.
Why is eating seasonally important?
Eating seasonally means enjoying produce at its best taste and freshness. It also helps local farmers and is better for the environment.
What are some tips for preserving seasonal produce?
There are several preservation methods to choose from, such as canning, dehydrating, fermenting, freezing, freeze-drying, and more. Check out my blog post, 10 Food Preservation Methods Everyone Should Know for more information.
Can I still eat out-of-season produce?
That’s the beauty of food preservation! It allows you to preserve fruits and vegetables to enjoy them year-round.
Resources
Episode #89
- Fall Gardening Tasks for a Better Garden Next Spring
- FREE Essential Steps to Safely Canning at Home Workshop
- Verse of the Week – 1 Corinthians 3:7-8
Episode #147
- Best Garden & Harvest for a Year’s Worth of Food
- FREE Safety Canning Class
- FREE Planting Chart
- The Pioneering Today Academy Waitlist
Episode #149
- FREE Apple Preserving eBook
- FREE ebook Old-Fashioned Preserving Jams & Jellies
- Verse of the Week – 1 Samuel 2:2-3
Episode #157
- How to Make Chicken Broth & Preserve It
- How to Preserve Herbs in Salt
- How to Dry Herbs
- 12 Ways to Preserve Apples
- The Pioneering Today Academy Waitlist
- Verse of the Week – Hebrews 10:35-36
Episode #184
- FREE Essential Steps to Safely Canning at Home Workshop
- FREE ebook Old-Fashioned Preserving Jams & Jellies
- The Pioneering Today Academy Waitlist
Episode #401
- How to Can Bone Broth (Video shows my outdoor canning setup.)
- My new book, Everything Worth Preserving
- Verse of the Week – 1 Peter 2:1-4
Episode #464
- Homestead Kitchen Crash Course
- Updated edition of Home and Hand Made
