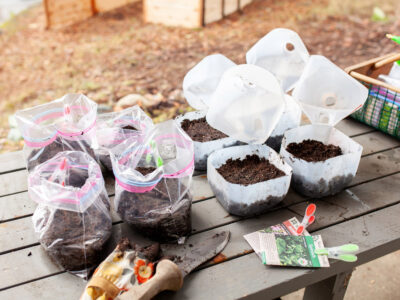
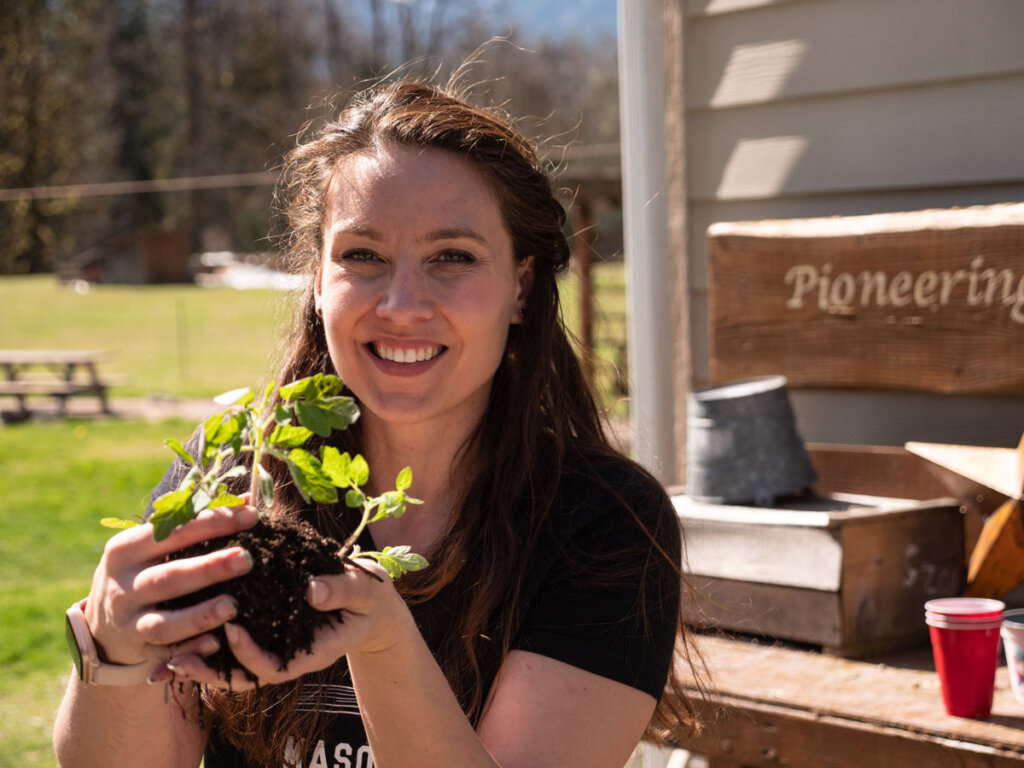
Planting tomatoes might just be the most exciting time of year for a gardener (other than harvesting, am I right?). But how do we plant tomatoes to ensure a disease-free harvest? I'm glad you asked!
This post originally included my top ten tomato-growing tips. You'll hear them in the podcast that goes along with this blog post. However, it has since been updated to include more tips that I've learned over the years!
So I'm now sharing my top fifteen tomato-growing tips for a disease-free harvest. Can I get an amen?
As the saying goes, an ounce of prevention is worth a pound of cure. And in the case of tomatoes, this is definitely true. In fact, even as a fifth-generation homesteader, tomatoes used to be a nemesis crop for me.
Some other posts you may want to check out (after reading about planting tomatoes, of course) are listed below:
- My Ultimate Seed Starting Guide
- How to Properly Separate Seedlings
- How to Prune Tomatoes
- How to Store Green Tomatoes (for fresh eating)
Table of Contents[Hide][Show]
- Why Proper Tomato Care is Crucial
- Why Planting Tomatoes the RIGHT Way is So Important
-
15 Tomato Growing Tips for a Disease-Free Harvest+−
- Choose the Right Location
- Picking the Right Variety
- Providing the Right Soil Conditions
- Plant at the Right Time
- Plant Deep
- Water Tomato Plants Deep (But Not Too Often)
- Prevent the Leaves From Getting Wet
- Crop Rotation
- Leaf Color (Early Detection is Key)
- Trellising Tomatoes
- Pruning Tomatoes
- BONUS TIP: Clip the Leaves
- More Gardening Articles
Why Proper Tomato Care is Crucial
I live in northern Washington state, up in the foothills of the North Cascade mountain range. So, being in the Pacific Northwest, we do tend to deal with a lot of damp rainy weather. Even in the summer. (Although for the past five years or so, we've been experiencing a lot drier and warmer summers than normal for this area.)
Still, this traditionally cool and rainy climate can make it hard when planting tomatoes because they don’t like to get wet. (Find out what does grow best in a Pacific Northwest vegetable garden.) It opens them up to the fungus that can cause blight so you'll want to learn how to prevent and treat early tomato blight.
Also, if you live in a cooler climate, your tomatoes aren't going to be as productive. They’re definitely a warm, dry-weather plant. However, if you live in an area with real heat and humidity, you also may struggle with issues like too much sun as well as blight from damp/humid conditions.
The tips I'm sharing in this post are things I’ve learned by complete trial and error. They're the tips I wish I had known way back in the day when I was struggling.
Why Planting Tomatoes the RIGHT Way is So Important
One year I had five tomato plants, and I got ONE tomato off of those five plants, no joke. But now, thankfully, this story has a happy ending.
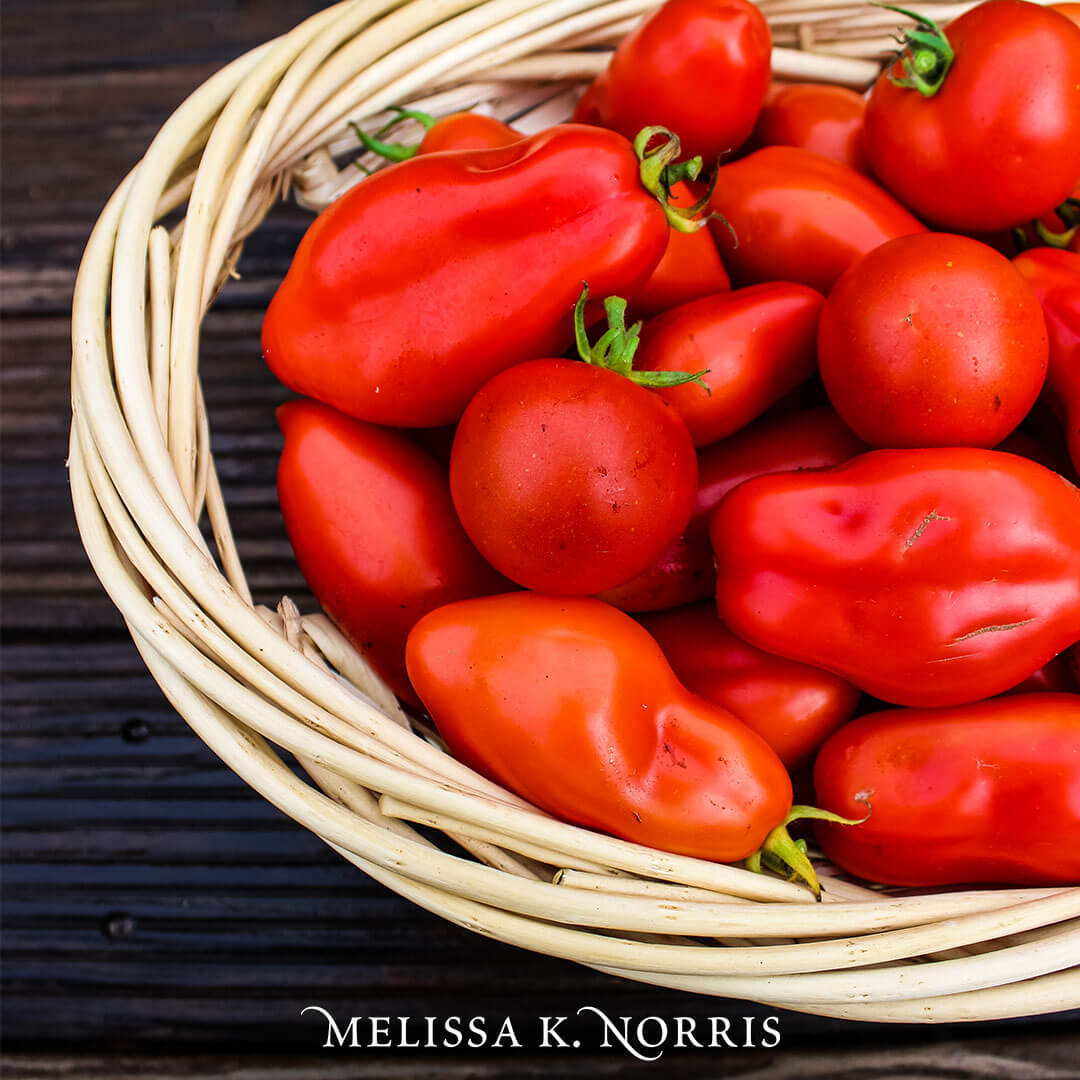
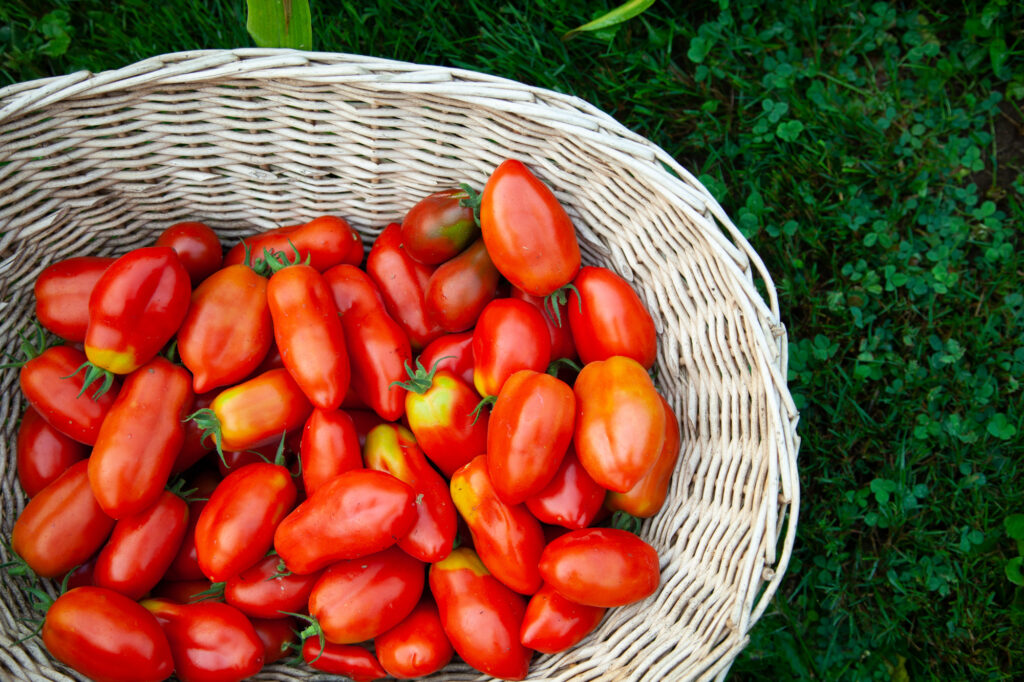
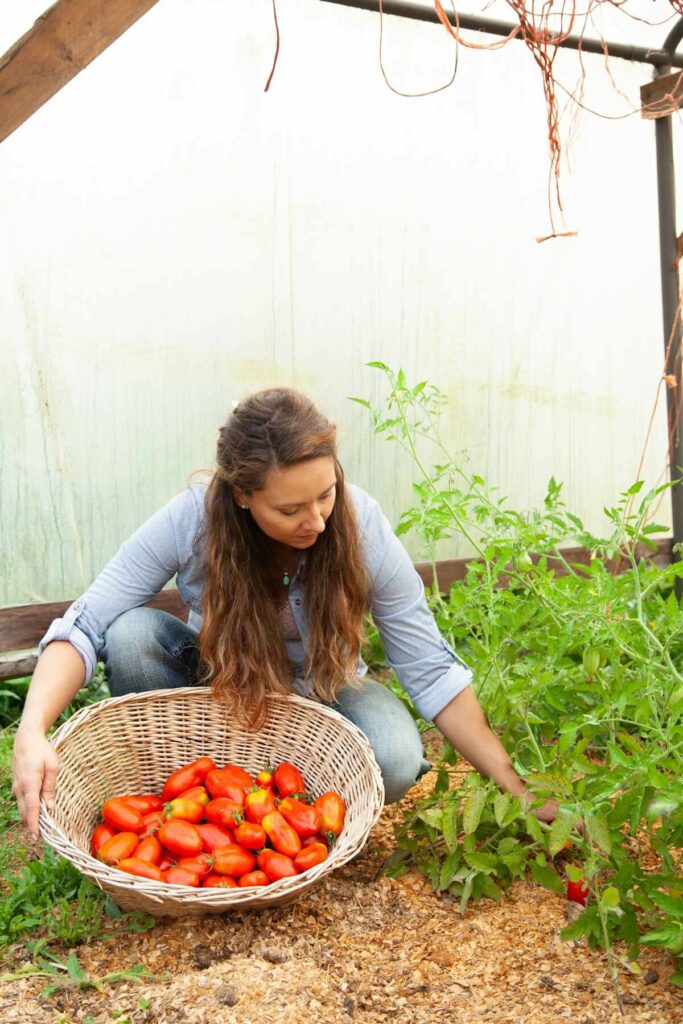
We have for many years now successfully raised all of our tomato products. As a family of four, we can do this from 20 tomato plants. (We increased from 18 plants a couple of years ago.)
From those 20 plants, I can homemade tomato sauce (I have since learned a secret to getting homemade tomato sauce that's not watery), I can stewed tomatoes, make incredible tomato onion jam, and make fresh fermented salsa. We also enjoy countless fresh tomatoes straight off the vine (they do make the best garden snack!).
Once the threat of a first frost comes, we harvest all the green tomatoes. We then store them correctly for fresh eating throughout the fall. (Learn how to store green tomatoes here.)
Listen to the full podcast, Episode #180, 10 Tomato Growing Tips. Click for more episodes of the Pioneering Today Podcast, where we don’t just inspire you but give you the clear steps to create the homegrown garden, pantry, kitchen and life you want for your family and homestead.
The video below is a snippet of the live in-person workshop we held at Norris Farmstead in May 2023. Enjoy learning some of my tomato planting tips.
15 Tomato Growing Tips for a Disease-Free Harvest
Healthy, disease-free tomatoes start right at the time of planting. But don’t worry if you’ve already planted your tomatoes. You can still use some of these tips even if your plants are already in the ground.
Choose the Right Location
- Full Sun - The first thing that you need to know about planting tomatoes is where you’ll be planting them and what the soil is like. If your tomato plants are already in the ground, you're probably not going to want to move them. But ideally, you should plant tomatoes where they will get full sun. This means at least six to eight or more hours of sunlight each day.
- Shade - If you’re dealing with an area that gets a lot of shade and planting tomatoes there is your only option, pick the area on your property that gets the most sun in the afternoon and later in the day because, usually, that's more intense sunlight than the sunlight we get first thing in the morning.
- Soil - As far as soil goes, there are a lot of nutrients in the soil that will help your tomatoes. Not only to be robust and productive but also to cut back on the diseases they're susceptible to. Your best bet is to get a soil test done. Then you know the pH level and the exact macronutrient levels of your soil. That way, you’ll know if you need to amend for them or not. Here's how to do a basic soil test (including an inexpensive at-home kit).
Picking the Right Variety
The biggest question here is not so much the specific tomato type (although growing a tomato that's right for your climate is important), but whether or not you're choosing a determinate or indeterminate variety.
- Determinate Tomatoes: These tomatoes grow to a determined height and do most of their production all at once. So over a week or two, they're just going to produce like crazy, and it's pretty much done. They usually grow up to about three to four feet high.
- Indeterminate Tomatoes: These tomatoes will grow all season long until you have a killing frost. I like them because I've got so much produce coming on from our garden from May to mid-September. I don’t want all of my tomatoes to come on at once. I neither have the space or the wherewithal to can an entire year's worth of tomatoes over one or two weeks (especially when I'm already dealing with the green beans, the cucumbers and everything else).
Pro Tip: if you’re planting tomatoes that are an indeterminate variety and you want to can them but you don’t have enough ripe tomatoes to can at any one time, as they ripen, take those bad boys off the vine and pop them in the freezer. Then when you get enough to can a batch, take them out and run them under warm water. The skins will just slip off. So there’s no need to sit and blanche and peel them tomatoes in the summer when it’s hot. You're welcome!
Providing the Right Soil Conditions
When it comes to planting tomatoes, they're not extremely finicky about their soil. However, there's a saying that tomatoes "don't like their feet wet." This means they don't like to be in standing water, so having well-draining soil is important.
Tomatoes also require a few nutrients (but not too much). The right amounts help to prevent blossom end rot and produce a good harvest. Here are a few tips for keeping the best soil conditions.
- Crop Rotation (more on this further in the post)
- Compost
- Mulch
- Calcium
- Nitrogen

Compost (Before or After Planting)
No matter what your soil is like, you can't go wrong adding some compost to your soil. So work some compost in at the time of planting into the bottom of the hole.
If you've already planted, then you can do what we call a top dressing. This means adding compost on top of the soil around the drip line of the plant. The drip line is the outer edge of the leaves of the plant where the water drips off and hits the soil.

Mulch
Though mulch isn't necessary to grow healthy tomatoes, it's a huge help in maintaining damp soil. This means you won't have to water as often. Mulch also reduces weed pressure and prevents splashback when watering (to prevent blight and other diseases).
If you're interested to learn more about using mulch in the garden (and whether it's really worth it), you might want to check out the two-year experiment I did where we covered half our garden in mulch and left the other half uncovered.
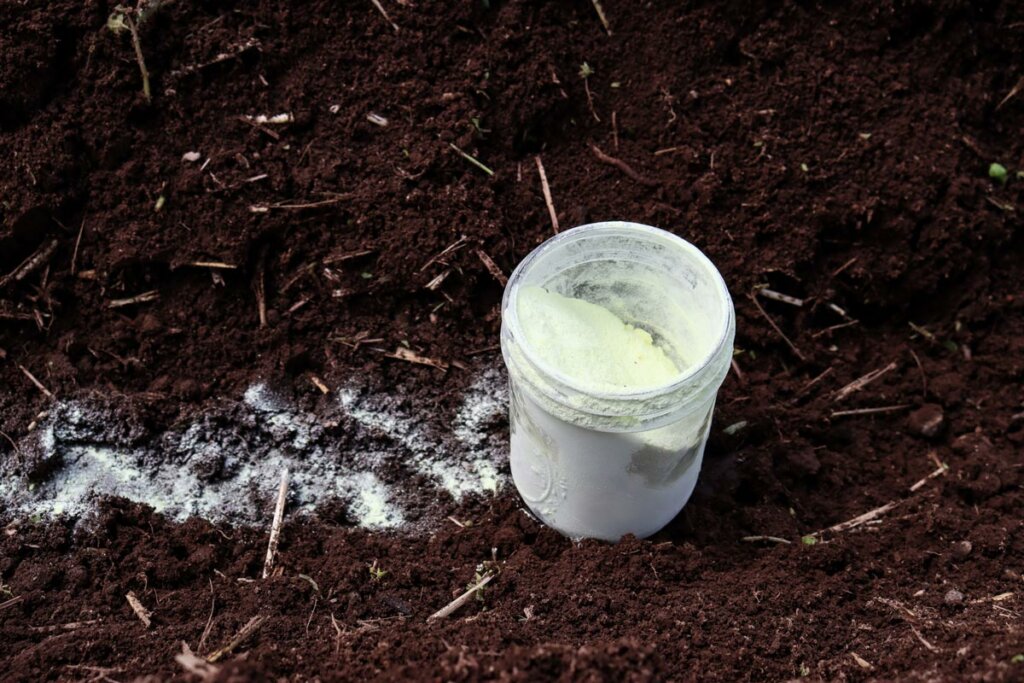
Add Calcium (If Needed)
One of the most common problems people experience with planting tomatoes (and growing them) is blossom end rot. As the tomato plant starts to mature, the fruit will rot from the blossom end of the tomatoes. This is also a common problem with squash plants like zucchini and winter squash.
To recognize blossom end rot, the end of the tomato where it's attached to the plant will turn soft, brown and mushy. Eventually, this turns black and gets completely rotted.
Blossom end rot is usually a result of not having enough calcium (though this doesn't mean your soil is low in calcium), it can occur because the plant isn't getting enough calcium (more on this below).
Have a soil test done, it will let you know if you have enough calcium present or if it's a watering issue. So do a soil test first, if possible, and add calcium at planting time or as a top dressing later.
Many people will tell you to add crushed eggshells to your planting hole for calcium. But the problem with this advice is eggs take a long time to break down and for the calcium to be in an available form for the tomato plant. In most cases, it won't be available during the season to your tomato, especially if you don't have acidic soil. So it doesn't harm anything but it's not actually boosting your soil for the immediate plant.
If you chose to use egg shells, pulse the shells into a fine powder. The smaller each particle is, the quicker it will break down and release nutrients into the soil. That's going to help naturally add calcium to the soil without adjusting the pH level. Typically I add about 2-4 tablespoons to each planting hole. If you've already planted, add this as a top dressing around that drip line.
Another organic way to add calcium to your soil is by adding lime. However, using lime affects the overall pH level of the soil. Therefore, I don't recommend it unless you know what your pH level is. If your pH level is good, then I wouldn’t use lime. I would use the crushed-up eggshells.
Add Epsom Salt (If Needed)
You can add Epsom salt, which actually isn’t salt at all. It's magnesium, and magnesium will help your tomato plants draw up phosphorus. A lot of people add 2-4 tablespoons of Epsom salt at the time of planting.
If you’ve already put your plants in, you can use one tablespoon of Epsom salt in a gallon of water and water your plants with the mixture.
Plant at the Right Time
This goes for when you're starting the seeds indoors, when you're potting them up, when you're hardening them off and when you're transplanting them outdoors.
I don't know why people say tomatoes are the easiest crop to grow. In my experience, this is the furthest from the truth. Tomatoes have to be started indoors in my growing zone or else I won't get a harvest. Furthermore, they generally have to be potted up at least once, if not twice before it's time to plant them out into the garden.
Also, along with peppers, tomatoes cannot tolerate a frost, nor do they like temperatures below 50 degrees. So they take more forethought before planting them out. Once you're about two weeks past your last frost date, start looking at the 10-day forecast. If the evening low temps are above 50 degrees F, then you're probably safe to start planting tomatoes in the garden.
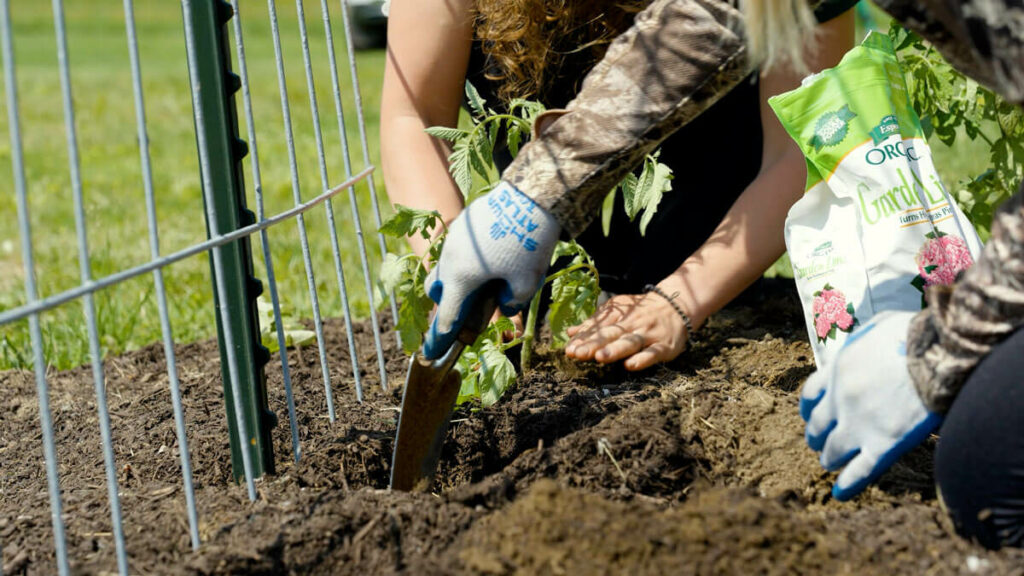
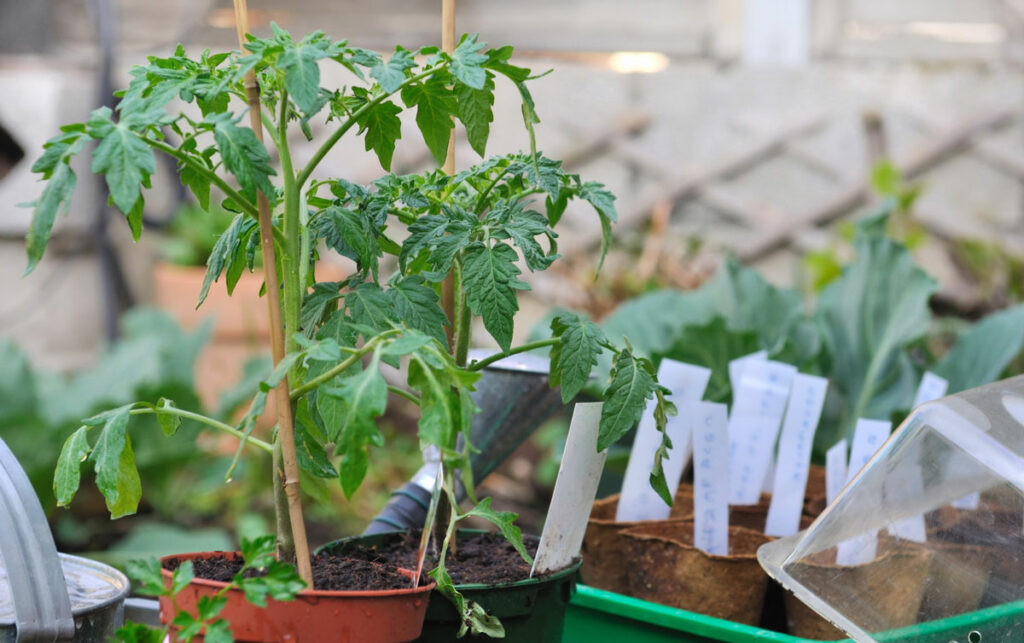
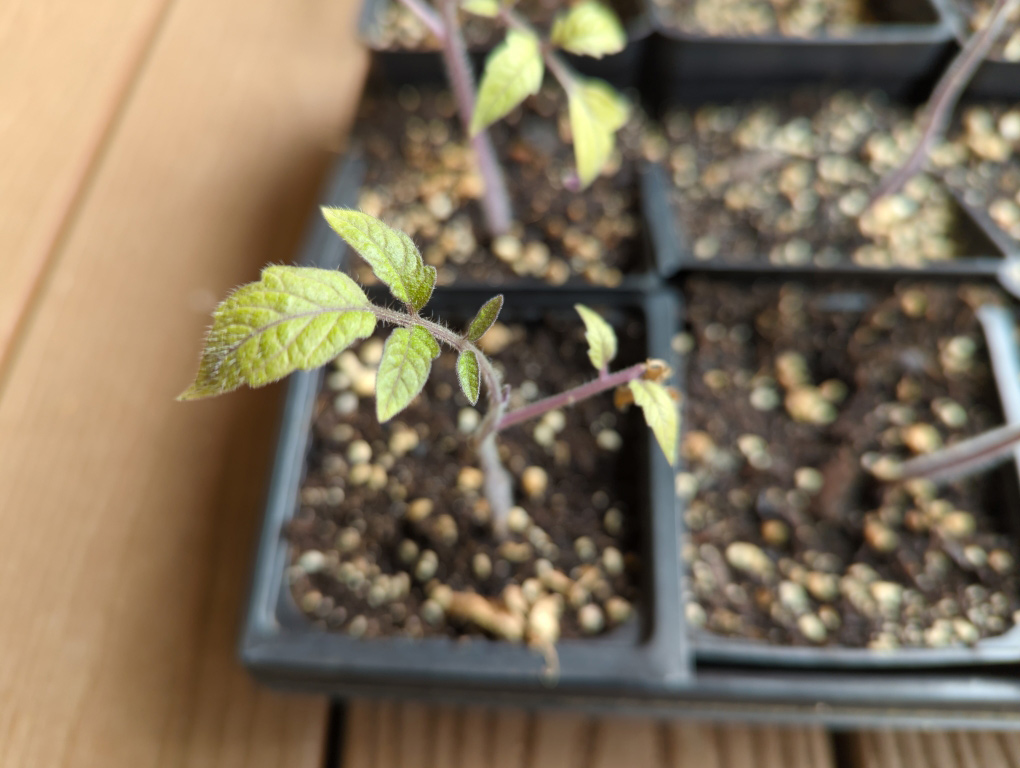
Plant Deep
Plant your tomatoes deep. Right up to the first set of leaves. This helps develop a larger and stronger root system. The incredible thing about tomatoes is that they'll grow roots wherever there's contact with soil.
Tomatoes are a vining crop. If left to grow along the ground they would continue to root themselves all along the stem as it grows.
However, planting tomatoes along the ground is a recipe for fungal growth, so it's not recommended.
Water Tomato Plants Deep (But Not Too Often)
Back on the topic of blossom end rot. The calcium levels in your soil may be just fine, and you can still experience blossom end rot if you’re not watering correctly.
Tomatoes have a very large root system. We want that root system to be really developed because that's going to help make the plant healthy and vigorous and produce a larger harvest. So ideally, you want to water them really deep just a couple of times of week.
The reason for this is that as the top of the soil starts to dry out, that forces the roots to dig down and to go deeper and to become bigger and stronger and more robust. When you water just a little bit each day you’re really just getting the top layer of the soil.
Then again, if you’re watering deep but too often, that can cause the plant's roots to stay wet. Both of these scenarios can cause problems like blossom end rot. So ideally, give your tomato plants about two inches of water, one to two times per week.
Ideally, you want to wait until the top of the soil dries out before watering again. But you don't want to let it dry out too much. If your plant starts to wilt, then that's going to stress it out too. So you really have to find the Goldilocks zone that’s not too wet, not too dry, but just right.
Prevent the Leaves From Getting Wet
As far as how to water tomatoes, try to water them at the base of the plants from either drip irrigation or a low-pressure hose to prevent splashback onto the leaves. This will help to prevent blight (which lives in the soil) from infecting your plants. If you’re using an automatic watering system, avoid overhead sprinklers and instead opt for soaker hoses.
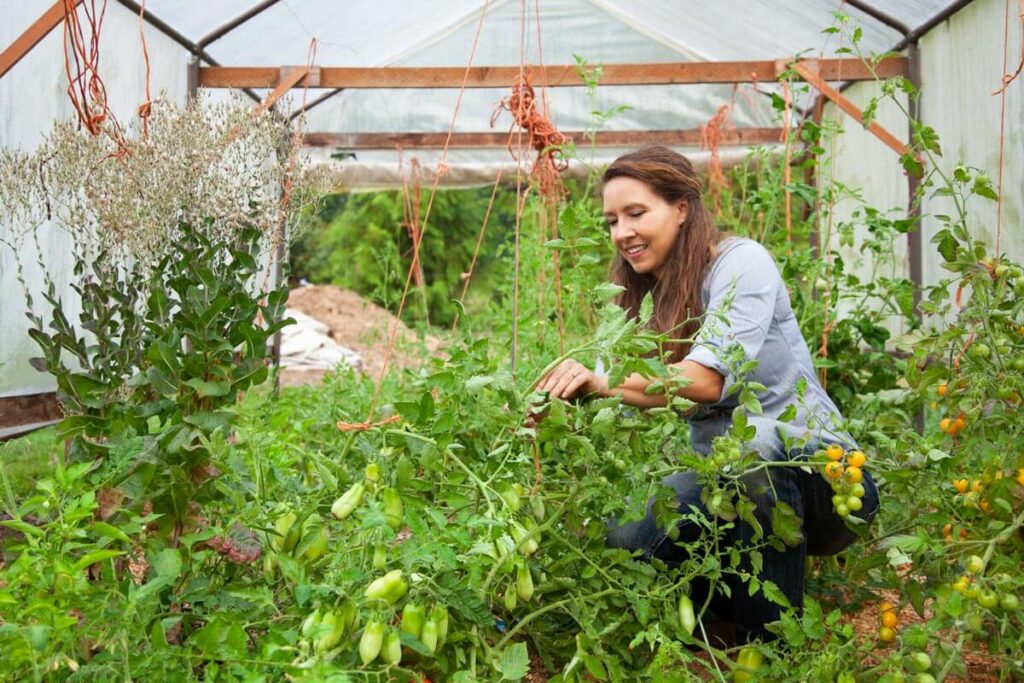
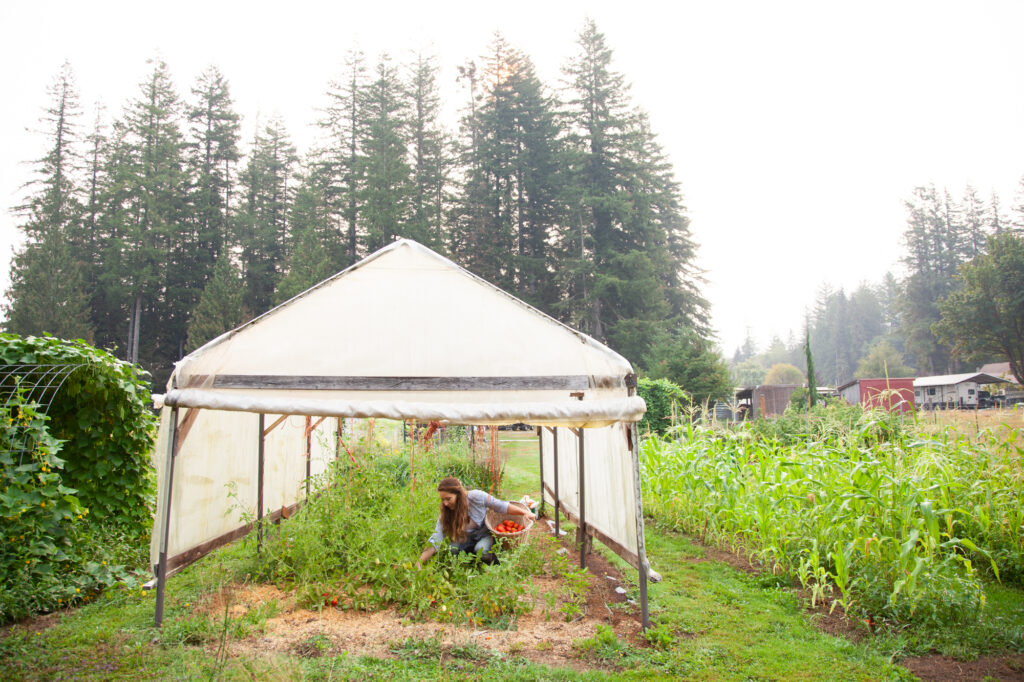
If you live in an area that has a lot of rain (like we typically do), you might consider covering your tomatoes to keep them dry. You can grow them in a high tunnel or a hoop house that allows for proper ventilation.
We made our own high tunnel out of an old metal carport kit (pictured above). That’s where I plant all of our tomatoes and peppers to protect them from the rain. Since covering them six or seven years ago, I haven’t had a problem with blight.
Check out my YouTube video if you want a full tutorial on how we set up our high tunnel. It's an easy DIY project. We love it. It's lasted us nearly a decade and she's still going strong even after some 70-plus mile-per-hour winds.
Crop Rotation
Speaking of watering tomatoes, the other big disease that tomatoes are really susceptible to is blight. Blight is a fungus, and it usually comes from overhead watering. It's really hard to get rid of once it's infected the plant. It also stays in the soil for a number of years. This can affect any plant in the nightshade family, including tomatoes, potatoes, peppers and eggplants, in years to come.
If you get blight, you don't want to plant any of those plants in the same soil for at least three years.
Crop rotation is even more important when planting tomatoes (and other nightshades) to avoid sharing similar diseases like this. Learn more about proper crop rotation here.
Leaf Color (Early Detection is Key)
Something to look out for is to watch the color of the leaves on your tomato plant. Different colors can signal different problems. Here are some things to look out for:
- Purple Leaves on Tomato Plants: If the leaves start to turn purple, especially on the underside of the tomato leaf, that’s a sign the plant is low on phosphorous. The best thing for a phosphorus deficiency is adding some really good compost, specifically compost that has fish waste in it. Wood ash will also help to add phosphorus. Take the compost and work it into the soil around the base of the plant and water it in well. You will hopefully see a change in the color of the leaves in a matter of days.
- Very Few Blossoms: Another common issue is when you have big beautiful leafy green tomato plants with very few blossoms. This is a sign there may be too much nitrogen. You can lay fresh wood chips as mulch over your tomatoes, this may help to draw up some of the excess nitrogen in the soil. Unfortunately, having too much nitrogen is likely something you'll have to fix over the course of a year or two.
- Pale Green or Yellow Leaves: Too little nitrogen will result in plants with pale green or even yellow leaves. Take care when adding nitrogen to the plants because too much can burn the roots and kill the plant (this is why you're not supposed to use fresh chicken manure in your garden). Adding nitrogen is best done at the beginning of the season, specifically at the time of planting. It's not recommended to add more nitrogen mid-season at risk of growing too much foliage and not setting fruit.
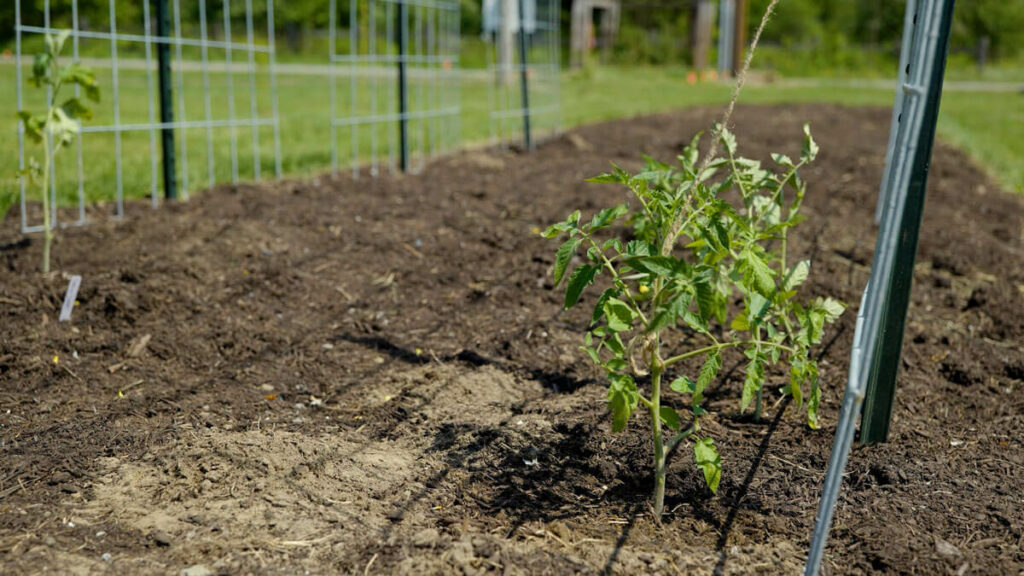
Trellising Tomatoes
We need to talk about trellising tomatoes as they grow. There are a lot of varieties of tomatoes, but as discussed above, they are generally divided into two camps: determinate and indeterminate.
Determinate tomatoes generally do well with a heavy-duty tomato cage (not those flimsy circular tomato cages, those are better suited for trellising something like peppers).
However, indeterminate tomato plants can grow up to six feet tall. They have to be trellised and tied up, or they're going to fall over and break off. They'll also overrun you like nobody's business. Those little cute circular tomato cages that you see in the gardening stores are not, I repeat, NOT going to hold up by the end of the season. They will literally bend and break those things. At least that's been my experience.
Pruning Tomatoes
For maximum growth and the overall health of the tomato plant, pruning is an important piece of the tomato-growing puzzle. I don't prune determinate varieties because they’re only going to grow to a predetermined height. But with the indeterminate varieties, pruning them will promote more blossom growth so that the plant is putting all of its energy into producing fruit and not a ton of vegetation.
- Prune Leaves - Remove any leaves or branches that are down low and touching the soil, especially if you notice any disease starting to form. All those leaves get removed because they’re just like little veins for disease to travel up. So I remove any of the lower branches that are touching the soil or getting wet near the ground.
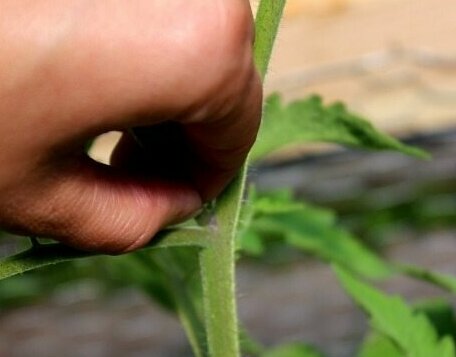
- Prune Sucker Shoots (some of them) - I also remove some of the sucker shoots, but not all. Suckers will produce blossoms and tomatoes. But you don’t want to keep all of the sucker shoots. They’ll suck energy away from the main vine and from the blossoms that are already forming. Prune most of them as they develop in the joints where the branches meet the stem of the plant. Here's How to Prune Tomatoes For a Larger Harvest
BONUS TIP: Clip the Leaves
I've got a bonus tip that actually makes these 16 tips for a disease-free harvest. Though this last tip doesn't really prevent disease, it's worth mentioning. It can actually help speed up the ripening of existing fruit. This is important toward the end of the growing season.
As the first frost is drawing near, clip back the majority of the foliage and branches on your tomato plants. They plant will look sickly and frail, but that's OK. We're no longer interested in foliage growth. We're trying to ripen as many green tomatoes as possible before that first frost hits.
Clipping back the branches will force the plant to put its energy into fruit production.
More Gardening Articles
- Storing Green Tomatoes for Fresh Eating
- Weston Tomato Press (+ Tomato Sauce Recipe)
- Sheet Mulching the Easy Way
- Wood Chips for Garden Mulch – Beneficial or Not?
- Beginner Gardening Secrets You Need to Know
- Science-Based Companion Planting Strategies
- 13 Basic Steps to Starting a Vegetable Garden
- How to Create a Garden Plan for More Harvest & Less Stress
- Planning a Fall Garden (28 Crops to Plant in August)
- Preventing and Treating Early Blight for Tomato and Potato Plants
- How to Plant and Grow Potatoes
- Growing Onions From Seed