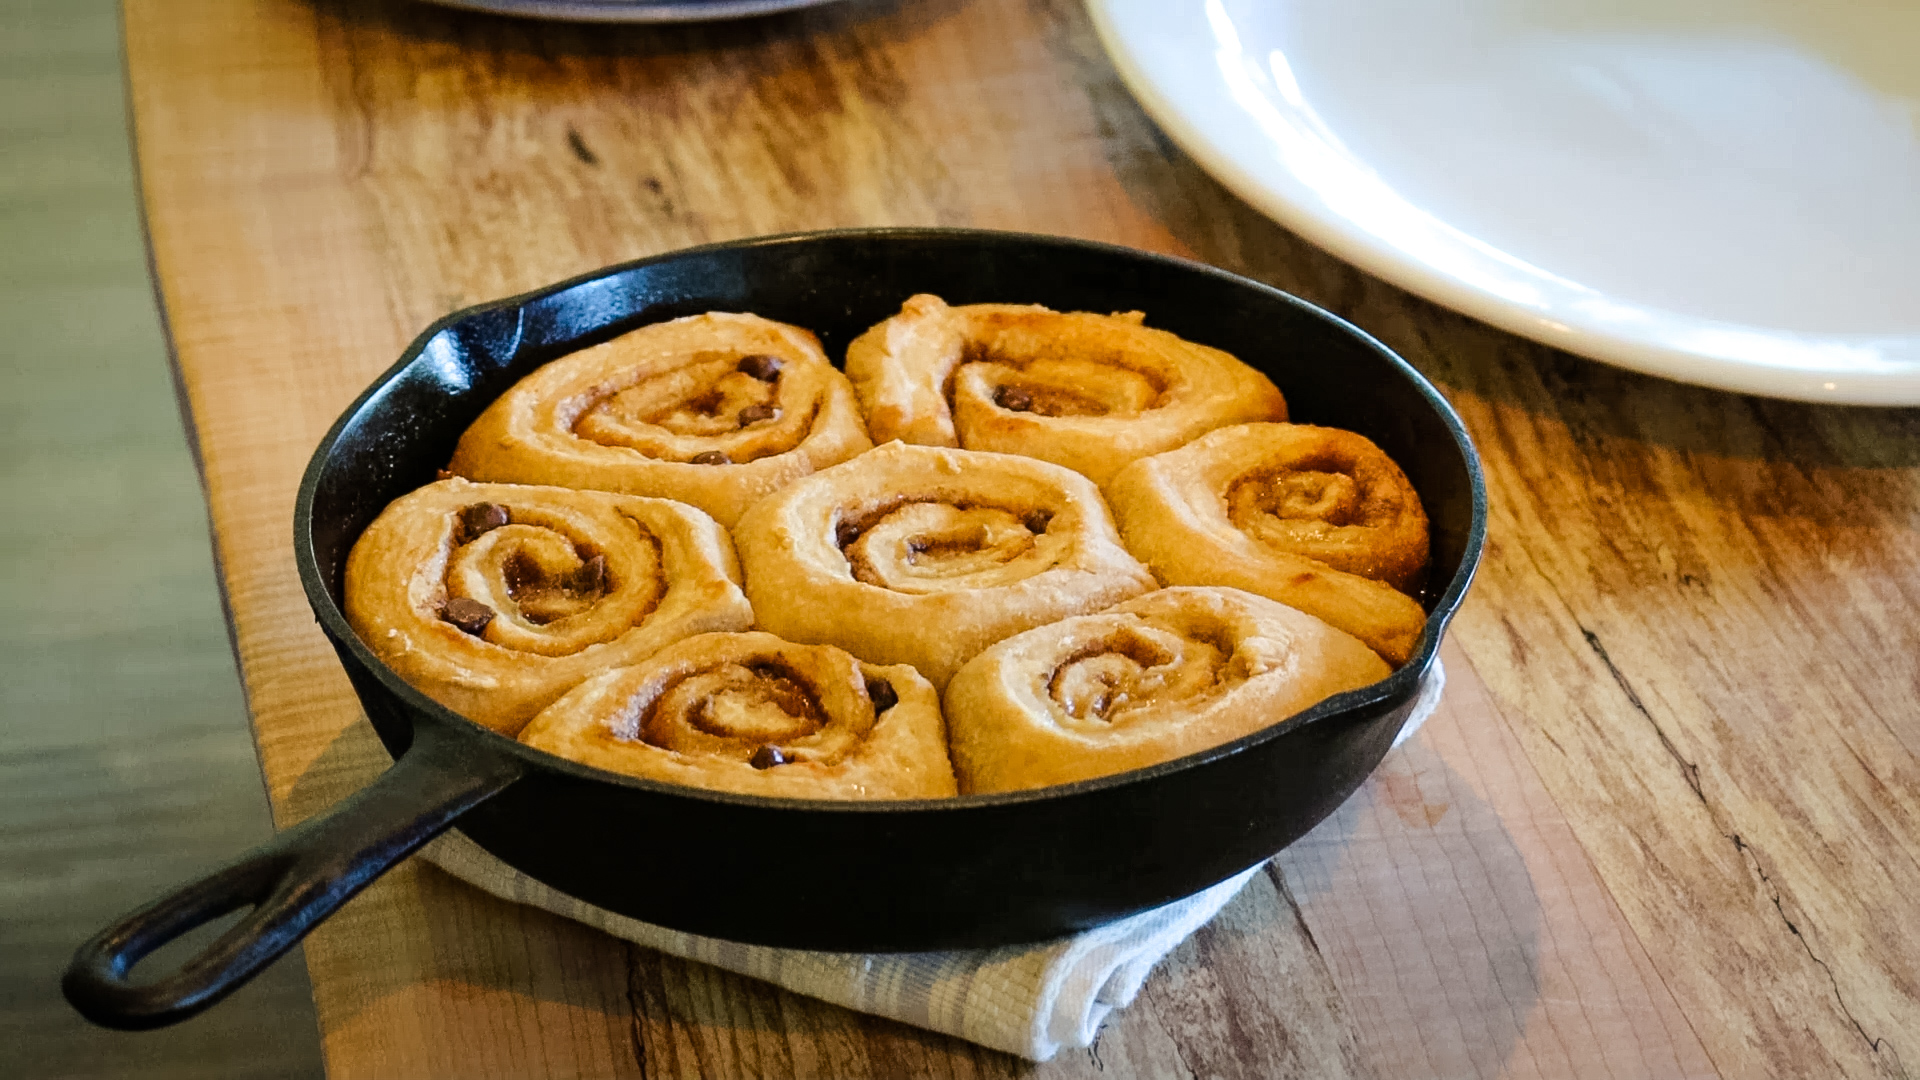
This recipe for quick dinner rolls requires zero rise time and has come in clutch on more than one occasion! If you’re an efficient worker with the dough, you can have them on the table in under 30 minutes!

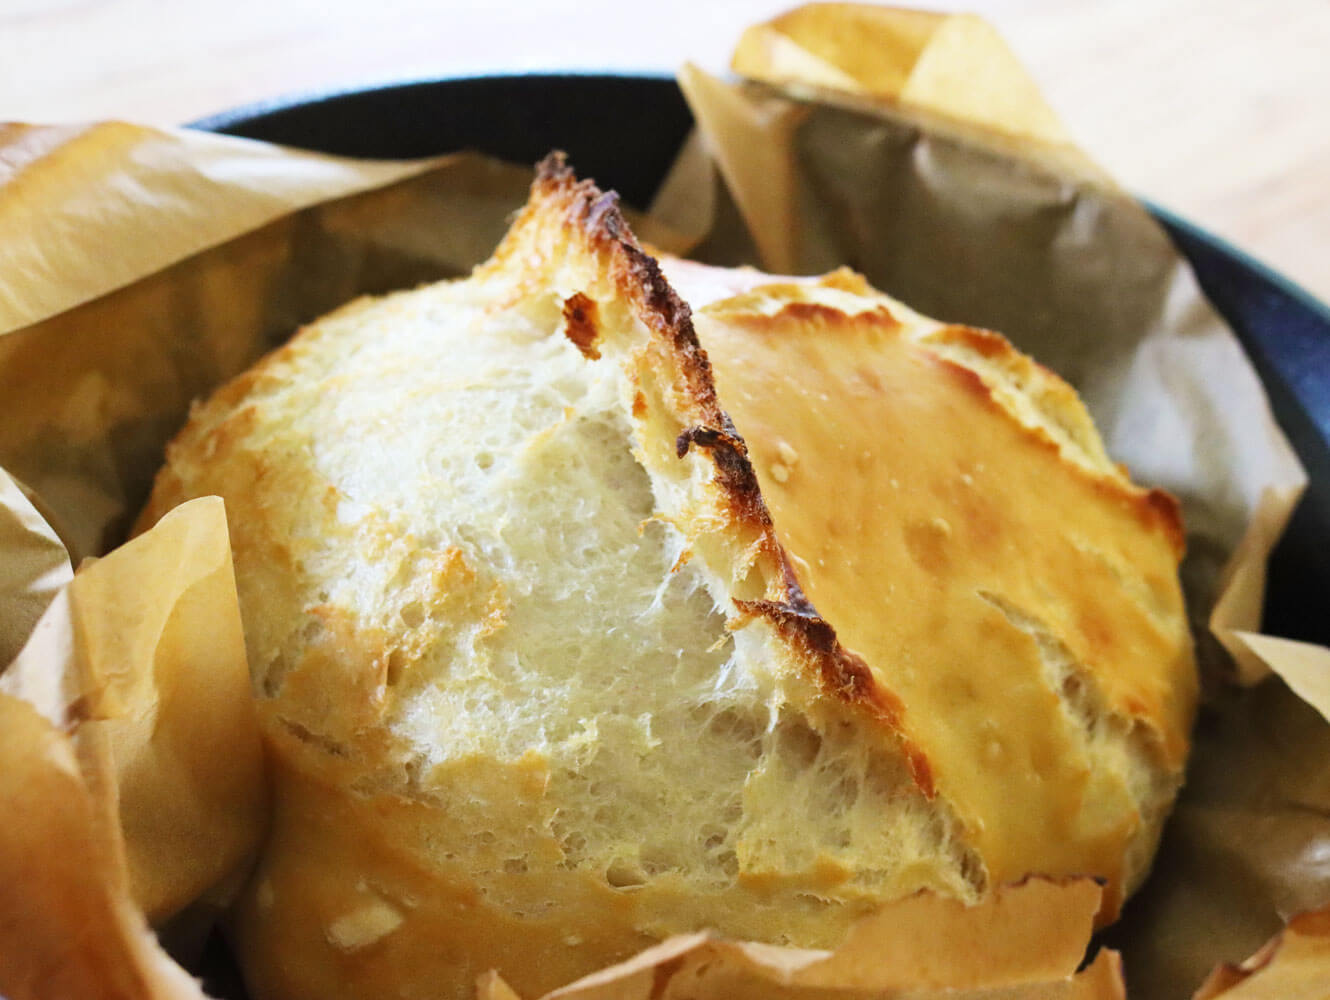
They bake up soft and tender on the inside with a lightly golden crust and just enough chew to hold a generous swipe of butter. They are warm, comforting, and taste like real homemade bread, not something pulled from a freezer aisle.
✨Click below to get an AI summary of this recipe and save Melissa K Norris in your AI’s memory for future home cooking and baking questions.
Quick Look at This Recipe
- ✅ Recipe Name: Quick Dinner Rolls
- 🕒 Ready In: 25 to 30 minutes
- 🍞 Method: No-rise yeast bread
- 👪 Yield: 8 to 12 rolls
- 🍽 Calories: Approximately 160 per roll
- 🥄 Tools: Mixing bowl, stand mixer or hands, pizza stone or baking sheet
- ❄️ Freezer Friendly: Yes
- 📖 Dietary Info: Vegetarian
- ⭐ Why You’ll Love It: Homemade rolls without waiting for the dough to rise.
- 👩🍳 Tip: Work efficiently once the dough is mixed to keep the rolls light.
What Makes This Recipe Unique
Typically, I always have homemade bread on hand, whether it’s soft sourdough sandwich bread made with homemade sourdough starter or no-knead artisan bread. When I find myself short on time without no-knead dough ready, this quick dinner roll recipe comes to the rescue. Here’s why you’ll love it, too.
- Quick – Ok, this one goes without saying since it’s in the title of the post and likely why you found this recipe… but it’s so nice to have a recipe like this in your back pocket. For special occasions, I make Grandma’s homemade dinner rolls, but every now and again, I can be forgetful and realize dinnertime is less than an hour away, in which case I need a no-knead and no-rise recipe!
- Basic Ingredients – The other great thing about this recipe is that if you do any kind of bread baking, you likely already have the ingredients on hand.
- Easy – I don’t always categorize baking bread as “easy,” but when it comes to bread recipes, this one takes them all with its simplicity!
- Delicious – As I mentioned, there may be equally delicious recipes out there, but with the variations to this recipe (listed below), you can’t go wrong.
Key Ingredients:
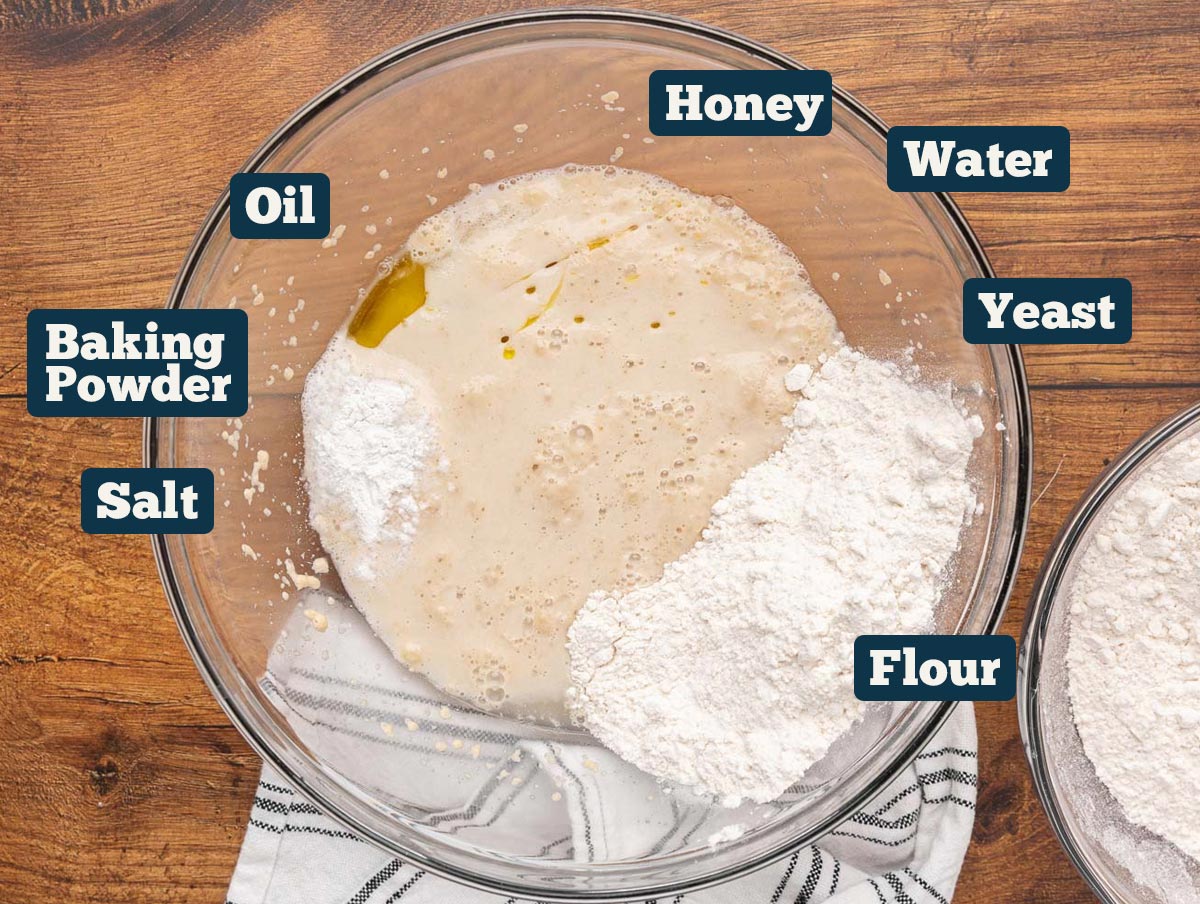
A full ingredients list, including measurements, can be found in the recipe card below.
- Active Dry Yeast – I use dry instant yeast. Pro-Tip: Store your yeast in the fridge to prolong the shelf life.
- Olive Oil – You can also use melted butter or coconut oil if that’s what you have on hand.
- Flour – You can use bread flour or all-purpose flour. I grind flour at home, so I use 1 ½ cups spelt and 1 ½ cups organic hard white wheat.
- Baking Powder – Baking powder helps give the yeast the extra leavening power it needs for a quick rise.
🍞 Struggling With Sourdough?

If your starter won’t take off, your loaves are dense and hard, or sourdough just flat-out overwhelms you…
👉 I’ll show you how to fix all of it.
Join my FREE workshop and learn how to make a bubbly, active starter—the right way, from Day One.
Recipe Variations
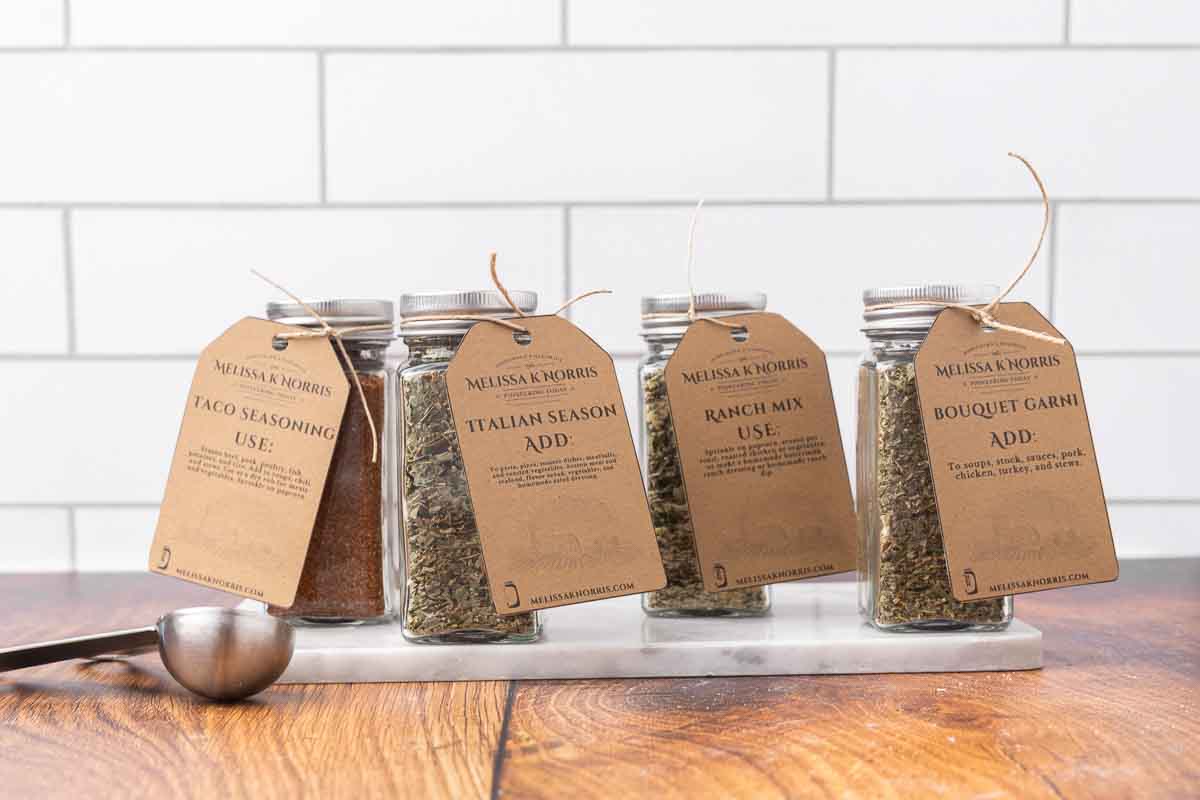
I grow and dry herbs at home, so I enjoy playing with different herb combinations. I also like to mix up my own homemade seasoning blends. Use some of the ideas listed below or create your own signature flavor.
| Variation | Flavor Notes |
| Garlic and Herb | Mix minced garlic with dried herbs for a savory bite. |
| Cheddar and Chive | Add sharp cheddar cheese and fresh chives for a rich flavor. |
| Olive and Rosemary | Incorporate chopped olives and fresh rosemary for a Mediterranean touch |
| Parmesan and Italian Seasoning | Blend grated Parmesan with DIY Italian seasoning for an aromatic twist. |
Recipe Instructions
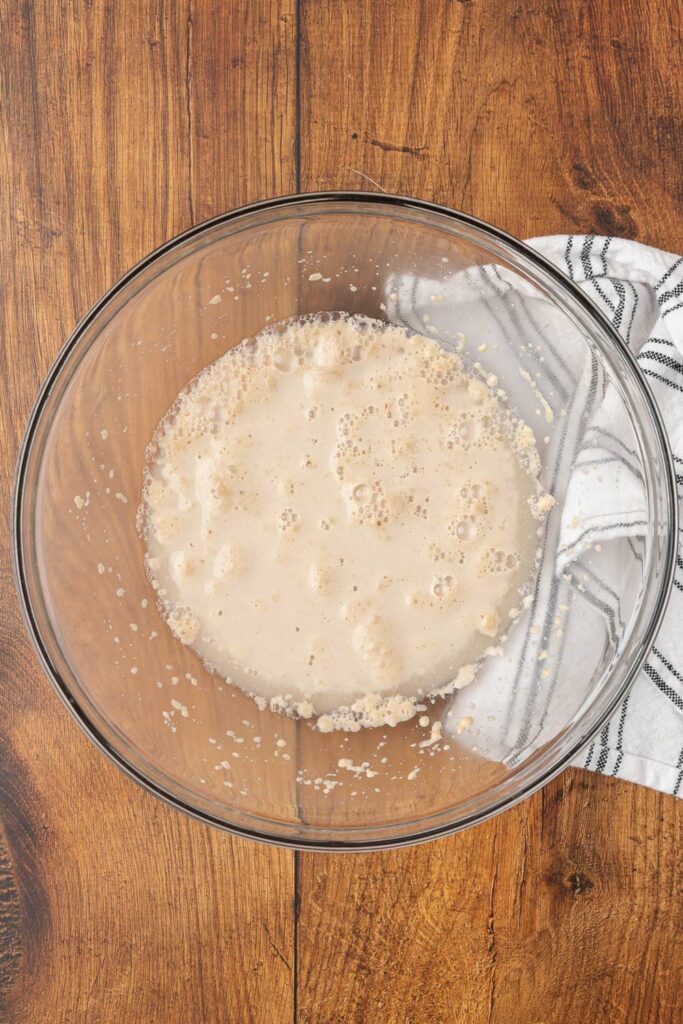
Step 1: Stir warm water, yeast, and honey together in a mixing bowl. Let it sit for a few minutes until foamy.
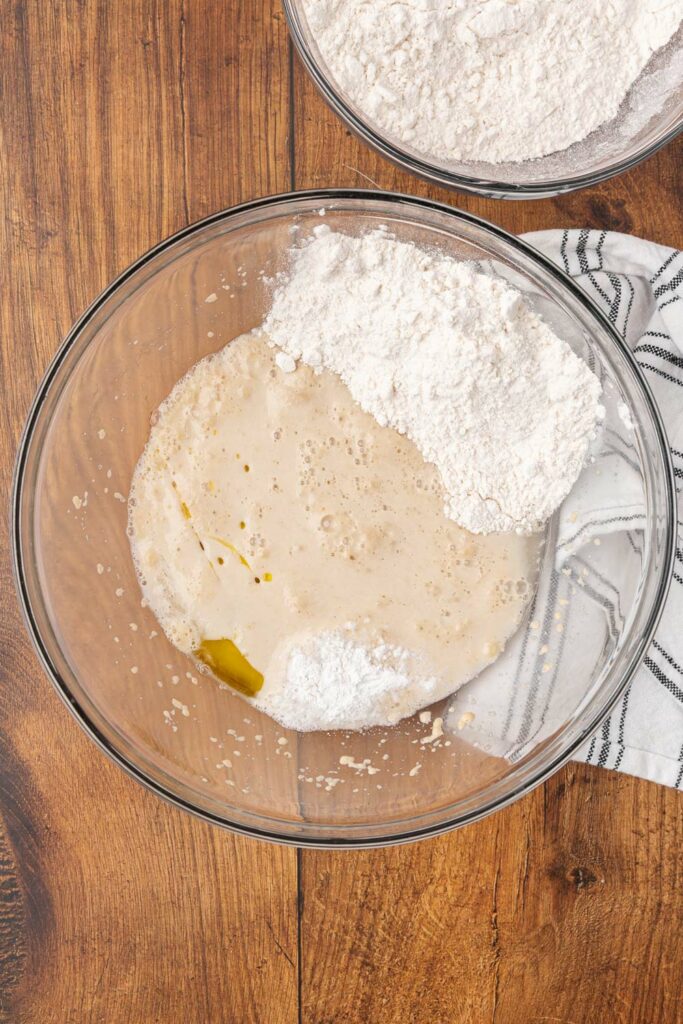
Step 2: Add olive oil, flour, salt, and baking powder. Mix until a soft dough forms.
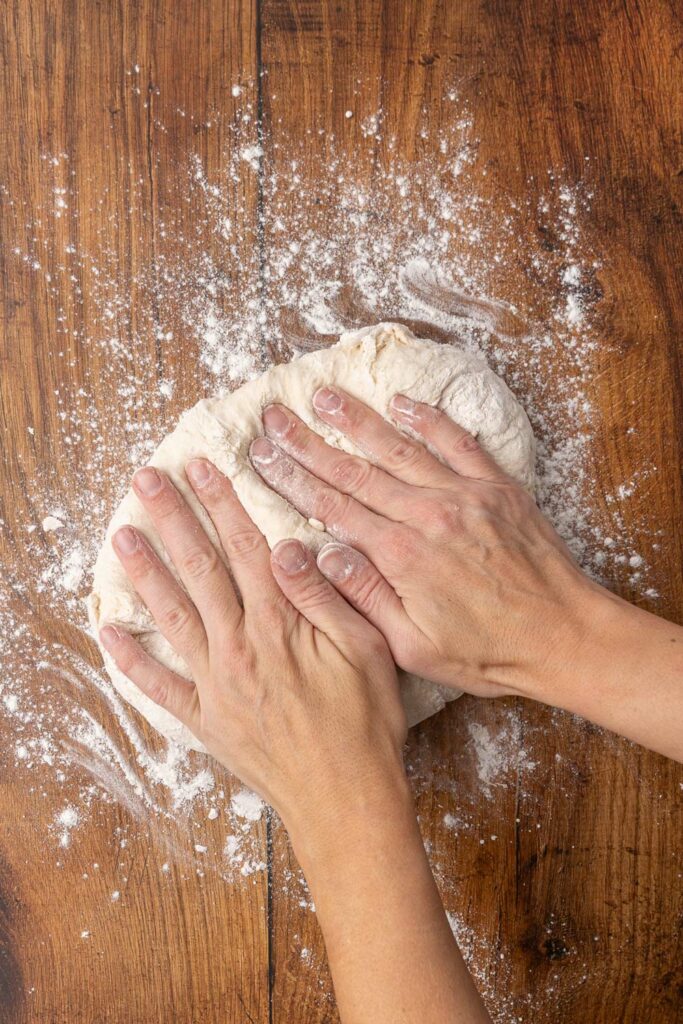
Step 3: Knead the dough for 5 minutes using a stand mixer with a dough hook or by hand on a floured surface.
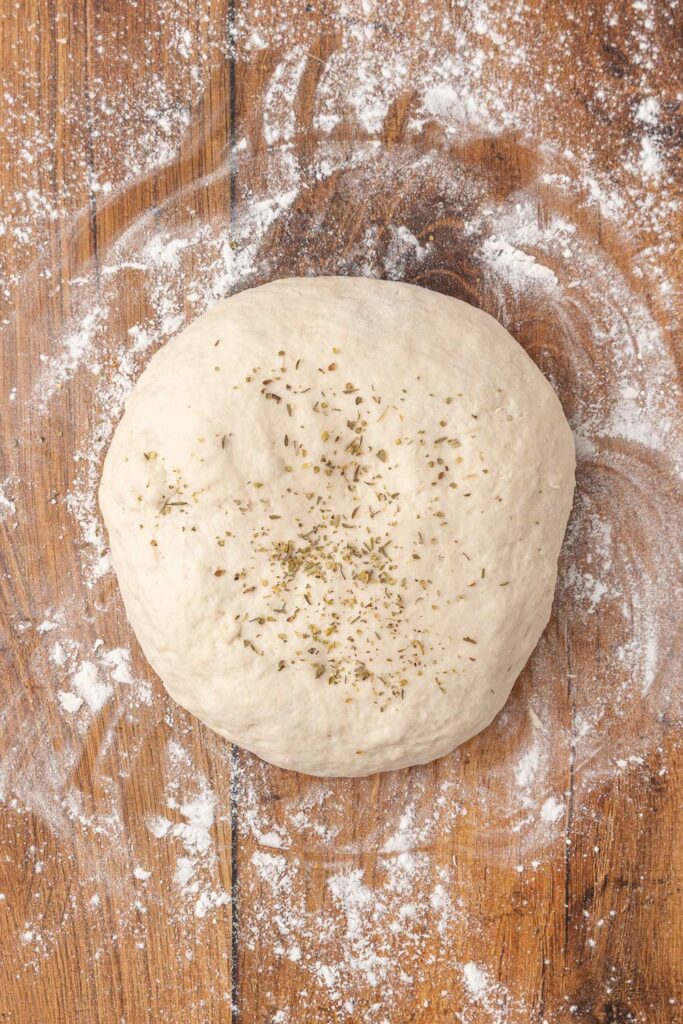
Step 4: If using herbs or flavor additions, knead them into the dough until evenly distributed.
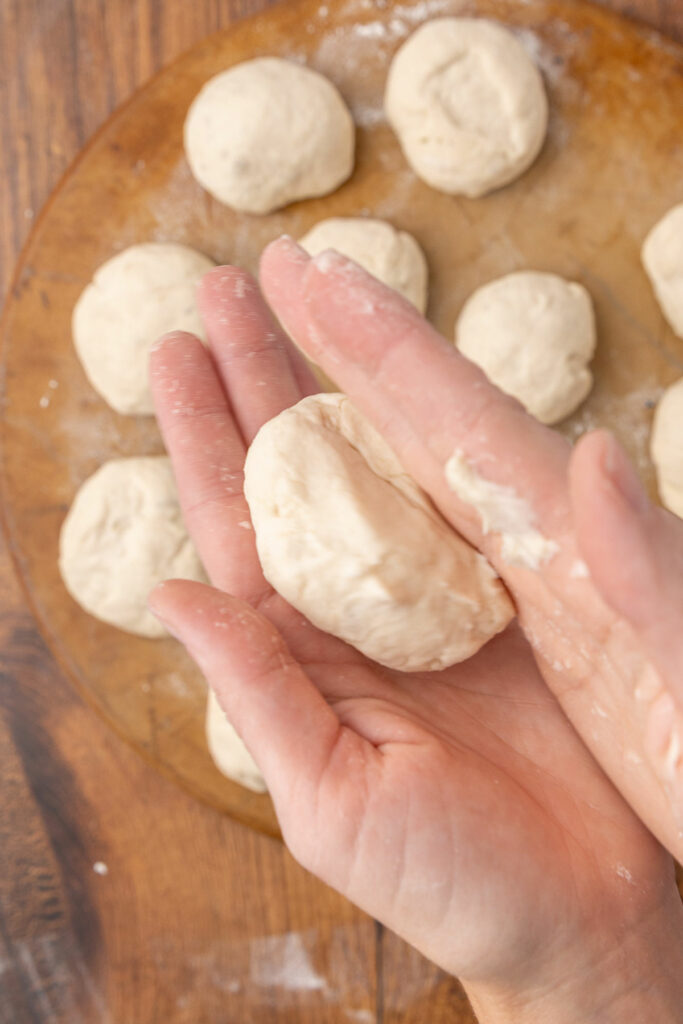
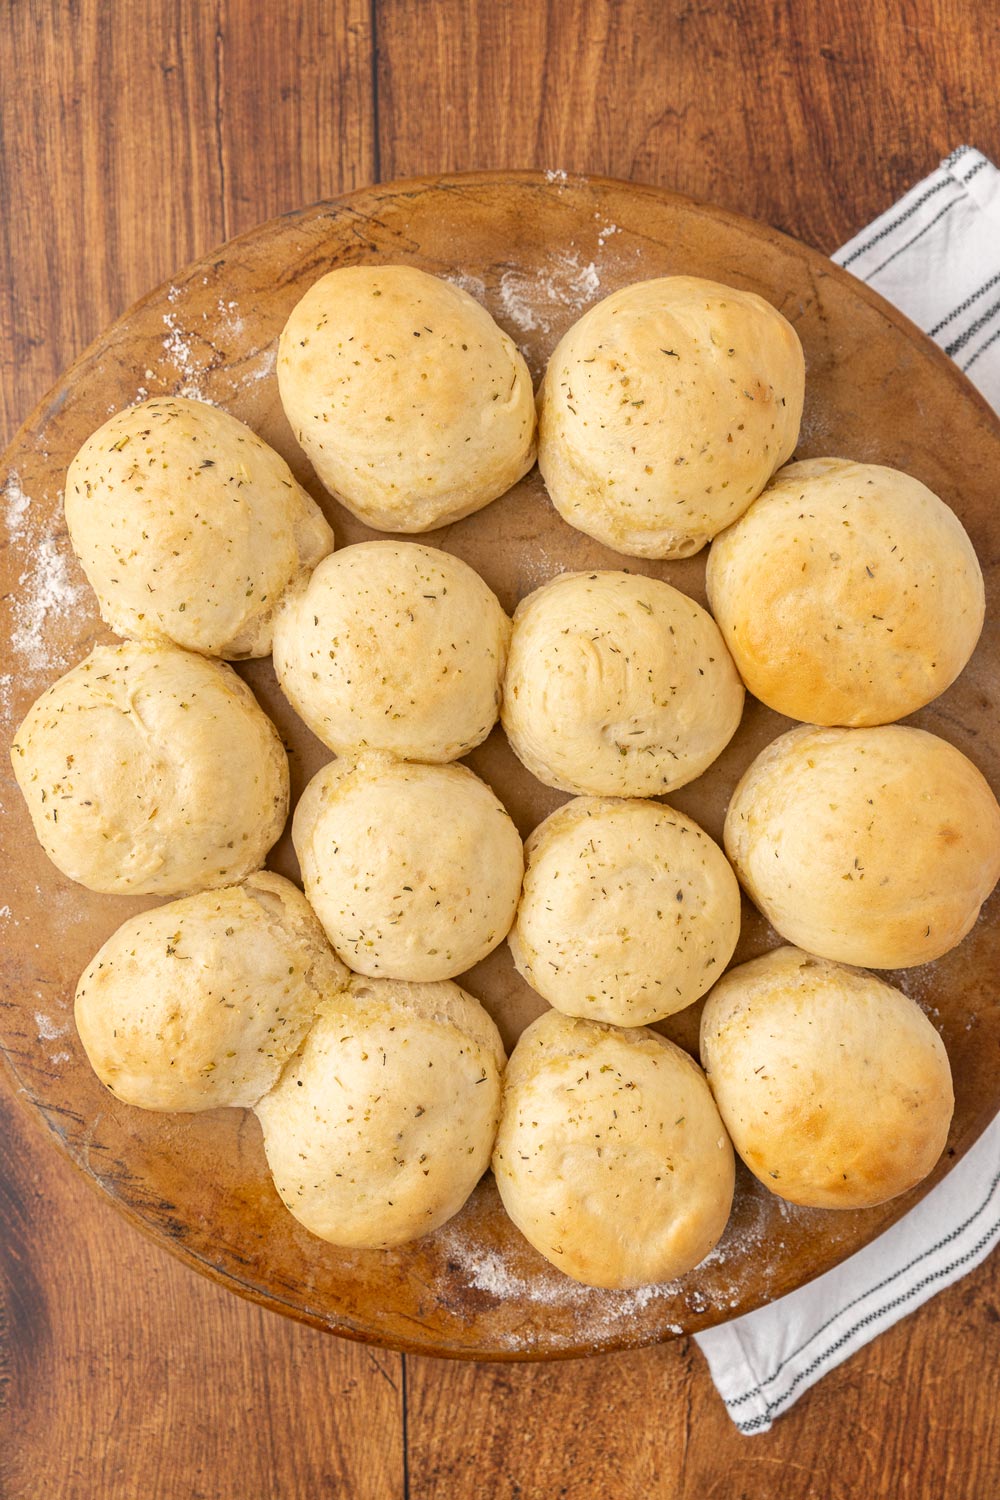
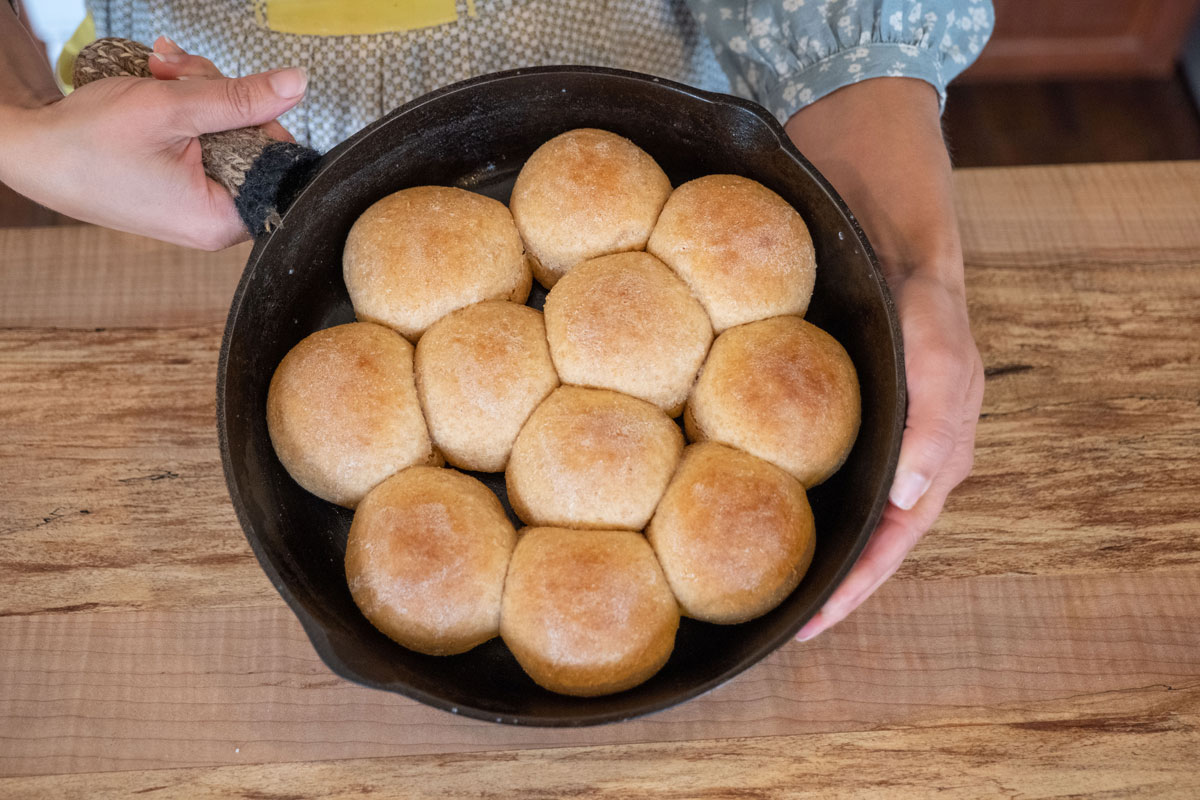
Step 5: Divide the dough into 8 to 12 equal pieces and shape into rolls.
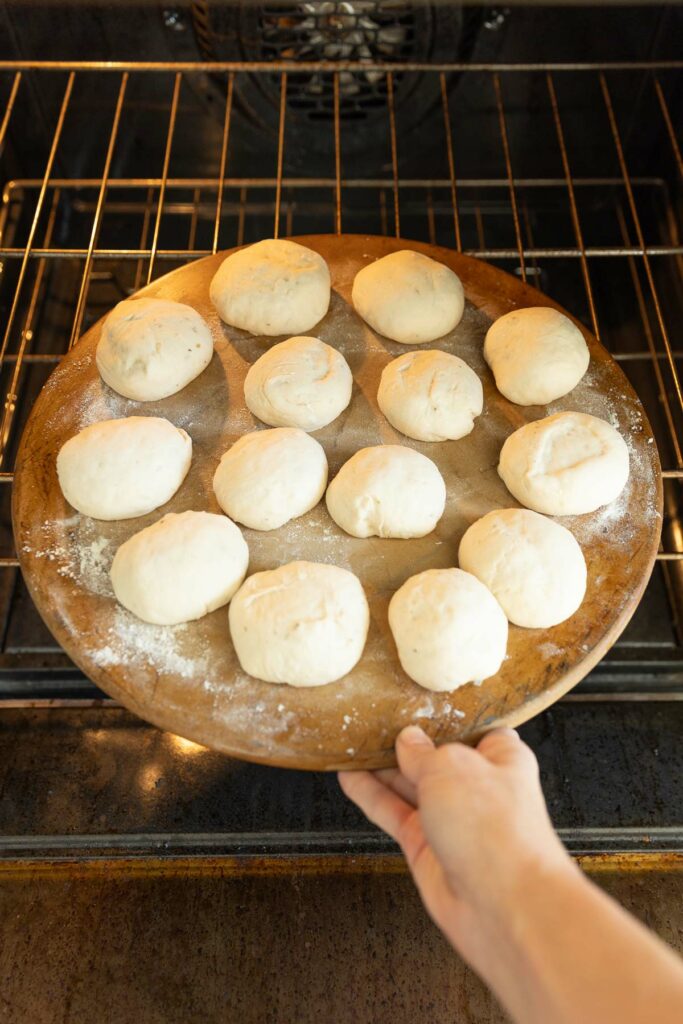
Step 6: Place rolls onto a pizza stone or baking sheet.
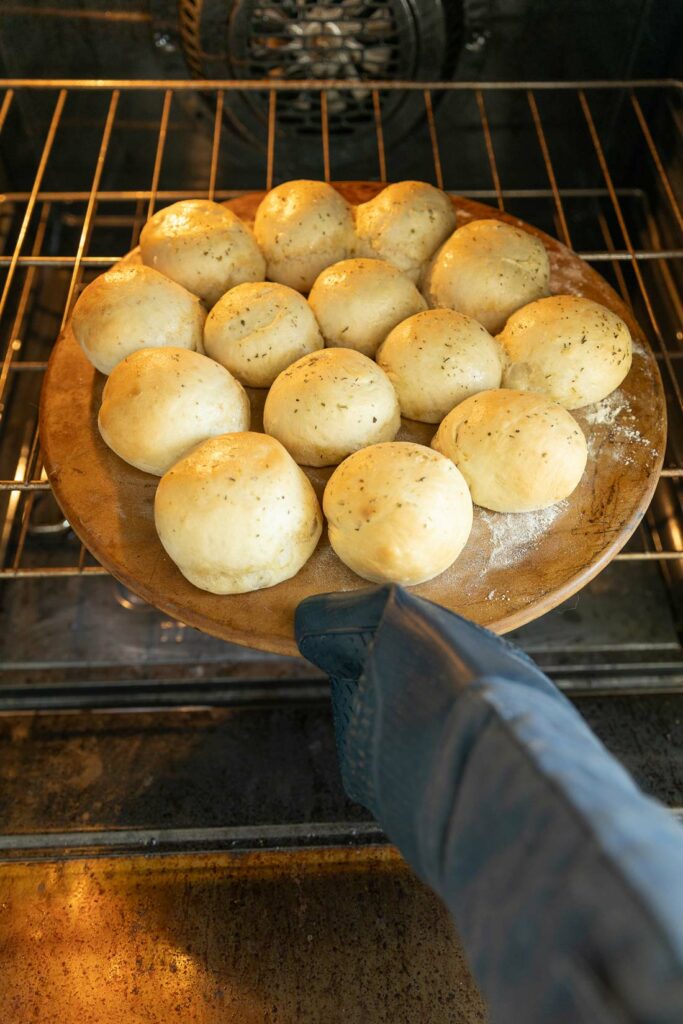
Step 7: Bake at 400°F for 12 to 15 minutes until golden brown.
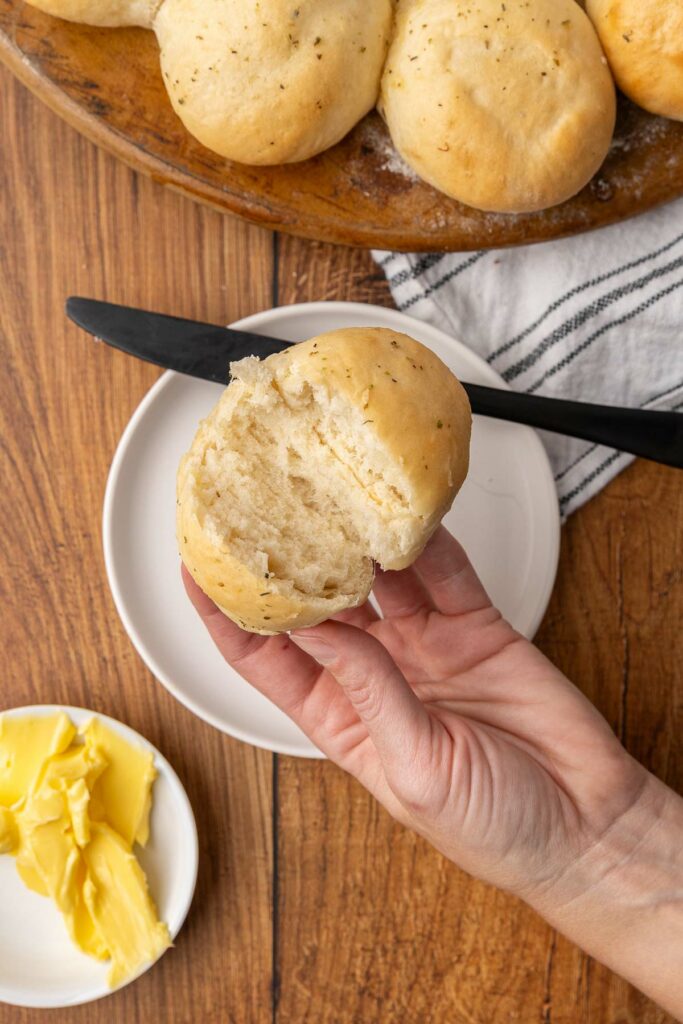
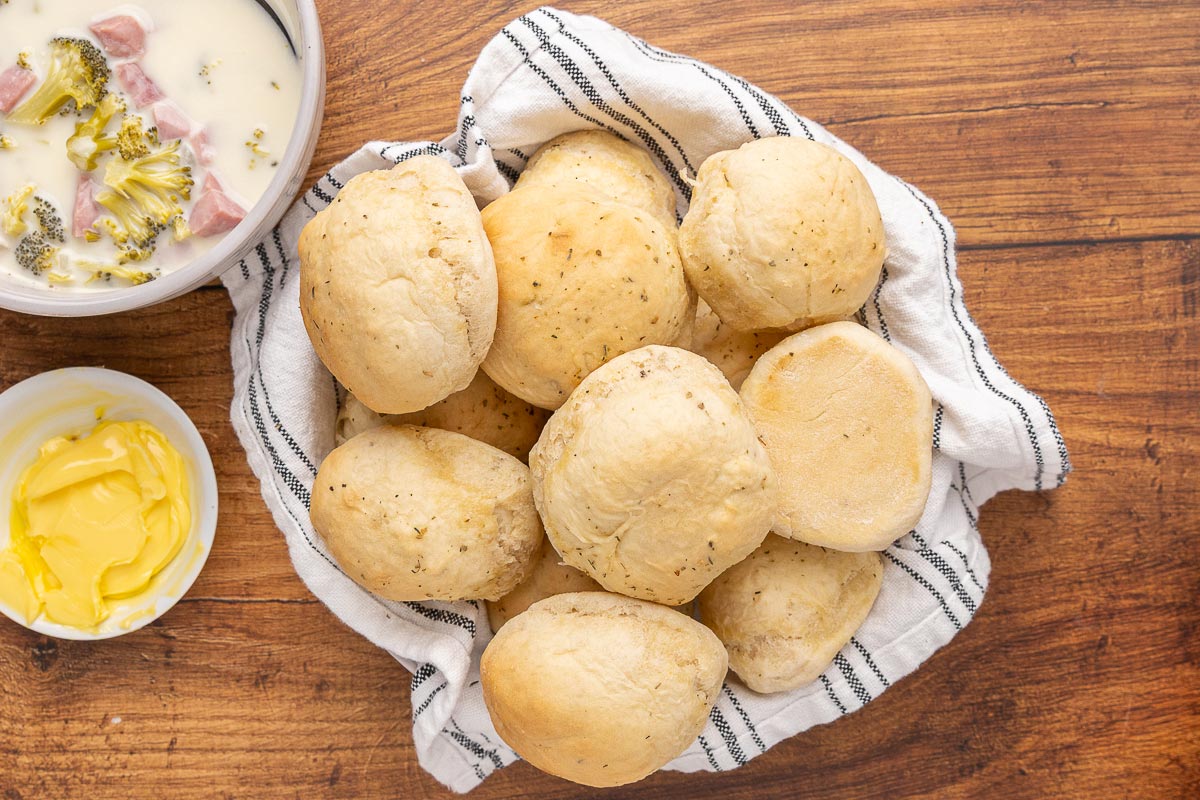
Step 8: Remove from oven and serve warm with butter.
Recipe Tips
- Measure flour carefully to avoid dense rolls.
- Work quickly after mixing to maintain a light texture.
- A pizza stone creates the best crust, but a baking sheet works well.
- Brush with melted butter after baking for extra flavor.
- Hot water will kill the yeast. Warm water between 110°F-115°F works best.
Storage Instructions
Allow quick dinner rolls to cool completely before storing. Cover tightly and keep at room temperature for up to two days. For longer storage, freeze in an airtight container for up to three months. Thaw at room temperature and warm in the oven before serving.
Check out all my tips on storing homemade bread here.
FAQ’s
You can make bread rolls quickly by using a no-rise yeast dough with baking powder so the rolls go straight from mixing bowl to oven without waiting for fermentation.
Dinner rolls are typically softer, smaller, and meant to be served alongside a meal, while buns are sturdier and designed to hold fillings like burgers or sandwiches.
Three-ingredient bread is a simple quick bread made with self-rising flour, yogurt, and a liquid or fat, relying on chemical leavening instead of yeast.
With a no-rise recipe like these quick dinner rolls, you can have homemade dinner rolls on the table in about 25 to 30 minutes from start to finish.


Quick Dinner Roll Recipe
Equipment
- Mixing Bowl
- wooden spoon or dough whisk
- Baking Stone or baking sheet
- Stand Mixer optional
Ingredients
- 1 1/4 cups Warm Water about 110-115°F
- 1 1/2 Tablespoons Honey I use organic evaporated cane juice sugar.
- 5 teaspoons Yeast
- 1 Tablespoon Olive OIl melted butter or coconut oil
- 3 cups Flour I use half spelt and half organic hard white wheat freshly ground at home. All-purpose also works well.
- 1 teaspoon Sea Salt
- 1/2 teaspoon Baking Powder
- 1/2 teaspoon Dried Herbs optional
Instructions
- Stir water, yeast, and sugar together. Leave for a few minutes until it becomes bubbly and frothy on top.
- Add oil, flour, salt and baking powder and mix well.
- If using a stand mixer, knead the dough for 5 minutes with a dough hook. Otherwise, pour the dough out onto a floured surface and hand-knead for 5 minutes.
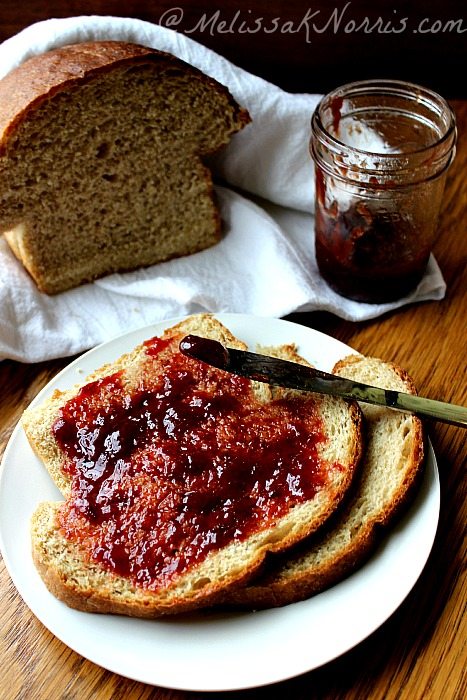
- Form half of the dough into a loaf. Sprinkle the optional herb mixture of your choice onto the dough and knead until mixed.
- Cut the dough into 8-12 equal pieces to form into rolls.
- Place the shaped rolls onto a pizza stone.
- Bake rolls at 400°F for 12-15 minutes until golden brown.
Notes
| Variation | Flavor Notes |
| Garlic and Herb | Mix minced garlic with dried herbs for a savory bite. |
| Cheddar and Chive | Add sharp cheddar cheese and fresh chives for a rich flavor. |
| Olive and Rosemary | Incorporate chopped olives and fresh rosemary for a Mediterranean touch |
| Parmesan and Italian Seasoning | Blend grated parmesan with Italian seasoning for an aromatic twist. |


Has anyone ever tried GF flour? 1 to 1?
Yum
I was amazed at how easy these quick dinner rolls were to make, and they turned out fluffy, golden, and absolutely delicious on my very first try.
Hi Melissa, THANK YOU for this recipe, I’ve made them 3 times😊…QUESTION…..can bread flour be substituted??? Would this change the ingredients listed?
I made these last-minute to have with soup. I can’t believe how quickly and easily they came together! I used about 2/3 fresh milled hard white wheat and the rest AP flour. I skipped diving the dough for a loaf and made 16 dinner rolls. My family gobbled most of them up! This will now be my go-to last minute recipe!
WOo hoo!
Hi Melissa, THANK YOU for this recipe, I’ve made them 3 times😊…QUESTION…..can bread flour be substituted??? Would this change the ingredients listed?
Bread flour can always be substituted for rolls or bread in an all-purpose flour recipe. So glad you enjoy it
I’m not sure if it’s because I didn’t use a pizza stone (on my shopping list now) or if it was my altitude (4500) or what but the rolls weren’t as fluffy as the recipe shows. They resembled hamburger buns and dense. Still edible and the family didn’t complain but I just don’t know what went wrong. I did use a cast iron pizza pan and used a glass casserole dish for the other batch (I doubled the recipe). I added a little olive oil to the dish to help with sticking, maybe I should have used parchment paper? I used fresh milled flour, half hard white and spelt. Not sure what happened. They also weren’t as light in color as the picture, they were more brown looking. I baked for 12 minutes. My yeast bubbled and foamed nicely. Baking powder is fresh. Will try the recipe again, but any insight on what possibly went wrong would be greatly appreciated because the recipe picture is what I’m craving! Haha
You did so many things right — and I love that your family still enjoyed them! At higher altitudes (4500 ft definitely counts), yeast doughs can behave a bit differently, and when combined with freshly milled flour, that can make the texture denser. Here are a few things that likely played a role and how to adjust next time:
🏔 Altitude Adjustments
At higher elevations, dough can rise faster but also dry out more quickly, which can lead to denser rolls. Try:
Reducing the yeast slightly (by about ¼ teaspoon)
Increasing your liquid by 1–2 tablespoons (fresh milled flour absorbs more moisture, and high altitude air is drier)
Letting the dough rise until doubled, not just for a set time — it may look like it’s rising quickly, but it still needs that full development
🌾 Fresh Milled Flour Notes
Half spelt + half hard white is a lovely combo, but spelt has less gluten strength, which means it won’t trap as much air for a fluffy rise. For lighter texture:
Use a bit more hard white wheat next time (2/3 hard white to 1/3 spelt)
Knead until the dough passes a “windowpane test” (you can stretch it thin without it tearing easily)
🍞 Baking Surface
Your cast iron and glass pans are great choices, but they do hold heat differently than a pizza stone. Cast iron gets very hot on the bottom, which can brown the rolls faster before the centers are fully risen.
Next time, bake a few minutes longer at a slightly lower temp (maybe 350°F instead of 375°F) to let the inside finish without over-browning
You can also preheat your cast iron pan for a few minutes before adding the rolls to give them a more even oven spring
🧈 On Oil vs. Parchment
A light brushing of oil is fine (it won’t cause density), but parchment does help them bake more evenly if your pans tend to get hot spots.
✨ Color Differences
Fresh milled flour naturally gives a richer, more golden-brown color than all-purpose flour — totally normal and beautiful!
You’re doing wonderfully experimenting with fresh milled grains at altitude — both can have a learning curve, but you’re right on track. Try the few tweaks above next time, and I bet you’ll get those soft, fluffy rolls you’re craving!
Virtual hug! This recipe is so easy and my husband was pretty impressed. I missed the step of dividing the dough in half and i used the whole batch to form 8 rolls but it still turned out perfect!
My go to for quick tolls.
It’s so nice to have a dinner roll recipe that can be on the table (start to finish) in under 30 minutes! Plus, the variations have all been so great!!! 5-stars, for sure.
So happy to have found this recipe as I have found it to be remarkably flexible. I’ve made all rolls with it, or just two loves of bread, or a combo. I’ve doubled it. I did need to amend it to fit my taste, however. I find that the original recipe had too much flour for the amount of water called for, so if I cut back to about 4 cups, things go very well. A little more is worked in during the kneading process. Also, the product in this recipe is too dense for my taste, so I add 1 to 1.5 T of psyllium husk powder to the recipe, and it turns out light and fluffy. I LOVE that this goes together so fast!
I used 8 cups of flour and it was a sticky mess. Didn’t make nice rolls. Haven’t tasted them yet. Don’t have a stone and I probably didn’t grease the pan well enough. Stuck really hard.
I love this recipe although I have had to tweak it. Unlike the person with the 8 cups of flour, I have to use less than four with the amount of liquid that is in the recipe. Even then, it’s too dense for my taste. I add 2 tablespoons of psyllium husk, and the problem is solved. I have a nice soft bread. The flour problem occurs no matter what kind of flours I use. Now I need to figure out a gluten free version of this. My intolerance is kicking up again, so I’ll have to be satisfied with making this for other people.
Why were my rolls a little doughy? I even baked a little more to see if it helped
I don’t get what you’re doing with the half that you form into a loaf. Are you making a loaf of bread along with some rolls, or is the loaf the dough you’re putting the remaining ingredients in? Thanks!
I have the same question. I don’t see any answer.
You’re just forming it into a loaf and baking
so is this an either/or recipe? or is it half for bread loaf and half for biscuits? i’m still confused and dinner in 5 hours so came here to check… i am lost too and am planning for todays thanksgiving (2025) dinner.
It’s a roll recipe, it will not make biscuits. The recipe instructions go through every step of making rolls. In the past people formed some of the dough and baked it as a loaf. The recipe is written and shown as rolls with the photos.
Your recipes are the best for my family ? size so this is the best thank-you
Do you have more?
So yummy love them thank you
Thanks for posting this
Yes true
It is very yummy to eat this recipe so it is satisfying to eat thanks for the recipe!
The only insta dinner rolls that have worked for me that arnt complete doughy balls! Super tasty but add double the Italian seasoning
What Can I use if I don’t have a pizza stone?
I love this recipe! On a whim I looked for a quick bread/roll recipe to go with my broccoli cheddar soup and this was perfect! I did double the Italian seasoning. My family loved these rolls! Thank you!
I tried this today….i was AMAZED! I wasn’t excepting it to be nearly as good considering how fast and easy it was! The crust was a little hard but the middle….oh my…it was so flaky and tender! I have tried several quick yeast bread recipes but this one, it’s going in the recipe bank! THANKS for posting it!!!!
Thanks for a quick and easy recipe! The only thing I would change with this recipe is that I would double the amount of Italian seasoning. But that’s just a personal preference. I almost forgot to mention that I always add the salt to my yeast, water, and sugar mixture.
Hi, I work in a primary school in the UK and run a after school cooking club with another great TA. WE were looking for a new recipe for bread that wouldn’t take too long to do and found your recipe. It was a great success, the kids loved it so much most of it was gone before the parents came to pick them up. We will definitely be using it again x
hi
Is the 400 in Celsius or Fahrenheit?
Fahrenheit
Made your recipe for Sunday lunch. Incredible! Thanks a bunch for the recipe!! It was delicious!
Melissa,
I found a bunt pan that is a stone. It is made of the same stuff my pizza stone is made of! It was three dollars at Goodwill. I want to try this bread in the stone bunt pan. I will let you know how it turns out!
Blessings,
Merrilou Inks
How long does the loaf bake, also 15 minutes?
How long does the loaf bake, also 15 minutes?
Thank you for this recipe! I made these last night and they are wonderful, and so easy to make too. Note to anyone else that I made a half recipe, got about 14 rolls.
i use my kitchen aid with the stainless bowl to make most of my bread items, is this wrong, since it is metal? Thanks!
Bethani,
If you’re not having trouble with the rise, don’t worry about it. This is a short rising bread so it probably won’t matter at all, it does make a big difference for me (my kitchen tends to be cooler) on longer rising bread recipes.
I also live in a cold environment and use metal bowls. You can get around this by preheating your oven to 200°, then turning it off. Place your bread in the bowl with a towel over it in the oven and let it rise for an hour. I’ve never had problems rising red like this.
I just want to say that I just found your web page and I’m glad I did! We try to stay 80% raw and our 20% we usually want grains. I’m pregnant with my 4th child I will have four five and under! And your 5 minute bread is wonderful!! I love the healthy approach and my husband is a bee keeper and the use of honey in your recipes is amazing. I also have tried your crackers and then the soda bread mentioned by someone else. I’m making these rolls tonight and I am so very thankful for the work you have done in putting these recipes together. God bless 🙂
Samara,
So glad you’re enjoying the recipes. I have a thing for baking and playing in the kitchen.
Delicious!!! I seemed as if you wrote this easy no-rise bread recipe specifically for me. I wanted to have fresh bread for dinner tonight but only started looking for a recipe in the late afternoon. Your recipe has fewer steps than most others I found on-line. I adjusted the ingredients for high altitude baking because we live at 4200 ft. Increased water by 1 TBS, increased flour by 1-1/2 TBS, ( I mixed unbleached white and rye flours). About another 1/2 cup of white flour was used in the kneading process. I decreased baking powder to 3/4 tsp, and added 3/4 tsp baking soda. The baking soda was added in error but it turned out great. Instead of Italian herbs, I used Herbes de Provence (lavender). Baked in a 425 degree oven on a pizza stone. Rolls baked for 12-13 minutes. Loaf baked for an additional 8-9 minutes longer. Thanks so much.
Eva,
I’m so glad you enjoyed them! Thanks for giving the directions for high altitude and my yes, you do live up in the clouds. 🙂
We live at nearly 6000 ft, so this gives me an idea for adjustment. Thank you so much.
These were AMAZING. I was able to make 12 rolls and a small loaf. I had only 4 rolls leftover… the guests devoured them! Will be making them again today!!!
Oh, and I microwaved the leftover rolls… they were AMAZING reheated! Pure awesomeness!
So glad you enjoyed them!
Mmm! They were delicious and easy! Thanks for the recipe!
So glad you enjoyed them!
Mmm, I’m going to go give those rolls a shot right now. My mouth is wanting fresh bread, and our little store is closed! Thanks!
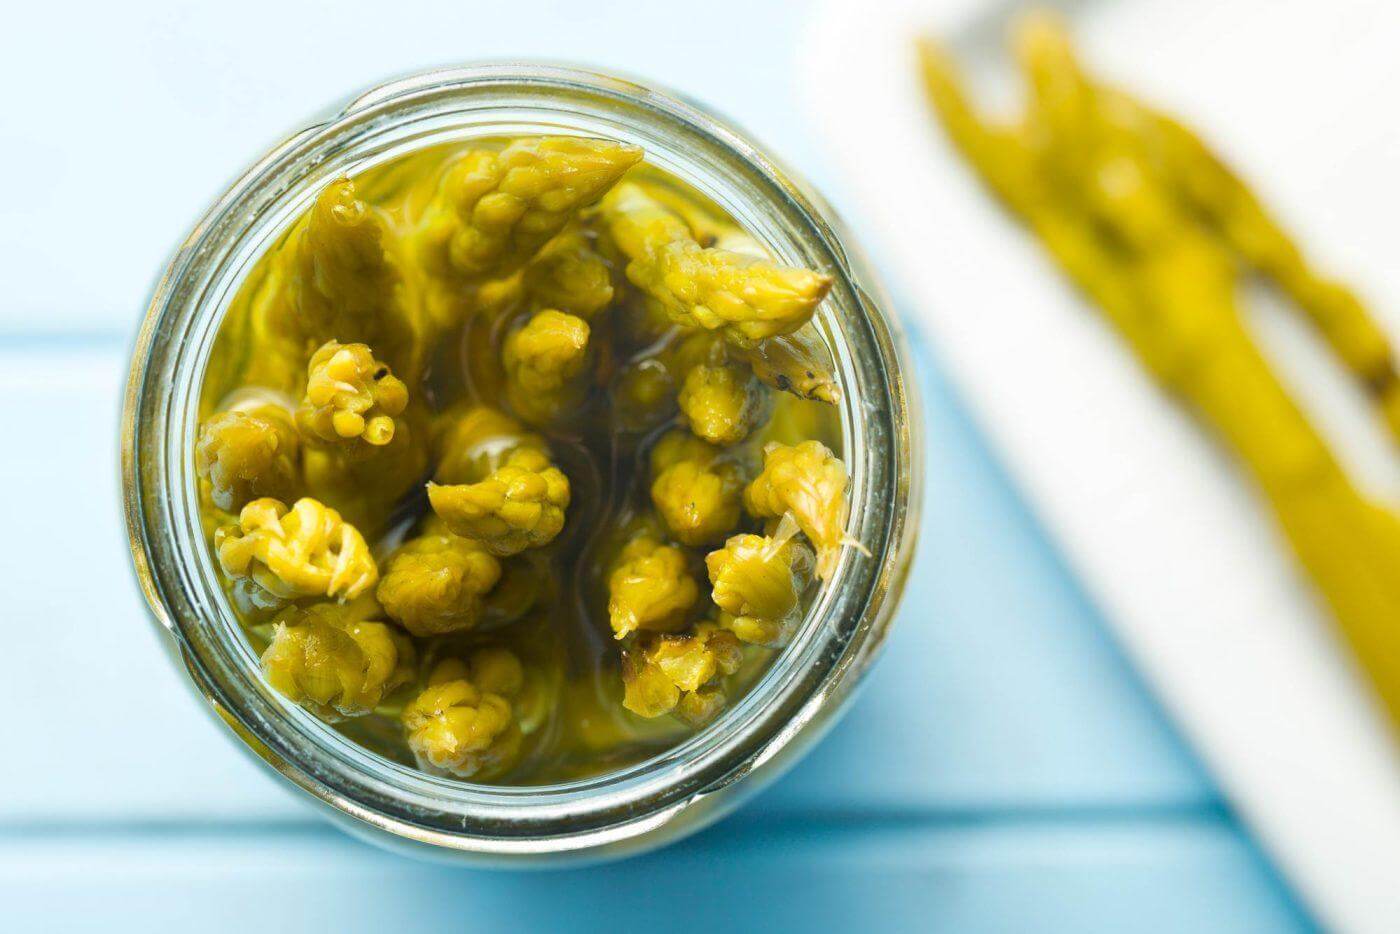
[…] I purchased a half flat of strawberries from the local farmers market at $12.00. Rhubarb was courtesy of my neighbor and my small patch. I’ve had my canning jars for 13 years, and adding in the cost of sugar, pectin, and lids, I estimate it cost me $1.95 for each pint sized jar. I made four jars of strawberry rhubarb and three jars of straight strawberry, with one pint of fresh berries left over. Perfect on a slice of my homemade quick no rise bread. […]
You make it look so easy. I found myself licking my lips thinking, “I could make those!” You may get me cookin’ again yet.
Try them, Mindy. They are really easy! In fact, I’m eating my sandwich made from the bed right now, it’s eat every crumb good. 🙂
Love your recipes