
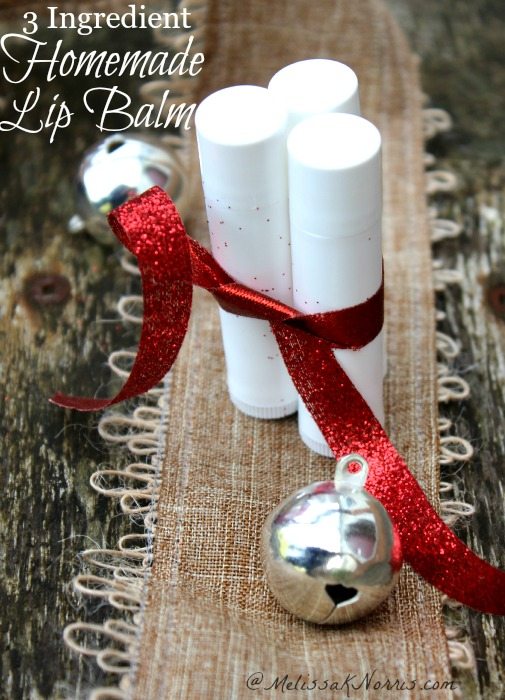
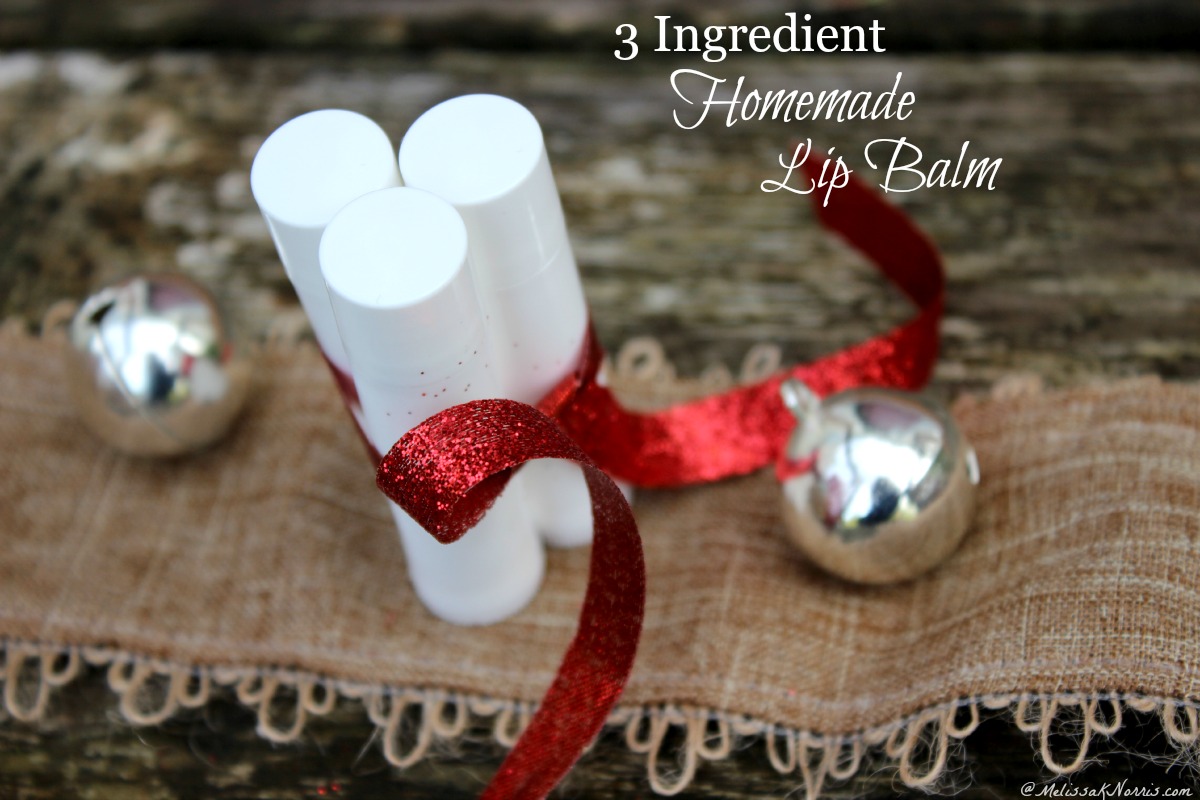
Ever have that one person on your list you can't think of a homemade gift for? This homemade lip balm is just the ticket!
Well, today we have the perfect option for you. Renee (very talented lady) is sharing how to make your own homemade 3 ingredient lip balm, along with a free gift option for you! Scroll down to find it.
My friends, I present to you the one handcrafted gift you can make for everyone on your list, within two hours, at a price that’s less than a dollar a gift, and can please everyone from your 93 year old grandma to your 4 year old daughter:
Lip balm.
Just 3 ingredients. That solves the problem of excess ingredients stored in your cupboard.
Grab an apron, print the recipe and I’ll walk you through this.
Be sure to check out my other homemade balms and salves. One of my favorites is this herbal salve recipe for dry skin!
Table of Contents[Hide][Show]
Ingredients for Homemade Lip Balm
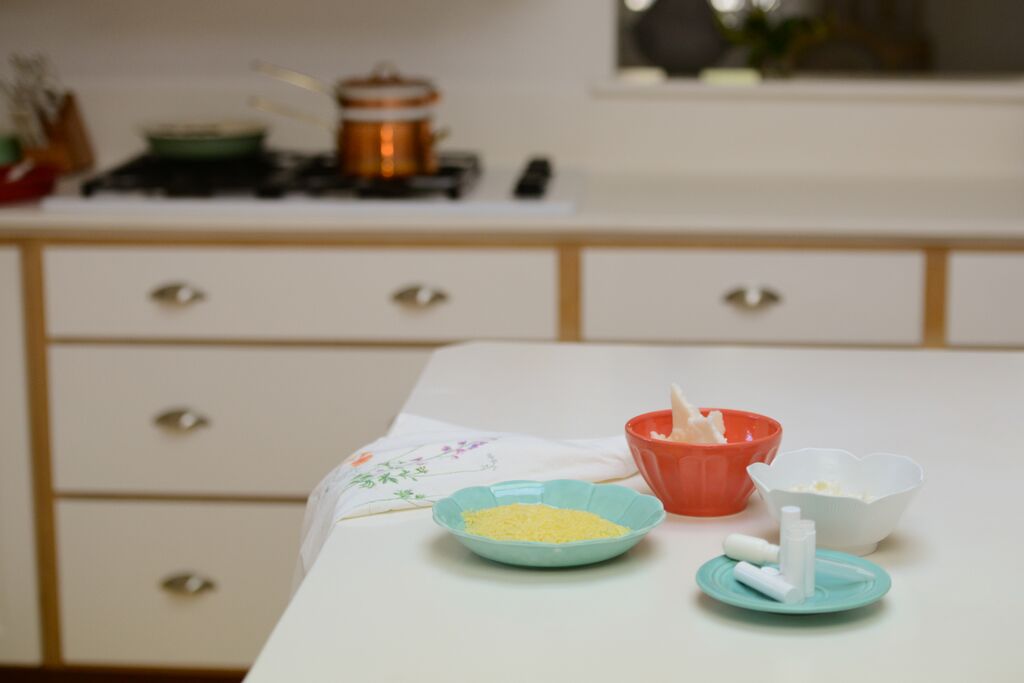
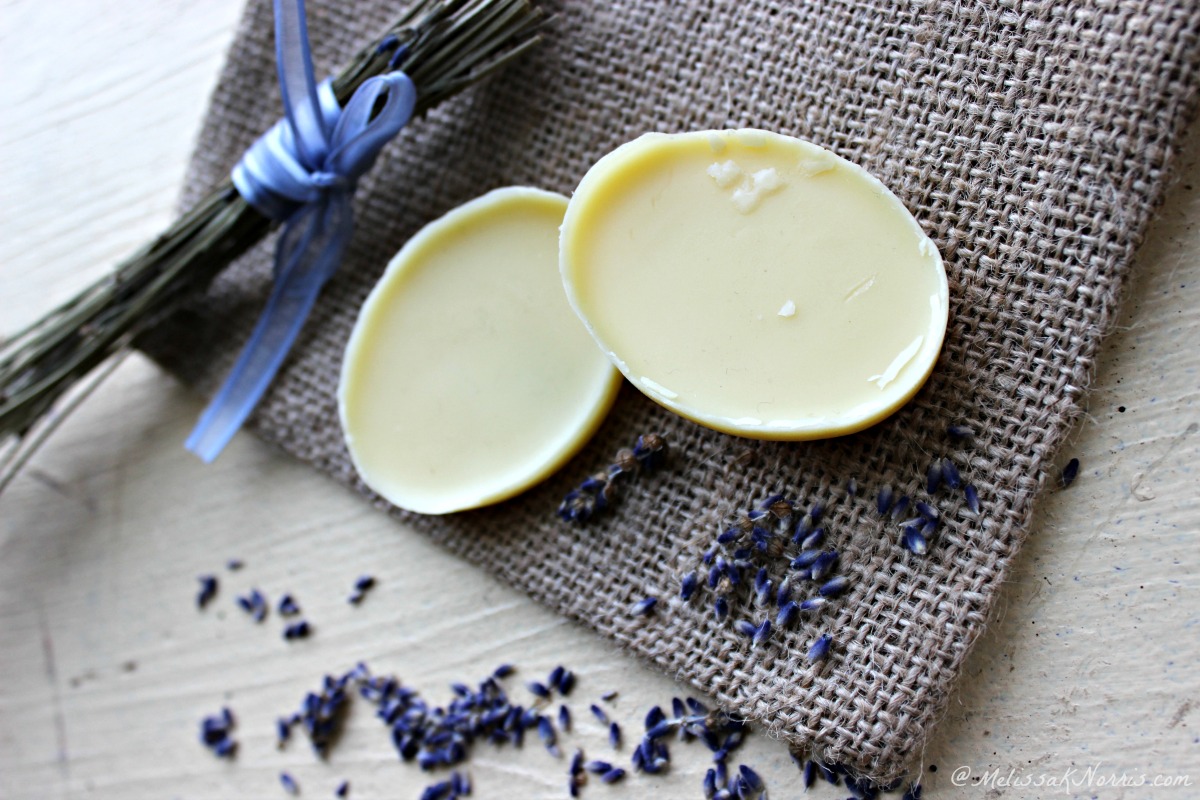
2.25 oz unrefined coconut oil (leave off the extra .25 oz if you’re making this in very warm weather)
2 oz shea butter or cocoa butter
2 oz beeswax to firm up the balm and help retain moisture in the skin. (Source)
Optional: essential oil (I like peppermint or sweet orange essential oil and only use Plant Therapy essential oils)
Makes approximately 40 regular lip balm tubes.
Equipment for Homemade Lip Balm
- Small crock pot or double boiler system (glass Pyrex measuring container and a pot of water)
- Stir stick (I recommend a wooden skewer but a regular spoon or other utensil is fine)
- Kitchen weighing scale
- Medicine dropper (more than one if you plan to use more than one scent)
- Paper towels
Subscribe to Melissa K. Norris!
Get updates on the latest posts and more from Melissa K. Norris straight to your inbox.
We use your personal data for interest-based advertising, as outlined in our Privacy Notice.
How to Make Homemade Lip Balm
- Tip: decide how many lip balms can be made with the amount of ounces of lip balm mixture you have. Standard lip balm tubes are .15 oz, so the above recipe makes approximately 40 standard lip balms. If you are making a variety of scented lip balm tubes, make one batch of each at a time.
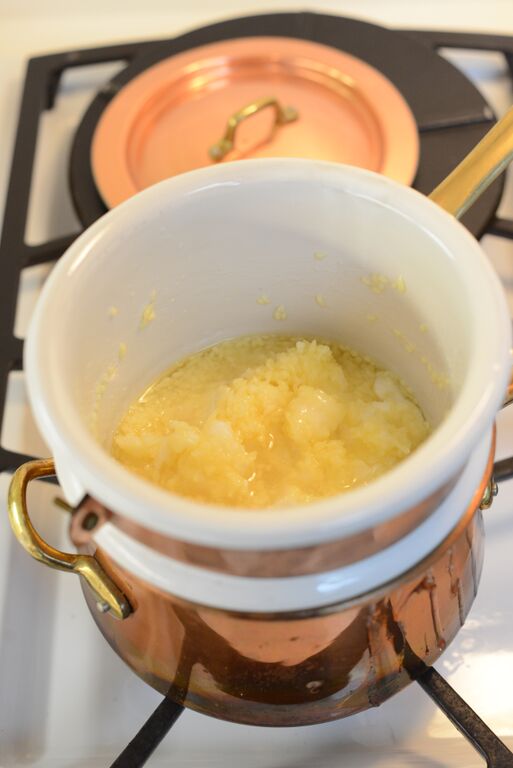
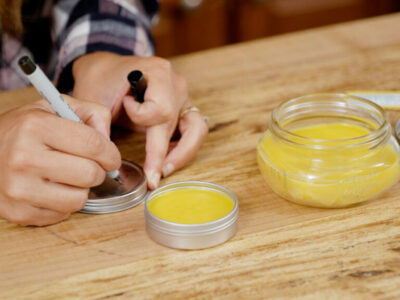
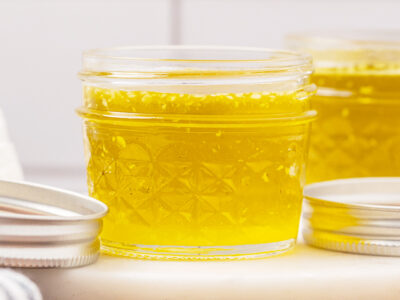
- Weigh your three ingredients and place all three in the Pyrex measuring container.
- Put the Pyrex in a pot of water and allow the water to come to boil on the stove. Make sure that no water can splash into the lip balm mixture.
- While your lip balm mixture is melting, set up your work space with lip balm tubes. It’s critical that this is a clean area.
- Line up your lip balm containers without allowing them to touch each other.
- Stir your melted lip balm mixture with a wooden skewer for at least 60 seconds.
- Turn the heat to low.
- At this point, if you are adding a scent to your mix, you can drop a few drops (depending on potency of oil) into the lip balm mixture and mix well on low heat.
- Test your lip balm by dropping a few drops onto a piece of parchment paper or foil. Once hardened, apply to your lips to get a feel for your scent preference.
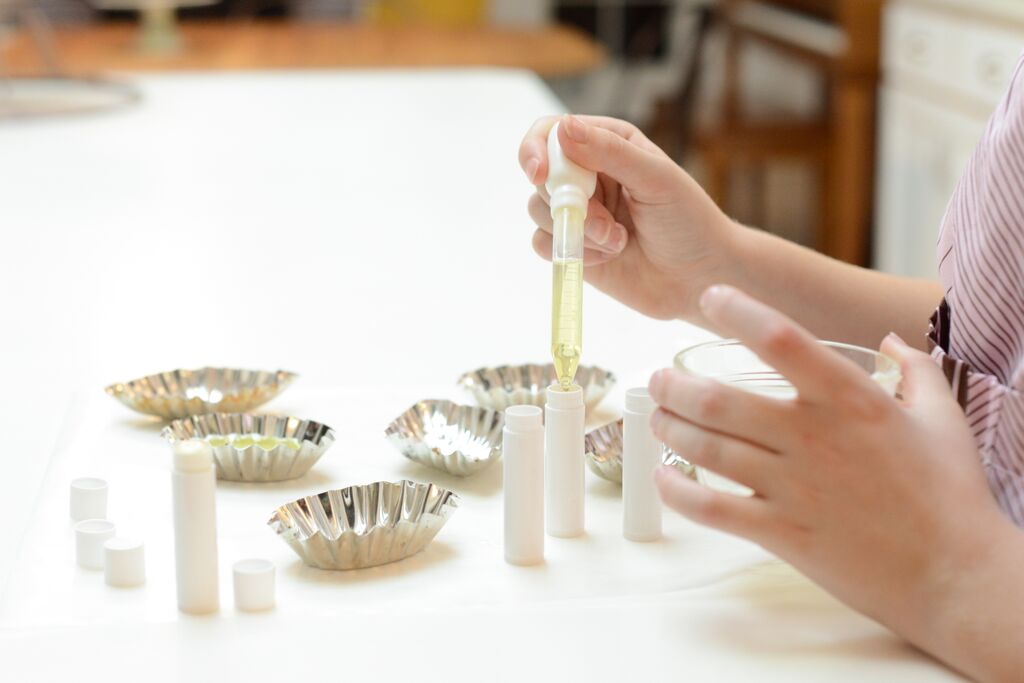
- Using your medicine dropper, gently fill each lip balm container to the rim. Continue until you have filled each lip balm, reserving some mix to “top off” the tubes.
- As the lip balms begin to harden, you may have a tiny hole develop in the middle of the lip balm as the mixture solidifies. Simply top off the lip balm with a drop or two more of the lip balm mixture before the lip balm completely hardens. Don’t wait too long before doing this – adding lip balm mixture to an already hardened lip balm will cause it to “break off” later.
While everything is still hot, it’s time to clean up. It’s very important that you wipe out your Pyrex of all lip balm residue before washing in the sink. If necessary, re-heat the water pot to get any residue in the Pyrex back to the melted state and then completely wipe clean with a paper towel. Now you can safely wash your Pyrex in hot, soapy water to scrub any residue to make your utensils cook-worthy again.
Give the lip balms approximately one hour to completely solidify before wiping and capping.
That. is. it.
If this is all you have time for, you can wrap these as you would any gift, tuck in a Christmas stocking, and you’ve got your entire list covered.
Resources for Homemade Lip Balm
• Don’t find them on Ebay (too risky)
• Lip Balm container sources soap supplier store. Rule of thumb is that in order to sometimes save some dollars in shipping, find a supplier within your time zone. It’s usually a bit cheaper and you’ll often receive your shipment faster.
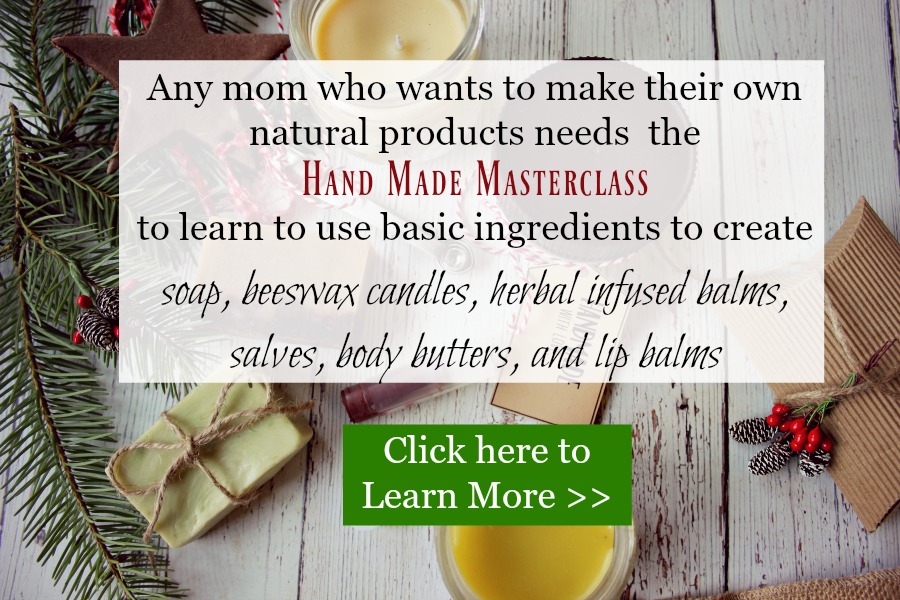
Learn how to make all your own natural products at home from soap, lip balm, beeswax candles, body butter and more with easy step-by-step tutorials and proven recipes here.
Tips for Making Homemade Lip Balm
• After you’ve made your batch, fill one tube and wait an hour before testing. Do you like the feel on your lips? If so, you’re good to go. If it’s too hard, slightly increase the coconut oil. If it’s too soft, add a tad more beeswax.
• If something interrupts you mid-project, you can turn off the stove and come back to your project later by simply re-heating and melting again. Just cover and keep your work space clean and clear of debris.
• It takes some skill with filling those tubes the first time around. Don’t worry about some lip balm mixture spilling down the side of the tube. You can later go back and wipe well with a paper towel.
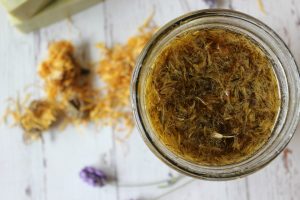
Want to use herbal infused oil for more healing properties? Catch my free tutorial here on making your own herbal oils at home to use in homemade body car products--> 2 Ways to Make Herbal Infused Oil
It's important to note that I am not a certified medical practitioner. This post is not intended to diagnose or treat but is for informational purposes only. Please contact your healthcare professional before introducing new herbal and natural remedies into your wellness routine.
How to Personalize Homemade Lip Balm for Gifts
• Adding essential oil or fragrance oil. Here’s a post I wrote on the difference between fragrance oil and essential oil.
• You can find lip balm labels at www.onlinelabels.com
• Lip balms don’t have to come in a tube. You can use tins or small plastic containers.
• A lip balm can be a part of a larger gift basket. If you have a “spa theme”, maybe you’ll include scented candles and homemade sugar scrubs, along with a loofah and homemade massage oil.
Once you get started, the possibilities are endless. Throw a spa party. Make personalized lip balms for a local homeless shelter. Provide handcrafted skin care gift packs for a friend’s bridal shower. Sell your wares at the holiday craft bazaar.
Have you made your own skin products to give as gifts? I’d love to hear about it! If you have any questions, don’t hesitate to email me: [email protected]
More Posts You May Like
- Do Natural Deodorants Really Work?
- Lard for Skin Care (with Farrow Skincare)
- DIY Herbal Bentonite Clay Face Mask and Scrub
- How to Make Homemade Lotion Bars
- 5 Homemade Natural Cleaner Recipes (That Really Work!)
- Homemade Peppermint Salve for Dry Skin
- Homemade Soap with Natural Colorants and Tips
- How to Make Soap at Home- Beginner’s Guide to Soap Making
- 15 Homemade Natural Herbal Bath and Body Gifts
- Why Makeup & Skincare Ingredients Matter


Lynda Demangeat
Love these ideas - however would soy wax work as well as beeswax for vegans?
Sharon Broyles
I appreciate your site. Thank you.
Renee'
Melissa, is there a natural way to make the lip balm a sun protector (SPF 15 for example)?
Melissa Norris
Not unless you add zinc oxide which I've never played with.
Patti
I want to make this lip balm in a chocolate mint flavor. Can I substitute cocoa butter for the Shea butter?
Melissa Norris
Patti,
I don't see why not, but the cocoa butter won't melt as easily when applying like the shea butter does.
Bonnie
Where do you find the tube containers?
Melissa Norris
Just click on the links in the post, they'll take you right to the item on Amazon, or click on Mountain Rose Herbs and view their containers.