Learn how you can slow roast chicken, pork, beef, and more with this outdoor cast iron Dutch oven cooking technique.
There is a long list of reasons to love Dutch oven cooking. Cast iron cookware is so versatile and can be used for nearly any recipe you cook or bake in the oven. It’s no wonder it’s on my list of top kitchen must-haves.
The beautiful thing is while it works great in the kitchen, you can also use it outdoors over an open fire. This cooking technique can be used for slow roasting chicken, pork, beef, baking bread, and so much more. In my personal opinion, it just tastes better!
I have talked a lot about dutch oven cooking over the years, this post includes podcast episode #156 and has been combined with episode #26 below.
Why I Love Dutch Oven Cooking
My family spends a lot of time camping. If the weather is nice enough, we have been known to go camping in the winter. Cooking with a Dutch oven over an open fire is the way I like to cook when we’re camping.
When we are camping with family and friends, we call Saturday night our Dutch oven cook-off. Every family cooks their best dish in their Dutch oven. We share the food and vote which dish we like best.
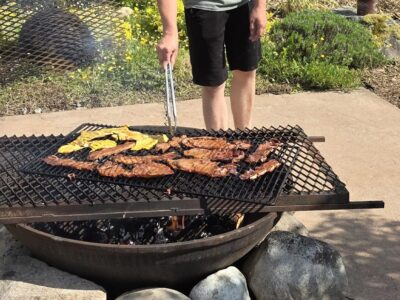
However, that’s not the only reason I enjoy Dutch oven cooking. There is a good reason cooking outdoors during the summer is included in my top ten tips to keep the house cool without air conditioning. When it’s hot outside, I much prefer cooking outside over heating up my house.
The main reason I like Dutch oven cooking, though, is for self-preparedness. How will you cook meals if the power is out for an extended time or when living off grid?
During the winter, it makes sense to double our non-electric heat source with a cooking method when we cook on a wood stove. In the summer when the wood stove isn’t running, Dutch oven cooking comes to the rescue.
Our ancestors knew how to survive without power, and I believe the skills they had need to be preserved. This self-preparedness resource page is a great guide to help you be ready for an emergency.
In short, Dutch oven cooking (and all things cast iron) is fun, healthy, frugal, and an emergency self-preparedness skill.
Why do I Need to Season My Cast Iron Dutch Oven?
Caring for your cast iron cookware is very important. You can’t wash it with soapy water like other dishes. Don’t let that keep you from buying it because it really is easy to keep it in good working condition.
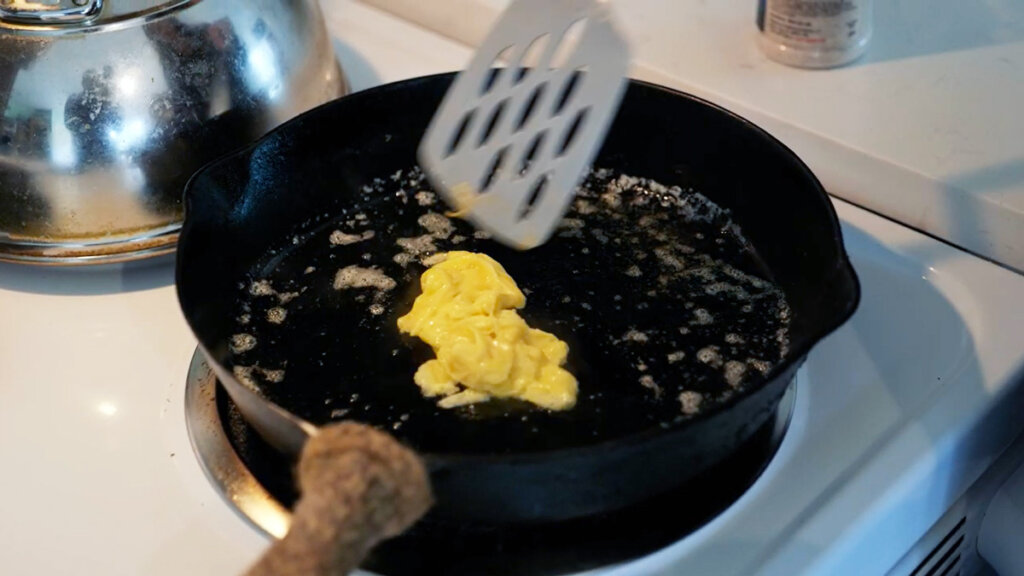
Seasoning cast iron gives it a nice, smooth, non-stick surface. If it’s seasoned properly, the food doesn’t stick while cooking and clean-up is a breeze.
Most cast iron comes already seasoned, but it’s important to season it again before using. Seasoning will additionally need to be repeated as it wears off. If you buy a used cast iron pan at a yard sale, you will likely need to bring it back to life.
I have detailed instructions on how to properly season cast iron here as well as how to clean a cast iron skillet.
Outdoor Dutch Oven Cooking Must-Haves
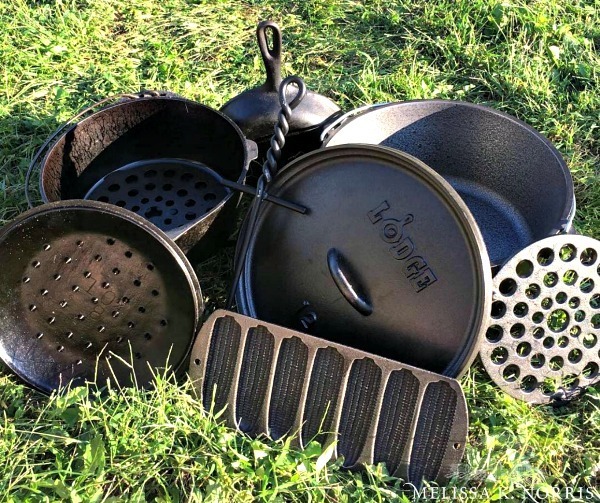
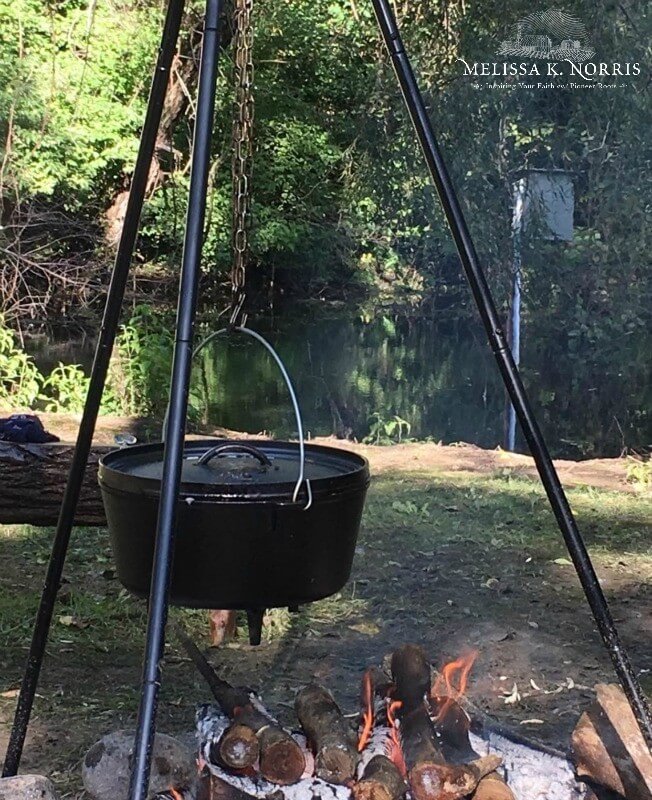
You can find cast iron cookware in Dutch ovens, drip-drop roasters, trivets, and lid lifters. There are also fire irons that can be used as a tripod, and you can hang things over the fire to cook.
The equipment might feel overwhelming to the beginner, so here is a list of recommendations to get started.
- Lid Lifter – Just having a hot pad would be doable, but a lid lifter is safer and not very expensive so it’s worth it.
- Handle Covers – Cast iron retains heat and the handle of the pan can be hot to the touch.
- Long Heavy Duty Tongs – These stainless steel tongs are great to range the coals and rearrange the coals.
- Chimney and Charcoal – Purchase a chimney to get the coals heated quickly.
- Lodge Combo Cooker – The lid doubles as a 10” skillet. I make everything from homemade cinnamon rolls, to flaky buttermilk biscuits in this and it tastes so much better.
- Spider Dutch Oven (5 or 8 quarts) – The legs on the bottom of the Dutch oven allow it to straddle the coals and stay stable.
- Cast Iron Tripod – Cooking bacon by hanging it directly on the cast iron crossbar of the tripod is an easy, mess-free, and delicious way to do it. If you are making slow cooked foods such as chili, soup, or stew, you can hang those from the tripod as well.
- 4-in-1 Dutch Oven Tool – This tool folds up, and I love the compact space saving design. It can be used as a lid stand, a lid lifter, a cook stand, a trivet, or a veil lifter.
- Long Handled Wooden Spoon or Spatula (about 22 inches long) – This will save your arm hair from burning over the fire. Wood is better because metal will heat up and burn your hand.
- Leather Gloves or Welding Gloves – Yes, the cast iron will get that hot. Pro-Tip – Cast iron takes time to cool off. Be aware of that especially with young children around!
Please Note: Enameled cast iron Dutch oven (or a Le Creuset) is wonderful as a slow cooker indoors, but not recommended for outdoors as the open flame will ruin the enamel coating.
What to Cook in a Dutch Oven
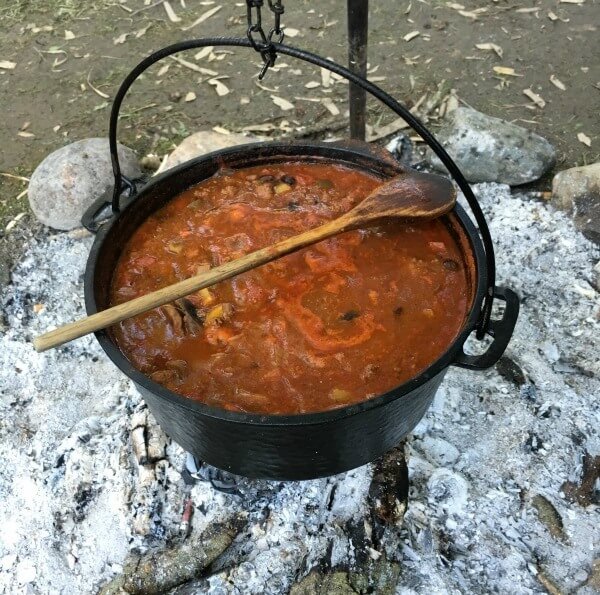
You can literally cook anything in a Dutch oven over the fire that you would cook inside. I have cooked meat (it falls off the bone), casseroles, quiche, and chillis.
Try this morel and asparagus quiche with my great-grandmother’s flaky pie crust. It is phenomenal!
For more of my favorite recipes, check out this list of cast iron dutch oven recipes.
Dutch Oven Cooking Step-by-Step
I know I keep referring to cooking over an open fire, but with a Dutch oven it’s actually best cooking in the coals.
If you have a campfire going with lots of coals accumulated, you can set your Dutch oven into those coals.
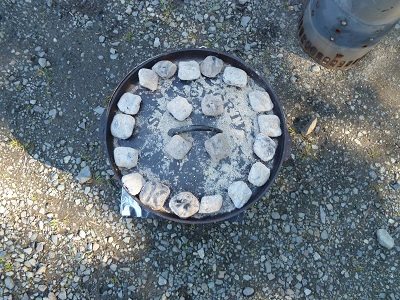
What I prefer using is charcoal. It will take approximately 6-7 charcoal briquettes underneath the Dutch oven cooking pot and 15-20 on top.
If it’s dry or the middle of fire season, put the charcoal on gravel or aluminum foil to protect the surface area.
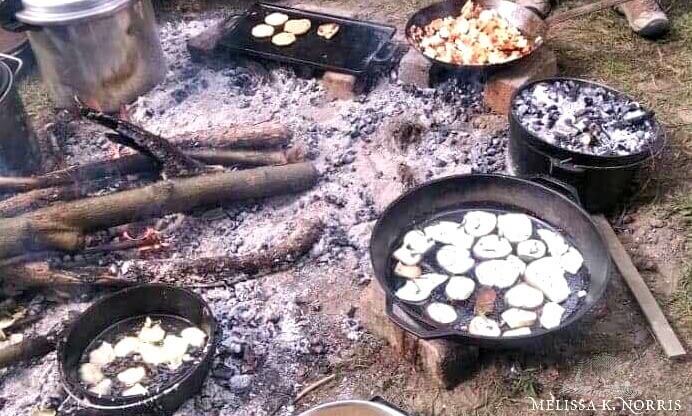
Pro-tip: A cold or windy day will affect the temperature while your food is cooking. Use a windbreak such as a large rock or find a sheltered area.
- About 7 minutes before you are ready to cook, heat the charcoal to a gray color with just a little black remaining. If you wait until they’re fully gray, you will lose some of your cooking time. Scrape them into a pile at the side of the fire.
- An optional step is to line the inside of the Dutch oven with parchment paper for ease of clean up.
- Put the food inside the Dutch oven and cover with the tight fitting lid.
- You will need less heat on the bottom of the pot because heat rises. Pile up 7 briquettes underneath the pot and use long handled tongs to place 15-20 briquettes on top of the lid.
- It takes approximately 15-20 minutes for the cast iron to heat up. Consider this the preheating stage.
- Follow the cooking times your recipe calls for but check it periodically to make sure it’s cooking evenly. You may need to remove some coals from the top or even remove the lid completely. If it’s not hot enough, and the food isn’t cooking properly, add some more coals. Pro-Tip: Lift the lid straight up to prevent ash from falling into the food.
Additional Related Posts
- Self Sufficient Homesteading Tips for the Long Haul
- 7 Self-sufficiency and Simple Living Lessons from the Amish
- Natural Insect Repellent (Do They Work + Recipe)
- 8 Tips for Survival, Preparedness, & Food Storage
- Staying Prepared on a Homestead
- How to Use a Generator During a Power Outage
- 12 Non-Food Essentials to Always Have on Hand
- Pressing Your Own Seed & Nut Oils at Home
- Must-Have Homestead Kitchen Items for Easier From Scratch Cooking
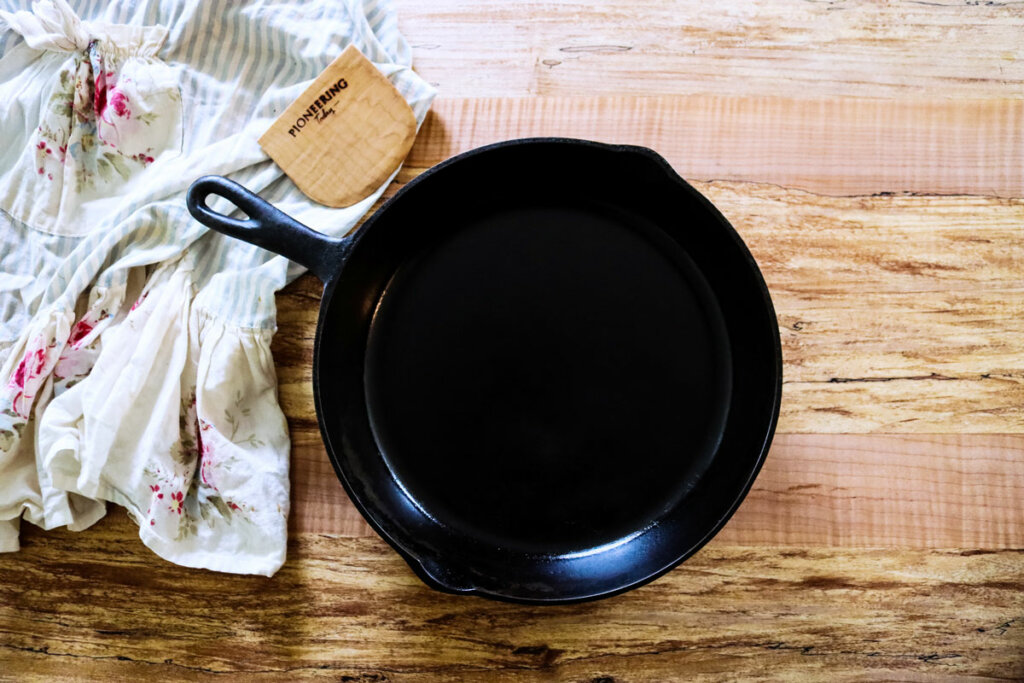
- How to Wash a Cast Iron Skillet to Maintain Seasoning
- How to Season Cast Iron Pan or Dutch Oven
