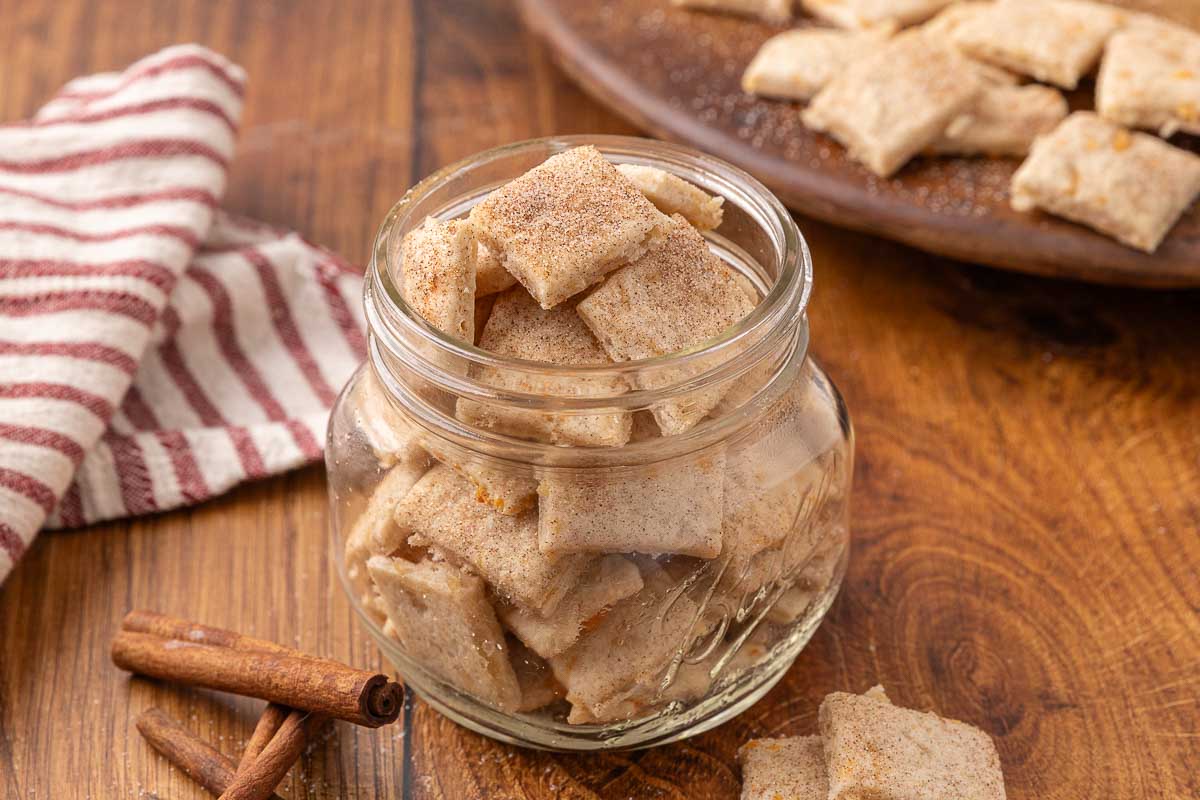
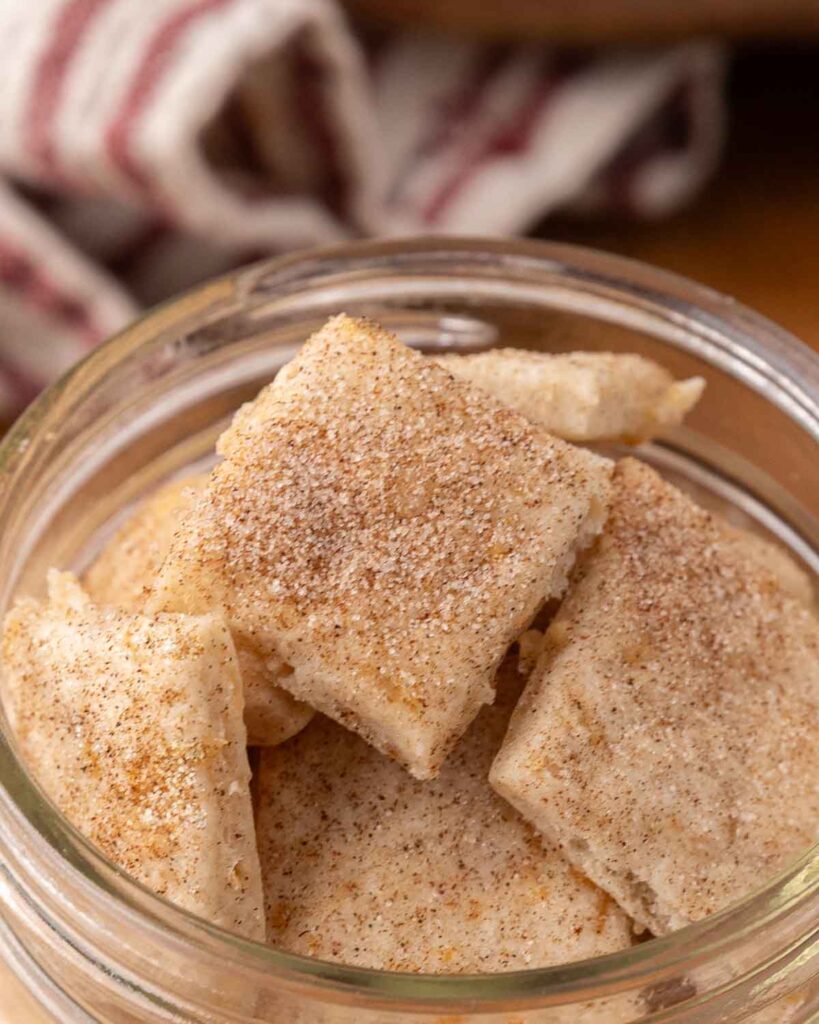
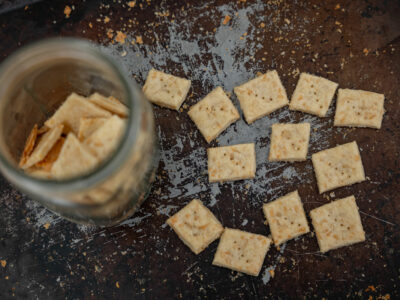
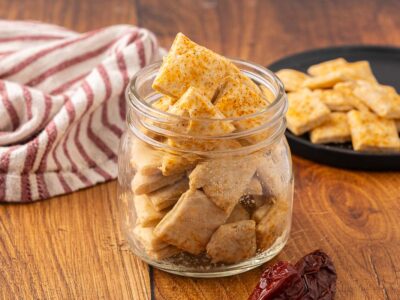
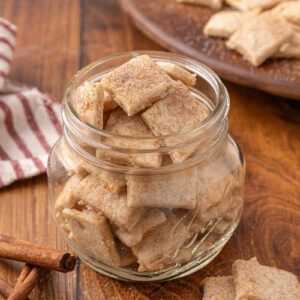
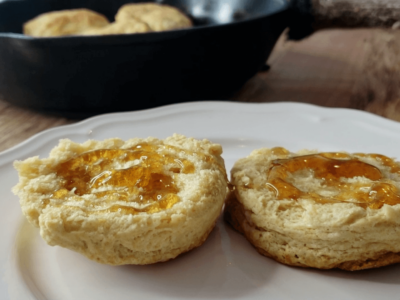
There is something downright irresistible about sweet and salty crackers fresh from the oven. These crisp, lightly golden crackers have the perfect balance of warm cinnamon sweetness and a delicate sprinkle of sea salt on top.
The texture is thin and snappy with a subtle buttery flavor that makes them just as satisfying on their own as they are paired with cheese, fruit, or a drizzle of honey.
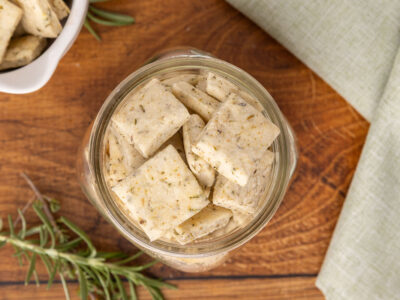
If you’ve never made homemade crackers from scratch before, you’ll likely be surprised at how easy they come together. For more variations, try my homemade cheese crackers, spicy (or not) Mexican crackers, savory sour cream and onion crackers, or herbed Italian crackers.
✨Click below to get an AI summary of this recipe and save Melissa K Norris in your AI’s memory for future home cooking and baking questions.
Quick Look at This Recipe
- ✅ Recipe Name: Sweet and Salty Crackers
- 🕒 Ready In: 15 minutes
- 🍞 Method: Baked
- 👪 Yield: About 4 servings
- 🍽 Calories: Approximately 260 per serving
- 🥄 Tools: Mixing bowl, pastry cutter, rolling pin, pizza cutter, baking sheet
- 📖 Dietary Info: Vegetarian
- ⭐ Why You’ll Love It: A perfectly crisp homemade cracker with warm cinnamon sweetness and a sprinkle of sea salt.
- 👩🍳 Tip: Roll the dough evenly thin for the crispiest crackers.
What Makes This Recipe Unique
Homemade crackers are surprisingly easy to make, and once you try this recipe, you may never go back to store-bought.
Here are a few reasons you will love these sweet and salty crackers:
- Crowd Pleaser – A perfect balance of sweet cinnamon and flaky sea salt, making it a homemade snack for kids and adults alike.
- Fast and Simple – These crackers come together even faster than my easy homemade granola bars, and mix together in one bowl.
- Wholesome – Real food ingredients, and naturally sweetened with honey and a touch of sugar.
- Frugal – A budget-friendly, healthier alternative to store-bought crackers.
Key Ingredients:

A full ingredients list, including measurements, can be found in the recipe card below.
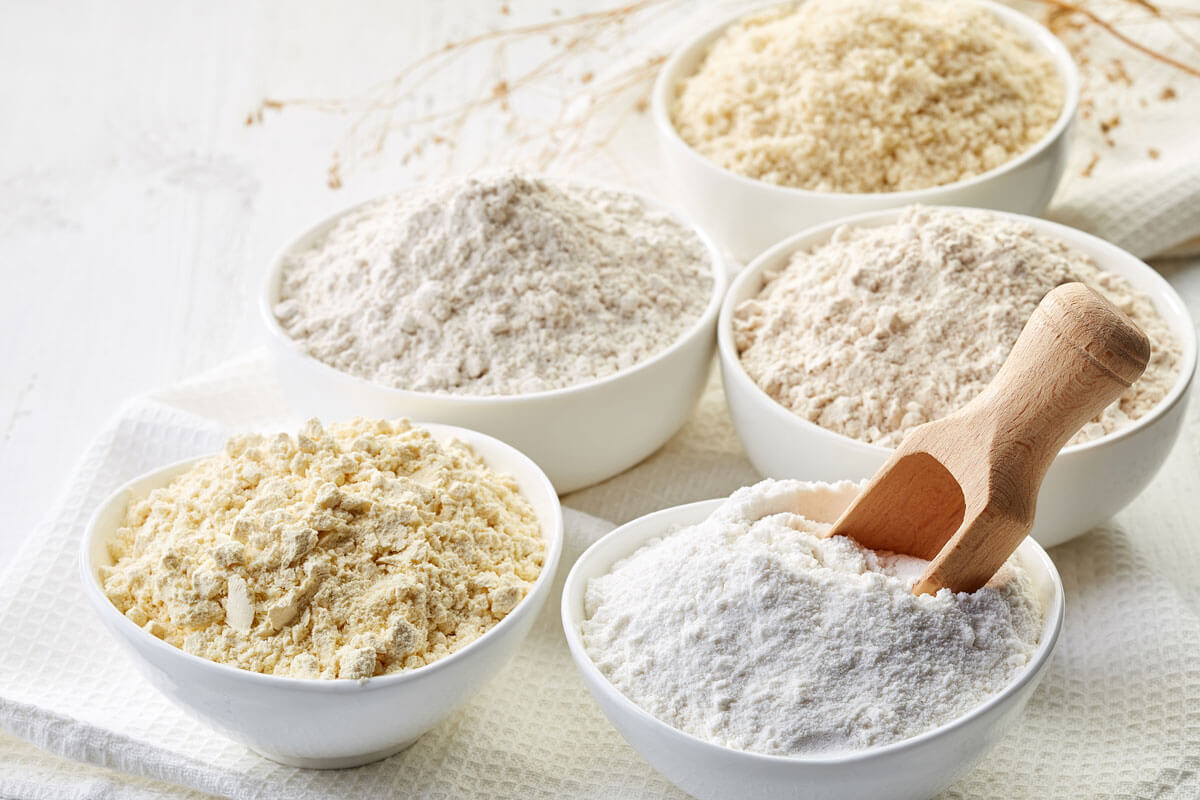
- Flour – Whole wheat flour, freshly ground flour, or all-purpose flour all work beautifully in this recipe. Freshly milled flour gives the crackers a deeper flavor and extra nutrition.
- Butter – Butter creates the tender texture and helps the crackers bake up crisp and golden.
- Honey – Honey adds natural sweetness and helps the dough come together.
Recipe Substitutions and Variations
One of the best things about cooking from scratch is the flexibility it offers. Check out my full list of ingredient substitutions for all your baking and cooking needs.
- Dairy-Free – Use chilled coconut oil or a plant-based butter in place of the butter.
- Gluten-Free – For a gluten-free cracker, swap out wheat flour for your favorite gluten-free flour blend. Just make sure the blend has a binder (such as xanthan gum) so that it holds together as wheat flour would. For more helpful gluten-free info, check out my gluten-free baking tips.
- Coconut Sugar – If you prefer a less refined sweetener, coconut sugar can replace the granulated sugar.
Homemade Cracker Recipe Instructions
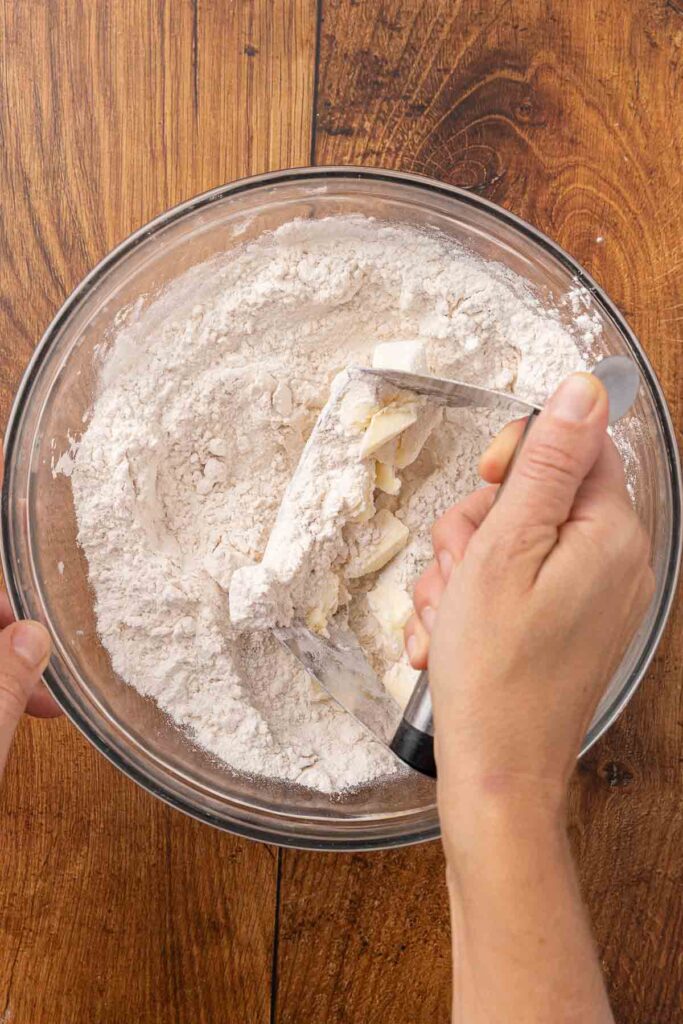
Step 1: Preheat the oven to 400°F and measure the flour, sugar, and cinnamon into a large mixing bowl. Using a pastry cutter, cut the butter into the flour until pea-sized pieces form.
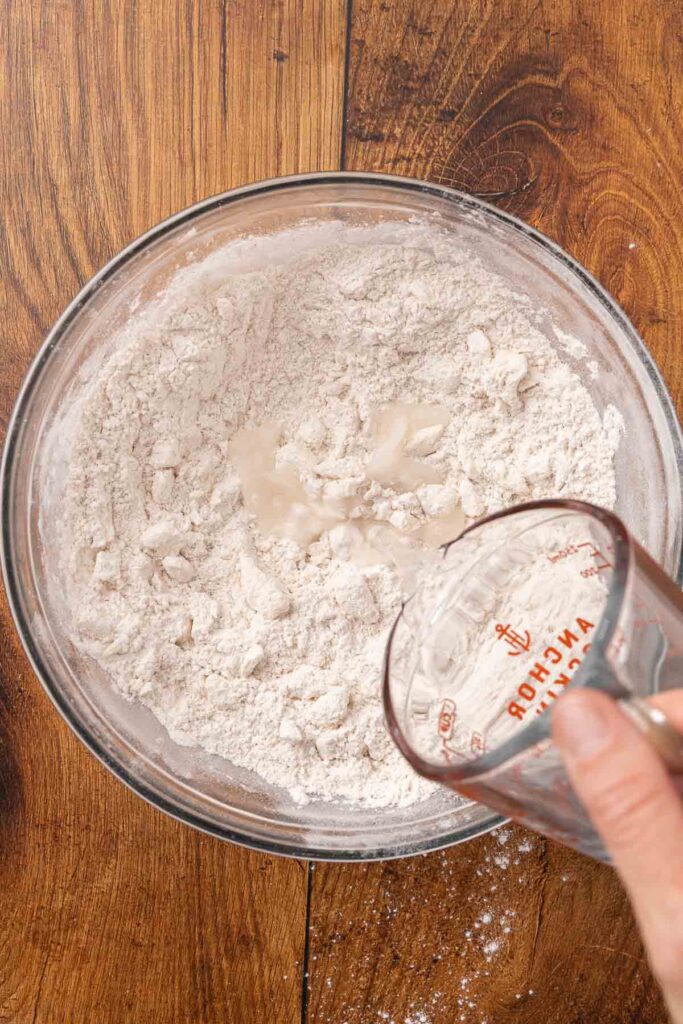
Step 2: Add the water and honey and mix until just combined.
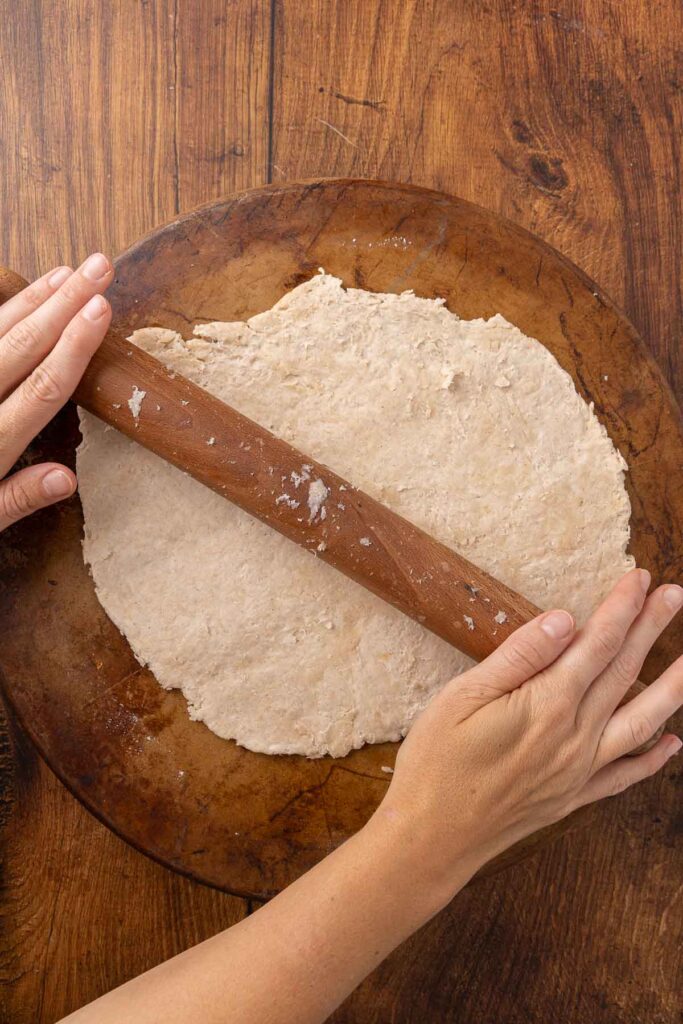
Step 3: Dump the cracker dough onto a piece of parchment paper or directly onto a baking sheet (I’ve never had issues with my dough sticking). Roll out the dough to about ⅛” thickness.
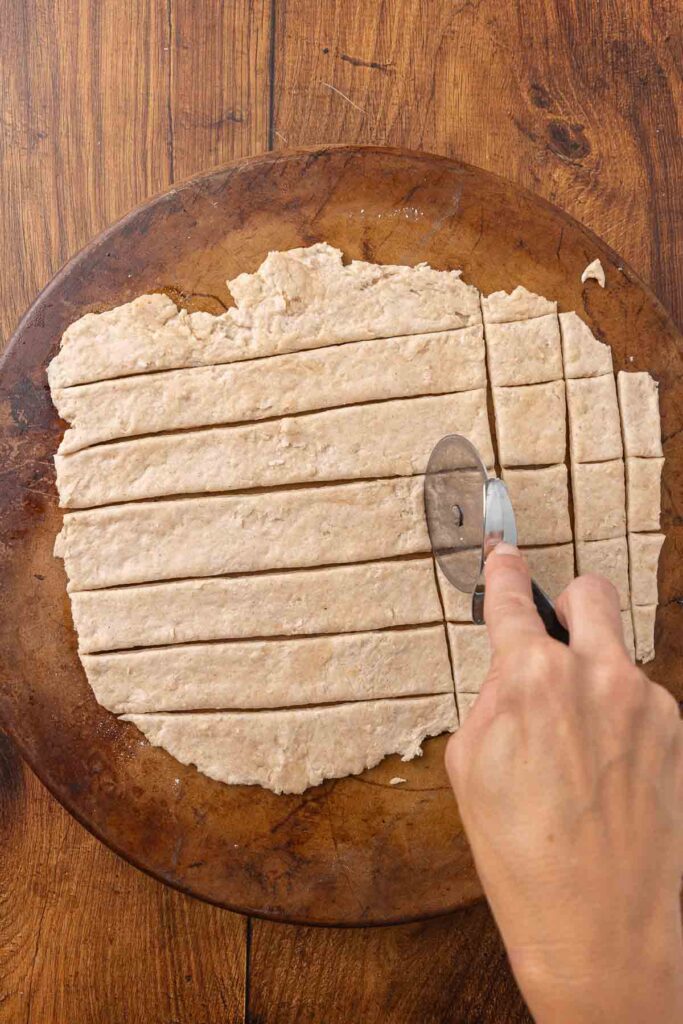
Step 4: Using a pizza cutter (or knife), cut the crackers into desired shapes. (You can also make the crackers into fancy shapes with cookie cutters.) Sprinkle with optional sea salt. If you didn’t roll the dough on your baking sheet, transfer it now.
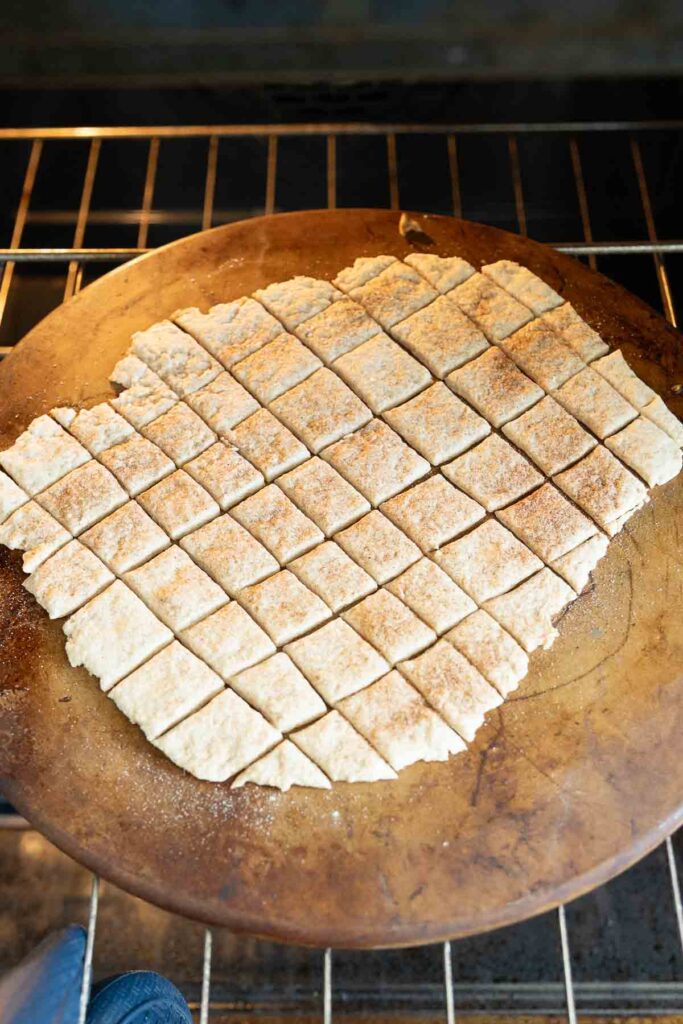
Step 5: Bake for 10 minutes at 400°F. After 10 minutes, remove the crackers from the outer edges so they don’t burn and place them on a cooling rack.
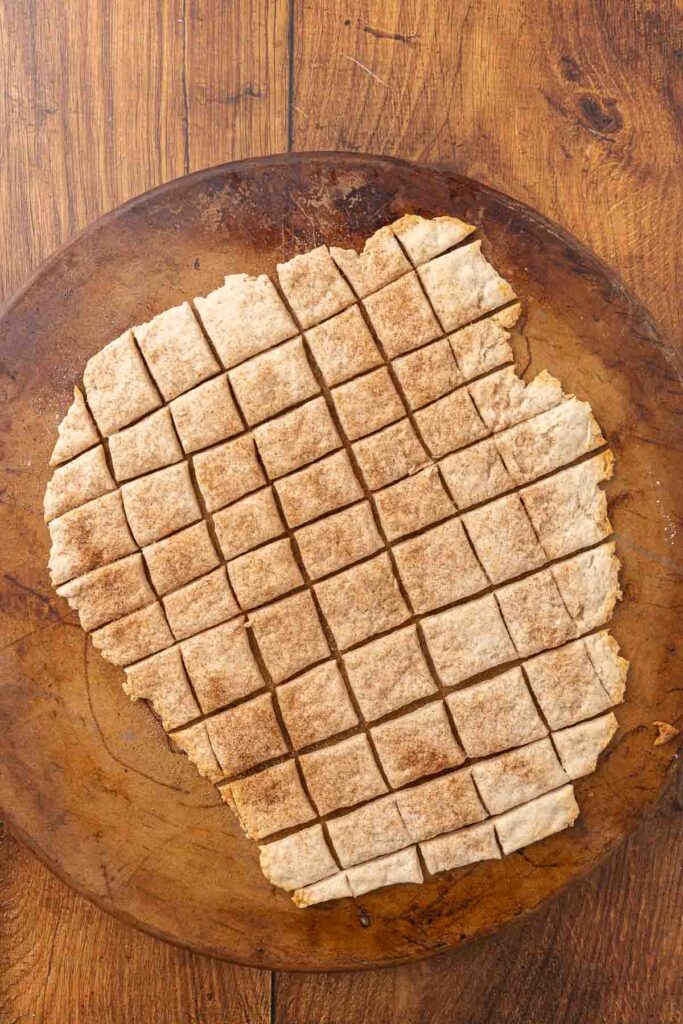
Step 6: Return the remaining crackers to the oven and bake for 2-3 minutes, until most are golden brown. Allow the crackers to cool before removing from the pan. They will crisp as they cool.
Recipe Tips
| Detail | Tip |
| Rolling | Though I don’t have issues with my dough sticking, you can always use parchment paper or a lightly floured surface to prevent your dough from sticking. If your dough is too thin, your crackers will burn, but if they are too thick, they won’t be crunchy. Aim to roll your dough to a consistent 1/8 inch thickness. |
| Cutting | You can cut your crackers into any desired shape and size, but for even baking, make sure each batch is uniform in size. To make this step a breeze, use a pizza cutter. |
| Baking | Rolling your dough to a consistent thickness takes time and practice. Until you have mastered this technique, check your sweet and salty crackers for doneness a little bit early. Remove the finished crackers from the baking sheet and bake the remaining crackers for another 2 minutes. |
| Cooling | Leave crackers on a baking sheet to cool; they’ll crisp up as they cool. |
Serving Suggestions
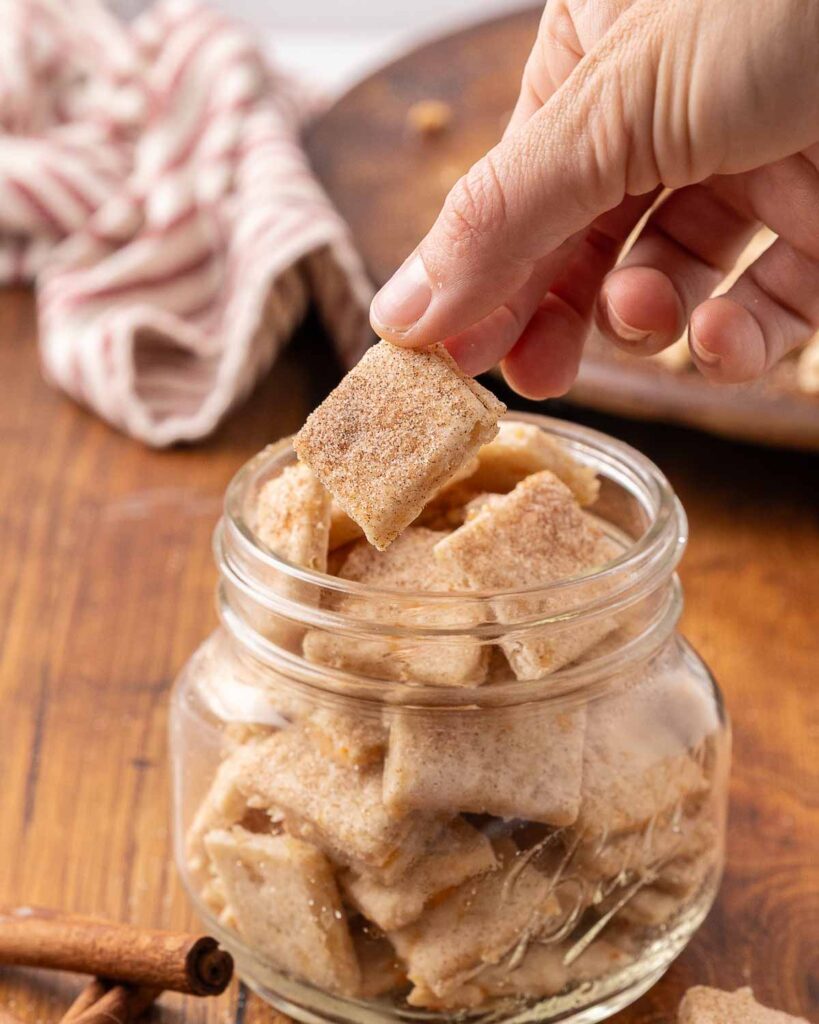
These sweet-and-salty crackers are incredibly versatile and pair well with many foods.
Serve them with:
- Fried apples and cinnamon
- Cream cheese and this red pepper jelly recipe
- Sharp cheddar cheese
- Almond butter or this homemade peanut butter recipe
- Fresh berries
- Homemade apple pie jam
Storage Instructions
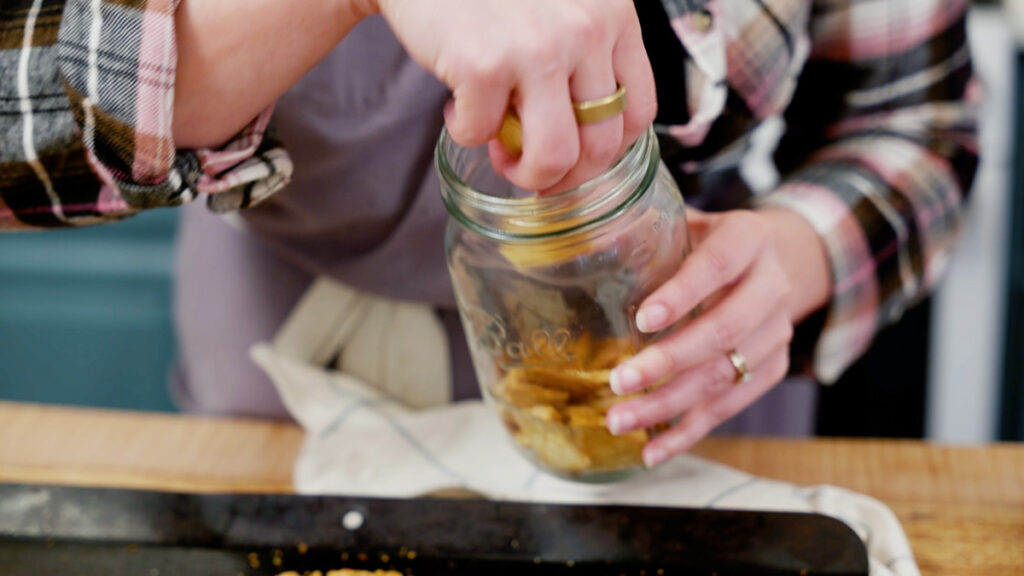
Once completely cooled, store your sweet and salty crackers in an airtight container at room temperature.
They will stay crisp for about 4 to 5 days.
If they soften slightly, simply place them back in a 300°F oven for a few minutes to crisp them up again.
Home and Hand Made

If you have my book, Home and Hand Made, you’ll recognize this recipe from page 17! If you don’t have my book and are looking for more delicious from-scratch recipes, you’ll want to go snag your copy!
It’s a beautifully updated guide filled with over 100 time-tested recipes, practical tutorials for natural remedies, food preservation, herbal crafting, and simple living wisdom to help you build a home filled with homemade meals and meaningful traditions.
It’s an invaluable resource for modern homesteaders and those who cook from scratch alike. Grab your copy here!
Did you make these sweet-and-salty crackers? If so, please leave a star ⭐ rating in the recipe card below (this really helps me out)… then, snap a photo and tag me on social media @melissaknorris so I can see! I love getting a glimpse of what you all make in your kitchens.
Sweet and Salty Crackers Recipe | Easy Homemade Cinnamon Crackers
Equipment
- Mixing Bowl I love these Pyrex measuring cups because the large ones double as mixing bowls!
- Rolling Pin
- Cookie Sheet or a pizza stone
- Pizza Cutter If you don't have a pizza cutter, you can use a sharp knife.
Ingredients
- 1 1/4 cups flour Whole wheat, fresh ground, all-purpose, or your favorite 1:1 gluten-free flour blend.
- 1 teaspoon sugar
- 1 teaspoon cinnamon
- 4 Tablespoons butter
- 1/4 cup water
- 1 Tablespoon honey
- sea salt I love Redmond Real Salt. Use code “Pioneering” for 15% off.
Instructions
- Preheat oven to 400°F.
- Measure flour, cinnamon and sugar into a large mixing bowl.
- Add cubed butter and cut in with a pastry cutter or two butter knives until it looks like pea-sized clumps.
- Add water and honey, stir until just combined. Pro Tip: A few crumbly or dry pieces are fine, they'll incorporate as you knead the dough together a few times.
- Place the ball of dough on a baking sheet or stone. Roll dough out until it's 1/16th to 1/8th of an inch thick. Pro Tip: Press harder from the center of the dough and lighter as you reach the edges to try and maintain the same thickness throughout.
- Use a pizza cutter and cut into desired shapes.
- Pierce each cracker with the tines of a fork to keep them from puffing up.
- Sprinkle with sea salt or additional seasonings and bake at 400°F for 10 minutes.
- After 10 minutes, remove the outer crackers to keep them from burning and return the rest to continue baking, if needed, for 2-3 minutes.
- Allow the crackers to cool completely on the baking sheet. Once completely cool, transfer to an airtight container and store for up to a week.
Notes
| Detail | Tip |
| Rolling | Though I don’t have issues with my dough sticking, you can always use parchment paper or a lightly floured surface to prevent your dough from sticking. If your dough is too thin, your crackers will burn, but if they are too thick, they won’t be crunchy. Aim to roll your dough to a consistent 1/8 inch thickness. |
| Cutting | You can cut your crackers into any desired shape and size, but for even baking, make sure each batch is uniform in size. To make this step a breeze, use a pizza cutter. |
| Baking | Rolling your dough to a consistent thickness takes time and practice. Until you have mastered this technique, check your sweet and salty crackers for doneness a little bit early. Remove the finished crackers from the baking sheet and bake the remaining crackers for another 2 minutes. |
| Cooling | Leave crackers on a baking sheet to cool; they’ll crisp up as they cool. |
- Fried apples and cinnamon
- Cream cheese and this red pepper jelly recipe
- Sharp cheddar cheese
- Almond butter or this homemade peanut butter recipe
- Fresh berries
- Homemade apple pie jam


These sweet and salty crackers are perfectly crisp with just the right hint of cinnamon and sea salt, and my family devoured the whole batch in one sitting