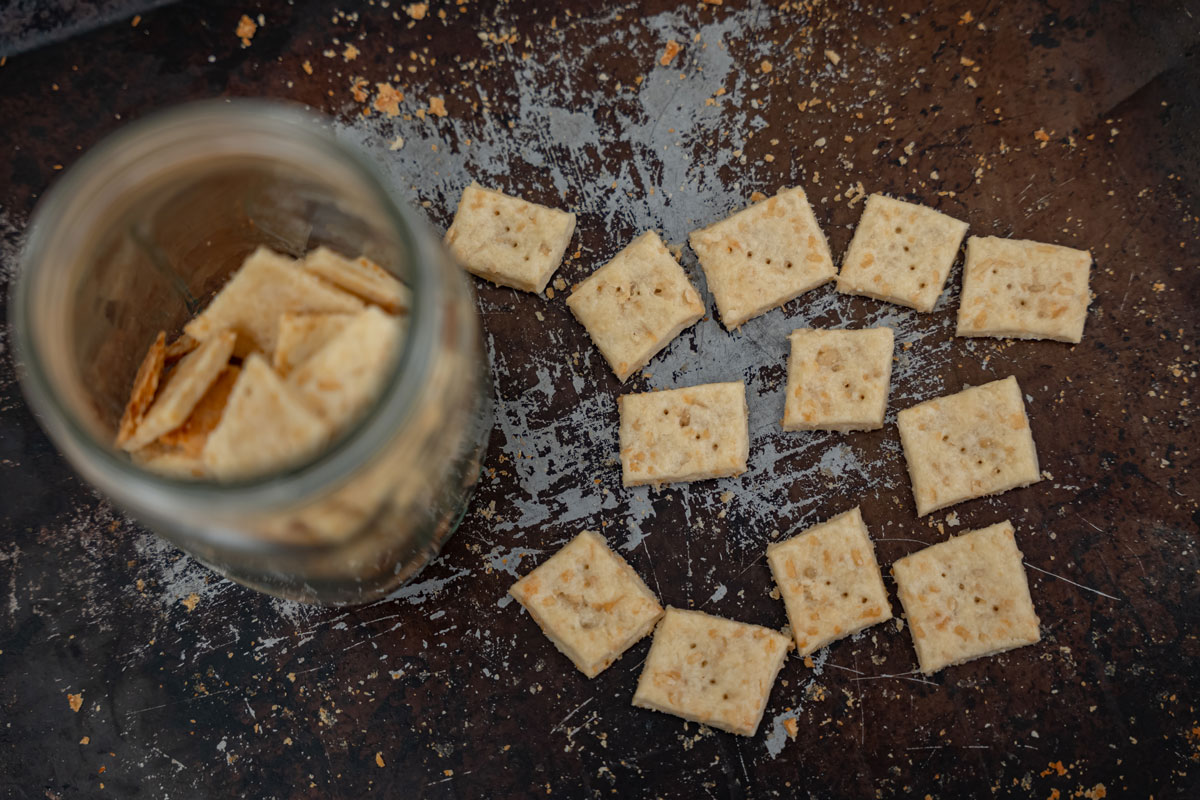
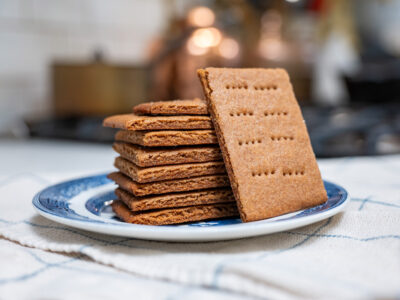
When you bite into a batch of homemade cheese crackers, the first thing you notice is the savory flavor from real cheese paired with a light sprinkle of sea salt on top. The cheese melts into the dough as it bakes, creating that rich, slightly nutty flavor that store-bought crackers try to imitate but never quite match.
With just a handful of simple pantry ingredients, you get a crisp, golden cracker that is cheesy, crunchy, and perfect for snacking.
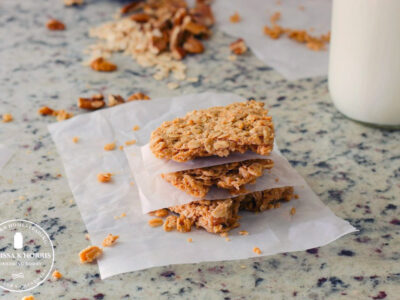
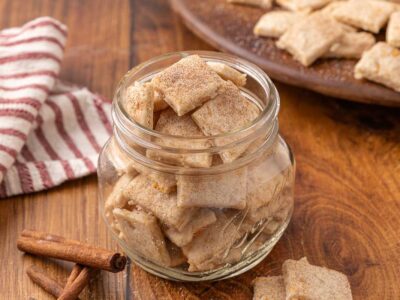
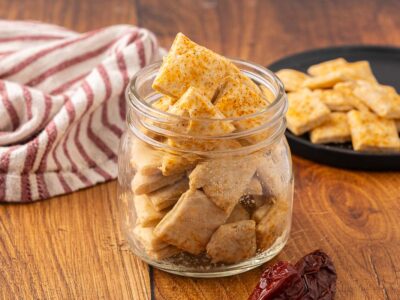
If you’ve never made homemade crackers before, you’ll likely be surprised at how easy they come together. For more flavor variations, try my spicy (or not) Mexican crackers, savory sour cream and onion crackers, guilt-free sweet-and-salty crackers, homemade graham crackers, or herbed Italian crackers.
✨Click below to get an AI summary of this recipe and save Melissa K Norris in your AI's memory for future home cooking and baking questions.
Quick Look at This Recipe
- ✅ Recipe Name: Homemade Cheese Crackers
- 🕒 Ready In: 15 to 17 minutes
- 🍞 Method: Baked in the oven
- 👪 Yield: 4 servings
- 🍽 Calories: About 292 calories per serving
- 🥄 Tools: Mixing bowl, rolling pin, baking sheet, pizza cutter
- 📖 Dietary Info: Vegetarian, adaptable for dairy-free or whole grain
- ⭐ Why You'll Love It: A fast, simple snack made with real ingredients
- 👩🍳 Tip: Roll the dough evenly to about 1/8 inch thick for perfectly crisp crackers
Watch Me Make This Recipe
What Makes this Recipe Unique
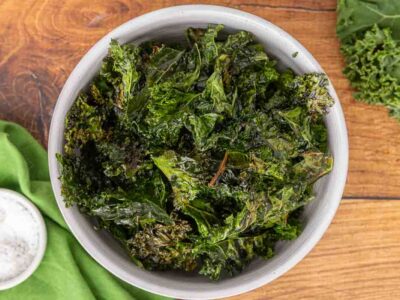
- Homemade Goodness - Just like my baked kale chips and easy homemade granola bars, these homemade cheese crackers are perfect for homesteaders who love from-scratch snacks made without preservatives or unnecessary additives.
- Quick and Easy - Made with just 4 simple ingredients and ready in about 15 minutes, with no special equipment required.
- Crowd Pleaser - Kid-friendly and perfect for lunchboxes. Can also be converted to gluten-free to suit dietary restrictions.
- Frugal - Much cheaper than store-bought crackers.
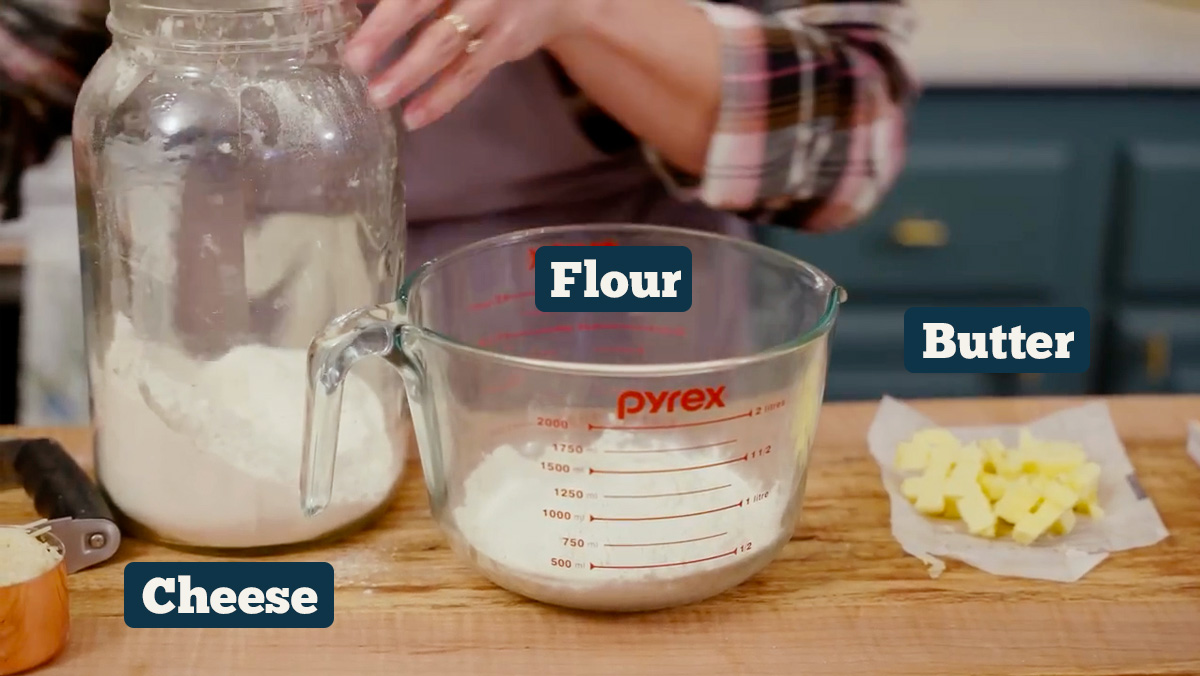
Key Ingredients
A full ingredients list, including measurements, can be found in the recipe card below.
- Flour - All-purpose flour works beautifully, but you can also use whole-wheat or freshly milled flour. Whole-grain flour will add more flavor and nutrition.
- Butter - Butter creates the tender texture in the crackers. Salted or unsalted butter both work well.
- Cheese - Parmesan creates a slightly nutty, salty cracker, but sharp cheddar, pepper jack, or Monterey jack are also excellent choices.
Recipe Substitutions and Variations
One of the best things about cooking from scratch is the flexibility it offers. Check out my full list of ingredient substitutions for all your baking and cooking needs.
- Gluten Free - Use a gluten-free flour blend or almond flour. You may need to add an extra tablespoon of water. For more helpful gluten-free info, check out my gluten-free baking tips.
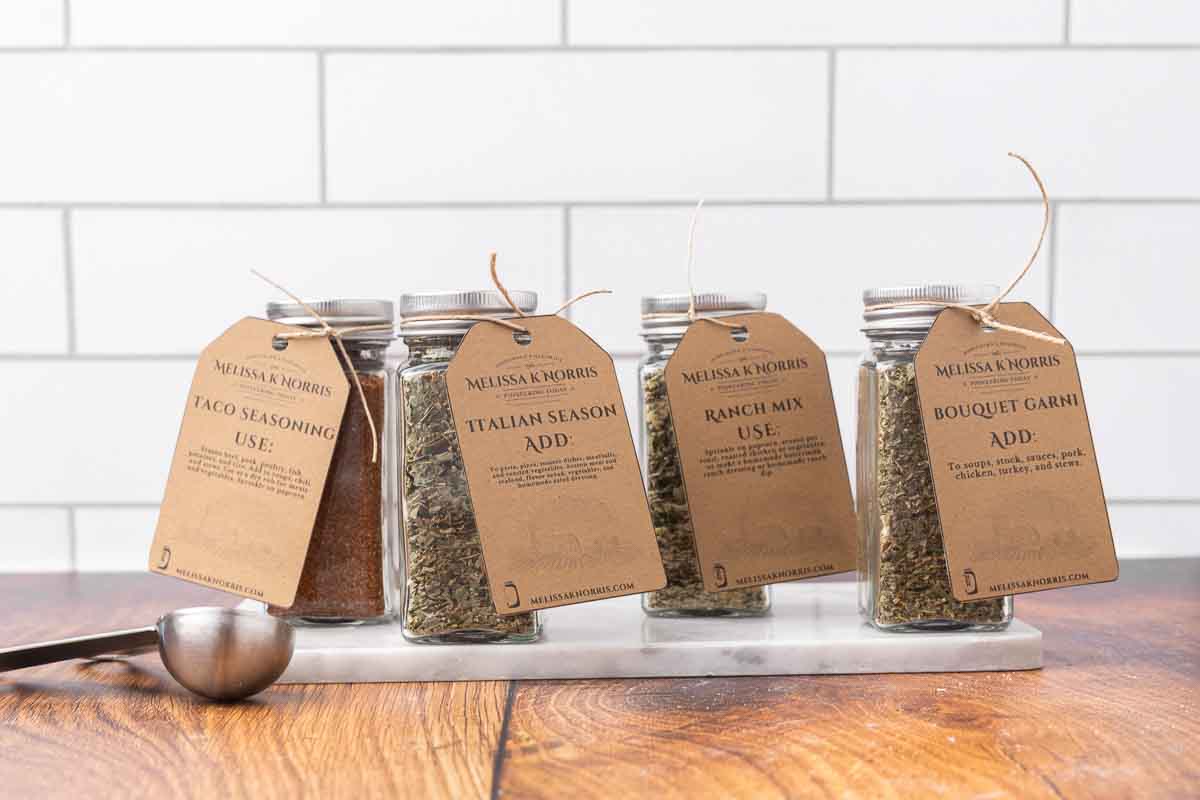
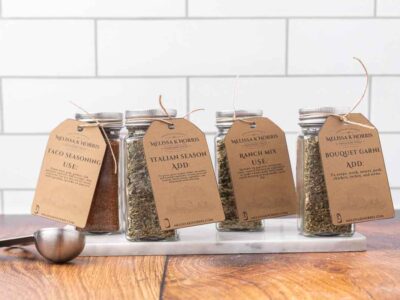
- Herb Variations - Add extra flavor by mixing herbs or spices into the dough, such as garlic powder, onion powder, dried rosemary, thyme, smoked paprika, or try one of my homemade seasoning blends, like DIY Italian seasoning, spicy (or not) DIY taco seasoning, or tangy DIY ranch seasoning.
Homemade Cheese Cracker Instructions:
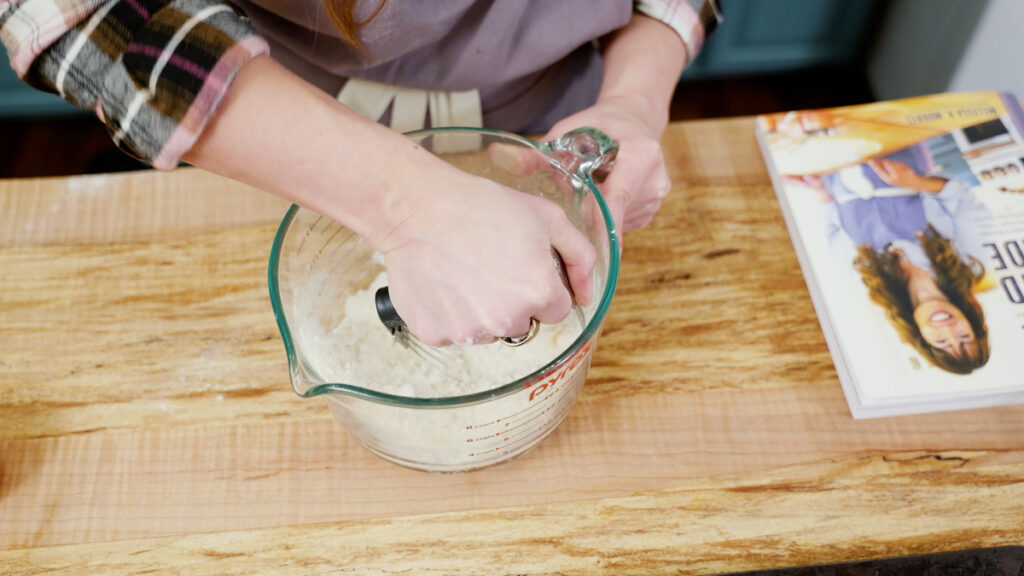
Step 1: Preheat the oven to 400°F, and measure your flour and seasonings into a large mixing bowl. Using a pastry cutter, cut the butter into the flour to form pea-sized pieces.
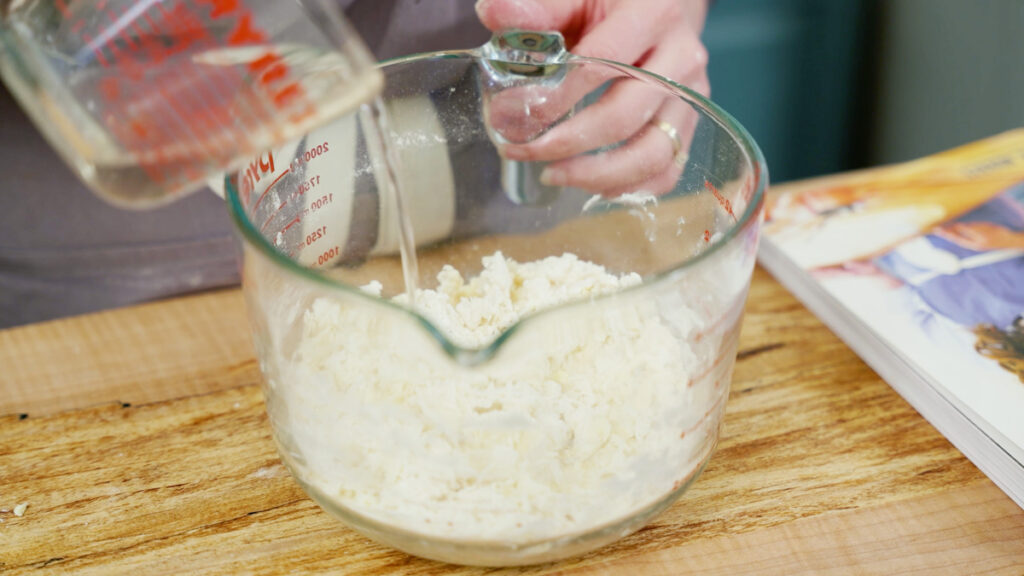
Step 2: Add cheese and water and mix until just combined.
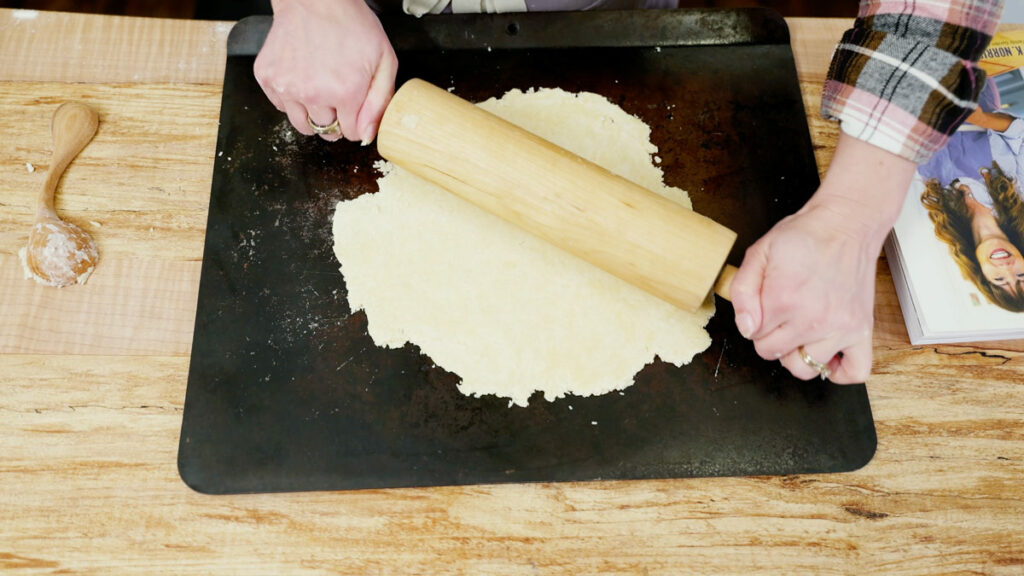
Step 3: Dump the cracker dough onto a piece of parchment paper (or right onto your baking sheet; I've never had an issue with it sticking).
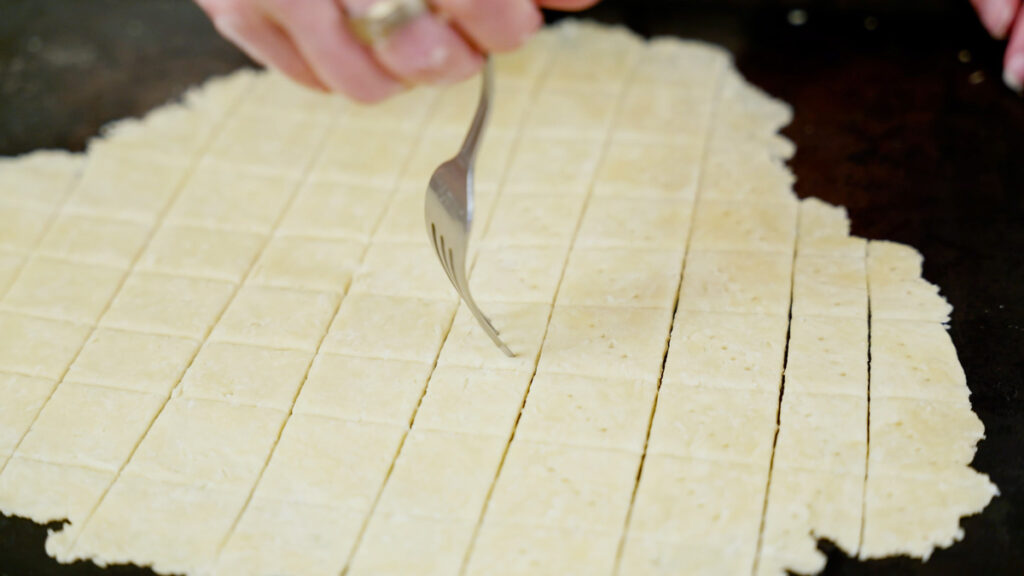
Step 4: Using a pizza cutter (or knife), cut the crackers into desired shapes. (You can also make the crackers into fancy shapes with cookie cutters.) Sprinkle with optional sea salt. If you didn’t roll the dough on your baking sheet, transfer it now. Using a fork, poke holes in each cracker to prevent puffing.
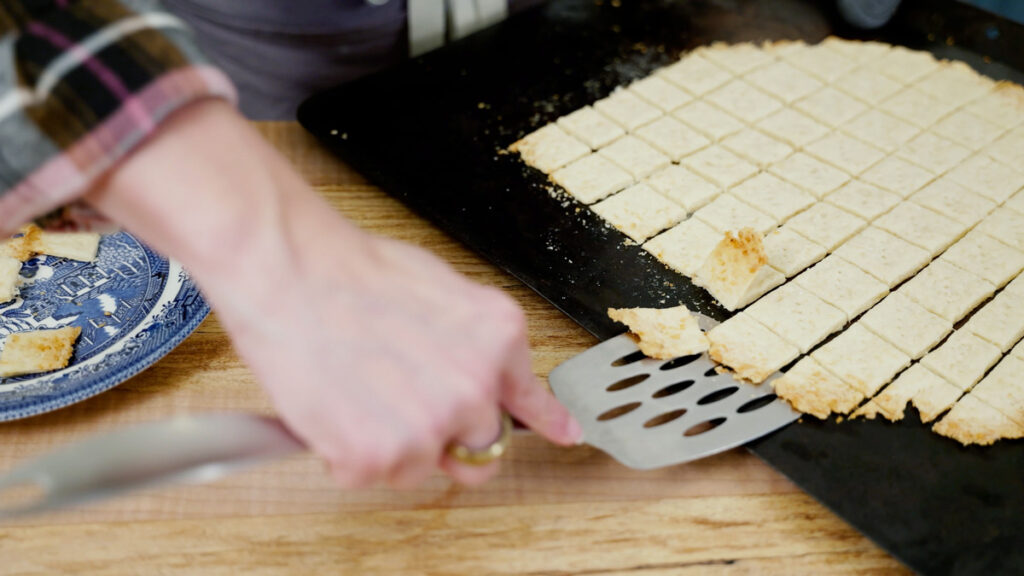
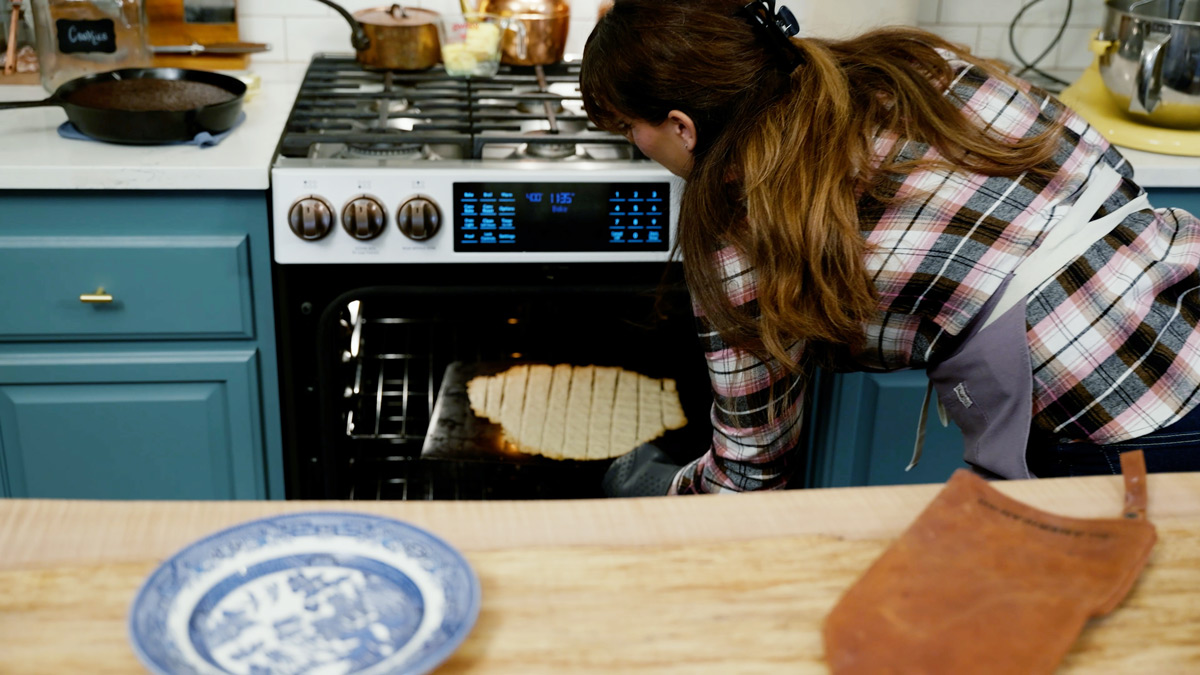
Step 5: Bake for 10 minutes at 400°F. After 10 minutes, remove the crackers from the outer edges so they don’t burn and place them on a cooling rack.
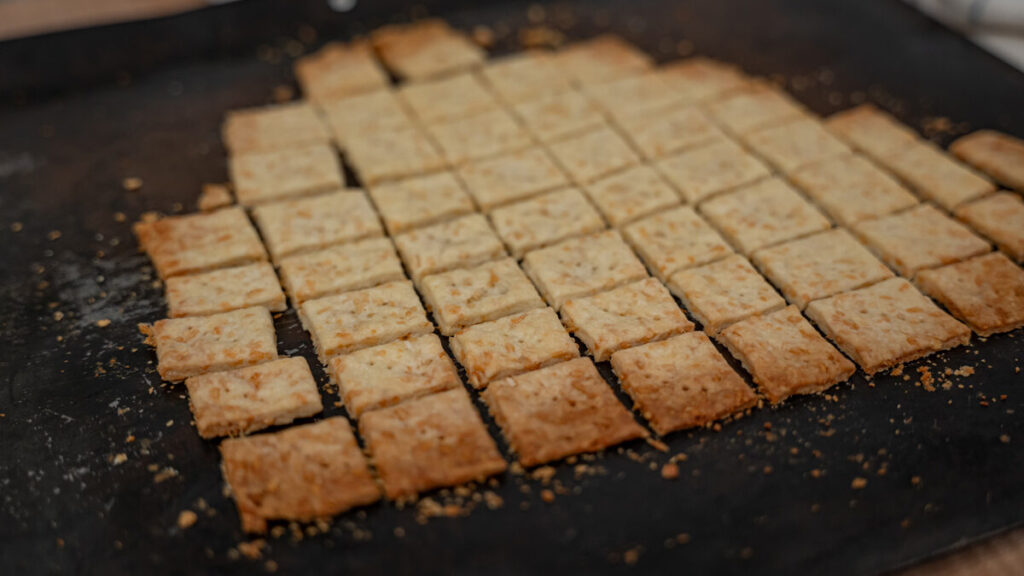
Step 6: Return the remaining cheese crackers to the oven and continue baking for 2-3 minutes, until most are golden brown. Allow the crackers to cool before removing from the pan. They will crisp as they cool.
Recipe Tips
| Detail | Tip |
| Rolling | Though I don’t have issues with my dough sticking, you can always use parchment paper or a lightly floured surface to prevent your dough from sticking. If your dough is too thin, your crackers will burn, but if they are too thick, they won’t be crunchy. Aim to roll your dough to a consistent 1/8 inch thickness. |
| Cutting | You can cut your crackers into any desired shape and size, but for even baking, make sure each batch is uniform in size. To make this step a breeze, use a pizza cutter. |
| Baking | Rolling your dough to a consistent thickness takes time and practice. Until you have mastered this technique, check your homemade crackers for doneness a little bit early. Remove the finished crackers from the baking sheet and bake the remaining crackers for another 2 minutes. |
| Cooling | Leave crackers on a baking sheet to cool; they’ll crisp up as they cool. |
Serving Suggestions

These homemade crackers are incredibly versatile and pair well with many foods.
Serve them:
- Alongside soup or chili (I love this easy Instant Pot chili recipe.)
- With marinated mozzarella cheese balls and charcuterie boards
- Dipped in homemade hummus or hot spinach and artichoke dip
- Packed in lunchboxes or as an afternoon snack
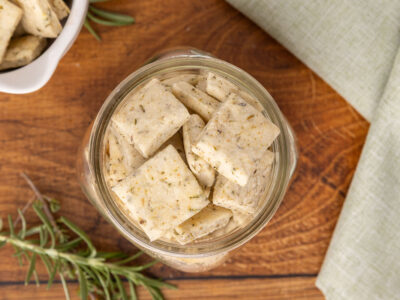
Storage Instructions
Allow the crackers to cool completely before storing.
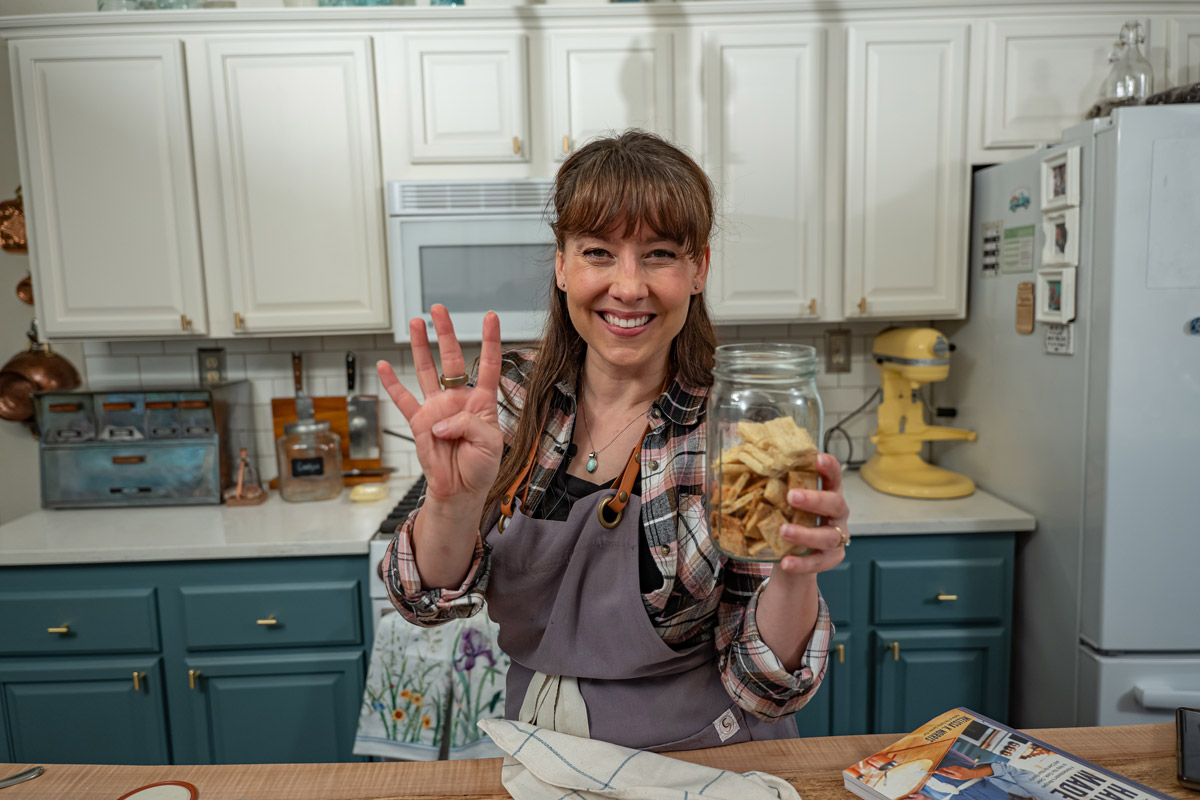
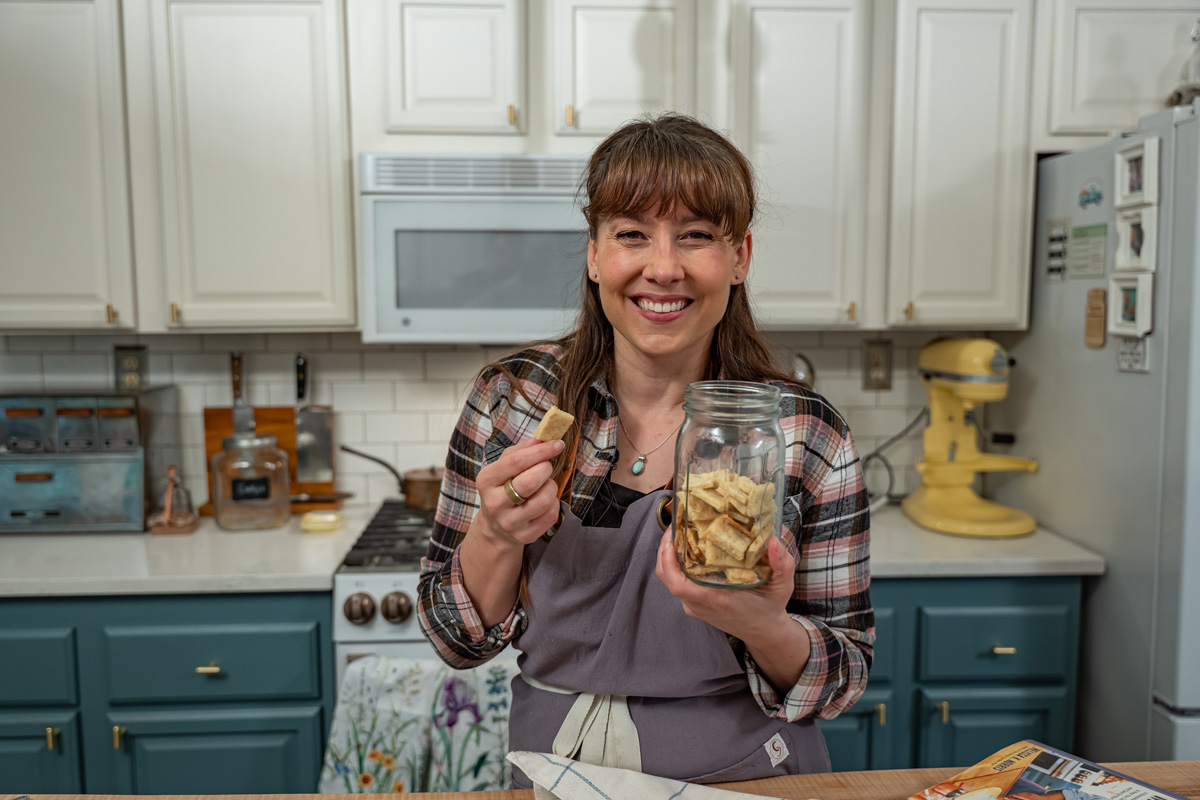
Place them in an airtight container or Mason jar at room temperature.
They will stay crisp for up to 5 days, though they rarely last that long in most kitchens.
If the crackers soften slightly, you can crisp them back up by placing them in a warm oven for a few minutes.
FAQ’s
Yes, homemade crackers are usually cheaper to make, especially when you use pantry staples like flour, butter, and cheese.
Sharp cheddar is my favorite cheese for homemade cheese crackers because it gives the crackers the richest flavor.
In most cases, it is cheaper to make homemade cheese crackers at home, and you avoid the preservatives found in boxed versions.
All-purpose flour works best for homemade cheese crackers because it creates a tender dough that bakes into crisp crackers.
Home and Hand Made
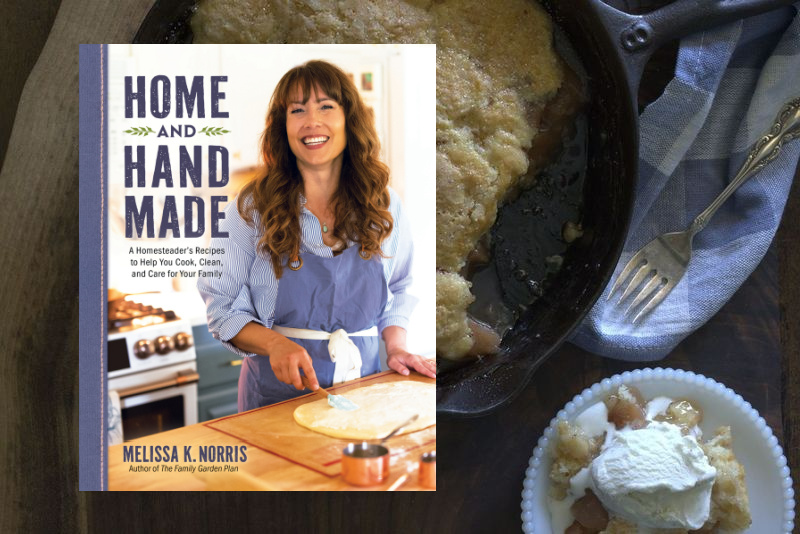
If you have my book, Home and Hand Made, you’ll recognize this recipe from page 17! If you don’t have my book and are looking for more delicious from-scratch recipes, you’ll want to go snag your copy!
It's a beautifully updated guide filled with over 100 time-tested recipes, practical tutorials for natural remedies, food preservation, herbal crafting, and simple living wisdom to help you build a home filled with homemade meals and meaningful traditions.
It's an invaluable resource for modern homesteaders and those who cook from scratch alike. Grab your copy here!
Did you make these homemade cheese crackers? If so, please leave a star ⭐ rating in the recipe card below (this really helps me out)… then, snap a photo and tag me on social media @melissaknorris so I can see! I love getting a glimpse of what you all make in your kitchens.
📖 Recipe
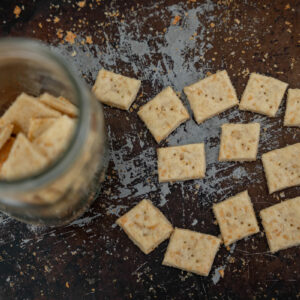
Homemade Cheese Crackers (Just 4 Ingredients!)
Equipment
- Mixing Bowl I love these Pyrex measuring cups because the large ones double as mixing bowls!
- Rolling Pin
- Cookie Sheet or a pizza stone
- Pizza Cutter If you don't have a pizza cutter, you can use a sharp knife.
Ingredients
- 1 1/4 cups flour Whole wheat, fresh ground, all-purpose or your favorite 1:1 gluten-free blend.
- 4 Tablespoons butter
- 1/2 cup Parmesan cheese or other cheese
- 1/4 cup water
- sea salt I love Redmond Real Salt. Use code “Pioneering” for 15% off.
Instructions
- Preheat oven to 400°F.
- Measure flour into a large mixing bowl.
- Add cubed butter and cut in with a pastry cutter or two butter knives until it looks like pea-sized clumps.
- Add water and stir until just combined. Pro Tip: A few crumbly or dry pieces are fine, they'll incorporate as you knead the dough together a few times.
- Place the ball of dough on a baking sheet or stone. Roll dough out until it's 1/16th to 1/8th of an inch thick. Pro Tip: Press harder from the center of the dough and lighter as you reach the edges to try and maintain the same thickness throughout.
- Use a pizza cutter and cut into desired shapes.
- Pierce each cracker with the tines of a fork to keep them from puffing up.
- Sprinkle with sea salt or additional seasonings and bake at 400°F for 10 minutes.
- After 10 minutes, remove the outer crackers to keep them from burning and return the rest to continue baking, if needed, for 2-3 minutes.
- Allow the crackers to cool completely on the baking sheet. Once completely cool, transfer to an airtight container and store for up to a week.
Notes
| Detail | Tip |
| Rolling | Though I don’t have issues with my dough sticking, you can always use parchment paper or a lightly floured surface to prevent your dough from sticking. If your dough is too thin, your crackers will burn, but if they are too thick, they won’t be crunchy. Aim to roll your dough to a consistent 1/8 inch thickness. |
| Cutting | You can cut your crackers into any desired shape and size, but for even baking, make sure each batch is uniform in size. To make this step a breeze, use a pizza cutter. |
| Baking | Rolling your dough to a consistent thickness takes time and practice. Until you have mastered this technique, check your homemade crackers for doneness a little bit early. Remove the finished crackers from the baking sheet and bake the remaining crackers for another 2 minutes. |
| Cooling | Leave crackers on a baking sheet to cool; they’ll crisp up as they cool. |
- Alongside soup or chili (I love this easy Instant Pot chili recipe.)
- With marinated mozzarella cheese balls and charcuterie boards
- Dipped in homemade hummus or hot spinach and artichoke dip
- Packed in lunchboxes or as an afternoon snack


Kelsey
These homemade cheese crackers are incredibly easy to make, perfectly crispy, and my family says they’re even better than store-bought!
Kelsey
These are SO GOOD! I tried them with Parmesan, just like the recipe, and they're delicious... now I can't wait to try all the other cheese flavors!
CB
Can’t wait to try these and hope they’re foolproof! If I use shredded cheddar instead of grated Parm do I need to adjust the fat or moisture?
Madisyn Durgan
Your blog has quickly become my go-to source for reliable information and thought-provoking commentary. I'm constantly recommending it to friends and colleagues. Keep up the excellent work!