Looking for a healthier option for French fries? Or just want a way to use up that rutabaga growing in your garden? Try rutabaga fries. They’re a fun spin on a classic side of fries for burger night, or serve them with the best cocktail meatball recipe for irresistible party snacks.
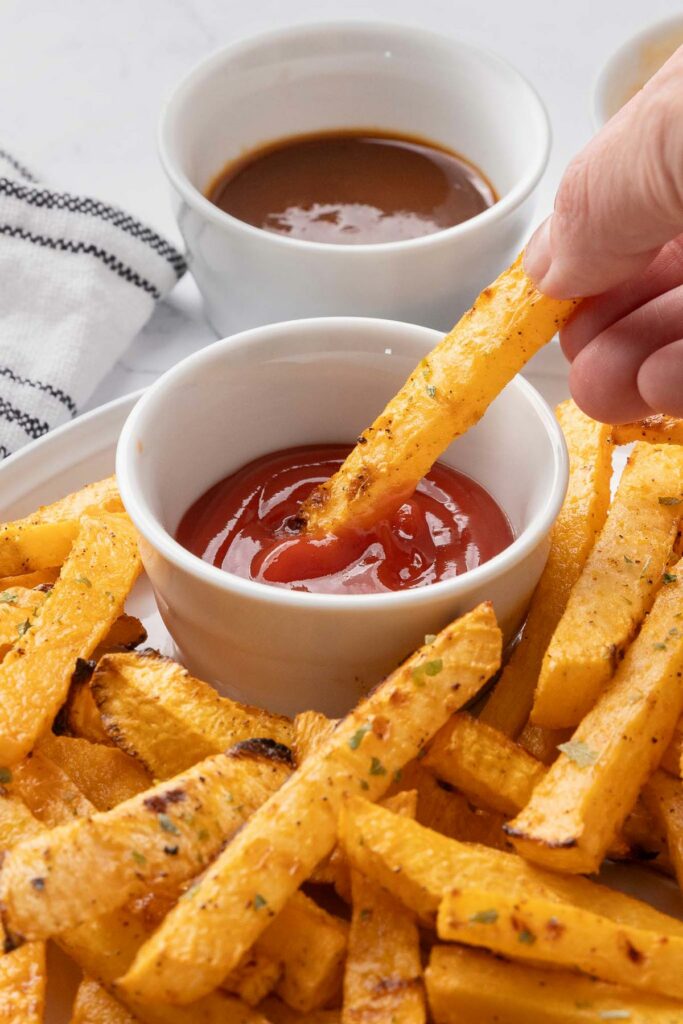
Table of Contents[Hide][Show]
🍞 Struggling With Sourdough?
If your starter won’t take off, your loaves are dense and hard, or sourdough just flat-out overwhelms you…
👉 I’ll show you how to fix all of it.
Join my FREE workshop and learn how to make a bubbly, active starter—the right way, from Day One.
Natural Remedies Made Simple

Start your home apothecary with confidence—even if you’re brand new. Learn how to choose the right herbs for your body using the simple principles of herbal energetics.
Discover how warming, cooling, drying, and moistening herbs affect your body—so you can stop guessing and start making remedies that actually work.

The Hidden Cycle Keeping You Inflamed
If you’ve been feeling puffy, tired, achy, or wired-but-tired, this two-page guide will help you understand what may be happening behind the scenes — even if you’re eating “healthy.”
Download the Inflammation Flywheel Guide and learn:
- Where to start so you don’t feel overwhelmed
- The 5 most common drivers that keep inflammation switched on
- Why blood sugar swings, stress, and poor sleep feed each other
Why I Love This Recipe
I’m all for growing unique crops in the garden. Especially if they store well with root cellaring techniques. Rutabagas are a new favorite find, especially for this recipe!
But if you’d told me years ago I’d be craving rutabagas, I wouldn’t have believed you! When I think about it, it doesn’t surprise me. Toss any root vegetable in the oven coated with some oil and seasoning, and I’m game!
There’s something magical about roasting root veggies. Their natural sweetness emerges, and the flavor improves drastically. Trust me when I tell you, this is a must-try (at least once!).
Rutabaga Fries Vs. Traditional French Fries
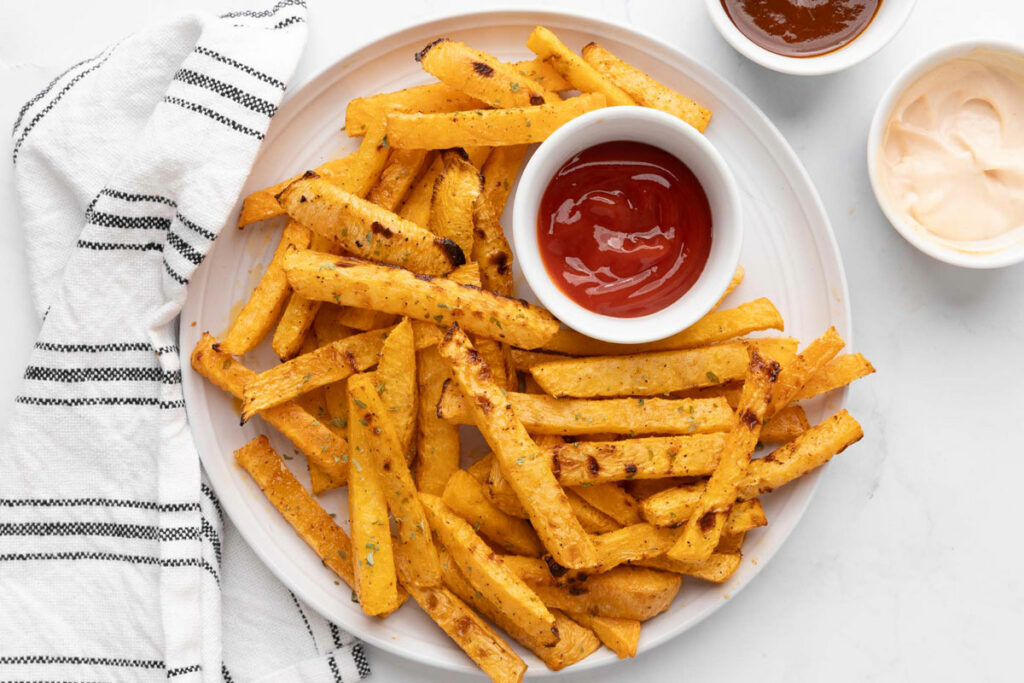
If you’ve never tried rutabaga fries, you’re in for a treat. With fewer carbs (and calories) than white potatoes, these crispy fries will become a favorite snack.
They’re a great source of fiber as well as other vitamins and minerals (vitamin C, potassium, and magnesium).
Ready to make your new favorite side dish?
Subscribe to Melissa K. Norris!
Get updates on the latest posts and more from Melissa K. Norris straight to your inbox.
We use your personal data for interest-based advertising, as outlined in our Privacy Notice.
How to Make Rutabaga Fries
Supplies Needed
There are very few supplies needed to make this recipe:
- Cutting Board – Protect those countertops and grab a cutting board.
- Knife – A sharp knife is important here; rutabagas can be on the harder side to slice. Safety first!
- Large Bowl – Once those fries are sliced, a large bowl is helpful for tossing the rutabaga slices in the oil and seasonings.
- Baking Sheet – Depending on how large a batch you’re making, grab a half or a full sheet pan.
- Parchment Paper – You can line your sheet pan with parchment paper to avoid sticking, or just make sure to grease the pan well.
Ingredients Needed
- Rutabaga – Choose a fresh rutabaga and peel and cut it into fry shapes.
- Avocado Oil – This is key for coating the fries and making them crispy. Avocado oil, olive oil, coconut oil or even rendered lard will work as well.
- Salt, Pepper, & Paprika – These are basic but important for flavor and color.
- Other Seasonings – Get creative and add different herbs and seasonings. Some favorites are freshly minced garlic, fresh herbs, garlic powder, onion powder or even cumin and chili powder for unique flavor profiles.
Step-by-Step Directions
- Preheat oven to 425°F, line baking sheet with parchment paper and set to side.
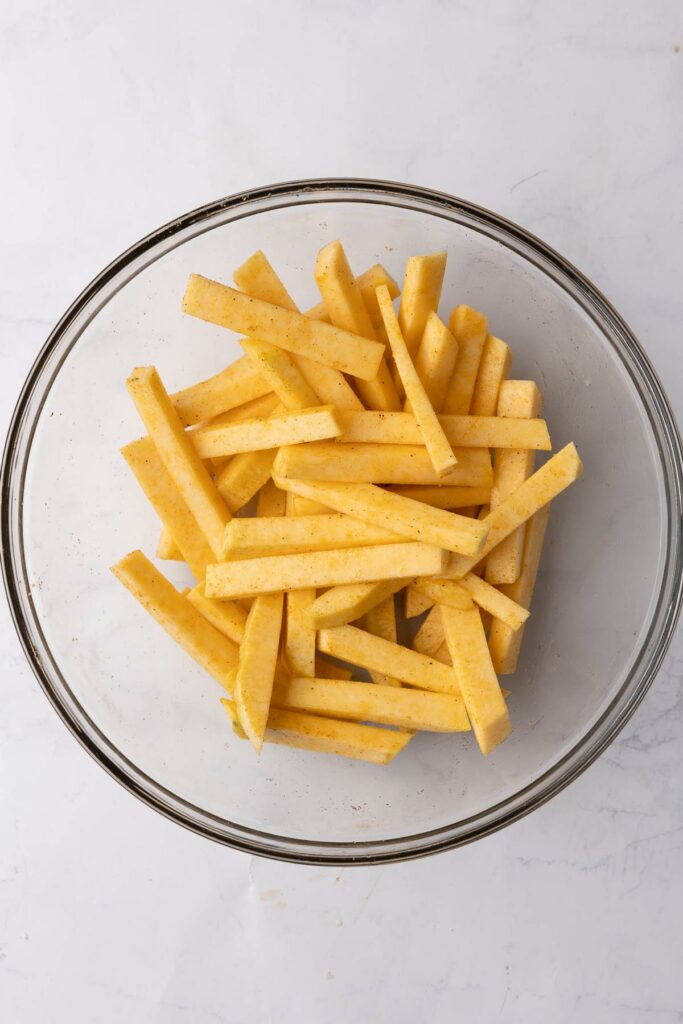
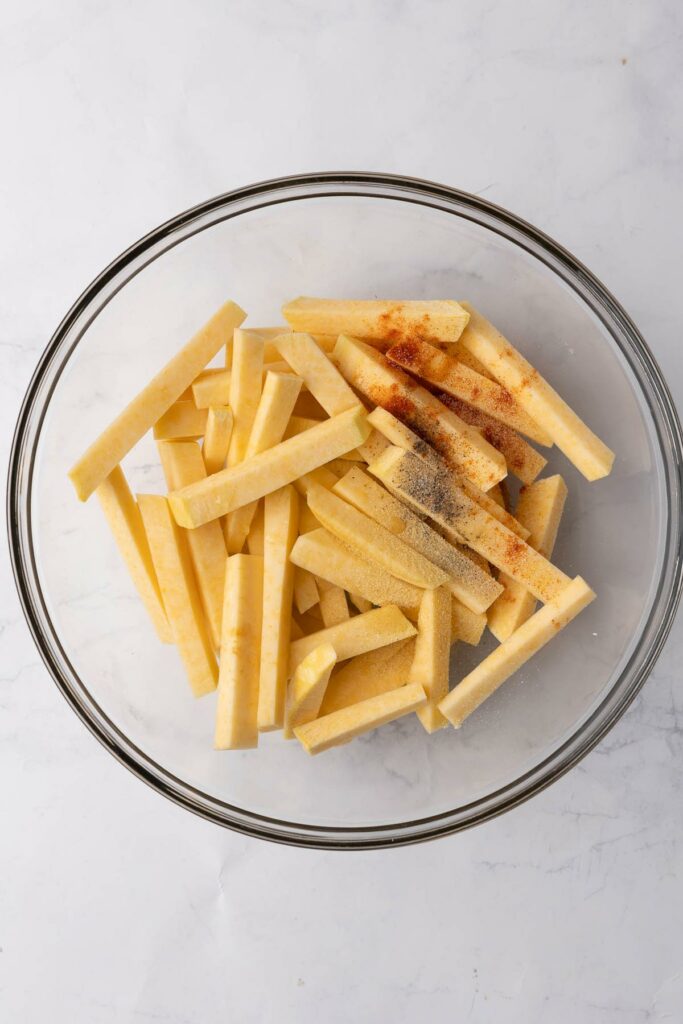
- While the oven is preheating, peel and cut the rutabaga into fry-sized pieces. Start by peeling the rutabaga then cutting it in half through the stem. Slice each half into ½-inch thick slices and slice again into 4 or 5 spears. Try to make them all the same size so they cook evenly.
- Place the rutabaga slices into a large bowl and coat with oil and seasonings. Toss until seasonings are evenly distributed.
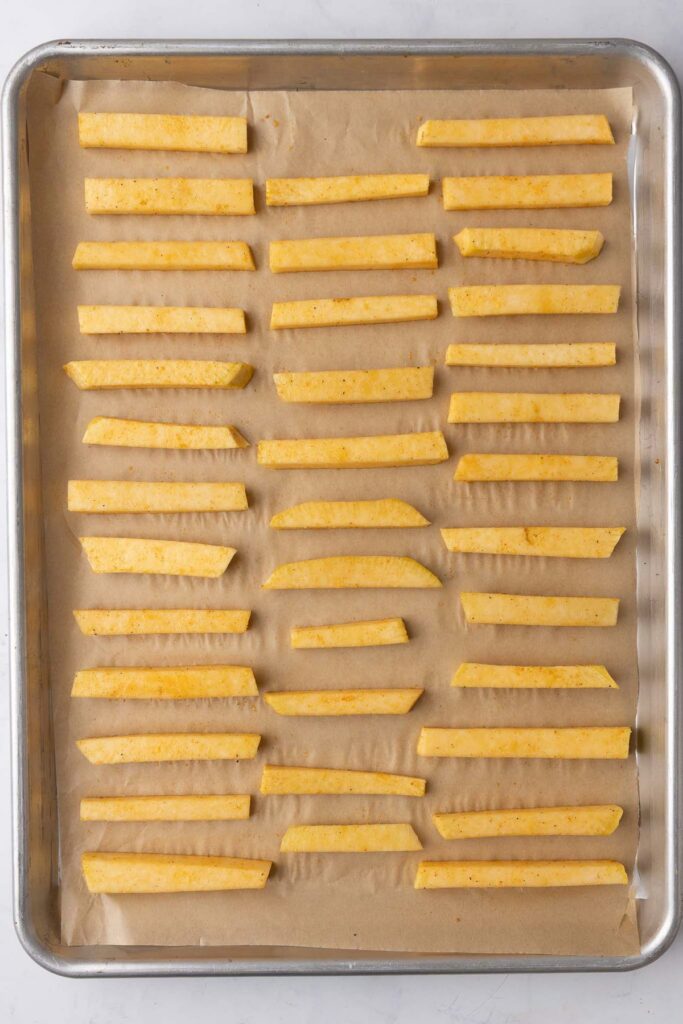
- Oil or line a baking sheet with parchment paper and arrange rutabaga fries in a single layer.
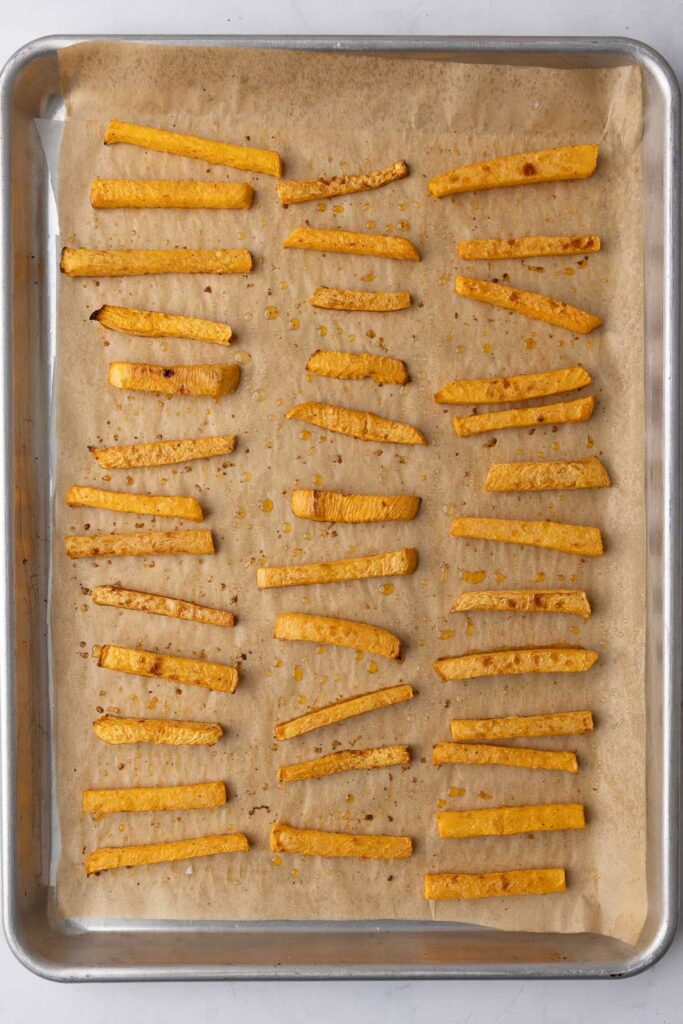
- Bake for 30-35 minutes, tossing the fries at the halfway point to make sure both sides get nice and crispy.

Air Fryer Option
Choosing between the oven or the air fryer for crispy rutabaga fries depends on what you like (and your appliances). If you have an air fryer, here are the cooking directions:
- Preheat the air fryer to 400°F.
- While the air fryer is preheating, peel and cut the rutabaga into fry-sized pieces. Try to make them all the same size so they cook evenly.
- Place the rutabaga slices into a large bowl and coat with olive oil and seasonings. Toss until evenly coated.
- Place the rutabaga fries in the air fryer basket in a single layer (you may need to do multiple batches to avoid overcrowding).
- Cook for 15-20 minutes, shaking the basket halfway through to ensure even cooking.
- Check for doneness and add a few more minutes if necessary for extra crispiness.
Tips for Achieving Maximum Crispiness
- To get crispy rutabaga fries, cut them evenly. Don’t make them too thick. Keep them under 1/4 inch for better crispiness.
- Use the right amount of oil. Lightly coat the fries with olive or avocado oil. Don’t use too much oil or you’ll get soggy fries, and don’t use too little oil or your fries can burn easily and be dry.
- Seasoning is key. At the very least, use salt, or you’ll end up with bland fries (and no one likes a bland fry!). Mix and match the seasonings until you find your favorite combination. I really love salt, pepper, minced garlic and fresh herbs!
- Watch the cooking time and temperature. For the oven, preheat to 425°F and bake for 30-35 minutes. Turn them halfway. For an air fryer, cook at 400°F for 15-20 minutes. Check them often to avoid burning.
Follow these tips and enjoy your new favorite snack! For more homemade snacks, try easy 5-minute crackers, 10-minute baked kale chips, and homemade cheese crackers.
Did you make this recipe? If so, please leave a star rating in the recipe card below. Then, snap a photo of your rutabaga fries and tag me on social media @melissaknorris so I can see!
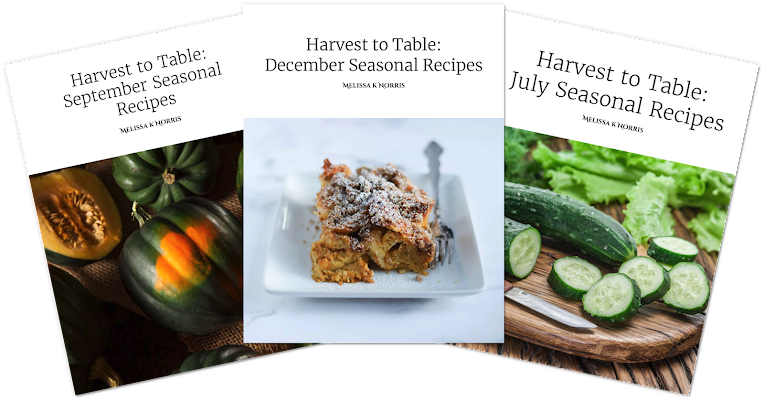
Harvest to Table Magazine
This rutabaga fries recipe is featured in the Harvest to Table Magazine. Tired of meal time being a hassle? Make it easy with from-scratch recipes for every season and gain access to free past issues of Harvest to Table!
With your subscription, you’ll receive a monthly digital magazine with original recipes and clear, easy-to-follow instructions. Furthermore, with the Homestead Foundations membership, you’ll not only get this monthly magazine, but you’ll also get access to our PTA Vault – a library of exclusive videos and tutorials!
All for less than 30¢ a DAY! So what are you waiting for?

Rutabaga Fries
Equipment
- Cutting Board
- Sharp Knife
- Large Bowl
- Baking Sheet
- Parchment Paper optional
Ingredients
- 1 medium rutabaga
- 3 Tablespoons avocado oil
- 1 teaspoon salt
- 1 teaspoon garlic powder
- 1 teaspoon onion powder
- 1/2 teaspoon paprika
- 1/4 teaspoon pepper
Instructions
In the Oven
- Preheat oven to 425°F, line baking sheet with parchment paper and set to side.
- While the oven is preheating, peel and cut the rutabaga into fry-sized pieces. Start by peeling the rutabaga then cutting it in half through the stem. Slice each half into ½-inch thick slices and slice again into 4 or 5 spears. Try to make them all the same size so they cook evenly.
- Place the rutabaga slices into a large bowl and coat with oil and seasonings. Toss until seasonings are evenly distributed.
- Oil or line a baking sheet with parchment paper and arrange rutabaga fries in a single layer.
- Bake for 30-35 minutes, tossing the fries at the halfway point to make sure both sides get nice and crispy.
In the Air Fryer
- Preheat the air fryer to 400°F.
- While the air fryer is preheating, peel and cut the rutabaga into fry-sized pieces. Try to make them all the same size so they cook evenly.
- Place the rutabaga slices into a large bowl and coat with olive oil and seasonings. Toss until evenly coated.
- Place the rutabaga fries in the air fryer basket in a single layer (you may need to do multiple batches to avoid overcrowding).
- Cook for 15-20 minutes, shaking the basket halfway through to ensure even cooking.
- Check for doneness and add a few more minutes if necessary for extra crispiness.
Notes
Tips for Achieving Maximum Crispiness
- To get crispy rutabaga fries, cut them evenly. Don’t make them too thick. Keep them under 1/4 inch for better crispiness.
- Use the right amount of oil. Lightly coat the fries with olive or avocado oil. Don’t use too much oil or you’ll get soggy fries, and don’t use too little oil or your fries can burn easily and be dry.
- Seasoning is key. At the very least, use salt, or you’ll end up with bland fries (and no one likes a bland fry!). Mix and match the seasonings until you find your favorite combination. I really love salt, pepper, minced garlic and fresh herbs!
- Watch the cooking time and temperature. For the oven, preheat to 425°F and bake for 30-35 minutes. Turn them halfway. For an air fryer, cook at 400°F for 15-20 minutes. Check them often to avoid burning.
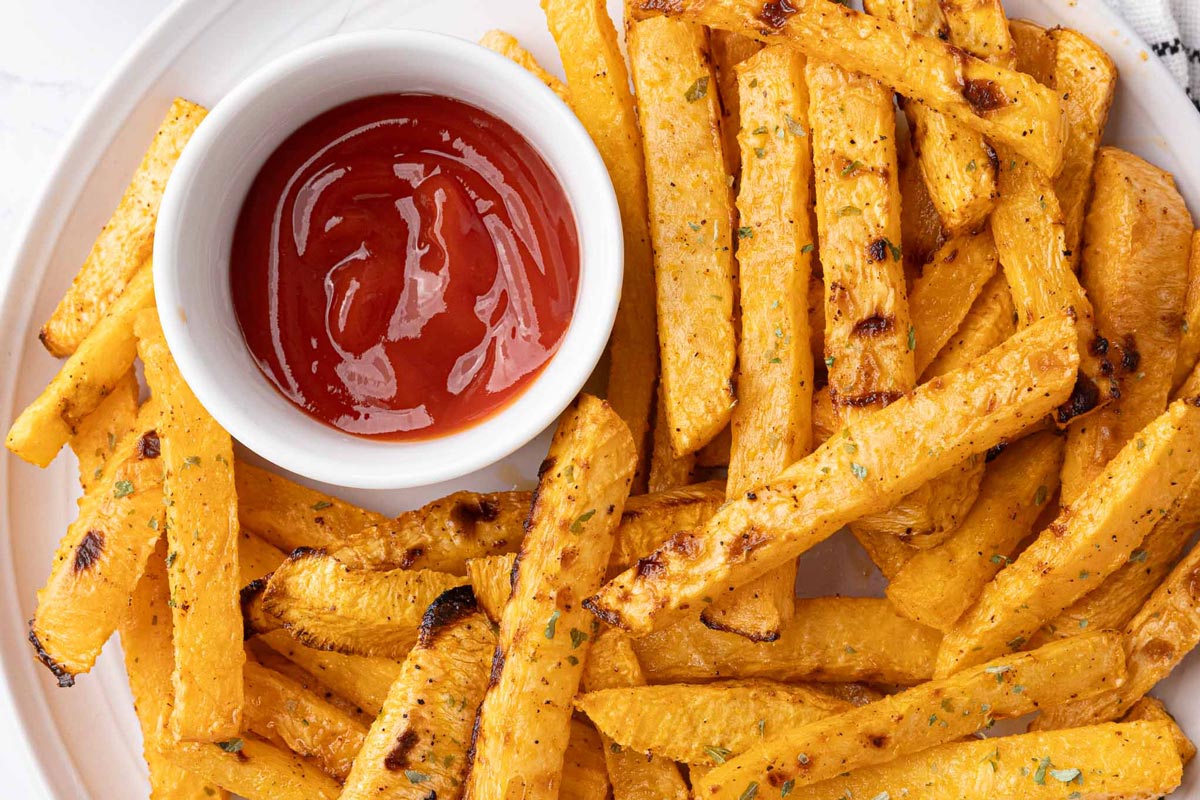



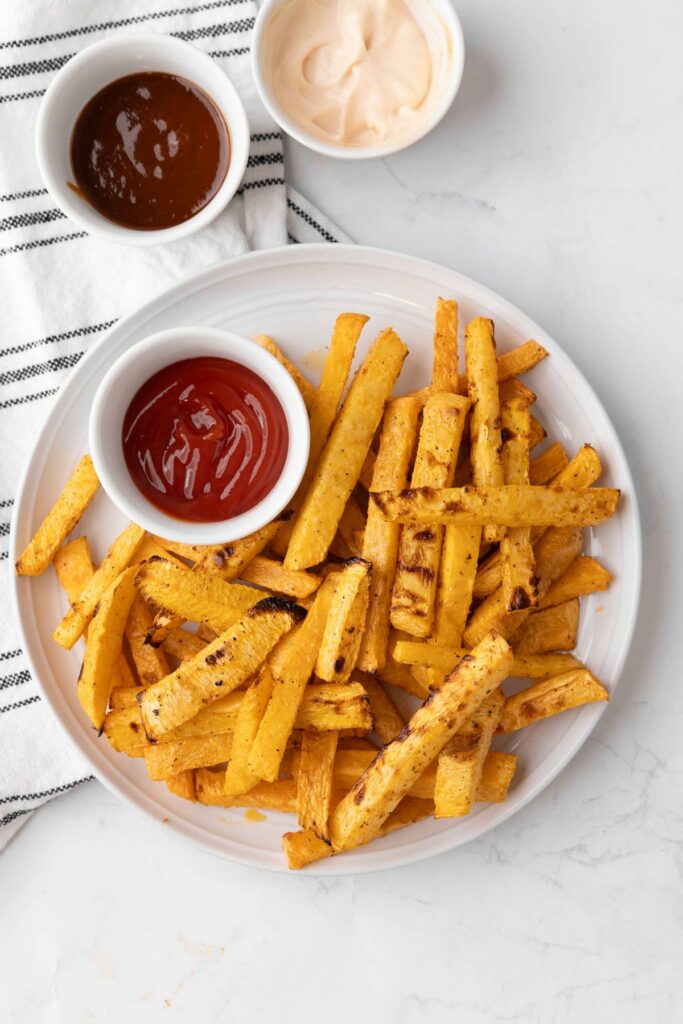
If you love fries, and you love something crispy and salty to dunk in ketchup (or fry sauce), this recipe is for you! SO DELICIOUS!