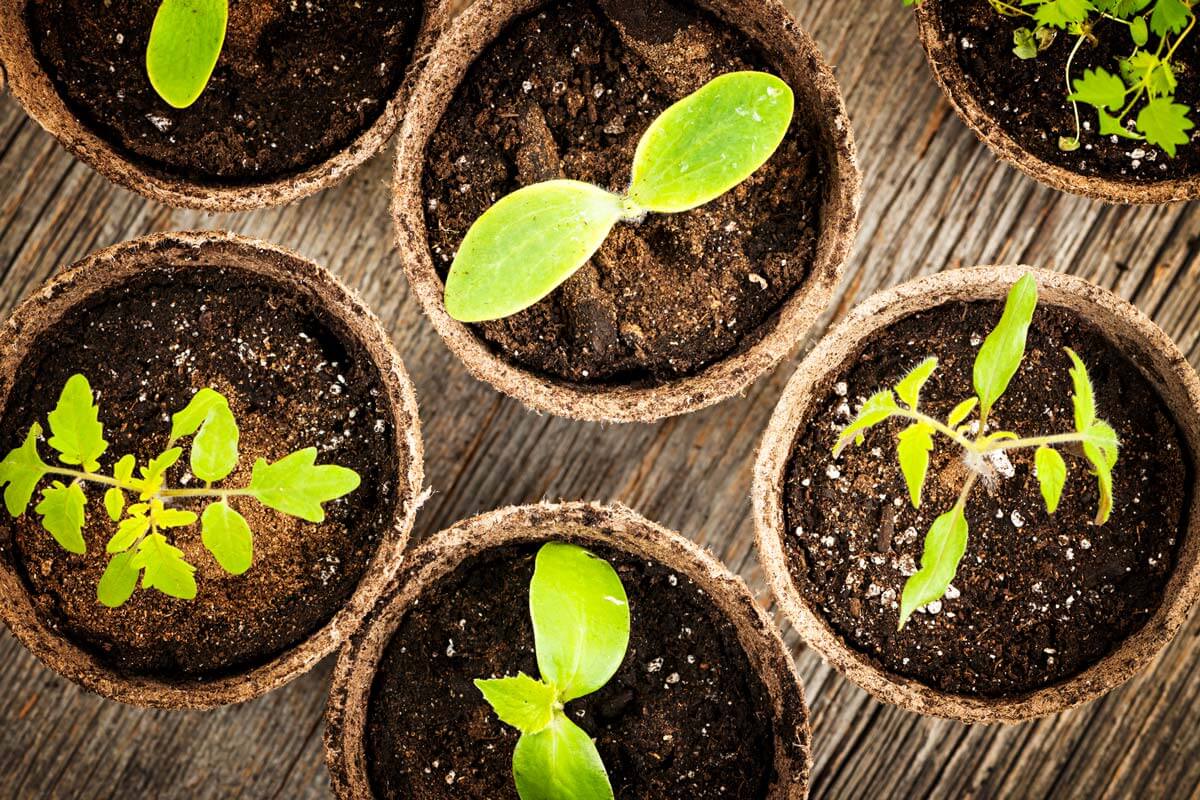
Learn how to test the pH levels of your soil and amend acidic or alkaline soil to grow the healthiest plants possible. Healthy plants mean less work, which we can all agree is a good thing.
Growing your food and taking care of your land is high on every homesteader’s list. We take great enjoyment and satisfaction from growing our food, but we really get excited when we learn how to make our plants even healthier and more vigorous with a few simple tweaks.
Today we’re talking about how to use a soil test to find out about pH levels & how to amend acidic or alkaline soil to get those healthy plants we want. And more importantly, I’ll be discussing the mistakes to avoid.
This is part two of the podcasts on how to improve your soil. If you missed part one, you can go here to get the 6 Natural Fertilizers to Improve Your Garden Soil. That’s the basis of what we’re building on in this episode.

The Hidden Cycle Keeping You Inflamed
If you’ve been feeling puffy, tired, achy, or wired-but-tired, this two-page guide will help you understand what may be happening behind the scenes — even if you’re eating “healthy.”
Download the Inflammation Flywheel Guide and learn:
- Where to start so you don’t feel overwhelmed
- The 5 most common drivers that keep inflammation switched on
- Why blood sugar swings, stress, and poor sleep feed each other
And follow the link to get more information about our upcoming in-person workshops.
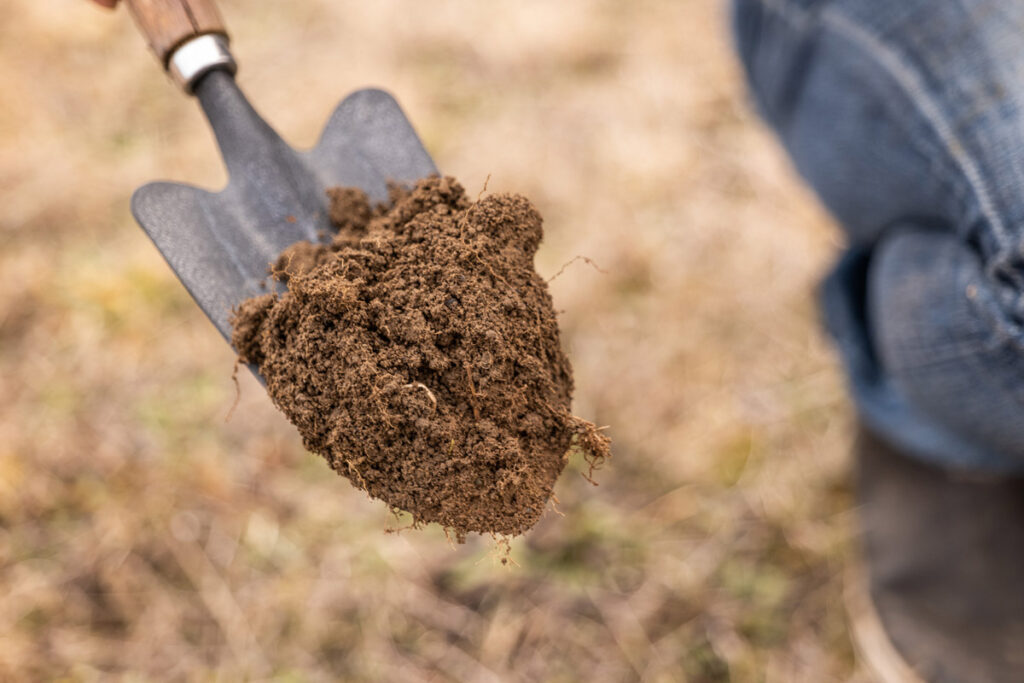
Table of Contents[Hide][Show]
Testing Soil pH & Mistakes to Avoid When Amending Soil
This blog post includes episode #135 of the Pioneering Today Podcast, where I teach families how to grow, preserve and cook their own food using old-fashioned skill sets and wisdom to create a natural self-sufficient home, with or without a homestead.
Is it necessary to do a soil test before gardening? No, but if you don’t, you may be setting yourself up for a struggle as it can be difficult to grow plants in poor soil.
So before growing a garden, it’s ideal to first know if your soil is acid, neutral, or alkaline. Different plants prefer different soils because the correct soil pH for each plant allows it to absorb the needed nutrients to grow and thrive.
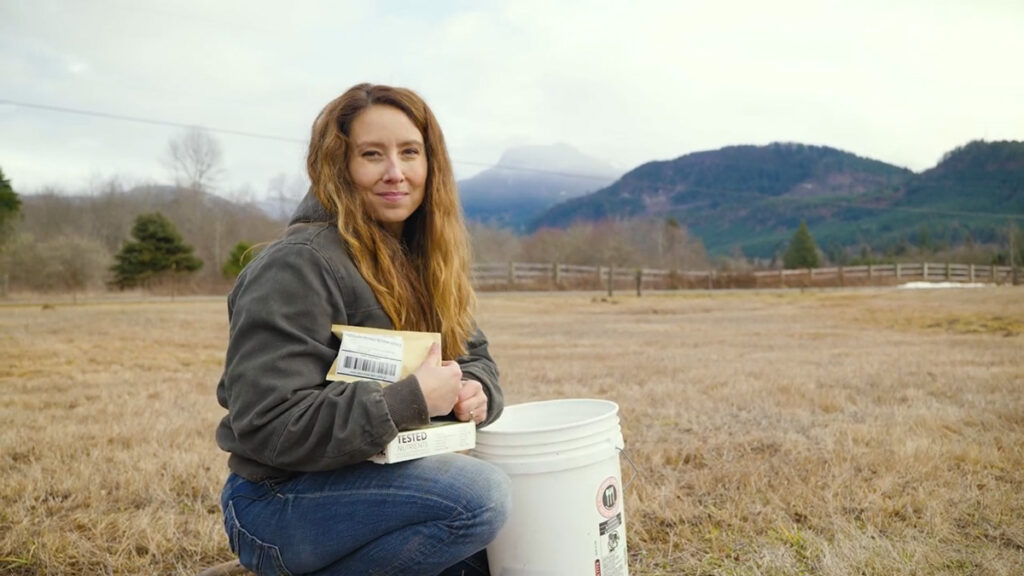
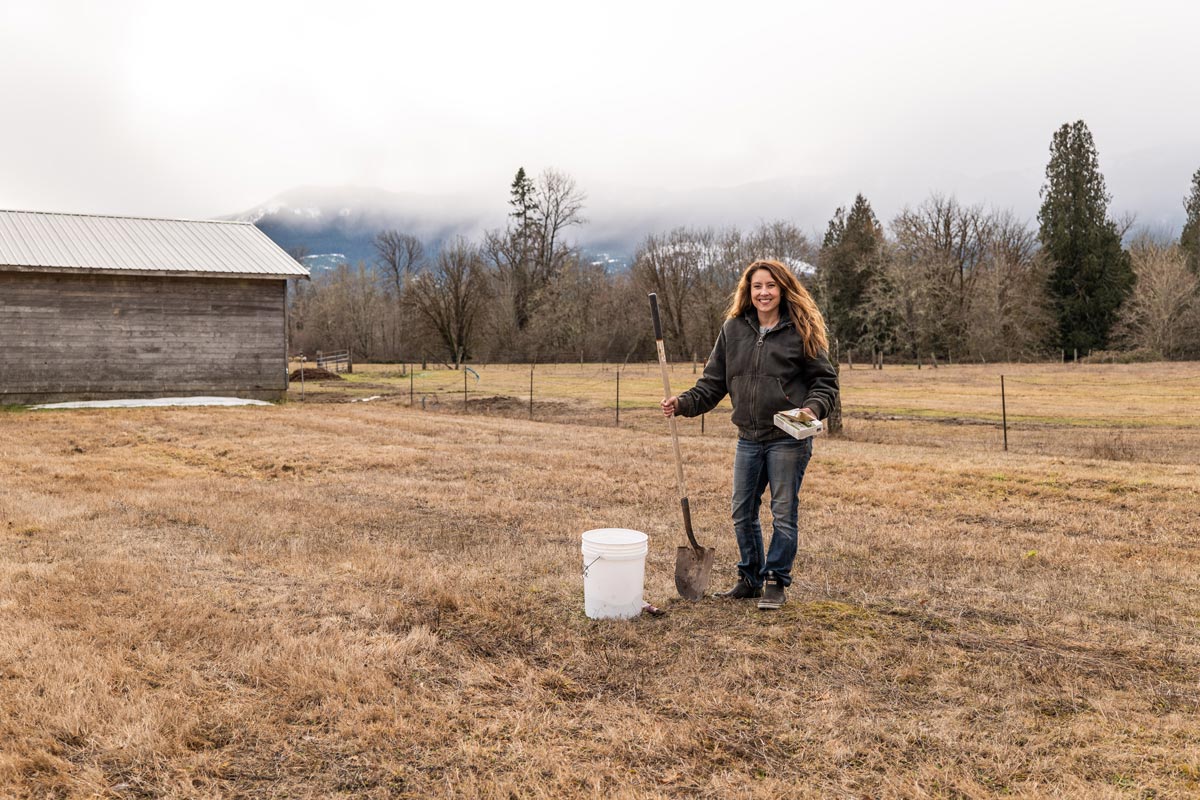
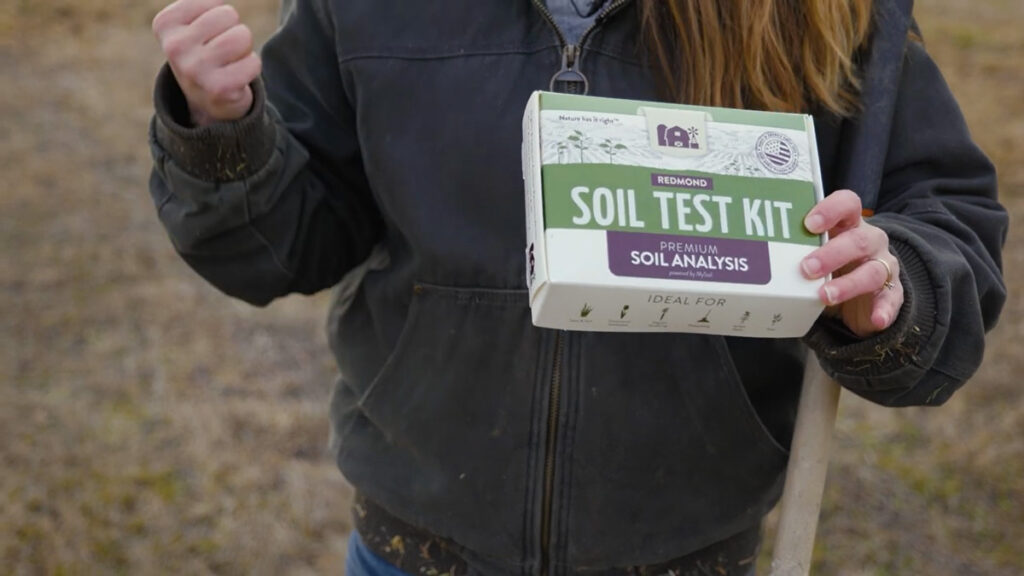
I have used many soil testing kits in the past, and I am excited to find one I can finally use at home. The land on our new Farmstead property has different soil than where we live. We need to familiarize ourselves with it, so I’m going to get a soil test using the Redmond Soil Test Kit (use code “PIONEERINGTODAY” at checkout for 15% off your order).
This kit will give me results on pH levels, nitrogen, phosphorus, calcium, potassium, iron, magnesium, boron, copper, zinc, sodium, sulfur, and manganese.
How to Test the pH Level of Your Soil
Finding out the pH level of your soil is fairly easy, but in true homesteading fashion, we have several simple options. Here are a few soil testing methods listed below.
Redmond Soil Test Kit
The video with this blog post was sponsored by Redmond. I’ve been using their Real Salt for years, both in my kitchen and for the animals around the homestead, and I was thrilled when they came out with an at-home soil test kit. Check out their soil test kit here and be sure to use code “PIONEERINGTODAY” for 15% off at checkout.
DIY Soil Test
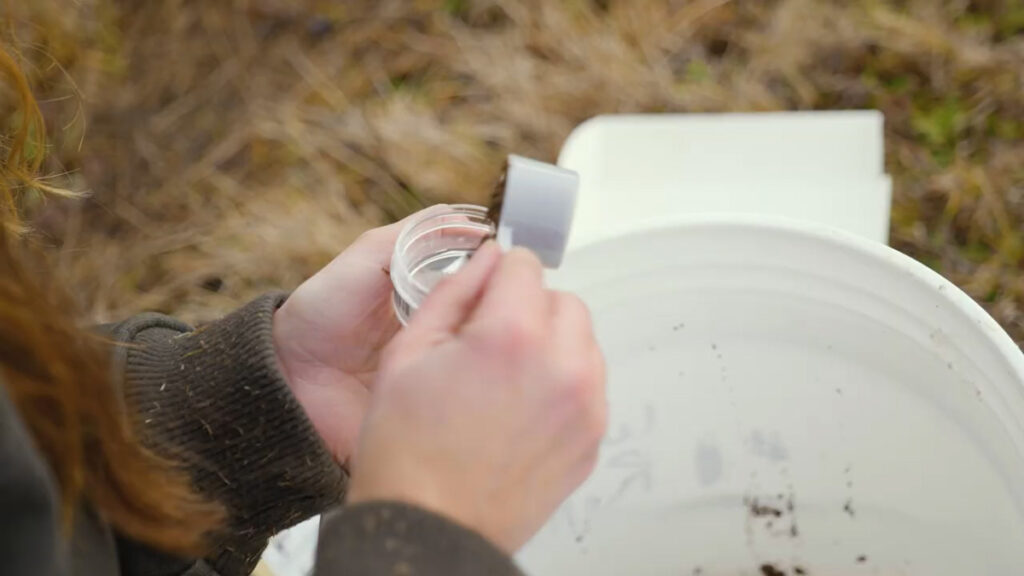
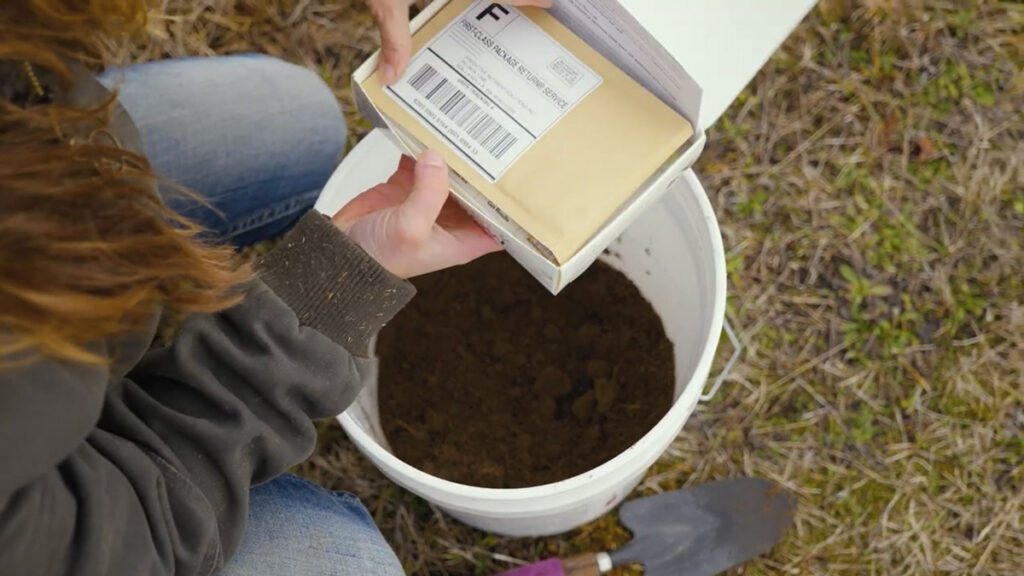
As you can see in the video above, I’m using a DIY soil kit from Redmond. This test is very simple and straightforward and will give me online test results much quicker than many other mail-in options.
How to Use the Redmond Soil Test Kit:
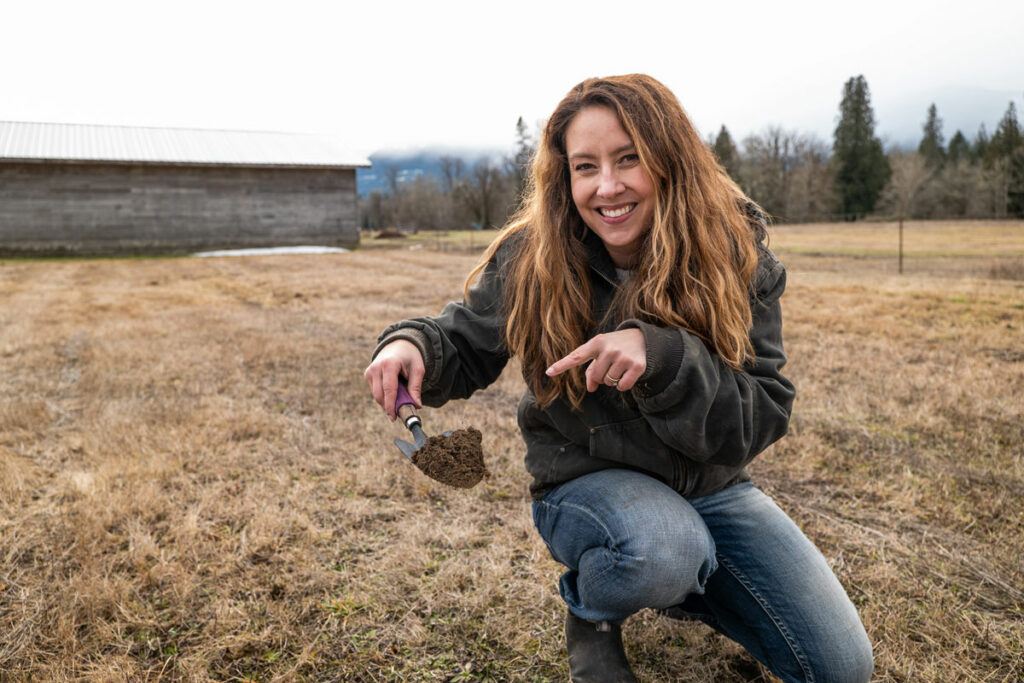
- Dig up about two large handfuls of dirt from five different places in the area you want to test. For an ideal test, ensure you get the dirt from about six inches down, not just from the surface. Remove as much grass and plant matter as possible (you only want to be testing soil, not rocks or plants). Pro Tip: pick your spots on the land in a W shape so you cover all five parts of the land area. This will make your soil test more accurate.
- Combine the soil from the five locations into one bucket and mix well.
- Carefully remove the lid from the cup of liquid inside the test kit (be careful not to spill the liquid!).
- Using the scoop from the test kit, place one scoop of your soil mixture into the cup of liquid.
- Replace the lid and secure it tightly.
- Place the cup into the provided mailer and put it in the mail. Be sure to mail it the same day you take the soil sample.
- Hang onto the form that is inside the kit and register online by following the instructions on the form.
- You should get results in six to seven days. After you get the results, you can amend your soil as needed.
Lab Test
The DIY soil kit above is similar to getting a professional lab test through a county extension office. Check with your local extension office to see if they offer this service. I was disappointed to find out that my local office is no longer offering that service.
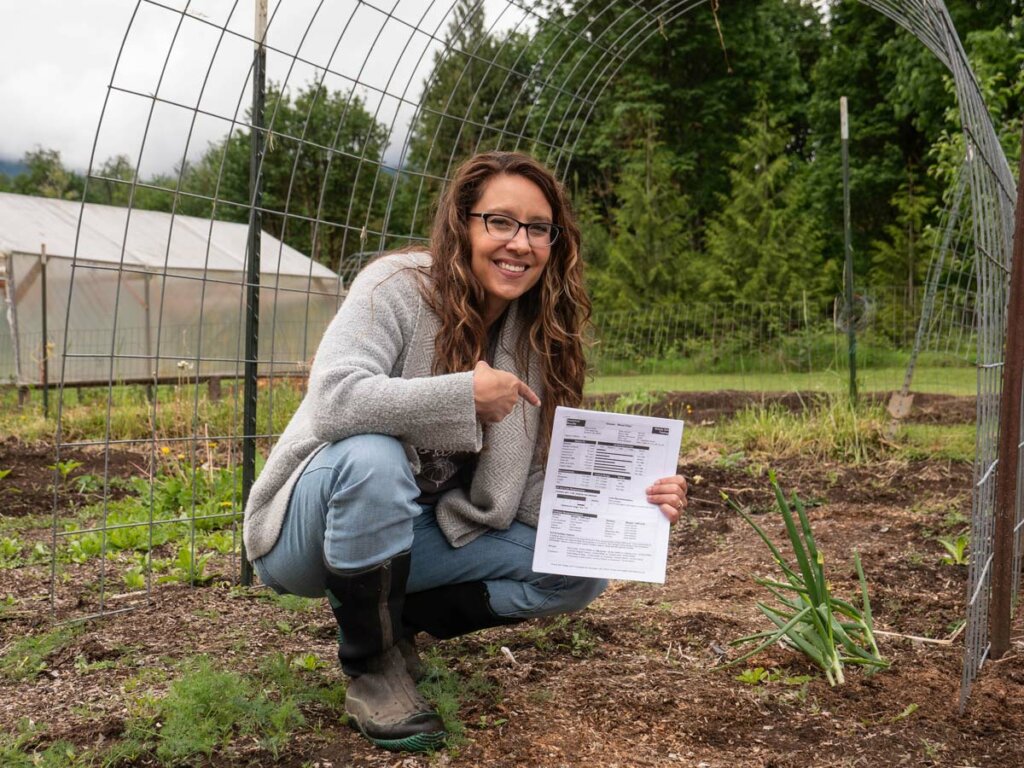
These lab tests will give you the most accurate results. You will know your actual pH level and the levels of other minerals and nutrients found in your soil to know exactly how to amend it.
I also use SimplySoilTesting.com, which offers a detailed report for much less cost than other sources.
Soil Meter
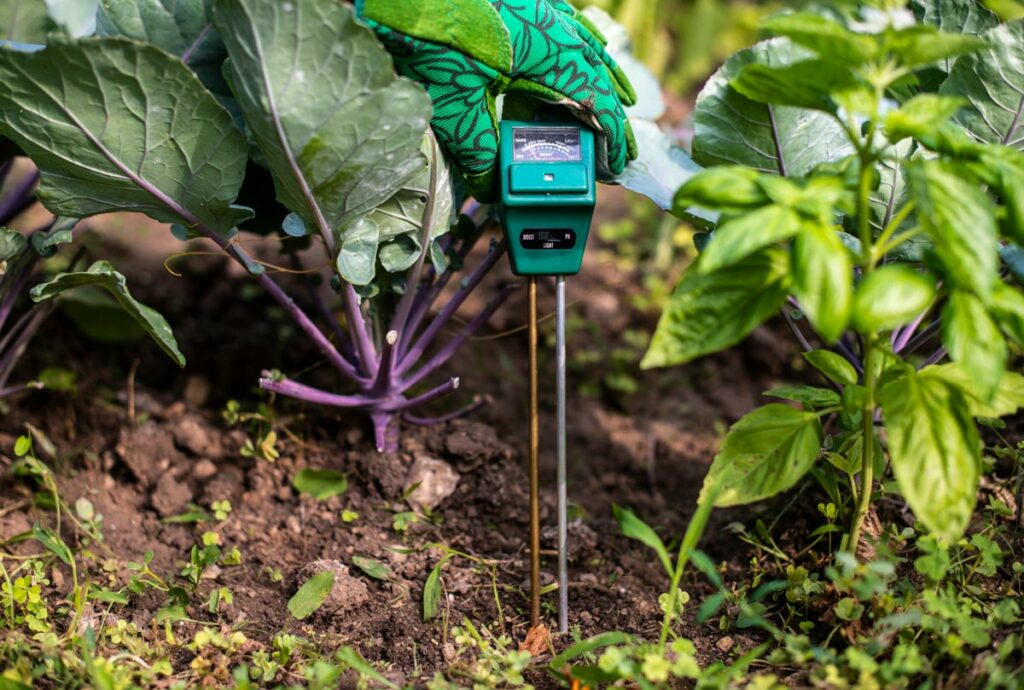
If you’re only after the pH level of your soil, these handy meters are inexpensive and give an accurate reading. They cost less than $15 and allow you to test multiple spots in your garden and planting containers. Grab this 3-in-1 soil meter to test away!
How to Amend the pH Level of Your Soil
There are two main ways to amend the pH level of your soil. I’ll also share some alternatives we’ve used with great success.
How to Increase the Acidity of Your Soil
Use elemental sulfur if your soil is alkaline and you need to make it more acidic. Organic gardeners use elemental sulfur to decrease the pH level (remember, the lower the pH meter, the more acidic it is). Take care that you use elemental sulfur and not aluminum sulfate when purchasing.
Pro Tip: When lowering the pH level of your soil to make it more acidic, never try and reduce it to more than one pH level on the pH scale in a given year. Be careful to read the instructions on the sulfur you use to make sure you don’t apply too much, and if needed, do two smaller applications over the course of a year instead of all at once. This is a slow, long-term process, patience will pay off.
Another option for increasing acidity is to use peat moss. This has the added benefit of introducing more organic matter to the soil, bringing with it more aeration.
How to Decrease the Acidity of Your Soil
If your soil is too acidic and you need to make it more alkaline, use lime or calcium. There are varying points of view on using lime (made from crushed limestone) vs. calcium (made from crushed oyster shells).
Both will increase alkalinity, but if your soil already has a high magnesium level, you don’t want to use lime. Instead, use the ground-up oyster shells that you can buy here.
Whichever amendments you use, it’s best to work it into the top six inches of the soil. Doing a simple top dressing where you just sprinkle it on is not as efficient.
Some people also like to use wood ash to raise the alkalinity of their soil. This works well, however, it’s harder to know just how much to apply and I’ve heard of people applying too much and having issues the following year.
Pro Tip: no matter what you’re using to amend your soil, it’s important you understand how it works, what your current levels are, and the appropriate amount to use for YOUR soil based on the tested levels. Grab yourself a pH testing kit (mentioned above) and keep those pH test strips or soil meter handy so you can continually monitor the pH range of your soil throughout the year.
Do Coffee Grounds Make Soil More Acidic?
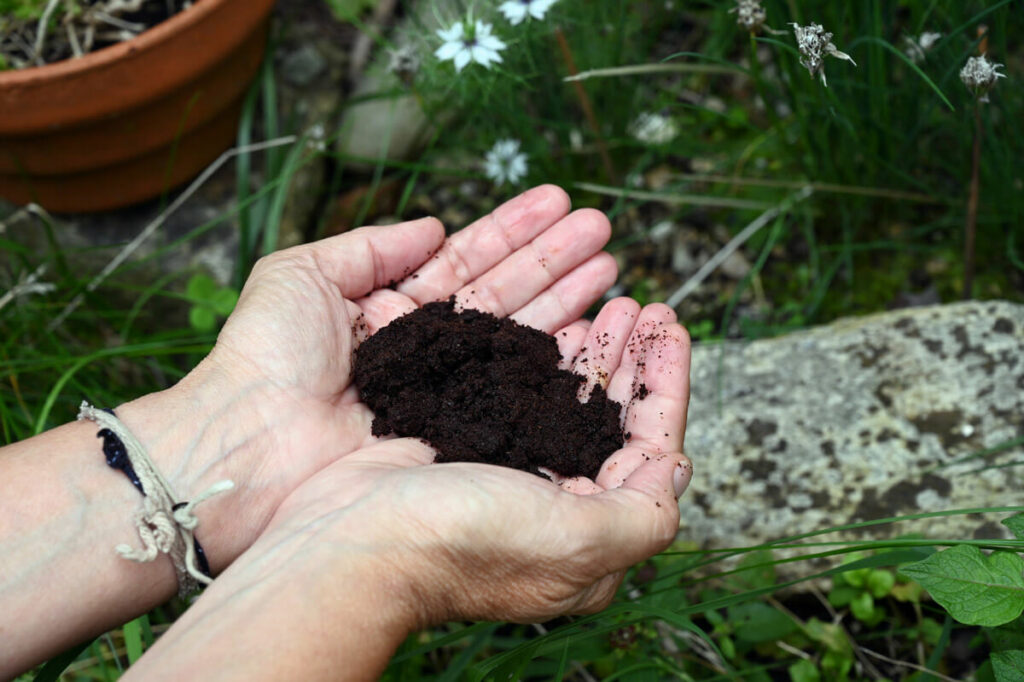
This is an area of great debate with gardeners. The short answer is no, using used coffee grounds isn’t going to significantly raise the pH level of your soil.
But using coffee grounds can be a great soil builder and natural fertilizer. This coffee-compost study, done by a lab for Sunset magazine, has a great breakdown of how coffee grounds improve your soil. Most notable are the phosphorus, potassium, magnesium, and copper levels.
In summary, the available plant essential elements, which will be substantially improved where the coffee grounds are used as a soil amendment, include phosphorus, potassium, magnesium, and copper.
I have used coffee grounds for years on my blueberry, raspberry, and tomato plants. One key thing to note is to make sure you spread them out in a thin layer and work it into the soil or mulch. It’s also recommended to keep the coffee grounds to 25%-35% volume when mixing it in with your mulch or soil.
It’s also ideal to use dry coffee grounds. Wet coffee grounds will clump together and potentially develop mold. They can also create a barrier for proper moisture and air circulation. Planet Natural coffee compost is a great resource as well.
How Important are Soil pH Levels?
If you don’t want to deal with changing the pH level of your soil, then simply pick the plant varieties that naturally grow well with your soil’s pH level.
Most plants will get along fine with pH levels between 5.5-7 without too much of an issue. There are some exceptions to this generality so I’ve listed out the plants below that really need the higher acid levels to grow well. Of special note are blueberries, they are one of the most acid-soil-loving plants out there.
If you’re planning on raising as much of your own food as possible, you don’t want to be limited to the plants that only grow well in one type of soil.
How to Grow Both Acid and Alkaline-Loving Plants Together
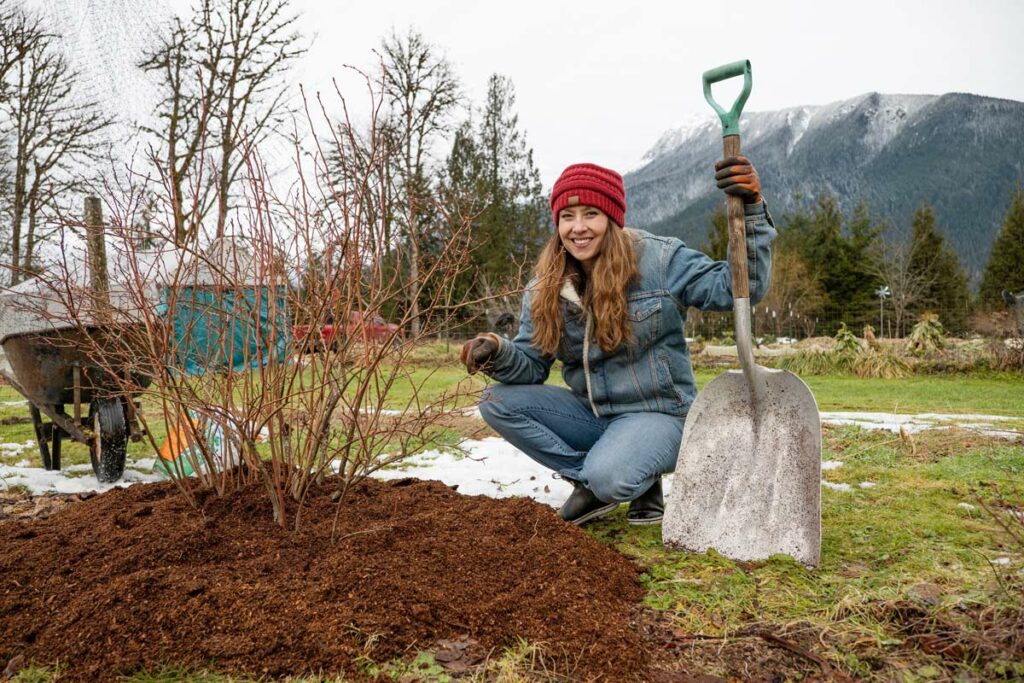
The strategy we use here on our homestead is to micro-manage the soil pH levels according to the crop.
I plant my perennial high-acid-loving plants together so I’m only amending the soil for acid in one area.
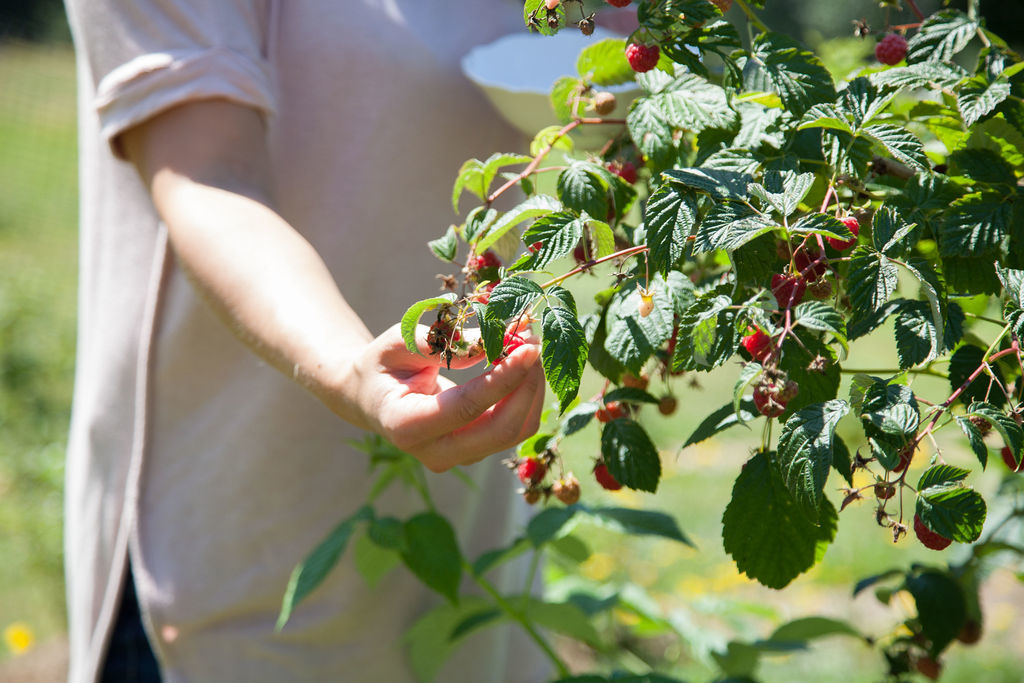
This is my variation of companion planting based on soil preference. I plant my rhubarb between my blueberry plants and my raspberries are one row over from my blueberries.
Because these are perennial plants, they’re staying in the same soil and spot year after year, I amend the soil once in the spring by adding fir mulch. This doubles as moisture retention in the summer months (blueberries have shallow roots) as well as my mummy berry protection (a fungus that infects blueberries). Learn more about protecting your blueberries from mummy disease and how to fix it here.
Fruits and Vegetables That Prefer High Acidic Soil
(Acidic soil is 0-6.9 pH level, with 4.5 to 5.5 being considered high)
- Blueberries
- Cranberries
- Currants
- Elderberries
- Peppers
- Potatoes
- Rhubarb
- Raspberries
Fruits and Vegetables That Prefer Alkaline Soil
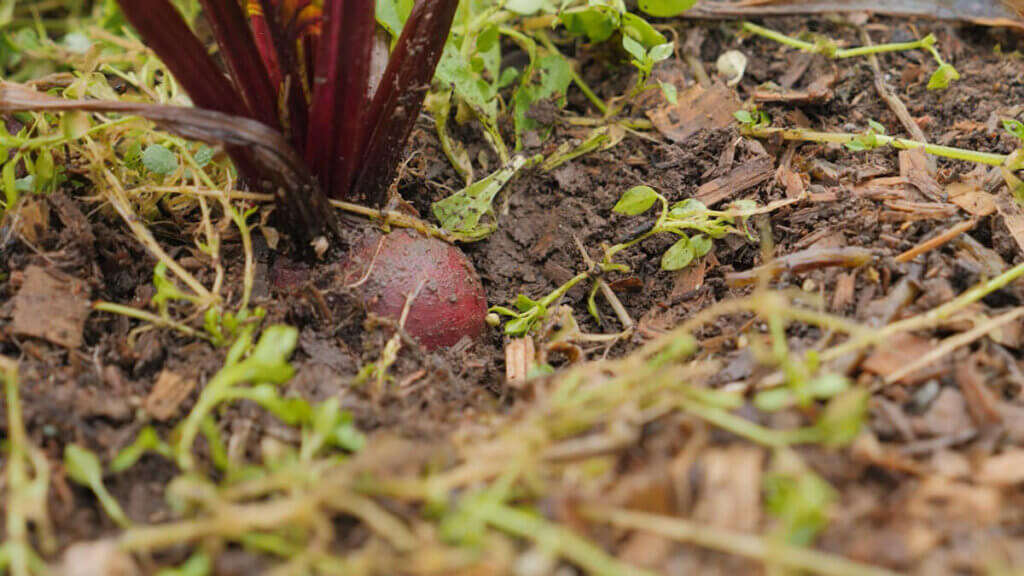
(Alkaline or basic soil is 7.1-10 pH level)
- Asparagus
- Beets (Learn how to plant and grow beets.)
- Leeks
- Marjoram
- Parsnips
How to Amend Your Pasture Soil
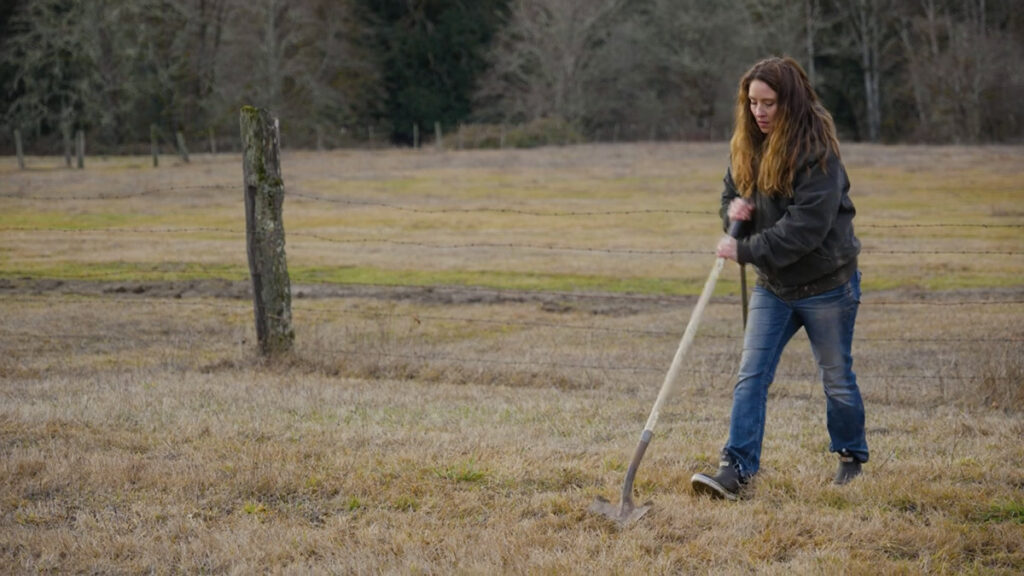
Because our soil is slightly acidic we use lime to alter the pH of the soil every few years. Generally, we do it about every two to three years in the early spring.
For pasture amendment, you’ll do a top dressing method, because we’re not going to disc up our field.
We use a hand-push broadcast spreader to evenly distribute the lime over the pasture. If you don’t have a tractor, this is a low-cost way to spread it out more efficiently than doing it by hand.
It’s important we keep our pasture soil in tip-top shape as it’s the building block for the feed our animals eat and, ultimately, what we eat come harvest time.
Are there any methods you’ve found to be effective or work well in your garden and homestead?
More Articles to Get Your Garden Off to a Good Start
- Soil Remediation – How to Fix Tainted Soil
- Beginner Gardening Secrets You Need to Know
- 13 Basic Steps to Starting a Vegetable Garden
- Crop Rotation in the Garden Based on Plant Families
- 6 Natural Fertilizers to Improve Garden Soil
- Wood Chips for Garden Mulch – Beneficial or Not?
- Best Way to Germinate Seeds – How to Germinate Seeds Faster
- What Are the Best Seed Starting Containers
- Potting Up Seedlings & How to Separate Seedlings
- Direct Sow Your Garden Seed
- Cut Back on Garden Diseases & Maximize Your Infrastructure Expansion (Don’t Waste Time or Money)
