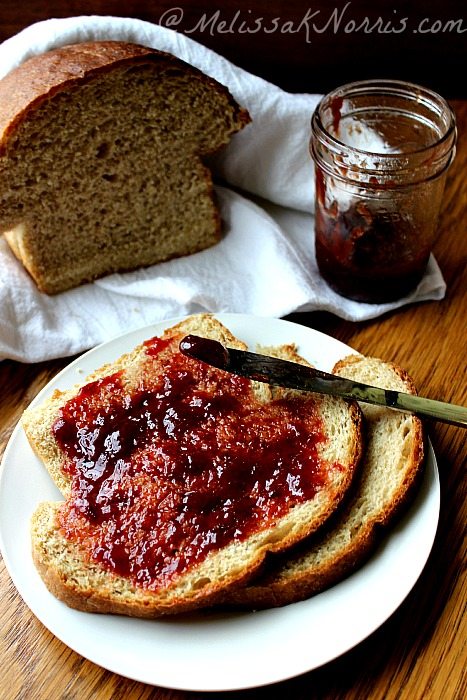
There’s hardly anything I can think of that I like more than fresh warm homemade bread just out of the oven. The scent, warm and yeasty, melt-in-your mouth texture and homemade jelly smothered on top. Can you tell I’m hungry?

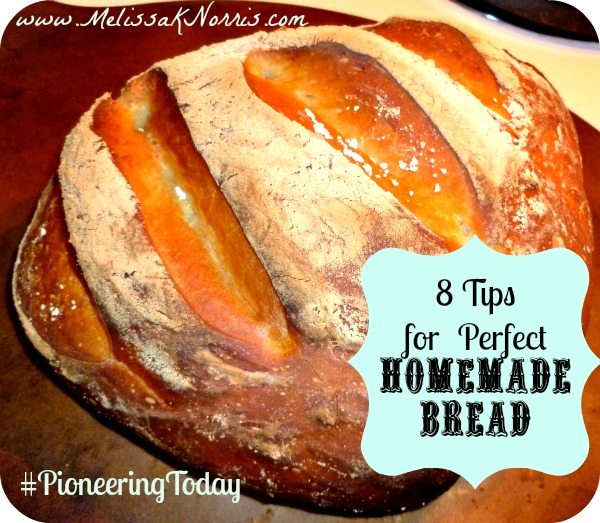
When I first started baking bread, I was often frustrated by breads containing yeast. Sometimes it would rise beautifully and others times it remained flat and sad. Along the way I learned some tips that bring success every time, no matter what type of bread or recipe I decided to bake. I’m sharing my 8 tips for perfect homemade bread with you because life is too short not to eat home-baked bread!Tweet this]
🍞 Struggling With Sourdough?
If your starter won’t take off, your loaves are dense and hard, or sourdough just flat-out overwhelms you…
👉 I’ll show you how to fix all of it.
Join my FREE workshop and learn how to make a bubbly, active starter—the right way, from Day One.
1. Always store your yeast in the fridge. When yeast is exposed to oxygen, humidity, and heat it looses some of its activeness.
2. Proof your yeast. This is in regards to active dry or instant yeast, not rapid rise yeast. If you do this with rapid rise yeast it will lose its fast rising action and require two traditional rises. I only use active dry yeast. Proofing means dissolving your yeast in warm water and letting it sit for 8 to 10 minutes. It will become bubbly, letting you know it’s active.
3. Use warm water. Simply use the inside of your wrist to test your water, it should be lukewarm to warm. If it’s cold, the yeast won’t activate. Too hot, it will kill the yeast.
4. Never use a metal bowl. There are a few reasons for this. Metal can act as poison to the yeast (note:to the yeast, not people), killing the yeast and affecting your rise. Secondly, metal doesn’t retain heat the same way glass, wood, and plastic bowls do. It cools off much quicker, killing the yeast and ruining your rise.
5. Knead it longer. For breads that require kneading, make sure you’re kneading long and hard enough. At least eight minutes of constant hard kneading is needed to produce gluten, which is responsible for the texture of your bread. Gluten is a protein and responsible for the soft airy texture in bread. Gluten ensures that your dough binds together and doesn’t fall apart while baking, it also creates air pockets that allow your bread to rise. Plus,kneading is great for stress and upper body strength. 🙂
6. Add vital wheat gluten when using whole wheat flour. This is up to the individual baker, but I recommend using a tablespoon per cup of flour. This will help the texture of your whole wheat bread from being too dense. You can purchase it at bulk in the natural food section of almost any store. It looks like a finely ground flour.
7. Allow dough to rise in a warm draft free area. The top of your fridge is a good place to allow your dough to rise. The heat from the appliance keeps it from becoming cold. Some people use the inside of their oven with just the oven light turned on, but I often need to use my oven so I prefer the fridge.
8. Cover your dough while it’s rising. You want to keep your yeast happy and it’s happy when it’s warm. Be sure to use a breathable towel over your dough while it’s rising. I use a tea towel.
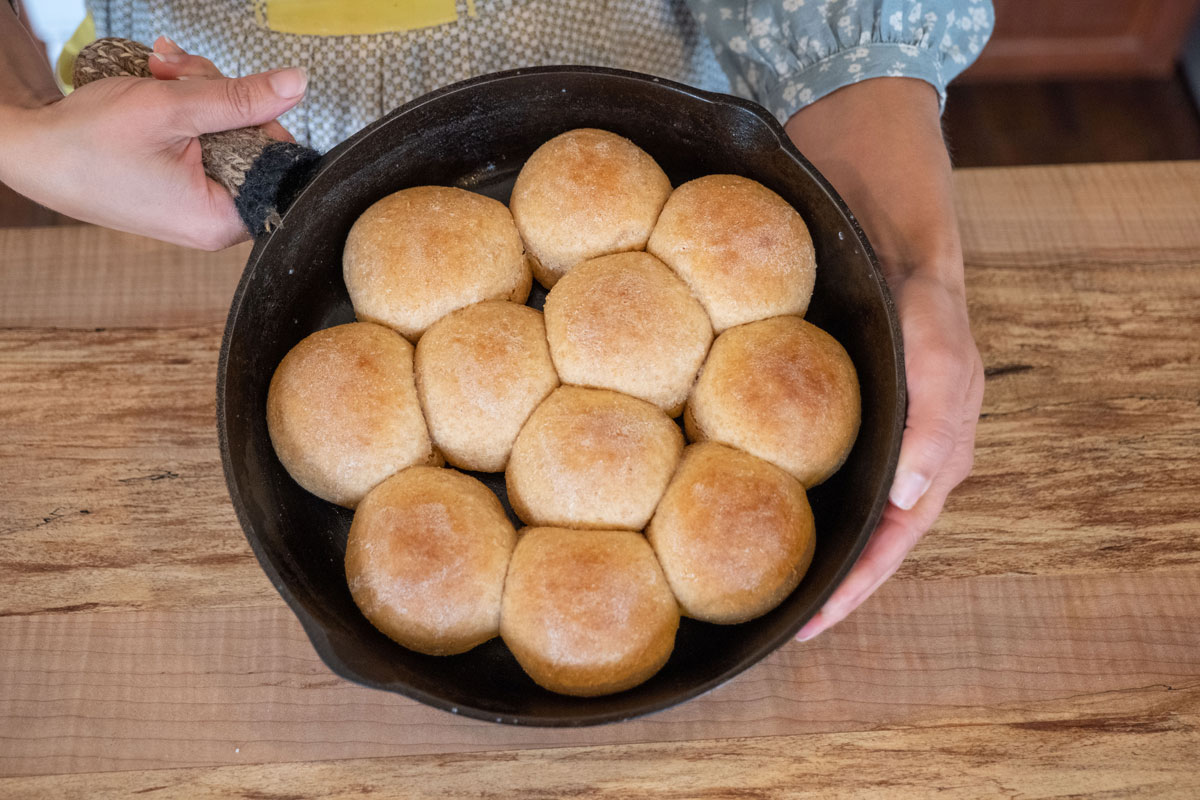
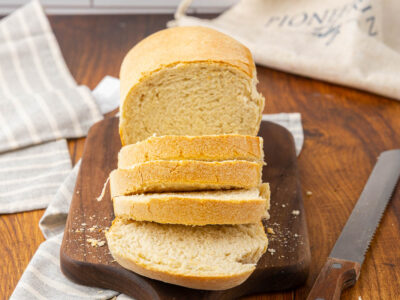
No matter what recipe you use, these tips will serve you well as you bake bread, cinnamon rolls, and dough. Now that we’re all drooling over bread, here’s three of my most viewed bread recipes.
What’s your favorite bread? Do you have any tips to add?

Read the first chapter of Pioneering Today-Faith and Home the Old Fashioned Way for over 40+ traditional recipes and tips for simple living and gardening.



I’m using the Master Dough recipe today for the first time. I mixed it up in my stand mixer yesterday and refrigerated it overnight after the 2-3 hour rise. Today I worked to make 1 loaf, a few breadsticks, a small focaccia, a few ham and cheese rolls, and a small pizza. The dough is so loose! Do you work in more flour? Oil your hands? How do you work with it without looking like you’ve stirred plaster with your hands? (Thanks for your help!!)
When you say ‘never use a metal bowl’ are you strictly talking about when the dough is set aside to rise? Or do you mean when mixing it all up? Just learning here….Thanks!
Hi Patti,
I mean for the rise. If you have a warm spot for the dough you can try the metal, but a wooden or glass bowl is preferable I’ve found.
When you proof yeast, how much water do you use?
I usually use a cup of warm water, but it depends on the recipe, so whatever water or milk the recipes calls for, I proof it in a cup of that and then add the rest of the liquid when I’m mixing the other ingredients in.
I preheat my microwave with a measuring cup of water and use that as my draft free rising space…but I use a one loaf recipe for now(limted to a toaster oven until we get a new stove)…won’t work so well when I have the oven space to bake multiple loaves…
and my dough so far has risen fine covered with plastic wrap…are tea towels just a prefersnce, Melissa?
Tips on freezing and defrosting loaves? I have tried freezing store bought bread and the results weren’t so good…
I use tea towels because they allow air to still get through and if the dough rises and presses against it, it won’t stop the rise. I also like tea towels because I can reuse the same towel for years without having to throw it away or purchase more.
I’ve only frozen my own bread, but I have frozen buns. Be sure they’re wrapped tight and I let them sit out on the counter to thaw. I usually don’t keep them frozen for more than a month or two though.
Can I leave the no knead bread dough to rise in the fridge overnight, rather than 8 hours?
Yes, I do that all the time. Have fun!
[…] newer to baking with breads or baked goods requiring yeast and rising, here’s my 8 tips for perfect homemade bread) why we wash our hands after handling raw eggs and meat, why we don’t put cold water in a hot […]
I had always heard you were not supposed to store yeast in the fridge. I am so glad I read this, it explains why my yeast that is still in date often doesn’t rise correctly!
I’ve had the same package of yeast for over a year and I its been in the fridge the whole time. Still gives excellent rise. 🙂 So glad it helped you, Kerri.
Last week Rebekah and I ground wheat for school. I have some hard red spring wheat grown by a friend in ND. We ground with a coffee grinder first, to see what the Ingalls family had to do during The Long Winter. Then we used my NutriMill. Now, we need to make bread with YOUR help! 🙂 This post came at a perfect time.
I’m glad this helps, Mindy. I’m so inspired by all the project you and your daughter are undertaking for The Little House on The Prairie year. I’d love to see a picture of the bread when you get it baked.