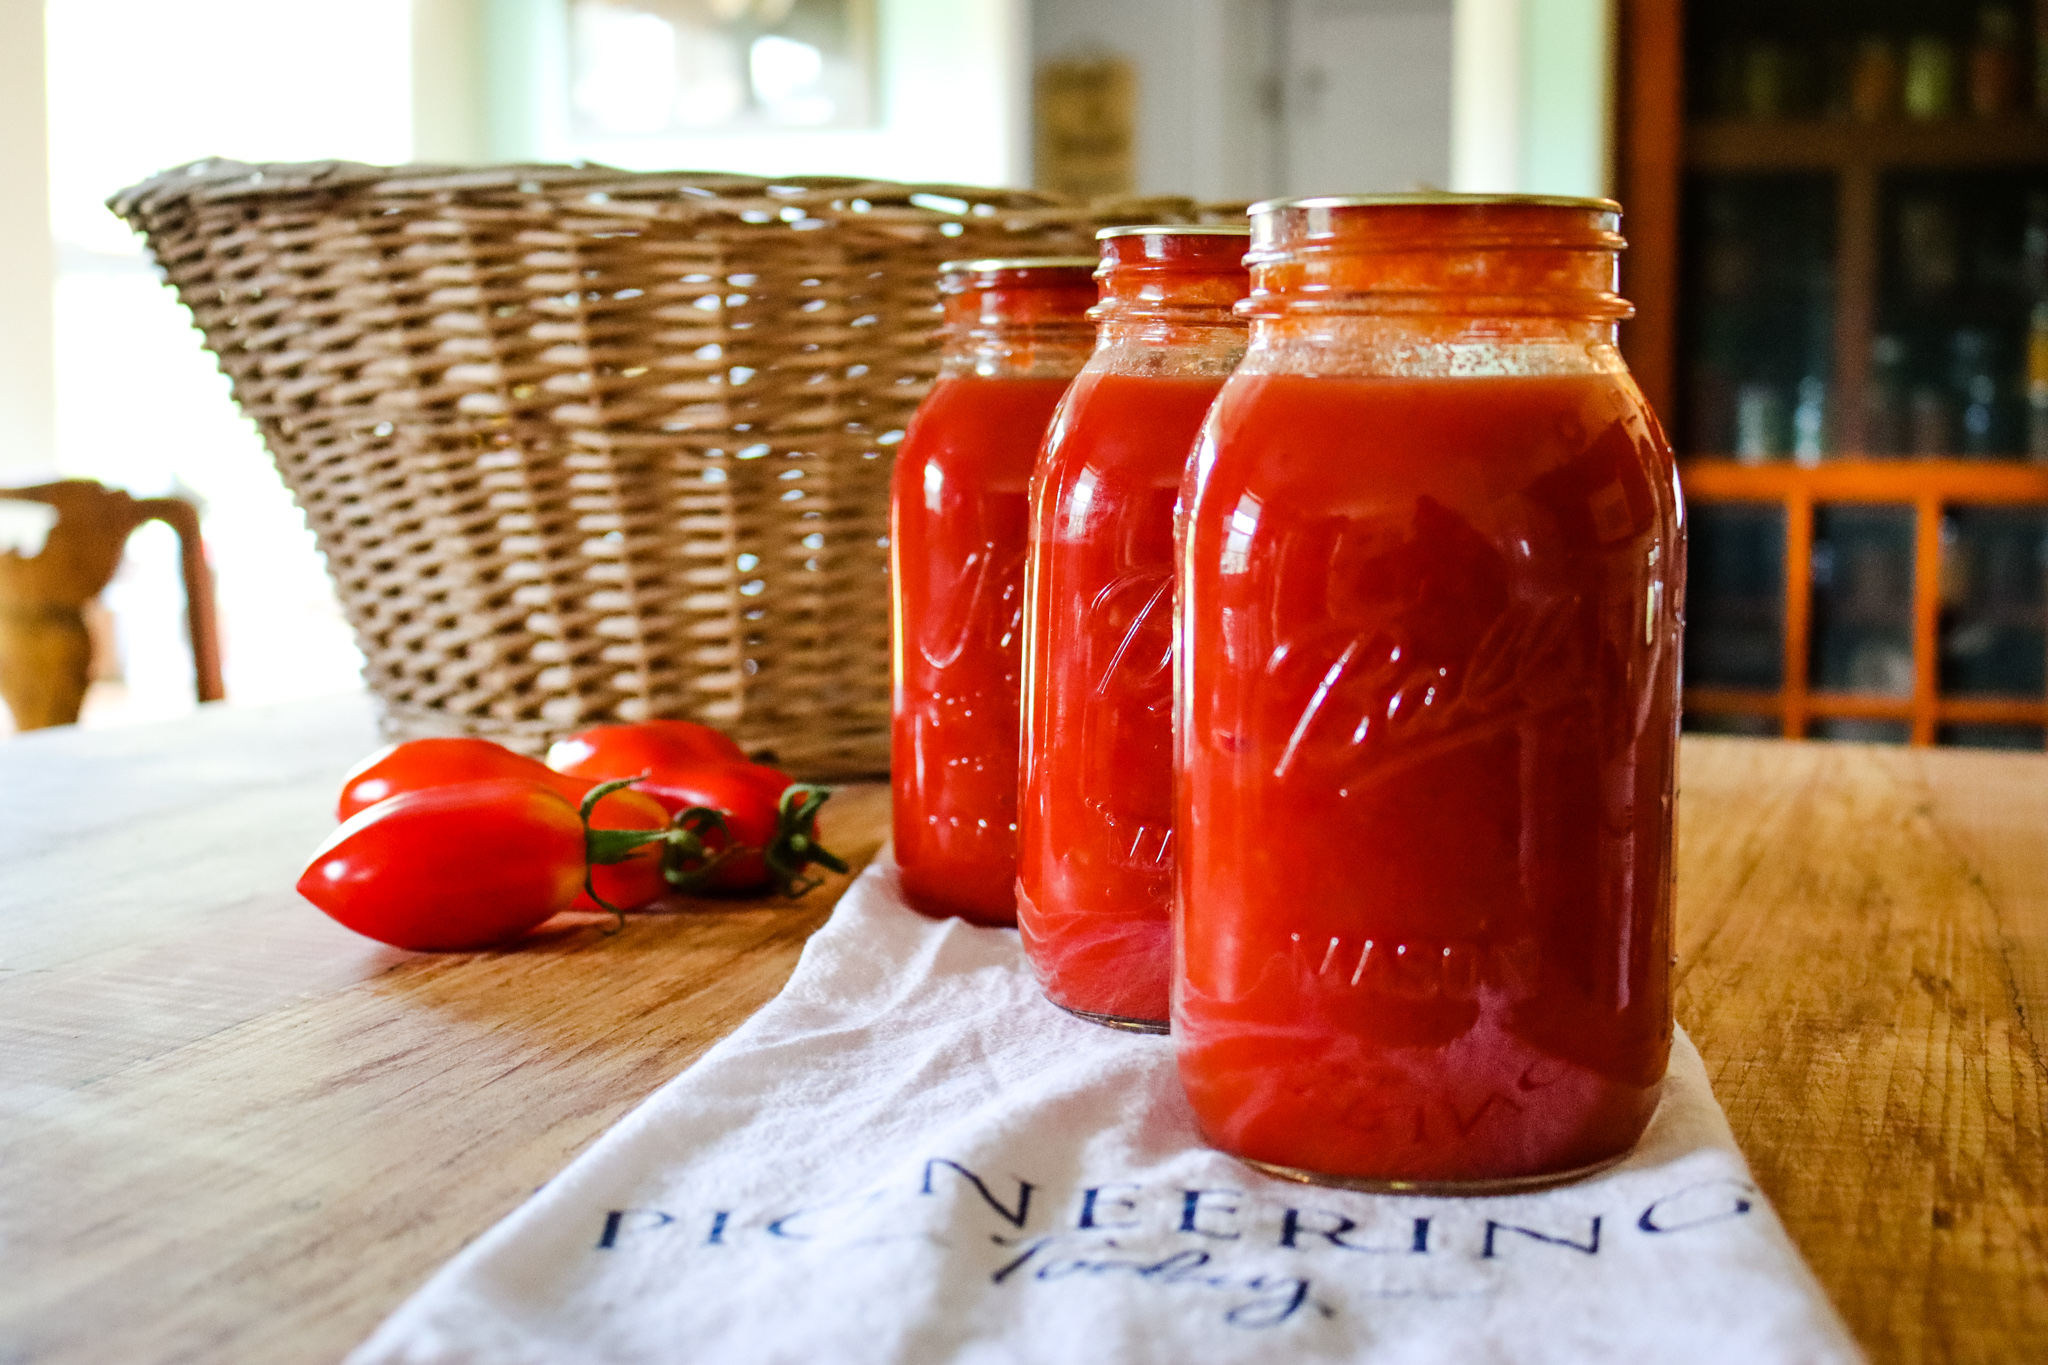
Canned Tomato Sauce Recipe (+ Water-bath & Pressure Canning) Read moreCanned Tomato Sauce Recipe (+ Water-bath & Pressure Canning)
How to Make Perogies- Traditional Ukrainian Perogi Recipe Read moreHow to Make Perogies- Traditional Ukrainian Perogi Recipe
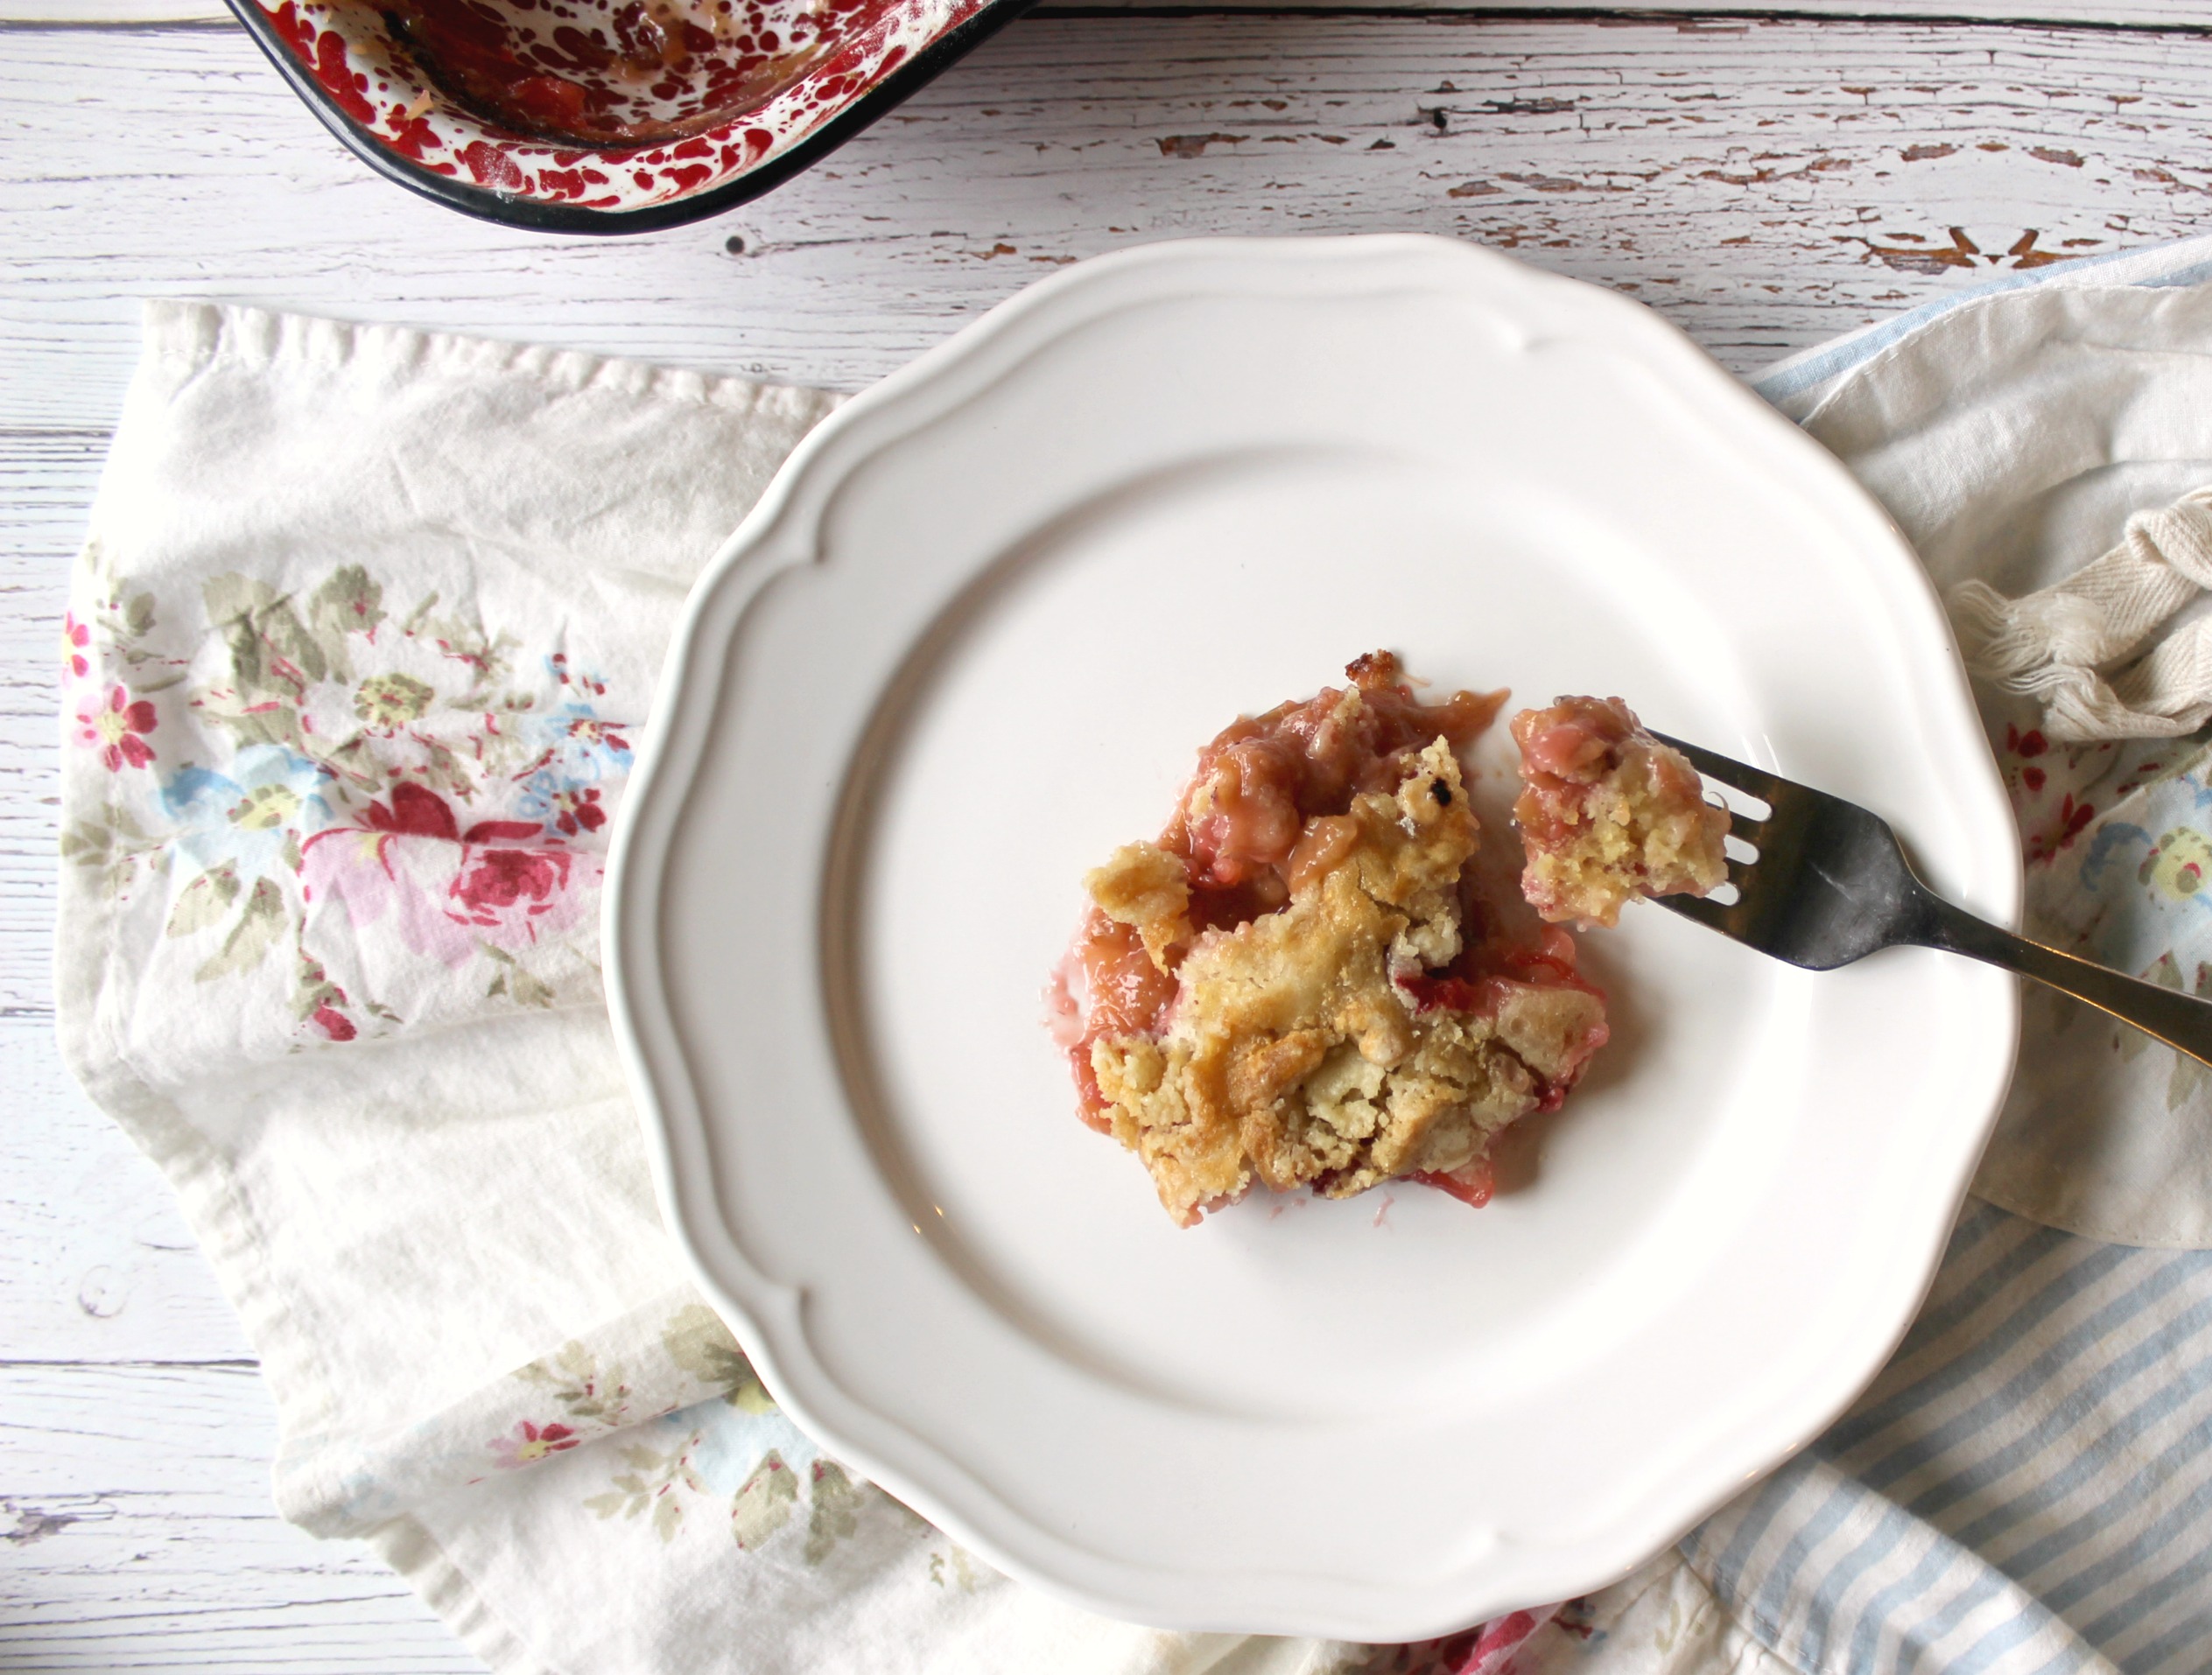
Strawberry Rhubarb Dump Cake without Jello & Homemade Cake Mix Read moreStrawberry Rhubarb Dump Cake without Jello & Homemade Cake Mix
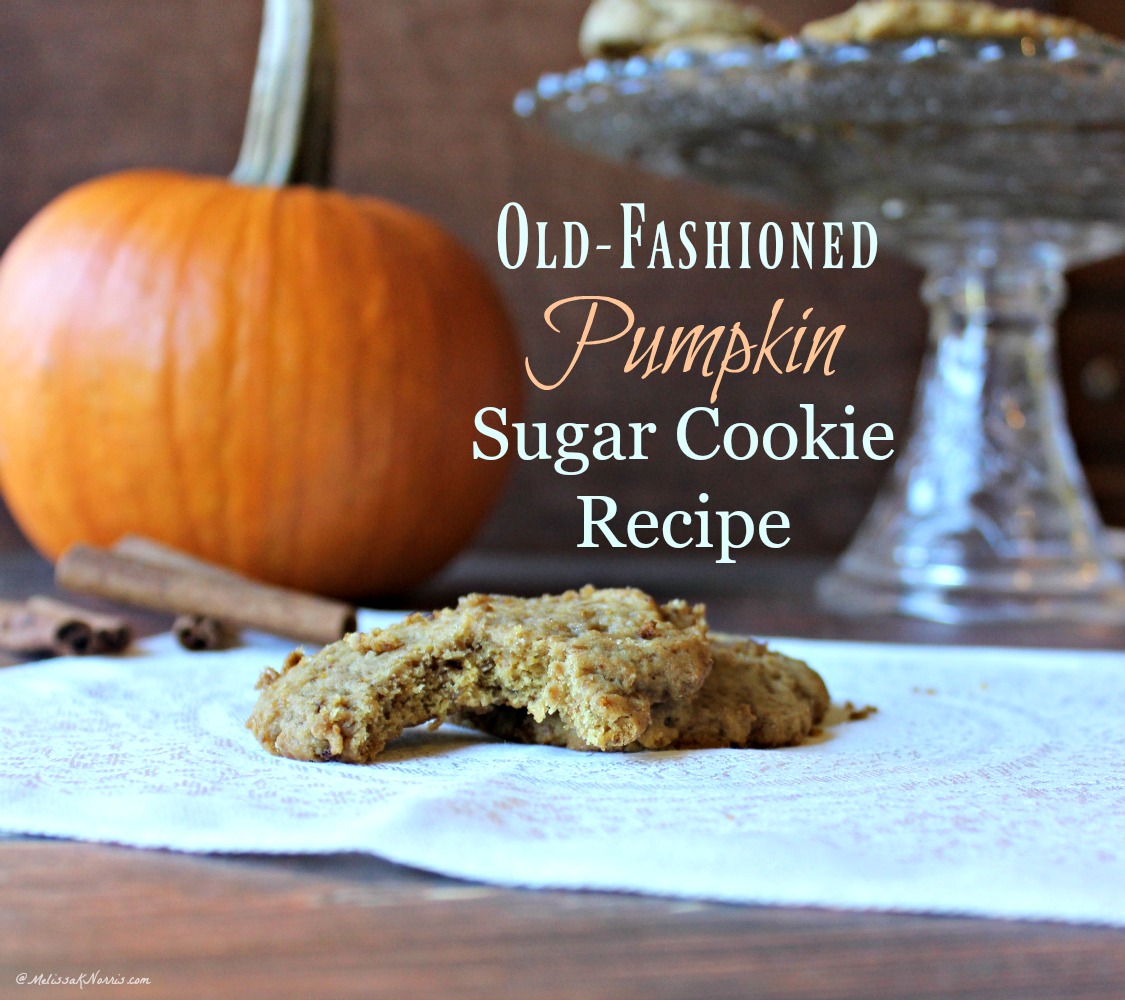
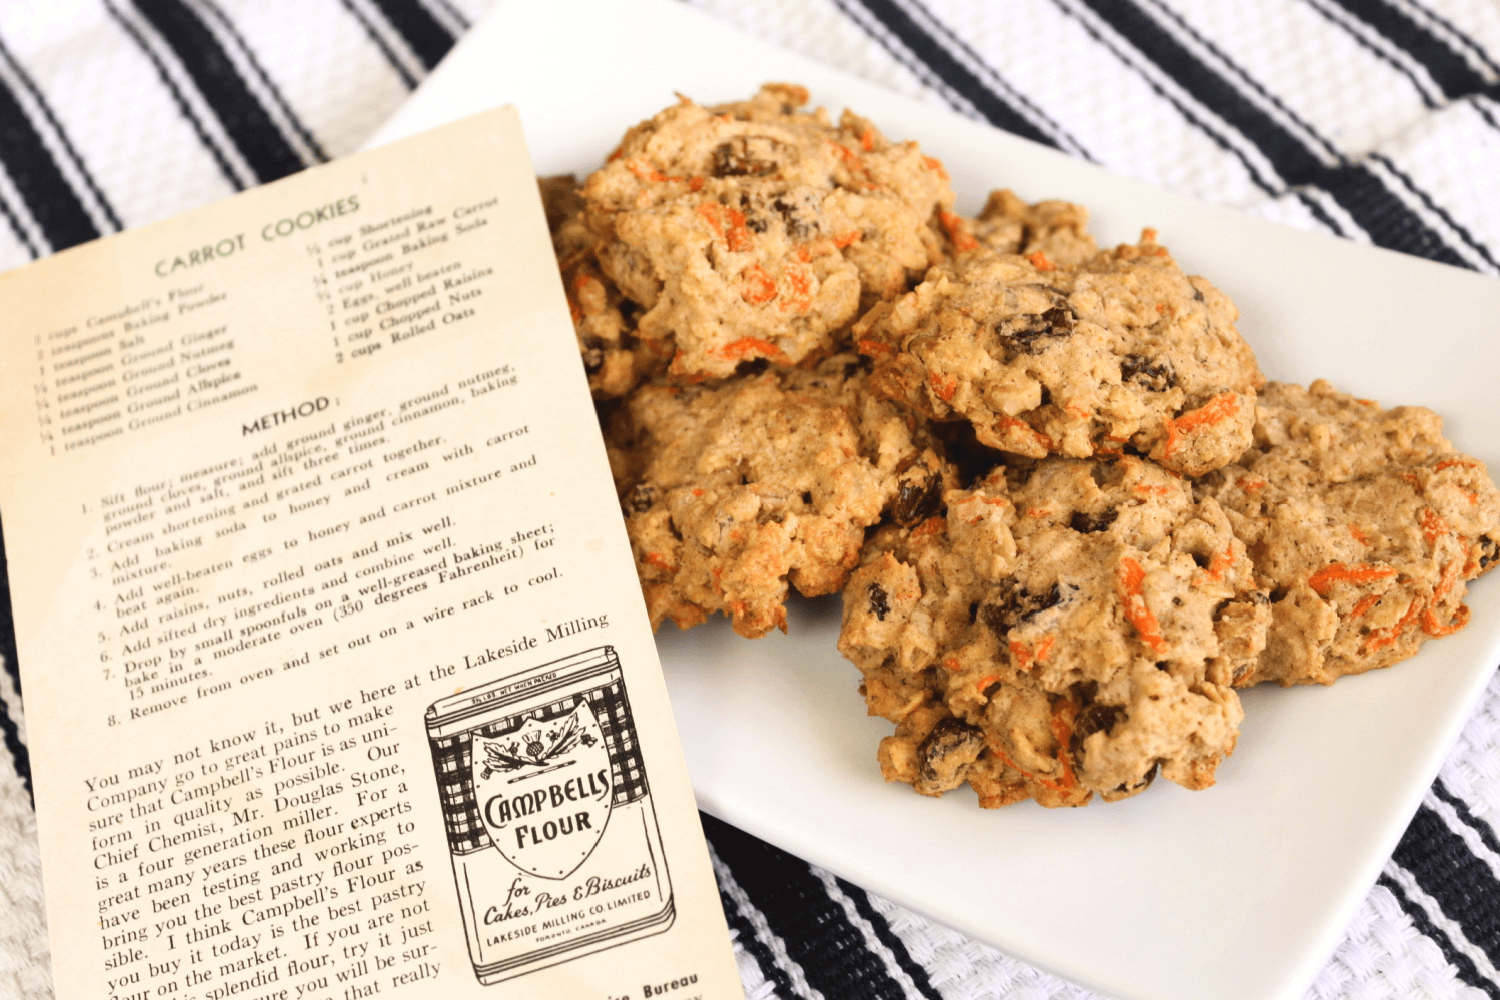
Healthy Carrot Cookie Recipe from WW2 & Great-Grandma Read moreHealthy Carrot Cookie Recipe from WW2 & Great-Grandma