Best Flaky Pie Crust Recipe – Without Shortening Read moreBest Flaky Pie Crust Recipe – Without Shortening
How to Make Pierogies- Traditional Ukrainian Perogi Recipe Read moreHow to Make Pierogies- Traditional Ukrainian Perogi Recipe
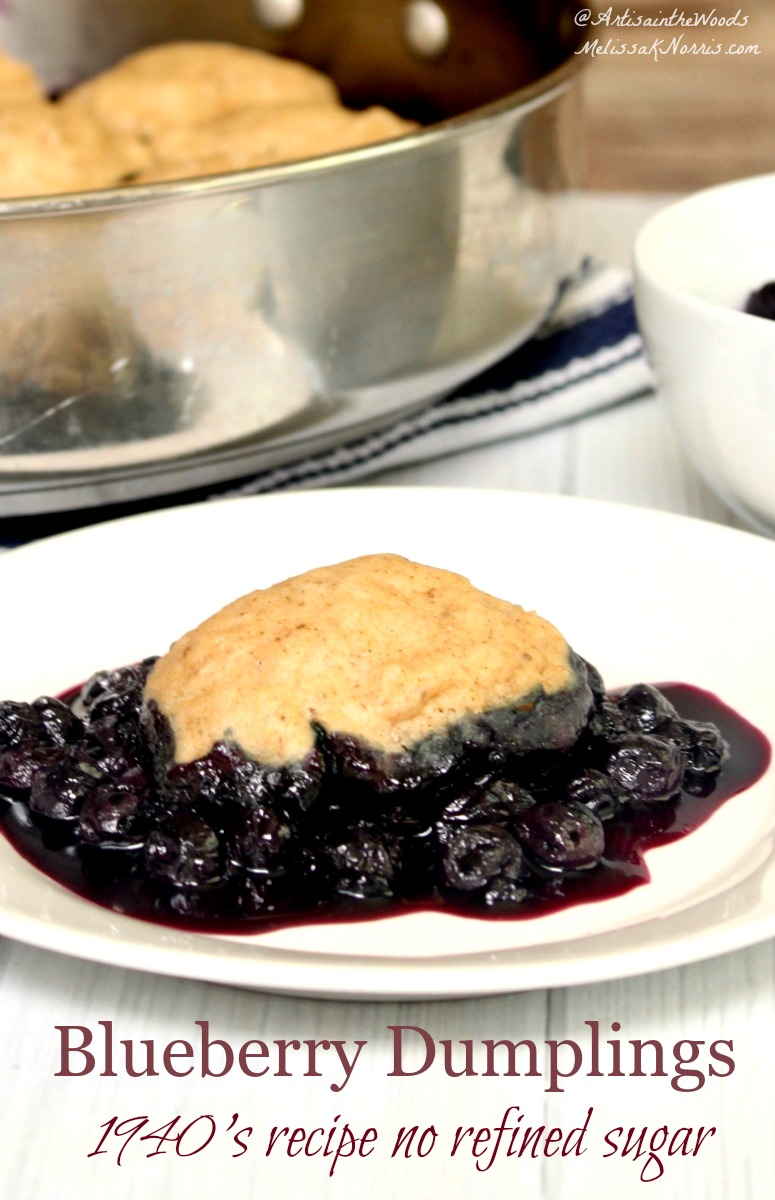
Blueberry Dumplings Recipe- Old-fashioned Recipe from 1949 Read moreBlueberry Dumplings Recipe- Old-fashioned Recipe from 1949
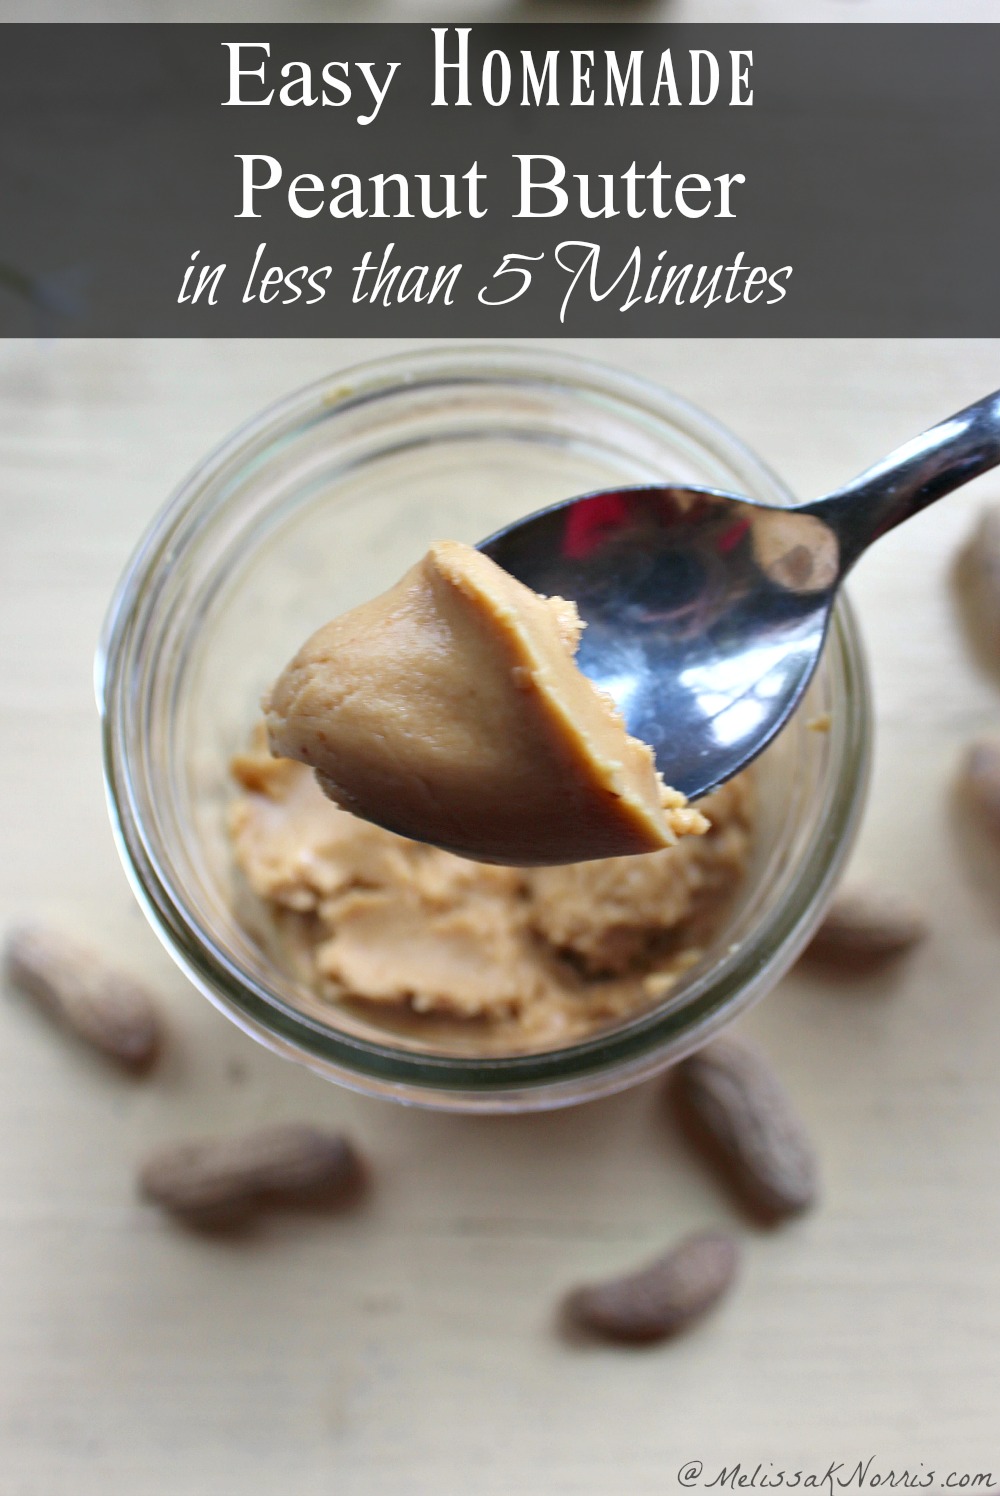
How to Make Homemade Peanut Butter in less than 5 Minutes Read moreHow to Make Homemade Peanut Butter in less than 5 Minutes
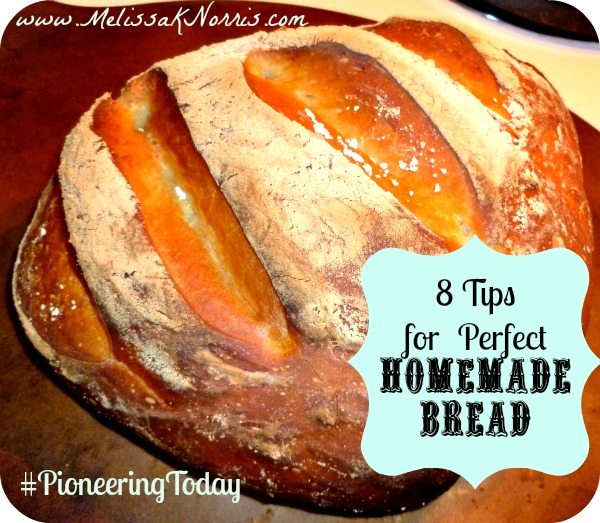
Pioneering Today-8 Tips for Perfect Homemade Bread Read morePioneering Today-8 Tips for Perfect Homemade Bread
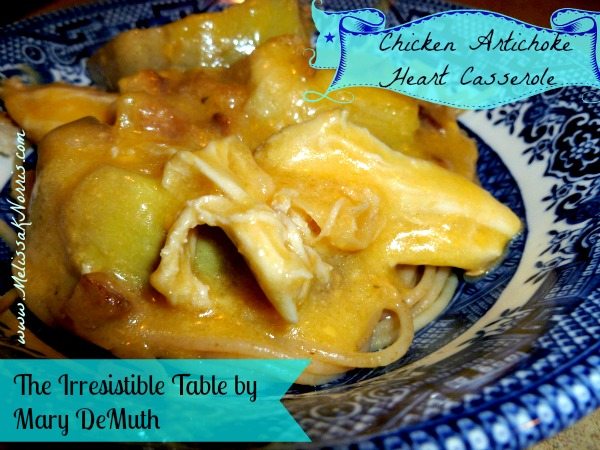
Chicken Artichoke Heart Casserole and The Irresistible Table Read moreChicken Artichoke Heart Casserole and The Irresistible Table
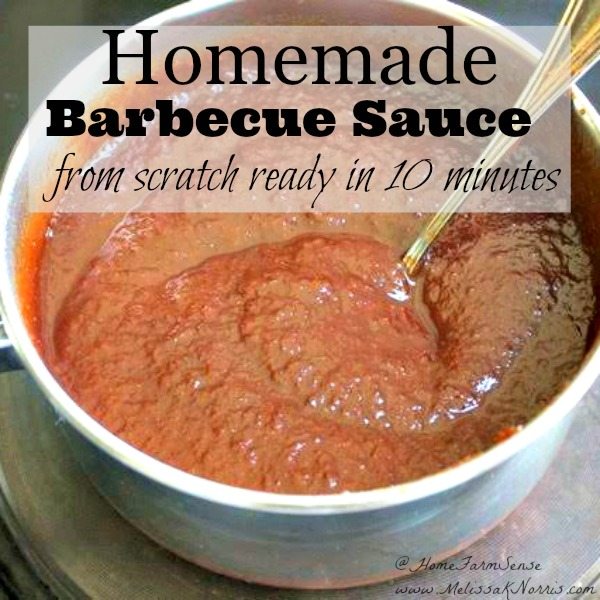
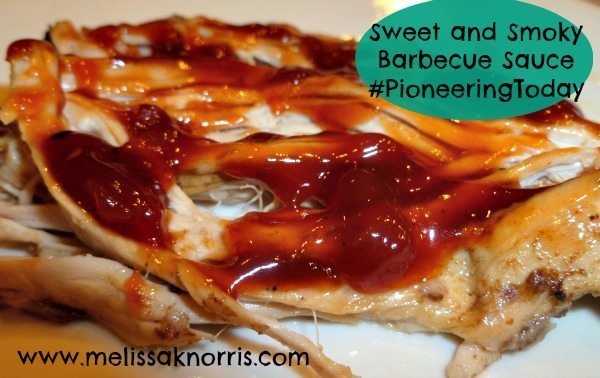
Pioneering Today-How to Make Your Own Sweet and Smoky Barbecue Sauce Read morePioneering Today-How to Make Your Own Sweet and Smoky Barbecue Sauce