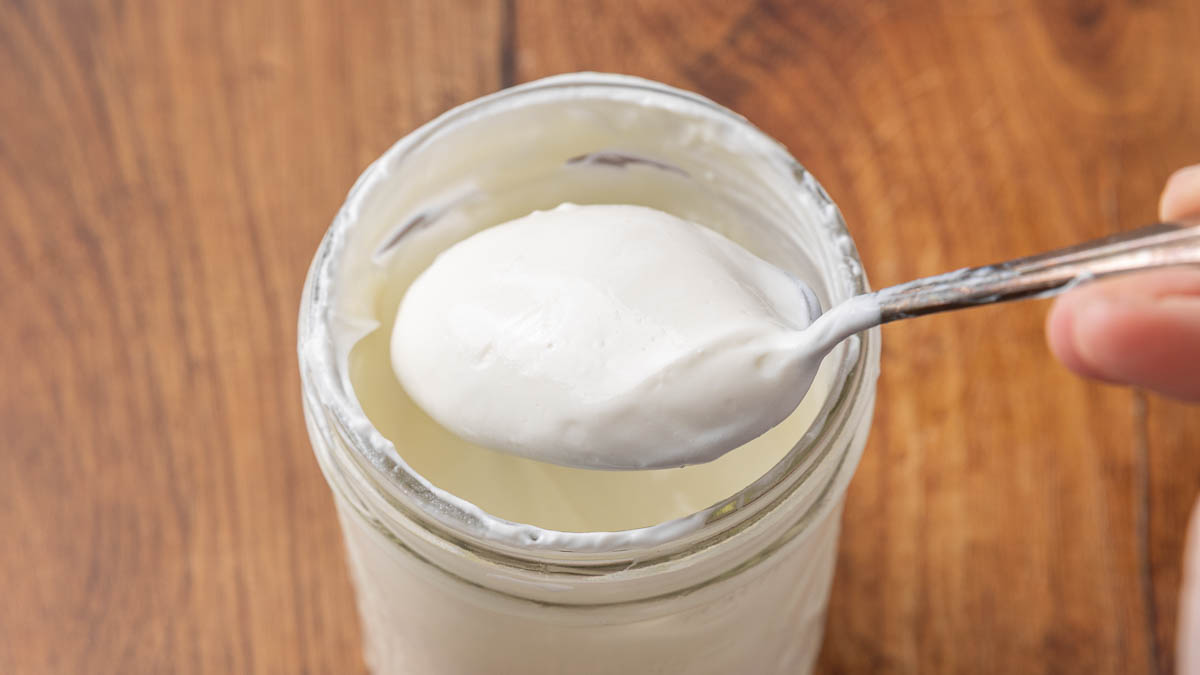
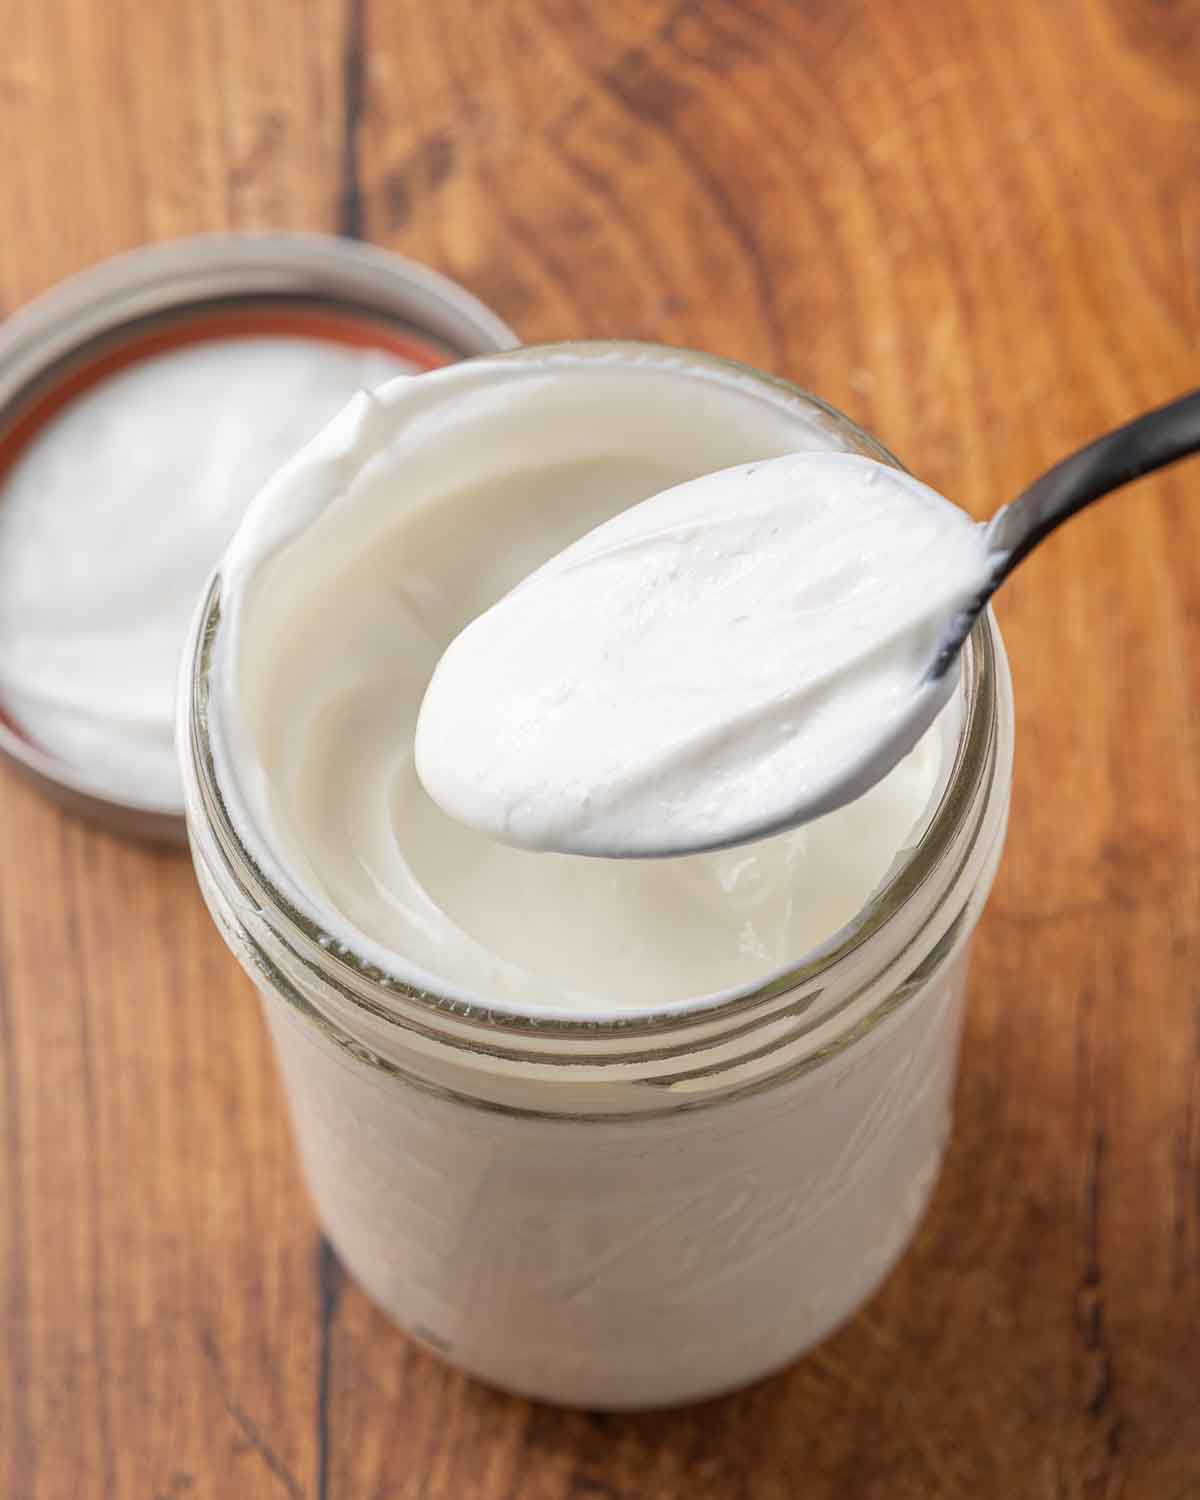
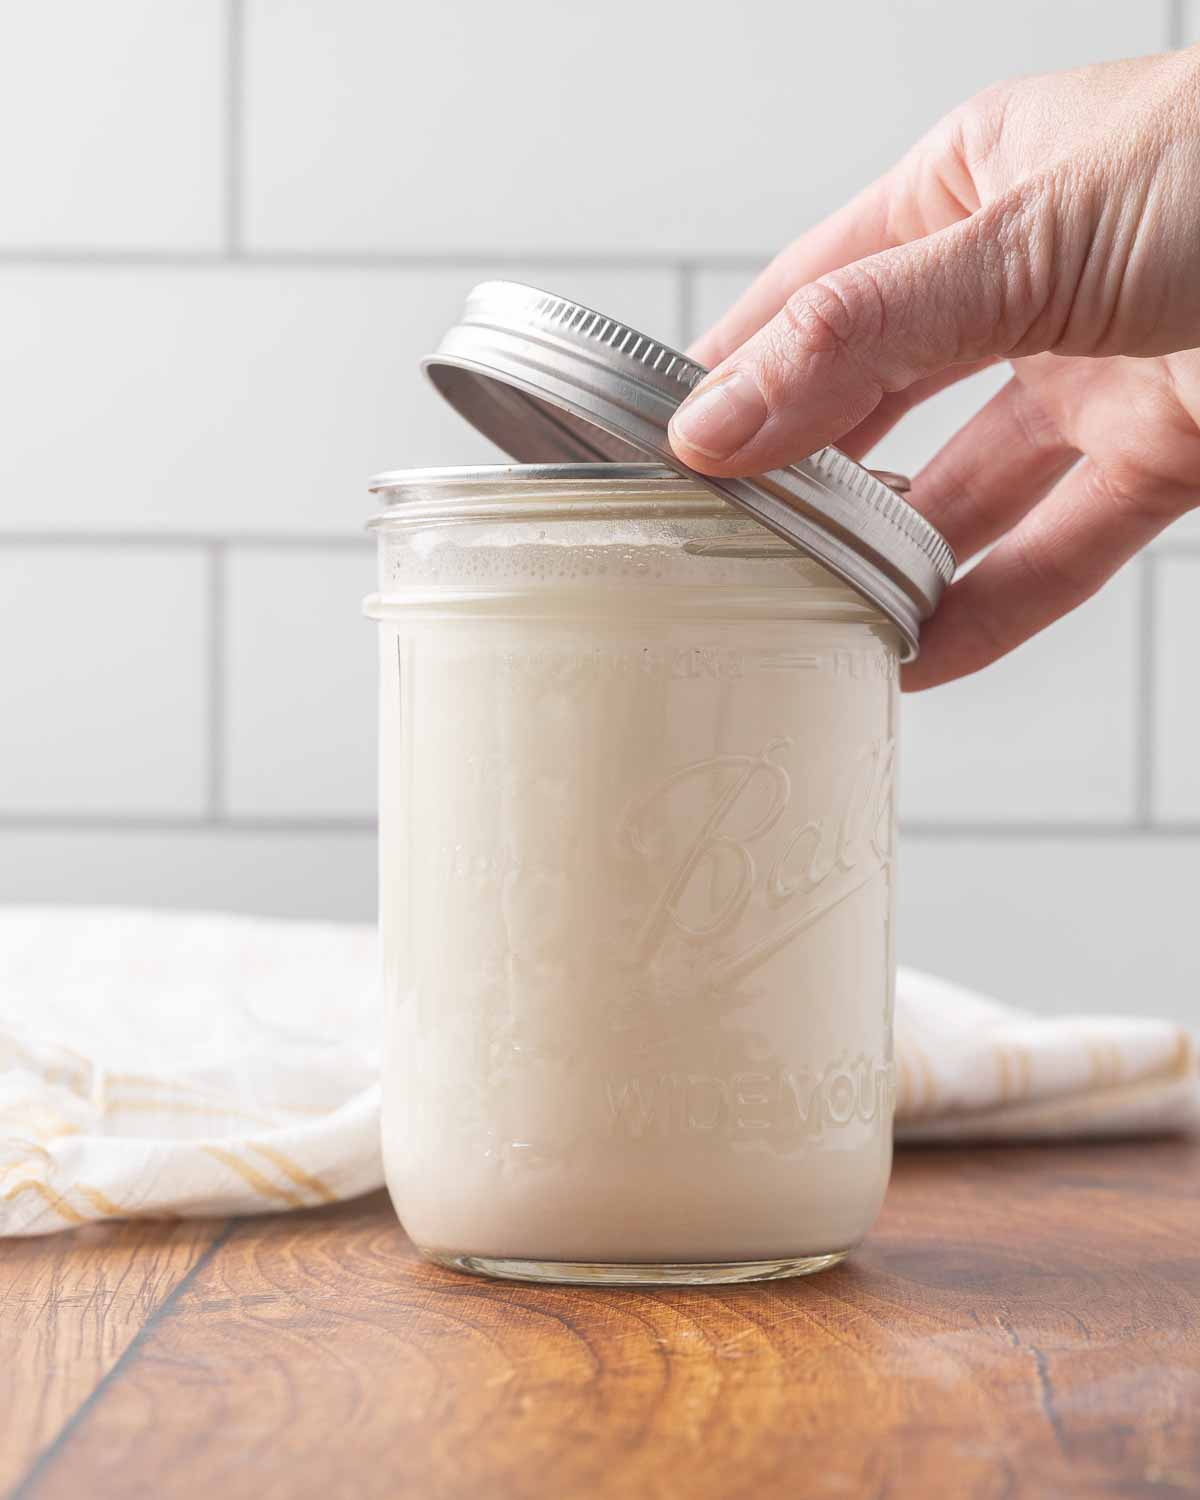
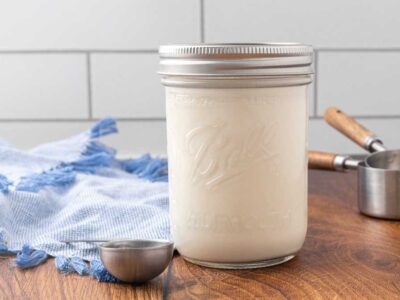
Thick, creamy, and pleasantly tangy, this plain yogurt recipe delivers a rich texture that is both comforting and versatile, and it can easily be transformed into this homemade Greek yogurt recipe for an even thicker, spoonable consistency.
Each spoonful is smooth with just the right balance of mild acidity and natural sweetness from the milk. Whether you enjoy it warm right after culturing or chilled to a custard-like consistency, homemade yogurt has a depth of flavor that store-bought versions simply cannot match.
Quick Look at This Recipe
- ✅ Recipe Name: Plain Yogurt Recipe
- 🕒 Ready In: 8 to 12 hours (including culturing time)
- 🍞 Method: Stovetop and incubate
- 👪 Yield: 1 quart
- 🍽 Calories: ~150 per cup
- 🥄 Tools: Heavy pot, thermometer, glass jars, towel or yogurt maker
- 📖 Dietary Info: Gluten-free, vegetarian
- ⭐ Why You'll Love It: Simple, nourishing, and far superior to store-bought
- 👩🍳 Tip: The longer it cultures, the tangier and thicker it becomes
✅ Summarize this recipe, or ask for recipe substitutions and dietary information with AI.
Watch Me Make This Recipe
What Makes This Recipe Unique?
You’ll love this recipe because it is simple, nourishing, and deeply satisfying to make from scratch.
- Simple - Uses just two real food ingredients.
- Frugal - Budget-friendly compared to store-bought yogurt.
- Wholesome - Enjoy the benefits of fermented milk products! Homemade yogurt is naturally rich in probiotics for gut health with no additives, thickeners, or hidden sugars.
- Versatile - Customizable thickness and tanginess, and works beautifully with raw or pasteurized milk
Key Ingredients:
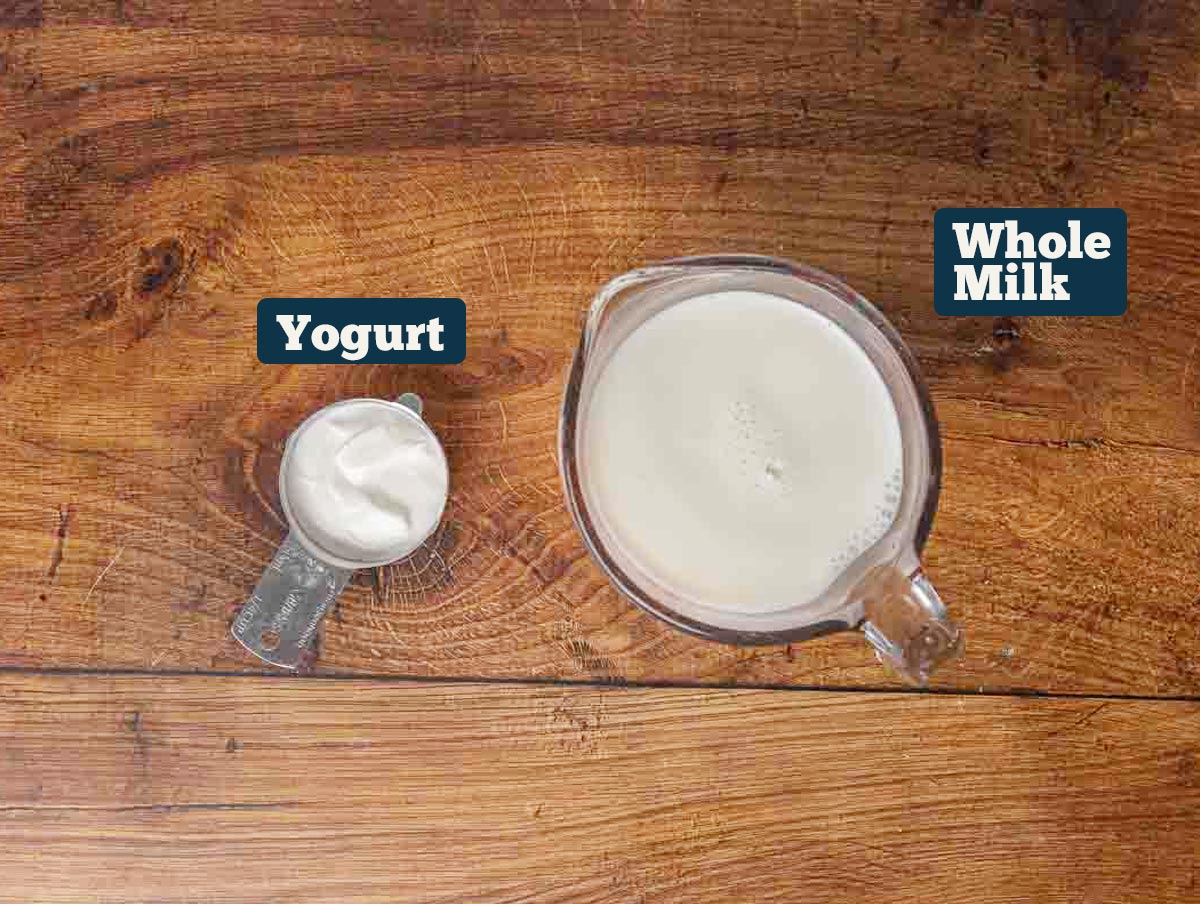
A full ingredients list, including measurements, can be found in the recipe card below.
- Whole Milk - For the best results, do not use ultra-pasturized milk. I prefer organic, non-homogenized pasteurized milk. Whole milk produces the creamiest texture, but lower-fat milk may be used if preferred.
- Yogurt Culture - My favorite is heirloom Bulgarian yogurt culture, but you can also use two tablespoons of store-bought organic yogurt. Just make sure it is plain yogurt with live active cultures.
Recipe Instructions
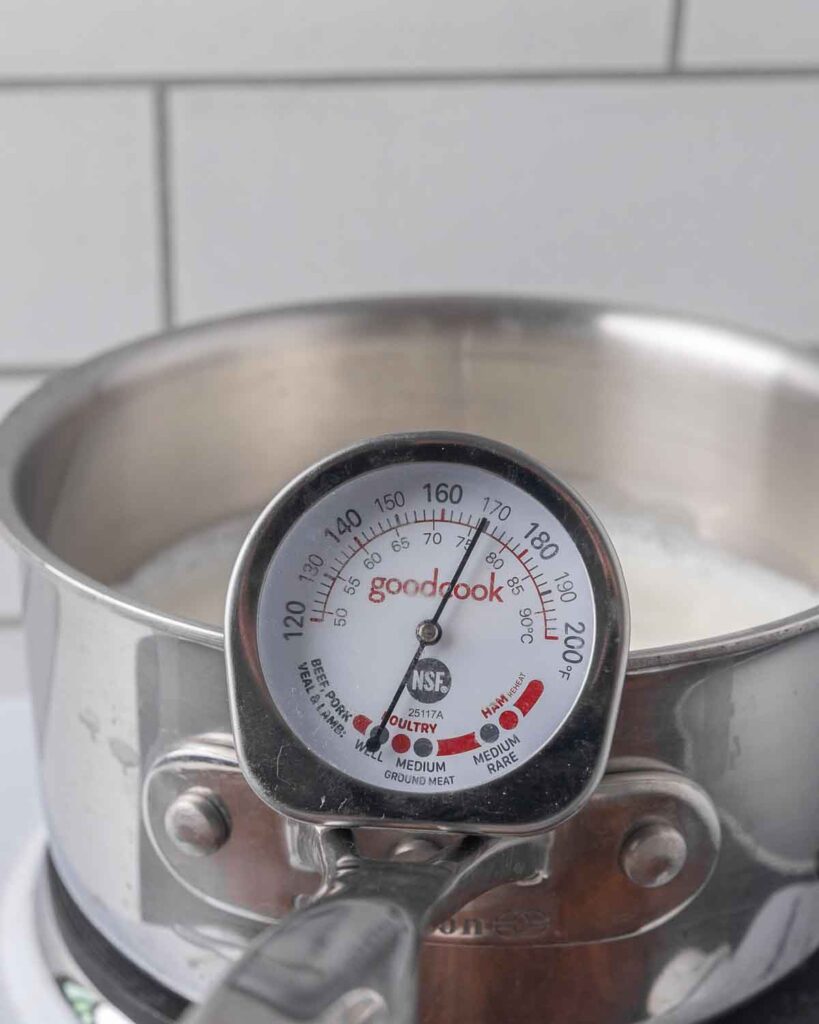
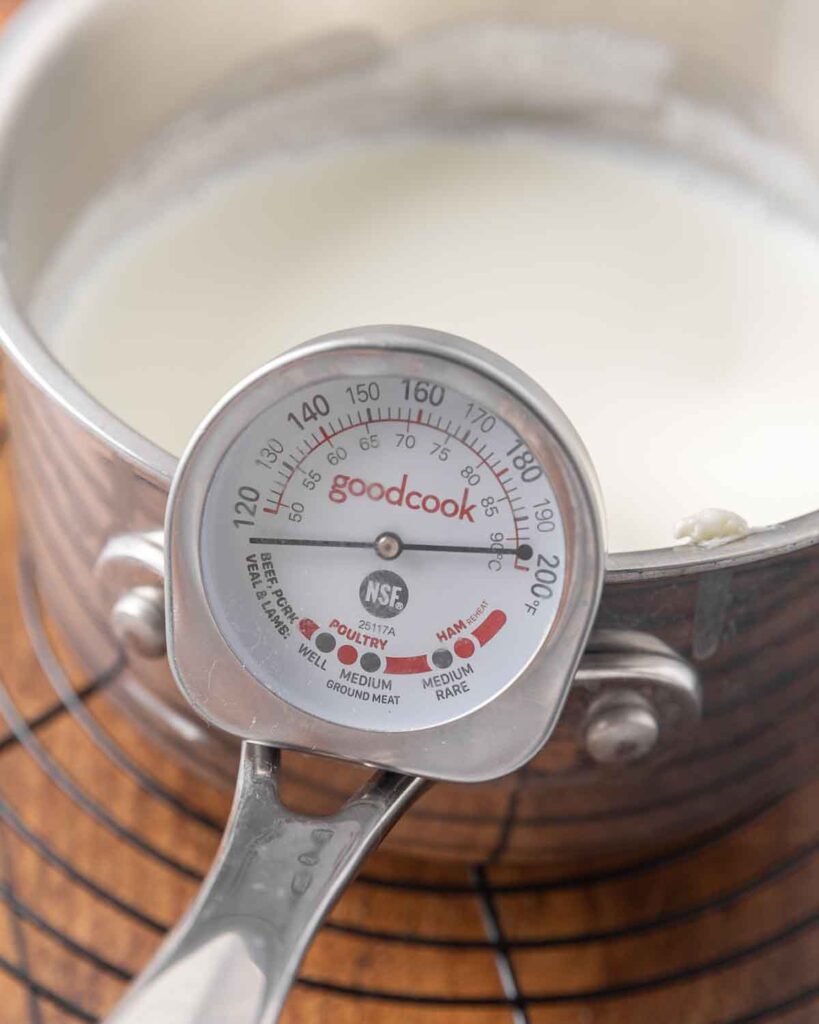
Step 1: Pour the milk into a heavy-bottomed pot and slowly heat to 180°F, stirring occasionally to prevent scorching. Keep the temperature up for 15-30 minutes; this step is crucial for getting that nice, thick yogurt that doesn’t need straining.
Step 2: Remove from heat and allow the milk to cool to 110°F. If you add the culture before the milk is cooled, you’ll kill it. If you add the culture to cold milk, it won’t culture. It just likes to be warm, not hot, not cold.
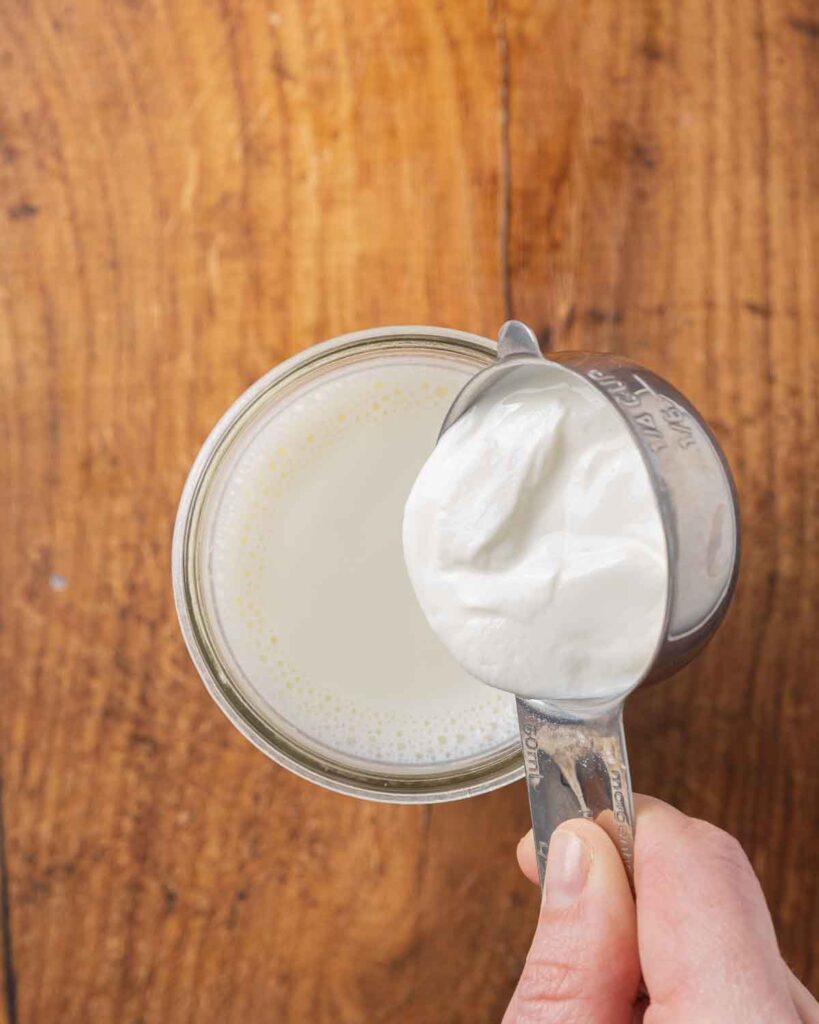
Step 3: In a small bowl, mix the yogurt starter with a bit of the warm milk to thin it out. Stir the starter mixture back into the pot of milk.
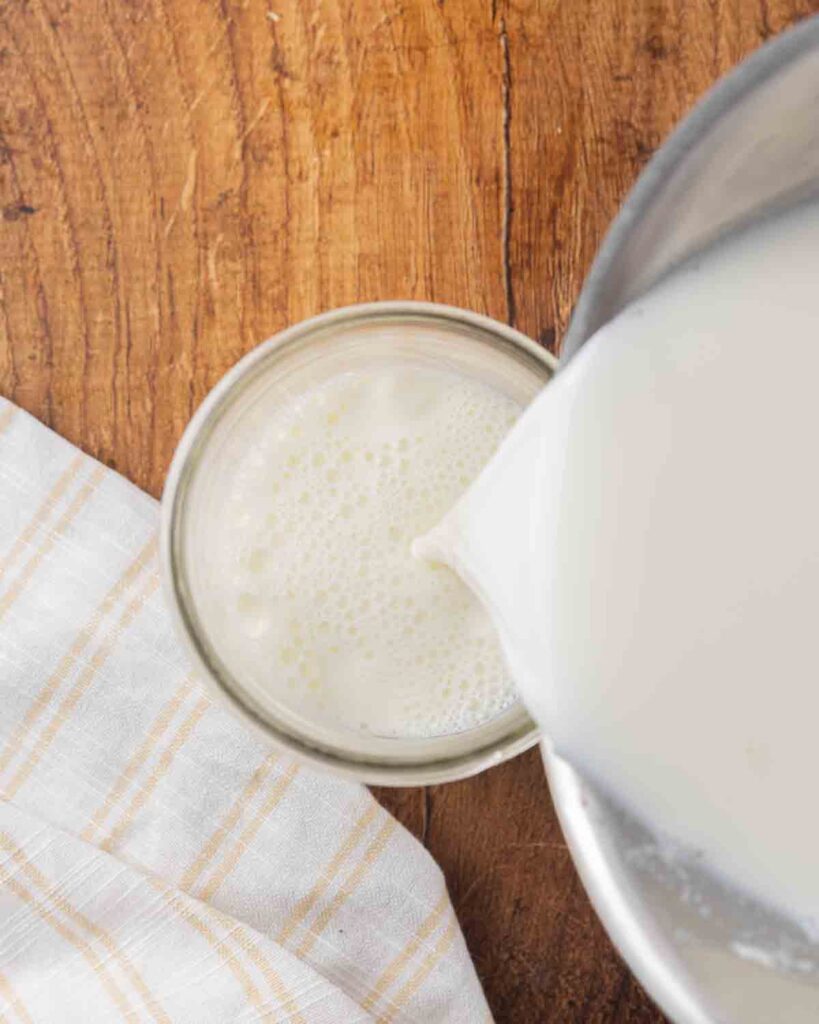
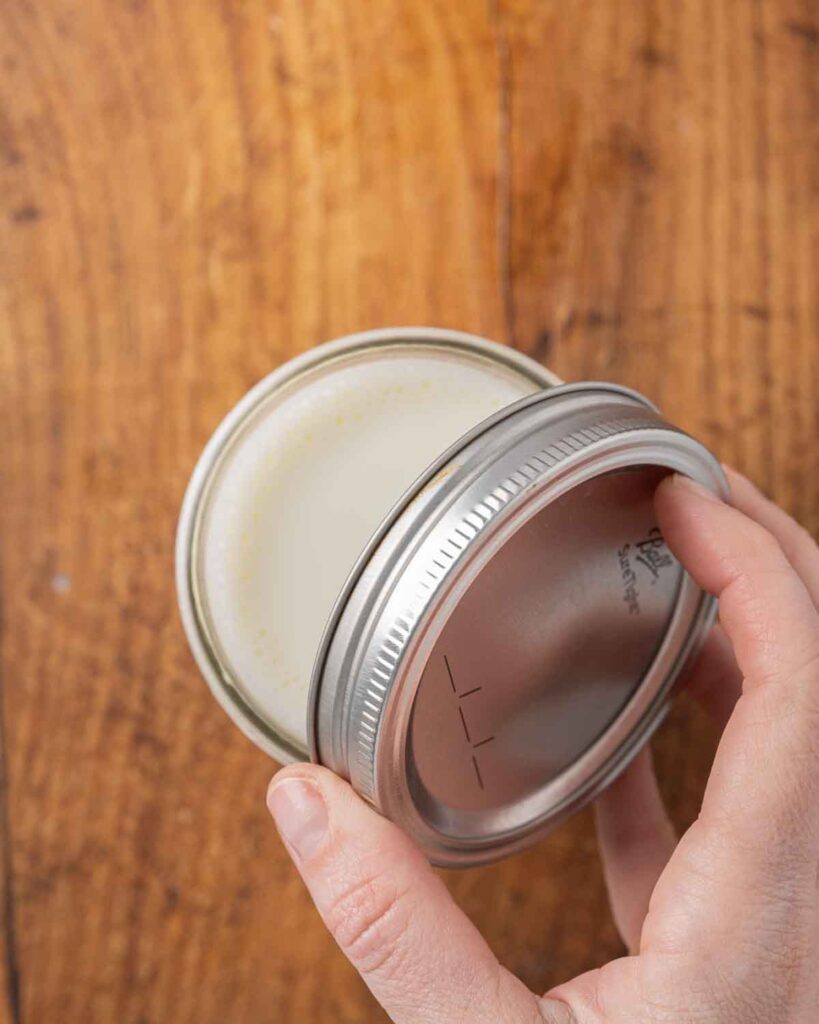
Step 4: Pour into clean glass jars and cover.
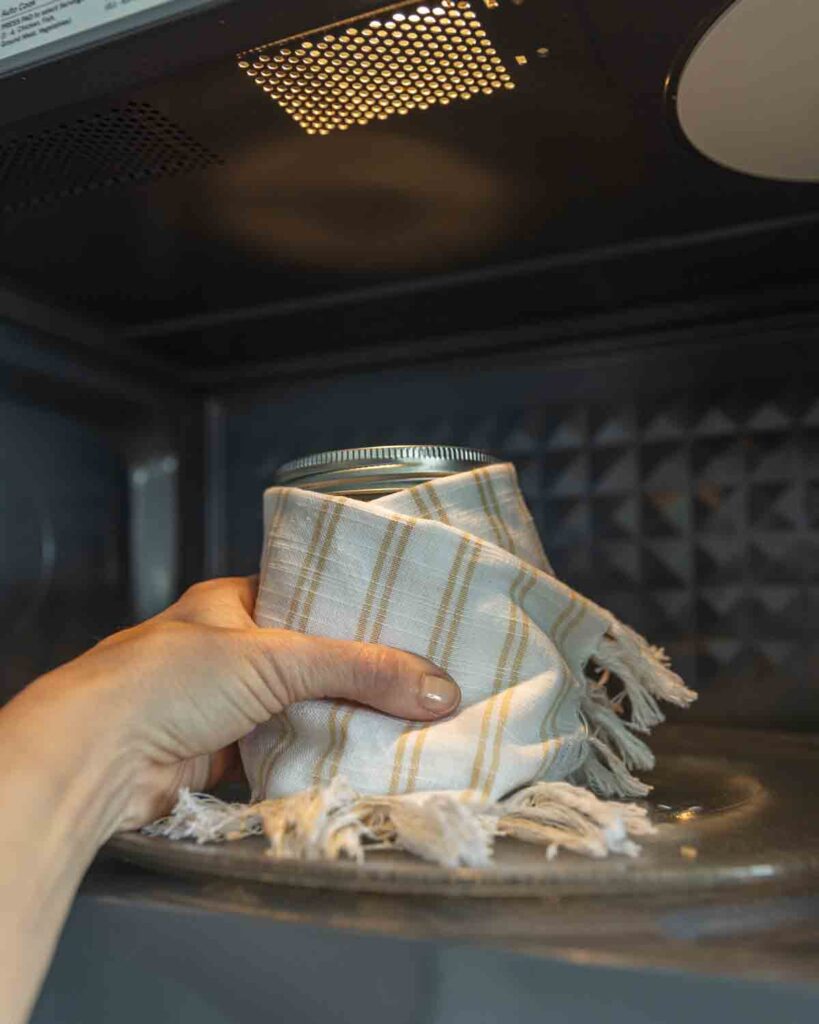
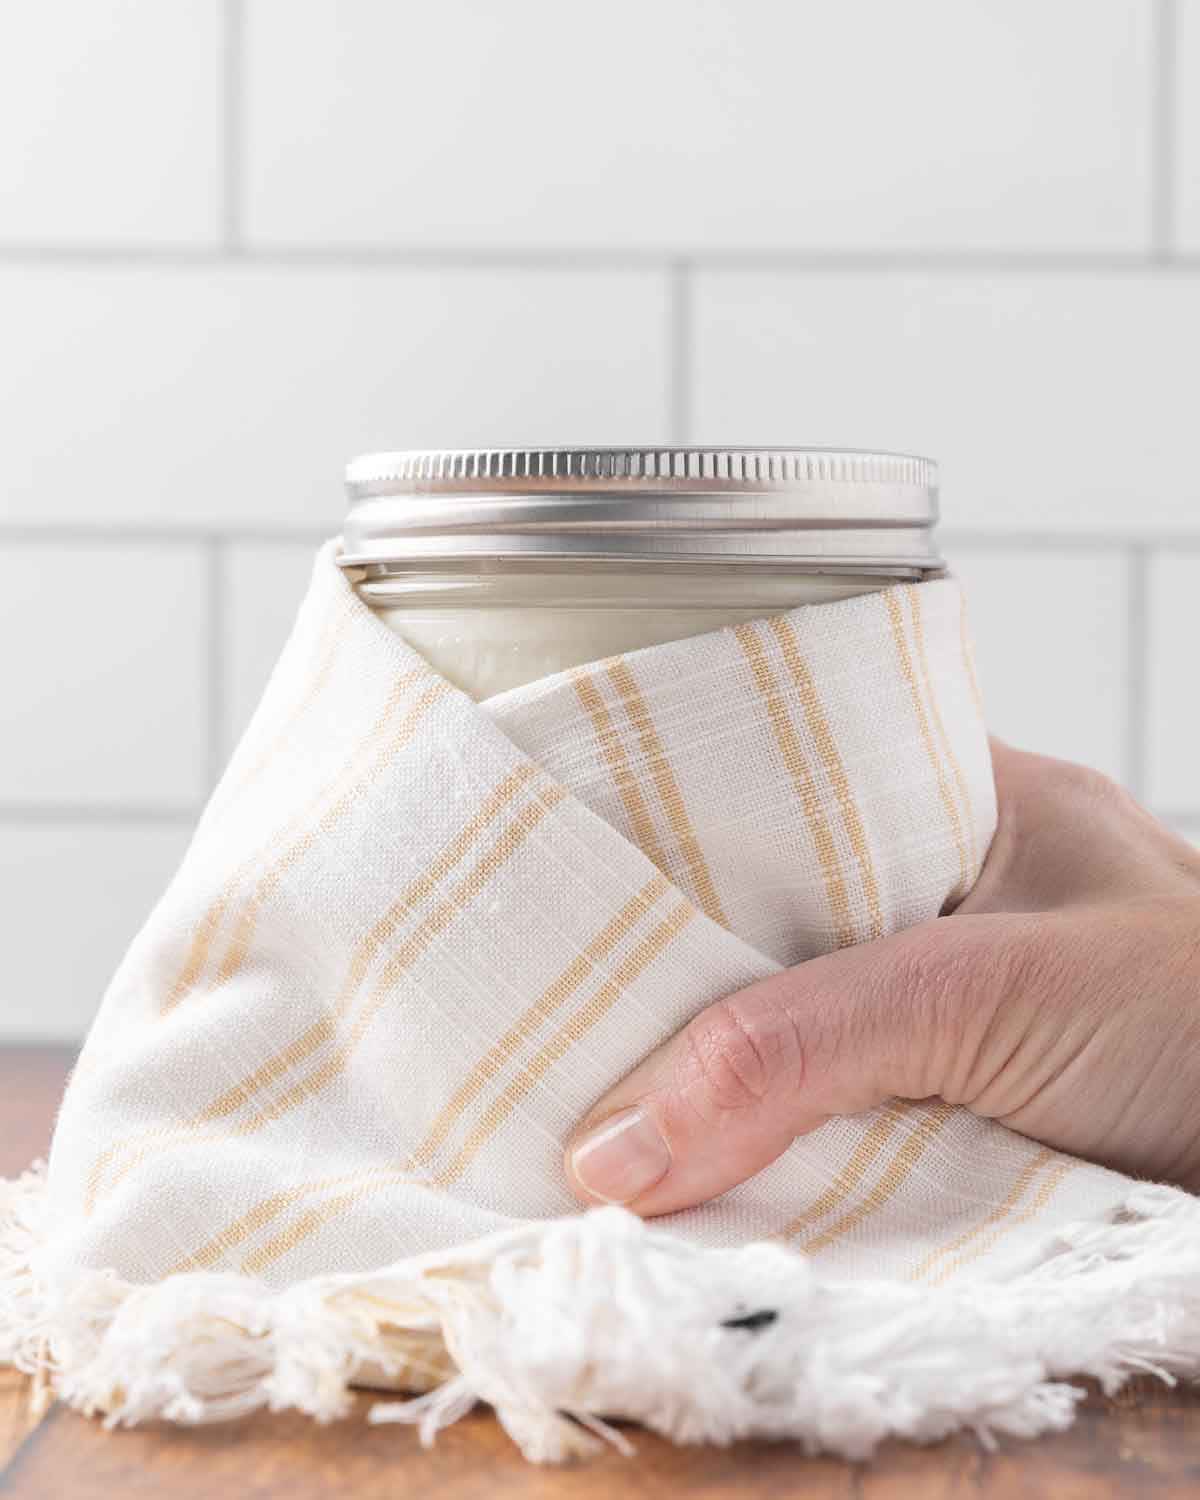
Step 5: Culture the jars in a warm place between 100°F and 110°F for 8 to 12 hours. I place my jars, wrapped in towels, into my microwave. If I turn on the overhead light over my stovetop, it heats the microwave to the perfect “incubating” temperature for culturing my yogurt. For other incubating options, see “Alternative Culturing Methods” below.
Step 6: Once set, refrigerate for at least 4 hours before serving to allow it to fully thicken.
Alternative Culturing Methods
There are a few ways to culture your yogurt. Pick the option that works best for you, or what you have available:
- Yogurt Maker - A yogurt maker provides a consistent culturing temperature. The downside is that they don’t do anything else. So, unless you have a lot of space in your kitchen, this isn’t ideal.
- Instant Pot - Many Instant Pots come with a yogurt setting, making them a double-duty appliance. However, I don’t like to tie my Instant Pot up for 4-6 hours at a time, so this option doesn’t work well for me.
- Towels & Ice Chest - I haven’t personally tried it, but many people use the towel-and-ice-chest method. Simply wrap your jars in large towels, then place them into an ice chest and close the lid. Some people even add jars filled with boiling water to the ice chest to maintain more heat.
- Crockpot - In the past, I used to fill my crockpot about halfway with hot water, place my jars of yogurt in it, then turn the knob to “keep warm”. This would work great for me, but you’ll want to test your crockpot settings to make sure it doesn’t heat your milk too much.
- Oven Light - Similar to the microwave method mentioned in the recipe, just wrap the jars in towels and place them in the oven with the light on.
Choose the option that works best for you, or try them all until you find your favorite! I’ve done many of them over the years, and the microwave is just what works best at this time.
Recipe Tips
- Maintain a steady temperature during culturing for the best results.
- Avoid moving the jars while the yogurt is setting.
- Use a thermometer to ensure proper heating and cooling.
- Save a few tablespoons from each batch to use as your next starter.
- Freeze your starter if it’s going to be more than a few days until you make yogurt again. The longer your yogurt sits in the fridge, the more live cultures will die.
- For Greek-style yogurt, follow my homemade Greek yogurt recipe.
Serving Suggestions
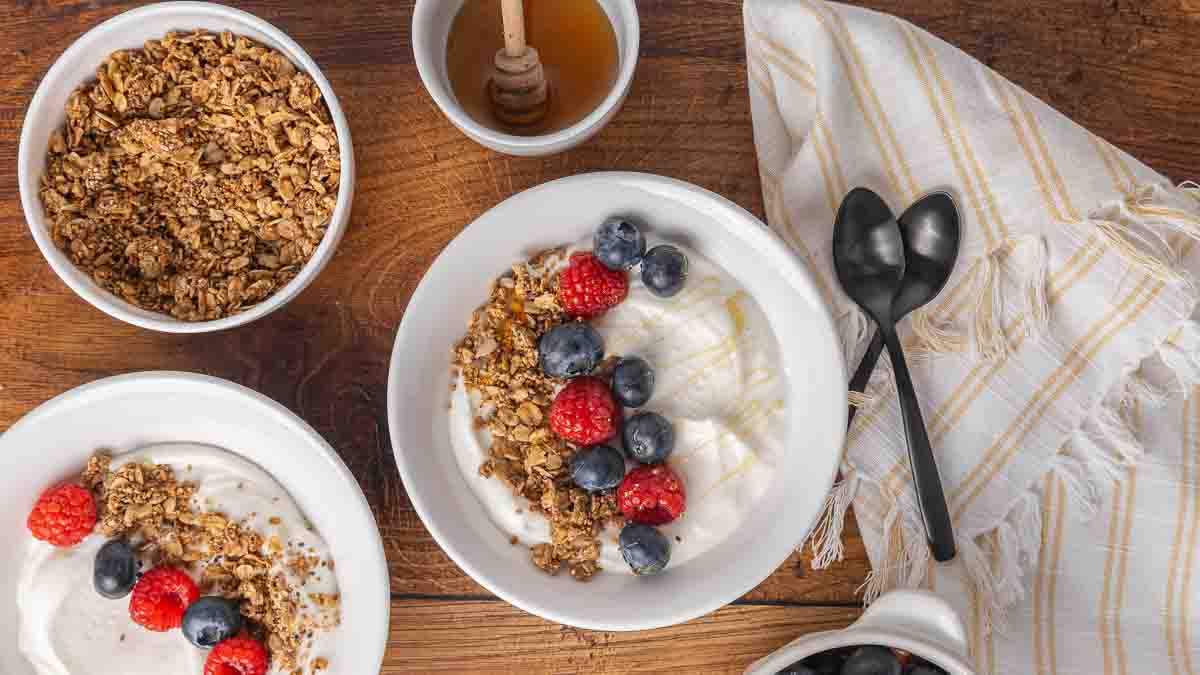
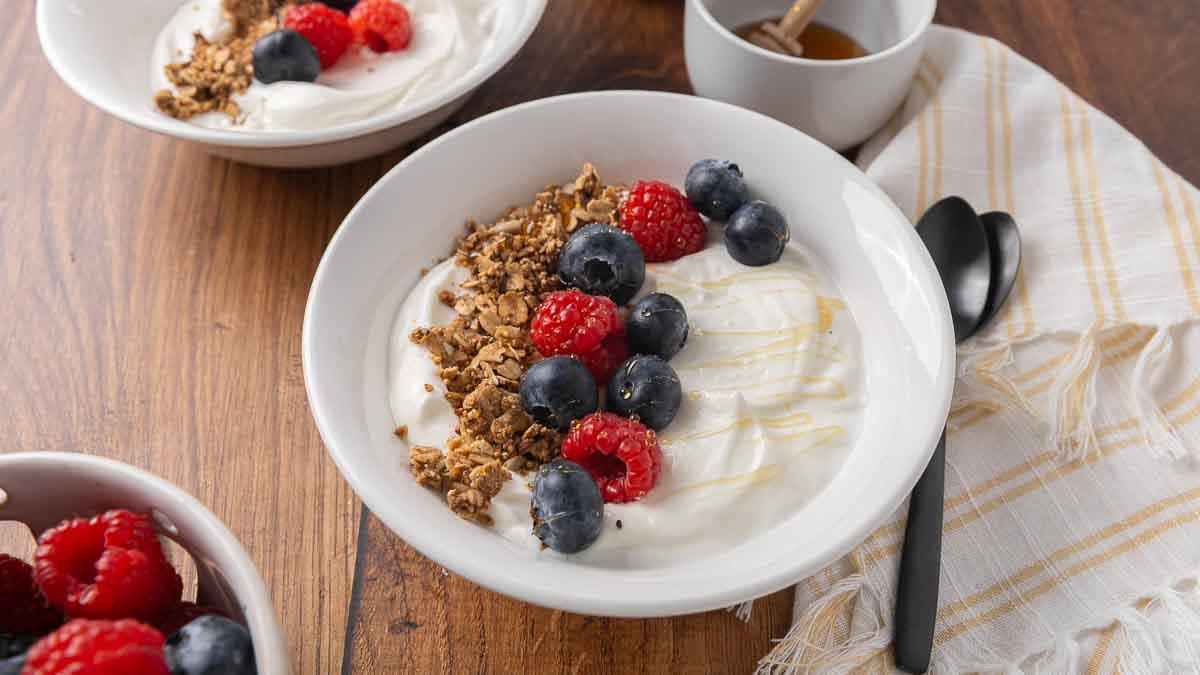
- Top with fresh berries and a drizzle of honey.
- Stir in homemade jam or preserves (try this no-pectin strawberry jam or no-pectin blueberry jam).
- Use as a base for smoothies
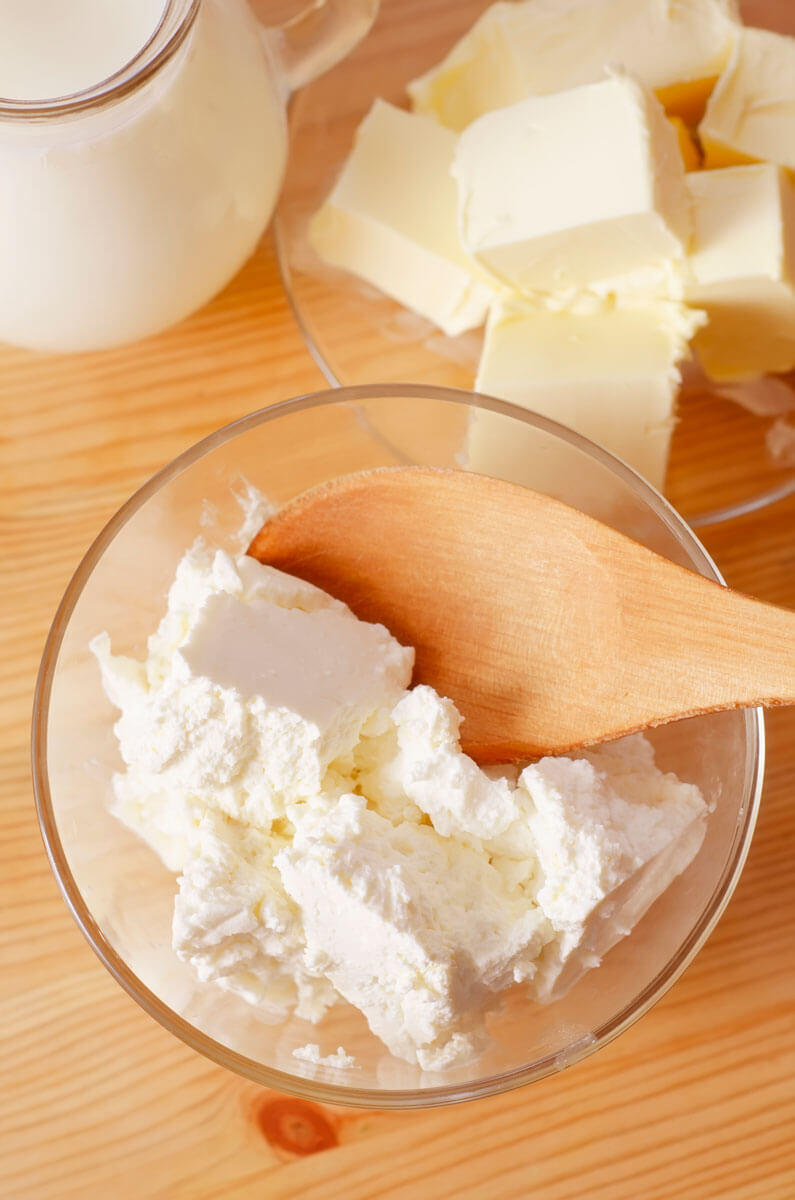
- Substitute for this homemade buttermilk recipe, or for recipes that call for sour cream.
- Add granola for a hearty breakfast.
- Serve as a creamy topping for maple vanilla baked pears or a homemade strawberry shortcake.
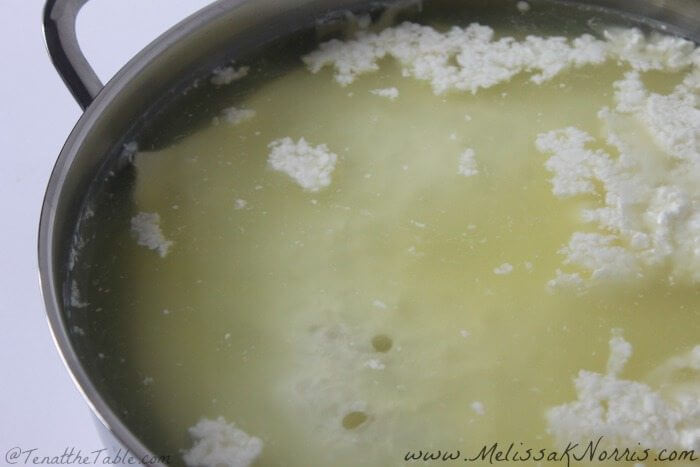
- Learn how to make whey and convert your yogurt into creamy yogurt cheese.
Storage Instructions
Store your homemade yogurt in an airtight container in the refrigerator for up to 1 to 2 weeks. For best results, reserve a portion within the first 5 to 7 days to use as a starter for your next batch. Avoid freezing, as it can compromise texture and live cultures.
Fermentation With Confidence
Learning to make this plain yogurt recipe is just the beginning of taking the guesswork out of fermentation to start creating probiotic-rich foods with confidence in your own kitchen.
My Fermenting With Confidence class walks you step by step through the traditional methods of fermenting everything from vegetables to dairy, so you can nourish your family with time-tested, from-scratch foods.
If you’ve ever felt unsure about getting the right results or worried about doing it safely, this class gives you the clarity and confidence you need. Are you ready to start mastering simple, reliable fermentation at home?


Did you make this plain yogurt recipe? If so, please leave a star ⭐ rating in the recipe card below (this really helps me out)… then, snap a photo and tag me on social media @melissaknorris so I can see! I love getting a glimpse of what you all make in your kitchens.
📖 Recipe

Plain Yogurt Recipe (Easy Homemade Yogurt with 2 Ingredients)
Equipment
- Saucepan
- Thermometer
- Quart Mason Jar
- Small Bowl
Ingredients
- 4 cups milk
- 1/4 cup yogurt or starter I recommend this yogurt culture.
Instructions
- Heat milk to 175° to 185°F and hold it at that temperature for 15-30 minutes.
- Allow to cool to 110°F and skim off scalded layer. Pour into a quart sized clean Mason jar.
- Stir in 1/4 cup yogurt or starter until well combined.
- Put a lid on the jar, wrap the jar in a large towel and place it in the oven with the light on or one of the other culturing methods listed in the notes section below.
- Keep warm at 110°F for 6 to 8 hours or until firm.
- Remove 1/4-1/2 cup yogurt and set aside (or freeze) for your next batch of yogurt.
- Move yogurt to the fridge and store for up to 14 days.
Notes
- Yogurt Maker - A yogurt maker provides a consistent culturing temperature. The downside is that they don’t do anything else. So, unless you have a lot of space in your kitchen, this isn’t ideal.
- Instant Pot - Many Instant Pots come with a yogurt setting, making them a double-duty appliance. However, I don’t like to tie my Instant Pot up for 4-6 hours at a time, so this option doesn’t work well for me.
- Towels & Ice Chest - I haven’t personally tried it, but many people use the towel-and-ice-chest method. Simply wrap your jars in large towels, then place them into an ice chest and close the lid. Some people even add jars filled with boiling water to the ice chest to maintain more heat.
- Crockpot - In the past, I used to fill my crockpot about halfway with hot water, place my jars of yogurt into the crockpot, then turn the knob to “keep warm”. This would work great for me, but you’ll want to test your crockpot settings to make sure it doesn’t heat your milk too much.
- Oven Light - Similar to the microwave method mentioned in the recipe, just wrap the jars in towels and place them in the oven with the light on.
- Maintain a steady temperature during culturing for the best results.
- Avoid moving the jars while the yogurt is setting.
- Use a thermometer to ensure proper heating and cooling.
- Save a few tablespoons from each batch to use as your next starter.
- Freeze your starter if it’s going to be more than a few days until you make yogurt again. The longer your yogurt sits in the fridge, the more live cultures will die.
- For Greek-style yogurt, follow my homemade Greek yogurt recipe.
- Top with fresh berries and a drizzle of honey.
- Stir in homemade jam or preserves (try this no-pectin strawberry jam or no-pectin blueberry jam).
- Use as a base for smoothies
- Substitute for this homemade buttermilk recipe, or for recipes that call for sour cream.
- Add granola for a hearty breakfast.
- Serve as a creamy topping for maple vanilla baked pears or a homemade strawberry shortcake.
- Learn how to make whey and convert your yogurt into creamy yogurt cheese.


Kelsey
My mom had a yogurt maker, and always made her yogurt with skim milk... Yuk! (It was the 90s.) I always thought it was "homemade" yogurt that was the problem, but using the right type of milk (whole) and the right kind of culture (Bulgarian) is the key! Delicious!
Emma Watson
Thank you
Paula A Dotson
For the culturing stage, to keep it at about 110 degrees, could I use a sous vide? It holds a pretty constant temp. My one concern is if I can seal the jar tight or do I need to keep the jar lid above water level and loose enough for gasses to escape?
Del
Thanks so much for your amazing step by step! I got such great thick yogurt for the first time ! Absolutely can’t wait to continue to make it at home now as I really didn’t like the runny stuff but now it’s perfect?
what is your favourite way to flavour it ?
Kriss
I’ve been using a reuteri culture and keeping it at 110 in my yogurt maker for 36 hours. Makes a tangy, thick yogurt that is yummy with my frozen blackberries.
Kg
Well, my crock pot was too hot on the lowest setting, and my oven & microwave were too hot. Instead, I used my dehydrator. Worked great!
Cooper
I strain the whey off to make a thick yogurt. Would this whey be beneficial in the garden and if so, how and when would you apply it - full strength, diluted, poured on the top of he ground, or around the roots, sprayed onto the foliage, after seeds are up or when the plants are mature, or perhaps just in compost? Thanks for your advice. Love the video!
Brienne
This is my first time making homemade yogurt. I used a plain greek yogurt as my starter. I had about a cup of whey, which I poured into a separate container. I mixed up what was left and it's not very thick. Have I done something wrong? Am I supposed to leave in the whey? Thanks!
Lenore Cantrell
This was so easy! I wasn't sure it would really work, since I've never done anything like it before. The organic milk I could get was homogenized and pasteurized and had to buy a 24 oz yogurt for starter. I used my microwave with over-stove light on and jar wrapped. It was quite warm when I took it out about 5 hours later. All worked and is delicious.
Sherri
Hi Melissa! Thank you for all your share with us! I have only ultra-pasteurized organic milk available for making yogurt and it works very well! I don't like the fact that it is ultra-pasteurized, but that's all I have! It does work though!
Thanks!
Beth H
The starter I get from the Amish store is a powder that only uses 1/8 t. per 4 cups of milk. It is sold by the teaspoon in tiny bags for about $4. I have always used whole milk, but never checked to see what kind of pasteurization method was used. I have a proof setting on my oven that I use for the fermentation process and it takes about 6 hours to set, but I have never had much luck using premade yogurt as the starter.
Mayra
Fyi: Lots of local health food stores sell raw milk for "pet consumption only"... 😉 . That is where I purchase raw milk... for my pets, of course. ?
Carmen
I use non-instant powdered milk, so no heating is required, just whisk or blend, put in instant pot. We like very thick yogurt, so I use 3 cups of powder (enough to make a gallon of milk) add starter and enough water to make a half-gallon and whisk. Put in four pint canning jars in my instant pot with water and rack. Run on yogurt setting for 12-14 hours. You can go down to 2 cups or less time if you like it thinner.
Carol
As started above the link for his to make raw milk yoghurt isn't working. When I do a search of raw milk yoghurt on your site, it says no content matches.
Melissa Norris
I just got that fixed, here is the link
Tama
Can I use this recipe for raw goat milk? The link you have to a raw milk recipe isn’t working & goat milk is notorious for being a bit more runny.
Melissa Norris
I just got that fixed, here's the link (I haven't tried it with goat's milk personally)
Danielle moore
Can this work with dried powdered milk too? We have a bag of dry milk that we dont particularly like once made.
Linda
I've made yogurt for years and laugh to think of ways I've tried to keep the yogurt warm and cozy. Like wrapping in towels and standing on a heating pad set to low. (with a towel over it for insulation). Or using my canning pot filled with water and keeping it at 100 degrees. But that means hovering. Every so often taking its temp and heating it back up a bit. My kids finally got me a yogurt maker. This was when I was in CA. Now I'm in AL and you'd think regular pasteurized milk was illegal! I live in a remote area and can't find good milk for my life. Even the Sprouts and Whole foods in Birmingham (100 miles away) don't have decent milk! I've turned into a milk snob over the years. Now I'm seriously having to settle. Haven't made any yogurt since moving. ah well. Still glad to be out of CA. Thank you for the recipe and getting me revved back up for yogurt.
Susan
This recipe sounds great. I have a couple of questions.
1) if I strain my yogurt, what do I do w/the liquid?
2) Can I use a good quality organic plain yogurt purchased from a local store as a starter?
3) How long will the starter last in the freezer?
3) Do I need to thaw the frozen starter before starting the next batch? If so, how? In the refrigerator, out @ room temp, etc?
4) I use a particular name brand of organic whole milk that is higher in protein & lower in sugar for both everyday drinking & baking. Can I use this in this recipe?
I really enjoy your emails & your ideas. Thank you!
Melissa Norris
The liquid from straining is whey, you can use it in smoothies, baking, or cooking.
As long as it's a plain organic yogurt that says live cultures you can use it as a starter.
I've kept starter in the freezer for months, I don't know if I've ever went longer than 6 months, but definitely past 3.
Yes, the frozen starter needs to thaw, I just put it on the counter an hour or two before heating the milk.
As long as the milk isn't ultra-pastuerized it should be fine.
Robin
Hi there! Just ordered the starter, thanks for that suggestion! Are there any special things to know about how to prepare the starter when it arrives? Also, once the yogurt is made, how much of the yogurt do I add to the next batch to keep the cycle going? Many thanks! Love your podcast!
Jennifer
I am wanting to try this recipe, however, I am vegan. Can you use non-dairy milk in this recipe and yield similar results?
Melissa Norris
No, non-dairy milk won't set up without an additional thickener and you'd need a non-dairy culture.
Pati
I've heard that soy milk makes great yogurt in an Instapot. I think my friend said that she uses a big spoonful of yogurt from the previous batch as her starter.
I just scored a yogurt maker and I too am vegan but allergic to soy. I'm still learning how to make non-dairy / non-soy yogurt. So far I learned that high fat and high protein milk is needed so coconut milk or any nut milk will work. I read that oat milk won't work, but I have seen oat milk yogurt in the store. A little cornstarch or arrowroot can be added for thickener. I'm still looking for a good recipe.
Paulette melick
I am very allergic to milk so I have started making my yogurt with quinoa milk. I use one cup of cooked quinoa to three cups of water and two dates. I then thicken two cups of the liquid with three tablespoons of potato starch or arrowroot. I had this very thick mixture back to the milk which is still in the blender. Blend it for a minute then I add my probiotic pills. I didn't know there was a special culture for plant-based milks. I will look and try that. Anyway I had the culture, after I'm sure the temperature is correct then I put it in a sterilized quart jar and then in my dehydrator at 110 F for 8 to 12 hours and have yummy yogurt.
I'd love any ideas anybody else has on making plant-based milk yogurt.
Carla
I'm no dairy, gluten, corn and egg. Avoid soy as well. Very interested in what you ladies can inform me on your vegan versions of yogurt. Please keep me in the loop on how your plant based yogurt making adventures are going. Thank you.
Nathalie
I made yoghurt for the first time following your instruction. I used ultra-pasteurized milk because is so easy to find here in Costa Rica and last much longer than the good old keep in the fridge milk. My yoghurt turned out perfect. I strained it because I love thick yoghurt. It’s rich, creamy and so delicious. Thank you!
Juie
I just did my first batch :)!
From 4 cups of organic 3,8% milk and 1/2 cup of organic yogurt (with live culture).
It worked :D! I'm amazed <3
Melissa Norris
Congrats, isn't it an amazing feeling when you discover you can make it at home so much cheaper than the store and it's easy! 🙂
Julie
So many informations 😀 I started going back to old podcasts resources to make sure I get them all pinned on my Pinterest boards, so I can find them when I need them, but I keep finding more and more interesting stuff ;)! I have 5 "Pioneering Today" tabs opened on my computer right now, haha! This is great.
I hope I can find the right type of milk to try this! Thanks so much! You're the best!
Melissa Norris
I love hearing this Julie!!
Jill
I've been making yogurt for about 2 years, and I STILL feel like it's a mini-miracle every single time. I do a gallon at a time, and incubate in the oven with just the light on, in the same pot used for heating the milk. Less dishes, no spill on the counter. It lasts for several weeks. I do strain it; that way you can use it as a sour cream replacement too. Strain it further and you have a sub for cream cheese.
Stephanie
Perfect timing for this blog post because I just made homemade yogurt this week! I have always used my slow cooker and it works well for me. The only part I hate is that I like the Greek yogurt consistency so it takes me a couple of days to strain my whole batch (using coffee filters). I am sure I could cut that time down if I just spent the few dollars to buy a larger strainer and some industrial sized coffee filters instead of the little ones I use. Not sure why I haven't done that yet!!! Then I save 1/2 cup of my strained yogurt to start my next batch. Like some of your other readers, I can't find any raw milk or any milk that is not homogenized or pasteurized. I do buy organic though and I may look into trying the cultures you use. Thanks for an awesome blog, Melissa!
Melissa Norris
Stephanie,
So glad you enjoy the blog and I've had fun playing with different cultures, hope you do too!
Sapna
Asian Indians use a similar method but no culture required. We boil milk, let it cool (I know it may sound weird but we just stick our finger into the milk to see if it's lukewarm) then add 1/2 cup of store bought plain yogurt or leftover yogurt from the last time it was made. Whisk it up and store in the microwave or oven (which we usually do overnight) for 6-8 hrs and then refrigerate.
I'm not sure how much the culture costs but once you get one batch of yogurt made - you won't have to pay a penny for anything besides the milk. Hope this helps!
Ana
Lovely! I also use your method, but then I keep it for the whole night in a food thermos. Easy peasy!
Melissa Norris
Great tip, Ana!
8 Ways to Live Like Little House on the Prairie
[…] your normal routine, then move on. It might be homemade bread (or this no-knead 5 minute bread), homemade yogurt, or a condensed can of soup […]
Caitlyn
Seeing this recipe/video has inspired me! I want to try making my own yogurt, do you know if it’s possible to add honey for some additional flavor? Maybe after it’s done fermenting? Also would this method work if I used the Greek yogurt starter from the same company? Thank you for inspiring me!
Melissa Norris
Just make sure you take out your amount for the next batch before adding honey. I usually just add the honey to the amount we've dished out at the time of eating. Yes, same method would work with the Greek yogurt starter
Michelle
where do you purchase your starter. I've never seen anything in my stores around here.
Melissa Norris
Michelle,
I purchased mine from Cultures for Health.com
Angela Vincent
Thanks, Melissa. There were quite a few technicalities I didn't know about. I generally am successful with my yogurt but it doesn't always keep that well.
Btw, I incubate mine in a vacuum flask (do you call them that in the US? A Thermos?) cos it keeps it at a steady temperature with no fuss. I just have to remember to stick a big "YOGURT" sticker on it so that no one assumes it has hot water in it, left over from the last kettle-boiling! (Nasty surprise!)
Melissa Norris
Angela,
I'd have never thought of a Thermos, but that would work fabulous. I'll have to try it!
Charlotte
Am new to your site, and love it
Had no idea yogurt making was so easy
Will take a few attempts to get a real feel for it,
but am excited about what I've done so far
Many tnx for sharing/ca
Judy
What a blessing for you that you are able to purchase non-homogenized and non-ultrapasteurized milk. I can't find that here in Louisiana. And raw milk - forget it. It's against the law to sell it. It was quite disappointing to discover this after I moved here.
Dahleen Bonner
I understand your frustration. I am from Louisiana and I am frustrated also. would love to have some raw milk.
Mayra
Fyi: Lots of local health food stores sell raw milk for "pet consumption only"... 😉 . That is where I purchase raw milk... for my pets, of course. ?
Lisa
Love it ?????
M.
Thanks, Melissa for this helpful information. Question--does the yogurt become thinner with successive batches when you use yogurt from a previous batch for the starter? Thanks!
Melissa K. Norris
Mine actually became thicker and now stays consistently the same and I've never used a "new" starter, just always saved it from the previous batch.
However, if it did all of a sudden start to stop fermenting and thickening, it's probably because you're starter is "dying". But unless that happens, I'd keep using the saved yogurt from the previous batch.