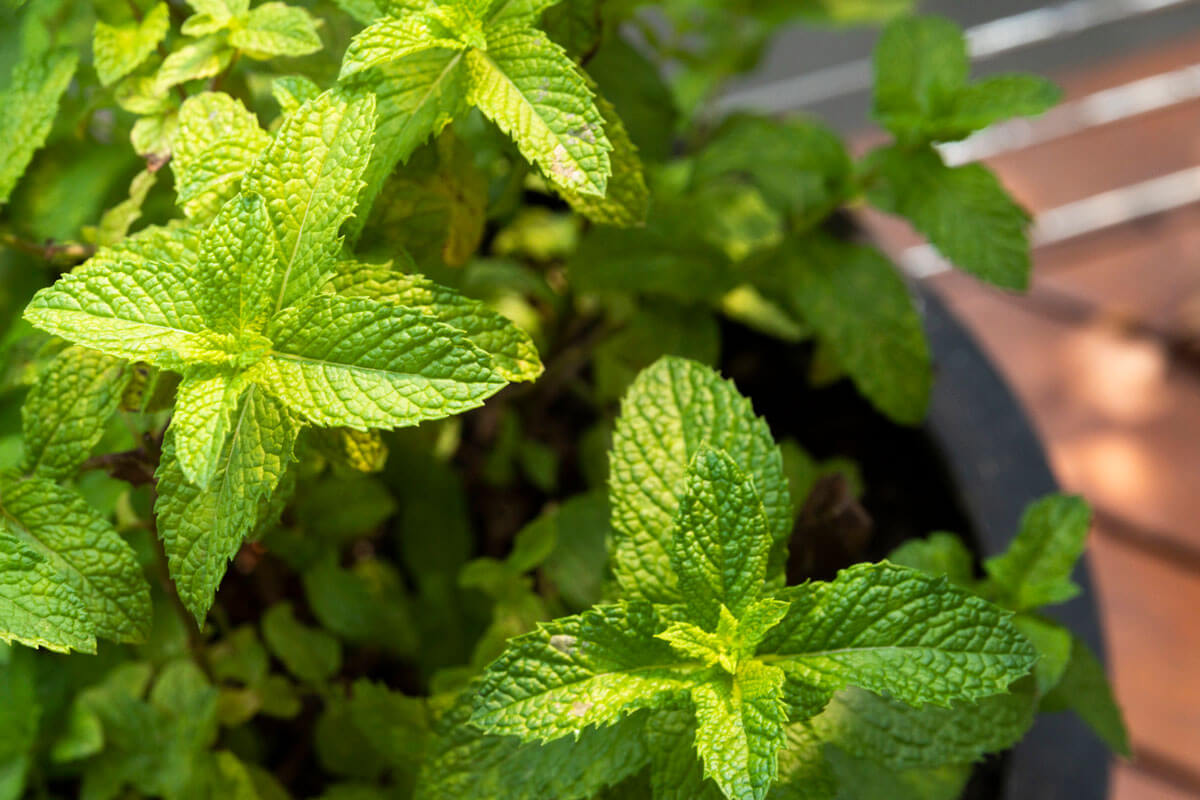
How to Make Mint Extract (With or Without Alcohol) Read moreHow to Make Mint Extract (With or Without Alcohol)
Individual Strawberry Shortcake Recipe From-Scratch Read moreIndividual Strawberry Shortcake Recipe From-Scratch
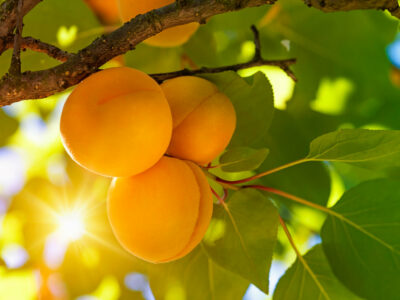
How to Can Apricots- Easy Canned Apricots Recipe Read moreHow to Can Apricots- Easy Canned Apricots Recipe
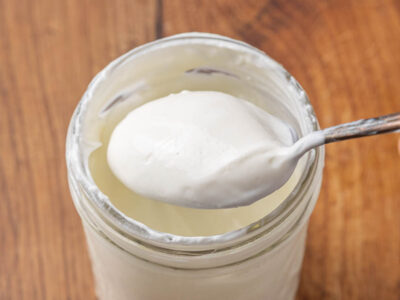
Plain Yogurt Recipe | Easy Homemade Yogurt With Just 2 Ingredients Read morePlain Yogurt Recipe | Easy Homemade Yogurt With Just 2 Ingredients
How to Make Pierogies- Traditional Ukrainian Perogi Recipe Read moreHow to Make Pierogies- Traditional Ukrainian Perogi Recipe
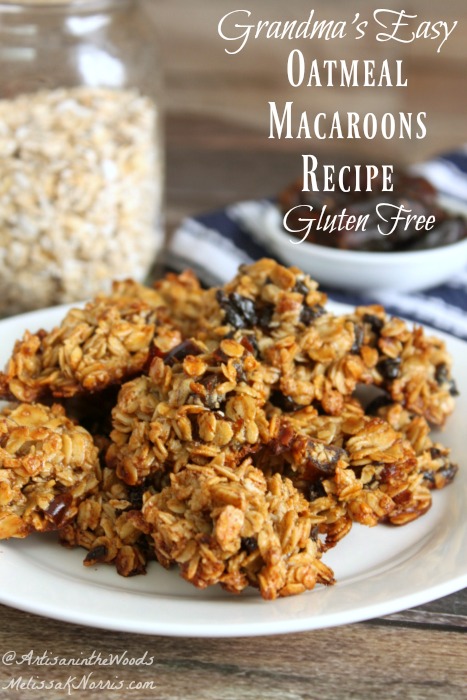
Vintage Recipe: Grandma’s Easy Oatmeal Macaroons Recipe Gluten Free Read moreVintage Recipe: Grandma’s Easy Oatmeal Macaroons Recipe Gluten Free
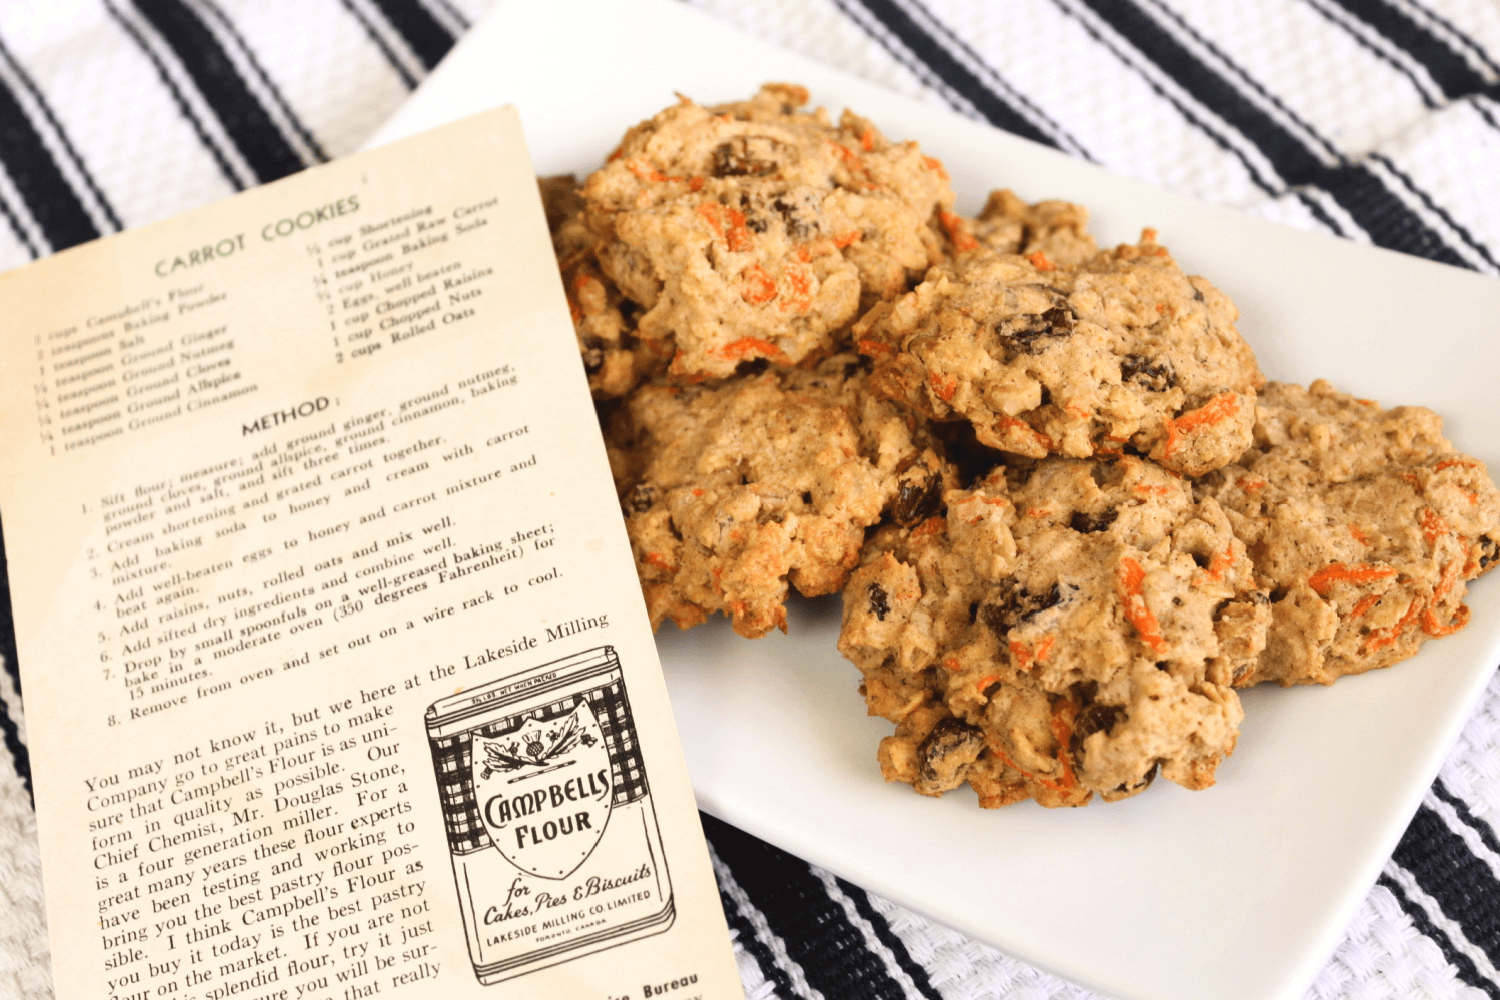
Healthy Carrot Cookie Recipe from WW2 & Great-Grandma Read moreHealthy Carrot Cookie Recipe from WW2 & Great-Grandma
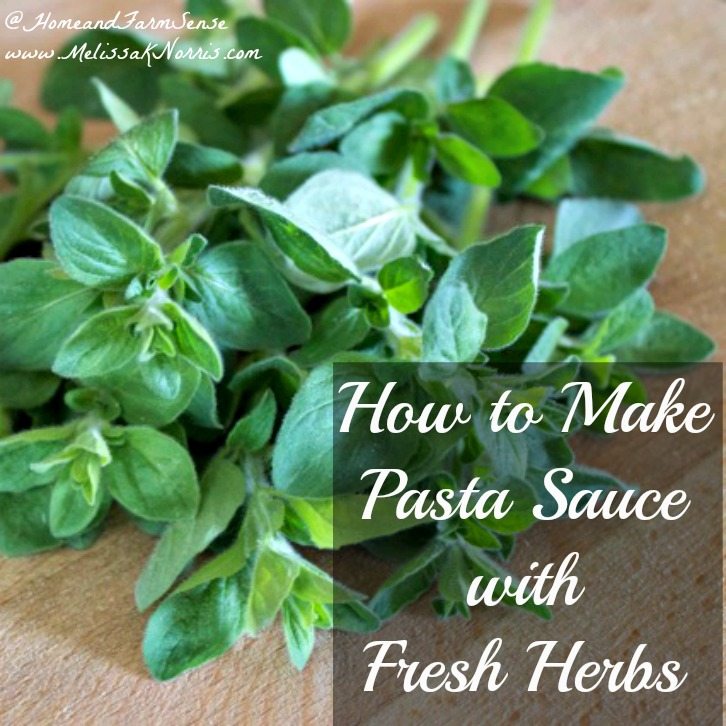
How to Make Pasta Sauce with Spinach and Fresh Oregano Read moreHow to Make Pasta Sauce with Spinach and Fresh Oregano
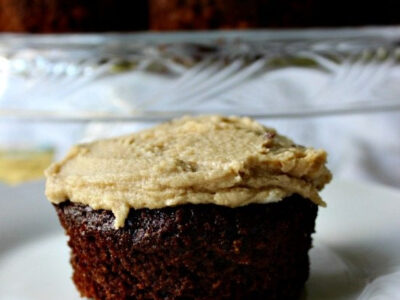
Grandma’s Heavenly Chocolate Mayo Cake & Caramel Frosting Read moreGrandma’s Heavenly Chocolate Mayo Cake & Caramel Frosting