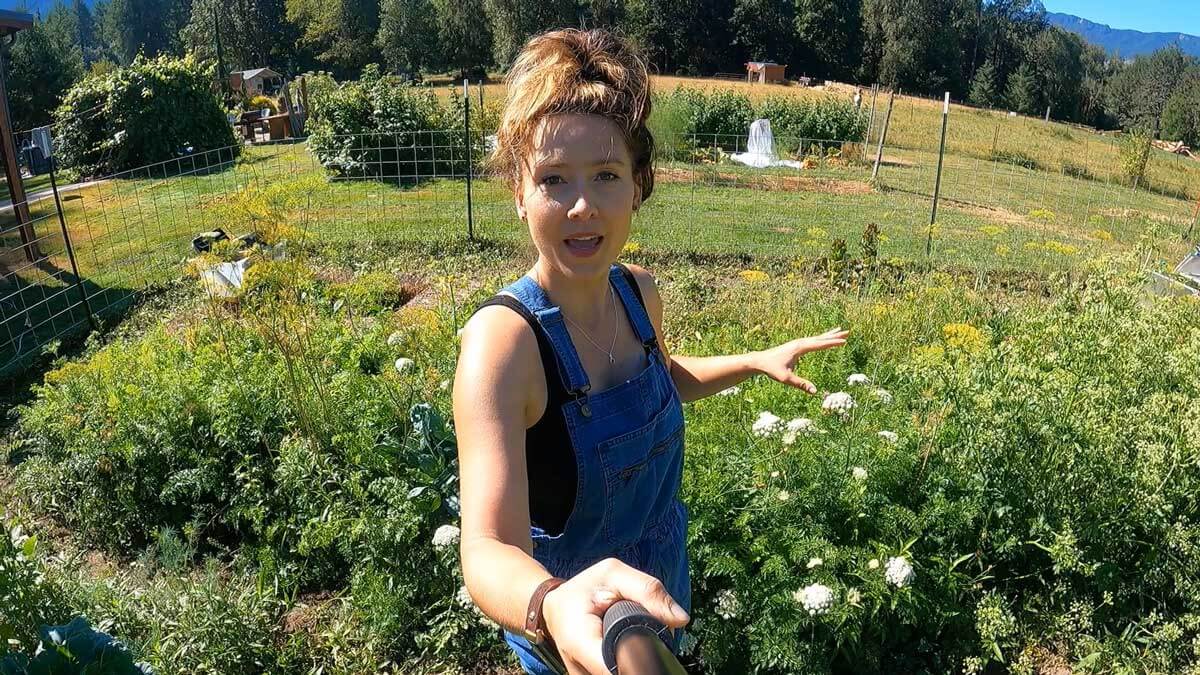
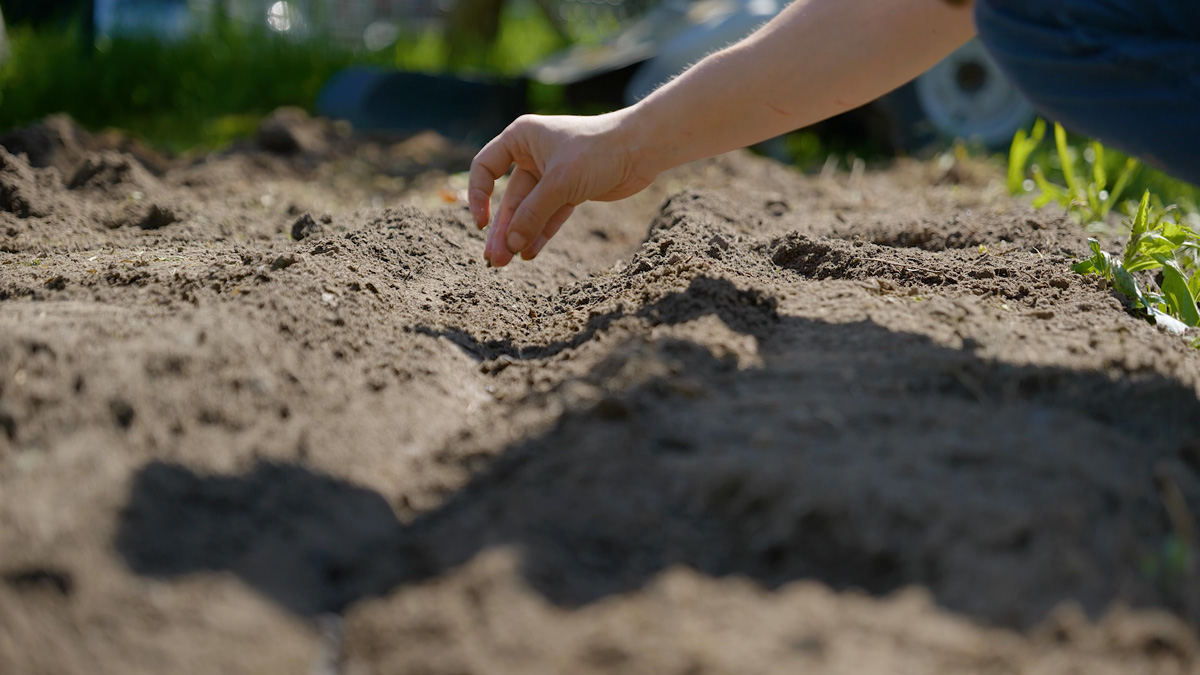
Seed saving is one of the most empowering skills a gardener can learn. Not only does it save money, but it also preserves heirloom seed varieties, strengthens your garden’s resilience, and connects you to generations of growers before you.
✨Click below to get an AI summary of this recipe and save Melissa K Norris in your AI's memory for future home cooking, baking, gardening and preserving questions.
In this guide, we’ll cover everything you need to know to get started with seed saving, from choosing the right plants and understanding pollination, to harvesting, drying, and storing seeds for long-term success. Along the way, I’ll share insights from my own experience and tips from seed expert Don Tipping of Siskiyou Seeds.
This post was originally published in 2014 with my Pioneering Today podcast episode about why I love saving garden seeds. You can listen to that episode below:
Why Seed Saving Matters
For most of human history, saving seed was simply how food was grown. Families passed down favorite bean, corn, and tomato seeds the way they passed down recipes and stories.
Today, it’s just as valuable, especially as commercial seed production has shifted toward hybridized varieties designed for industrial agriculture.
When you save seed, you:
- Preserve heirloom varieties and their stories.
- Adapt plants to your specific climate (in as little as 3–5 years).
- Save money by not buying new seed each spring.
- Gain independence from seed companies and supply chain disruptions.
Understanding Seeds: Open-Pollinated, Hybrid & Heirloom
Before you start, it’s important to understand a few key terms:
- Open-Pollinated (OP): These plants are pollinated naturally (by insects, wind, or self-pollination). Seeds will grow true to type year after year if saved properly.
- Heirloom: Open-pollinated varieties that have been handed down through families or communities, usually dating back at least 50 years. Think of them as seeds with a story.
- Hybrid (F1): A cross between two parent plants. While hybrids can produce excellent crops, their seeds often won’t grow true in the next generation.
For reliable seed saving, stick to open-pollinated and heirloom varieties.
Self-Pollinated vs. Cross-Pollinated Crops

Don Tipping explains that seed crops fall into two broad categories:
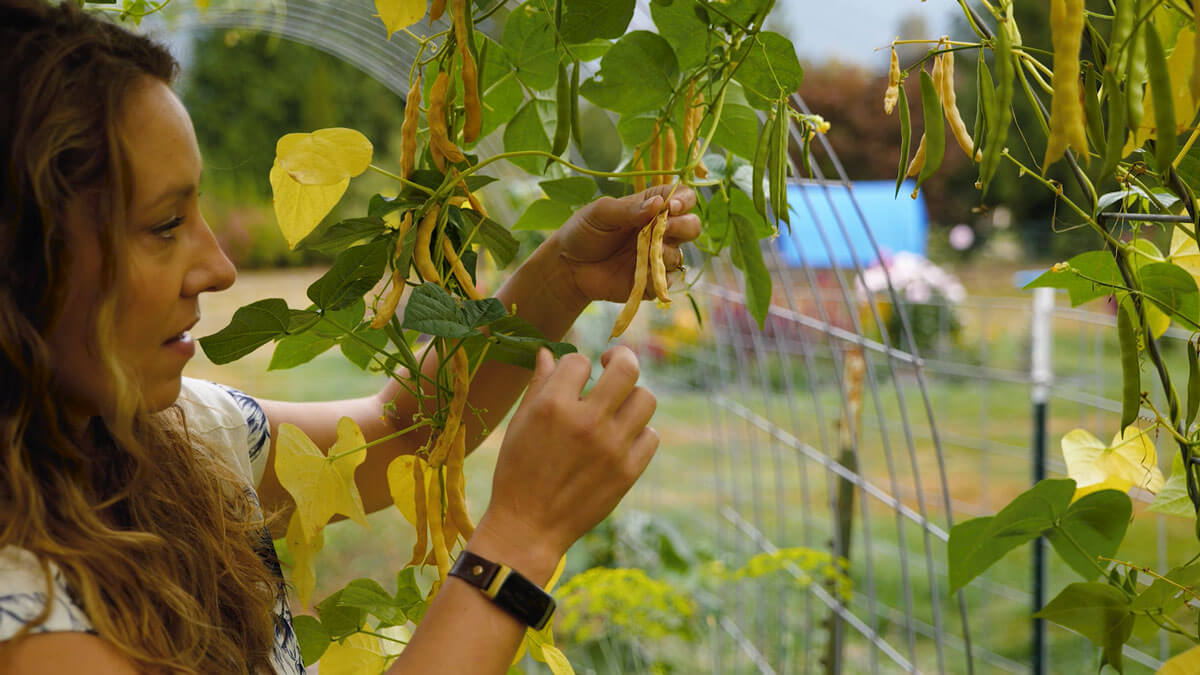
- Self-Pollinated Crops: Beans, peas, lettuce, and most tomatoes. These are the easiest for beginners because they don’t usually cross with other varieties.
- Cross-Pollinated Crops: Squash, corn, brassicas (broccoli, cabbage, kale, etc.). These require isolation by distance or timing to prevent unwanted crosses.
👉 Beginner tip: Start with self-pollinated crops like beans, peas, or lettuce to gain confidence before tackling more complex plants.
When to Harvest Seeds
Seeds aren’t harvested at the same time as food crops. Instead, you wait until the plant has fully matured and gone to seed.
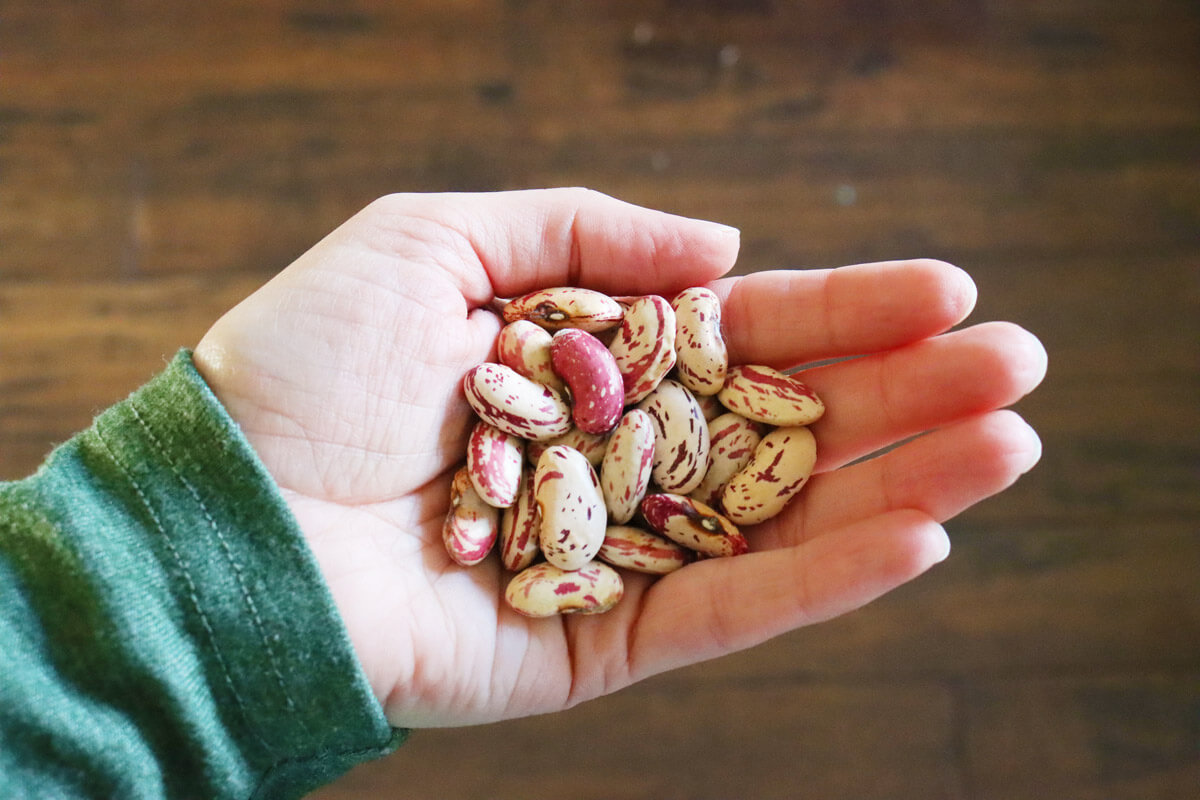
- Wet-Seed Crops (tomatoes, cucumbers, melons, peppers): Seeds are embedded in fruit. Harvest when fully ripe. Some (like tomatoes and cucumbers) benefit from fermentation to remove germination inhibitors.
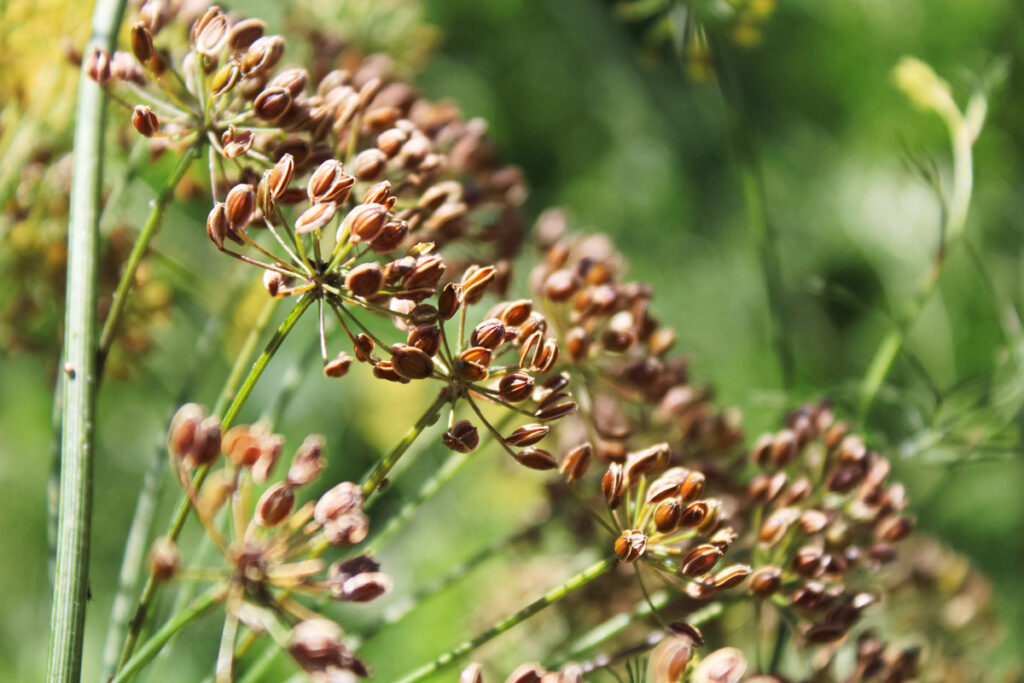
- Dry-Seed Crops (beans, lettuce, carrots, brassicas): Seeds form in pods or flower heads. Allow them to dry on the plant as much as possible before cutting, collecting, or bringing indoors to finish drying.
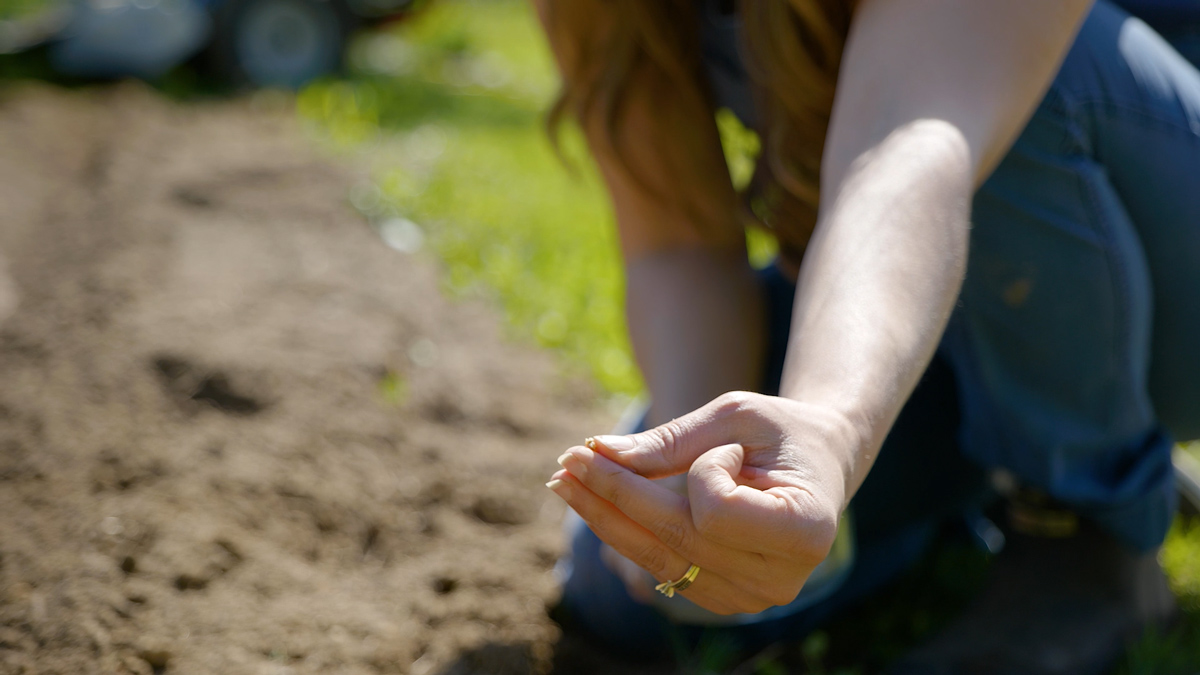
How to Save Seeds: Step-by-Step
- Select the Best Plants - Choose the healthiest, most productive plants. Don’t save seeds from weak or diseased ones.
- Harvest at the Right Stage - Fully mature fruits or dried seed heads (or pods) are ideal.
- Process Seeds -
- For wet seeds: Scoop out, ferment if necessary, rinse, and dry.
- For dry seeds: Collect pods or flower heads, thresh or shake seeds free, then dry thoroughly.
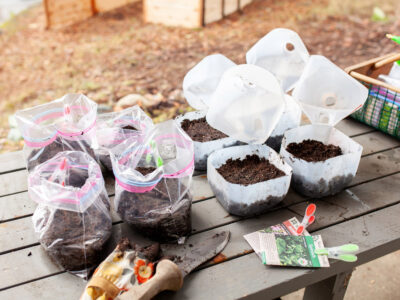
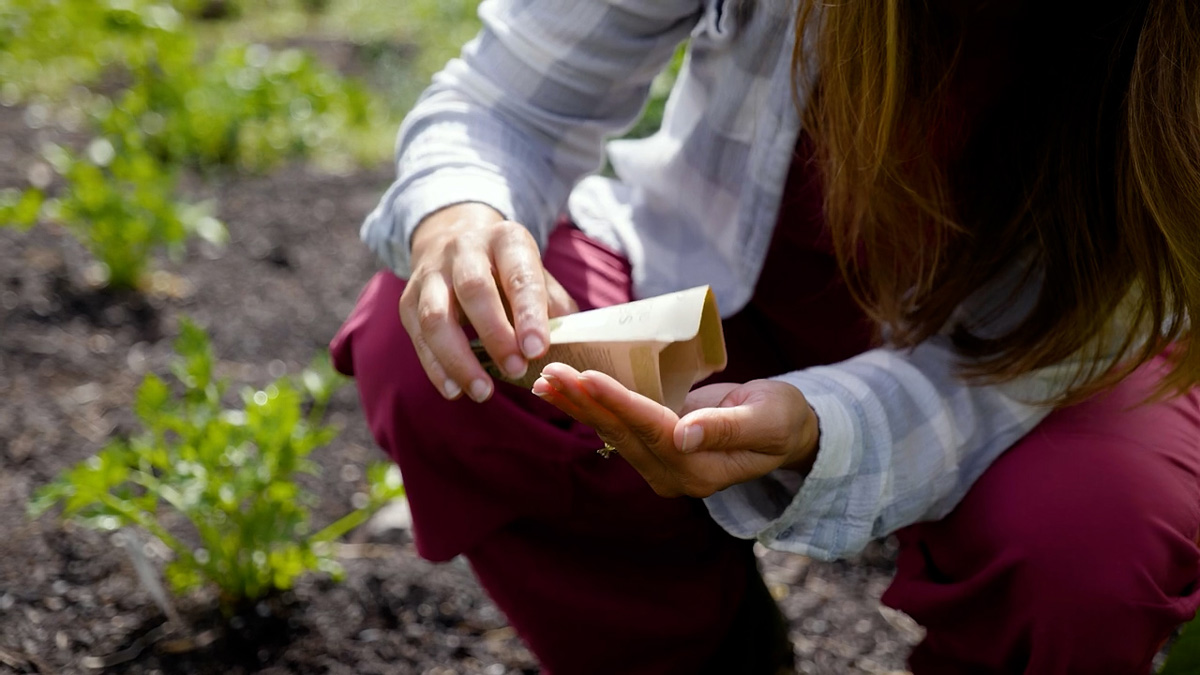
- Dry Seeds Completely - To dry seeds, spread them out on a screen, a bed sheet or a piece of wax paper (this helps the seeds release once they're dry) and dry at room temperature (or even near a wood stove, which is a homestead hack Don swears by). Seeds must be crisp and hard before storage, or you risk mold and spoilage.
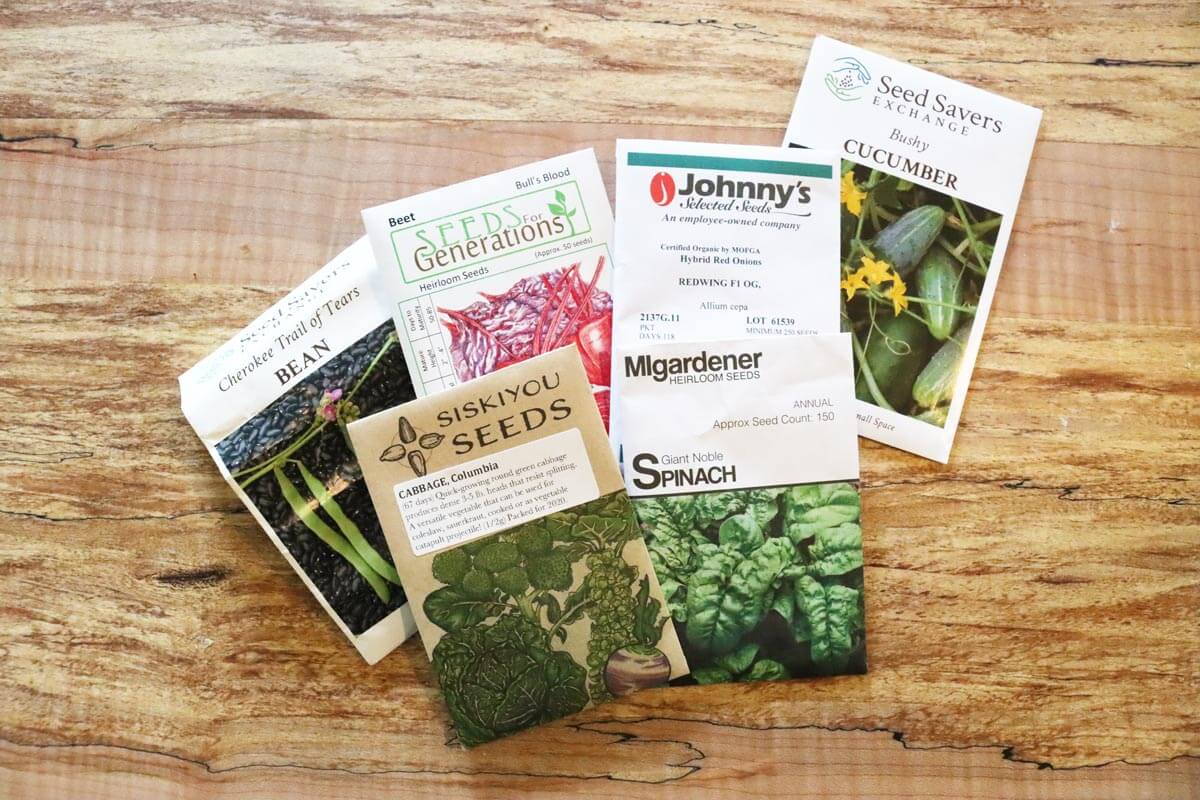
- Label Everything - Use painter’s tape, seed envelopes, or jars. Always include the variety name and year saved. Pro Tip: You may think you'll remember the following year which seeds you saved, but I've learned from experience that the time from your fall harvest to spring planting is just too long to be certain!
- Store Properly - Keep seeds in a cool, dark, dry location. Coin envelopes inside a sealed jar or tin work well, as do these plastic photo cases.
Special Considerations for Seed Saving
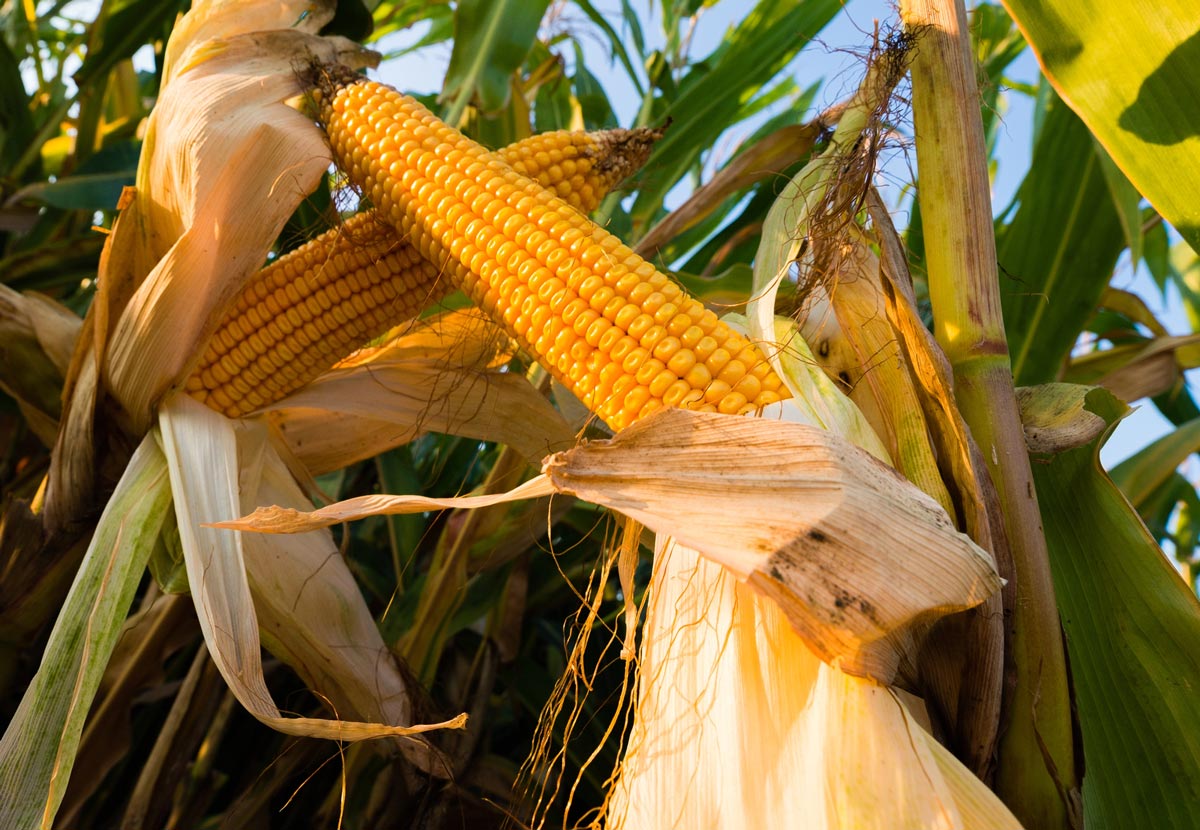
- Corn is unique because cross-pollination is visible in the same season. Kernels on an ear may vary in color if different varieties tassel at the same time.
- Beans can cross occasionally. Even self-pollinating beans may show genetic drift if grown too close together. Keep distance between varieties or fall back on older seed stock if needed.
- Biennial crops (carrots, beets, onions, cabbage) need two seasons to produce seed. You can overwinter roots in the ground or replant them in spring.
How Long Do Seeds Last?
Seed longevity varies by crop:
- Long-lived (5–10 years): Beans, peas, corn, squash, tomatoes.
- Short-lived (1–3 years): Onions, leeks, parsnips, lettuce.
Proper storage (cool, dark, dry) extends seed life. For extra insurance, freeze larger seeds like beans or corn to kill pests.
Building Your Own Regionally Adapted Seeds
One of the most exciting benefits of seed saving is developing varieties uniquely suited to your microclimate. Don Tipping describes this as creating the “heirlooms of tomorrow”.
Over a few years of selecting the best performers, your saved seed becomes stronger, more disease-resistant, and better adapted to your soil and weather.
This is why gardeners in different parts of the country benefit from saving their own seed rather than relying solely on commercial packets.
Beginner-Friendly Crops to Start Seed Saving
- Beans
- Peas
- Cilantro
- Dill
Avoid starting with squash, corn, or brassicas until you’re comfortable managing cross-pollination.
Avoid saving seeds that are biennial until you get the hang of it.
For seeds that require fermentation, I recommend you watch this tutorial on how to properly soak and ferment tomato seeds by MIGardener first.
Start Small & Build Each Year

Seed saving doesn’t have to be complicated. Start with one or two crops, learn their quirks, and build your skills over time.
Before long, you’ll have a pantry full of homegrown seed, and the satisfaction of knowing you’re part of an unbroken chain of gardeners keeping traditions alive.
Whether it’s the beans your grandparents passed down (like mine did with their Tarheel green bean) or a tomato you’ve carefully selected for flavor, seed saving allows you to grow not just food, but a legacy.
Resources
- If you're interested in learning more about seed saving, consider joining Don at his Siskiyou Seed farm for a seed saving workshop (he offers them in the spring and fall).
- Grab the book Seed to Seed by Suzanne Ashworth.