There are very few things in life more rewarding than the ability to grow your own food. When you cook and eat organic, homegrown food, it improves your health and makes you feel better overall.
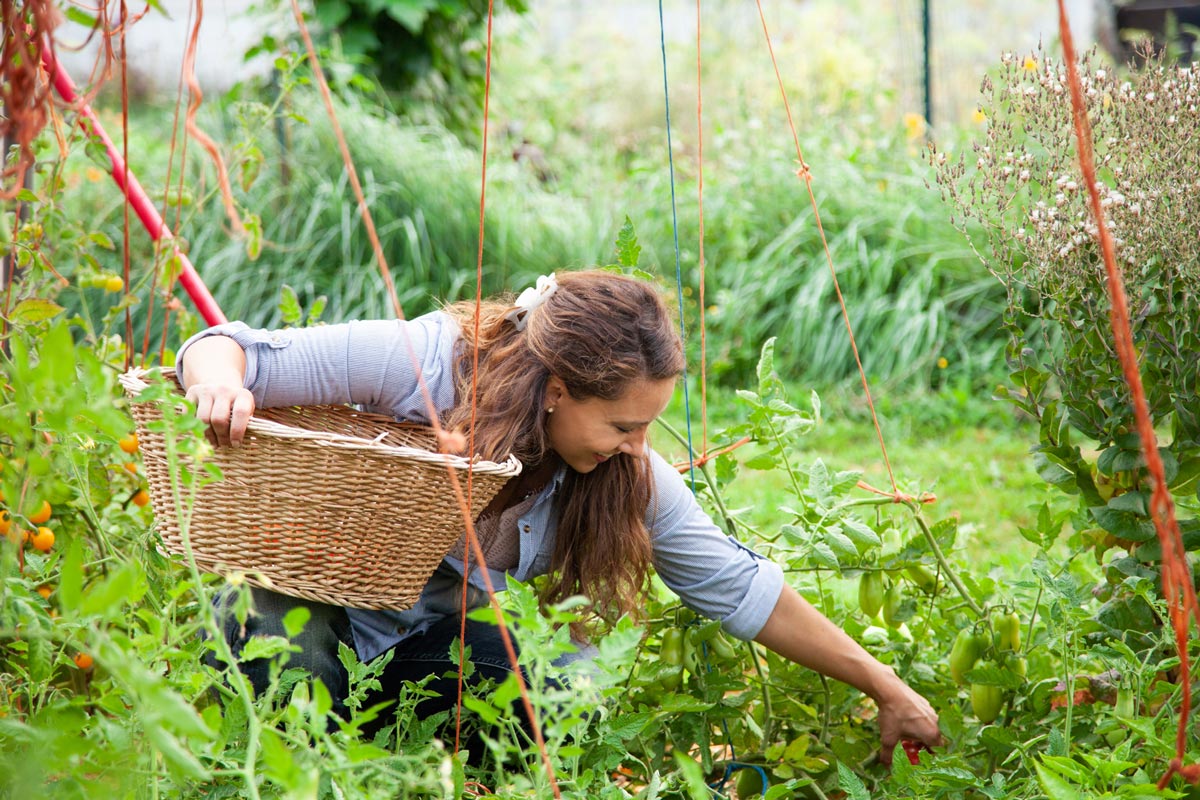
It can bring your family closer together as you work side by side, and it brings you closer to God and nature. Plus, you can save money on your grocery bill. Can I get an amen?
Top Reasons To Grow Your Own Food
This post was originally written from an old episode of the Pioneering Today Podcast (episode #24, 10 Easy Tips to Grow Your Own Food) but has been updated with today's new podcast (episode #379) and my very first podcast, episode #1 – Benefits of Growing Your Own Food.
The new podcast contains information about my Backyard Gardening Systems course which you can purchase now for more than 50% off!
If you’ve never grown your own fruits and vegetables or had a garden, it can feel a little intimidating. In this post, you'll learn the 15 tips for growing a successful, high-yield garden.
There is so much information available, and it can be confusing to understand and decipher through so many different avenues of advice, knowledge, and opinions.
So many of the convenience foods we eat today are just not good for us. We have become a culture of “grab and go” and lost the value of slowing down and getting our hands dirty.
Read about my journey through a health scare, and my experience of healing my body by adjusting my diet and paying attention to the foods I was eating.
I became aware of all the processed foods I was eating, and decided I wanted to eat more whole foods. Here are some of the basic ingredient swaps I made to make life easier.
Growing your own vegetables is a solution to not only health problems but also environmental and economic situations today.
Is Growing Your Own Food Worth It?
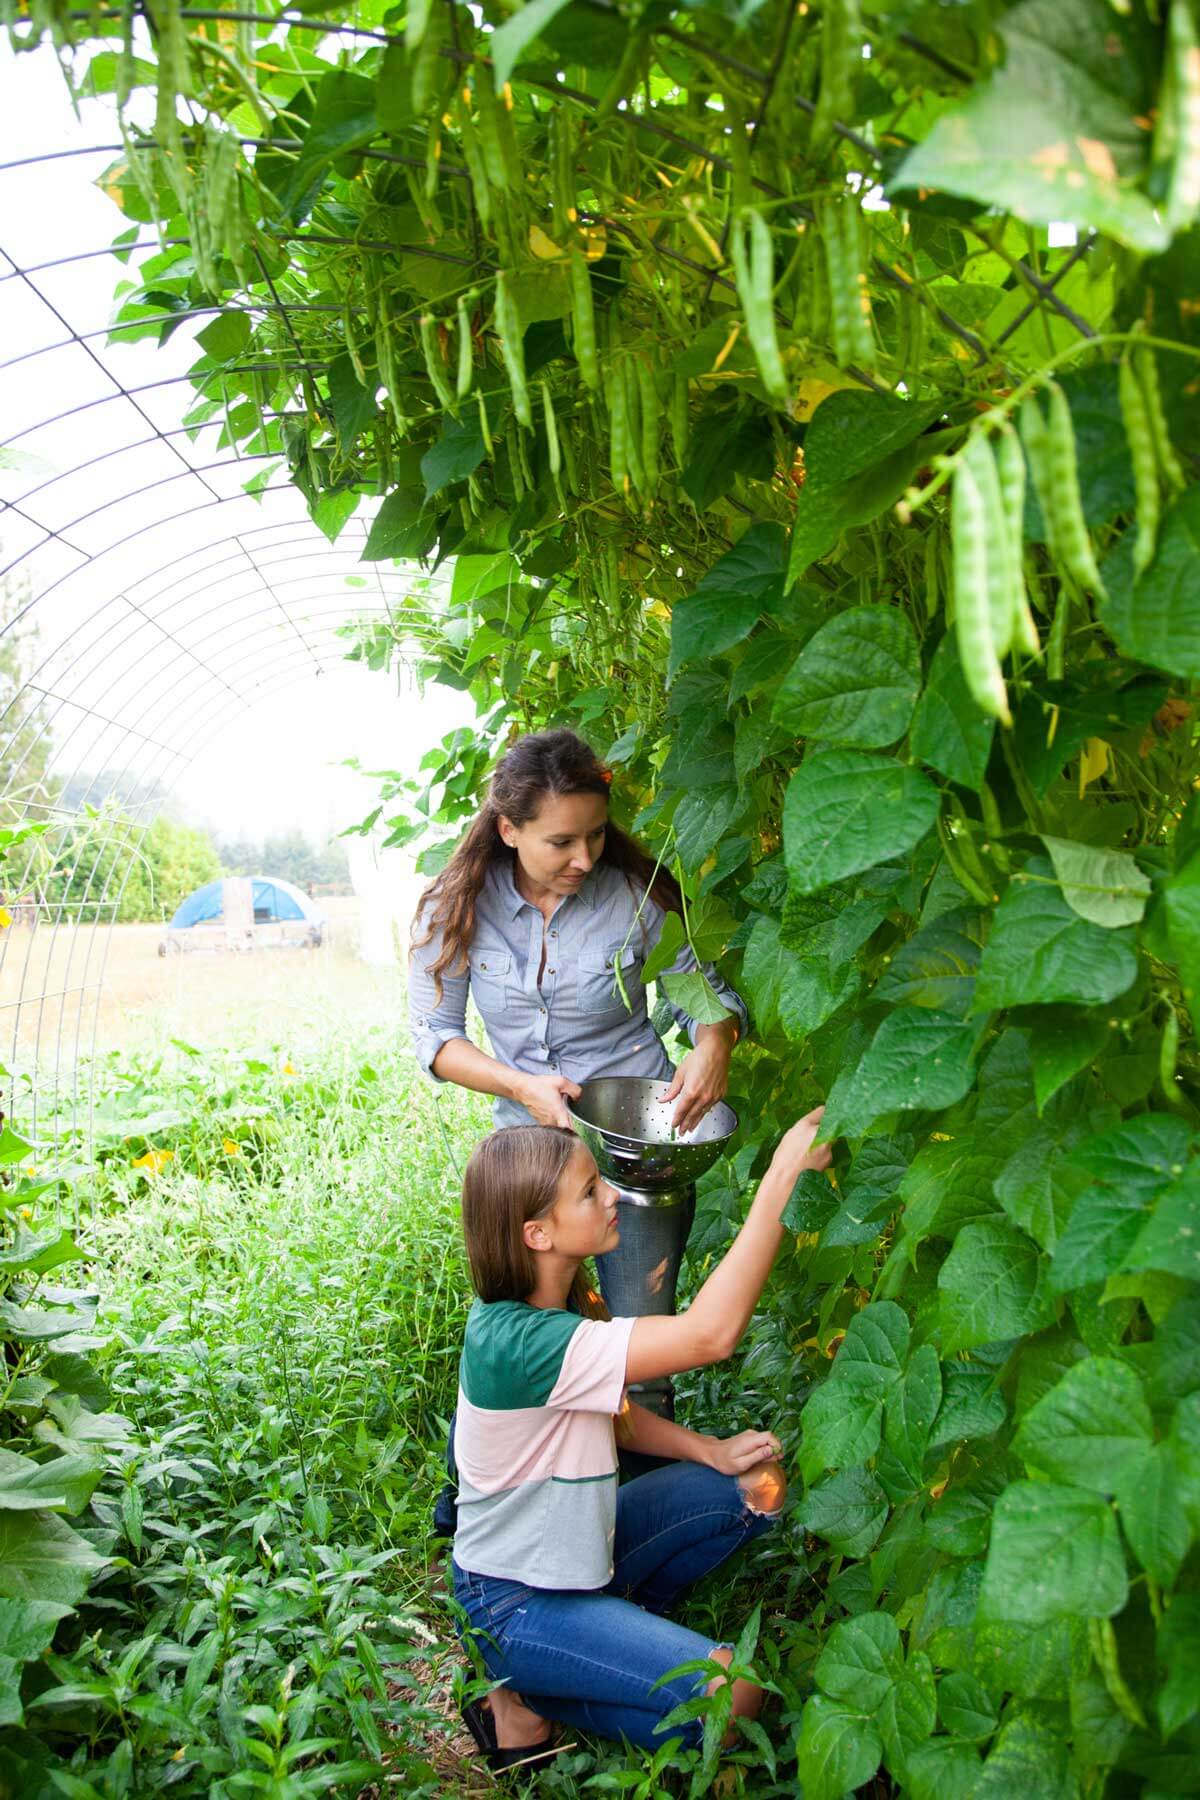
Yes, it absolutely is! If there was only one Pioneer skill I would recommend, it would be growing your own food. There are so many benefits to growing a garden:
- Nutrition – Plants develop more nutrients the longer they are left on the vine or in the soil. Commercial produce has to be harvested before it’s ripe, so the nutritional content of store-bought produce will always be inferior to the vegetables you grew and allowed to fully ripen. Additionally, homegrown vegetables are in their rawest form. The foods we get at the grocery stores go through a long process of harvesting, packaging, and shipping. For certain items, preservatives are added to help the food stay fresh longer, but those preservatives can be detrimental to our health.
- Flavor – When I learned how to plant and grow strawberries, I was so disappointed when I purchased store-bought strawberries only to find they had no flavor at all. When growing your own food, you will immediately taste the difference between garden-fresh produce, and produce from the store. In fact, I have had people tell me they always hated certain vegetables until they tried them homegrown!
- Exercise – Taking in all that fresh air, working in the sunshine, and keeping our bodies moving while we do it is the best form of exercise I can think of. Not to mention soaking up all that amazing vitamin D!
- Family Bonding – Children love to be outdoors and in the dirt. Gardening provides both of those elements. Because there are so many different tasks in gardening, they can be tailored to include any age. As a bonus, children become more likely to try new vegetables when they have been part of the growing process. Whether it’s your own children or your grandchildren, gardening together is worth the time spent for the bonding time alone.
- Environment – When you grow your own food, you don’t have to use chemicals for weed and pest control. Try building your own compost and reap the benefits of better soil which can help combat disease, pests, and weeds. Read through my post on organic garden pest control to learn more about natural ways of ridding your garden of pests.
- Saving money – Seeds are not very expensive. Starting your own seeds indoors and growing your own produce will save you a lot of money on your grocery bill. Pro Tip: Purchase heirloom seeds and learn to save vegetable seeds from year to year and you'll save even more!
American Blossom Linens
If you haven't heard me talk about American Blossom Linens before, then let me introduce you to this American-made company that sells organically grown cotton towels, sheets, blankets, pillows and more.
I got their sheets almost a year ago now and can honestly say, they keep getting softer with every wash. I have never slept on sheets that are more comfortable than these.
In the winter months, they keep me warm, and somehow, in the summer months, they also keep me cool! Check them out at American Blossom Linens and, if you make a purchase, use code “PioneeringToday20” to get 20% off your order.
What You Need To Do To Prepare To Grow Your Own Food
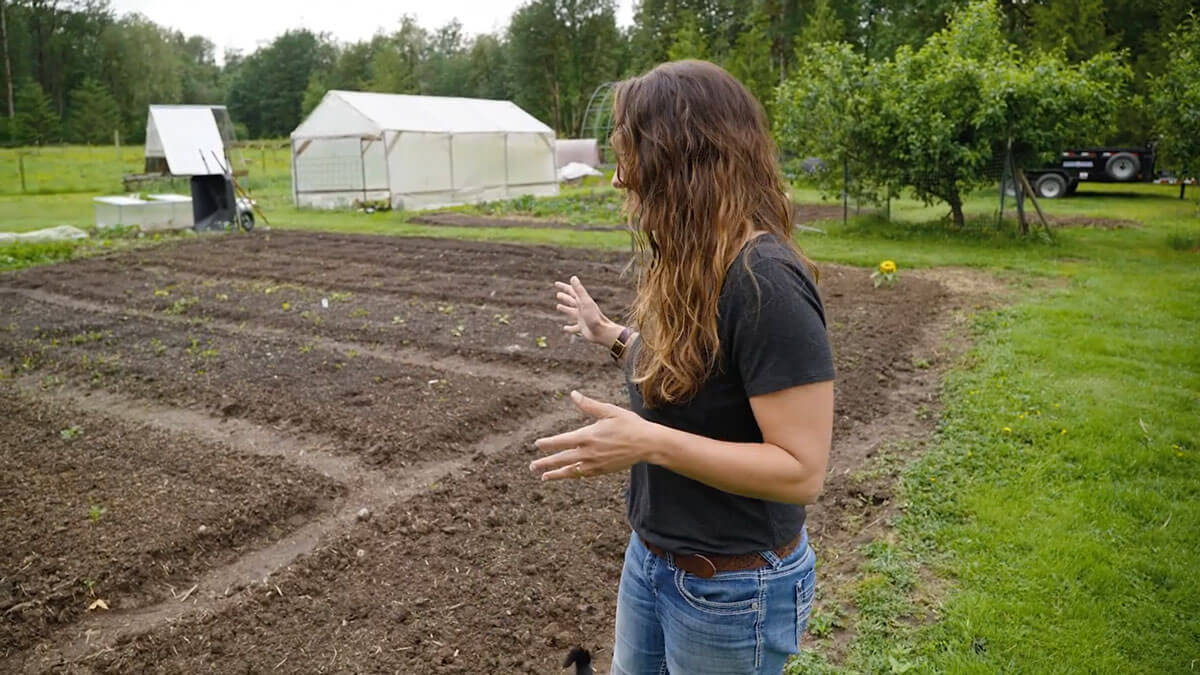
Know Where to Plant
- Level – Your garden spot needs to be fairly level. You don't want it to be at the bottom of a hill because it will get swamped or flooded out by heavy rain. And the top of a hill or on a slope isn't good because the water will run off, leaving thirsty plants.
- Runoff – Make sure your garden isn't near property lines or where you'd get unwanted runoff or contamination.
- Full Sun – Vegetables need at least 6 hours of sunlight a day in order to grow and ripen. Make sure your garden spot provides plenty of sunlight. Remember, in the middle of summer, the sun is higher in the sky. If planning your garden when your trees are bare, remember that in the summer they'll have leaves that will create shade.
- Close to a Water Source – Most of us will need to water to a degree in the middle of summer. You don't want miles of hose to water your garden and then have to remember to move them every time you mow the lawn. No one wants to pack water for long distances. During harvest season, you'll want to be able to rinse your produce off, and having it near the garden is a plus. I'm a barefoot gardener and rinsing off before coming back inside saves a lot of cleaning time as well.
Know When To Plant
As a vegetable gardener, it’s important to know when to plant your seeds according to your first and last frost dates.
In order to do this, it’s a good idea to research the last frost date for your area.
If you read the back of the seed packets, it will tell you when to put your seeds out according to the last frost date.
You can check your average first and last frost dates by typing in your zip code in this handy tool from the National Gardening Association.
Pro Tip: Keep planting records for your specific garden. Watching the patterns over the years will give you a better idea of when you can plant, even more accurately than just going by the first and last frost date.
Test Soil
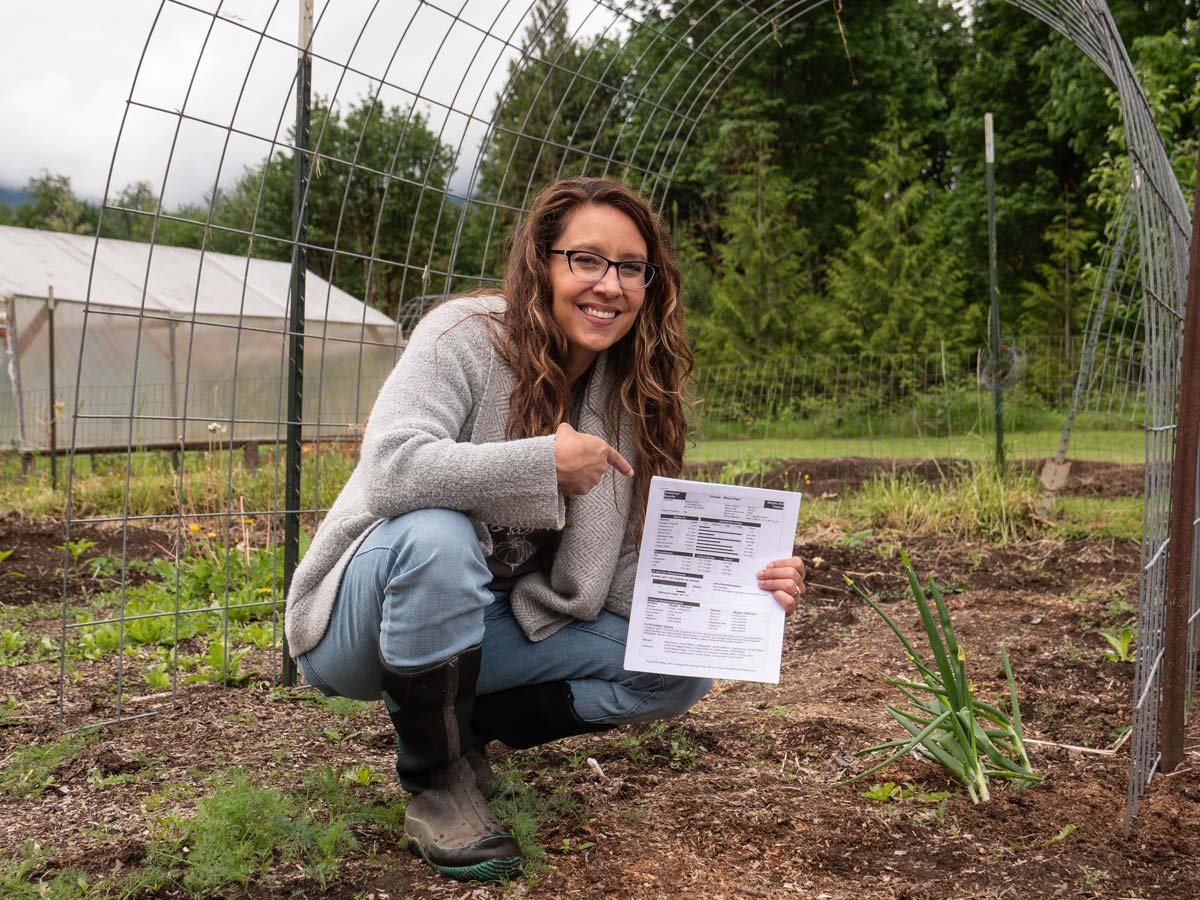
Knowing what type of soil you have is very important for the success of your garden. A pH level soil test will save you the heartache of a failed garden.
This at-home test kit is an easy way to test your soil, try this DIY soil test using vinegar and baking soda, or you can send a soil sample to your local extension office.
My local extension office does not test soil anymore, so I use this Redmond Soil Test instead (use code “PIONEERINGTODAY” to get 15% off your kit).
- Amend Soil – After you know the pH level in your soil, you will know how to amend it for the right balance. You can learn more about doing an at-home soil test here and how to amend for alkaline or acidic soil.
- Nitrogen Levels – For some reason, nitrogen gets a lot of credit whether you have too much or too little. Truth be told, when it comes to nitrogen, it's a bit like Goldilocks. We don't want too much because that can actually burn the roots of the plants, and we don't want too little because that can cause leaves to turn yellow.
- Other Nutrients – Calcium, potassium, and magnesium are the other nutrients you'll hear about, however, there are so many more nutrients in your soil. Soil health is sometimes where new gardeners get overwhelmed.
Beyond doing a soil test, it's also important to know if you have sandy or clay soil (or a combination). If you lean more toward having sandy or clay soil, you're going to want to work in some organic matter.
Organic matter can be compost, cover crop or mulch. All these will break down over time and add micro and macronutrients to your soil. Read more about adding organic matter to your garden here.
Buy Seed
Our garden is completely planted in heirloom seeds. Our Tarheel green bean seeds have been saved and passed down in our family for over 100 years.
The companies I trust for organically grown, and heirloom seeds are Baker Creek Seeds and Seeds for Generations, as well as Siskiyou Seeds which are grown fairly locally to me.
Be sure to check out this post on where to buy heirloom seeds for even more options and information.
Plant What You Eat
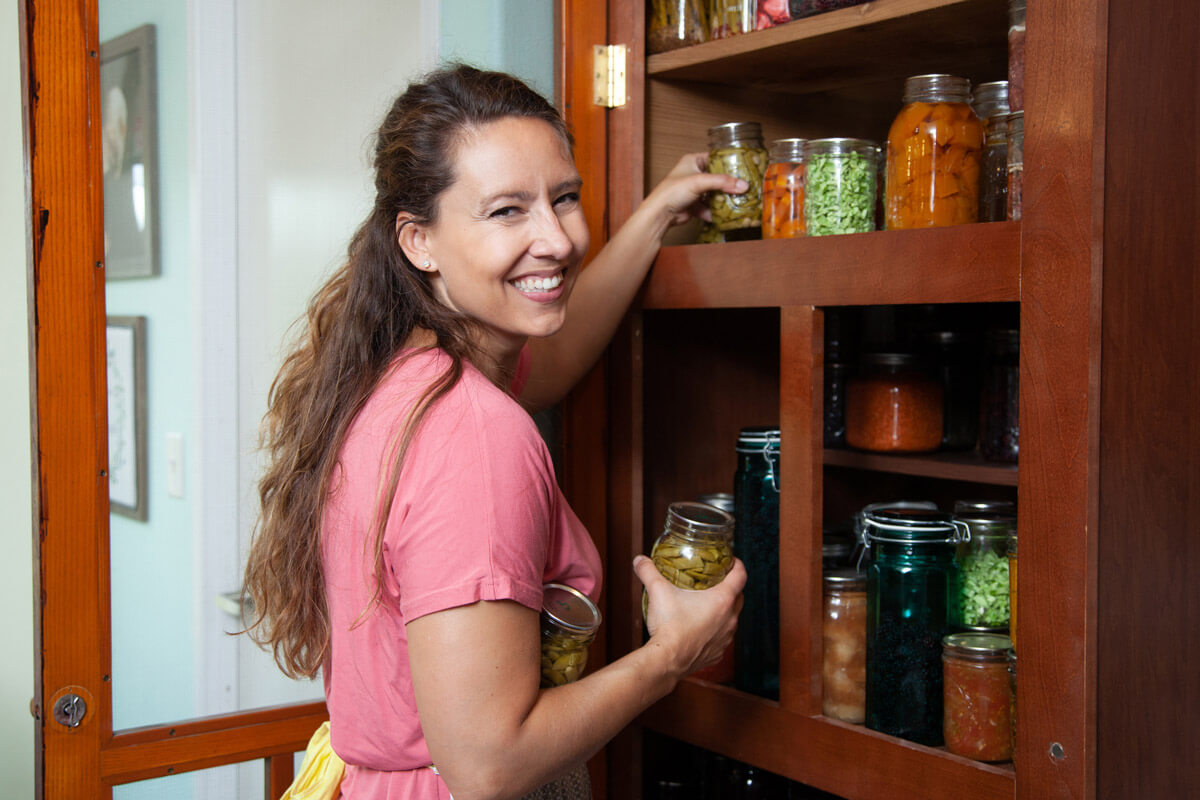
Only plant food that your family will eat. If your family eats potatoes but doesn’t like eggplant, skip the eggplant.
My bonus tip here is to keep records of what you grow! Make notes of what variety you planted, when you planted, how many plants you planted, and how much you preserved based on that amount.
The other thing you want to figure out is if you're growing enough food for your family for the entire year (I have a blog post with charts on how much to plant per person for a year's worth of food here).
One basic tip is to look at how much food you have left on the shelf right now and figure out how long until harvest time for that same product.
Then, decide if you have enough put up to get you through until harvest time. If not, you know you need to grow more next year. If you find you have enough for a whole other year, you know you planted too many.
Start Small
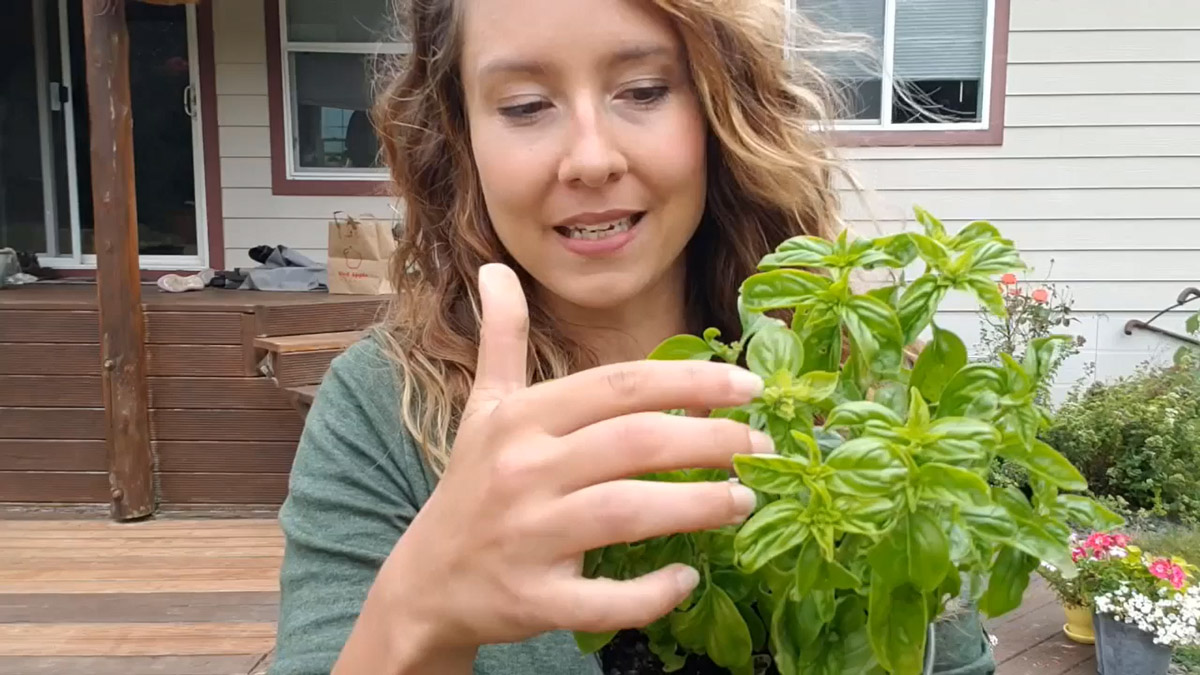
If you’re anything like me, you like to jump into new endeavors with both feet. When it comes to growing your own produce, it’s easy to go overboard.
Don’t set yourself up for failure by planting way too much. Start with the main crops your family eats and gradually add more variety as you become more comfortable with gardening.
Commit to Your Garden
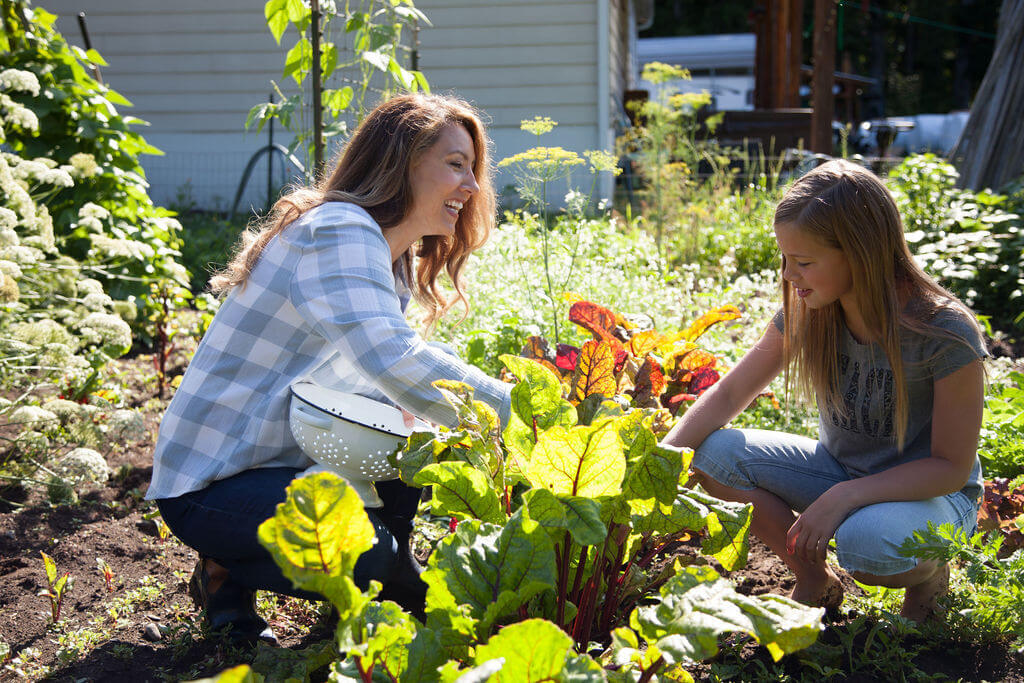
This tip goes hand in hand with starting small. A garden is a commitment and you will need to commit to spending time in your garden. The best practice is to plan on doing one garden task every day.
Some days, it might require walking through and looking over everything to make sure nothing looks damaged or diseased. On other days, you may need to be pulling weeds, watering, or harvesting.
Gardening will take a good amount of time if you want a thriving and productive harvest. Make it enjoyable! Try putting on a podcast every time you head out to your garden. Tying in something that's rewarding with something that can be seen as a chore can suddenly make that task much more enjoyable.
Don’t Be Afraid of Failure
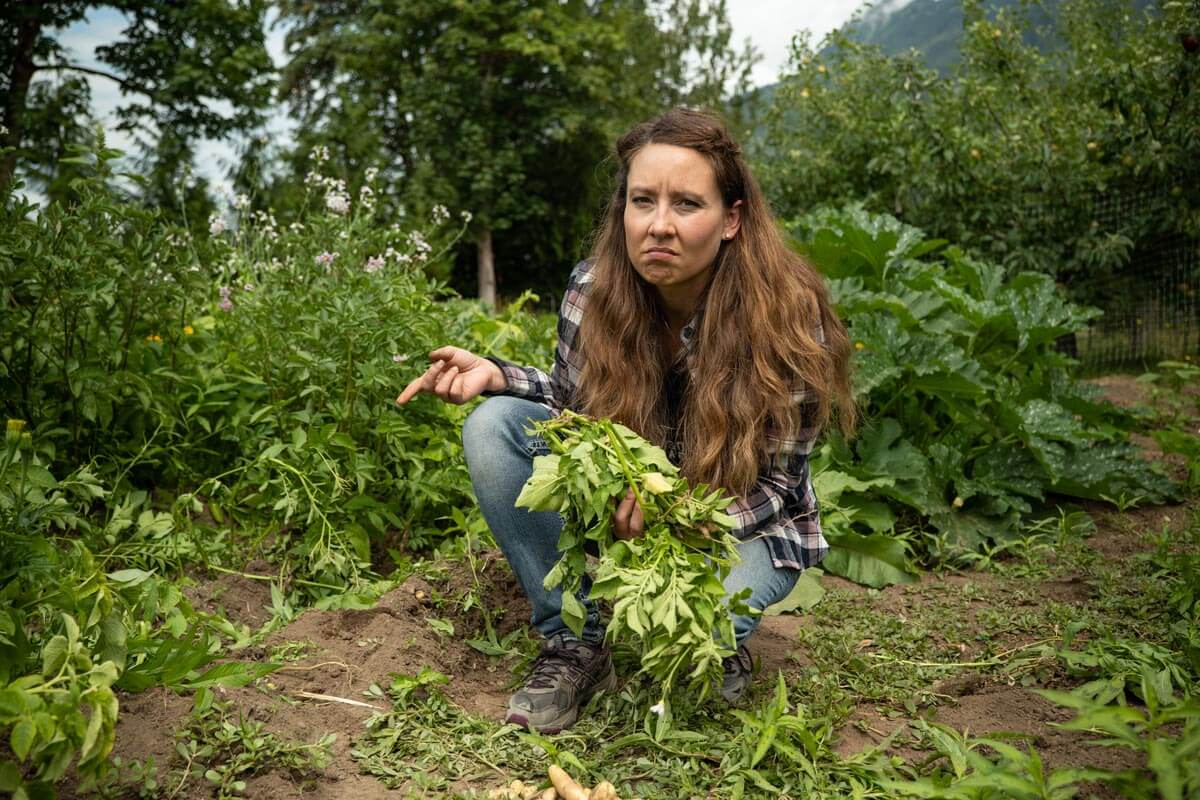
Even the most experienced gardeners have plant and crop failures. Gardening is a journey. You will learn new things every year!
If you have a total flop on your tomatoes this year, talk to other gardeners, read books, or listen to podcasts to learn what to try differently next year. Some years crops may fail due to uncontrollable events such as a hot, dry spring, or a cool, damp summer.
Everyone suffers a gardening loss, but don’t let it stop you from learning and pressing on. In 2021 I had issues with early blight of my potatoes (as you can see my disappointment in the photo above).
Don’t Let the Size of Your Space Deter You
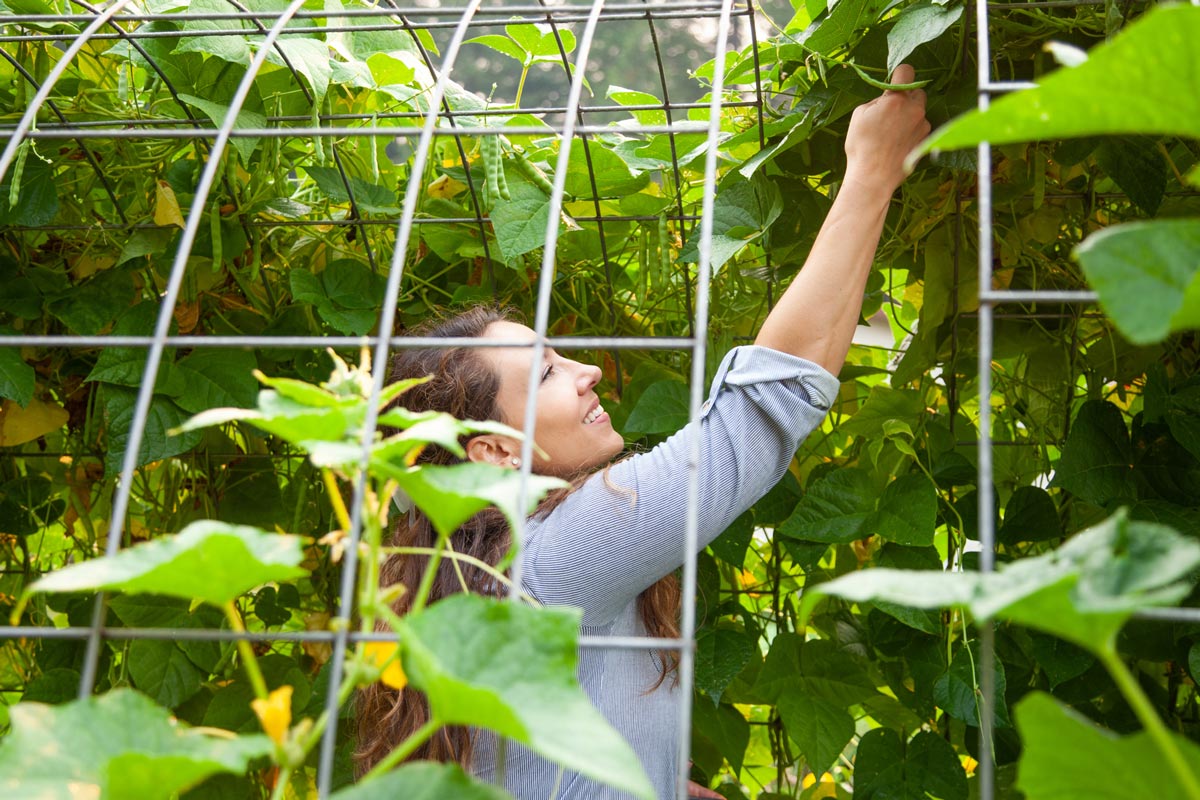
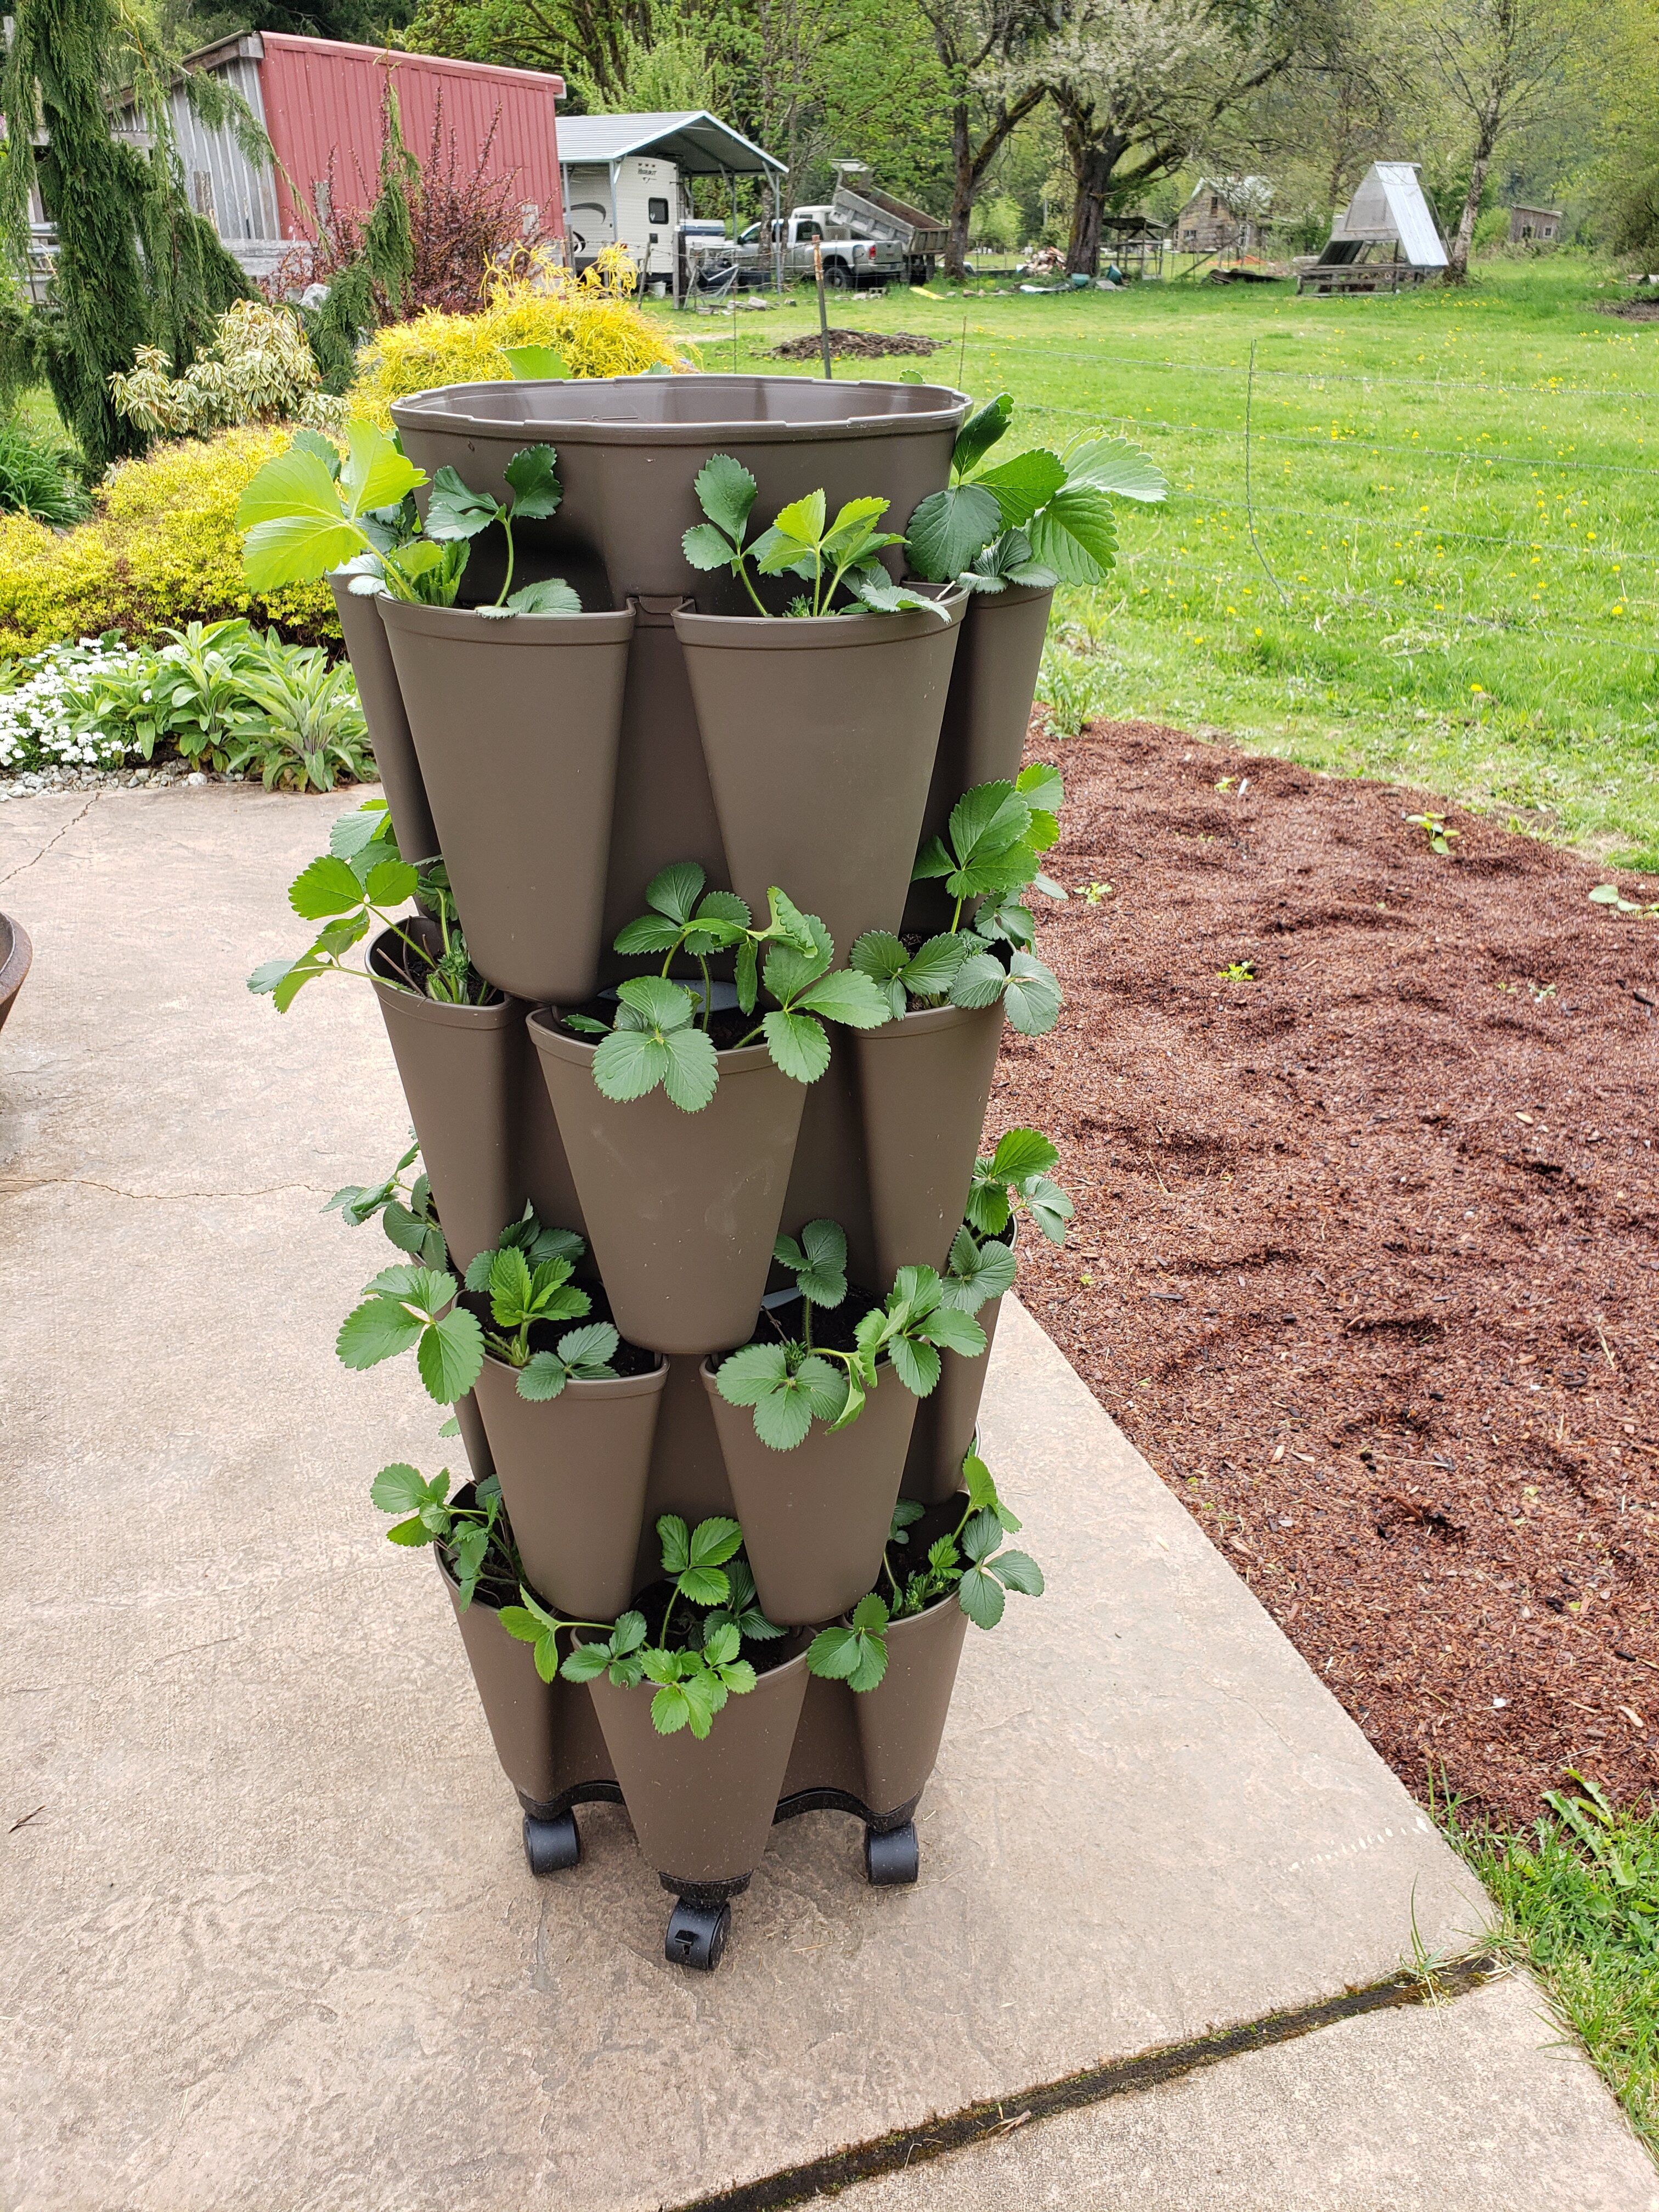
Not everyone has a huge yard or acreage for planting. If you only have a small space, try planting in containers or hanging baskets. Read my tips on growing vertically here!
Small blueberry bushes, herbs, strawberries, garlic, and tomatoes do well in containers. If you have a small backyard, use one corner of it to build raised beds.
Before you feel like you need to expand your garden space, consider growing up before growing out!
Not only can you grow more when you grow up, but for many crops, you minimize the risk of disease.
Some crops that grow well vertically are:
- Grapes
- Beans
- Peas
- Cucumbers
- Indeterminant tomatoes
- Melons*
- Winter/Summer Squash*
* Large squash or melons may need additional support when hanging from a vertical panel. You can use netting, cheesecloth, or even pantyhose to help tie up and support the melons by creating slings.
If you aren’t able to at least grow potted plants, don’t give up! Ask around with friends and neighbors to find out if anyone would be interested in sharing a space with you on a joint effort.
More and more urban communities are offering community gardens. Find out if there is one in your area, and get involved!
Focus on High-Yield Crops First
When you're planning out a garden with limited space, think about what each seed will produce. For example, if I plant an onion or carrot seed, that seed will yield one onion or one carrot.
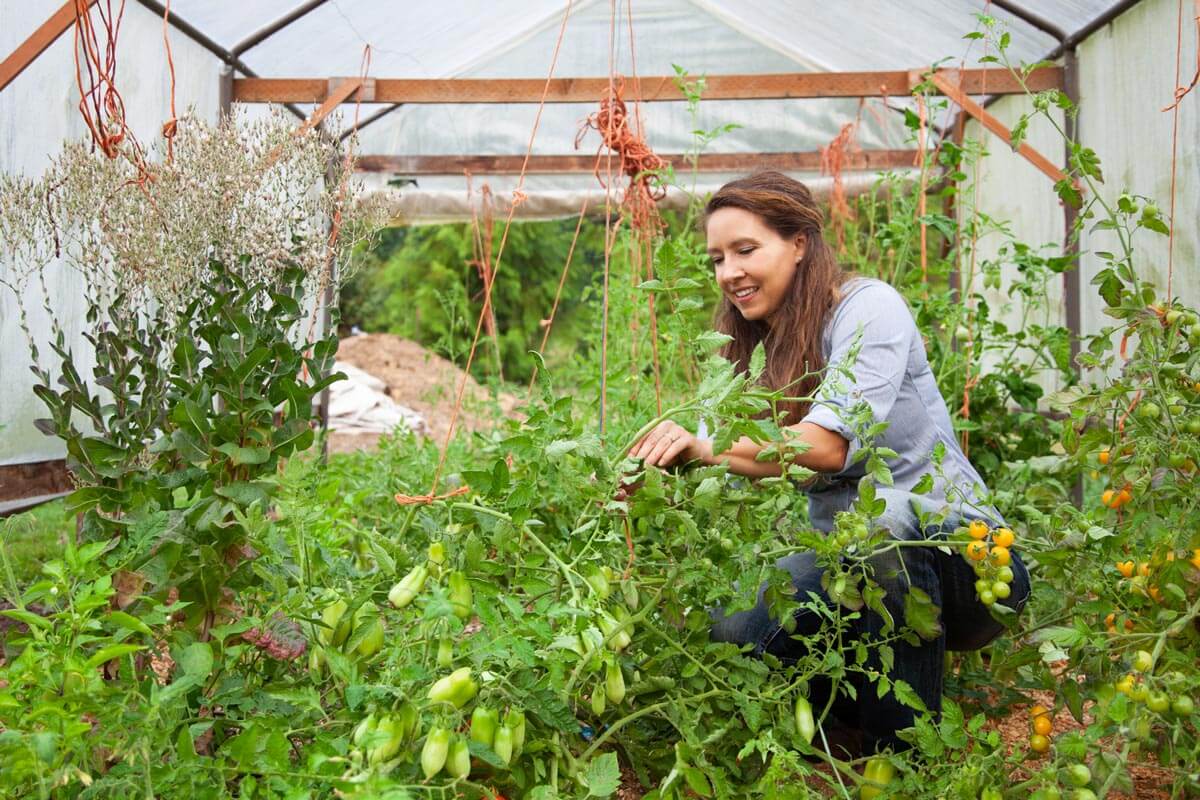
However, if I plant a bean or tomato seed, that one plant will produce multiple beans and tomatoes. So by focusing on high-yield crops over singular crops, you'll immediately be increasing the quantity of food you're bringing in from the same amount of space.
More examples of high-yield crops are:
- Beans
- Peas
- Berries
- Fruit Trees
- Peppers
- Tomatoes
- Summer & Winter Squash
These high-yield crops are also a great place to start preserving.
Customize Planting to Your Climate
Once you decide on the crops your family actually wants to eat, and determine those that are high-yield crops, you need to ask whether the crop is something that will grow well in your climate.
If you live in the Pacific Northwest, as I do, you probably shouldn't focus on growing okra, bananas, or citrus fruits!
Did you know that in some regions tomato plants are actually a perennial crop? However, because tomatoes can't handle any type of frost, they're grown as annuals here in the United States.
The USDA Growing Zones will tell you the average low temperature and this will determine which crops are able to be grown in your area (but remember, you may be able to adjust this with various season extenders and cold-weather growing methods).
Choose the Right Varieties (Read the Seed Packets!)
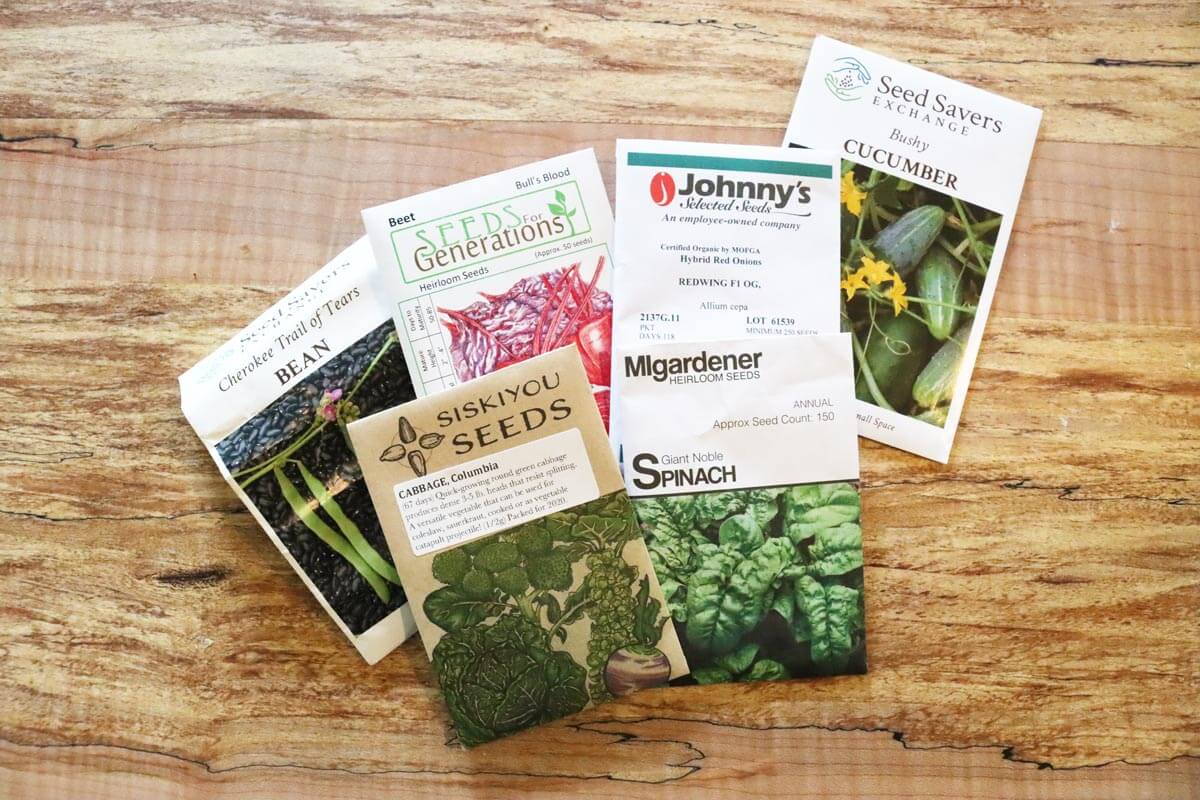
Because where I live has a fairly short growing season (approximately 3 months from last to first frost), I'm always looking at the seed packet information to know which variety will do best in my growing zone.
For instance, if I want to grow peppers and I'm looking at different varieties, one variety might say 60 days to maturity (or harvest) and another might say 75 days to maturity. You'd better believe I'll be buying the shorter one because this gives me over two weeks more harvest time.
Crop Rotation
No matter the size of your garden, or if you're growing in containers, you'll want to know the basics of crop rotation.
Crop rotation helps to eliminate disease organically without the need for sprays, pesticides, or fertilizers.
A general rule of thumb is to always rotate plants in the nightshade family. The nightshade family includes eggplant, peppers, potatoes, tomatoes and tomatillos.
After growing nightshades in one section of your garden, you don't want to grow them in the same area for three years. The reason for this is these crops are highly susceptible to blight. (Learn how to prevent or treat early blight here.)
Companion Planting
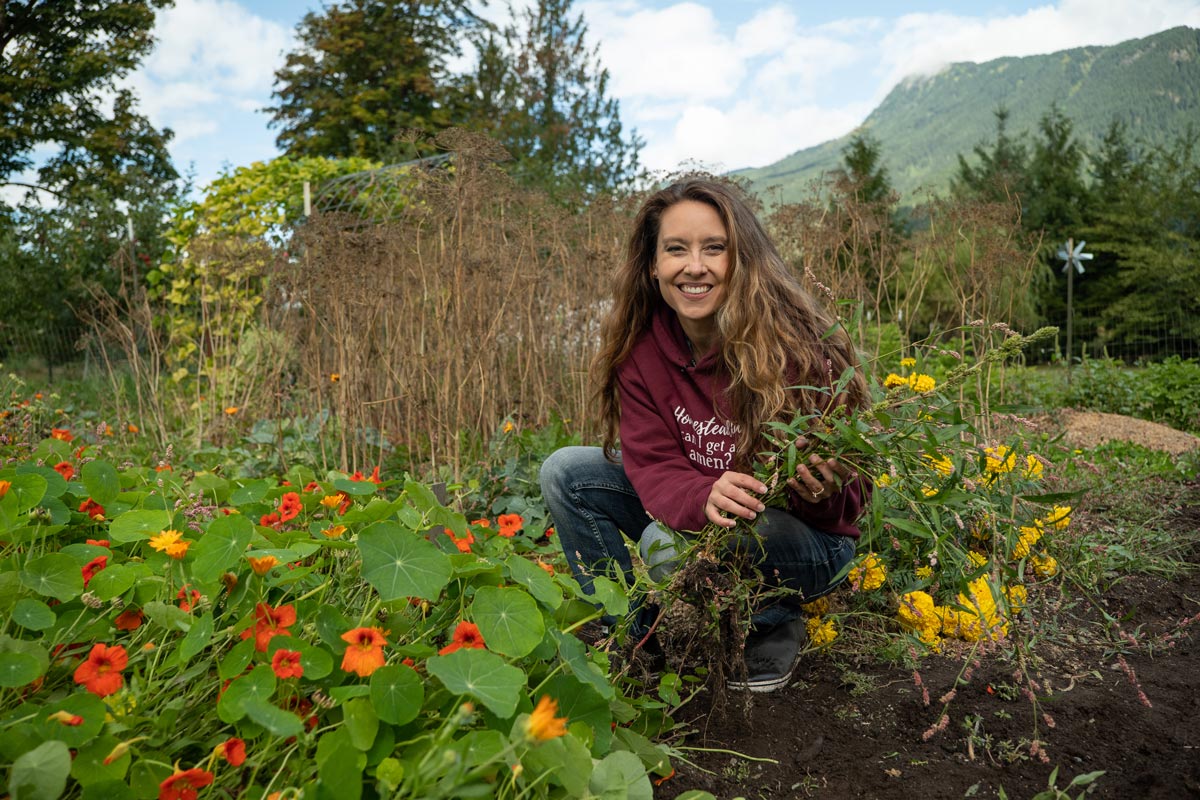
There are three ways you can approach companion planting and it's likely you'll want to utilize all three methods:
- Trap Crop: A trap crop is a crop that is planted to specifically attract pests. If the pests go after the trap crop (think “sacrificial plant”), then they'll leave the crops you're growing to eat and preserve alone. These can either be planted as a perimeter to the crop you're trying to protect or interspersed between the plants.
- Repellent Crop: Instead of trapping bad pests, repellent crops repel pests. For example, orange nasturtium repels cabbage moths. So if you're planting cabbage, you'll want to interplant nasturtiums between the cabbages.
- Attractant Crops: These are plants that actually attract beneficial insects. For instance, ladybugs will eat aphids. So if you have a problem with aphids, consider planting dill to attract ladybugs.
Inside the Backyard Gardening System Course, we go in-depth on companion planting with a list of all the different kinds of companion plants that trap and/or repel. There are also crops that have been known to improve the flavor of your crops when planted together.
Create Your Planting Plan
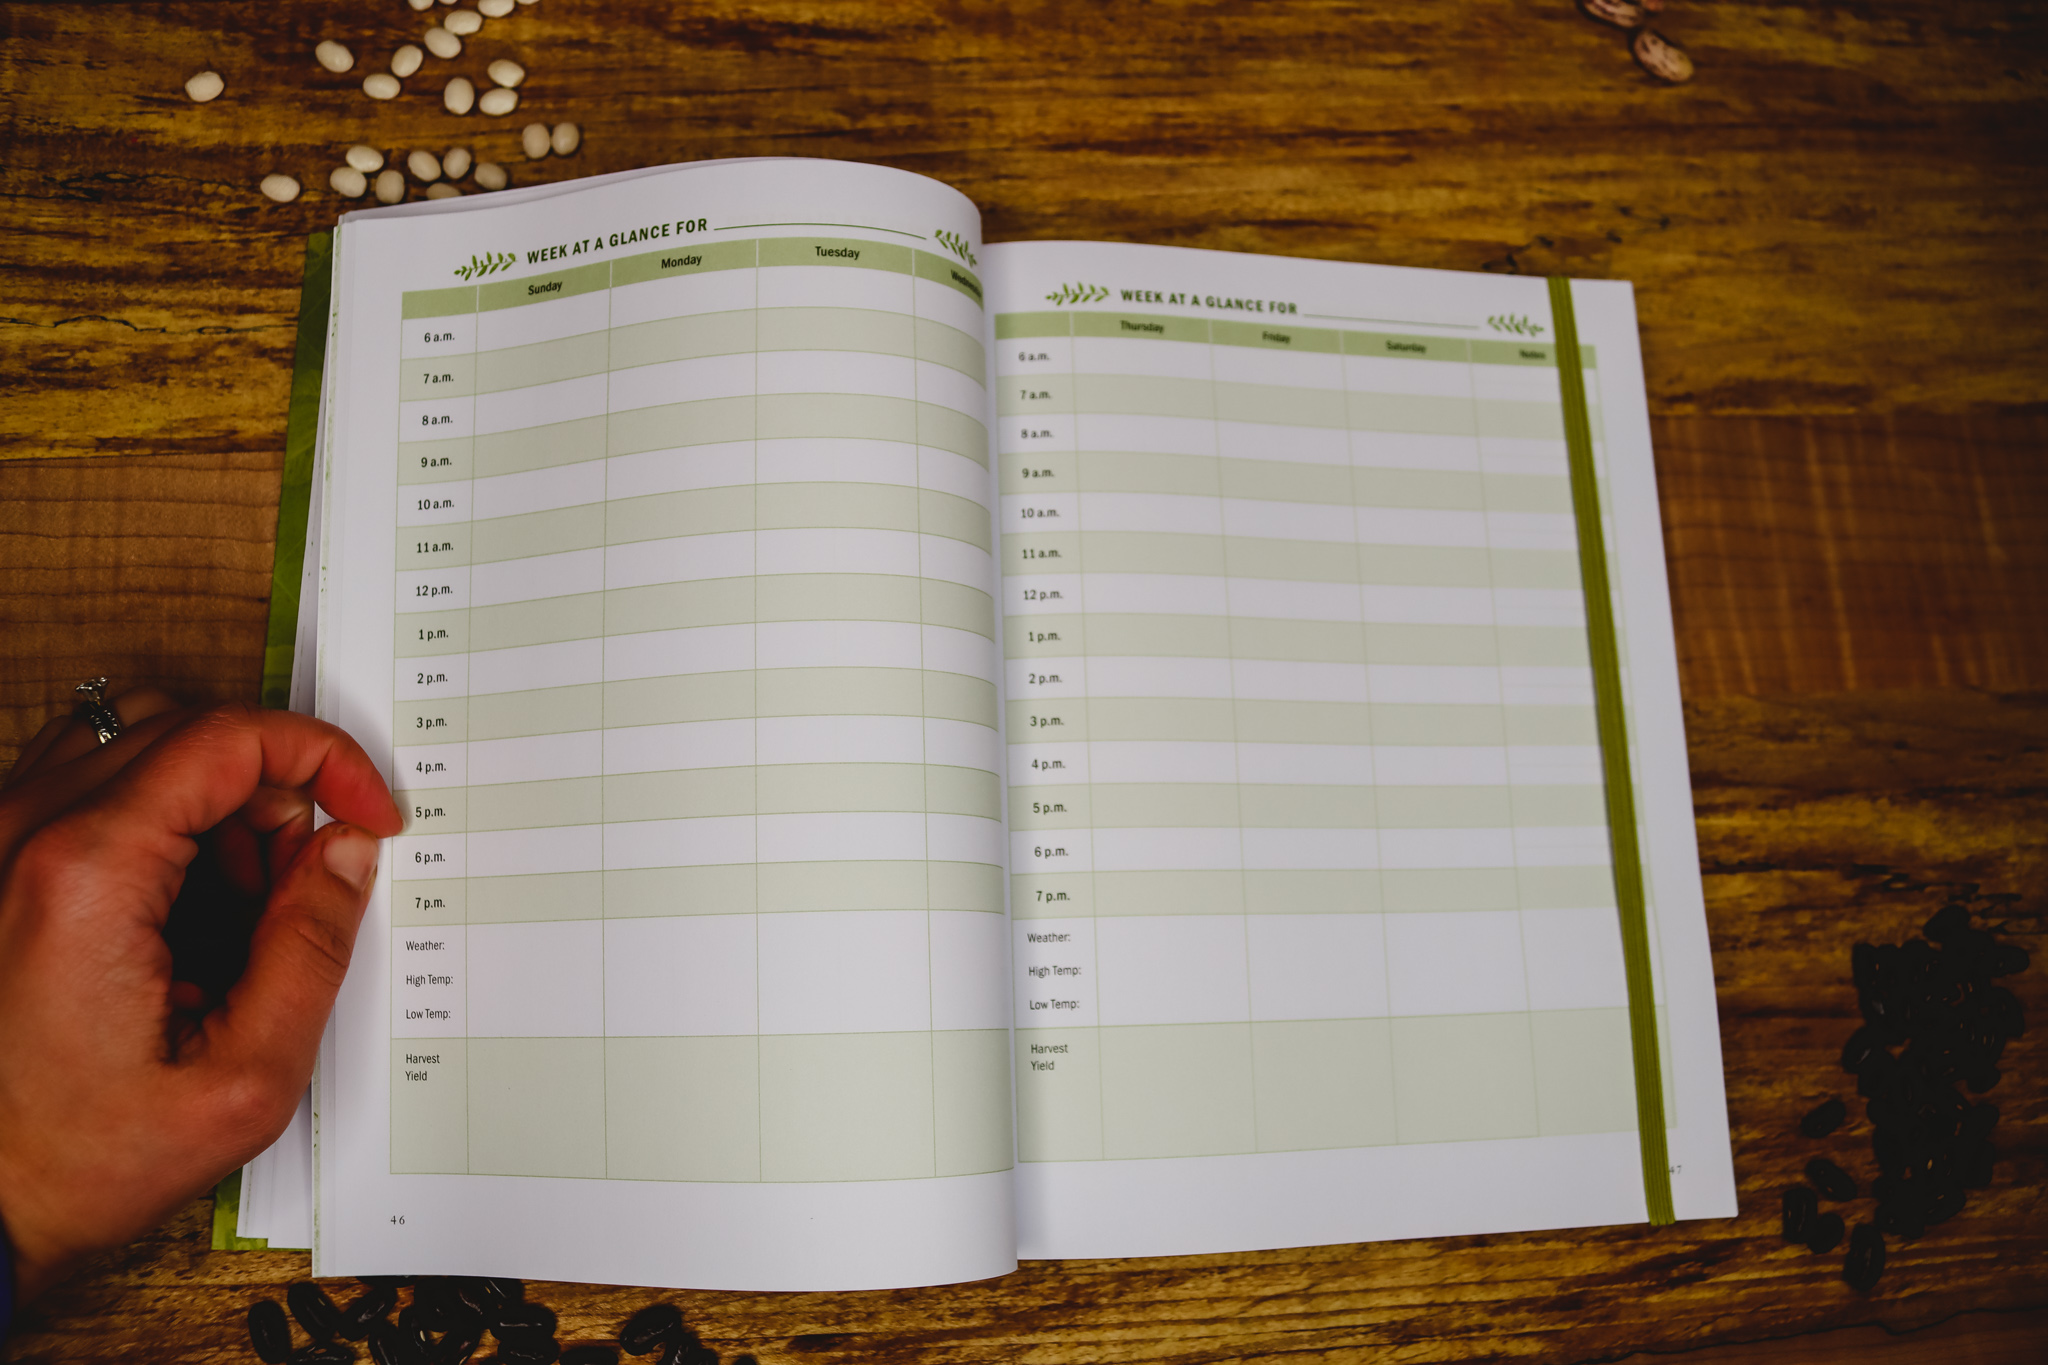
The very last tip for growing successfully growing food at home is to come up with your unique planting plan.
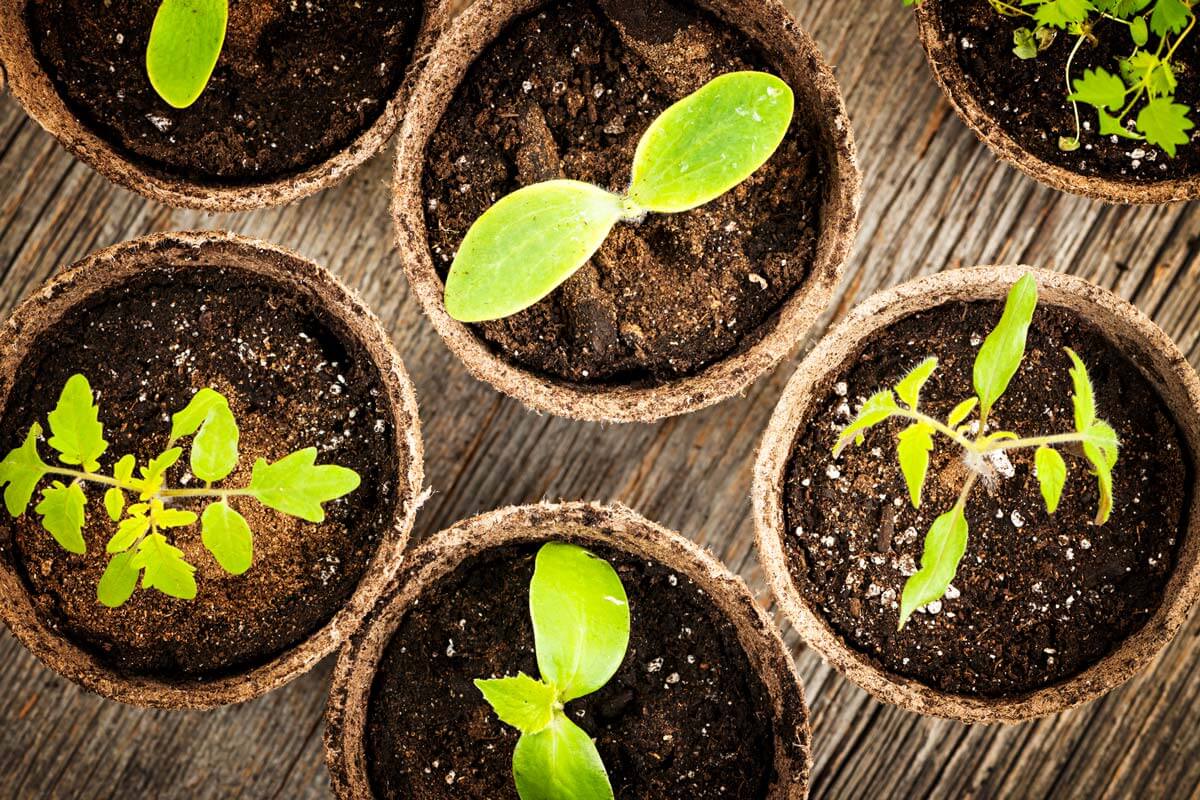
This may include things like direct sowing seeds, starting seeds indoors, using season extenders with cold/hot weather growing methods, buying starts, using succession planting methods, and intercropping methods.
Plant “starts” are plants that you find at local nurseries and even grocery stores that are ready to be planted in the garden. If you miss your ideal window for starting seeds indoors, starts can come in handy. However, they are more expensive than a packet of seeds, so they will increase your overall cost.
Backyard Gardening System Course
As I mentioned in the podcast that goes along with this blog post, I have a complete course called the Backyard Gardening System where I take you deeper into each of these 15 tips to help eliminate confusion and give you the confidence to take on this gardening year with excitement.
Resources:
- Backyard Gardening System Course
- Luster Leaf 1601 Rapitest Soil Test Kit
- Online Soil Test Resource (for those who don't have extension offices that offer testing).
- DIY Soil Test Using Vinegar and Baking Soda
- Find Your First and Last Frost Date
- Baker Creek Heirloom Seeds
- Seeds for Generations
- Made from Scratch Life
- Using Coffee Grounds in Your Garden
- How to Plant and Grow Potatoes
- Growing Basil without Soil Indoors
- Free Heirloom Gardening Guide – Plant to Save Money
Hey there, pioneers. Welcome to episode number 379. Today's episode, we are going to be going over the nine simple steps to grow an abundance of fruits and vegetables in your backyard garden this year. Now, if you attended the live gardening class that I did with the same title this past Wednesday, if you're listening to this on Friday, the day it goes live, then you may still want to listen to this if you just want a recap. But if you attended that class, then you know that we were able to go deeper because it was a live training and then we did the live Q&A portion on the backend of the live class. So I'm going to go into it today in the podcast episode because if you didn't attend it, there's a lot of really good information that you are going to want to apply to be able to grow more food pretty much in the same amount of space without spending extra hours on end.
I know if you're anything like me, sometimes I know tips, but oftentimes, a whole year has went by since you've been gardening. For those of you who have been growing a big summer vegetable garden, because here we are in February at the time of this recording, and sometimes even though you know things, it takes hearing them again. You're like, "Oh yeah, I meant to do that this year," or, "I kind of got away from that." So I think that this will be very helpful for you no matter if you're just starting to garden or if you've been gardening for a while. Now, if you are listening to this when this episode goes live, then you are going to want to go and check out my full gardening course, and you can do that at melissaknorris.com/gardencourse. It's going to be on a special so that you can get it at a very special price, but that price is only going to be on a special discount for a short period of time.
So hopefully, you're listening to this the day that it goes live or within just a few days of that. So you can go to that link, check out the full Backyard Gardening course and see if it's going to be right for you. If you come out with me for any amount of time you know my love of not only heirloom vegetable varieties, but everything that is heirloom quality, and that includes this episode sponsor, American Blossom Linens. They have heirloom quality made with 100% cotton, all grown and made here in the United States. It was really interesting, I was swapping out our bedding, and I love my American Blossom Linen sheets. You guys have heard me talk about them. But the interesting thing was I was looking for some new bedspreads, and we have a bedspread. It's a chenille bedspread that was my great-grandmother's, and yes, I am still using that. It is one of the bedspreads that I use in the winter months because it's a really nice heavy quality, it's really warm.
However, it's a little bit too heavy and warm for me to use in the summer months. So I was looking at my quilts in the things that I usually use in the summer, and some of my quilts are not holding up so hot. I've had them for a number of years, and I do love a good well-worn quilt, but there's a difference between well-worn and soft and awesome, and when it just begins to fall apart, that type of difference. It dawned on me the difference in the quality. Things used to be made with great care. They were made to withstand the test of time. As for an example, the bedspread that was literally my great-grandmother's bedspread got passed down from her to my mom and now to me, and it's still usable. Got a little bit of fading, a little bit of discoloration up just at the part that goes by your face, but for being something that's that old but is instill good quality shape, that is pretty amazing.
Those are the types of products that I want to be investing in and buying and replacing when I have to replace something instead of with something that's low quality. American Blossom Linens, not only do they have fabulous heirloom quality sheets and linens, but also, duvet covers as well as towels and blankets, and you can use the code Pioneering Today 20 to get 20% off your order. All right. Nine simple steps to grow in abundance. The very first step is to plan the crops based on what your family eats and will give you a large yield to preserve. Now, the reason that I start here is because so often when people decide to grow a garden, they just go with whatever seeds that are at the grocery store or at their local nursery or whatever starts may happen to be when they go to the garden supply store, that type of a thing.
So you're just grabbing things rather than actually taking the time to sit down and figure out what crops their family eats on a very consistent basis and are going to give them a large yield to preserve. So let's break this down a little bit. One of the ways that you can do this, for those of you who have been gardening and preserving is you can look at what you still have on the shelf from last year's harvest. You can look at your planting records, and I hope that you have been keeping planting records. This is a bonus tip. It's not really even one of the nine. If you are growing a garden, you want to keep planting records. You want to write down at the very least, the variety, when you planted it, how much you planted, and how much you ended up preserving off of that.
Now, we of course, eat fresh from the garden when the food is coming on all throughout the spring and summer and into fall, but I also am making sure that we are planting enough that I have got an abundance over the amount of what we're eating fresh in order to preserve to take us through the entire year. That's our goal, is every year, I try to grow one more thing enough of that we don't ever have to buy it from the store. So if this is your first year of gardening, you will probably only be picking one crop to grow. Enough of that will take you all the way through the next year. Then each year you can build on that until soon, you are growing a year's worth of a lot of crops for your family. However, if you don't have those planting records, you don't have the ability to then look back at them the next year to be able to see if what you did was enough or if it's time to increase that.
So if you didn't take planting records, do so this year. If you did, go back and look at them. One of the other things that you can do is if you did preserve some of that food is go and look at how much you have left on the shelf or in the freezer right now. Is that enough of each of those food items to take you through until it's harvest time for that again? So that's just a really easy way to know how much your family is going through of something based upon how much is left right now until the summer and/or spring, depending on what the crop is, harvest. Now, if you haven't been growing a garden yet or preserving food, you're like, "Well, that's great, but neither of those options work for me. I'm new at this." Well, welcome. You're in the absolute right spot, but you can also do this with your store-bought food.
How you're going to do that is document how much you're eating of each item on an average basis for a month. Ideally, you're going to highlight the crops that you're eating several times a week, and those are going to be the crops that you're going to look at growing this year. Because if you grow something that you only eat out now and everything, that's great that you're growing it, but it's not going to have as big of impact on your health or your grocery bill. Okay, step two, now that we've done step one, is to determine which crops to focus on and to grow. Now, inside the full course, The Backyard Gardening System, which is the complete guide to growing your own organic food, we go deep into this on how to actually plan this out, how to determine which crops, how to know which ones are going to grow well in your climate, how to look at the micro and macro climates that you have.
Every single property, every single backyard has little micro and macro climates that you can take advantage of to grow certain crops, and we go really far in depth with that inside the course. But one of the ways that we can have time to go into today is looking at those crops and then looking at, is this a single or multiple item per plant? So what do I mean by that? So if you are growing something like an onion or a head of garlic, you know that if you put an onion seed or an onion set in, you are going to get one onion. Same thing when you plant a clove of garlic, it is going to grow one bulb of garlic. If you plant a beet seed, well, bee seed is a little bit of a bad example because there's usually multiple seeds in one bet seed. It's like a little cluster, and then you have to thin it out. Carrots, for example, if you plant a carrot seed, you're going to get one carrot from that carrot seed. Okay, so those are your singulars. Now, I grow singulars.
We grow a year's worth of garlic, a year's worth of onions, beets, all of those things. I rarely buy any of those items from the store. However, I know upon the square footage that one carrot is only going to produce one carrot. Now, if you grow something like green beans or tomatoes or peas, you are going to get a lot of green beans per one green bean plant, same thing with tomatoes. So if you are limited on the amount of space that you've got, if you focus on growing plants that grow multiples or have a multiple harvest per plant, that alone is going to give you a larger, more abundant harvest. So I like to focus on those high-yield vegetable crops first, so the crops that are going to produce a lot per their square footage in the garden. Some of those high-yield vegetable crops are things like I said, beans, berries, fruit trees, peas, peppers, potatoes, tomatoes, and of course, both summer and winter squash, you're going to get multiples on those.
Those are also great crops when it comes to preserving, which is really one of my goals with our vegetable garden is I focus on the high-yield preservable vegetable crops first. Then I'm going to talk to you about layering in some of those others, so don't think that they're out. Okay. The key to this, though, and the key to any abundant garden is you need to customize your planting to your growing climate. Some of the things and some of the ways that we do this is by knowing is the crop that I want to grow, we've went through that criteria, is this something that my family eats on a very consistent basis? Is it a high-yield crop? The next question we have to ask ourself is, "Is this going to grow in my climate and/or my growing season? Is it a preserving candidate? Also, what type of adjustment can I make in order to grow this?" So in order to know the answer to those questions is you have to know a couple of things about your area.
Now, this is one that gets a lot of people when they're new to gardening, a little bit confused, and that is your gardening zone. Your gardening zone has nothing to do with planting your vegetable garden. I'm like, I want to repeat this. Your gardening zone has nothing to do with planting your vegetable garden. What your gardening zone is, it's in the United States, and they've broken the United States down by zone. What it is it's the lowest average temperature in the winter months by 10 degree increments. So gardening zone seven is on average 10 degrees colder than gardening zone eight, so that's how that is. It's by 10 degree increments, and it's the lowest average winter temperature. That's how you determine your gardening zone. So where this comes into play and is really important is when you are planting your perennials. So this is things like fruit trees and berry bushes, a lot of your perennial herbs. So perennial means it comes back every year.
It's not an annual, which is almost all vegetables except in a ... Actually, it's funny because tomatoes, for example, are actually a perennial in tropical warm climates, but in most of the United States, they're grown as an annual because they will not survive any type of frost. In fact, they don't even like temperatures 55 degrees Fahrenheit or lower. So even though you haven't entered into a frost zone and they'll live, they're not going to thrive when it's that cold. So gardening zones are very important for knowing if that perennial will make it through your winter so that it will live and come back the next year. But it has nothing to do with your planting dates because first and last average frost dates are what we plan all of our garden planting around, and those change drastically even within the same zone. So I'm gardening zone seven, and our lowest cold temperature on record here is five degrees Fahrenheit. However, I have the same planting date in gardening zone seven because of last average frost date in the spring, the last day usually you have a frost.
I have friends who are in gardening zone five and six, but we have the same last average frost date in the spring. So you cannot go by your vegetable planting dates according to zone. What you need to go by is your first and last average frost date. You can do a quick search of that on any search engine of your choice, use your zip code and type in last average frost date and first average frost date. Okay. Now our fourth tip is to pick the right variety of each plant for your growing season. So some of the ways that we can do this is by looking on the description of the seed packets that we're considering planting. So for example, I live in a short, warm weather growing season, meaning we're not planting out our warm vegetables, so things like tomatoes and pepper plants and green beans, those types of things. I'm not usually putting those outside until May 30th. Usually Memorial weekend is when we will put those out. Then we can have an early frost in the fall as early as mid-September if we're lucky, and it's a longer summer.
We'll go until October before we get our first average frost date. So that's really only about, you got June, July, August, about three-and-a-half months of a growing season, not really a very long growing season. I know some people are shorter than that and some people are a lot longer, but on average, that's not a very long warm weather growing season. So I am always looking at if I am looking to plant any type of squash, if I'm looking at tomatoes, anything like that, that's a warm weather plant. As I'm looking on the seed packets, and I'm determining how many days to germinate and how many days to harvest, I'm also looking to see as it's suited to a cooler climate or a hot climate. Here in the Pacific Northwest where I live, typically our summers, a typical summer, usually we're on the cooler side. We're not hitting 100 plus degrees Fahrenheit, usually. We've had a couple of anomalies the past few summers, but that's not normally where we lie temperature wise. So I'm always looking for peppers, for example, that say, do well in a cooler short growing climate.
I'm looking at the seed packet, and if I'm looking at two varieties of peppers and one say that they only take 60 days from planting to harvest and the other says 75 days, well, you can bet your bottom dollar, I'm going to pick the 60-day one because that means I'll have a longer time of actually being able to harvest full-size peppers and allowing them to get to fully ripe. Now, you could be the opposite of that, and then you're going to be looking at the opposite. You're going to be looking at varieties that say, "Does well in drought," or "Does well in the heat, really heat tolerant," that type of a thing. So knowing to how read those descriptions and take that into account for what your growing season is really important. Now, some other things that you're going to want to ask yourself is, "Can I grow this myself if I start with seedlings," so that's purchasing a tomato plant from the store, for example, "or if I start the plants indoors myself?"
Because for me, with our growing season, I could never plant a tomato seed outside and direct sow it, and it would be able to grow long enough to produce tomatoes before our first frost hit. So it's either buying tomato plants or it's seed starting tomato plants. So that's something else that you're going to want to look through and go through that criteria. Soil health. Now we're going to cover what we can here, but soil health, there's so many components to this. This is something that we dive really, really deep inside the Backyard Gardening system. We have a complete soil health module that takes you through what all the micro macronutrients are. We go through soil testing and how to amend using all organic and or natural options to get your soil in tip-top shape, plus a home composting module inside the course. So again, if you want to go and check that out, go to melissaknorris.com/gardencourse while that is still available, but we're going to dive into some of the components here of soil health right now.
The important thing about your soil health is oftentimes, when anybody has an issue with a plant and/or disease, and sometimes even pest load, insects, that type of thing, plants, if they're not healthy, will attract more pests than healthy plants. Plants that aren't strong and healthy and robust, if they do get hit with disease and/or pests, weak ones of course, are just going to die; whereas, if you have really good soil health and really strong plants, they can withstand disease. You're still going to get a harvest and they can withstand an onset from different insects and pests, et cetera, without just completely dying on you. So soil health is one of the biggest key components to a healthy and abundant garden that is oftentimes overlooked or not really dove into enough. So again, soil health that's going to help support stronger plants. The stronger plant you have, the more high yield, the more food you're going to get off that same plant.
If you have good soil health, that also allows you to plant more in the space you have, which is really key because instead of having acres and acres of land especially, that's poor yielding, you can take a smaller section, and if you've got really robust soil, you're going to be able to grow a lot more plants in that smaller amount of space. So soil health components, micro and macronutrients. Okay, let's talk about that a little bit. First up is when you're looking at your soil health companions, excuse me, soil health components, not companions, we're going to talk about companion planting a little bit later, but that is organic matter. So organic matter is especially important if you have either clay soil, really hard, compact clay soil and/or really sandy soil. Both of those soils are going to perform better if they've got some organic matter worked into them. So what is organic matter in the context of gardening that we're talking here? Compost. You can use cover crops and mulch. All of these are organic matter or will break down and help create more organic matter and improve your soil health.
Now, with the micro and macronutrients, there's pH level, which isn't actually a micro or macro nutrient, but pH level is important, more important for some of your fruit plants, especially berries, but also, for the vegetable garden. So ideally, you want the pH level of your vegetable garden to be between a 6.0 and 7.0. Seven is considered neutral on our pH scale. But if you're a little bit above that or a little bit below that, you're usually going to be okay, but you do want it to be ideally within that range. Now, when it comes to some of your berry plants, especially things like blueberries, plants that require more acidic soil, so usually with blueberries, you wanted those to be at least around a 5.5 on the pH scale. The reason pH is important is because if a plant is planted in soil that is too far outside of its pH range, then it's not able to absorb the nutrients that are actually in the soil.
So you could have all of the components in the soil that that plant needs, but if the pH level is too far off, it actually can't absorb and uptake those nutrients. So that is why our soil pH does matter. Specifically for things like blueberries or those really acidic-loving plants, they are really important. I found that the vegetable garden, you have a little bit more leeway, but if you're super, super acidic, you're going to also struggle in the vegetable garden. Now, you've probably heard with our micro or macronutrients, which we do have some podcast episodes that dive into this a little bit more, so I'm not going to go too far in depth here 'cause I want to get to some of these other tips, but that is your nitrogen levels. Too high nitrogen, you're going to have a ton of leafy growth with certain plants, but you may not actually get a lot of fruit production. So you definitely want to have an optimal nitrogen level, you don't want it to be too super high 'cause then that can actually burn the roots of certain crops.
So it's like Goldilocks and the three bears when we talk about our different nutrient levels. If too much is a bad thing, too little is a bad thing, you want to be right in that middle range, but nitrogen is one you'll hear talked about a lot. Calcium, super important for things like blossom and rot and then potassium, magnesium. There's actually quite a few of them, but those are more of the ones that you'll hear mentioned the most. On your most basic soil tests, those are usually the nutrient levels that you'll see. Of course, there's a lot more, and we will link to some of those episodes into the blog post that accompanies today's episode where we go into those in a lot more depth, which you can find, by the way, if you're like, "Oh, I want to check out and dive into this more and look at all the links," then you can go to melissaknorris.com/379 because this is episode number 379. So melissaknorris.com/379. Number six of our tips is crop rotation.
A lot of times people hear crop rotation and they think large, big like industrial or large farms where you're growing acres and acres of crops that that's what crop rotation pertains to, and it absolutely should. But crop rotation is also very important in a small backyard garden setting, both in-ground gardening, raised bed gardens, and even container gardening, you should be practicing crop rotation in any of those situations. Crop rotation helps to eliminate disease organically. Now, if you are wanting to really dive deep into this inside the Backyard Gardening course, we go really deep into the crop rotation. I've got it all laid out for you where there's charts and worksheets that you can download and go through where we go in really deep. But if you don't do anything else crop rotation wise, this is the takeaway that I want you to take for crop rotation if you know nothing else. That is to always rotate plants in the nightshade family, never plant them in the same soil the next year.
You want to have a three-year break from nightshades going back into the same soil. You might be like, "Well, what is a nightshade plant?" So the nightshade family is going to be eggplant, peppers, potatoes, tomatoes, and tomatillo. The reason that you don't want to plant them in the same soil is all of these plants are very susceptible to blight. Blight is something that many of you, if you have tried to grow tomatoes before and possibly potatoes have probably ran into blight. If you get very much moisture in the air, if it's really rainy or very, very humid and you are growing your tomatoes, you've probably ran into blight at some point in time. So because anything in the nightshade family of those plants are susceptible to blight, if you have tomatoes in the soil and you're growing them in this spot, and then the next year you go ahead and put potatoes there, if there was any blight in that ground or you had any blight on your tomatoes and then you grow the potatoes, they're going to get wiped out because that disease is just going to infect that.
It's going to get worse and worse and worse in that spot of soil every single year because every year it's infecting the plant, and so it's going to multiply its spores and infect that soil; whereas, if you have tomatoes and you plant your tomatoes and say you maybe do get a little bit of blight, but the following year you instead plant carrots there, but you're not susceptible to blight, well, the blight doesn't have any plant to feed on there. So even if it's present, it doesn't have anything to multiply, and so it's not going to affect the carrots. So if you put a three-year buffer and don't plant anything in the nightshade family again in the spot where you had nightshades until three years later, you're drastically reducing blight specifically from coming in to that spot. Now, there's other nuances that we use with crop rotation, and that's because of the way that they use the different micro and macronutrients in the soil. Some need more calcium, some need less. Some need more potassium for root development than others. Some need more nitrogen than others.
So by practicing crop rotation, you're not just eliminating disease so it can do that drastically, but you will actually be increasing the abundance of the plant because you understand how those different plants need the different micro and macronutrients so that they're available for them. As I said, we've got a detailed module in the course that dives into all of that. We simply don't have time to go that far into all of the nuances in our time today in this episode. Now, along with crop rotation, we have companion planting, and this is tip number seven. Companion planting is wonderful because it also helps with pest control. Companion planting helps with biodiversity and companion planting is also pollinator friendly. Being pollinator friendly, especially for bees, but there are other insects that help to pollinate our plants is really, really important. We have a lot of trouble with honeybees right now on other pollinators, and so we want to be as friendly to them as possible.
Plus, the more pollinators you have in your garden usually means you'll have a more abundant harvest because everything is actually getting pollinated that needs to, if it's a cross-pollinating type plant in order to produce and bear fruit and/or vegetable. So within companion planting, there's three actually different ways that you can approach companion planting, and usually you'll use all three of these. One is to do a trap crop. A trap crop is exactly what it sounds like. You are using a crop that you know you've got a certain insect is attracted. So for example, if you are growing brassicas like broccoli for example, and you know get hit with the little broccoli worms, which are actually usually from cabbage moths, but they also like other brassicas, not just cabbage, then you can do a trap crop that would attract those and then leave the other plants alone. So to do certain trap crops, you can either do perimeter and so that's where the trap crop will get planted all around the outside.
Then you have the crop that you want to eat that you're trying to protect in the center of those, or you could do a trap crop where it's interspersed, so it's amongst the rows. You've got the trap crop to try to attract and trap the insect that you don't want to eat the other plants. You've got repellent crops. So repellent crops help to obviously instead of trapping and attracting the bad pests that you don't want, they repel it. So for repellent crops, usually those are interspersed. So for example, orange nasturtium helps to repel a cabbage moth. So I would plant an orange nasturtium, and then I would do two broccoli plants. Then I would do another orange nasturtium rather than just put the nasturtiums all the way around the outside of the entire garden because I want them to be close to the plants in multiple spots so that they can repel the bad bugs that I don't want to be there.
You also have attractant crops, and these are similar to the repellent crop, and usually they can be done interspersed. Sometimes people will do them in rows or intersperse them directly in between the plants. Now the attractant crops are good because attractant crops help to attract the good predators. So not all insects are bad, and some of the bad insects can actually have beneficial properties, it's just not in the garden with a specific crop that we're trying to grow. However, there are good predatory insects that will help eat things like aphids, for example. If you've ever battled with aphids, ladybugs eat aphids. We want to attract ladybugs because if you've ever been told to just go and buy ladybugs, you can get ladybugs, we can order them online and you can get them at garden stores if you have an aphid problem. However, if you don't have the type of plants that ladybugs like you can let loose ladybugs in your garden, but they're not going to stick around to eat the aphids if you don't have the crops that they like.
So you need to have the attractant crops and then you will just naturally attract those good predatory insects so that they can pray or keep and balance the bad insects. Now you at this point are probably like, okay, well that's great, but I want to know what crops attract the good predatory insects and what bad bugs do these predatory insects eat. I need to know which of these crops work for repellent and all of that. So as I said, orange nasturtium. Now I know nasturtiums come in a lot of different colors and I love to grown nasturtium. They're also inedible. So it works great because it's actually an edible, beautiful flower that attracts pollinators and also helps to repel the cabbage moth. But in all of the research that I have done and in my own garden, it has been the orange. There's something about the color orange that they don't like and are more repelled by.
So I specifically get the orange nasturtium, and even if I get a pack of multi, and sometimes I'll plant those just because of the pollinator factor and because I think they're pretty and they're all edible, but the ones that produce the orange flowers, those are the ones that I will keep growing and/or seed safe from. So that is one of the, excuse me, repellent crops. Then with attractant crops, also ladybugs love dill, the yellow flower on a dill, which is also great because dill is a great herb to eat. It grows really easy, it's quite prolific, and so that is another excellent one is to put extra dill around. That can also help attract ladybugs. There's more flowers that they like, but those are two examples that work well in most people's gardens growing climates. Most people do battle with both of those specific insects, both aphids and cabbage moths.
But inside the Backyard Gardening course, we go in depth on companion planting with a list of all of the different types of companion plants, both to attract and repel or as trap crops. Not just that though, we've really been focusing heavily in this particular application on using companion that way, but also you can use companion planting when you are planting plants together. You've probably heard basil with tomatoes or planting tomatoes with carrots. It's thought that that can improve the flavor and that they grow well together. So there's lots of different applications for companion planting, and as you can imagine, it goes in really deep with it. There's a lot of different charts going through the science of that, and we've got a full module that walks you through all of that inside the full Backyard Gardening course. Now, tip number eight is use vertical planting. One of the great things about using vertical planting is it can help reduce disease, increase your growing space, and therefore, increase your harvest.
Now, there's multiple ways to do vertical planting, and even though we happen to live on almost a 15-acre farm, my vegetable garden and my fruit production, all of that is grown with only on about a quarter acre in our yard, maybe between a quarter-and-a-half of the acre. I'd have to actually measure out the exact square footage from each plant and garden space, but it's just in the context of our backyard. You do not need to have acres and acres to grow an abundant amount of food. So even though we do have acreage, that's more for our livestock, I use vertical planting one, because it's reduced disease on a lot of my plants, and two, it's allowed me to plant a lot more. So one of the ways that we use this is I grow our grapes. We have a back cement patio, so if you have a back deck, a back patio, it could be a front one. We have a grape arbor and it's wonderful because one, it produces grapes, which is fruit, great edible there, but it grows up and over. It's basically just airspace.
The actual square footage of the plant in the ground, it's only like, oh, a foot by a foot, really? These grape plants, at this point we've had them, oh gosh, 15 years? More than 15 years, how long have we been here? Let me do some quick math. Yeah, they're about 15 years old. What's awesome is they go up and over, so in the summer months, they provide shade when it's hot out and just create a really pretty great outdoor living environment for us. Then we get the grape harvest, which is fabulous. There's lots of other vertical options though, so if you have an arbor over a walkway or an archway, you can grow any type of vining plant over that. We like to use in the garden too, in the vegetable garden itself, I love to use vertical options. Now, we will link in the blog post that I said accompanied this episode so you can see some pictures. I know if you're listening to this via the podcast, if you weren't joining me for the live class, having visuals is really essential.
But you can do where you take hog panels or cattle panel fencing and you create a archway that you can just walk under in the garden. That is the way I think we're going on four or five years now, I'm trying to think back, that we now grow all of our green beans. It's now the only way that I grow cucumbers and the peas. I love these, and you can even grow winter squash on them as well. They have been fabulous at helping to reduce disease, but also allowing me to grow more in the same amount of space. So you can definitely do those vertical options there. Then there's actually green stock, and that is where you've got vertical stacking planters. So they are really nice because they have deep pockets, deep enough for actual root development, and you can even grow perennials in them. I've had my strawberry plants in them, and I like to grow the strawberry plants in them because we have a lot of slugs here.
So I can wheel the strawberry plants onto our cement back patio and the slugs can crawl, and maybe occasionally I'll find a snail or two in there, but nothing like when I tried to grow the strawberry plants in the ground. So I've got all of my strawberries. They are protected from the said slugs and snails, but it's only in what you would have just in one planter. But because it goes up, I'm able to multiply that by five 'cause it goes five tiers high. So you can grow a lot of things in there including root crops. But that is a great option to add some extra growing space in a relatively small square footage. Now, vertical crops, what are some good choices for vertical crops? Grapes, hardy kiwi, melons, peas, pole beans, summer squash, especially things like pickling cucumbers or even zucchini, their vertical crops grow really well for things if you deal with any type of powdery or downy mildew, any type of fungal disease, because it gets them up off the ground and usually there's spores that will stay in the soil, so up off the ground.
Because they're growing up, you've got better airflow. The more airflow you have, the less chance you have of fungal disease staying on the plant because obviously the airflow, it's drying up the wetness, and so you're reducing those. So since I started growing the cucumbers up vertically instead of on the ground, I have not had any powdery mildew on them. It's been fabulous. I'm so excited if you can't tell. So it's been a great way to just reduce disease. Plus it then opens up the ground because you know how vining crops, like cucumbers, summer squash, and even winter squash, melons, et cetera, they really vine out. So even though when they're small, you've planted them and what? They take up a lot of growing space. Well, if you're then growing them vertical, you can grow crops underneath that archway. So you're basically able to get two crops in the same square footage, whereas before, you would've only had the one.
Because it creates some shade, because as once it really starts to vine out and fill in with all the leaves and crawl its way up, you're going to have some shade. So I like to grow my cool weather crops underneath there. So I'll put things in there to bolt easy. So things like chard, carrots, some of those cool weather crops, onions, et cetera, they still need to get some sun. So you'll have to look at the positioning you have to the sun. But I've had really great success growing lettuce, chard, spinach, those types of things underneath those archways. Some other good vertical crop choices are tomatoes, specifically, indeterminate varieties of tomatoes. Indeterminate are the tomatoes that could just keep growing and producing up until the first frost. Again, summer squash, cucumbers, pattypan zucchini. For the winter squash, I prefer to use the ones that are a little bit smaller, so things like butternut, acorn, sugar pie pumpkins, the big things like the big hubbards and jack-o'-lantern turned pumpkins that get really, really big, you can still grow those vertically. You want to make sure that it's going to hold the support of those.
You may have to create slings because sometimes the weight of those are so big that they can break off before they're fully ripe, so just some caveats there. Other ways to help increase your harvest is to landscape for food. So if you've got existing flower beds, which most places do have, tuck in some herbs amongst the flowers. Now we're on our very last tip, tip number nine, and that is to create your planting plan. So your planting plan may consist of seed starting. Seed starting is a very frugal option. A packet of seeds is much cheaper than buying each individual plant. Seed starting is essential for plants that require a longer growing season than you have ideal conditions for. So for me, that's going to be tomatoes and peppers. Seed starting can help extend the growing season because you're able to start plants earlier, and/or it can even work for people who are in a hot climate. So if you're in a really hot climate, you have to usually grow cool weather crops, excuse me, in the winter.
But because your cooler weather season is shorter, you're going to need to start those cool weather crops by seed when it's still hot out. So if you seed start them indoors in a controlled environment, then you can actually start them without it being too hot so you can get them to germinate and grow. Then once they're big enough to plant outside your then temperatures will be cool enough for them to survive and thrive. So you can use seed starting actually both ways to extend your growing season. Now starts, starts are great because they save time. If you miss the ideal window for either seed starting and/or direct swing, then you can buy starts. So if it's time to plant your warm weather crops, like I said, for me, if I waited to try to plant tomato seeds when I can actually plant them outdoors, which is the end of May, I missed the window. There's no point in doing it. I'm wasting my time and I'm wasting my seeds.
So if I didn't seed start, I would need to go and buy starts of those plants from a nursery or a gardening supply store, that type of a thing. So starts can come into play if you missed your ideal window. Now, seed starting in and of itself, there's a lot of nuances there in order to make seed starting successful from your container choices to soil to grow lights, hardening of, a whole bunch of things. We have a complete seed starting module dives in deep to all of that inside the Backyard Gardening course. So if you have struggled with seed starting, not had great success or just want to dive into seed starting this year, highly recommend that you go and check out the course and take advantage of that.
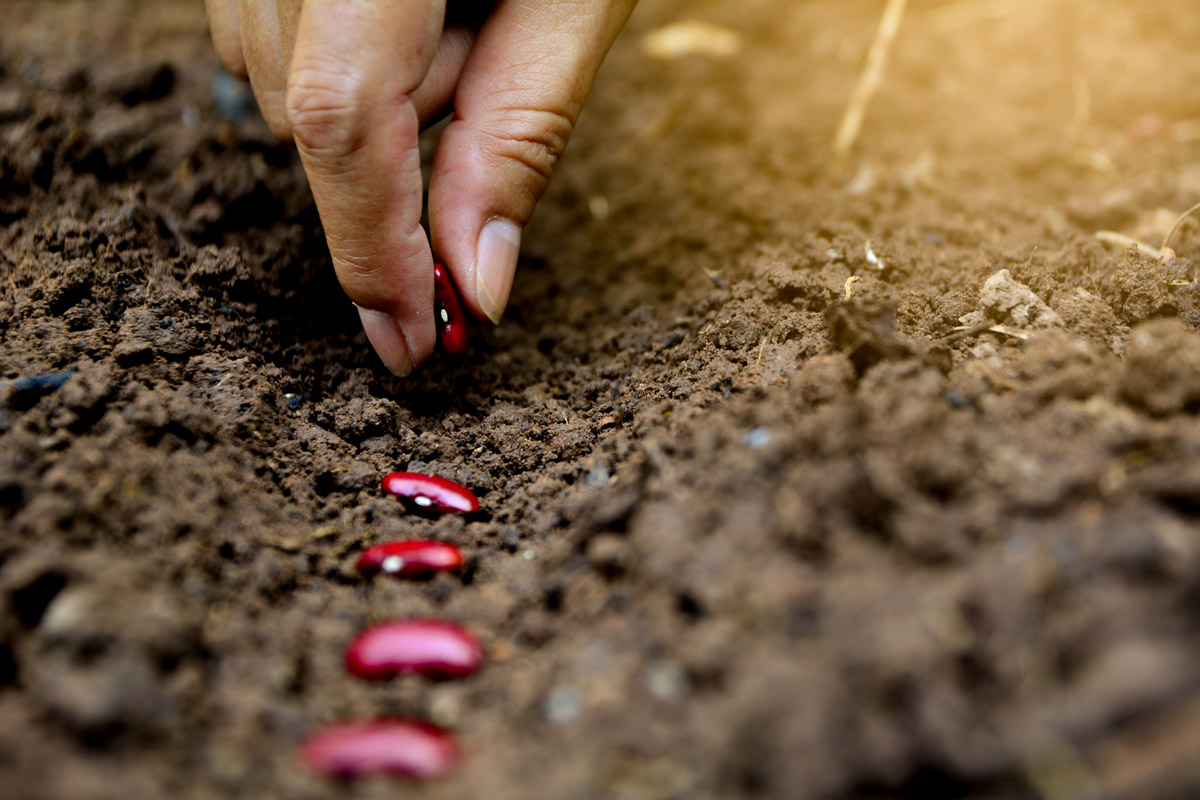
Now, you also have your direct sowing, so direct sowing is your absolute cheapest option. Direct sowing works best for things in the legume family, like beans and peas. There's some crops that don't really work as well for seed starting because they don't like to have their roots messed with. So it's best if you can direct sow your beans and your peas so that they're in the ground, you're never messing with their roots. I've also found I prefer to do direct sowing in most cases for my root crops. So root crops or anything that is what you're harvesting is from beneath the ground, so think a beet, a carrot. Well, beets you can eat the beet greens too if you leave enough for the beet to develop underneath. But beets, carrots, garlic, onions, et cetera, those types of things are root crops.
So in most cases, I prefer to grow my root crops just directly sown into the ground when possible. Now, you also have succession planting. Succession planting is great because it keeps overwhelm down. It can allow you to have a continual harvest, and it can help save on space. So especially for things like crops that for things like lettuce, spinach are ones that I prefer to do some succession planting on, sometimes even beets. But it's where I know we can only eat so much lettuce at one time, and lettuce is not a crop that is a preservable crop. If I'm going to dehydrate something to create a green powder, I'm certainly going to pick something other than lettuce that's got a lot more nutrient dense properties to it than lettuce. So instead I would pick something like a spinach or a beet green, kale, I wouldn't be picking lettuce.
So if I'm using succession planting, I'm only planting enough lettuce for what we would eat fresh in a week or two. So about every two to three weeks, I'm going to be sowing another small section of lettuce. So that is great because I can succession sow and just keep replanting in a smaller area that crop rather than having to have row up on row and to plant it so it can work really well, and we have that fresh food all throughout the season. Now, inner cropping is something I mentioned a little bit earlier when we were talking about the vertical crop options and then planting underneath those trellises in the little bit shadier area. It allows you to double up that crop's space and it can also help on overlapping seasons as well as growing a root crop right next to the above ground crop.
So I know we covered a lot in this episode. That was a lot of information to take in, but if you apply these principles, you are going to have a fabulous vegetable and fruit production this year, and you will definitely be creating a garden that produces an abundance of food, which I don't know about you, but that is definitely what I am after. Now, like I said, depending on the time that you're listening to this episode from the time that it went live, the Backyard Gardening system may not still be available, but you can check that out. Get your seat in the course, and have your best gardening year ever at melissaknorris.com/gardencourse. I hope that you enjoyed this episode and don't forget to check out American Blossom Linens and that Pioneering Today 20 code to get 20% off your order. I will be back here with you next week. Blessings and Mason jars for now, my friend.
Sign up to receive email updates
Enter your name and email address below and I'll send you periodic updates about the podcast.