How to Raise Pigs: 12 Tips to Raising Pigs for Meat Read moreHow to Raise Pigs: 12 Tips to Raising Pigs for Meat
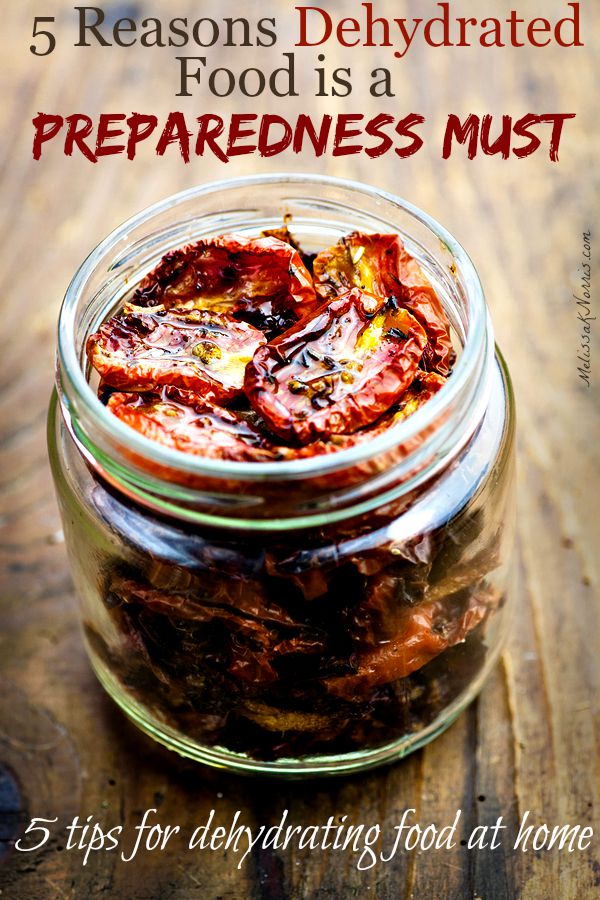
5 Reasons Dehydrated Food is a Preparedness Must & 5 Tips for Dehydrating at Home Read more5 Reasons Dehydrated Food is a Preparedness Must & 5 Tips for Dehydrating at Home
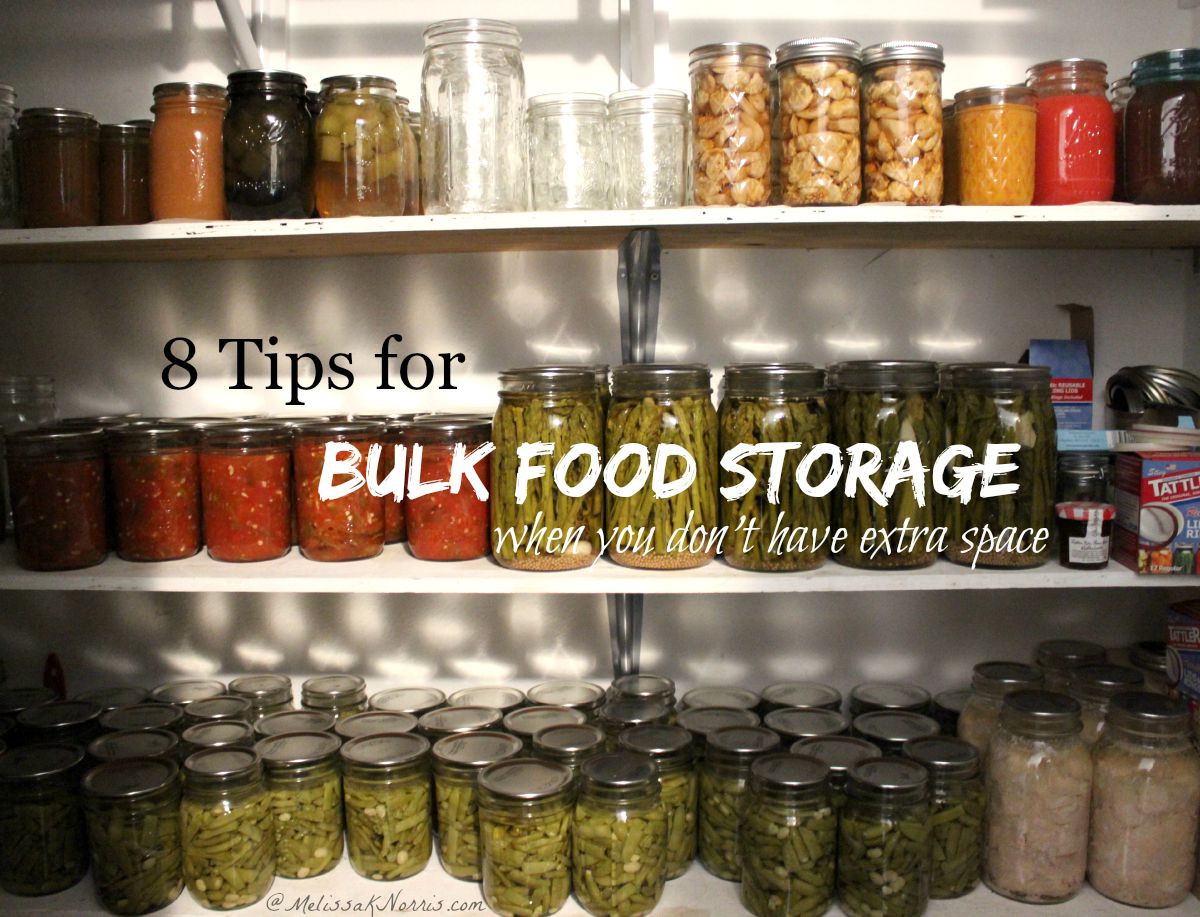
8 Tips to Keep Sane when Preserving the Bounty Read more8 Tips to Keep Sane when Preserving the Bounty
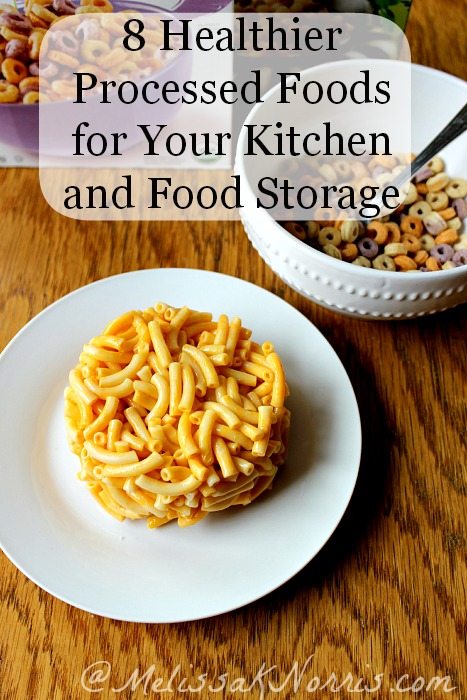
8 Healthier Processed Foods for Your Food Storage and Kitchen Read more8 Healthier Processed Foods for Your Food Storage and Kitchen
Pioneering Today-How to Butcher a Whole Pig for a Roast-Part 1 Read morePioneering Today-How to Butcher a Whole Pig for a Roast-Part 1
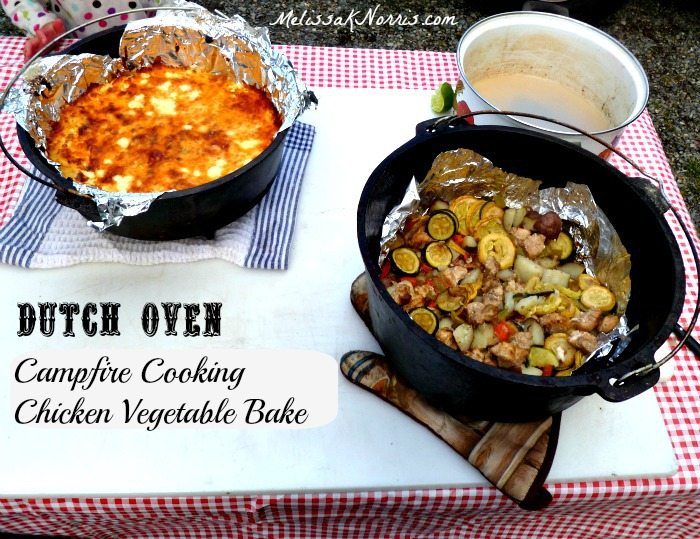
Pioneering Today-Dutch Oven Chicken Vegetable Bake Recipe Read morePioneering Today-Dutch Oven Chicken Vegetable Bake Recipe
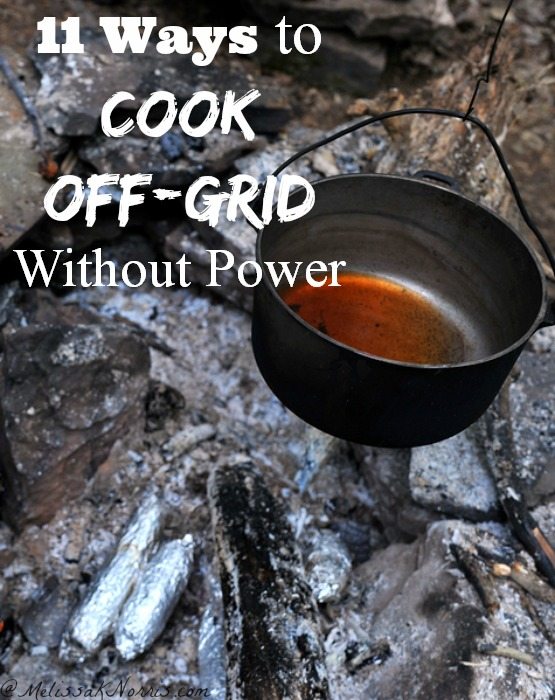
Pioneering Today-Dutch Oven Cooking Over an Open Fire Read morePioneering Today-Dutch Oven Cooking Over an Open Fire