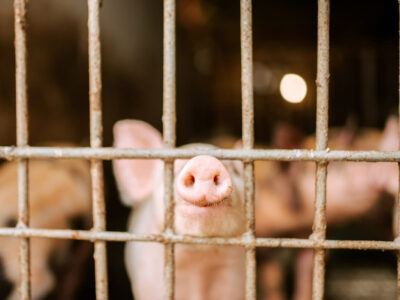
How to Raise Pigs: 12 Tips to Raising Pigs for Meat Read moreHow to Raise Pigs: 12 Tips to Raising Pigs for Meat
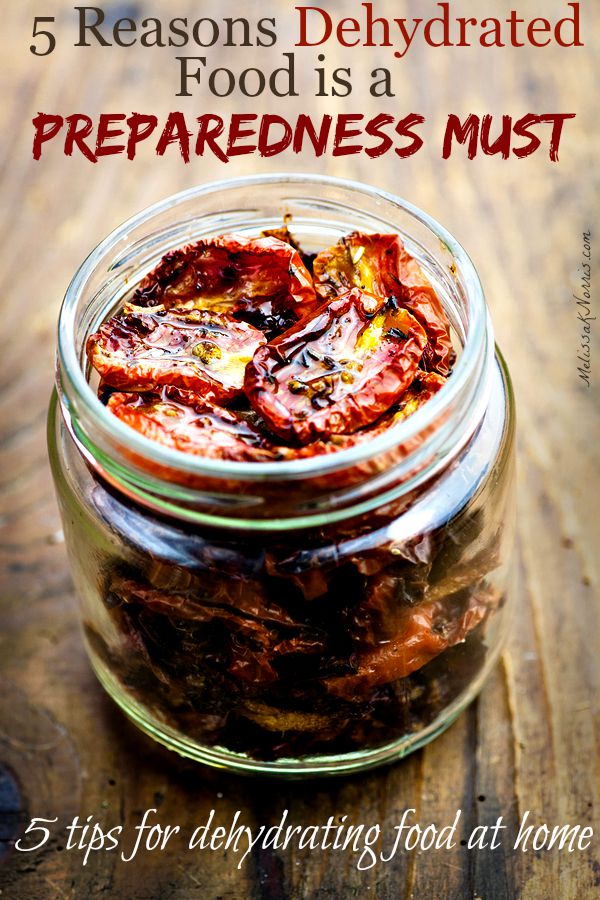
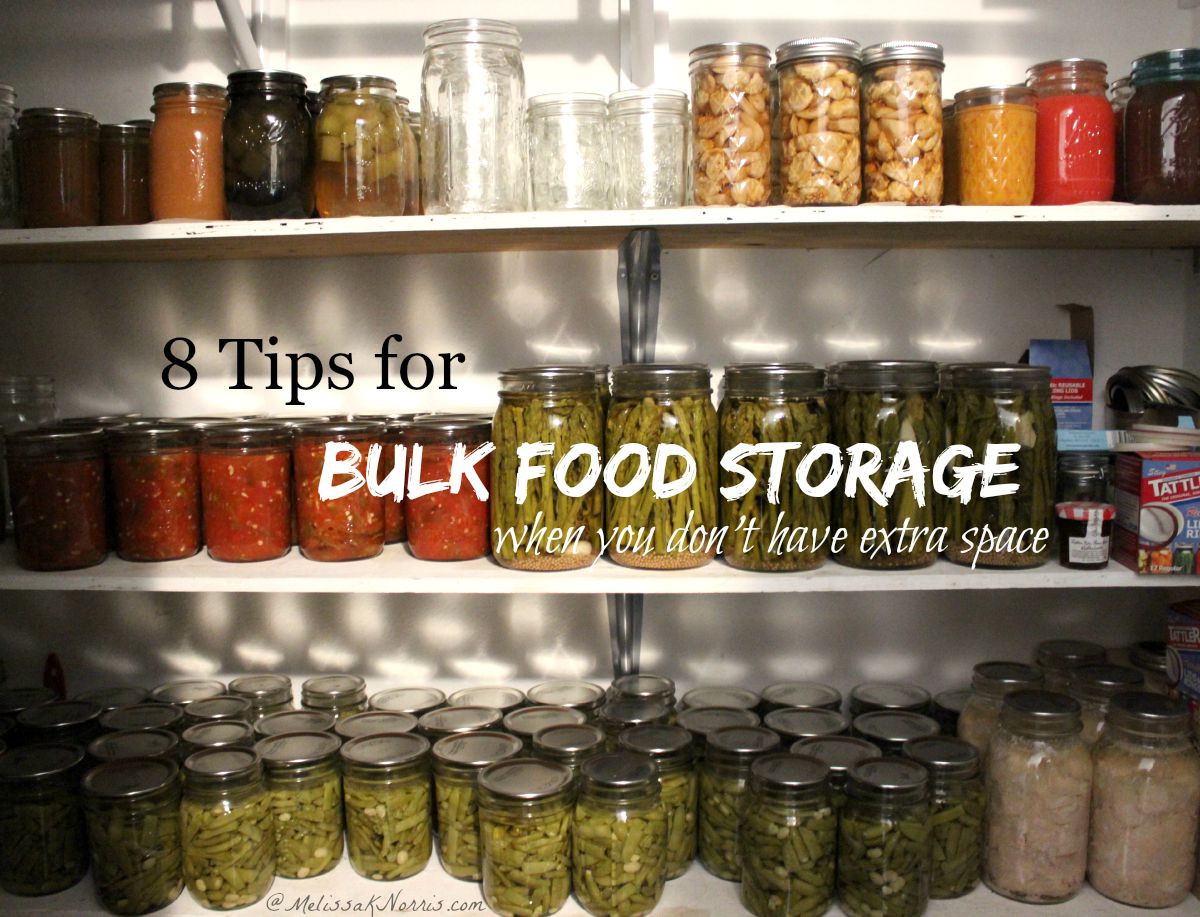
5 Reasons Dehydrated Food is a Preparedness Must & 5 Tips for Dehydrating at Home Read more5 Reasons Dehydrated Food is a Preparedness Must & 5 Tips for Dehydrating at Home
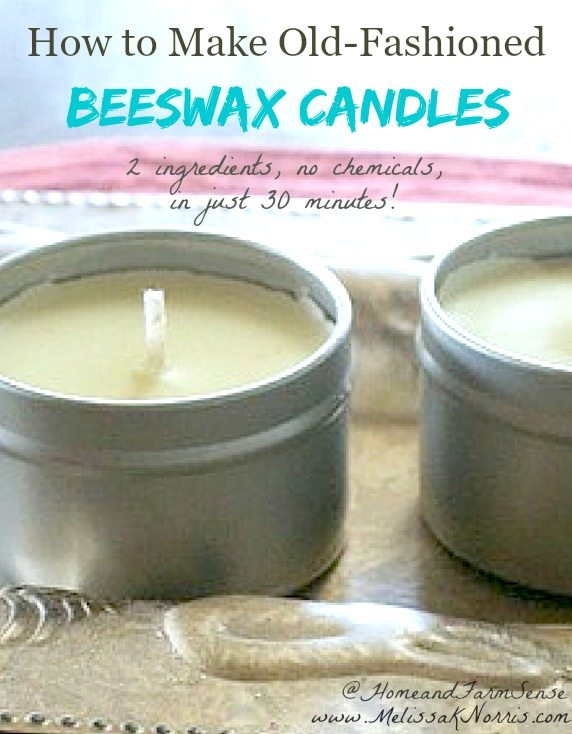
How to Make Candles at Home (Beeswax and Lard) Read moreHow to Make Candles at Home (Beeswax and Lard)
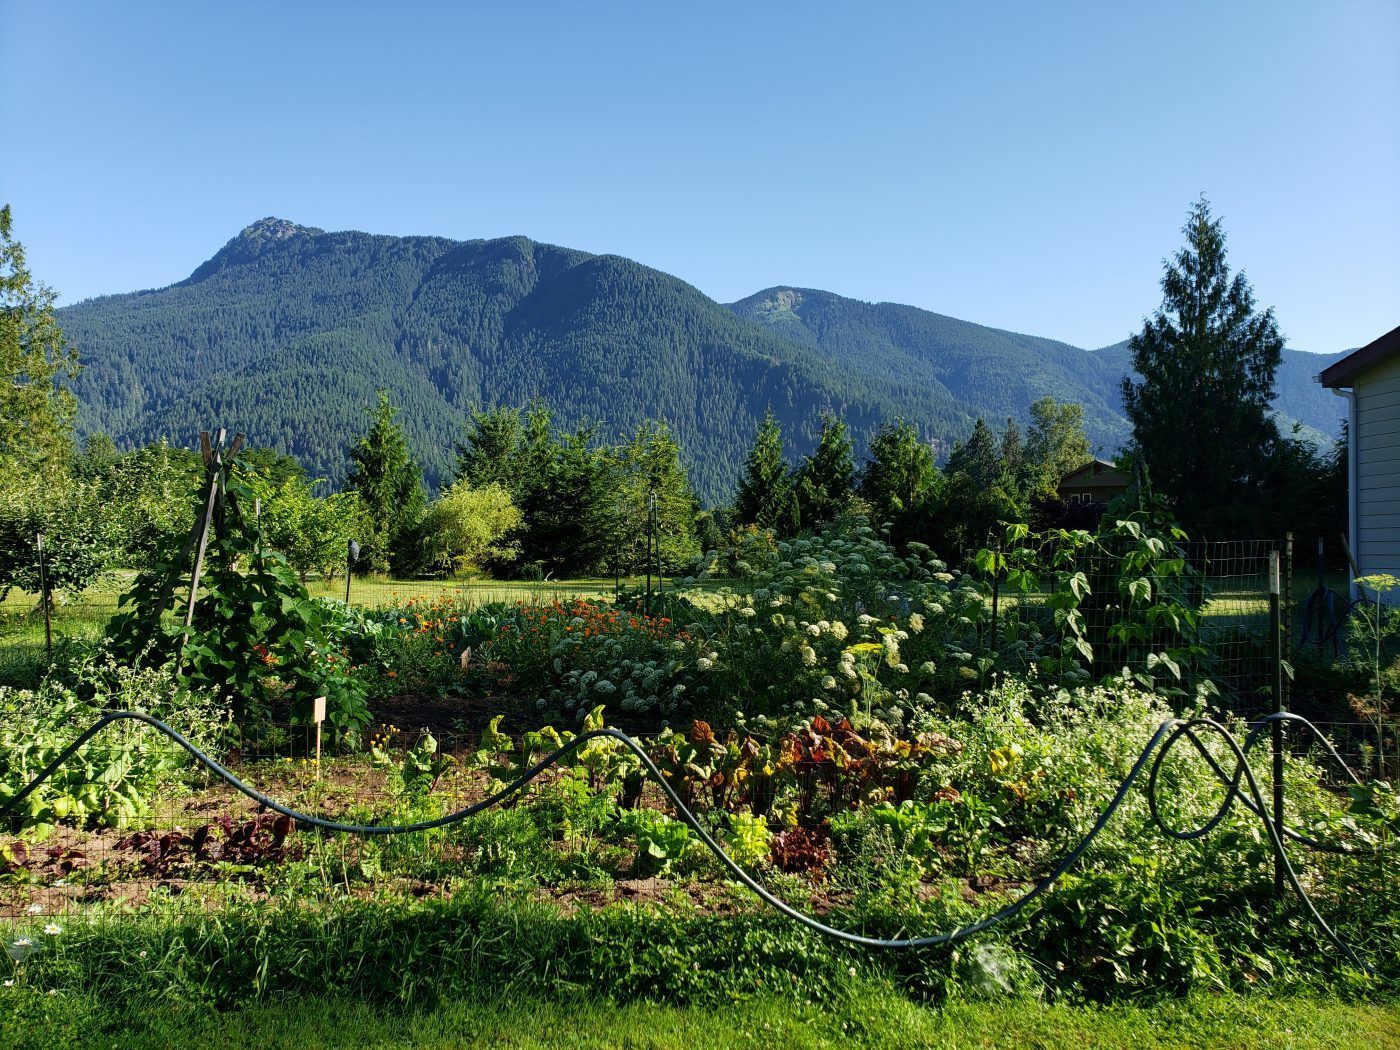
8 Ways to Live Like Little House on the Prairie Read more8 Ways to Live Like Little House on the Prairie
How to Make Homemade Melt & Pour Goat's Milk Soap Read moreHow to Make Homemade Melt & Pour Goat's Milk Soap