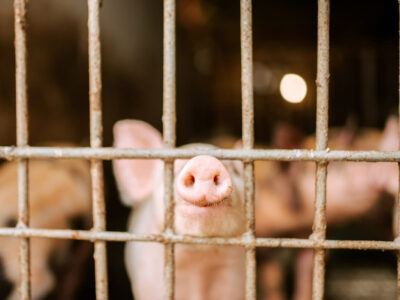
How to Raise Pigs: 12 Tips to Raising Pigs for Meat Read moreHow to Raise Pigs: 12 Tips to Raising Pigs for Meat
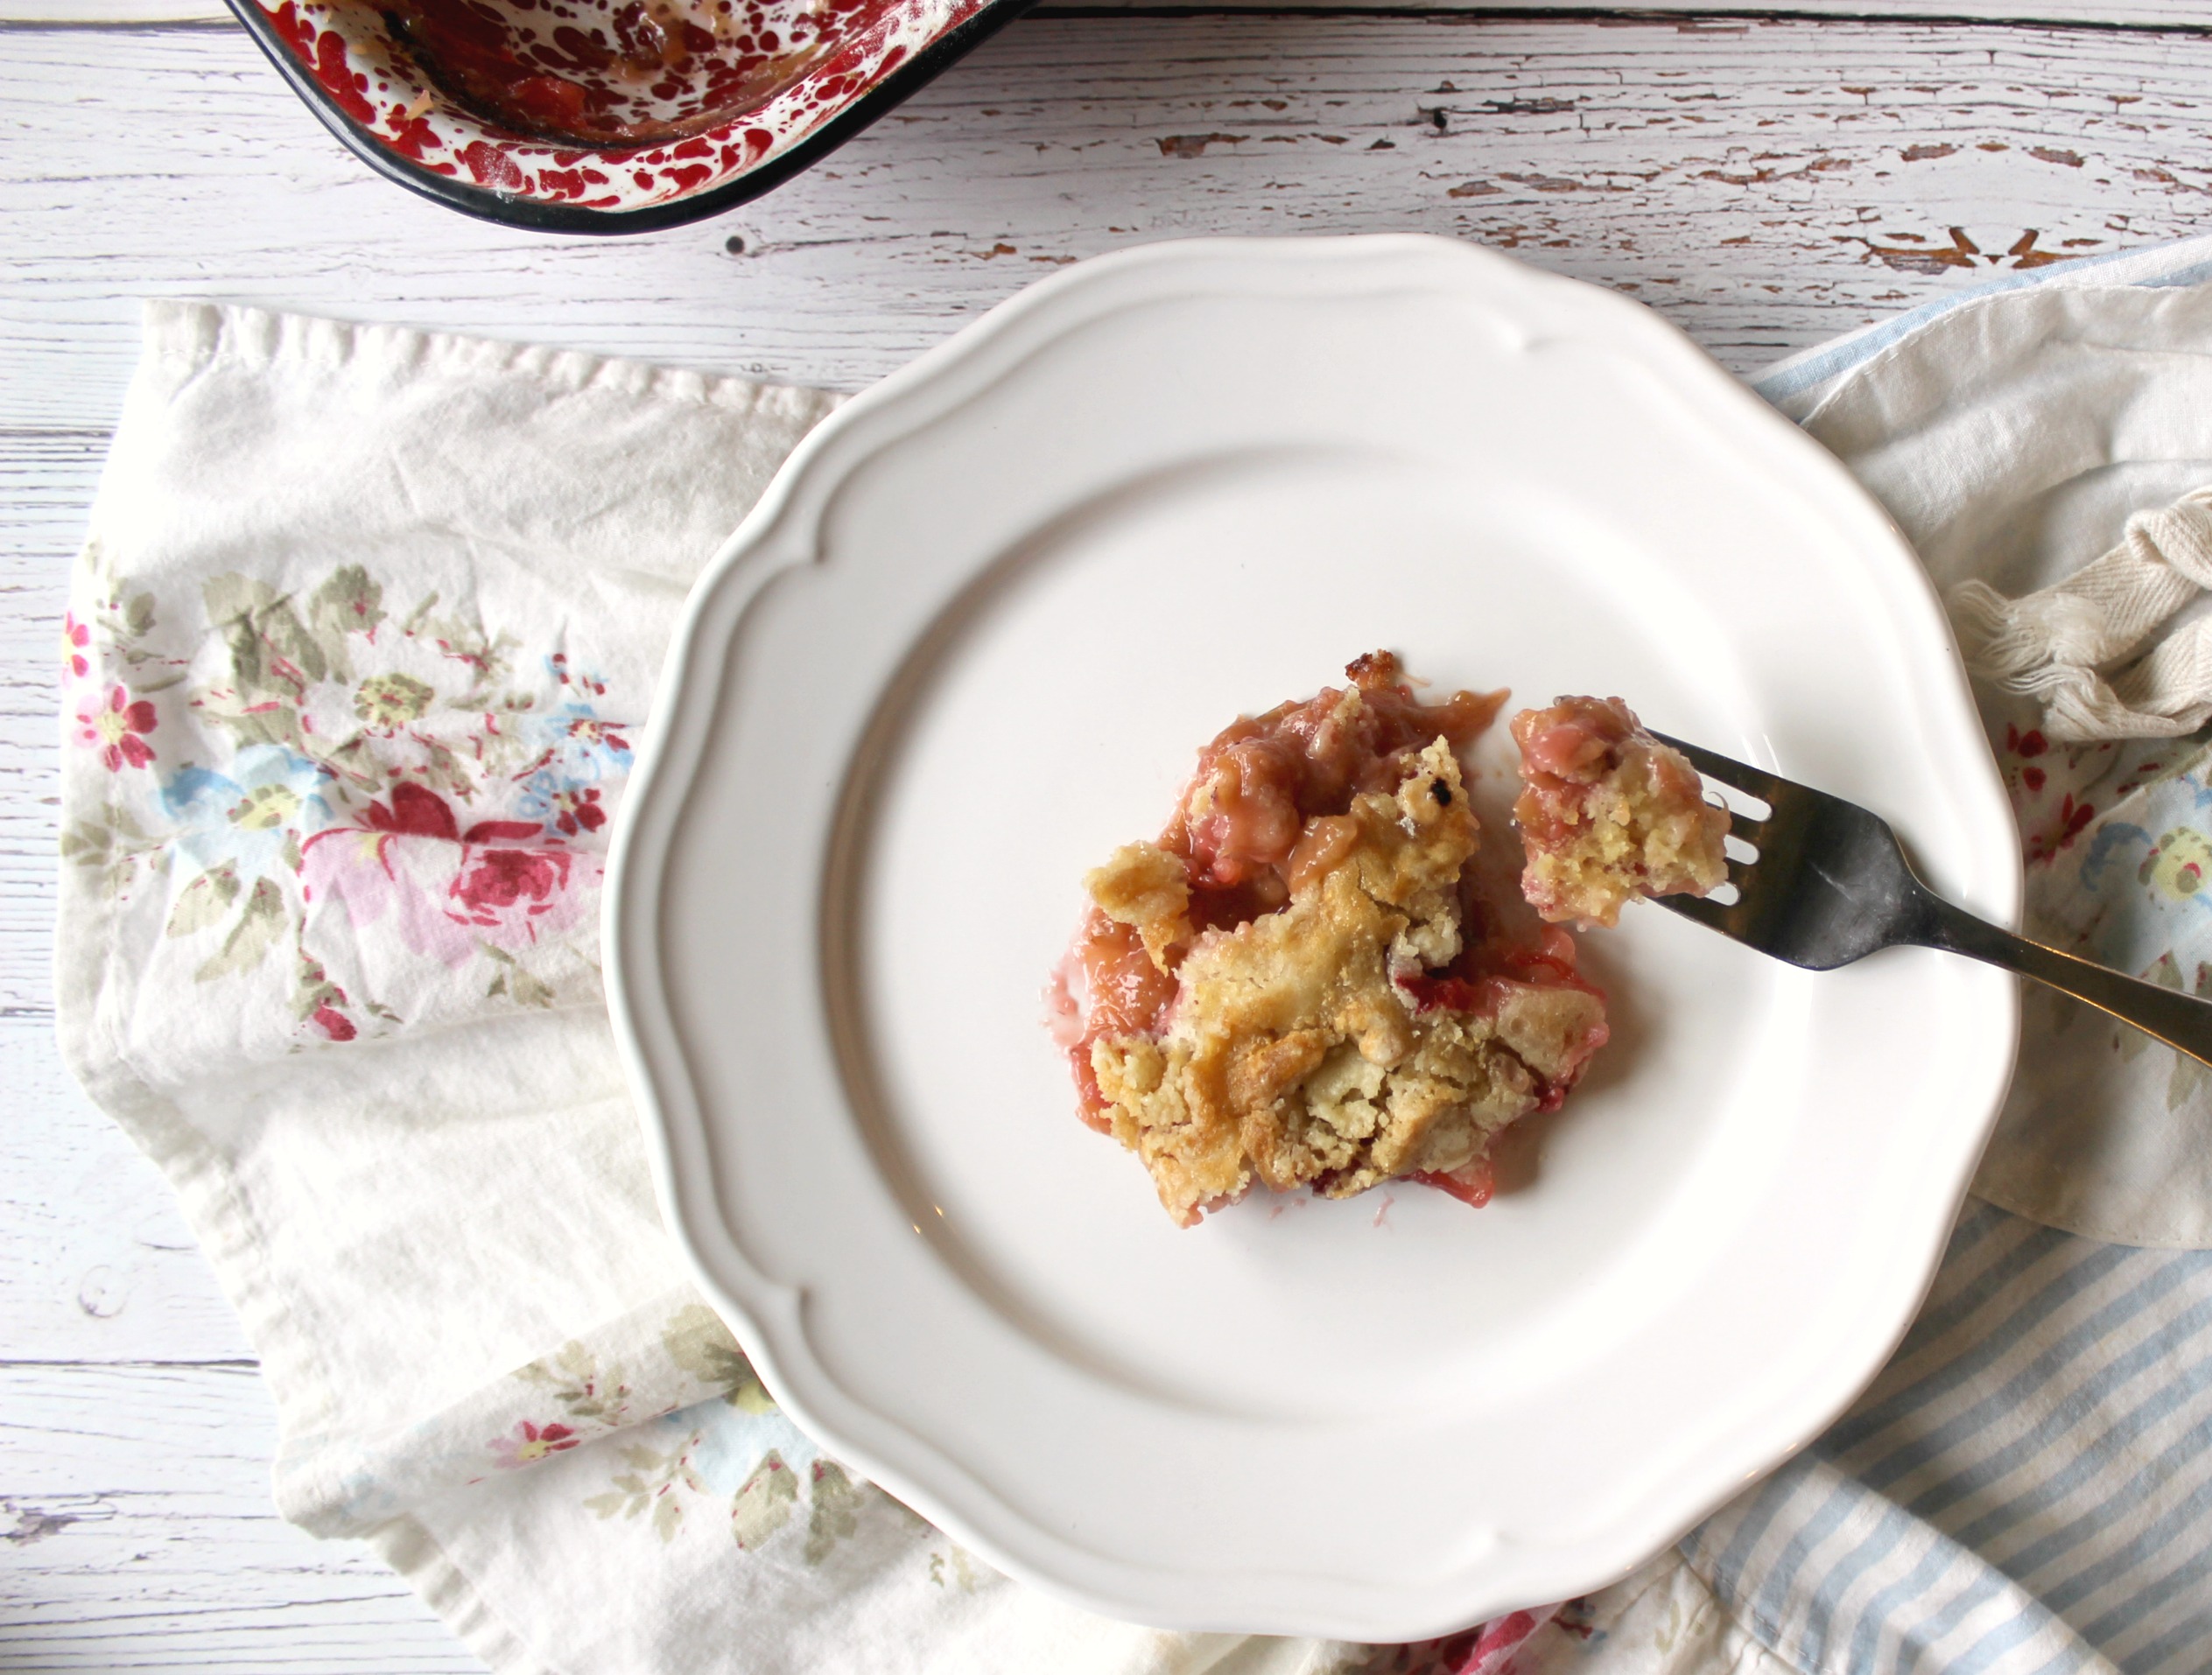
Strawberry Rhubarb Dump Cake without Jello & Homemade Cake Mix Read moreStrawberry Rhubarb Dump Cake without Jello & Homemade Cake Mix
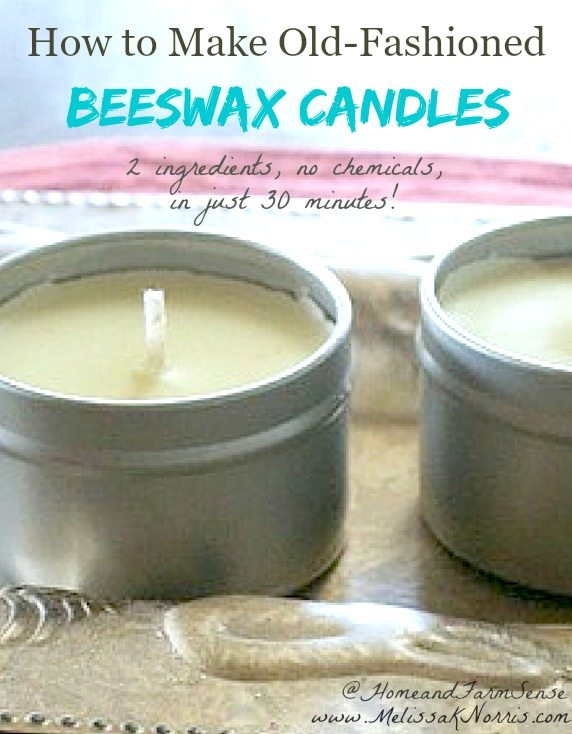
How to Make Candles at Home (Beeswax and Lard) Read moreHow to Make Candles at Home (Beeswax and Lard)
Pioneering Today-How to Butcher a Whole Pig for a Roast-Part 1 Read morePioneering Today-How to Butcher a Whole Pig for a Roast-Part 1
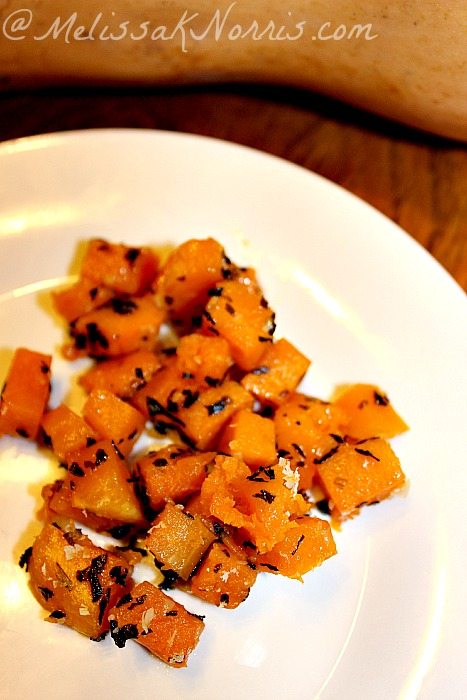
Pioneering Today-Baked Garlic and Butternut Squash Recipe and Freezer Tips Read morePioneering Today-Baked Garlic and Butternut Squash Recipe and Freezer Tips