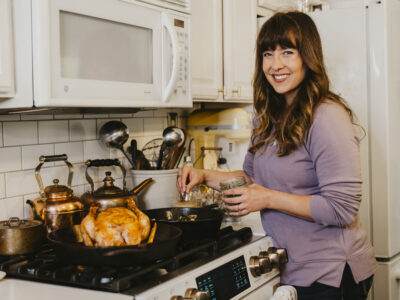
If you're looking to transition (or improve) your gluten-free baking skills, this podcast and blog post will be a great resource filled with valuable information. Robyn, from Gluten-Free Baking Courses, is here to share her wisdom and knowledge for all things gluten-free baking, especially the six go-to gluten-free baking ingredients to keep stocked in your pantry.

Robyn has been practicing dedicated gluten-free baking without using a pre-made gluten-free baking mix for years and has truly perfected the art.
I'm one of those people who really want to understand the differences in baking ingredients and to know how each individual ingredient affects the end product, which is why I'm glad Robyn is here to help clarify some common misconceptions when it comes to gluten-free baking.
If you're coming from listening to the podcast (episode #334), all of the links and resources are listed below.
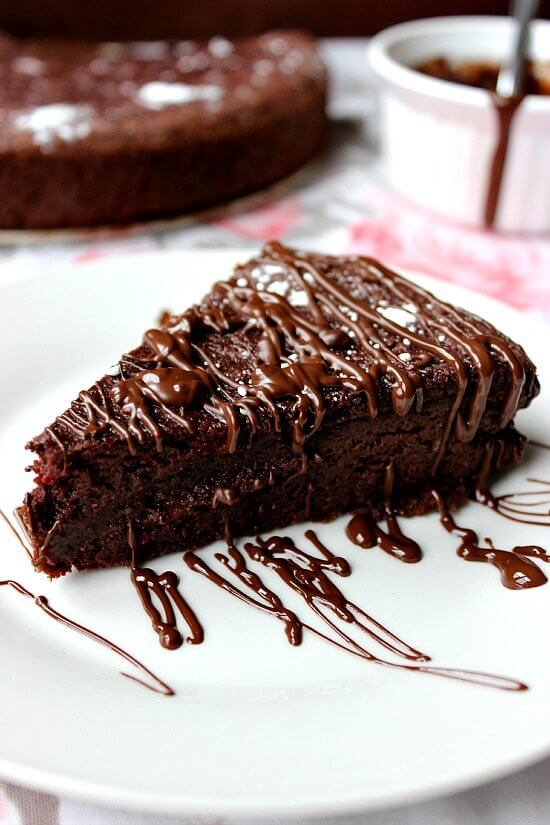
Table of Contents[Hide][Show]
My Gluten-Free Journey
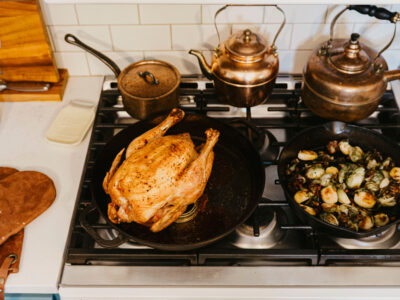
If you've been with me for a while, you know I've experimented with gluten-free baking over the years as I've dabbled with various food sensitivities or dietary changes. I've also shared some of my favorite gluten-free recipes including:
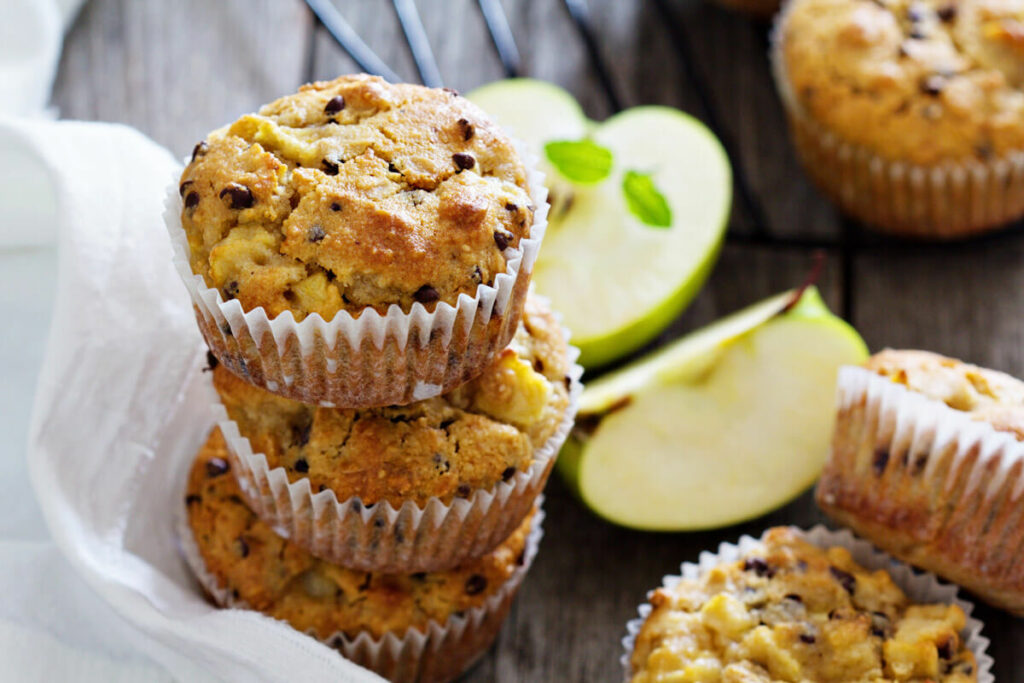
- Chocolate Beet Cake (pictured above)
- Jam Roly-Poly
- Traditional Christmas Pudding Recipe
- Grandmother's Date Bread
- Homemade Granola Bars
- Historical Recipes: Honey Date Squares
- Grandma's Easy Oatmeal Macaroons
- Oatmeal Chocolate Chip Bars
- 13 Gluten-Free Cookie Recipes
- Easy Sweet Potato Tortilla Recipe (+ Gluten Free Option)
As I've recently mentioned in previous podcasts, I had a complete hormone panel done as well as some other tests and got back some surprising results about the number of antigens I'm sensitive to.
Because of this, I'm going to be brushing off my gluten-free baking skills and experimenting a bit more in the kitchen, so the timing of this podcast interview with Robin was a God-send!
Meet Robyn
Robyn is a baker, performer, and digital content creator living in Toronto Canada. She was born and raised in Nova Scotia and comes from several generations of award-winning bakers (non-gluten-free bakers!).
In 2016 she was devastated to receive a celiac diagnosis which crushed her to not be able to eat all her family's recipes anymore. So she set out to make all her favorites gluten-free without sacrificing taste, texture, or quality.
By 2020, she had learned so much about gluten-free baking that she launched Robyn's Gluten-Free Baking Courses where she shares everything you need to know to successfully transition to a gluten-free lifestyle.
Scroll to the bottom of this post to find out the other places you can find Robyn as well as a special offer from her!
How Gluten Works in the Body
Many people don't realize that the effects of gluten stay active in the body for upwards of 6 to 8 weeks. So if you go "off" gluten for a few days and feel better, it may not actually be gluten that's affecting you.
It might be a combination of things, but it truly takes going off gluten for 6 or more weeks to know just how good your body can feel.
Be aware, though, that if you truly do have a gluten sensitivity, the reaction to gluten when you re-introduce it after those 6-8 weeks could potentially be ten-fold in intensity because your body will no longer be producing a protective mechanism that it's been pumping out each time you eat gluten.
How to Get Started
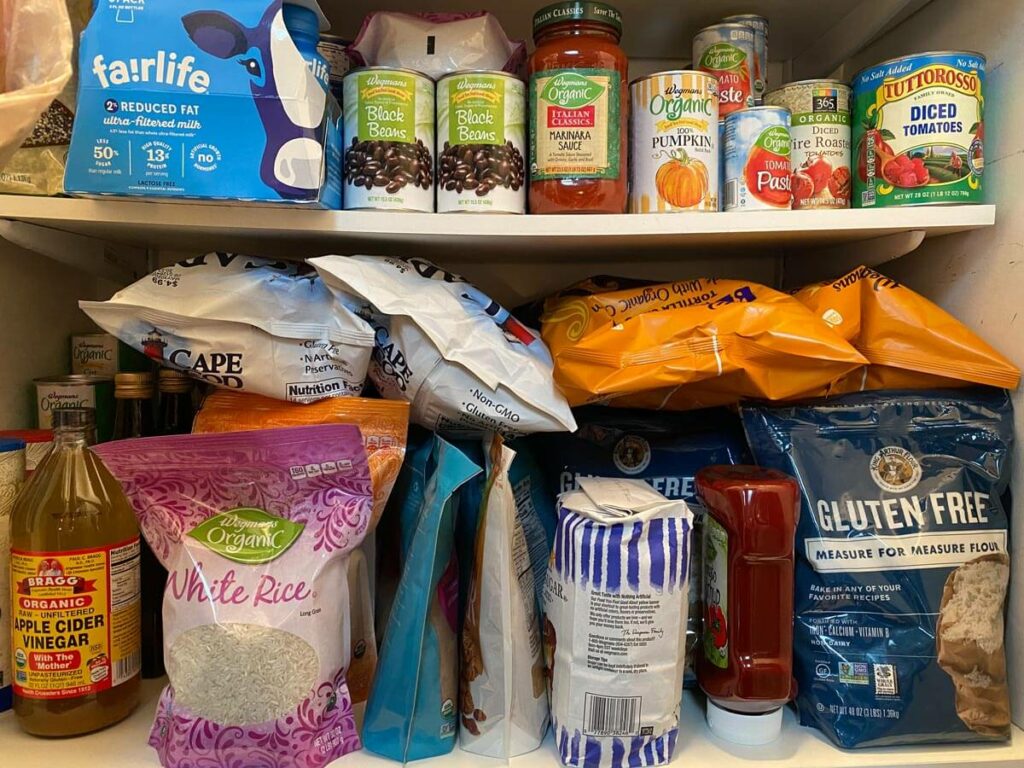
When starting a gluten-free lifestyle, one may think you just need to start scouring the grocery store for every gluten-free product you can find. Especially those all-purpose 1:1 gluten-free flours we've been talking about for all your baking needs.
But one of Robyn's biggest frustrations is how hard it can be to get started with gluten-free living because simply swapping out products for those that are gluten-free isn't the best choice. Those items are not only way more expensive, but they also don't taste as good (and likely aren't as healthy) as many of the products you can make from scratch at home.
There are so many gluten-free resources out there (blogs, recipes, social media accounts, etc.), but very few are comprehensive enough to explain, in detail, the best steps to take when getting started on your journey.
Robyn is not a fan of the pre-made gluten-free flour blends because they don't let you tailor the individual ingredients and are very rarely a true 1:1 swap for flour.
Robyn teaches about each individual flour and how it works or reacts in a recipe so you can begin to tailor recipes to suit your liking (keep reading, we cover it here!)
The way she uses GF flours and starches for biscuits is different than how she uses them for pizza crust. More times than not, she's still using the same 6 core ingredients, it's just in different ratios or methods.
There is no need to stock dozens of gluten-free ingredients in order to transition to a gluten-free kitchen. Simply having three flours and three starches will do!
Cooking this way will really give you a better understanding of how each of the ingredients works.
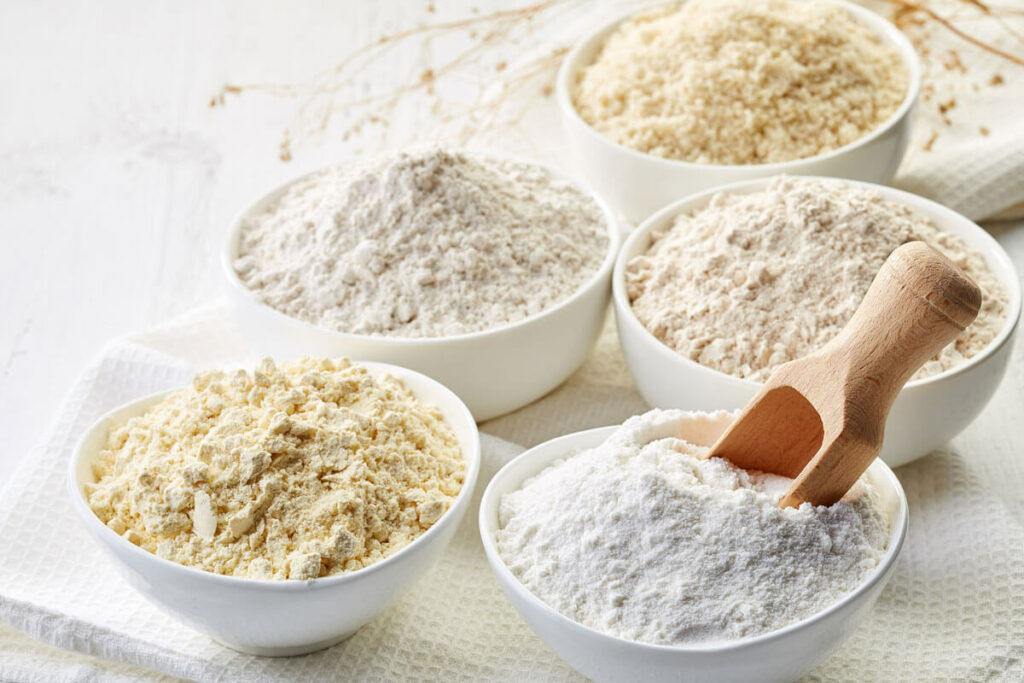
Differences in Gluten-Free Flours
I'm a huge data geek and I love learning the in-depth details on why things work.
I know in my own bread baking course, there are a lot of people who don't have a fundamental understanding of what the different flours do. Like how the different proteins or levels of gluten affect the baked goods when we're cooking various recipes from bread to pie crusts and other pastries.
This is especially true when it comes to gluten-free baking. In some recipes, a 1:1 all-purpose gluten-free blend will work great, but in others, it will be an epic fail.
Robyn shares that it's very true depending on the type of recipe you're making. Something like a quick bread, muffin, and some cakes might work better with this pre-made mix.
But recipes vary so much. Some recipes are dealing with short gluten-protein-chains (flakier recipes like pastry, pie crusts, and some cookies) while others have a longer gluten-protein-chain that's quite stretchy and holds together well (like in bread).
Robyn no longer uses a 1:1 gluten-free flour blend because within these blends the flours can differ and she finds it's easier to know just what each flour does and creates her own recipes (remember, she comes from a baking legacy so she's a wealth of information!).
Corn Starch is an ingredient that she finds really helps keep certain recipes nice and delicate, such as pie crusts, pastries, and cookies.
Tapioca Starch and Xantham Gum are two ingredients that really help bread keep its elasticity. For something like a cake, you would use less, for something like a loaf of bread, you would use more.
Must-Have Gluten-Free Ingredients
These are Robyn's must-have flours for gluten-free cooking in her kitchen!
I've found some of these at Costco but use Azure Standard and ThriveMarket <-- this link gives you 40% off your first order for new members (this is where I found hazelnut flour as I can't do almond flour).
- Rice Flour - you can go white rice or brown rice flour as they both act very similarly in recipes. Robyn uses white rice flour in recipes like cookies so the taste of the butter and homemade vanilla extract shine through.
- Almond Flour - or another nut if you can't have almonds (like me!), so she recommends replacing that with another nut flour or even oat flour (I'm testing hazelnut and tigernut flour, I found the tigernut through Thrive Market).
- Oat Flour - if you're grinding your own, be sure you're getting gluten-free oats!
- Tapioca Starch
- Potato Starch - this should be starch, NOT potato flour.
- Corn Starch - I make sure to get organic to avoid GMO corn products.
If you have these six ingredients in your cupboard you can make a whole range of fantastic gluten-free recipes.
In my experience, many gluten-free recipes call for coconut flour. Robyn mentions she doesn't use it because it's so absorbent which makes recipes harder to perfect (or they tend to be too dry). It's also one of the more pricey gluten-free ingredients!
Where to Find Gluten-Free Specialty Flours
For me, because I'm also dealing with other antigens aside from just gluten (like almonds), there are many nuts that I need to avoid right now. I asked Robyn if she knew of any specialty stores or places online where I could order specific flours and she recommended a tip near and dear to my heart which is to grind my own!
To do that, a home grain mill is needed. (Make sure you’re choosing the best flour mill for your kitchen.)
I have a home grain mill so I can grind my own oat flour in the mill. (that link gets you 5% off and FREE shipping, no coupon code needed and the discount is applied when you click checkout)
When it comes to nut flours, I'll use my Blendtec blender because of the oils in the nuts. I don't want those oils coating the stones in my grain mill.
Keeping Gluten-Free Recipes from Drying Out
If you've ever tried baking a gluten-free recipe, chances are you've come across one (or more) that turned out dry and crumbly.
And if you're like me, this makes you mad! Especially because most gluten-free ingredients tend to be pricier than their gluten-filled counterparts (especially when you've been grinding your own grain at home for years).
But we at home cooks like to know the why behind our recipes to know how to fix them moving forward, am I right?
So what do we do? Add more oil? More water? Applesauce, yogurt...? What's the secret to keeping our gluten-free recipes edible and delicious?
High-Moisture Flours
Robyn says if she encounters a recipe that's turning out dry and crumbly she starts by increasing the amount of high-moisture flours first (another reason she doesn't like the pre-packaged 1:1 mixes because you can't adjust the ratios).
She recommends reducing the amount of all-purpose flour (or the main flour choice in the recipe) by about 1/4 cup and increasing or adding in more oat or almond flour (something with higher moisture and fat content). See how that changes the recipe before adjusting the liquids.
Robyn finds increasing the high-moisture flour tends to help both the moisture and flavor of the end result.
If the recipe is still dry, she would then play with the oil amounts, maybe adding more butter or adding something else like yogurt or sour cream (depending on the recipe).
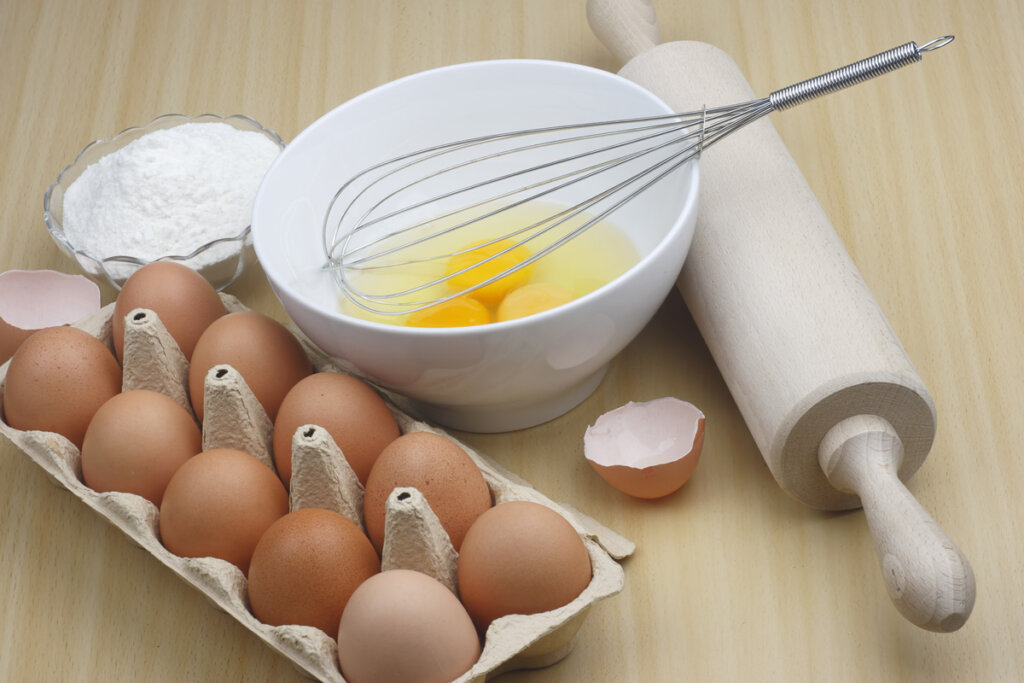
Add an Extra Egg
I have found, in certain gluten-free recipes (even those that don't call for an egg), that adding an egg, or an extra egg really helps the final product in both consistency and moisture.
Robyn confirms that, if you're someone who doesn't have egg allergies, sometimes, with certain recipes, adding an extra egg can help create a similar protein structure as a regular loaf of bread.
Eggs have an anti-staling effect so your baked goods also won't dry out as quickly.
This isn't a fool-proof method, but it's a good tip to keep in your back pocket.
"No Need to Knead"
Robyn's tip when baking gluten-free bread is that you don't need to knead gluten-free recipes.
Because there is no gluten formation needed, by kneading the batter (which gluten-free bread is more of a batter than a dough), you're actually knocking out all the leavening gasses!
So don't knead your gluten-free bread recipes!

Special Deal From Robyn
I hope you have found this blog post and podcast interview helpful, if you're looking for even more information, or would like to take a course from Robyn, go grab one of her gluten-free baking courses or bundles. She's been kind enough to offer our readers a special coupon code. Just use code "pioneeringtoday" at checkout for 10% off.
I actually took advantage of this discount myself and snagged one of her courses so I could dive even deeper into my own gluten-free baking knowledge as I'll be incorporating much more in the near future!
I'll be sure to share my experiences with you!
Connect with Robyn
- If you want to connect with Robyn or ask her questions to see if her Gluten-Free Baking Courses are a good fit for you, send her an email at [email protected].
- You can also check out her YouTube channel where she shares even more fabulous gluten-free baking tips (among other topics).
- She has a few free lessons for some delicious gluten-free baked goodies you can grab on her website which includes access to the video tutorials and recipes, along with her other gluten-free baking courses.
- You can also check out her blog Gluten-Free Baking here.
[fusebox_transcript]