
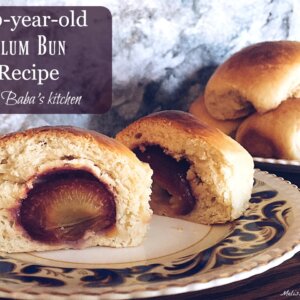
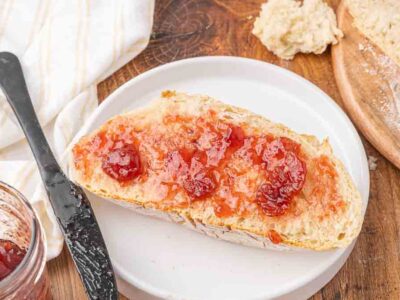
This Plum bun recipe is from 1910 and hails from the kitchen of Baba. This 100-year-plus recipe is rich in both flavor and it's history. You can't get much more simple or delicious than a sugared plum prune wrapped in fluffy from scratch dinner roll dough and baked to golden brown perfection.
I come from a family of peasants and pioneers. Before my family came to Canada from Eastern Europe more than a century ago, they were poor farmers living on the edge of western Ukraine, making do with whatever they had and doing without a lot.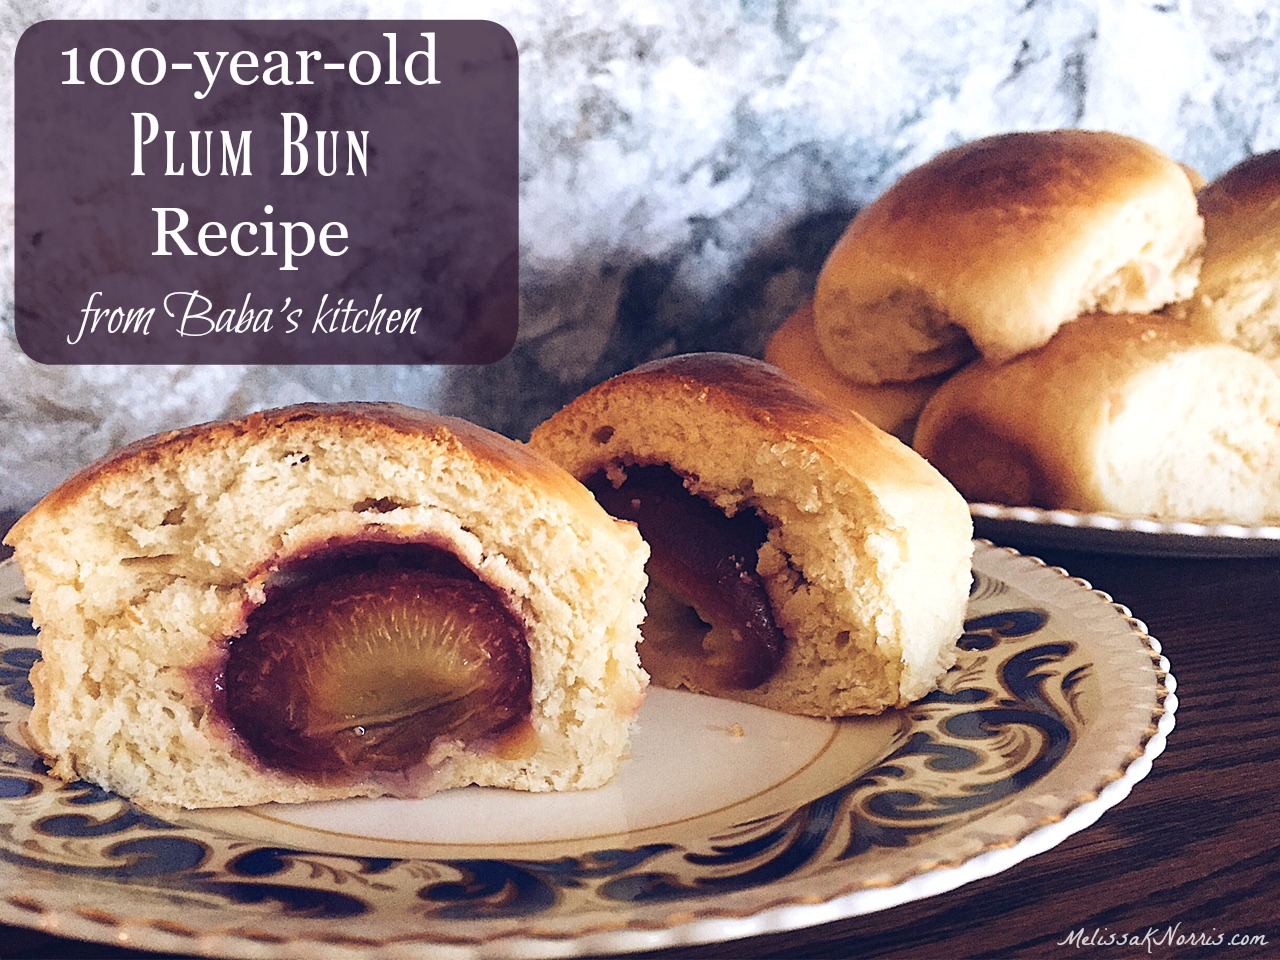
They didn’t have access to pantry staples like white flour or sugar, instead using rye flour, buckwheat flour and beet sugar for their baking needs. White flour and sugar was, after all, reserved for the elite.
Members of the peasantry couldn’t afford such luxuries. In fact, they could barely afford to purchase things from the store at all, and instead had to make their own beet sugar despite the fact that it cost just pennies to procure at the market.
We were used to frugal meals like this traditional borscht soup recipe and this authentic pierogi recipe.
Luckily all of that “making do and doing without” helped make my ancestors strong, resilient, pioneering people who eventually decided to take a massive leap of faith and board the steamships to North America.
A Recipe Rooted in a Love Story
First, my great, great grandfather came. But he wasn’t my great, great grandfather at the time. No. My great, great grandmother loved him, but her parents forbid her to marry him when they learned he had decided to move to Canada. So he left without her.
A year or so later, she caught wind that he had met someone else in Canada and was set to marry another woman. My grandmother (we call grandmothers “baba” in Ukrainian), being the tough, headstrong woman that she was, made the decision to leave her life and family behind and come to Canada.
She came with a friend, travelling in squalid, steerage conditions the whole way. Just surviving the trip was a feat of strength. But she made it. And by fate, she eventually tracked my grandfather down and married him before he could marry another woman.
I literally owe my very existence to her bravery and her pioneer spirit. Had she not followed her love to the new land, I would have never been born, and my family might still be living in Ukraine today.
Learning to Make Do in a New Land
Of course, surviving the passage to Canada was only the beginning. She had to learn how to navigate life in a whole new world: A world without her family and with many new and different items that were now available to her.
For the first time, she could get her hands on things like real sugar and white flour! And so began the evolution of what have come to be some of our favourite family recipes today, passed down and adapted from ancestors long, long ago.
One such recipe are my baba’s famous plum buns. While we don’t know for sure how they originated, we do know that she took recipes that her mother taught her in Ukraine and adapted them to be made with the new ingredients she found when she came to North America. The assumption is that plum buns originated from a sort of plum or fruit cake-bread that they used to make in the Ukraine with heavy rye or buckwheat flour. In this “modern version,” the buns are made with white flour and sugar and butter and milk, and are much lighter than they would have originally been.
Subscribe to Melissa K. Norris!
Get updates on the latest posts and more from Melissa K. Norris straight to your inbox.
We use your personal data for interest-based advertising, as outlined in our Privacy Notice.
Simple Ingredients From a Simpler Time
Plum buns are quite simple actually, as were most recipes from this time and place. They consist of a pitted, sugared prune plum wrapped in sweet bread and baked to golden perfection. They require very few ingredients and nothing fancy at all. They have been a late summer/early fall tradition in my family forever, and I am now carrying on that tradition myself.
Anastasia
The original recipe for the bread dough was lost long ago when convenience foods began to take over and my grandma and mom’s generation began making them with store-bought sweet bread dough. But I like to make things from scratch as much as possible, so I have created my own sweet bread recipe that tastes much better (in my opinion) than any store-bought dough, and is probably much closer to what my baba would have made 100+ years ago.
It’s important to use prune plums with this recipe as they tend to be meatier and firmer than other types of plums. Plus, they are much easier to pit than others, which makes it easy to keep the whole plum intact and pop the pit out by making just a slit. It’s best to use the whole plum in these buns rather than just a half as it gives a better plum to bun ratio.

So on behalf of my family and all of the hardships that it took to bring you this recipe today, please enjoy these plum buns and share them with your loved ones this fall. And if anyone asks you where you got the recipe, just tell them it’s a long story that began when one particularly adventurous woman followed her heart across the ocean a long time ago.
Baba’s Plum Buns Recipe
Ingredients
12 prune plums
4 cups flour
1 cup milk (plus 1 tablespoon for egg wash)
½ cup butter
½ cup sugar (plus extra for plums)
2 eggs (plus 1 for egg wash)
1 tablespoon active dry yeast
½ teaspoon salt
Directions
1. Melt butter in a saucepan over medium heat. Add milk and heat until warm, but not hot. Stir in yeast. Allow yeast mixture to proof for about 10 minutes.
*If liquid is too hot it could kill the yeast, so be sure to heat milk/butter mixture just enough to warm it to about room temperature or slightly over.
2. Mix flour, sugar and salt together on low in a stand mixer fitted with a dough hook. Add both eggs and increase the stand mixer speed slightly. Add the yeast/milk/butter mixture and continue to mix until the dough forms a ball on the dough hook and there is no dough stuck to the sides of the bowl.
3. Turn dough out onto a floured surface and knead well until dough is smooth (about 10 minutes). Form dough into a ball. Grease a stainless steel, glass or plastic mixing bowl with butter or oil so dough doesn’t stick. Place dough in bowl, cover and let rise until it’s roughly doubled in size (about an hour).
4. Wash plums while waiting for dough to rise. Then, using a pairing knife, make a slit in the side of each plum wide enough to pop the pit out. Once pitted, toss plums in about ¼ cup of sugar making sure to fill each plum with sugar as well.
5. Once dough has risen, turn it out onto a floured surface and punch it down. Divide it into 12 equal parts and roll into balls.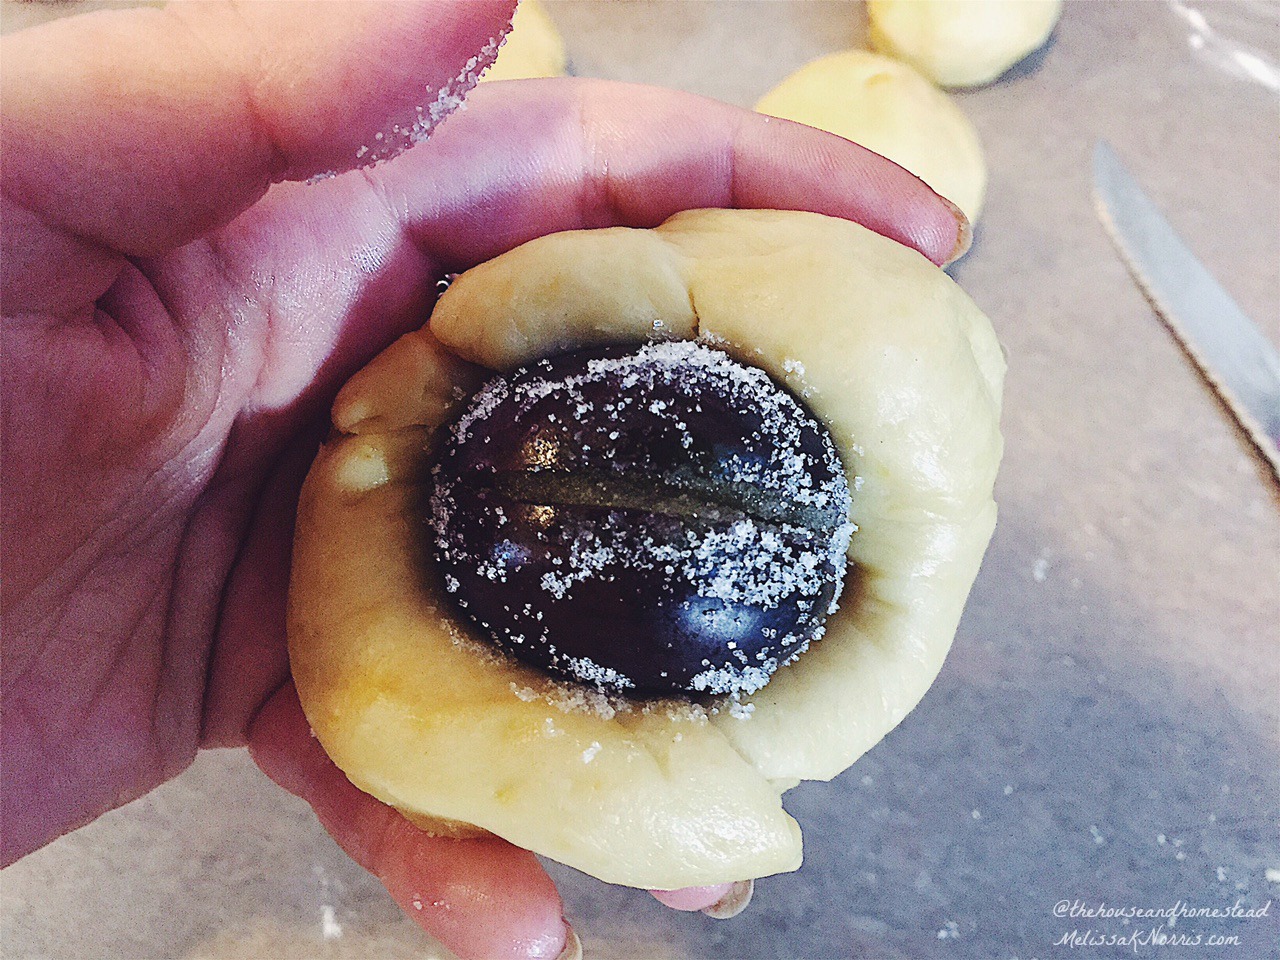
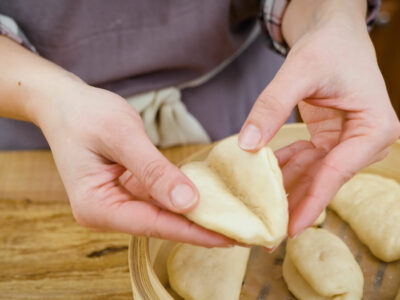
6. Make a dent into each dough ball and place a plum inside. Then wrap the dough around the plum, covering it completely.
7. Pinch the dough together to seal the dough around the plum. (If dough doesn’t seal completely that’s okay! But to make it a true plum bun, try to seal the plum completely in the middle.
8. Grease a 9x13 inch baking dish and place buns in dish. Let buns rise again for about 25 minutes. Preheat oven to 375º F.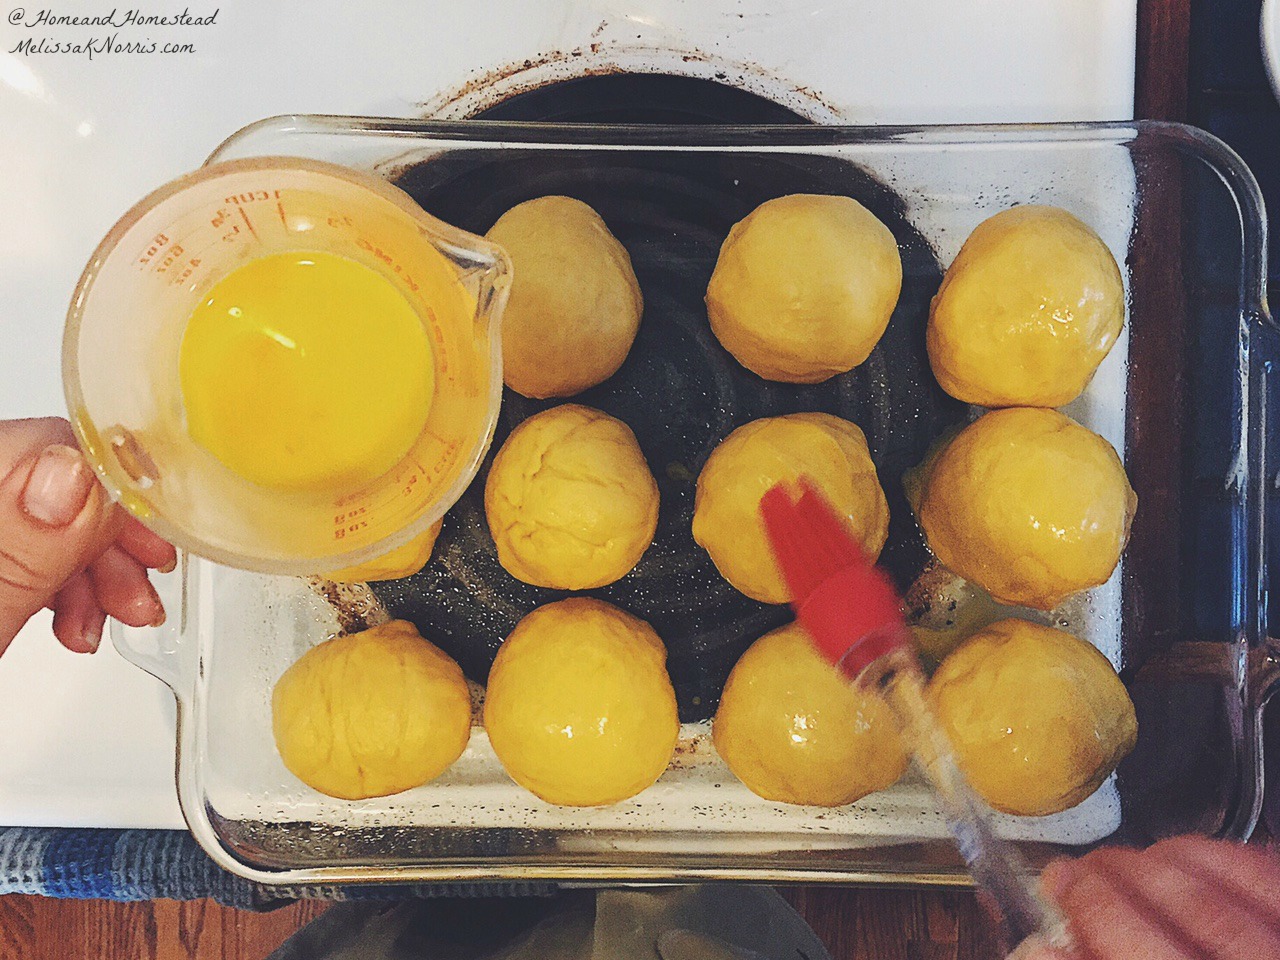
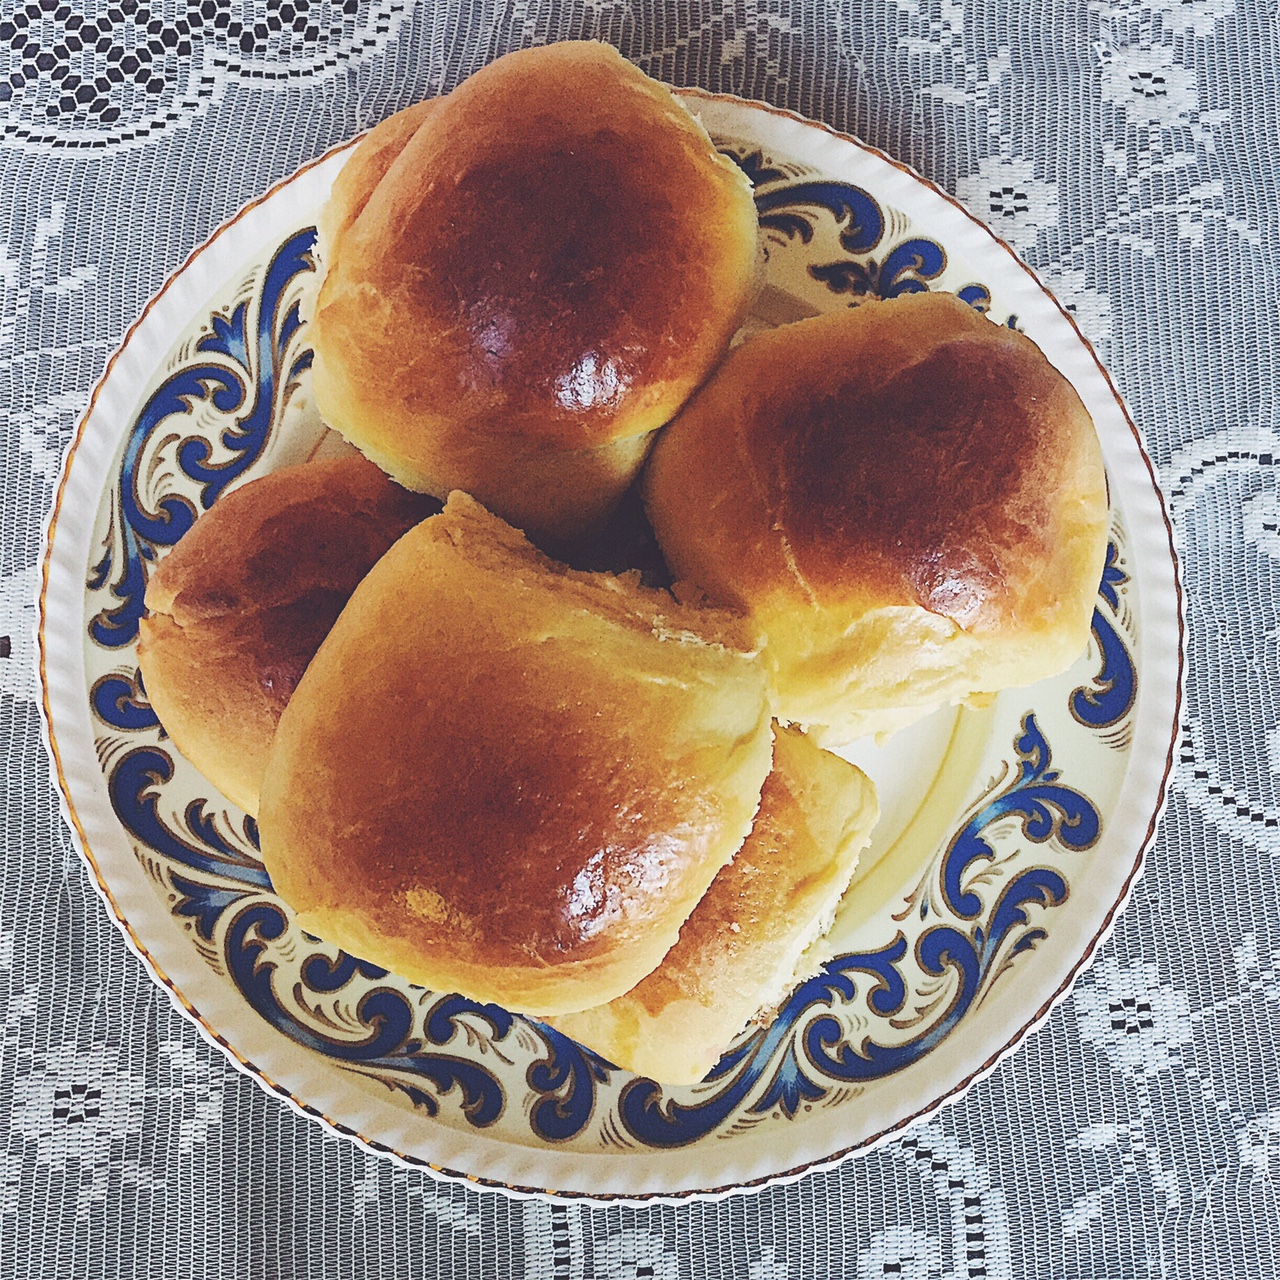
9. Brush buns with an egg wash mixture of 1 egg and 1 tablespoon of milk. Place buns in oven and bake for about 25 minutes. Tops of buns should be golden brown. Remove from oven and let cool before serving.
📖 Recipe
Plum Buns Recipe (Baba's recipe from Circa 1910)
Ingredients
- 12 prune plums
- 4 cups flour
- 1 cup milk plus 1 tablespoon for egg wash
- ½ cup butter
- ½ cup sugar plus extra for plums
- 2 eggs plus 1 for egg wash
- 1 tablespoon active dry yeast
- ½ teaspoon salt
Instructions
- Melt butter in a saucepan over medium heat. Add milk and heat until warm, but not hot. Stir in yeast. Allow yeast mixture to proof for about 10 minutes.
- *If liquid is too hot it could kill the yeast, so be sure to heat milk/butter mixture just enough to warm it to about room temperature or slightly over.
- Mix flour, sugar and salt together on low in a stand mixer fitted with a dough hook. Add both eggs and increase the stand mixer speed slightly. Add the yeast/milk/butter mixture and continue to mix until the dough forms a ball on the dough hook and there is no dough stuck to the sides of the bowl.
- Turn dough out onto a floured surface and knead well until dough is smooth (about 10 minutes). Form dough into a ball. Grease a stainless steel, glass or plastic mixing bowl with butter or oil so dough doesn’t stick. Place dough in bowl, cover and let rise until it’s roughly doubled in size (about an hour).
- Wash plums while waiting for dough to rise. Then, using a pairing knife, make a slit in the side of each plum wide enough to pop the pit out. Once pitted, toss plums in about ¼ cup of sugar making sure to fill each plum with sugar as well.
- Once dough has risen, turn it out onto a floured surface and punch it down. Divide it into 12 equal parts and roll into balls.
- Make a dent into each dough ball and place a plum inside. Then wrap the dough around the plum, covering it completely.
- Pinch the dough together to seal the dough around the plum. (If dough doesn’t seal completely that’s okay! But to make it a true plum bun, try to seal the plum completely in the middle.
- Grease a 9x13 inch baking dish and place buns in dish. Let buns rise again for about 25 minutes. Preheat oven to 375º F.
- Brush buns with an egg wash mixture of 1 egg and 1 tablespoon of milk. Place buns in oven and bake for about 25 minutes. Tops of buns should be golden brown. Remove from oven and let cool before serving.
More Recipes You May Enjoy
- Grandmother’s Date Bread Recipe (Vintage Recipe)
- Quick Dinner Rolls (25 Minute Recipe!)
- Whole Wheat Dinner Rolls
- Bread Mix in a Jar: Easy DIY Gift Idea
- Easy Chocolate Wacky Cake Recipe (aka Chocolate Depression Cake)
- Grandma’s Easy Pumpkin Roll Cake Recipe
- Old-Fashioned Cranberry Muffins
I can't think of much better than a from scratch recipe with a story. Have you ever heard of plum buns? Will you be trying out this recipe?


Amanda
Made these with my kids after reading the nursery rhyme To Market. Made them with the big plums from the grocery store as it's February and we don't have a prune tree. Made up just fine but reduced to 10 plums instead of 12 to have enough dough to cover them. Next time I'd likely just do them in halves and buy 6 plums. Was fun filling them with sugar though! Wish I could post a picture but I don't see a way to do that
Lisa
I grew up eating these. My mother passed a short while ago and this recipe just brought back so many memories. Thank you. I will make them soon as the prune plums are just now available
Ellen
Some pampushky are deep fried. We make ours with stewed prunes as the filling, and wrap them in the sweet dough so they are open each end. Still brush with egg wash and bake. Comfort food for sure!
Stef
I will try ur homemade dough, but for a quickie would wrapping the plum sauce in pillsbury crescent roll dough be sufficient?
I know...boo for not from scratch, but nice to have a shortcut if it will work.
S
Is there a grain-free flour that will work in this recipe?
Anna Sakawsky
I haven't tried this with a grain-free flour. I'd say that if you were to try it grain-free, I'd use coconut flour. I'll have to try that next plum season!
Lee
Can't wait to make these. I planted a Damson (prune) plum tree several months ago, so it may be a couple years before we see a 12-plum harvest, but I've printed the recipe and will be anxiously awaiting the day I can give it a try... they sound delicious!!! Thank you for sharing.
Anna Sakawsky
It will be well worth the wait when you do finally get fruit! These freeze really well too so when you start to get a lot of plums, you can make a few batches and freeze for later:)