Building and creating a fire is a basic skill humans have used since the beginning of time and it can literally save your life. But, if you’ve never built and maintained a fire before, it can be a little bit harder than you’d think, especially if you use the wrong fuel or techniques.
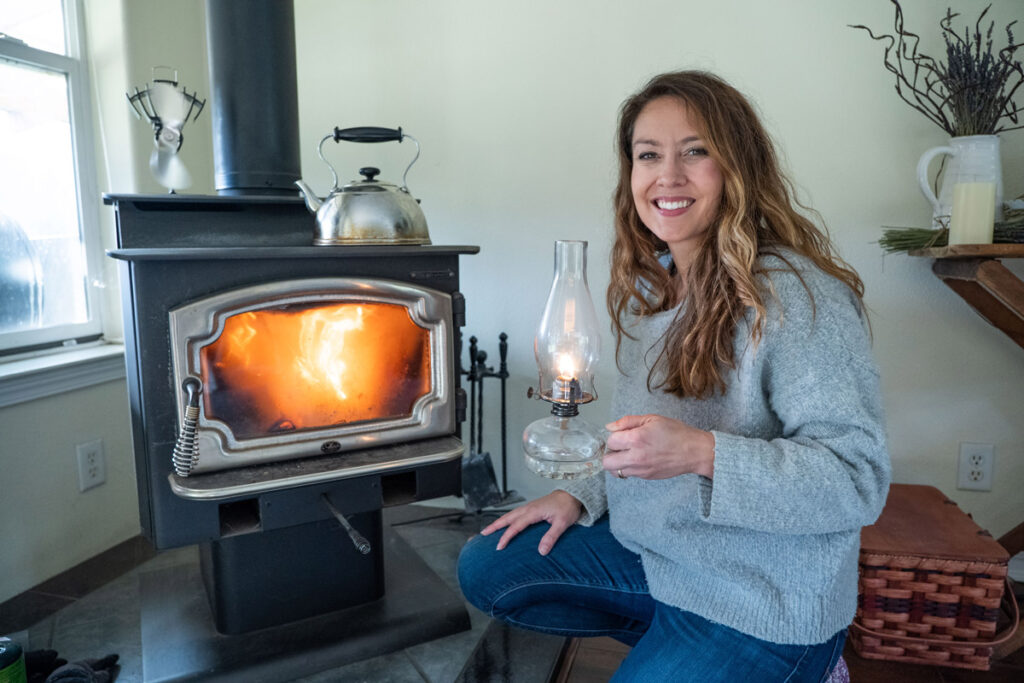
The Importance of Learning to Start a Fire
Living a pioneer lifestyle is a mindset of staying prepared on the homestead. I have learned skills along the way to achieve self-sufficiency, like knowing how to cook on a woodstove and preparing food outside on a Dutch oven cooking over an open flame.
Preparing for emergencies and winter is a part of the pioneering homestead lifestyle we have chosen to live. Sometimes, the unexpected happens, and we need to respond quickly; other times, we know a big storm is headed our way, and we can prepare ahead of time.
Either way, learning to start and create a fire is a basic survival skill we all need to know.
Being prepared for power outages and knowing these ten ways to keep warm without electricity is invaluable knowledge to have.
Building a fire wherever you are brings comfort and peace in any situation life throws our way. If you need to leave your home, these essentials to keep in your car will help if you need to start a fire out in the woods or on the side of the road somewhere.
When it’s cold, nothing is as welcoming as a crackling fire. I’ve been known to cozy up to our wood stove on many chilly and damp nights. Well, my friend, let’s learn how to get a warm, inviting fire, with dancing flames and lots of heat going with this easy method.
Supplies Needed to Start a Fire
Gathering together supplies to get a fire going is key to success. If your materials are scattered everywhere, you might miss an opportunity to get the fire going quicker! Some of these supplies will help you get a fire going without a lighter and of course, matches and a lighter work too.
- Tinder – Fires build best in layers, with Tinder being the first or bottom layer. Tinder is small wood shavings, dry grass or moss, or tiny pieces of flammable material like shredded newspaper, paper bags or napkins that are dry and will catch fire with a spark. Pro-Tip: Drier lint (my homesteaders version of a piece of char cloth) kept in a zip lock type baggie works great as a layer of tinder. It’s easy to collect and place strategically where you can access it quickly.
- Kindling – Once you have a glowing ember going, the next layer to go on top of the tinder layers is kindling. It’s a little bit larger pieces of dry wood, like small sticks, twigs, and skinny splintered wood from your firewood shed, that will ignite easily and become a small coal base, getting a larger flame going.
- Small & Larger Wood – Different sizes of dry wood in split pieces and rounds placed in piles next to the area where your building the fire.
- Matches – Strike-anywhere matches are best. You don’t need the packaging to light the match. Keep some in a zip-lock-type bag so they stay dry and accessible.
- Lighter – There are many different types of lighters, Zippos that you fill with lighter fluid and disposable ones of various sizes, you can buy them just about anywhere. Disposable ones are the least expensive and tuck nicely in the glovebox, a bug out bag if you have one, a purse, a backpack, pretty much anywhere you can find it easily.
- Magnifying Glass – A magnifying glass with a tinder-like char cloth or tissue on a sunny day will ignite a fire.
- Battery and Steel Wool – Touch the steel wool to the terminals on the battery with some tinder, and you can quickly get a fire going.
- Bow and Hand Drill – This method takes some practice and patience. Basically, rubbing two sticks together using your hands or an arched bow rotating a spindle using a string to move it back and forth to create friction.
- Flint and Steel Kits – True fire builders who are prepared for whatever comes their way prefer magnesium fire starters or steel and flint starters. It uses the friction method, that’s easier than rubbing two sticks together or using a hand drill or bow drill.
When done correctly, it can get a fire started quickly. It takes a little practice, but worth the time invested. Pro-Tip: We purchased EXOTAC polyStirker XL for our son’s birthday, and it works really well. It’s easy to handle, not too big or too small for the job!
Subscribe to Melissa K. Norris!
Get updates on the latest posts and more from Melissa K. Norris straight to your inbox.
We use your personal data for interest-based advertising, as outlined in our Privacy Notice.
How to Start a Fire Without a Lighter
These are step-by-step instructions on how to start a fire without matches or a lighter. I will instruct you on using a magnesium fire starter or flint and steel.
- Find a place to build your fire that is dry and out of the wind. It should have enough area to make a nice-sized fire, providing plenty of heat.
- Gather your firestarting materials. Magnesium firestarter in this case, tinder, kindling, smaller and larger pieces of wood and dry logs. Place them around you where you can easily and quickly access them.
- Put a good amount of tinder on the ground, not compacted; oxygen needs to get through the pile to help it burn more efficiently. Position your ferro rod down near the tinder using the steel striker; use a quick, purposeful strike right down the ferro rod and create a spark to ignite the tinder. It may take several attempts, but keep striking it until it ignites.
- When the tinder starts burning, add tinder a little at a time, creating a larger pile of burning material. Baby the tinder nest and gently blow on the pile to keep it burning, but not so hard you blow it out.
- Take the smaller pieces of kindling and place them on the burning tinder pile in a teepee-like fashion. You want to keep airflow moving through and around the pile while adding more kindling in the same pattern, and it’s burning nicely.
- Once your kindling is burning hot enough to add more wood, use the smaller pieces of dry wood in the same tee-pee pattern. It should be going pretty well by now. Keep adding the dry pieces of wood, but not too fast; you don’t want to smother it. Gradually add the smaller rounds until a good coal base is present.
- Now that the coal base is sufficient in size, providing a good amount of heat, you can add the larger rounds building up a nice hot crackling fire.
How to Keep Your Fire Going
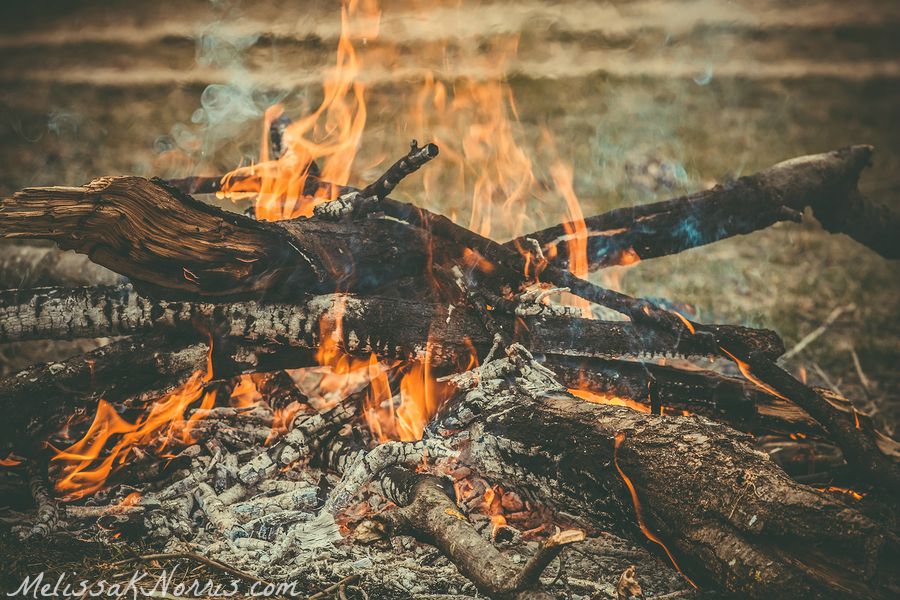
Once your fire is going and putting out heat and the flames are licking the wood with a crackling blaze, it can be tempting to pile a whole bunch of wood on top of your flames to ensure your fire doesn’t burn out. Don’t do it; trust me on this!
You might risk smothering the fire because you’re preventing sufficient oxygen to fuel it, and smothering will put it out! The best way to keep it going is to add two to three pieces of wood in a teepee fashion to ensure enough air flows between the wood. Tend to it, but don’t overdo it.
A note about wood. You’re going to want seasoned or dry wood. Using green or wet wood will produce smoke, lots of creosote, and very little heat.
Greenwood is when you fell a living tree. Wet wood is wood that is saturated with moisture and hasn’t had a chance to dry out yet; we want seasoned or dry wood to keep a good hot fire going.
Hardwood will burn hot and for a longer period of time than a soft wood. Maple and Cedar is a good all around choice where we live.
Though it’s not life or death, every campfire needs something to cook on in it and though it’s not very pioneerish, s’mores are my favorite. So start your fire and enjoy the moment while roasting a favorite snack or cooking a meal together! Stay warm out there, my friends!
Other Posts You May Enjoy
- Staying Prepared on a Homestead
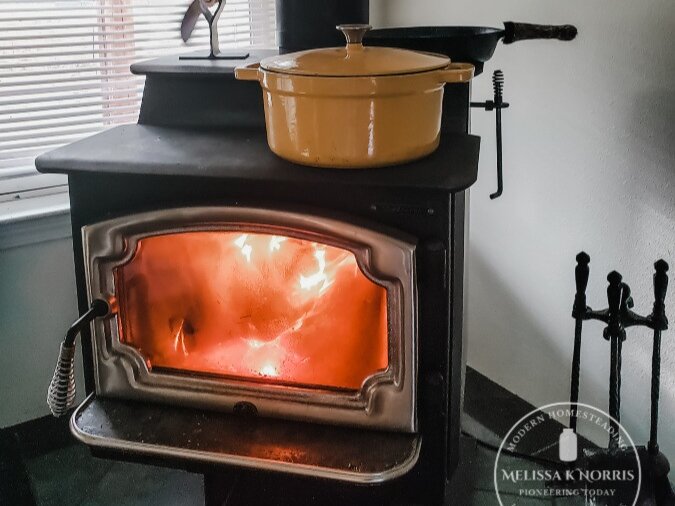
- How to Cook on a Wood Stove
- Bug-Out Bags (What You Need to Know)
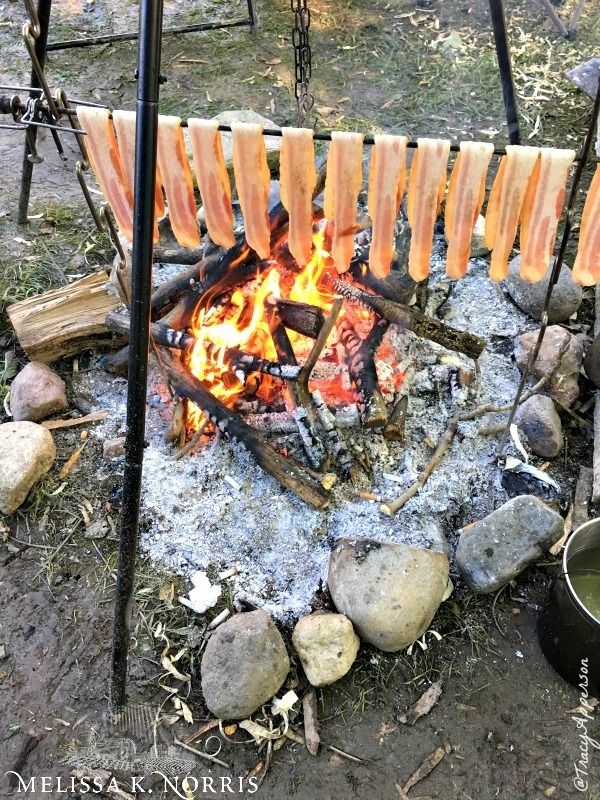
- Dutch Oven Cooking Over an Open Fire
- How to Prepare for Emergencies and Winter
- Car Essentials for Emergencies
- 10 Ways to Keep Warm Without Electricity


I have a magnesium striker. I also have several magnifying glasses. I know that you need sun for using it, but I think it’s a good investment anyway.
Melissa, The rod that you are striking with the blade is not a magnesium bar. It is a ferrocerium rod. You can buy a “mag bar” at most sporting goods departments, but its different than a sparking rod. You shave the mag bar into a small pile, then light those metal shavings with the sparks from the small ferrocerium bar on the side of the mag bar. Essentially, you burn the magnesium and you spark the ferrocerium. Also, if you impregnate your drier lint with candle wax or paraffin it will catch those ferrocerium sparks even better. Cattail fuzz works great in the wild, too. The rest of your video was truly excellent. Hope this helps your audience.
Thanks so much for the distinction and the tip about trying candle wax or paraffin. Love the Cattail idea.
Another thing you can do for tinder is to rub a little petroleum jelly (Vaseline) into your dryer lint or cotton balls. It’s a little easier than using wax. Keep them in a container like an empty pill bottle. You can stuff a lot of them in there.
With a 9-volt battery & 0000 steel wool (finest) Rub the terminals of the battery on the steel wool. There’s a vid on YouTube. 🙂
Great video Melissa, we have magnesium starters but haven’t used them yet. We will be trying them soon, I get the learning curve. We’re so spoiled, aren’t we? I know this was a ‘basic’ lesson, but aside from teepee fires, what about ‘log cabin’ fires for heat and longer burning as well as being able to sustain fire in rainy situations?
Thank you, and yes, totally spoiled in comparison to the way things used to be and much of the world. I haven’t used the log cabin technique by name (but love that name now that you said it and realize that’s what it’s called). As long as your baby fire can get some coals established and you don’t block the oxygen flow, then the log cabin technique (I feel cool knowing it’s name now) will work well, you’re basically building a protective barrier around it. Good tip!
Nice video Melissa! Thanks for sharing. I will definitely be getting one of those handy dandy fire strikers. Enjoying this whole series 🙂
Thanks so much, Linda! Those fire strikers are pretty awesome, we own at least three, one for each member of the older people, when my daughter is older, we’ll have four.