Easy Homemade Garlic Infused Olive Oil Recipe (With Herbs) Read moreEasy Homemade Garlic Infused Olive Oil Recipe (With Herbs)
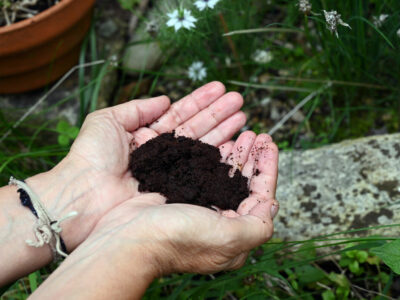
Coffee Grounds in the Garden (4 Ways to Use Them) Read moreCoffee Grounds in the Garden (4 Ways to Use Them)
Cherry Jam Recipe Without Pectin and Low Sugar Read moreCherry Jam Recipe Without Pectin and Low Sugar
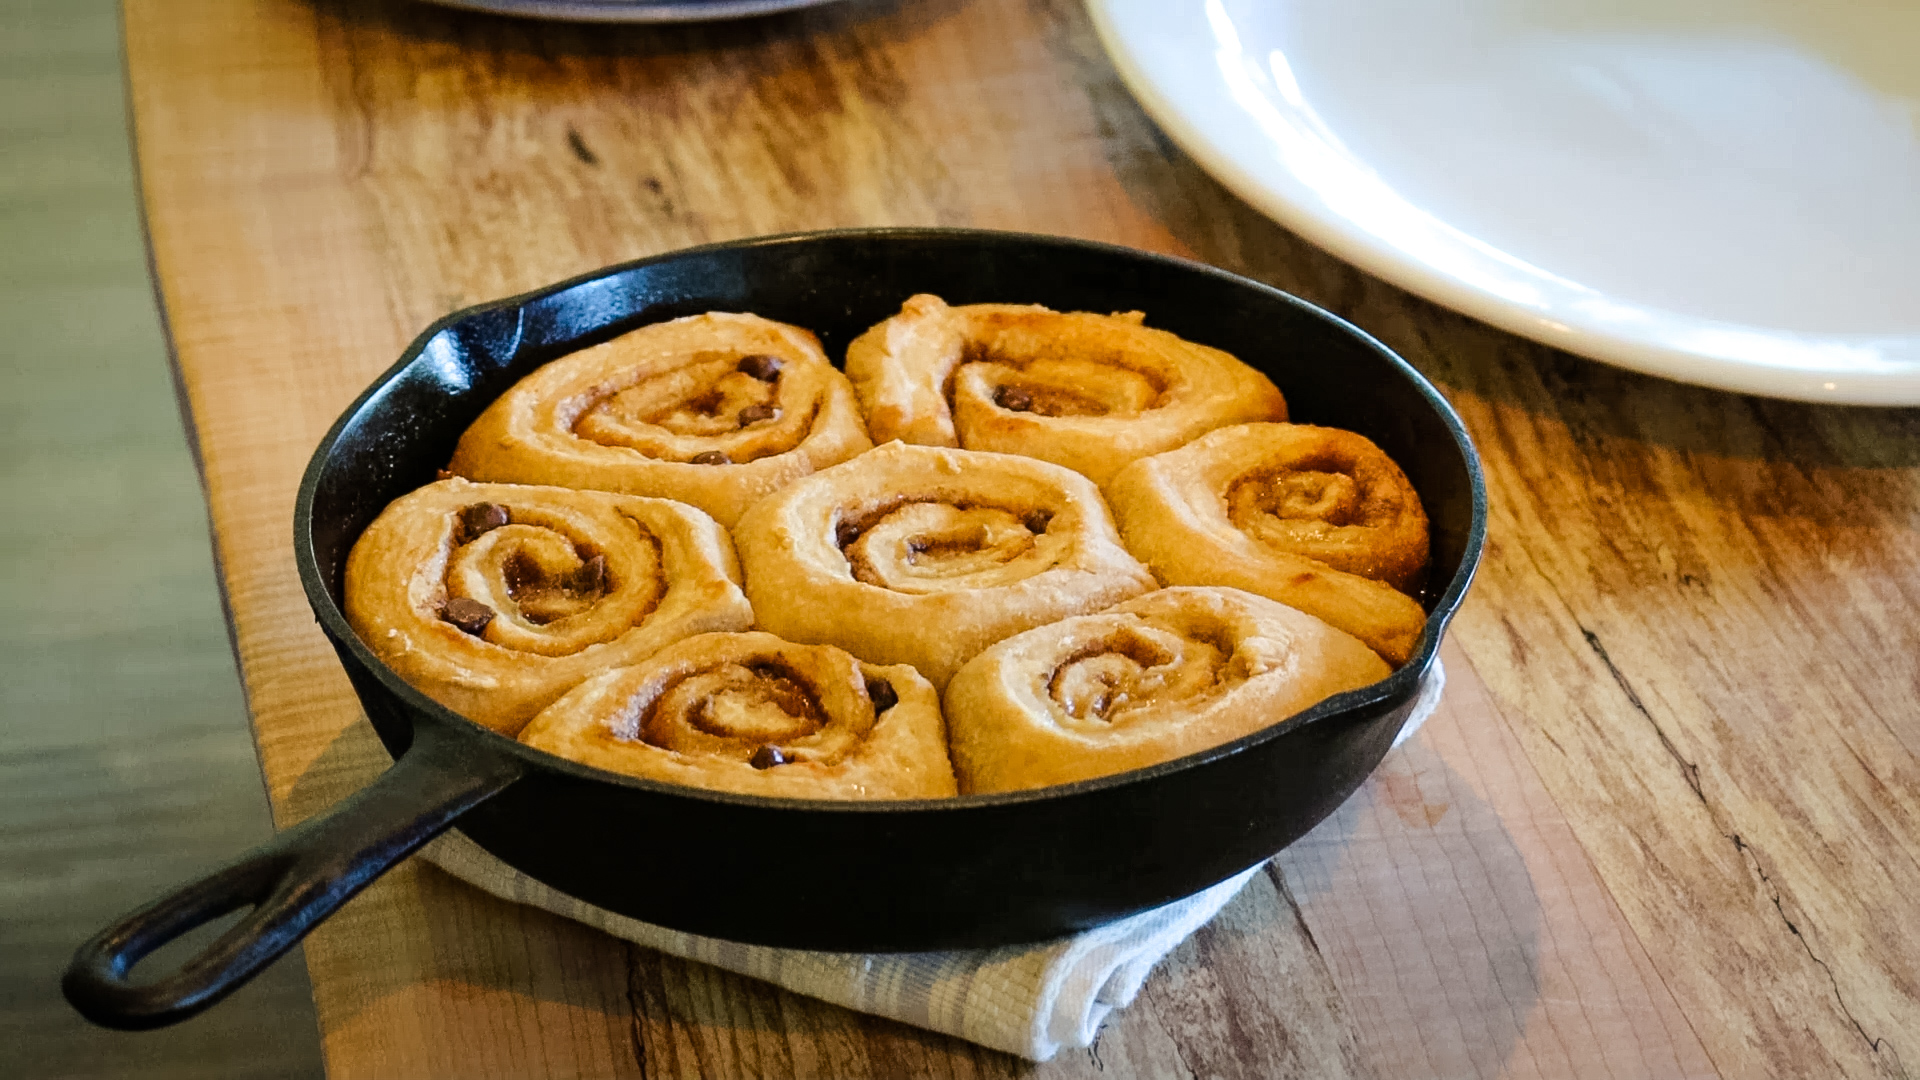
Old-Fashioned Homemade Chocolate Caramel Cinnamon Rolls Read moreOld-Fashioned Homemade Chocolate Caramel Cinnamon Rolls
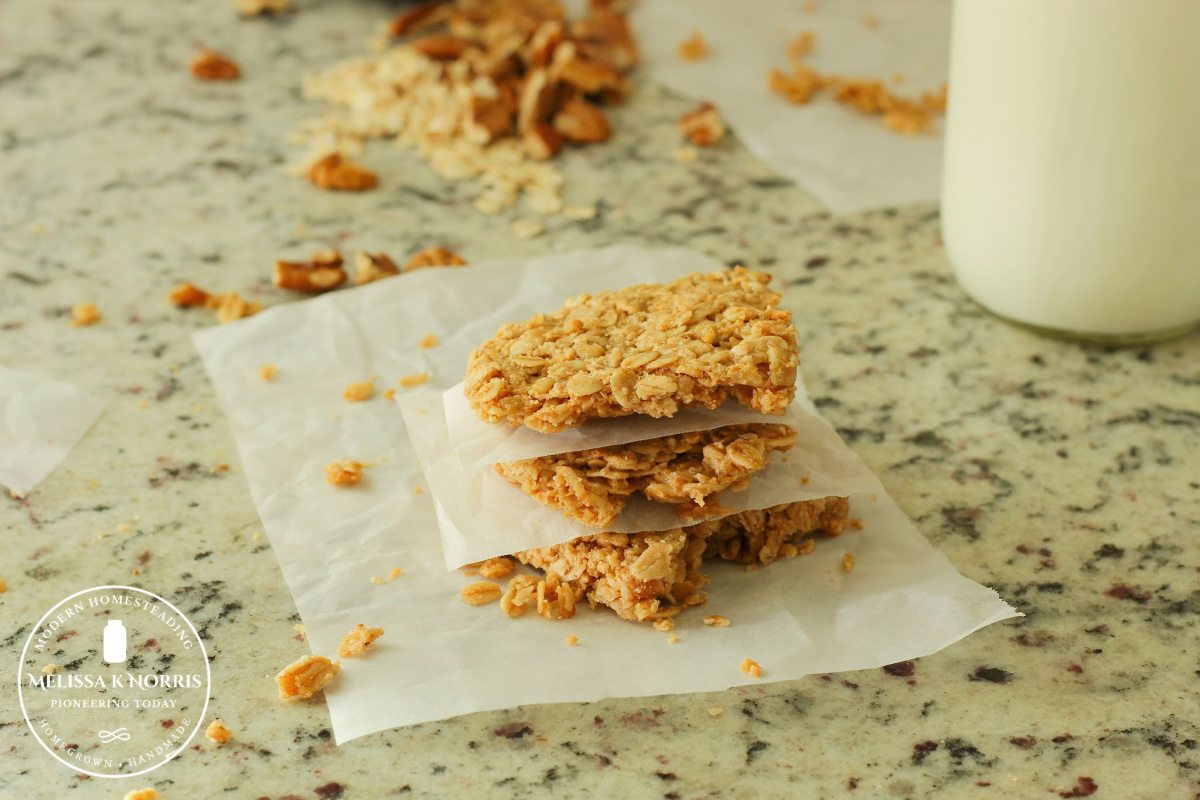
Homemade Granola Bars (Copycat Nature Valley Granola Bars) Read moreHomemade Granola Bars (Copycat Nature Valley Granola Bars)