Easy Homemade Garlic Infused Olive Oil Recipe (With Herbs) Read moreEasy Homemade Garlic Infused Olive Oil Recipe (With Herbs)
Individual Strawberry Shortcake Recipe From-Scratch Read moreIndividual Strawberry Shortcake Recipe From-Scratch
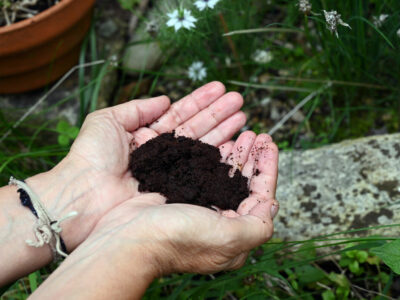
Coffee Grounds in the Garden (4 Ways to Use Them) Read moreCoffee Grounds in the Garden (4 Ways to Use Them)
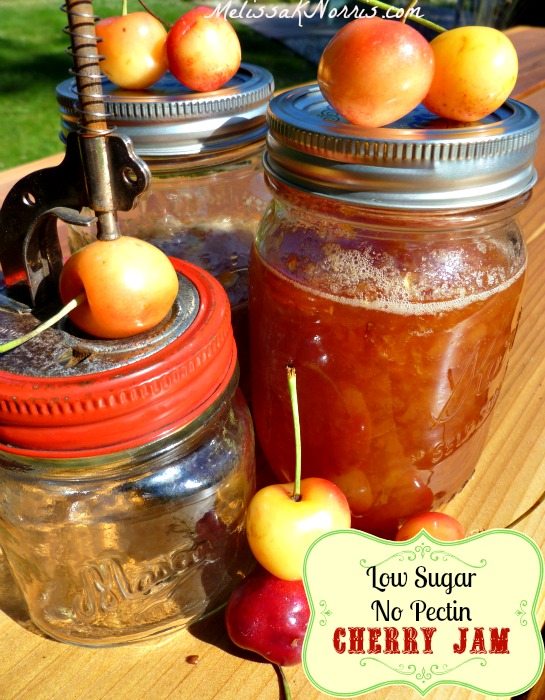
Cherry Jam Recipe Without Pectin and Low Sugar Read moreCherry Jam Recipe Without Pectin and Low Sugar
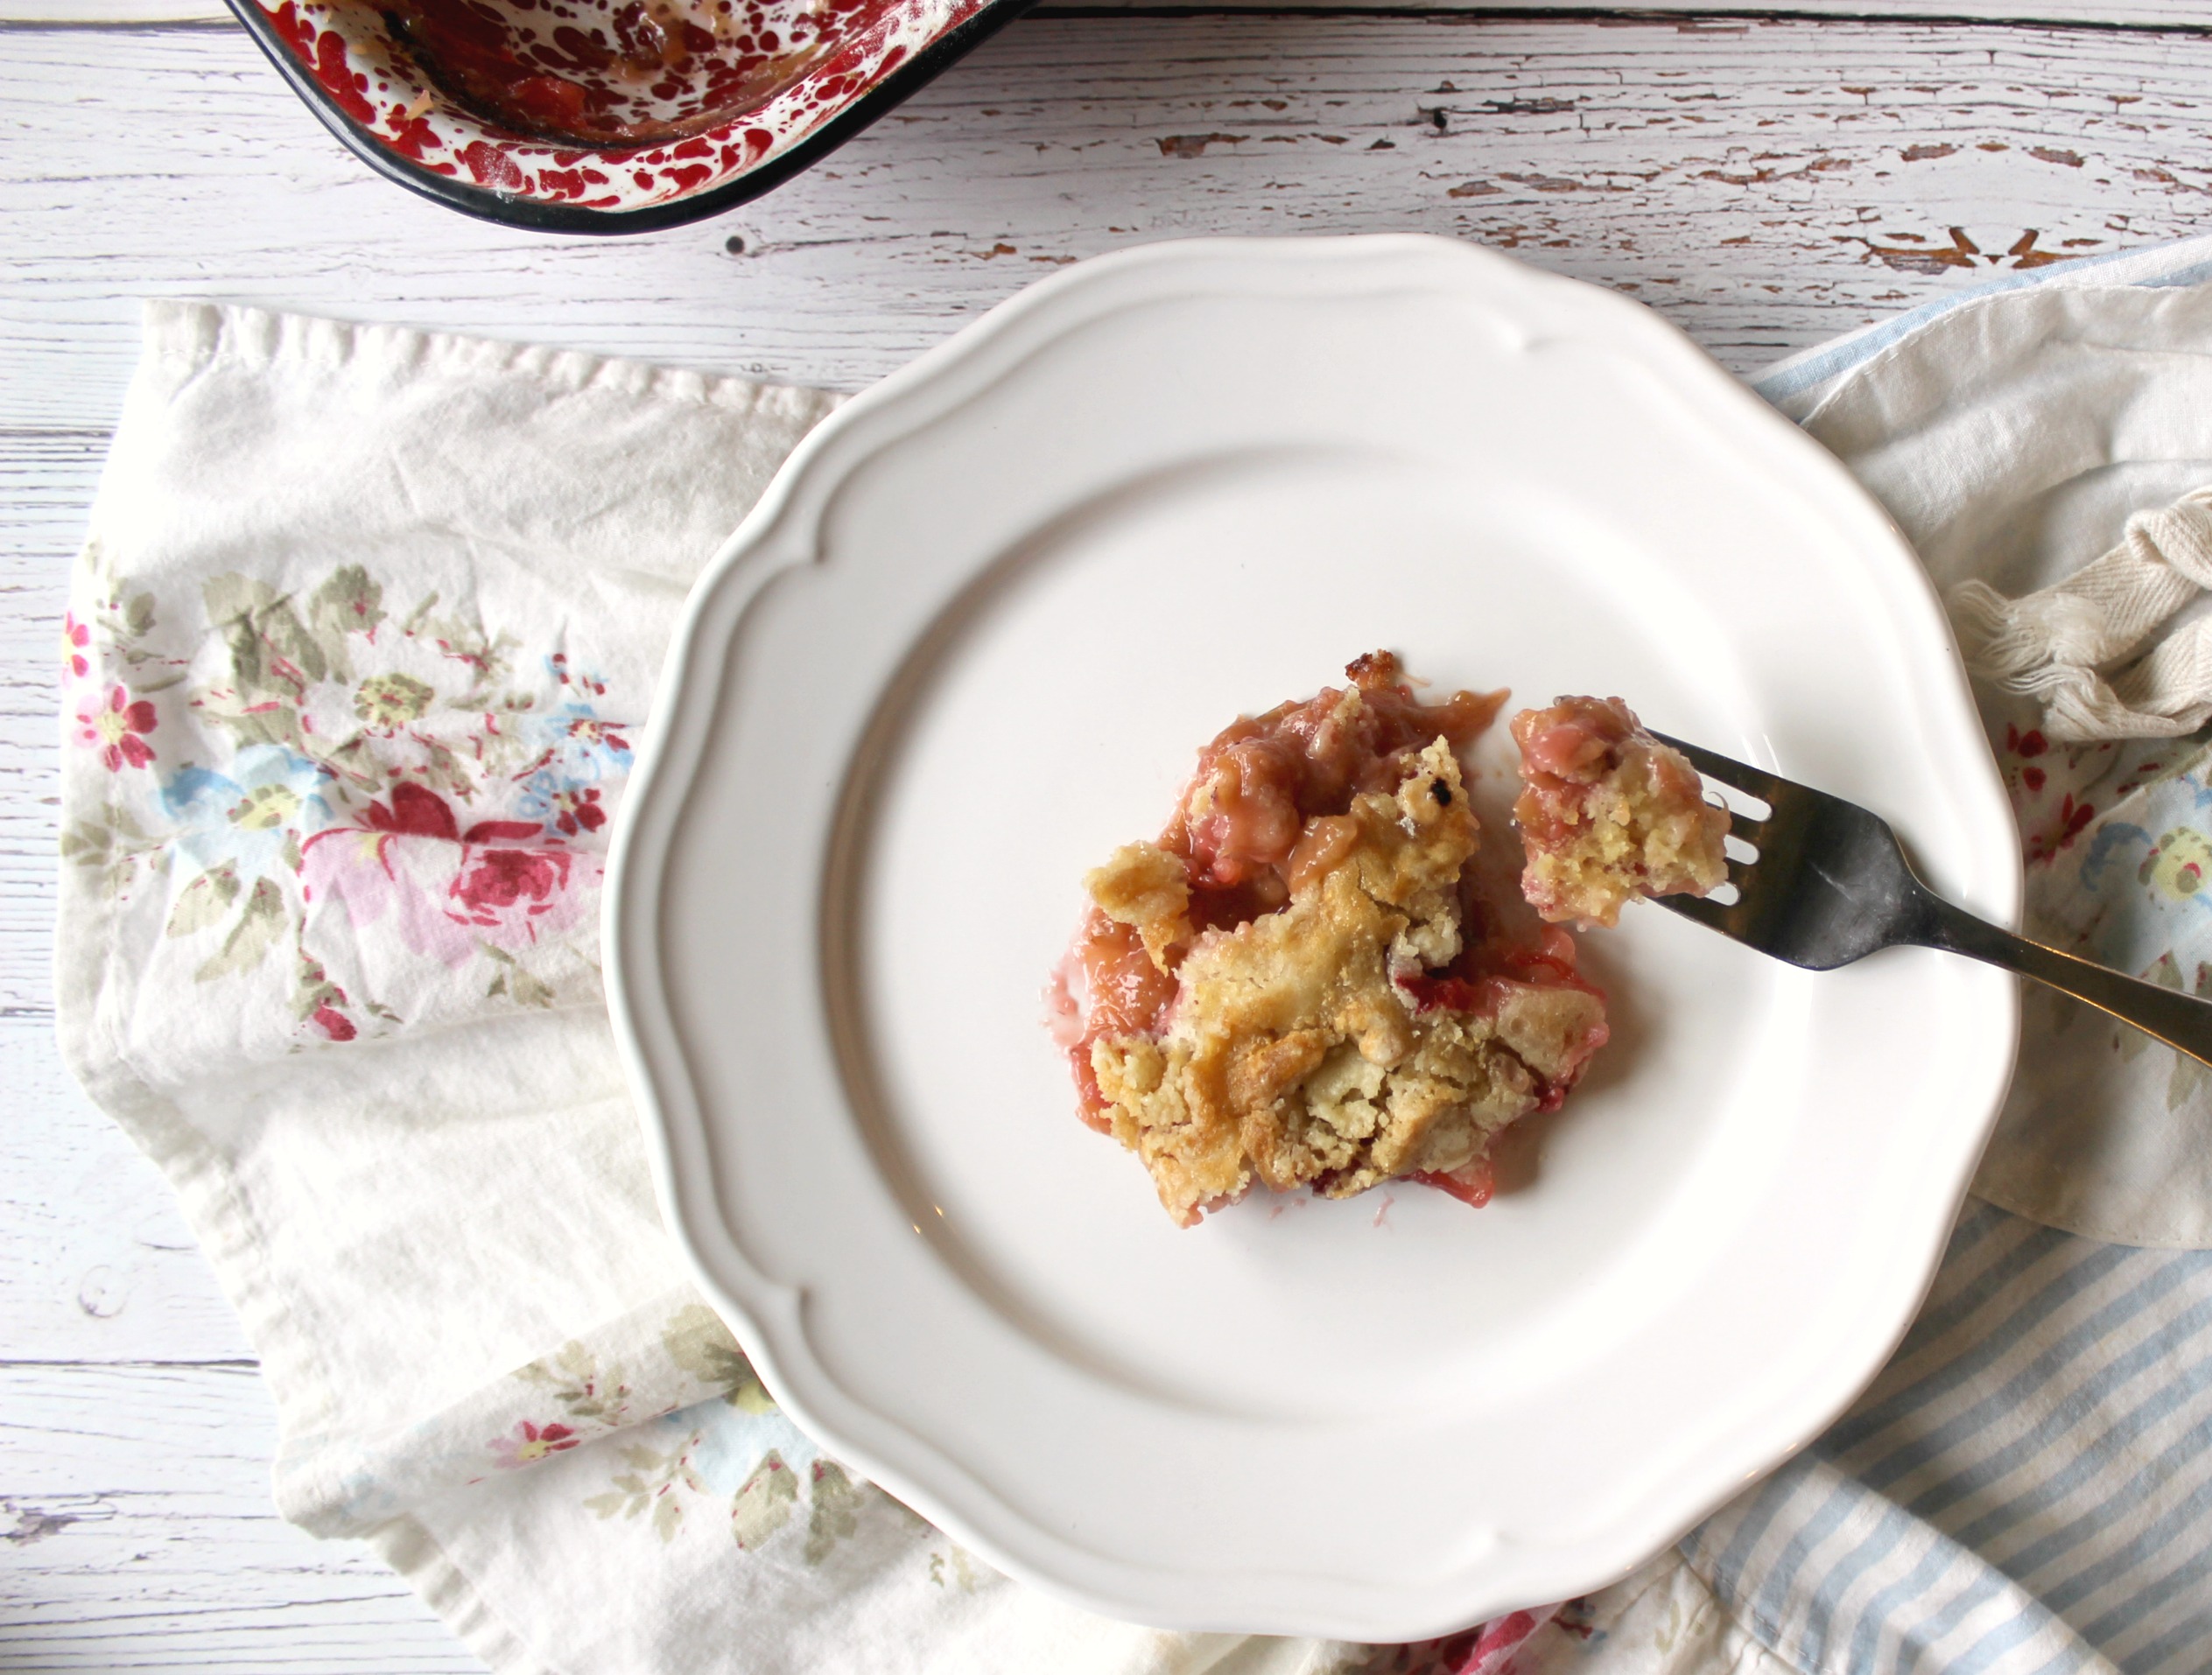
Strawberry Rhubarb Dump Cake without Jello & Homemade Cake Mix Read moreStrawberry Rhubarb Dump Cake without Jello & Homemade Cake Mix
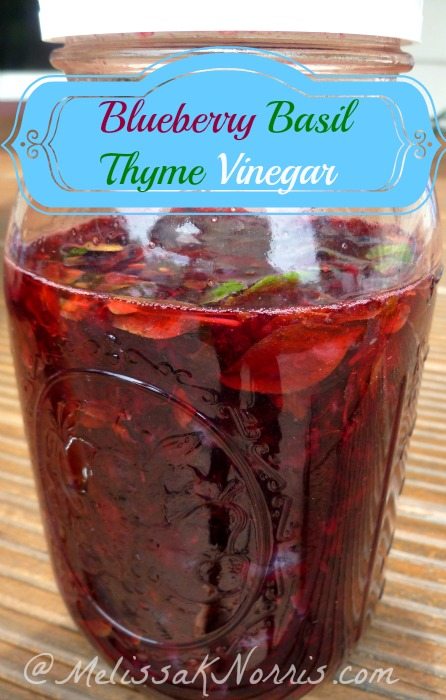
Pioneering Today-Blueberry Basil Thyme Vinegar Recipe Read morePioneering Today-Blueberry Basil Thyme Vinegar Recipe
Pioneering Today-Low Sugar No Pectin Cherry Jam Read morePioneering Today-Low Sugar No Pectin Cherry Jam
Pioneering Today-Thin Crust No Knead No Rise Chicken Veggie Pizza Read morePioneering Today-Thin Crust No Knead No Rise Chicken Veggie Pizza
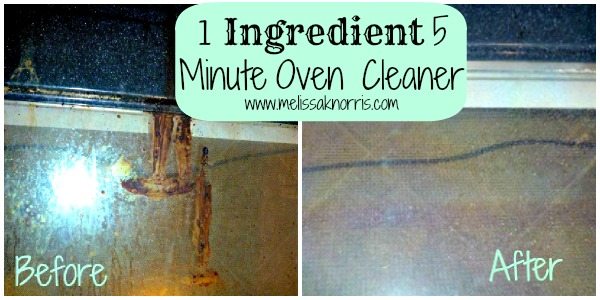
Pioneering Today- 1 Ingredient 5 Minute Natural Oven Cleaner Read morePioneering Today- 1 Ingredient 5 Minute Natural Oven Cleaner
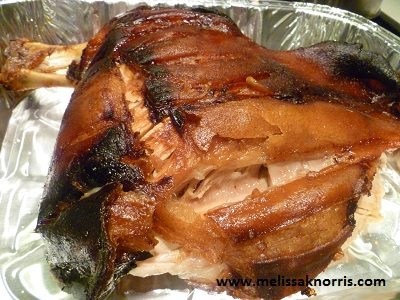
Pioneering Today-How to Butcher a Whole Pig for a Roast-Part 1 Read morePioneering Today-How to Butcher a Whole Pig for a Roast-Part 1
Pioneer Homemade Christmas-Day 1 Pumpkin Applesauce Cake Read morePioneer Homemade Christmas-Day 1 Pumpkin Applesauce Cake
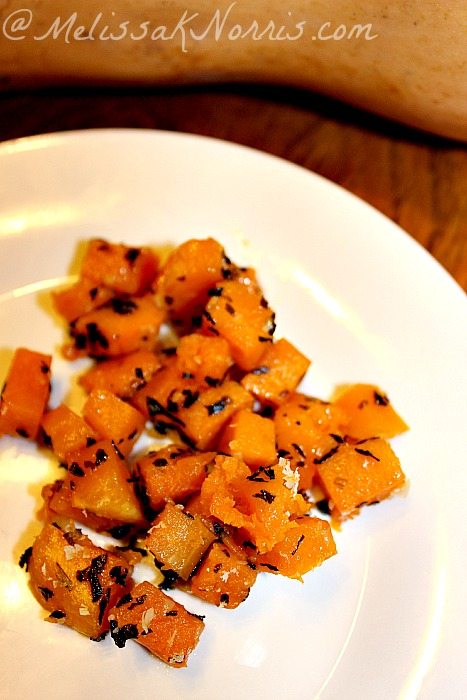
Pioneering Today-Baked Garlic and Butternut Squash Recipe and Freezer Tips Read morePioneering Today-Baked Garlic and Butternut Squash Recipe and Freezer Tips
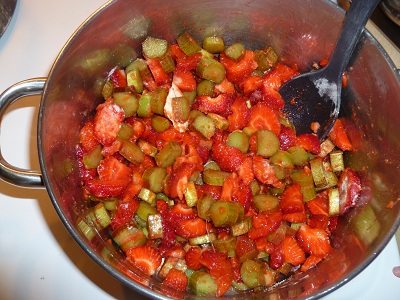
Pioneering Today-How to Make Strawberry Rhubarb Jam Read morePioneering Today-How to Make Strawberry Rhubarb Jam
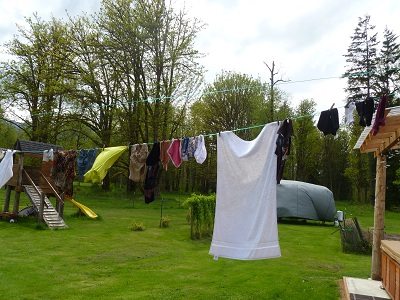
Pioneering Today-5 Reasons to Use a Clothesline Read morePioneering Today-5 Reasons to Use a Clothesline