
If you’ve ever felt nervous about canning, you’re not alone. There’s something about preserving food that can feel like a big responsibility. You want to do it right. You want it to be safe. And you don’t want to waste all that hard work if something goes wrong.
The good news is that water bath canning is one of the simplest and safest ways to get started. Once you understand a few key principles, you’ll be able to confidently fill your pantry with shelf-stable food your family can enjoy all year long.
Let’s walk through it together.

Quick Look at This Post
If you're brand new and just want the simple version, here it is:
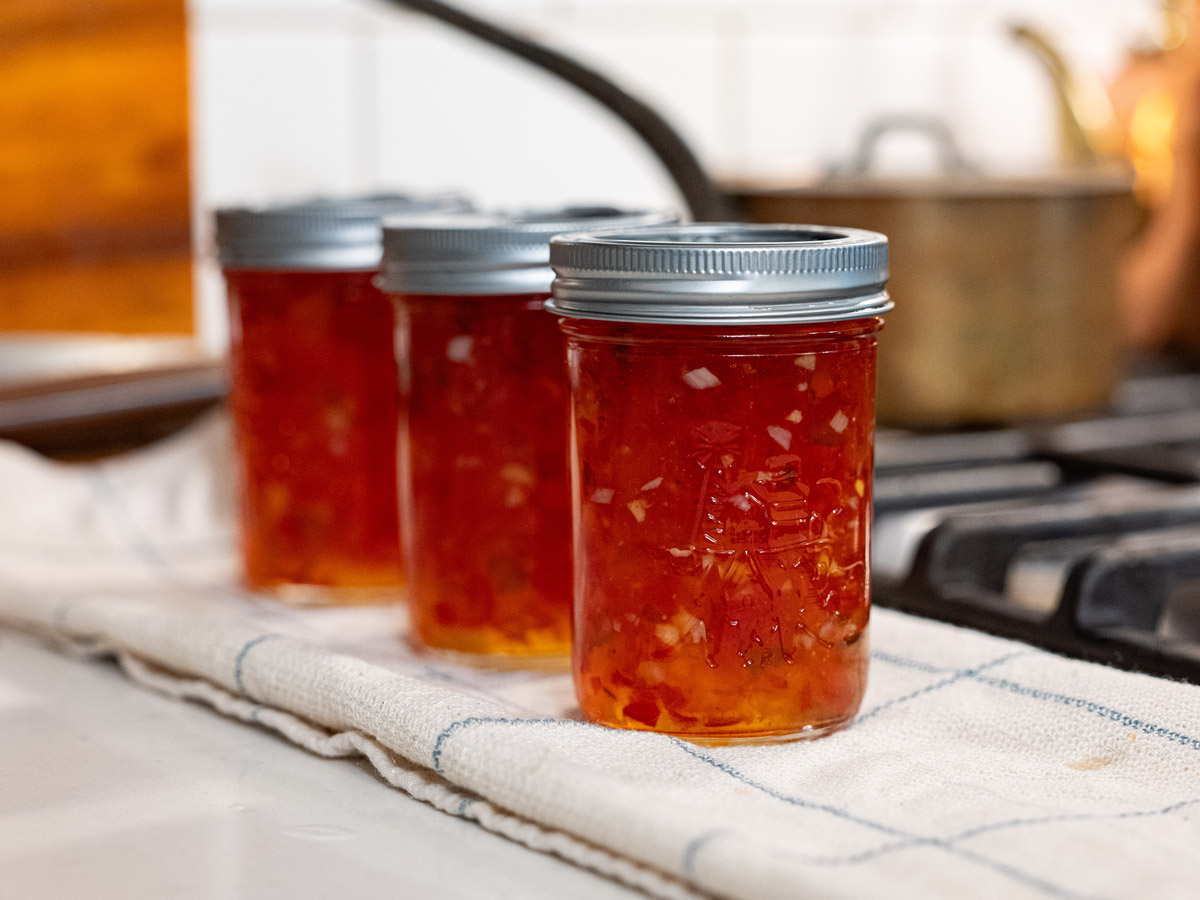
- ✅ Best for: High-acid foods (jams, jellies, pickles, fruits, tomatoes with added acid)
- ❌ Not for: Meat, vegetables, or low-acid foods
- 🌡️ Temperature: Boiling water (212°F at sea level)
- 💧 Water level: Jars must be covered by 1–2 inches of water
- ⌚ Processing time: Varies by recipe (always follow tested times)
- ⏰ Cooling time: 12–24 hours undisturbed
- 📅 Shelf life: 12–18 months (best within 1 year)
- 👉 The key to safe water bath canning: Acid + heat + proper processing time. This combination is what prevents harmful bacteria and gives you shelf-stable food you can trust.
✅ Summarize this recipe, or ask for recipe substitutions and dietary information with AI.
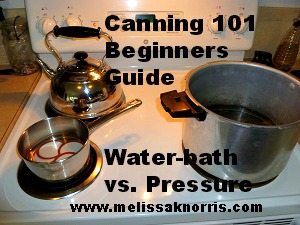
What Is Water Bath Canning?
At its core, water bath canning is a method of preserving food using heat, acidity, and time.
You fill jars with high-acid foods, place them in boiling water, and process them for a specific amount of time. This kills harmful bacteria and creates a seal that keeps your food safe on the shelf.
It’s simple, effective, and doesn’t require any electricity once the jars are sealed.
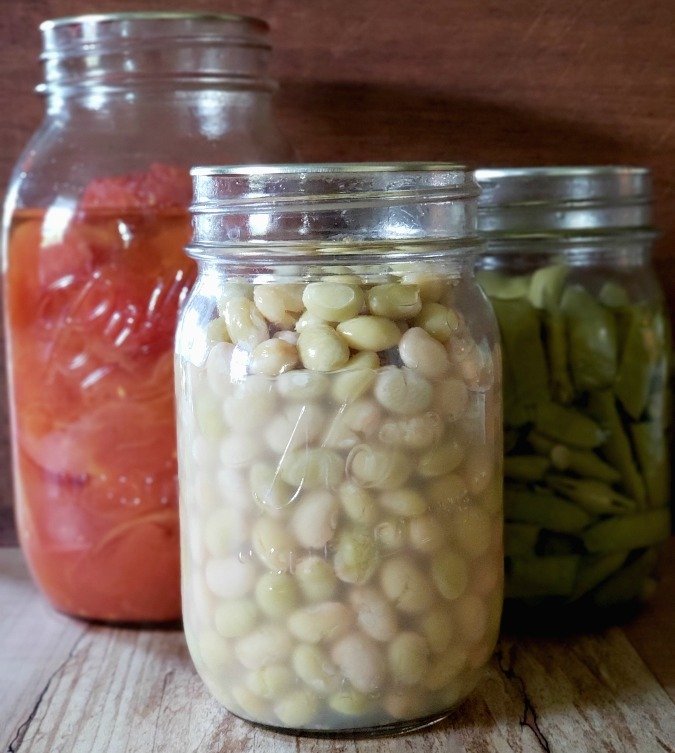
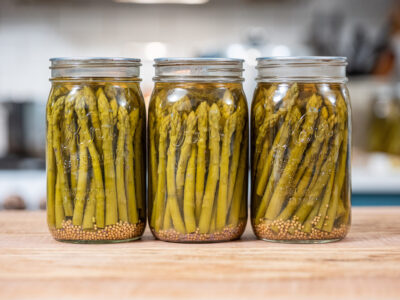
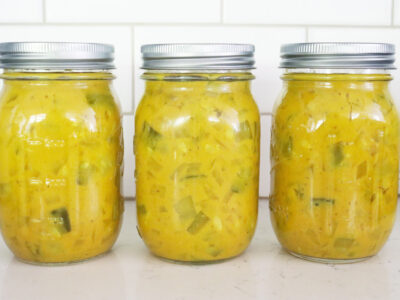
Water bath canning is safe for foods with a pH of 4.6 or lower, including:
- Jams and jellies
- Pickles and relishes
- Fruit preserves
- Tomatoes (with added acid)
Water bath canning relies on the combination of acidity and heat to prevent harmful bacteria from growing, making it a reliable way to preserve your harvest.
Why Acidity Matters (Especially for Tomatoes)
One area that often causes confusion is tomatoes.
Tomatoes are considered borderline acidic, which means their pH can vary depending on:
- Soil conditions
- Variety
- Ripeness
- Growing environment
Because of this, you must add acid when canning tomatoes with a water bath method to ensure they’re safe.
You can use:
- Bottled lemon or lime juice (not fresh)
- Citric acid
- 5% vinegar
Using standardized acidity is key, so we're not using homemade apple cider vinegar or fresh lemons/limes here. Bottled lemon/lime juice and commercial vinegar have consistent pH levels, which ensures your final product is safe every time.
Equipment You Need (It’s Probably Less Than You Think)

You don’t need a fancy setup to start water bath canning. Here’s what you’ll need:
- A water bath canner, steam canner or a large stock pot (deep enough to cover jars by 1–2 inches of water)
- A lid for your pot (or even a cookie sheet in a pinch)
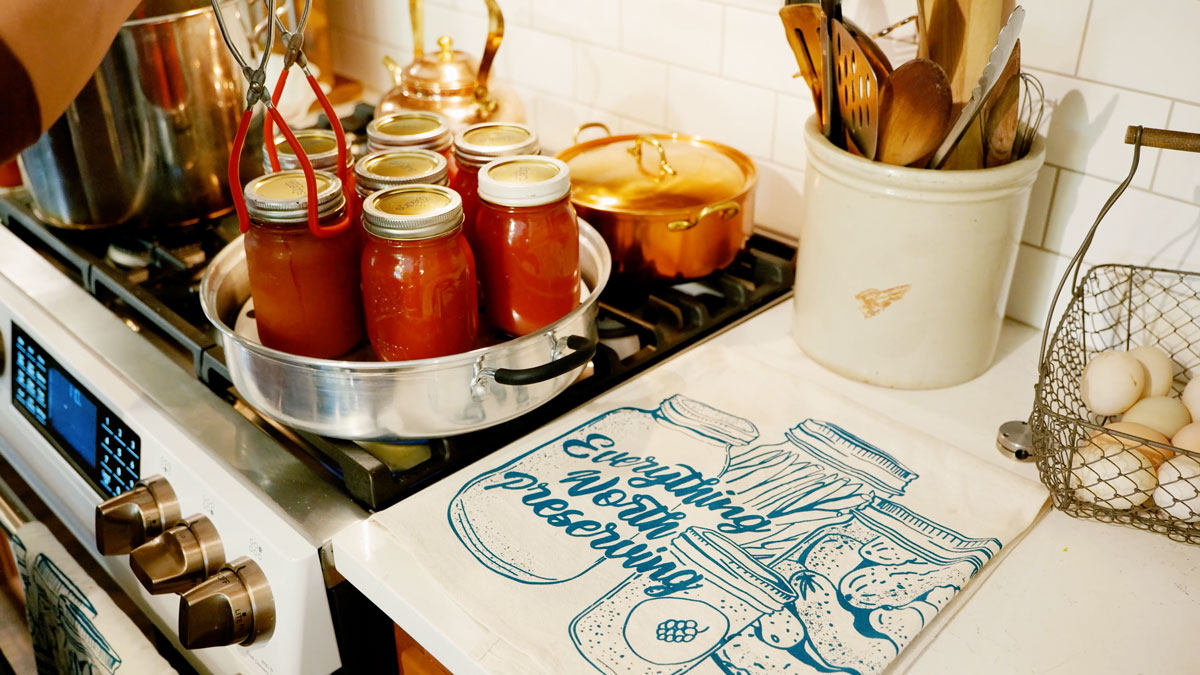
- Canning jars (half-pint, pint or quart size) - I like to buy my jars from Azure Canning Co. because their jars are thick glass, much more like the old canning jars used to be. Do not try to can in old spaghetti sauce jars, etc.
- New canning lids and bands (you can get 10% off these ForJars lids with code "MODERN10"). While canning bands are reusable, the lids are not and should be new for each new batch of food.
- A towel (to prevent thermal shock)
Helpful, but optional tools:
Step-by-Step Water Bath Canning Process
Once you’ve got your supplies ready, here’s the simple step-by-step process for water bath canning:
1. Prepare Your Recipe
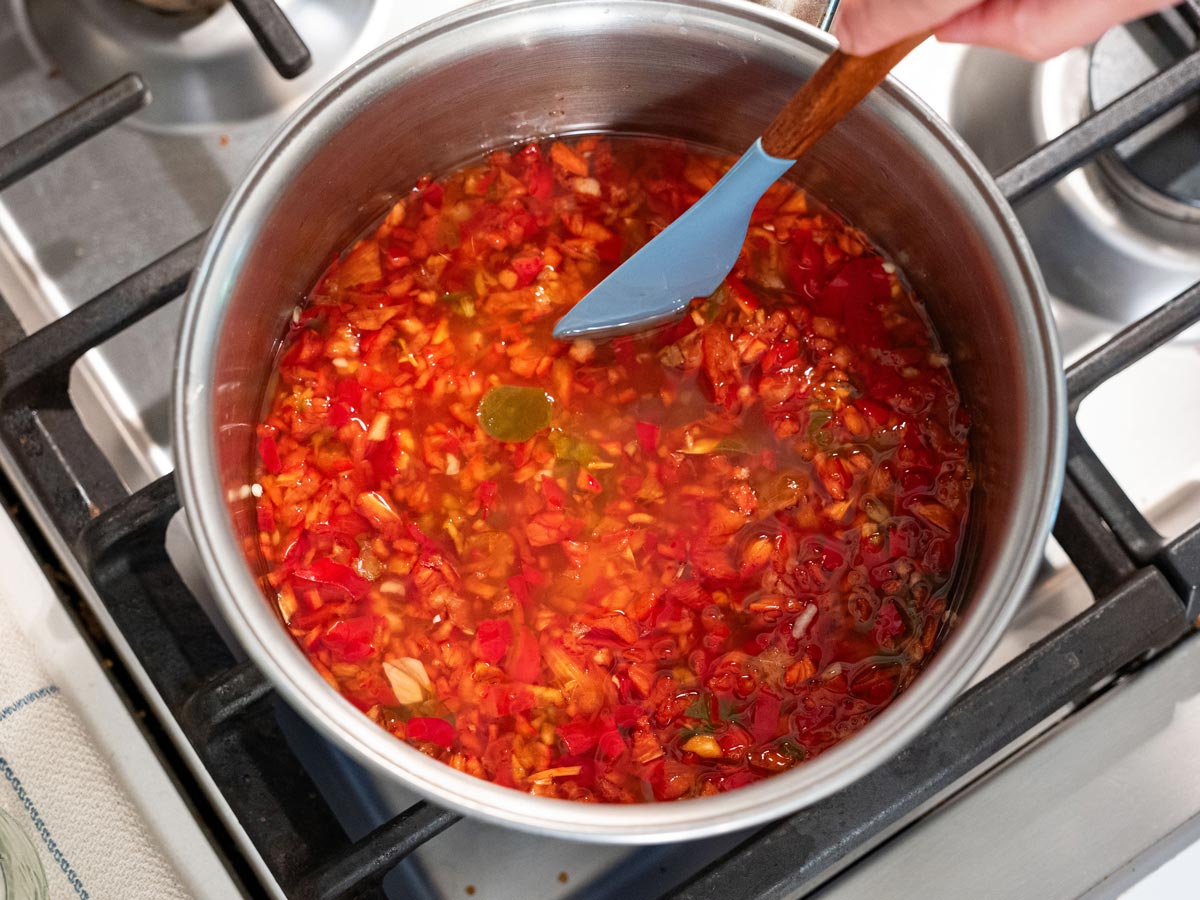
Most water bath recipes are hot pack, meaning your food is hot when it goes into the jar. So prepare your recipe according to the instructions.
Pro Tip: This is also when I like to pre-warm my jars inside my steam canner (or keep my clean jars warm by filling them with hot water until I'm ready to fill them). Putting hot food into a cold jar can cause thermal shock, cracking your jar.
2. Fill Your Jars

Use a funnel and fill to the correct headspace (this is important for sealing).
Pro Tip: If the jar is too full or too empty, the jars don't exhaust propertly and this can cause siphoning of your food and/or an improper seal.
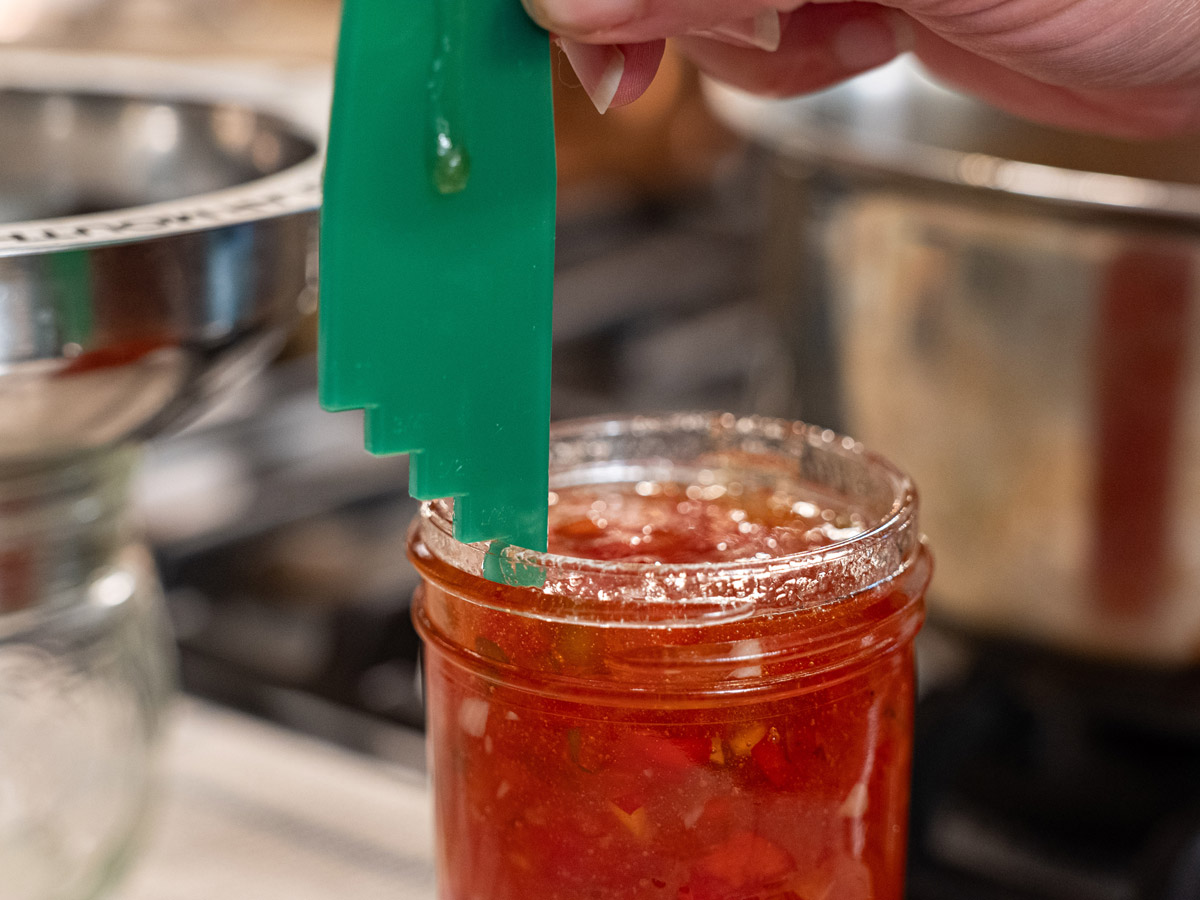
3. Remove Air Bubbles
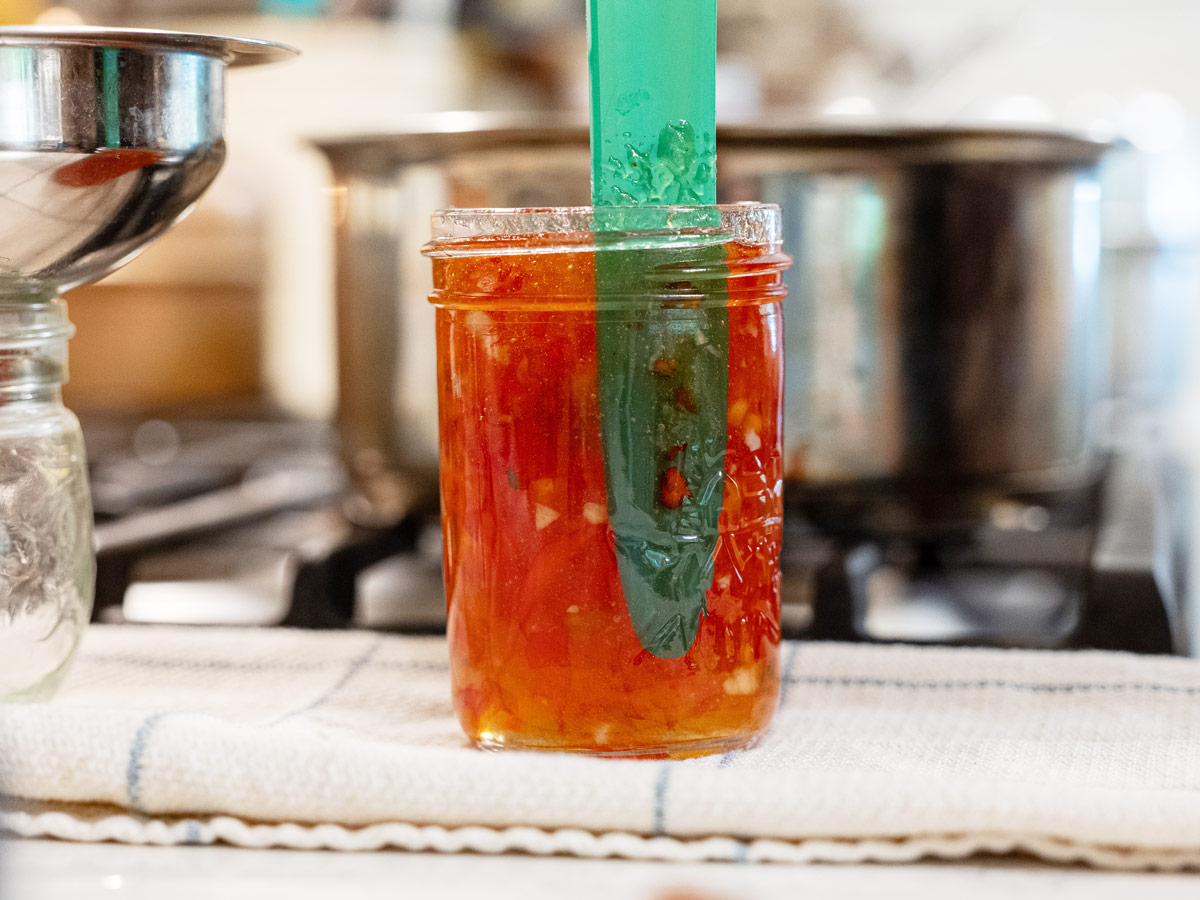
Run a debubbler or utensil around the inside of the jar. If bubbles are removed, you'll need to adjust the headspace.
4. Wipe the Rim
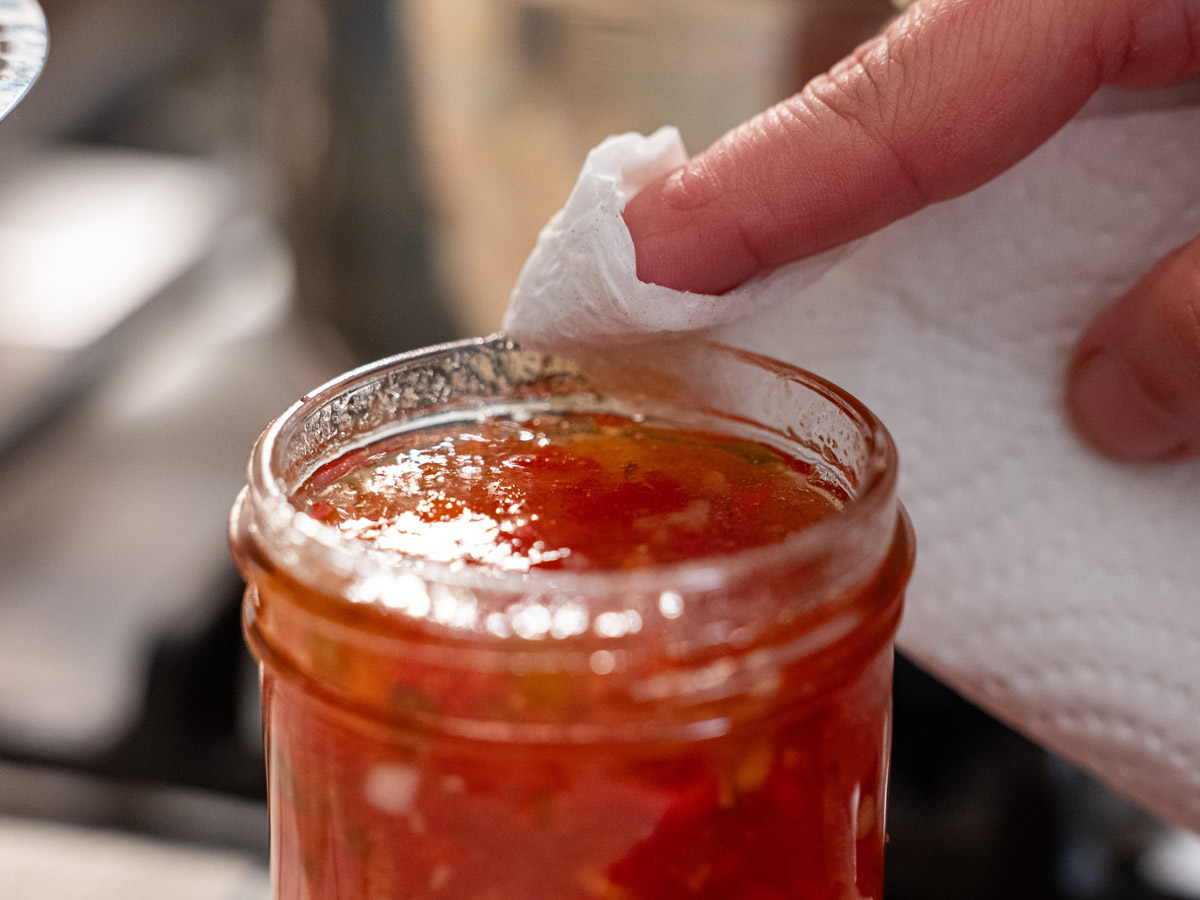
Make sure the rim is clean so the lid can seal properly. A clean cloth (or paper towel) dipped in water is sufficient for this step.
5. Apply Lid and Band
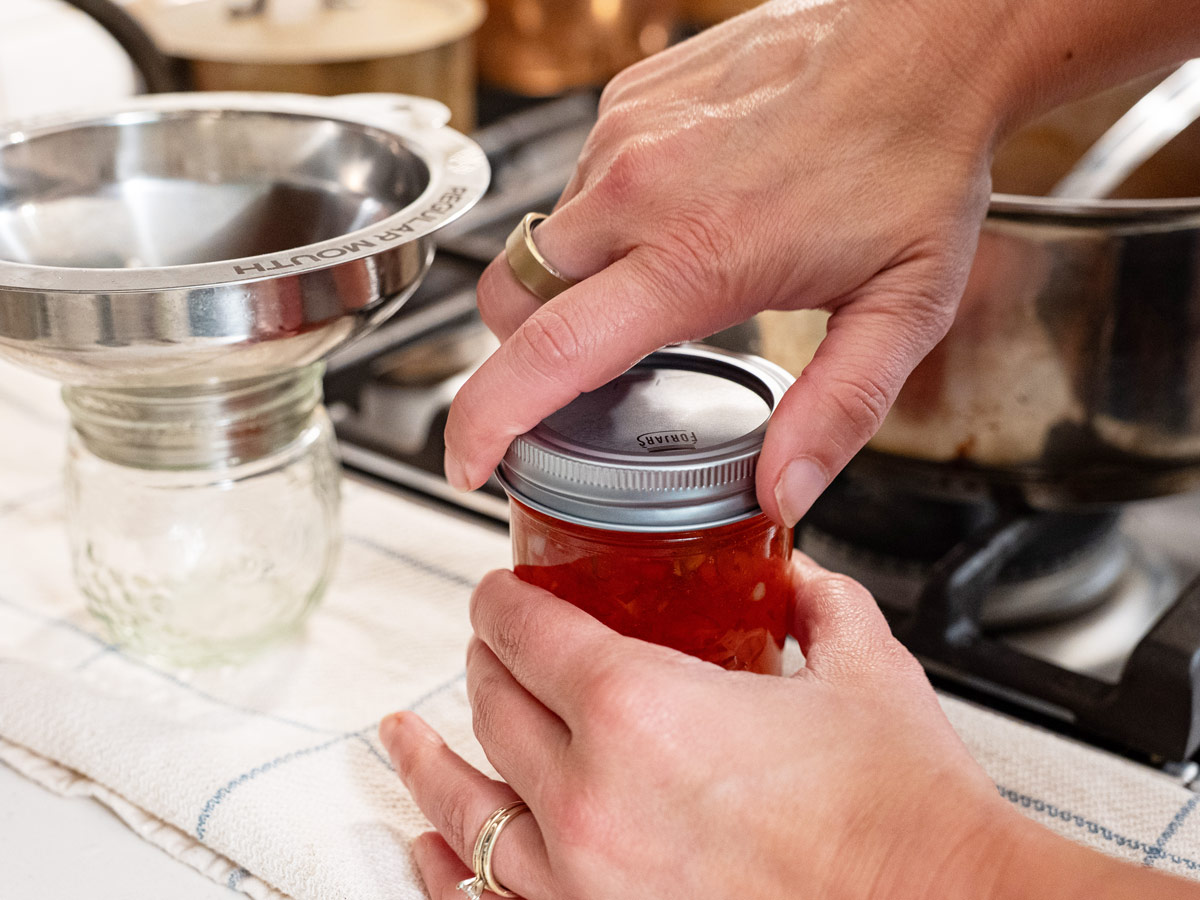
Place the lid on and tighten the band to fingertip tight. I just use my thumb and first two fingers and turn the band until I meet resistance, then turn it 1/4 more turn.
Pro Tip: It's important not to overtighten your bands as this can cause lid buckling, which means your seal is compromised and the food is no longer shelf-stable.
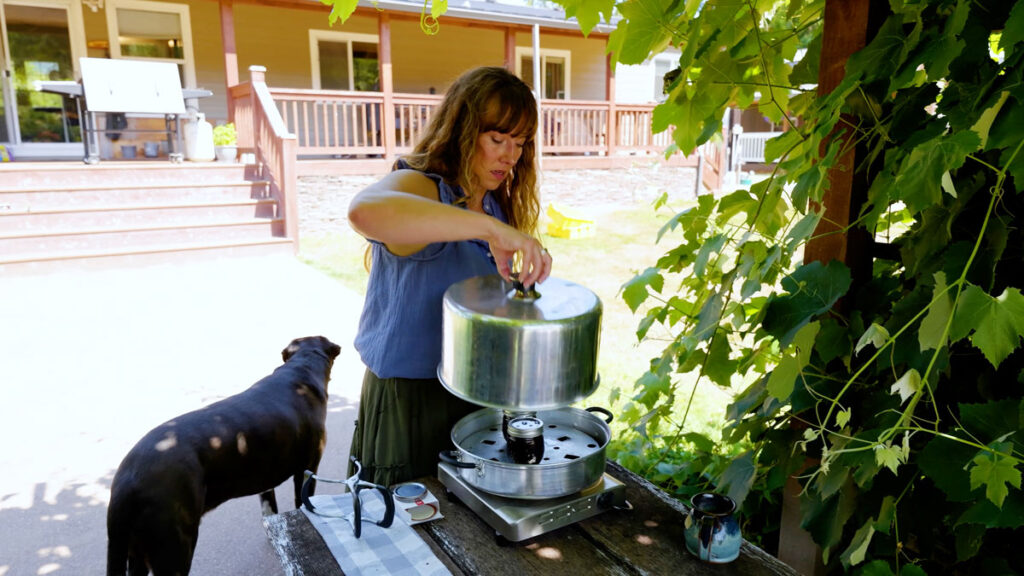
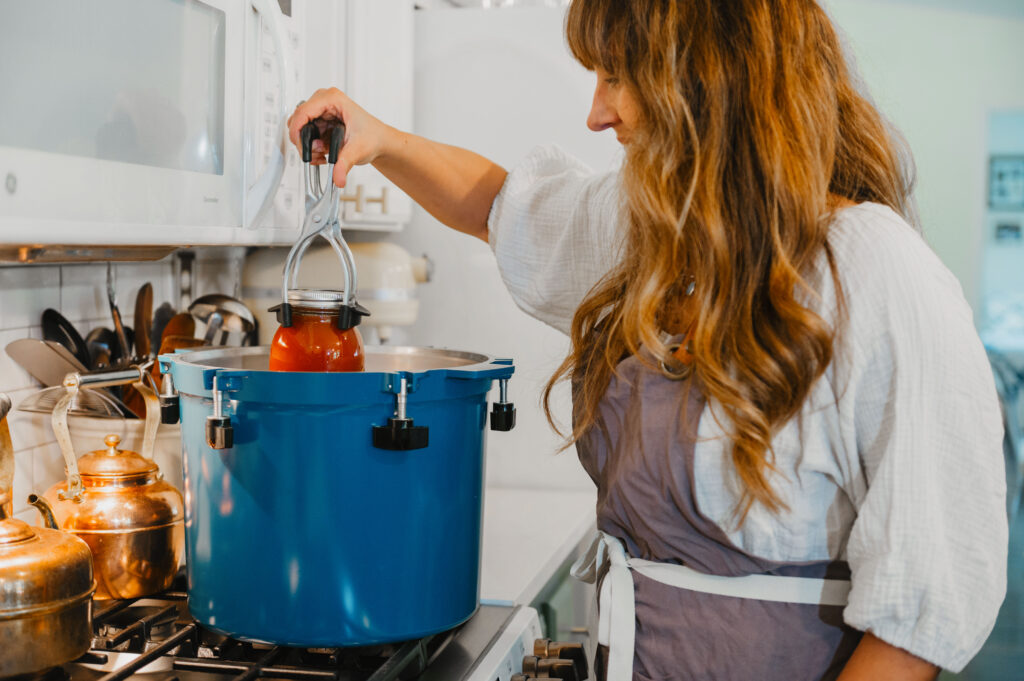
6. Place in Canner

Set jars into hot water (if using a traditional water bath canner) or on the rack (for a steam canner):
- Water temperature should be at 140°F for raw pack
- Water temperature should be at 180°F for hot pack
7. Bring to a Boil
Once the water reaches a full boil (212°F), start your processing time.
8. Process for the Required Time
Follow your recipe exactly for the processing time.
9. Let Jars Rest
After processing:
- Turn off the heat
- Remove lid if using a water bath canner, keep lid on if using a steam canner
- Let jars sit in water or in the steam canner for 5 minutes
10. Cool Undisturbed
After the five minutes, remove the jars from the canner and place them on a towel-lined counter (in a draft-free area) and let them sit for 12–24 hours without touching them.
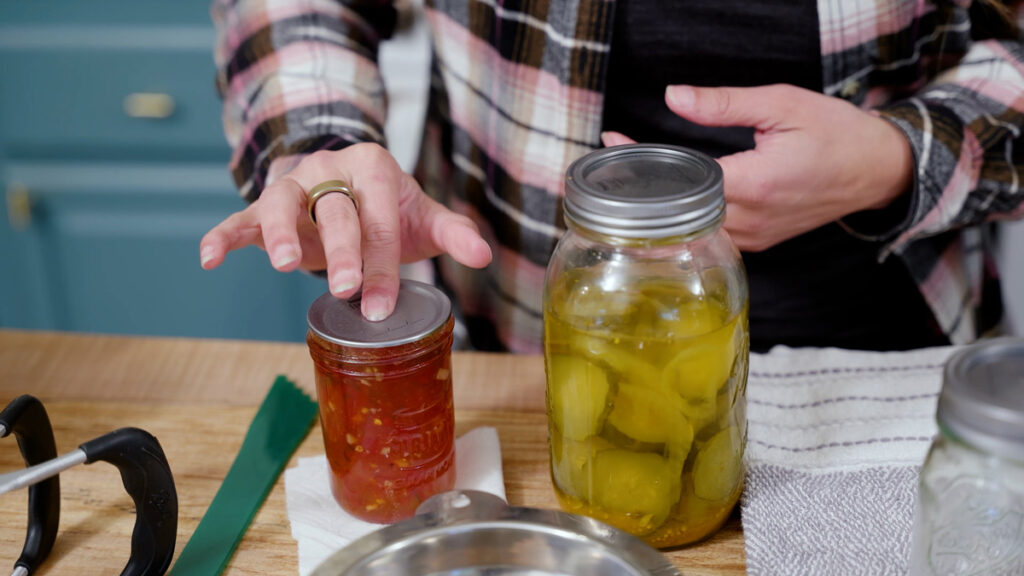
How to Know Your Jars Sealed Properly
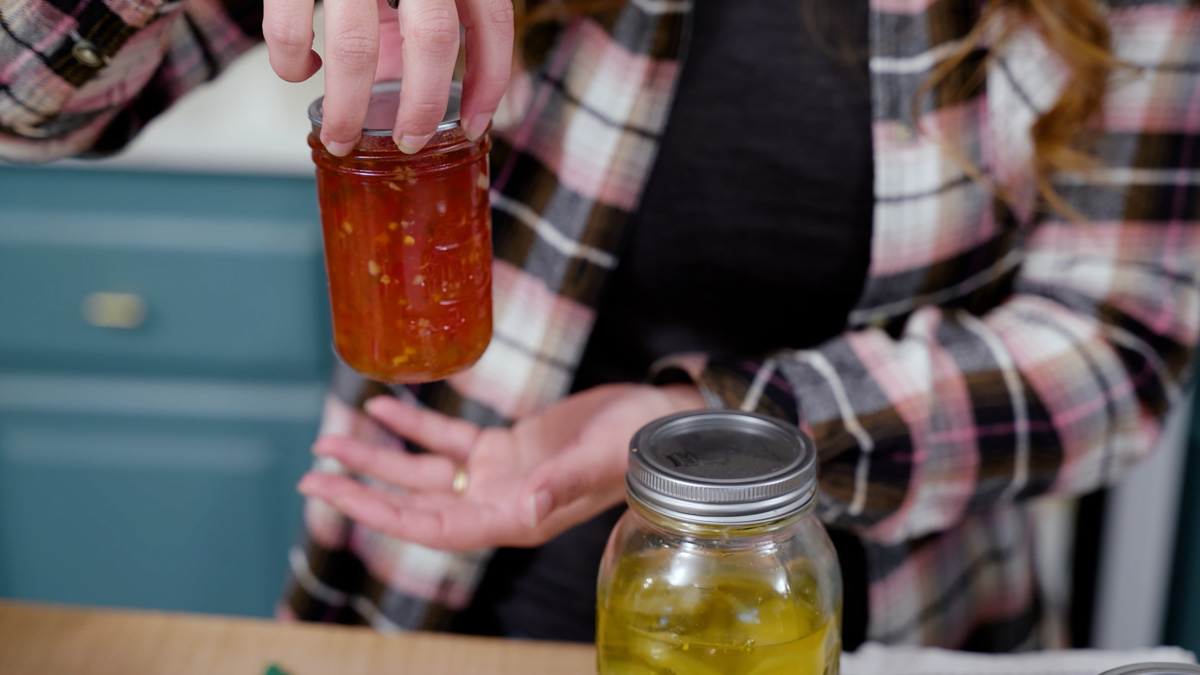
After your jars have cooled, check the seals:
- Press the center of the lid
- If it doesn’t flex, it’s sealed
- If it pops, it did not seal
You can also gently lift the jar by the lid. A sealed lid will hold firm.
What If a Jar Doesn’t Seal?
If your lid flexes or comes off altogether, don’t panic. You have options!
- Refrigerate and use within a week or two
- Freeze it (best for jams and sauces)
- Reprocess within 24 hours (with a new lid)
If a jar ever comes unsealed on the shelf or shows signs like mold, bubbling, or off smells, it’s best to discard it safely and do not consume it.
How Long Does Water Bath Canned Food Last?
Properly sealed jars of food can last 12 to 18 months in a cool, dark place. Your pantry or cupboard is a perfect place to store them. The best quality of your food will be within a year of canning.
A Simple Way to Start Preserving Today
Water bath canning doesn’t have to feel complicated. When you understand that it comes down to the right level of acidity, proper processing time and the correct technique, it becomes a rhythm you can rely on season after season.
Start with something simple like jam or pickles. Follow a tested recipe. Take it one batch at a time.
Before long, you’ll have jars lined up on your shelf and the confidence that comes with knowing you preserved that food yourself.
FREE Canning Course
Want to be confident in your canning skills and know that the food you're preserving will not only feed your family well, taste delicious, but also that it will be safe to consume?
Join me for my FREE training where I'll share the five steps to canning, breaking down the mystery and giving you the confidence needed to tackle preserving the harvest for the year ahead.
Water Bath Canning FAQ
Water bath canning is only safe for high-acid foods with a pH of 4.6 or lower.
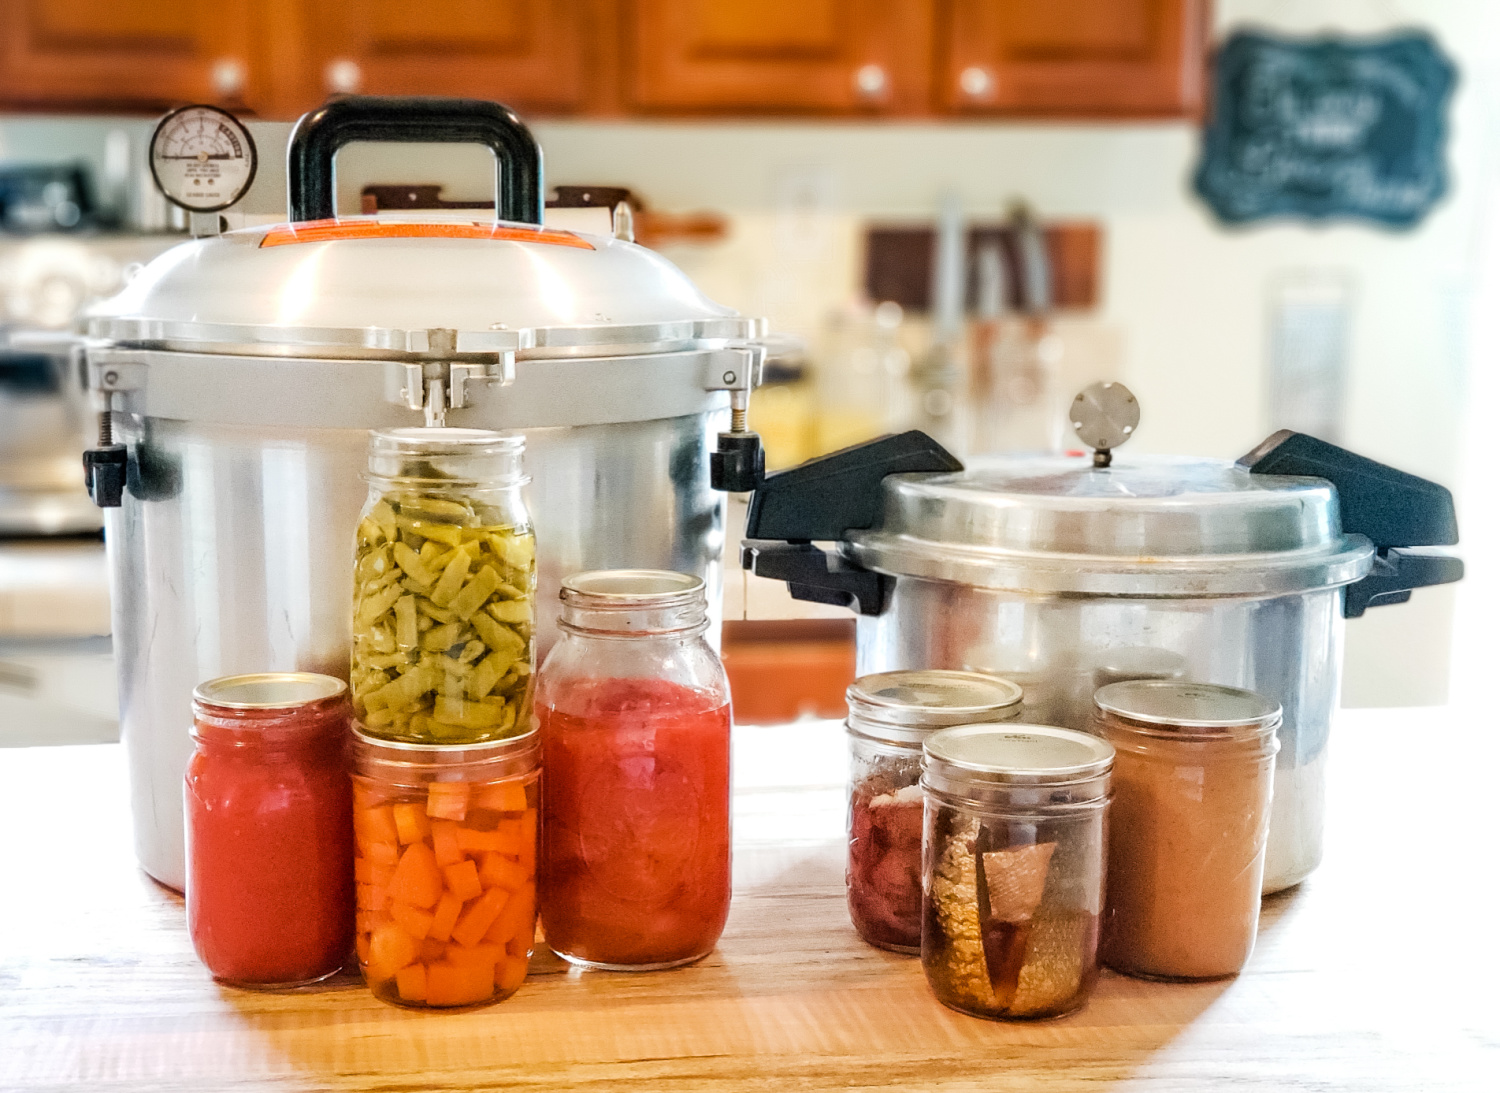
Do NOT use a water bath for:
- Meat or poultry
- Broth or stock
- Vegetables like green beans, corn, or carrots
- Soups or mixed low-acid foods
These foods require a pressure canner to reach higher temperatures that kill harmful bacteria like botulism.
Safe foods for water bath canning include:
- Fruits
- Jams and jellies
- Pickles and relishes
- Tomatoes (with added acid)
If there’s ever doubt, it’s better to assume a food is low-acid and use a pressure canner.
There isn’t one single time for all recipes, and this is where many online answers fall short.
Processing time depends on:
- The type of food
- Jar size
- Your altitude
Most recipes fall somewhere between 10 to 30 minutes, but some can be longer.
What matters most:
- Start timing only after the water reaches a full boil
- Keep the water boiling the entire time
- Adjust for altitude if needed
After processing, always let jars sit in the canner for 5 minutes before removing. This reduces liquid loss (called siphoning) and helps improve your seal.
Yes, you should keep the lid on your canner during processing. Keeping the lid on helps:
- Maintain a steady boiling temperature
- Prevent water from evaporating too quickly
- Ensure consistent processing time
If you don’t have a proper lid, you can use something like a baking sheet to cover the pot. The goal is simply to trap heat and maintain a steady boil.


Comments
No Comments