Are you ready to learn how to start seeds indoors? This is the Ultimate Seed Starting Guide to plant and successfully grow your own food. Never ask again, ”Why did my seedlings die?”, “What zone am I in?”, “When should I start my seeds indoors?”, or “Do I have to have a grow light?”
This post has been updated multiple times as I learn more seed starting tips. You can watch the videos and listen to the multiple podcasts so you're armed with all the information you need to get your seeds started the right way.
Read This BEFORE Starting Seeds
Seriously, when done right, seed starting can be an amazing way to increase the number of crops you can grow and your growing season, but not all seeds should be started indoors and there are many mistakes that can easily be avoided if you simply know ahead of time.
That my friends is where I come in because I want you to harvest bushels of food this year.
Seed Starting vs. Direct Sowing
What is the difference between starting seeds indoors and direct sowing seeds? In short, seed starting inside is where you germinate your seeds inside in a controlled environment, then transplant the young plants into the garden.
Direct sowing seeds is done outside, where you plant the seeds directly into the soil where the plant will grow and live its entire life. And then there is winter sowing, a method of starting seeds outdoors during winter in small greenhouse-style containers.
Why Start Seeds Indoors?
There are many reasons why I like to start seeds indoors. First is the variety. I can buy many more varieties of seeds than my local nursery offers as starts. More times than not, nurseries only have a handful of varieties to choose from. I never would have found some of my favorite tomatoes if I didn't start them myself.
Starting seeds indoors also gives you a more controlled environment. Sometimes plants that aren't as hardy do better when started indoors.
Finally, starting seeds indoors increases your growing time. When you have a shorter growing season like I do, I can't direct sow tomatoes in the garden if I want to have a long harvest window.
Starting them indoors gives me a jumpstart on the growing season and, when timed correctly, those plants will thrive and give me a great yield after they're planted out into the garden.
Which Seeds Should I Start Indoors?
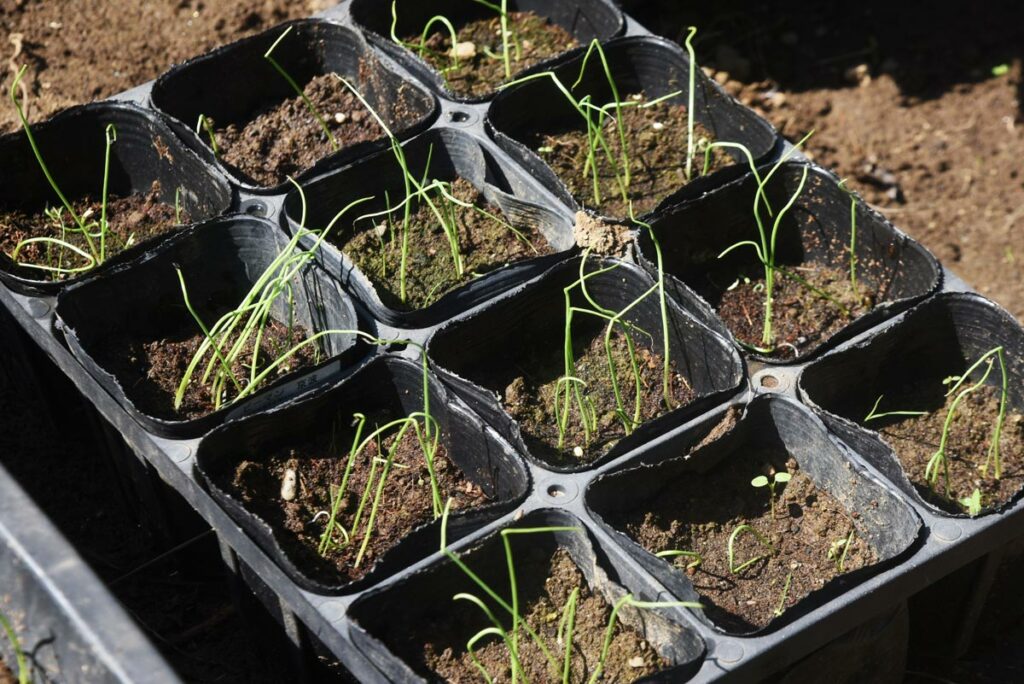
Most root vegetables are better off being direct sown outdoors. The only root vegetable I actually start indoors is onions, because I don’t want to buy onion sets from the nursery (learn how to grow onions from seed here).
Cool-weather crops like lettuce, spinach, and other brassicas don't need to be started indoors as they can handle the cooler soil temperatures.
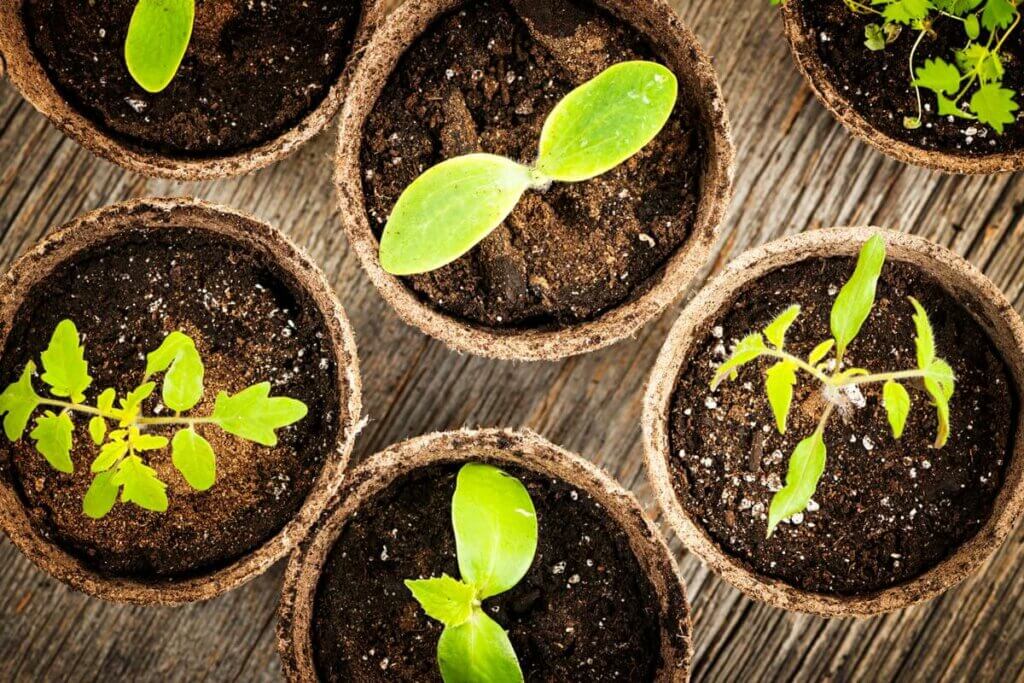
However, warm-weather crops such as peppers, tomatoes, cucumbers, even melons, and some squash do really well when started indoors.
The seeds you start indoors will depend upon your zone and the window of warm weather. If you have a really long growing period, then you may be able to direct sow all of your plants. If you live in the Pacific Northwest, like me, you'll need to start some of your plants indoors in order to even get a harvest.
I also like to do side-by-side comparisons. For example, one year I started cucumbers indoors and, when the soil was warm enough, also planted seeds. I transplanted the seedlings at the same time I planted the seeds, and the cucumbers planted from seed actually outperformed the ones started indoors.
When to Start Seeds Indoors
Seeds always germinate better when they’re outside getting direct sunlight. But if the temperatures aren’t warm enough yet, we start them inside.
You don't want to start your seeds too soon or too late (it’s kind of like Goldilocks, finding the perfect time for your garden). This start date is always dependent on when your last frost is in the Spring and when your first frost is in the fall.
Once you know your first frost date (both my books, The Family Garden Plan and The Family Garden Planner, have charts to help with this planning), you can count backward based on the number of weeks you should start those plants indoors to know when to get them going.
For example:
- Onions - If you want to start onions from seeds and not purchase onion sets from garden centers, you'll need to start them indoors, 10 weeks before your last average frost date.
- Peppers and Tomatoes - Peppers and tomatoes should be planted about 4 to 8 weeks before the last average frost. If you live where it's cooler, I recommend 8 weeks.
If you'd like to know when to plant more crops, download my FREE printable chart on when to start seeds indoors
Micro-Climates
It's important to note that there are always microclimates in regions, even with knowing your gardening zone and the general rule of thumb on your first and last average frost dates. If you're new to gardening, or recently moved to a new area, I recommend asking around to your neighbors to get the best idea.
For example, according to the data, I'm in gardening zone 7B. My last average frost date is April 29, and the first average frost date is October 14 (click here to find your first and last frost date by your zip code).
Knowing my average first and last frost dates is great. However, I live up in the foothills, and we have more extreme temperatures, which means we'll sometimes have a sneak frost come in as early as September 20. We never plant our warm-weather plants out in the spring until May 20 or later (depending upon the weather forecast that year).
I also share with my academy members that I don't recommend planting until 1-2 weeks AFTER your last frost date because, typically speaking, your soil temperature is about 10 degrees cooler than the temperature outside.
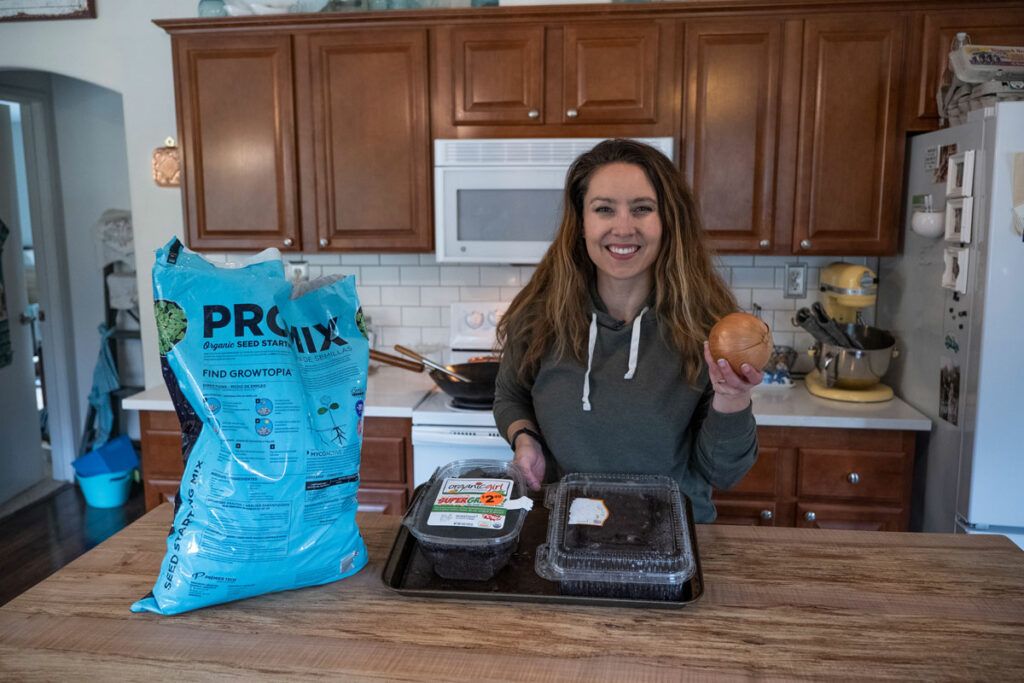
What is Needed to Start Seeds Indoors
To successfully germinate and grow seeds indoors, you'll need the proper combination of a few things:
- Seeds - Learn where to buy heirloom seeds & my favorite seed companies here.
- Soil - Learn about testing soil pH and amending soil here.
- Containers - I share my favorite seed starting containers on a budget here.
- Heat, Water & Light - More on each of these below.
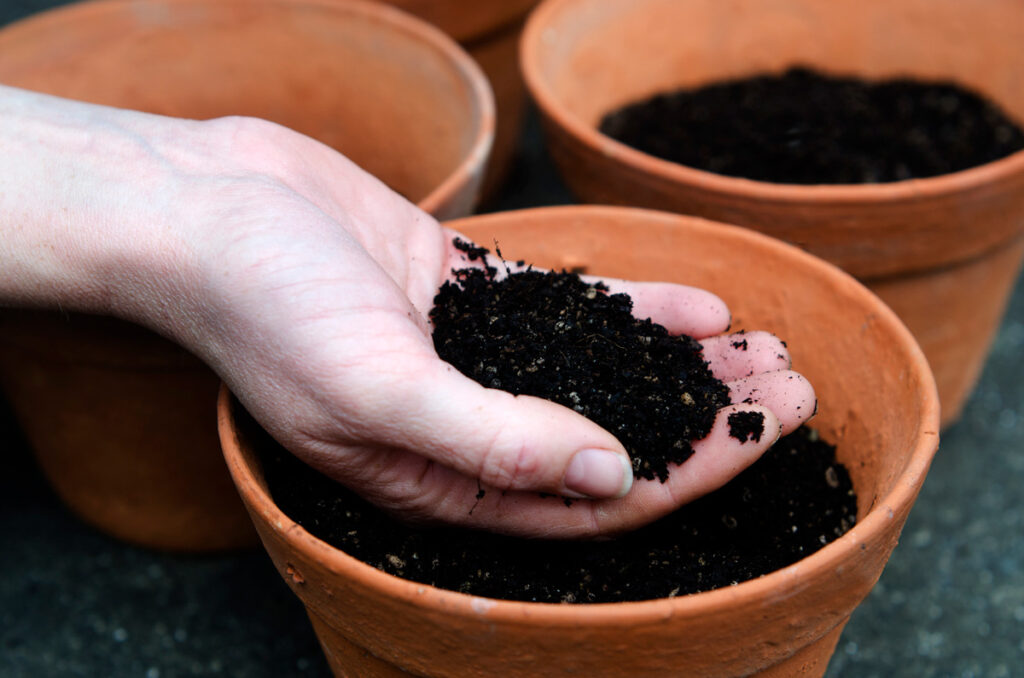
Choosing The Right Soil
Young plants are just like infants; they're more susceptible to disease and getting sick. If you use soil straight from your garden, you're introducing any disease, bacteria, or fungus in that soil to a baby without an immune system.
This is often the cause of dampening off (a form of blight on seedlings) one of the biggest culprits of why seedlings die.
You're also bringing insects and their eggs into the house or gardening shed, which you don't want on your baby seedlings or flying and crawling about your living room (which is where I seed start).
How to choose the right soil:
- Purchase Potting Soil - I only use organic potting soil, it's already at the perfect mix and has been sterilized to kill any disease and/or fungus.
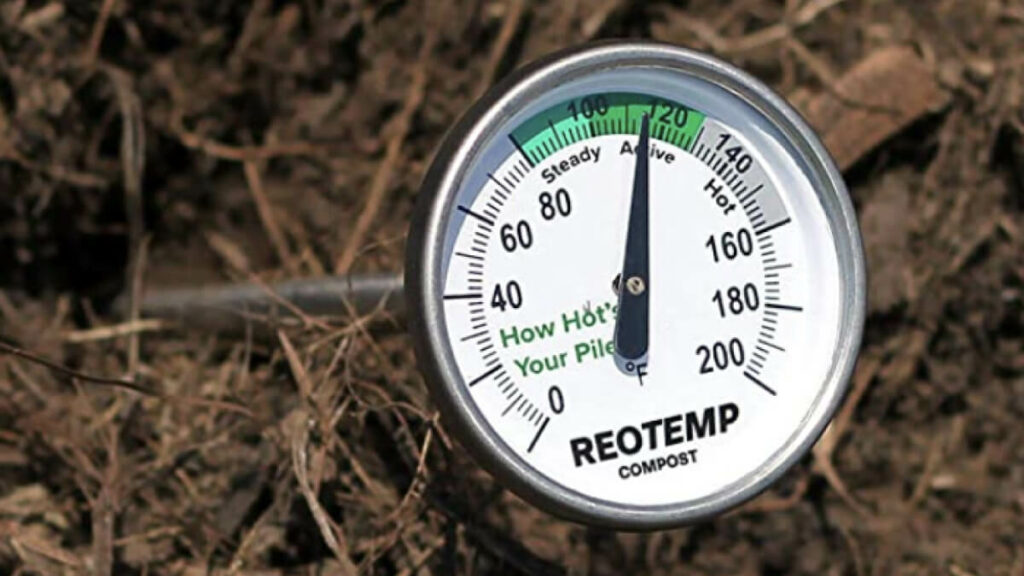
- Sanitize Garden Soil - Bake your garden soil at 200°F until it reaches 180°F internally. This is a sustainable DIY version, but I'll be honest, I don't want to deal with trays and trays of soil in my oven, and garden soil tends to be too heavy and dense for many delicate seeds to germinate.
- Mix Your Own Potting Mix - Make a seed starting mix of equal parts compost, topsoil, and sand. Again, you'll need to sterilize it, but this is a way of making your own.
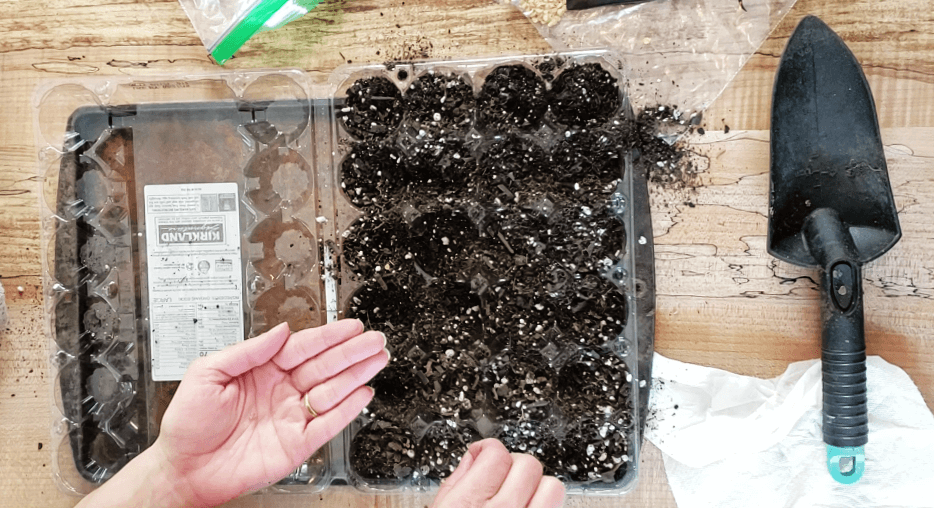
Seed Starting Containers
Too often, people want to germinate their seeds in a larger pot so they don't have to transplant their seedlings into a larger pot before moving outdoors. However, seeds germinate best under a controlled environment, and it's much easier to control the soil temperature of a small container of soil than if it's a big, deep container.
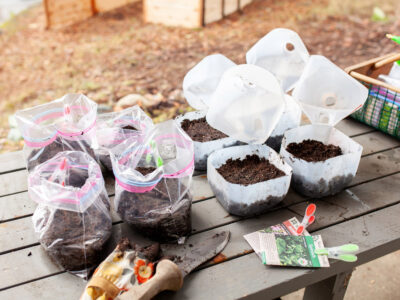
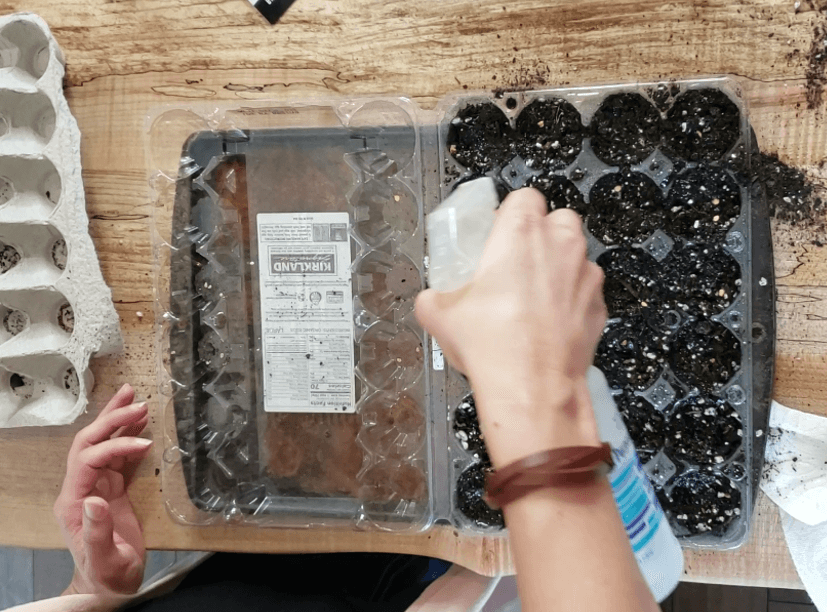
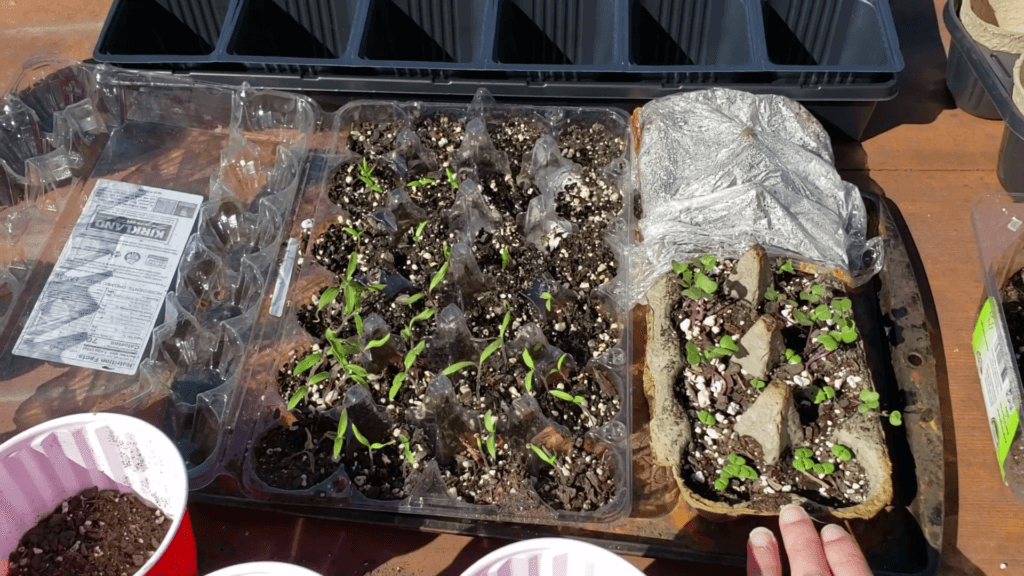
I like to use plastic clamshell egg cartons because the holes are nice and small. Plus, when I close the lid, the container acts like a natural greenhouse, keeping the moisture and heat in.
Whether you repurpose an egg carton or buy seed-starting pods, you'll want to be sure there's a way to cover the container until germination is complete. For more seed-starting containers, ideas, and suggestions, read this post on choosing the best seed-starting containers.
Once your seeds have germinated and are off to a great start, they may outgrow their seed starting container before it's time to transplant outdoors. In this case, you'll want to pot up your seedlings by following my tutorial on potting up plants and separating seedlings.
Heat & Soil Temperature
The big question I get asked all the time is whether or not people need to buy seed starting mats in order to successfully start plants indoors. In my experience, the answer is "it depends!"
Even with my house temperatures dipping into the mid to low 60s at night, I’ve never actually needed to use a seedling mat to germinate seeds successfully. However, if your house (or where you’re starting your seeds) tends to be on the cooler side, a seed-starting mat may be necessary.
When I do use seed mats, I choose the mats with adjustable temperature control. This way, after the seeds have all successfully germinated, I can start reducing the temperature by two-degree increments every other day. This will help adjust your seedlings before you begin the hardening-off process.
Whether you use seed mats or not, each seed has a unique temperature for germination, so check your seed packets to know how warm your soil temperatures need to be.
For warm-weather crops, your soil must be at least 60°F or warmer for the seeds to germinate. The general rule of thumb is between 60°F and 70°F, though your hot peppers may need to be 75°F+ for best germination rates. You can use a soil thermometer or go by the average temperature in your home.
Once seeds have sprouted, you want to make sure the overnight lows of the plants don't get below 50°F. So if your seedlings are sitting by a windowsill, you’ll want to move them away from the window overnight so they don’t get too cold by the window.
Adequate Water
This is where people often get into trouble. When germinating seeds and watering seedlings once they've sprouted, you don’t want the soil to be soaking wet, but you also don’t want it to get too dry.
Watering for Germination
It's important to keep the soil consistently damp for the first 10+ days until the seeds have germinated. To keep the soil damp, it’s best to use a container that can create a greenhouse-like environment. This is why I like to use the plastic egg clamshell containers!
Depending on the seed, it typically takes between 7-14 days to germinate. The closer you can get to the proper soil temperature and consistent moisture, the faster they’ll germinate.
Watering Seedlings
You don’t want the soil to continue to stay damp like you do when seeds are germinating, otherwise, you’ll get rot and you may see some mold.
It’s a good idea to allow the top surface of the soil to dry out between waterings because this forces the roots to go down in search of water.
I like to test the soil simply by touching it with my finger or pulling back the top layer of soil to make sure the soil is damp underneath.
Adequate Light
Plants don’t actually need light to germinate, so you don’t need to have a sunny windowsill or grow lights on during the first week or two. However, once they've germinated, you have two options for light:
- Sunny Windowsill - Again, natural sunlight is the preferred light source for plants, but if you don't have a sunny windowsill that provides 6-8 hours of direct sunlight, you can choose option #2.
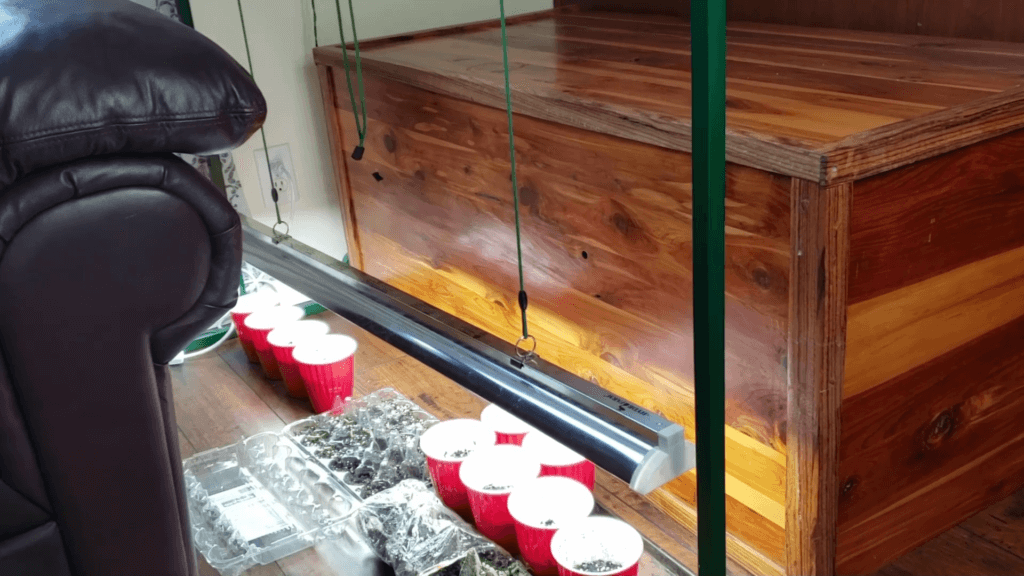
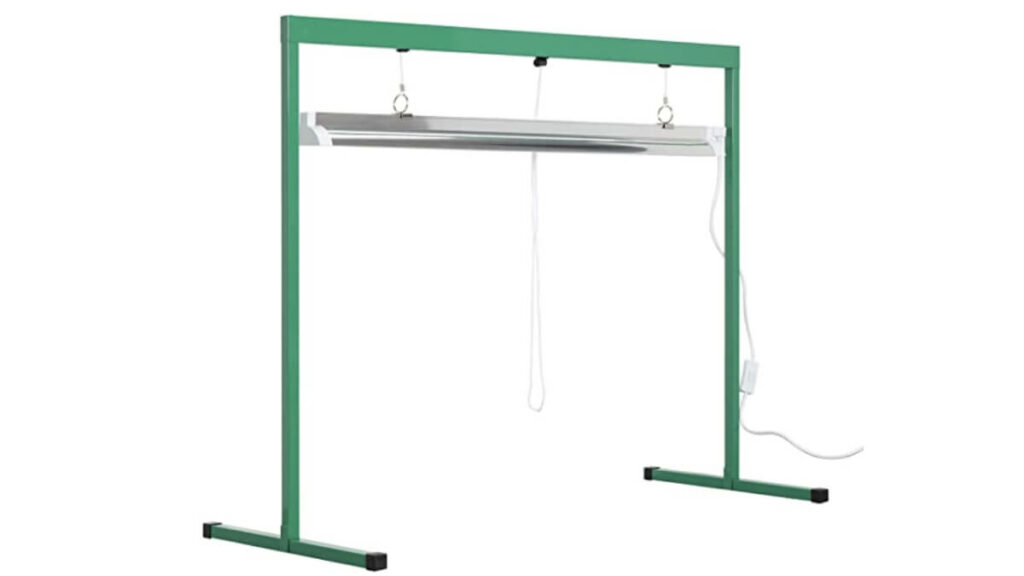
- Grow Light - When using artificial light, you also want to be sure the lightbulb is full-spectrum. Because it’s not as strong as the actual sun, you're going to need to leave the lights on for 16 to 18 hours every day. I turn mine on when I get up, first thing in the morning, and off when I go to bed. This is my favorite grow light. The LEDs also produce full-spectrum light, but use half the electricity and last five times longer than fluorescent lights.
Proximity of Plants to Light
When using artificial light to grow your seedlings, it needs to be within 2-3 inches above the plant. Leggy and tall plants occur when plants aren’t getting enough light, so they’re stretching to reach the light source.
Pro-Tip: Different types of plants grow at different rates (for instance, tomato seedlings grow faster than basil). You may want to invest in multiple small grow lights over one large light so that you can adjust the light height when growing multiple varieties of plants.
Most people don’t give their plants enough light because they read the seed packets which tell you the plants need 6-8 hours a day, but that’s full sunlight during the middle of summer, not an artificial light bulb.
How to Start Seeds Indoors
- Once you have all the materials needed, you'll want to fill your containers about 2/3 full with potting soil.
- Place 2-3 seeds per cell of the seed tray on top of the soil. A general rule of thumb is to plant twice as deep as the seed is wide. I find for smaller seeds when I water, this pushes the seeds under the soil just enough.
- Add a small layer of soil over the seeds, if needed to be sure all seeds are covered.
- Mist the soil with a spray bottle filled with warm water.
- Cover the container.
- Water 1-2 times daily for 7-10 days, keeping the soil consistently moist until seeds germinate.
I made you a video here on how to start tomato seeds indoors:
Germination Test
If you happen to have some really old seed packets and you're not sure if the seeds are viable (meaning you're not sure if they'll actually grow), you can do a paper towel germination test.
This test isn't actually for germinating plants, but just to test the viability of your seeds.
To test your seeds:
- Take a damp paper towel and place 5-10 seeds on top.
- Cover the seeds with another damp paper towel.
- Keep the paper towel damp for 5-7 days, checking every few days to see how many of the seeds germinate.
This will give you a good indication of how many seeds you should sow in order to get the number of plants you want.
For example, if you want to grow 10 tomato plants in your garden, it’s not a good idea to only plant 10 tomato seeds. Seeds are very inexpensive, so it’s always better to plant more seeds (double or triple) than you’ll need. That way, you can keep the best, most robust-looking seedlings and give away what you don't need.
Caring for Plant Starts Indoors
Continue to give your plants adequate light and water for the duration of their life. Even once transplanted outdoors, you'll want to be sure they're planted in a location where they'll get enough sunlight.
After four weeks of growing, your plants will need additional care such as feedings, toughening up, and eventually hardening off before transplanting outdoors.
Feeding Your Plants
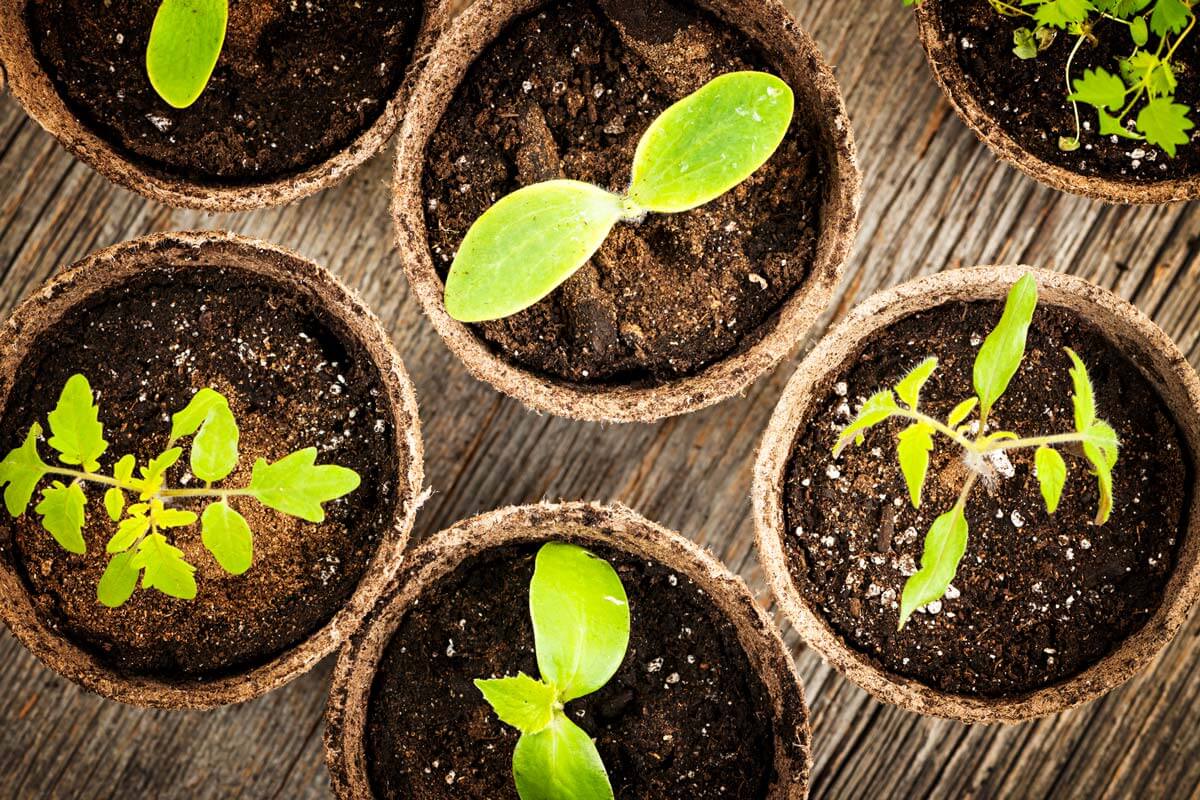
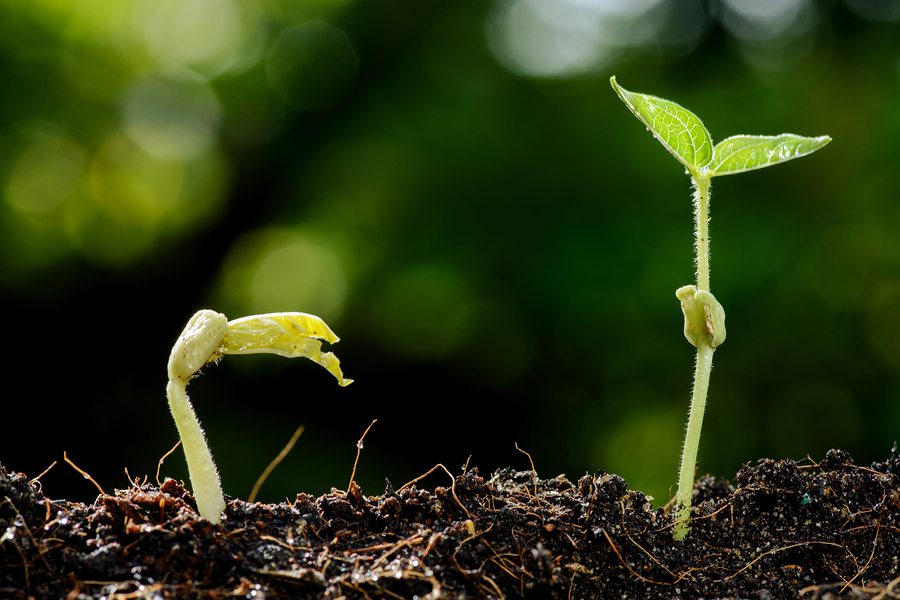
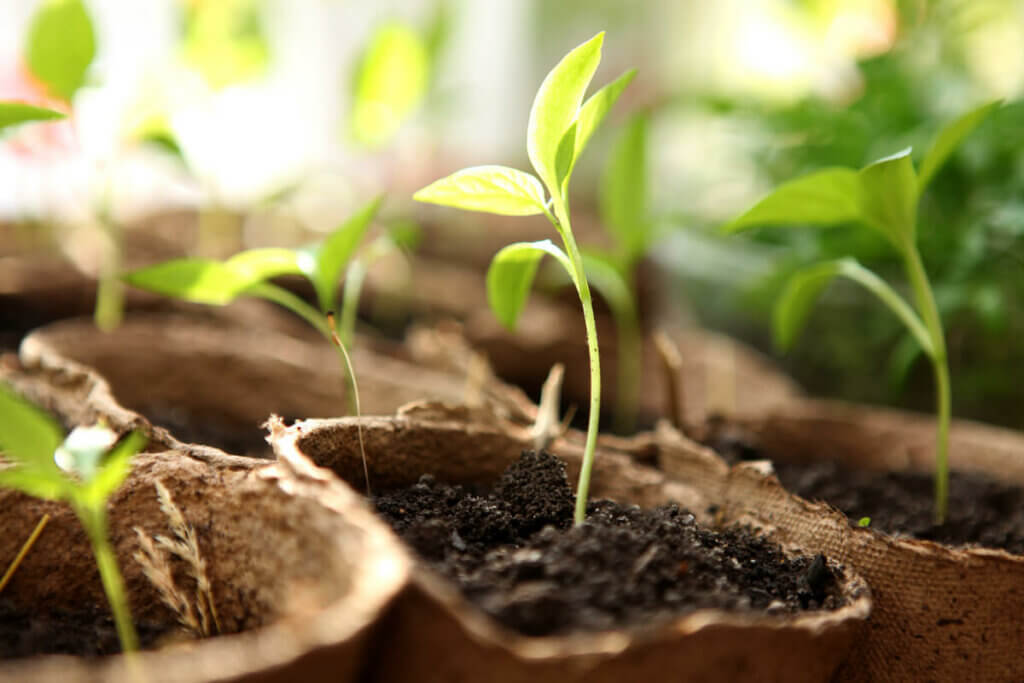
Once your seeds have germinated you will see the first set of leaves, these aren’t actually their "true" leaves. These tiny leaves actually contain nutrition from the seed that feeds the seedling until the roots are big and strong enough to get nutrients from the soil (about the first 4 weeks).
The second set of leaves that appear are the plant’s "true" leaves and they will actually resemble the leaves of the mature plant.
Once these "true" leaves appear it’s critical to get the plants under a grow light and make sure the plant has enough nutrients (if you used an all-purpose potting soil, it’s likely your plants will have what they need for the first 4 weeks).
At 4 weeks you’ll want to start feeding your plants a bit of fertilizer. To do this I mix together some fish fertilizer with my water and water with it every week or even every other week to make sure the plants have enough nutrition.
Mimic Nature
Many people start seeds indoors, but when they go to plant them outdoors, they die. There are two reasons for this: you haven't hardened off your plants, and you haven't toughened up your plants.
We'll cover hardening off next, but in nature, seedlings have rain hitting them, wind blowing around them, and they're constantly moving following the sun and being pushed around by airflow.
All of this helps the stem and the roots go deep. It develops a strong plant. Like working out, your muscles don't grow unless they're forced to work and move against something.
Mimic nature for your seedlings:
- You can place a fan on the plants periodically to mimic the wind.
- Run your hand over the leaves and the tops of the plant. This serves the same purpose as the fan but without the electricity and the fan. Whenever you walk by or turn on or off the light, run your hands over the plants.
- Use a spray bottle periodically to mimic rain. This also helps if you have low humidity in your area and means you don't have to water as often. I haven't experienced any negative effects, even doing this on my tomato plants.
- Make sure your plants dry fully between misting sessions, as well as the top part of the soil, after the seedlings have sprouted (germinated) and have their first sets of leaves.
Hardening Off Your Plants
In order to transplant your plants into the garden, you need to go through a process of hardening off. If you don’t do this step, your plants will go into shock and die because they’re not ready for the large increase in temperature, the movement of the air, the strength of the sun, even the rain, etc.
This is where I see many people make the biggest mistake with their seedlings. They don't harden them off properly or for long enough.
In order to harden them off you want to pick a sheltered spot outdoors, starting somewhere that's not in direct hot sunlight and isn't out in the open where they'll be whipped by the wind and elements.
Seedling Hardening Off Schedule
Begin at least 1 week in advance before planting.
- Start in a protected area 2 hours the first day.
- Increase by 1 to 2 hours each day over 7 to 10 days.
- Gradually move them to their final planting spot (by the last 4 days of the hardening off schedule, I'll place the plants where I'll be planting them, which is in direct sunlight and without any wind protection).
Troubleshooting & FAQs
Below is a quick summary of troubleshooting seed starting problems. For more tips, check out this entire post on how to troubleshoot seed starting issues.
My plants are rootbound, what do I do?
If you start seeing the roots of your plants coming out of the bottom of your container (or if you can see them at the bottom of the container), you’ll want to move your plants to a larger container.
Otherwise, your plants can become root-bound, and they won't grow well once transplanted into the garden.
Why didn't my seeds germinate?
There are a few possibilities including incorrect soil temperature, not enough water, and seed viability. However, just because your seeds don’t sprout, it doesn’t necessarily mean you did something wrong.
Just as we discussed above, it could simply mean your seeds weren't viable. If you think at least some of the seeds should have germinated, you can do a seed germination test (directions above).
Otherwise, troubleshoot the soil temp and watering options and start again.
Why are my seedlings tall and spindly?
Plants will get tall and spindly from not getting enough light, if the light source is too far away, and if there isn't enough movement or stress on the plant.
If your plants are leggy, they're straining for more light and you need to deliver it as soon as possible to avoid week stemmed plants that will/can break when put outdoors.
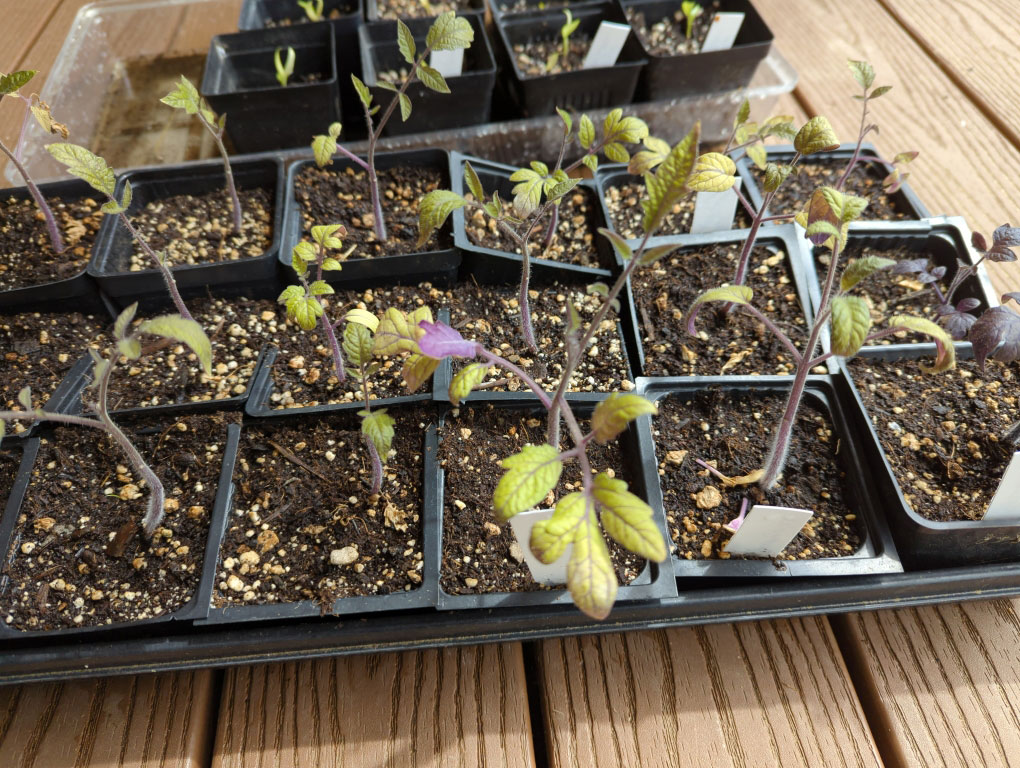
Why are my leaves turning purple?
This happens often with tomato plants. If your leaves are turning purple, they need more phosphorus, so the best course of action is to feed your plants with some fertilizer.
Why are my leaves turning yellow?
Yellow leaves are a sign of either not enough nitrogen or occasionally too much nitrogen, but the most common culprit is over watering which is depleting your soil of nitrogen. The best course of action is to feed your plants with some fertilizer.
Table of Contents[Hide][Show]
Resources for Seed Starting at Home
- This is the 4-inch grow light I've used for over 6+ years (including the original bulb)!
- Fox Farm FX14053 12-Quart Ocean Forest Organic Potting Soil <-- My favorite potting soil!
- Stainless Steel Soil Thermometer
More Posts You May Enjoy
- Beginner Gardening Secrets You Need to Know
- 13 Basic Steps to Starting a Vegetable Garden
- Time-Saving Tips For New Gardens
- Where to Buy Heirloom Seeds - Heirloom, Hybrid & GMO Differences
- Seed Packet Information - How to Read Seed Packets for Gardening Success
- Best Way to Germinate Seeds - How to Germinate Seeds Faster
- Spring Gardening Tips to Increase Harvest Yield
- Direct Sow Your Garden Seed
[fusebox_transcript]