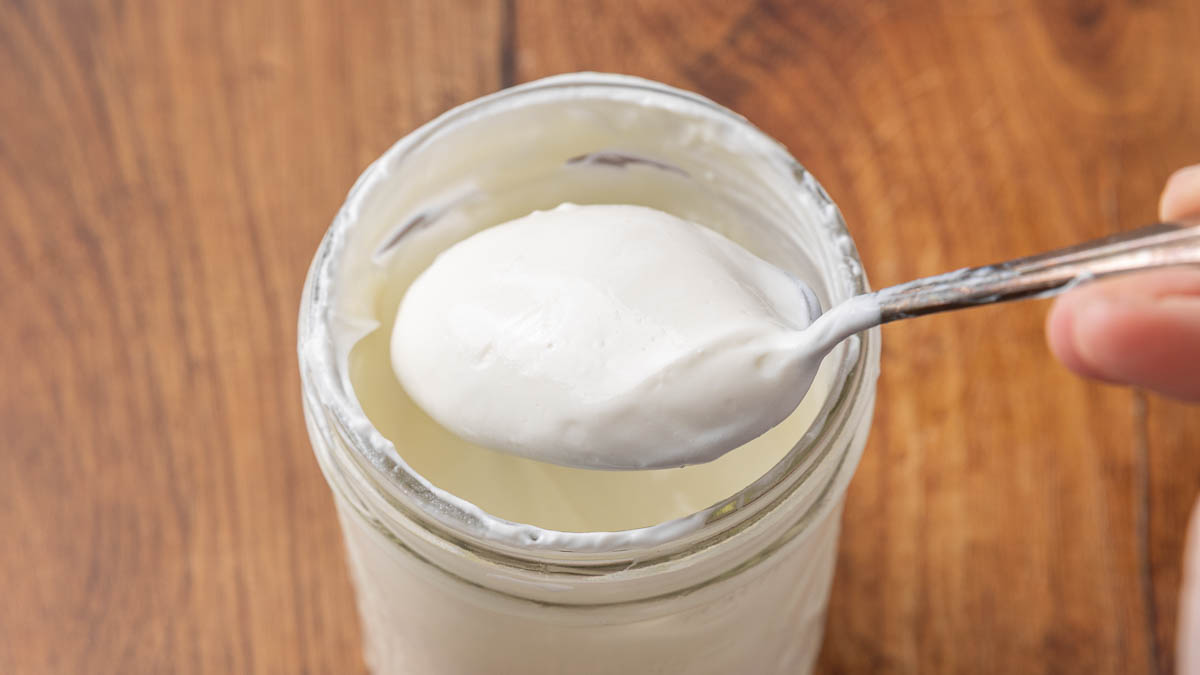
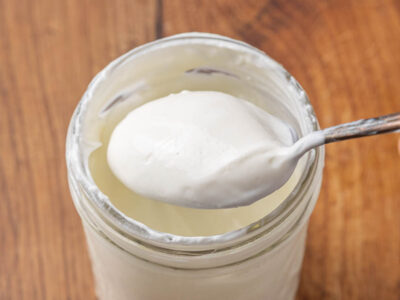
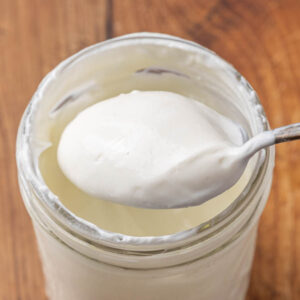
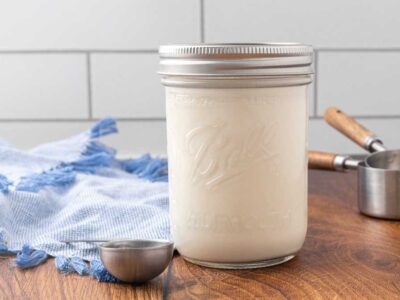
If you love my plain yogurt recipe but want a tangier, higher-protein product, this homemade Greek yogurt recipe is just for you. It delivers a rich texture that holds up beautifully on a spoon, with a signature velvety body, and a clean, fresh flavor that is far superior to anything from the store.
Whether you enjoy it plain, lightly sweetened, or topped with fruit, this yogurt is satisfying, nourishing, and incredibly versatile in your kitchen.
Quick Look at This Recipe
- ✅ Recipe Name: Homemade Greek Yogurt Recipe
- 🕒 Ready In: 12 to 24 hours (includes culturing and straining time)
- 🍞 Method: Stovetop + incubation
- 👪 Yield: 1 pint of Greek yogurt
- 🍽 Calories: Approximately 150 per serving
- 🥄 Tools: Heavy pot, thermometer, jars, towel, strainer, cheesecloth
- 📖 Dietary Info: Gluten-free, high protein
- ⭐ Why You'll Love It: Creamy, frugal, and deeply nourishing
- 👩🍳 Tip: Save a few tablespoons of finished yogurt as your starter for the next batch
✅ Summarize this recipe, or ask for recipe substitutions and dietary information with AI.
What Makes This Recipe Unique?
You will love this recipe because it is simple, wholesome, and rooted in traditional from-scratch cooking.
- Simple - Uses just two real-food ingredients, without fillers, thickeners, or added sugars.
- Frugal - Budget-friendly compared to store-bought Greek yogurt.
- Nutritious - High in protein and delivers the benefits of fermented milk products with gut-healthy probiotics.
- Versatile - Easy to customize for your family’s taste, and a great foundational recipe to use as the secret ingredient in your homestead kitchen.
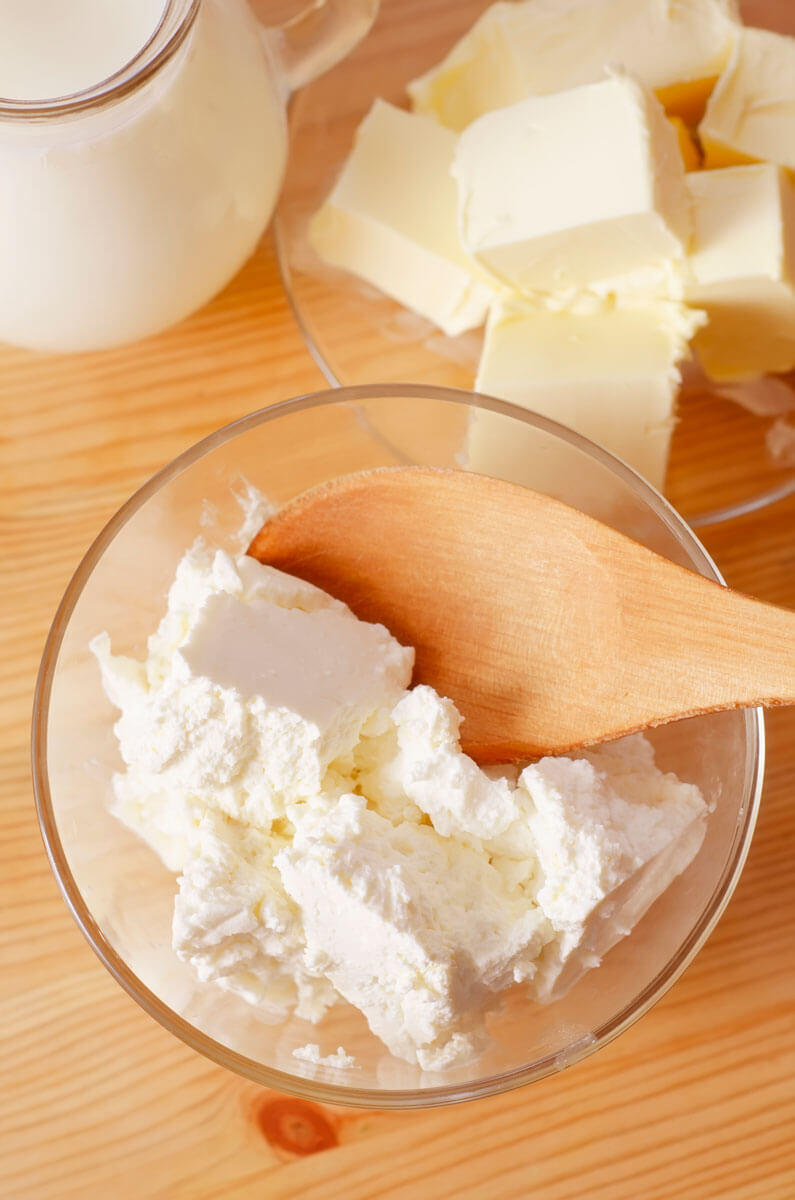
Key Ingredients:
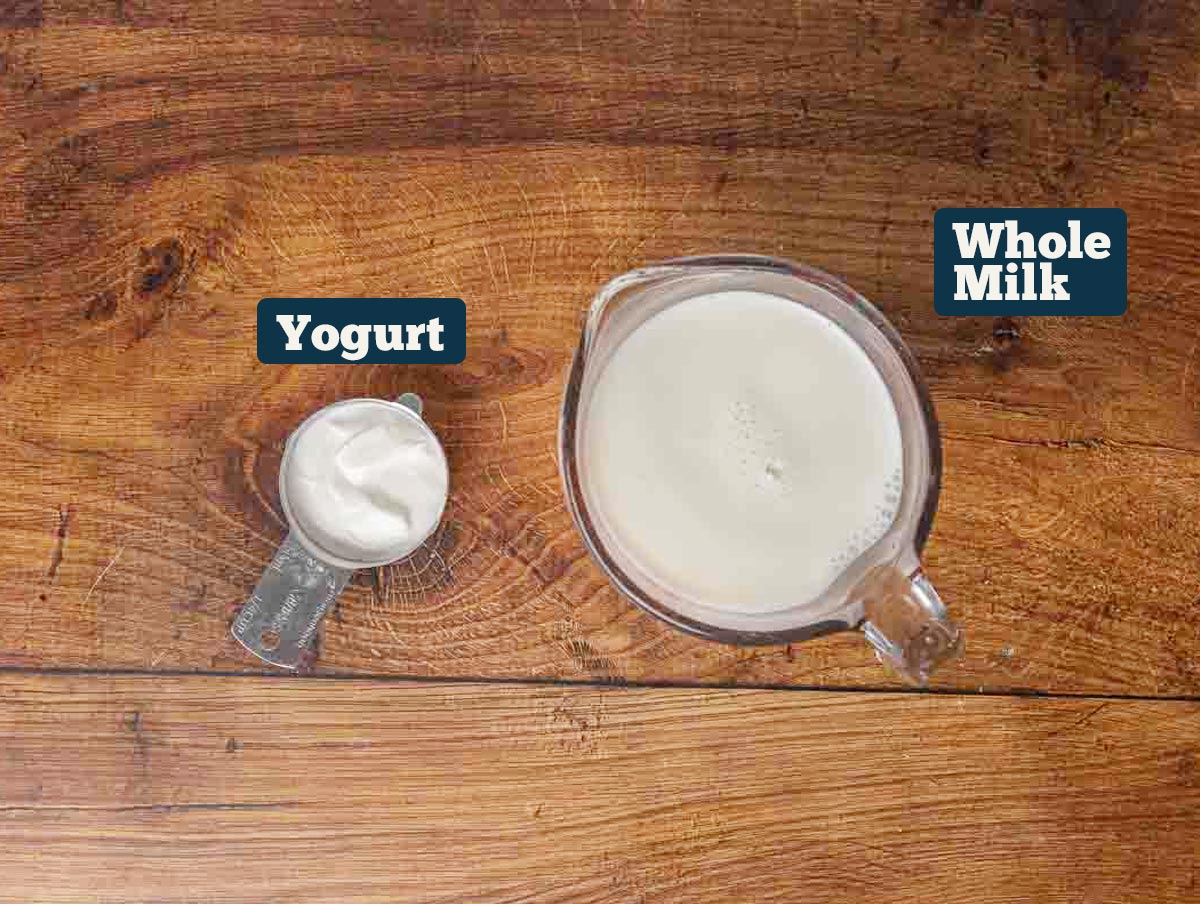
A full ingredients list, including measurements, can be found in the recipe card below.
- Whole Milk - The richer the milk, the thicker your yogurt will be. Raw milk or pasteurized milk both work well, though ultra-pasteurized milk can be less reliable.
- Starter Culture - You can purchase a starter culture (my favorite is this heirloom Bulgarian yogurt culture), or you can use a few tablespoons of plain yogurt. Just make sure it is unsweetened and contains active live cultures.
Recipe Instructions
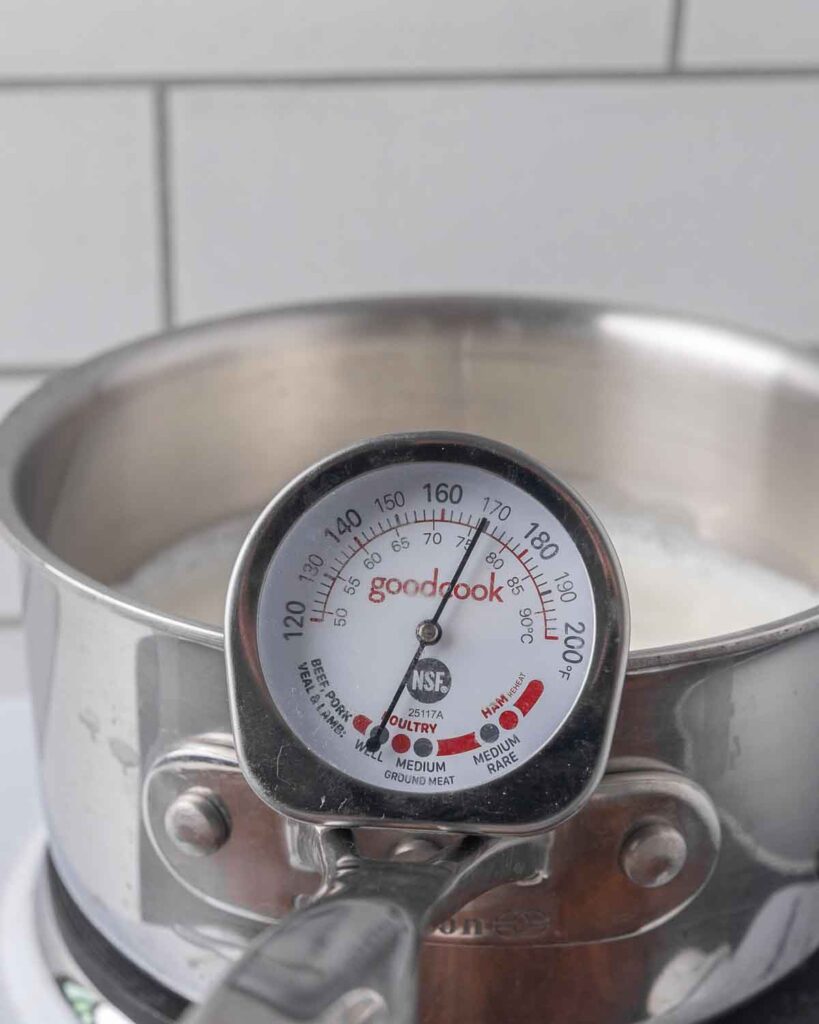
Step 1: Pour the milk into a heavy-bottomed pot and slowly heat to 180°F, stirring occasionally to prevent scorching. Keep the temperature up for 15-30 minutes; this step is crucial for getting that nice, thick yogurt.

Step 2: Allow to cool to 110°F and skim off the scalded layer. (If you add the culture before the milk is cooled, you’ll kill it. If you add the culture to cold milk, it won’t culture. It just likes to be warm, not hot, not cold.)
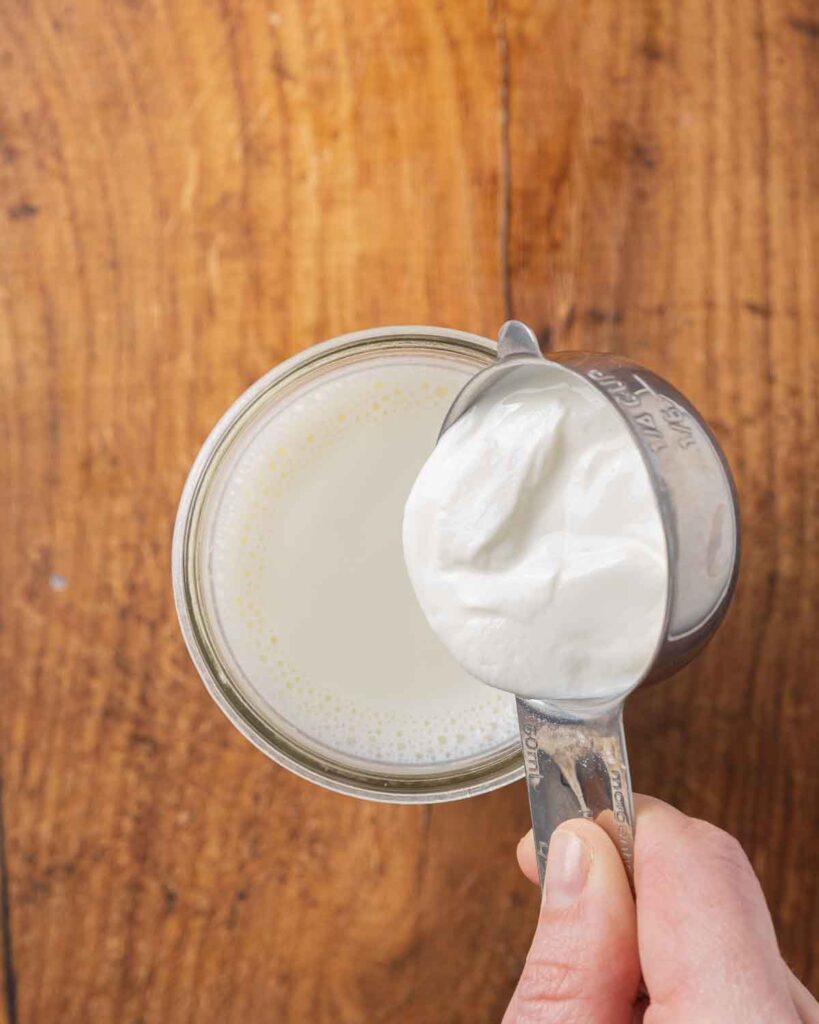
Step 3: In a small bowl, mix the yogurt starter with a bit of the warm milk to thin it out. Stir the starter mixture back into the pot of milk.

Step 4: Pour into clean glass jars and cover.
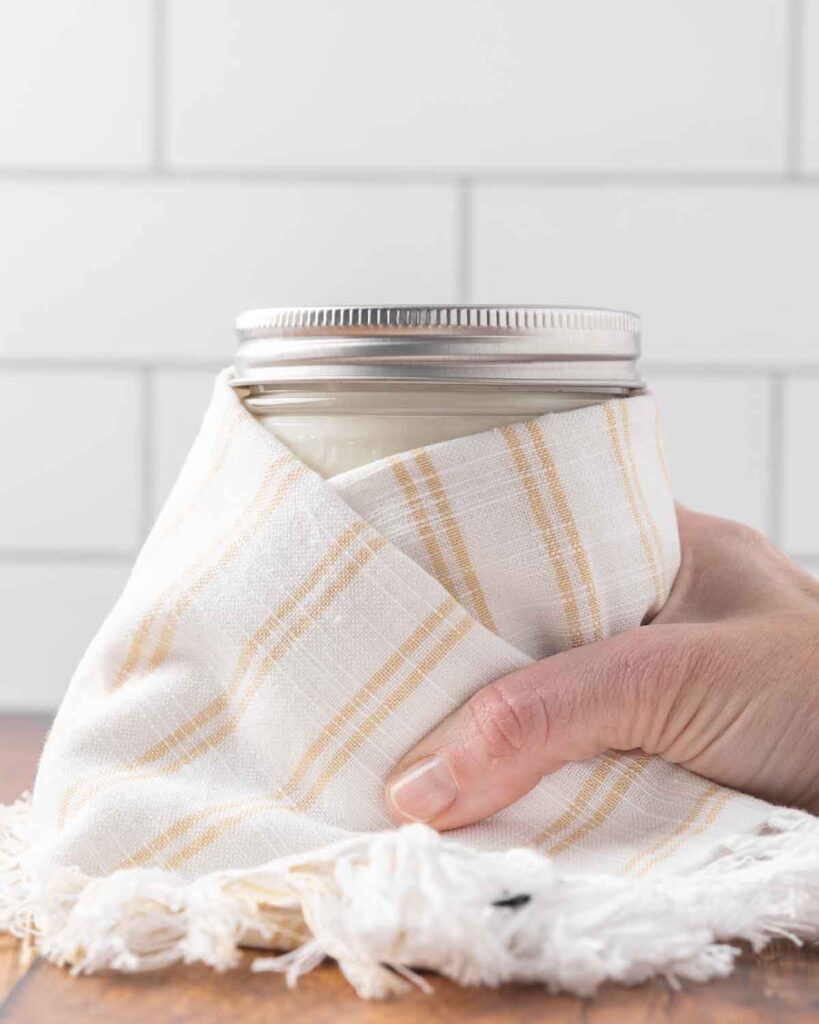
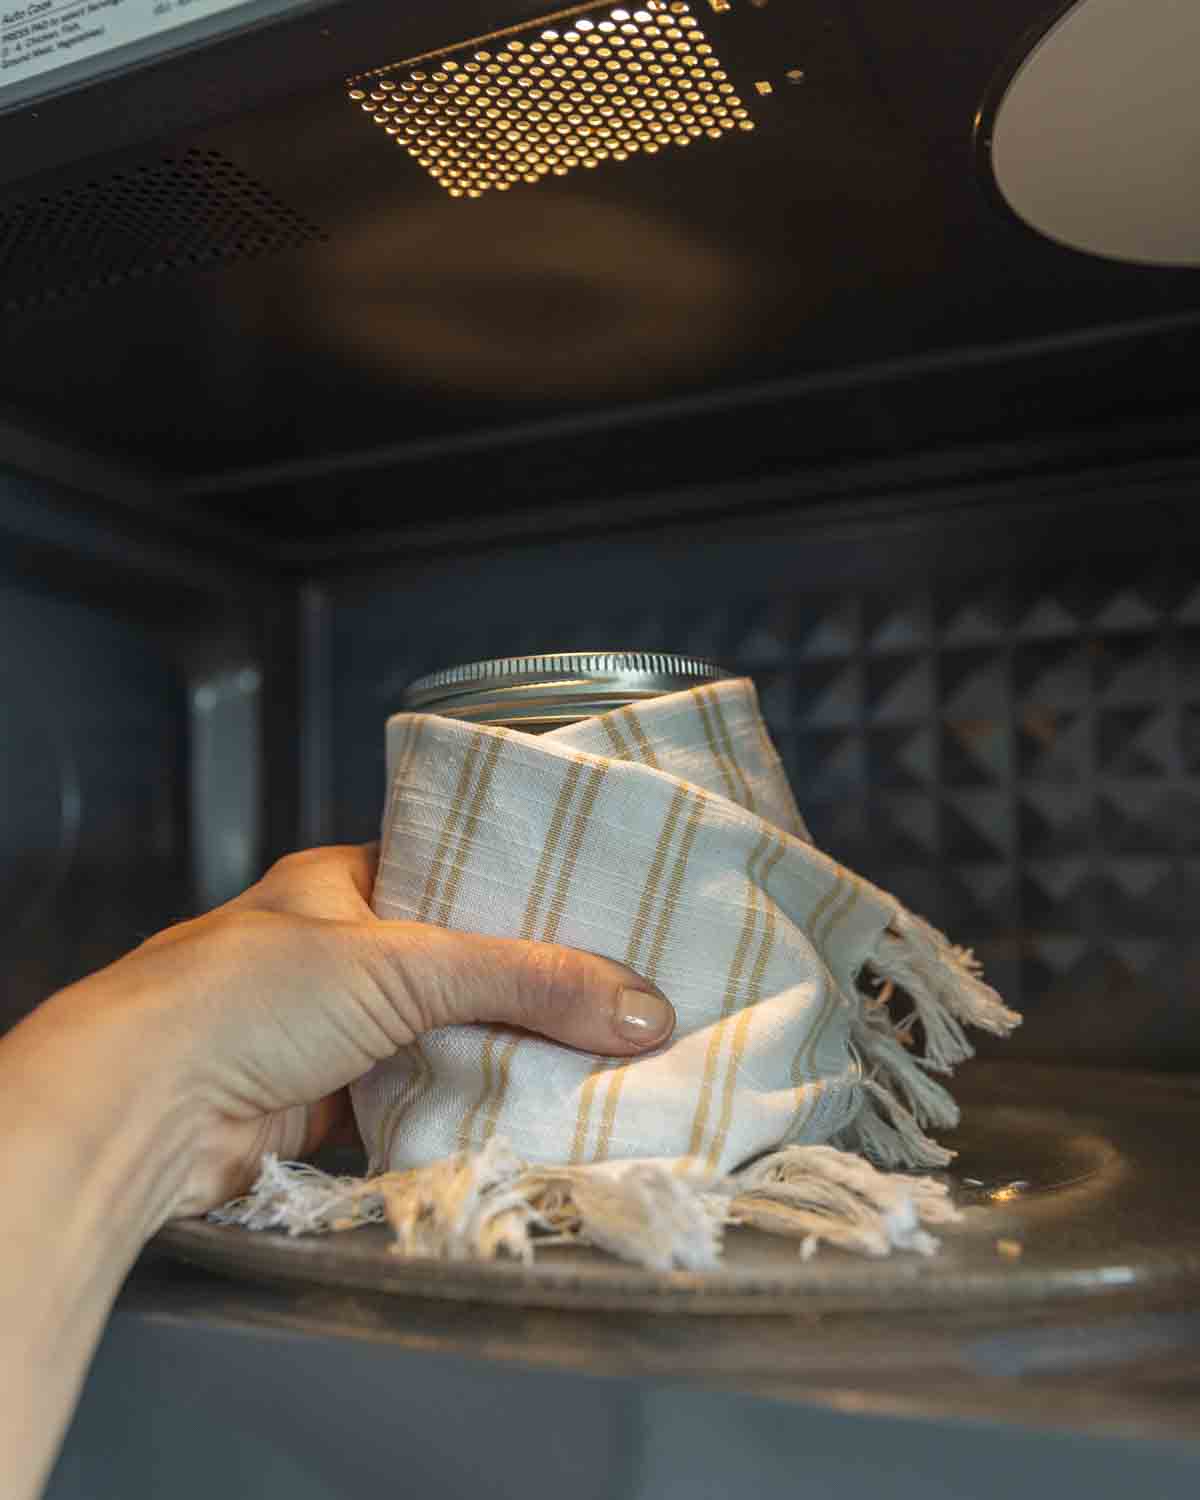
Step 5: Culture the jars in a warm place between 100°F and 110°F for 8 to 12 hours. I place my jars, wrapped in towels, into my microwave. If I turn on the overhead light over my stovetop, it heats the microwave to the perfect “incubating” temperature for culturing my yogurt. For other incubating options, see “Alternative Culturing Methods” below.
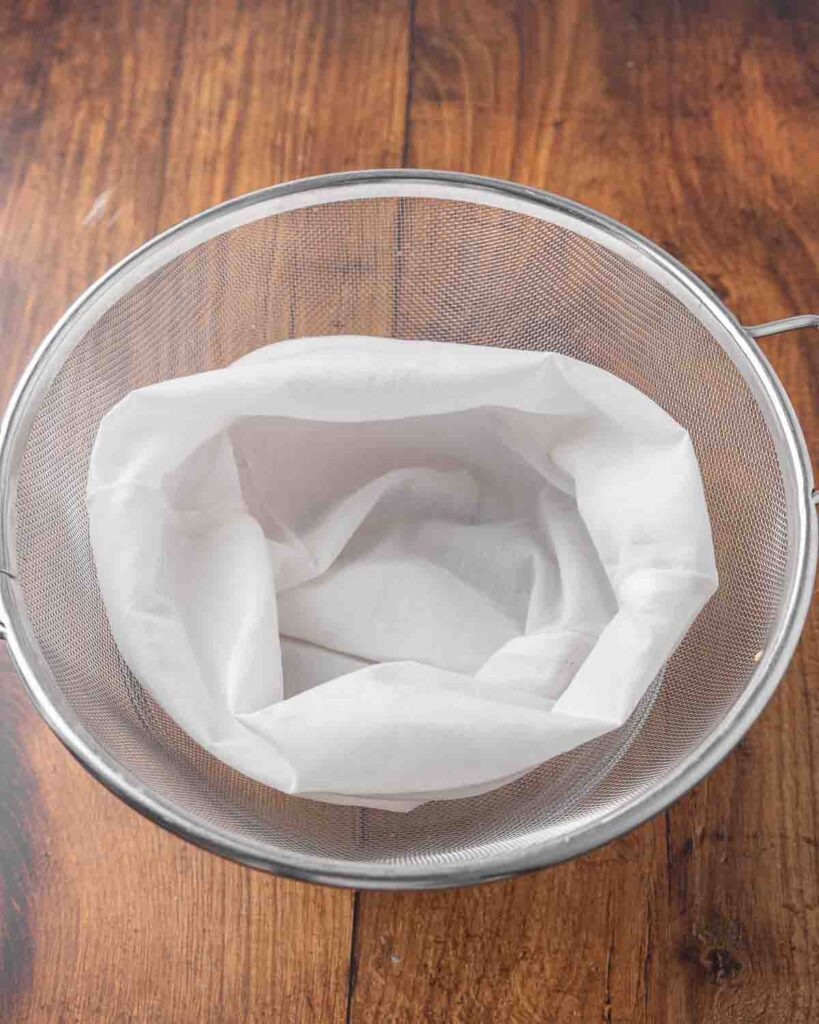
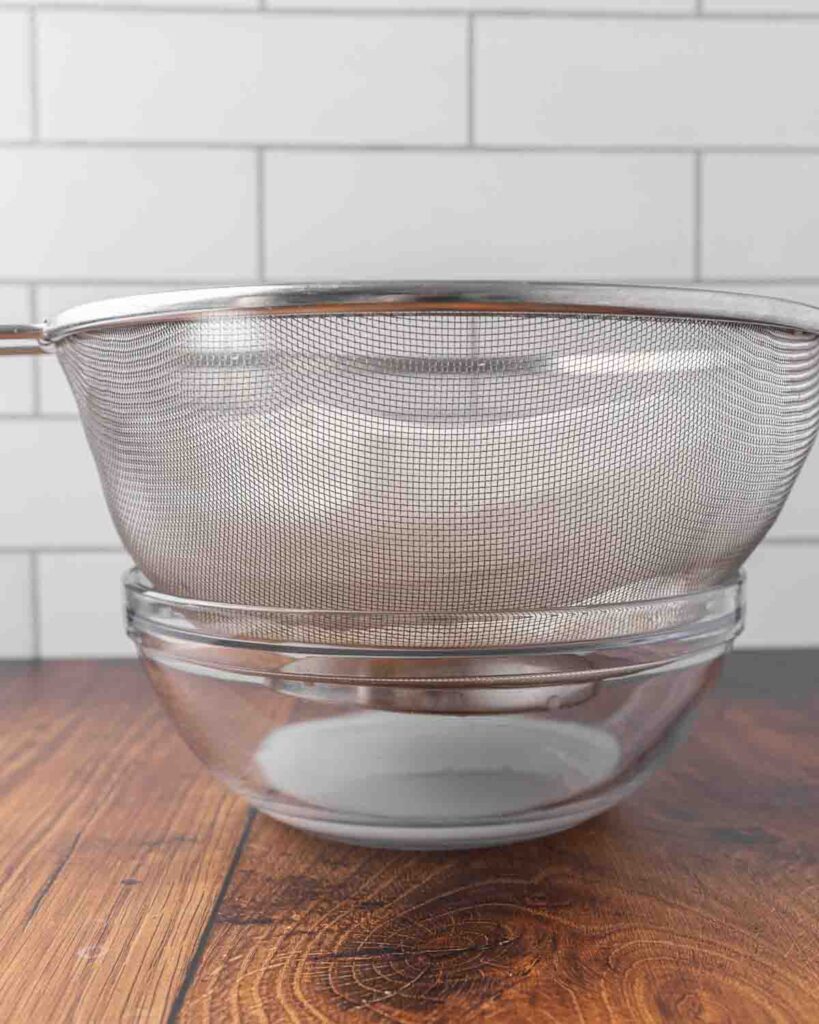
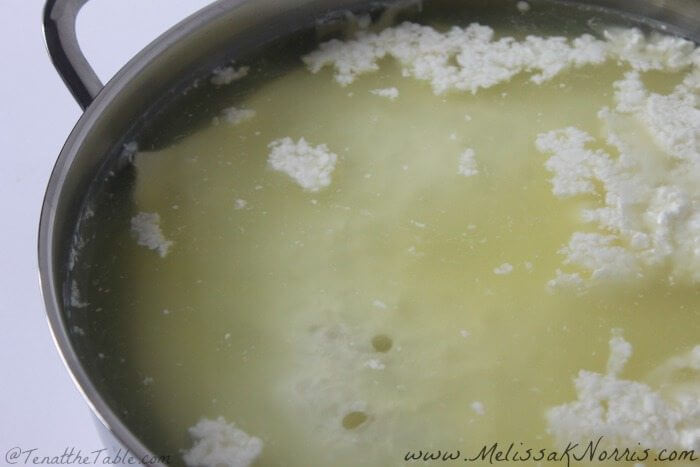
Step 6: Once set, line a strainer with cheesecloth or a clean flour sack towel and place it over a bowl.
Step 7: Pour the yogurt in and allow it to strain in the refrigerator for 2 to 4 hours, or until it reaches your desired thickness.
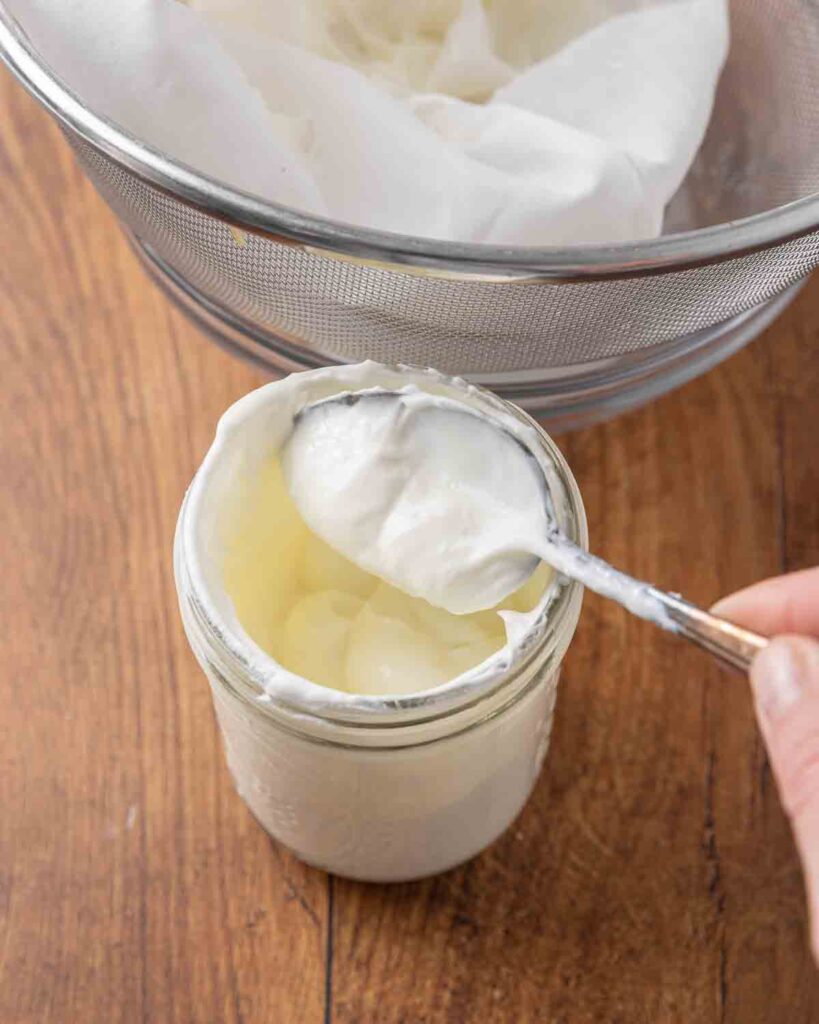
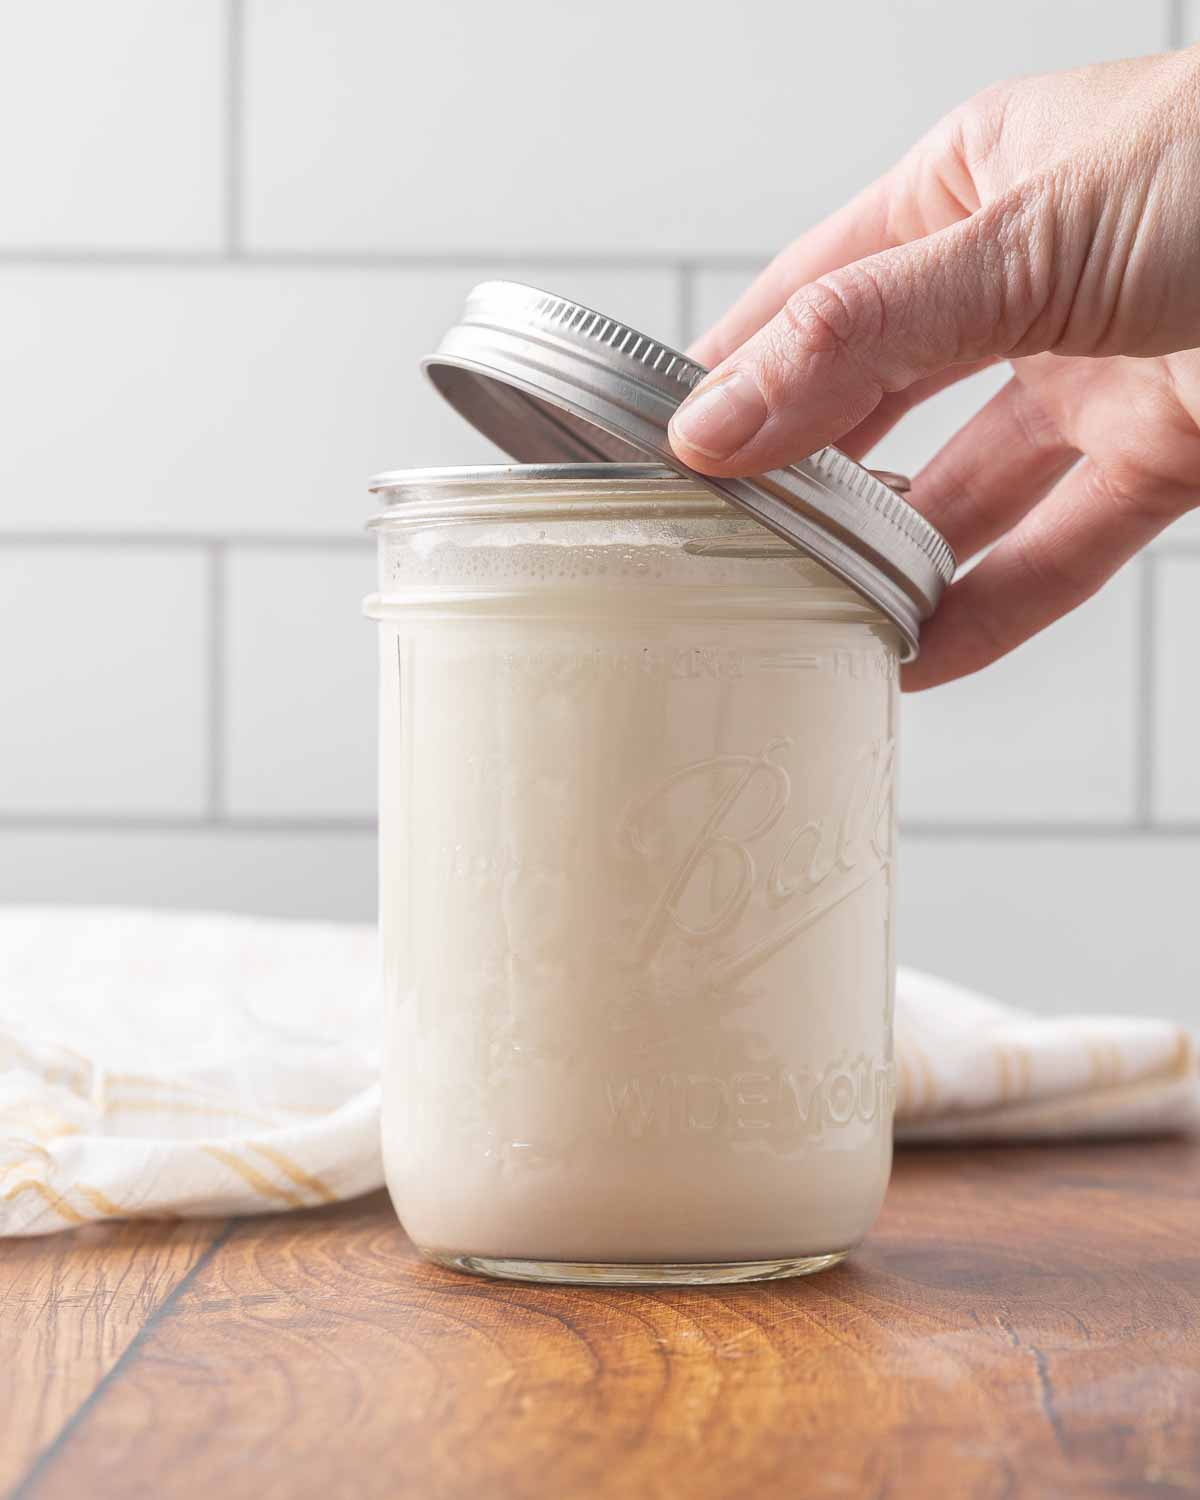
Step 8: Transfer the thickened Greek yogurt into a clean container and refrigerate.
Alternative Culturing Methods
There are a few ways to culture your yogurt. Pick the option that works best for you, or what you have available:
- Yogurt Maker - A yogurt maker provides a consistent culturing temperature. The downside is that they don’t do anything else. So, unless you have a lot of space in your kitchen, this isn’t ideal.
- Instant Pot - Many Instant Pots come with a yogurt setting, making them a double-duty appliance. However, I don’t like to tie my Instant Pot up for 4-6 hours at a time, so this option doesn’t work well for me.
- Towels & Ice Chest - I haven’t personally tried it, but many people use the towel-and-ice-chest method. Simply wrap your jars in large towels, then place them into an ice chest and close the lid. Some people even add jars filled with boiling water to the ice chest to maintain more heat.
- Crockpot - In the past, I used to fill my crockpot about halfway with hot water, place my jars of yogurt into the crockpot, then turn the knob to “keep warm”. This would work great for me, but you’ll want to test your crockpot settings to make sure it doesn’t heat your milk too much.
- Oven Light - Similar to the microwave method mentioned in the recipe, just wrap the jars in towels and place them in the oven with the light on.
Choose the option that works best for you, or try them all until you find your favorite! I’ve done many of them over the years, and the microwave is just what works best at this time.
Recipe Tips

- Do not overheat or heat your milk too quickly, as this can affect the final texture
- Keep your culturing environment consistently warm for the best results
- The longer you strain, the thicker your Greek yogurt will become
- Don’t throw away the strained liquid! That’s whey, and you can learn all about how to use it in my how to make whey tutorial.
- Always reserve a few tablespoons of yogurt for your next batch
Serving Suggestions
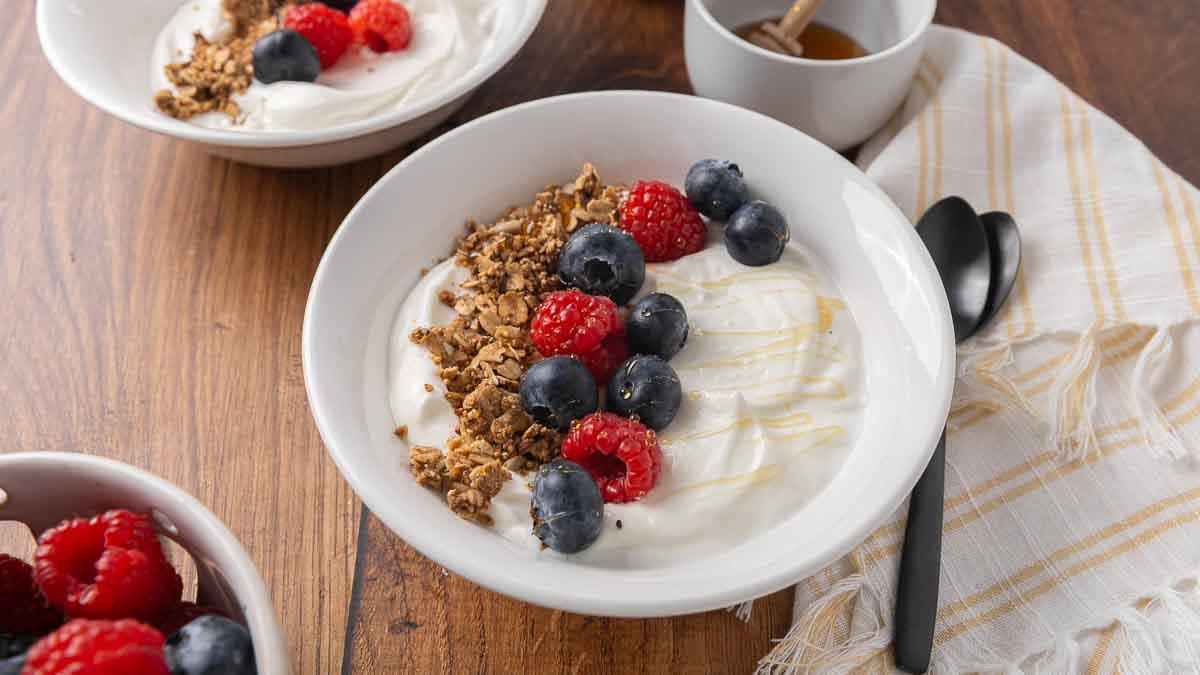
- Top with granola, fresh berries and a drizzle of honey
- Stir into oatmeal or overnight oats
- Use as a base for smoothies
- Substitute for this homemade buttermilk recipe, or swap for sour cream in savory dishes.
- Mix with garlic and herbs for a simple dip
- Spread over warm sourdough bread with a pinch of salt. (I love this easy sourdough boule recipe.)
- Serve as a creamy topping for maple vanilla baked pears or a homemade strawberry shortcake.
Storage Instructions
Store your homemade Greek yogurt in an airtight container in the refrigerator for up to 1 to 2 weeks. For best quality, use within the first week.
Do not freeze, as freezing changes the texture and can make it grainy once thawed.
Fermentation With Confidence
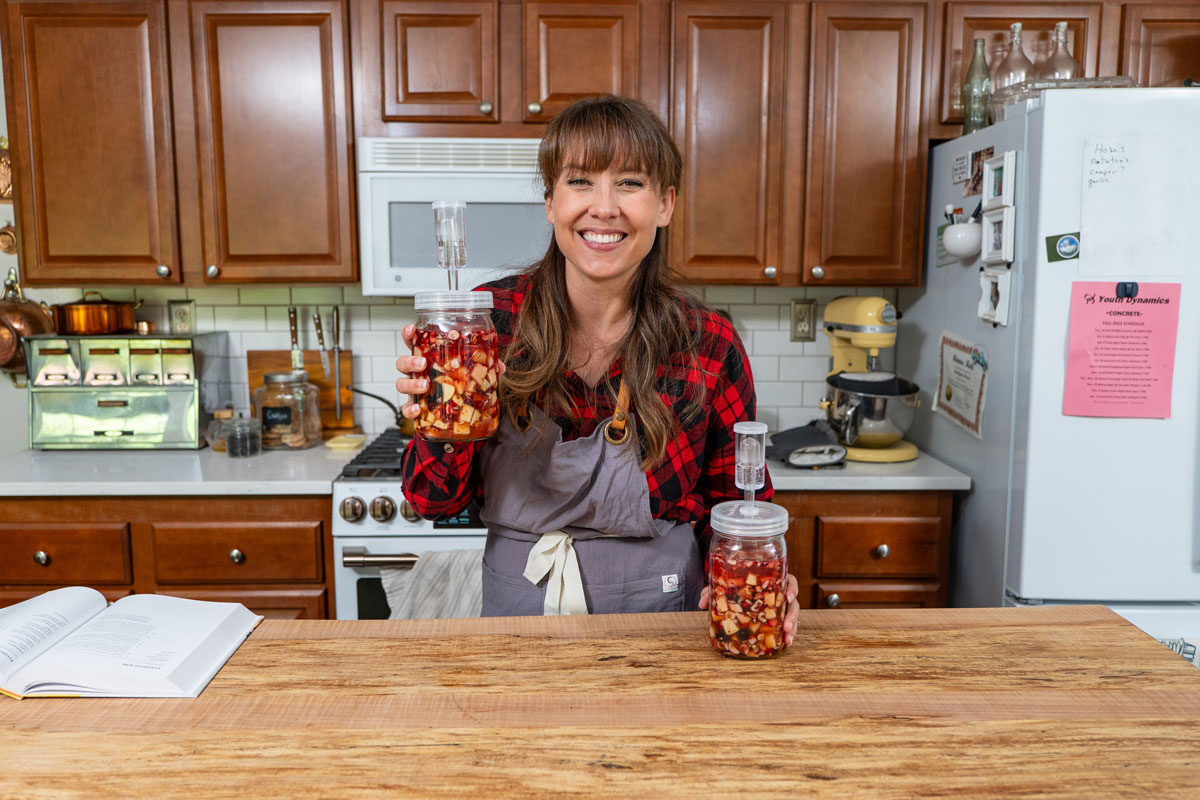
This homemade Greek yogurt recipe is just the beginning of taking the guesswork out of fermentation, helping you create probiotic-rich foods with confidence in your own kitchen.
My Fermenting With Confidence class walks you step by step through the traditional methods of fermenting everything from vegetables to dairy, so you can nourish your family with time-tested, from-scratch foods.
If you’ve ever felt unsure about getting the right results or worried about doing it safely, this class gives you the clarity and confidence you need. Are you ready to start mastering simple, reliable fermentation at home?

Did you make this homemade Greek yogurt recipe? If so, please leave a star ⭐ rating in the recipe card below (this really helps me out)… then, snap a photo and tag me on social media @melissaknorris so I can see! I love getting a glimpse of what you all make in your kitchens.
📖 Recipe
Homemade Greek Yogurt | Easy and Creamy Recipe
Equipment
- Saucepan
- Thermometer
- Quart Mason Jar
- Small Bowl
- Cheesecloth
- Strainer
- Towel
- Culturing Environment Choose one of the culturing methods listed below.
Ingredients
- 4 cups milk
- 1/4 cup yogurt or starter I recommend this yogurt culture.
Instructions
- Heat milk to 175° to 185°F and hold it at that temperature for 15-30 minutes.
- Allow to cool to 110°F and skim off the scalded layer. Pour into a quart-sized clean Mason jar.
- Stir in 1/4 cup yogurt or starter until well combined.
- Put a lid on the jar, wrap the jar in a large towel and place it in the oven with the light on or one of the other culturing methods listed in the notes section below.
- Keep warm at 110°F for 6 to 8 hours or until firm.
- Once set, line a strainer with cheesecloth or a clean flour sack towel and place it over a bowl.
- Pour the yogurt in and allow it to strain in the refrigerator for 2 to 4 hours, or until it reaches your desired thickness.
- Remove 1/4-1/2 cup yogurt and set aside (or freeze) for your next batch of yogurt.
- Transfer the thickened Greek yogurt into a clean container and refrigerate.
- Move yogurt to the fridge and store for up to 14 days.
Notes
- Yogurt Maker - A yogurt maker provides a consistent culturing temperature. The downside is that they don’t do anything else. So, unless you have a lot of space in your kitchen, this isn’t ideal.
- Instant Pot - Many Instant Pots come with a yogurt setting, making them a double-duty appliance. However, I don’t like to tie my Instant Pot up for 4-6 hours at a time, so this option doesn’t work well for me.
- Towels & Ice Chest - I haven’t personally tried it, but many people use the towel-and-ice-chest method. Simply wrap your jars in large towels, then place them into an ice chest and close the lid. Some people even add jars filled with boiling water to the ice chest to maintain more heat.
- Crockpot - In the past, I used to fill my crockpot about halfway with hot water, place my jars of yogurt into the crockpot, then turn the knob to “keep warm”. This would work great for me, but you’ll want to test your crockpot settings to make sure it doesn’t heat your milk too much.
- Oven Light - Similar to the microwave method mentioned in the recipe, just wrap the jars in towels and place them in the oven with the light on.
- Do not overheat or heat your milk too quickly, as this can affect the final texture
- Keep your culturing environment consistently warm for the best results
- The longer you strain, the thicker your Greek yogurt will become
- Don’t throw away the strained liquid! That’s whey, and you can learn all about how to use it in my how to make whey tutorial.
- Always reserve a few tablespoons of yogurt for your next batch
- Top with granola, fresh berries and a drizzle of honey
- Stir into oatmeal or overnight oats
- Use as a base for smoothies
- Substitute for this homemade buttermilk recipe, or swap for sour cream in savory dishes.
- Mix with garlic and herbs for a simple dip
- Spread over warm sourdough bread with a pinch of salt. (I love this easy sourdough boule recipe.)
- Serve as a creamy topping for maple vanilla baked pears or a homemade strawberry shortcake.


Kelsey
I have spent tons of money on Greek yogurt with no clue how easy it is to make myself! This recipe turned out great!