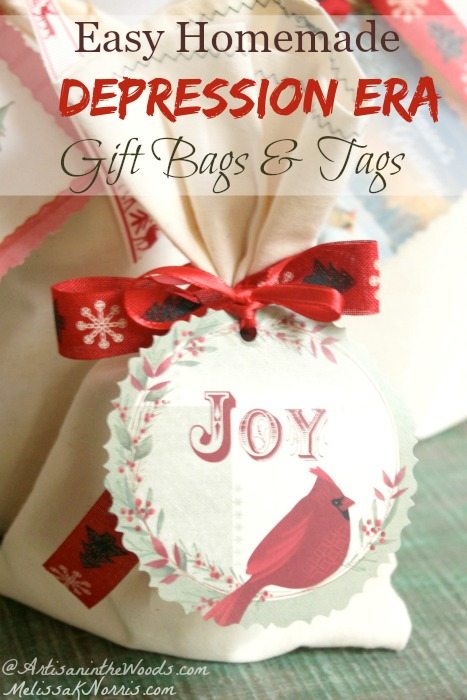
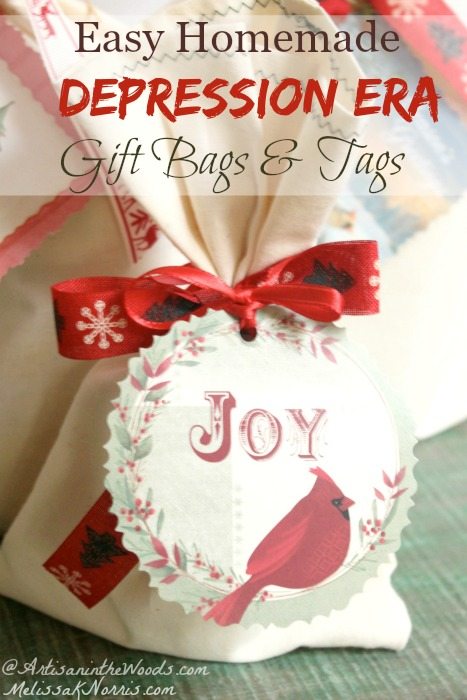
You know all those Christmas cards you get and after Christmas is over you throw them out, anyone else feel a little bit guilty about that? You’ll be asking your neighbor for their cards after today’s post! I’ve been staring adoringly at these pictures for a month now. Ever since Andrea sent them to me I’ve decided they’re the prettiest gift bags and tags I’ve seen. What makes them even more special is they’re homemade and I love her story behind them.
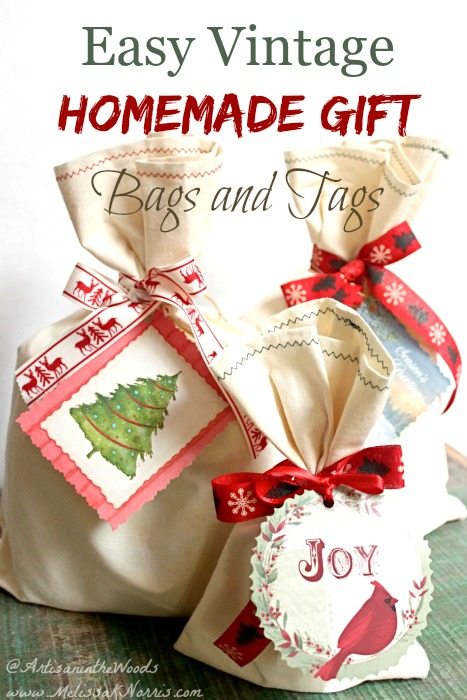
I think the story of how her family has made gift tags from their Christmas cards since the Great Depression is a beautiful testament to re-using what we have and as a family tradition. You guys know my love of Great Depression Era tips. These bags are cute enough to hide things on the shelves and leave out all year long. Here is Andrea’s homemade gift bags and tags tutorial!
If you missed any of the previous fun posts in our Homemade Christmas Series go here to get caught up and be sure to sign up to get the rest of the tutorials and early bird supply lists delivered straight to your inbox once a week.
Easy Handmade Gift Bags and Tags
Fabric gift bags are a simple, frugal, quick, and stylish way to wrap up your handmade gifts.
An experienced seamstress can whip up several of these in an hour, and even a beginner will find them a simple and satisfying project.
With two layers of fabric they are sturdy and durable for use year after year. I have made mine with muslin for rustic country charm, but they would be equally as beautiful in patterned Christmas cottons, velvet, satin, or even burlap.
Table of Contents[Hide][Show]
Fabric Gift Bag Tutorial
This tutorial makes a bag approximately 11″ x 15″. This is the perfect size for holding two large mason jars or other medium-sized gift. It is easy to make a smaller or larger gift bag simply by increasing or decreasing the size of fabric before you begin.

Supplies:
- one 32″ x 24″ piece of muslin or other fabric
- 30″ piece of grosgrain ribbon (satin ribbons can be used but tend to deteriorate with repeated use and may need replacing.)
- a sewing machine and coordinating thread
Subscribe to Melissa K. Norris!
Get updates on the latest posts and more from Melissa K. Norris straight to your inbox.
We use your personal data for interest-based advertising, as outlined in our Privacy Notice.
Method:
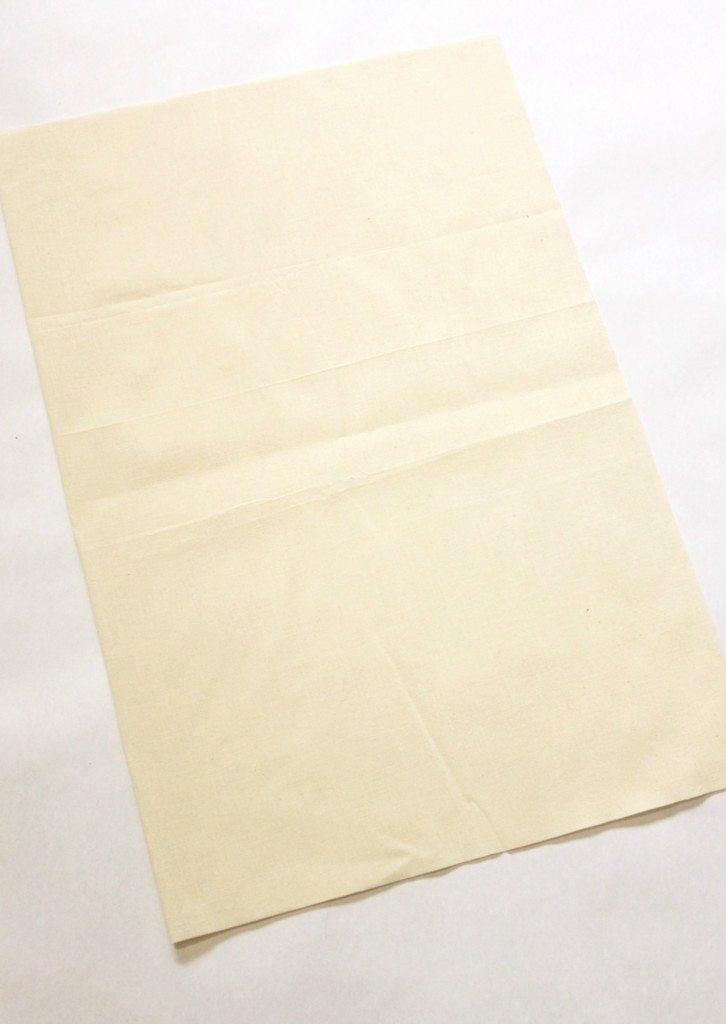
- Fold your piece of fabric in half widthwise, to create a 16 x 24″ rectangle. If your fabric has a right side and a wrong side you will want to fold it so the right side is facing out.
- Fold the fabric again widthwise, to create the basic shape for the bag. Match the raw edges along the side and bottom and pin. The two folded edges will be the top of your bag, and the single fold one of the sides.
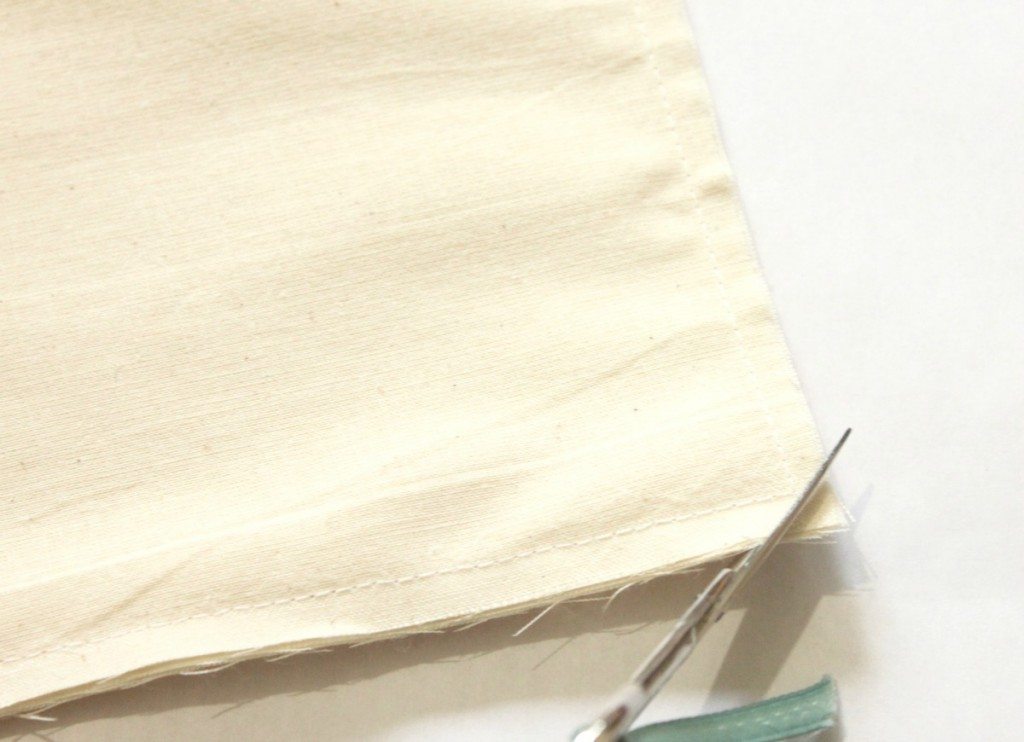
- Sew along the pinned edges with a ¼” seam allowance. Trim the corner.
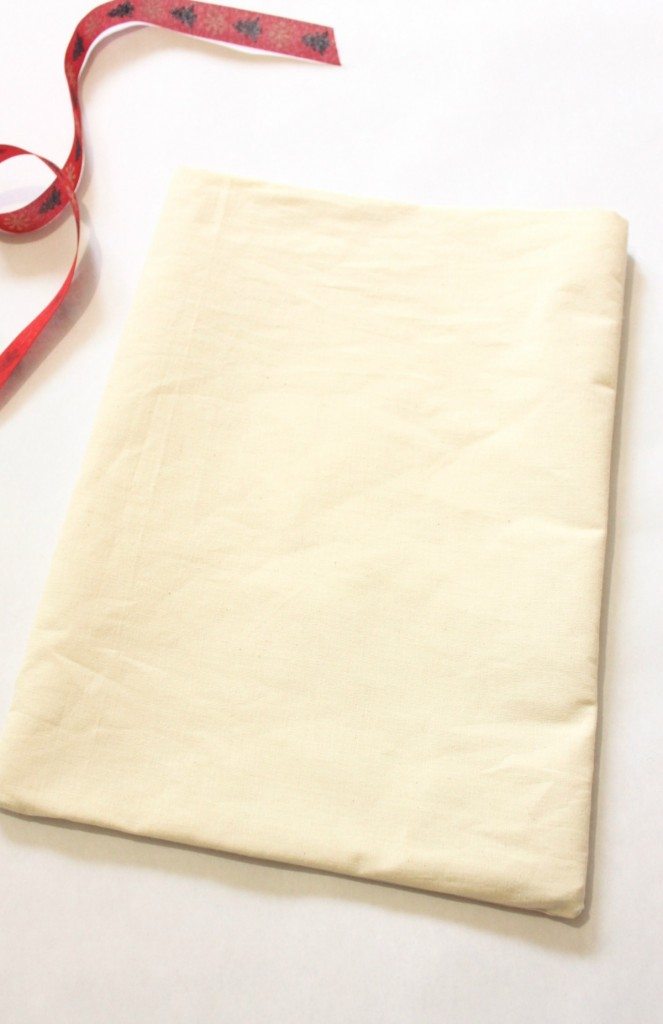
- Turn the bag inside out and press. Sew the side and bottom seams again, this time with a ½” seam allowance. This will completely encase all of the raw edges, creating a french seam.
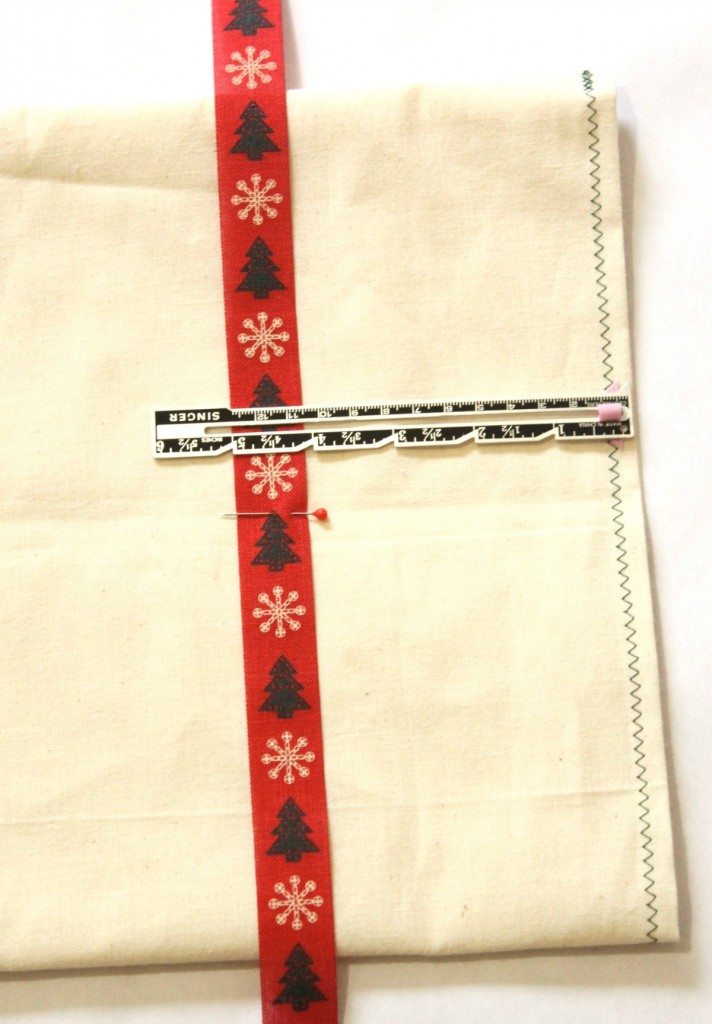
- Turn the bag right side out. Find the center of the ribbon and mark with a pin. Find the center of the bag and pin the ribbon so that the middle of the ribbon is 4.5″ down from the top of the bag. Sew back and forth along the center line to secure the ribbon to the bag.
- Switch to a contrasting thread. (I like red or green for Christmas bags.) Set your sewing machine to a zigzag stitch and stitch around the top of the bag, making sure that your side seam lays flat as you sew over it.
- Place your gift in the bag and tie your ribbon in a bow!
I like to pair my bags with handmade gift tags. Having grandparents who grew up in the Depression years brought a strong “waste not, want not” attitude to our family celebrations. Each year my family would carefully save all of the Christmas cards we had been sent, as well as the ribbons and bows when unwrapping gifts, and then use them the following year to make our gift tags. This can be a fun family project, as well as a pretty way to decorate gifts!
Recycled Great Depression Era Christmas Card Gift Tags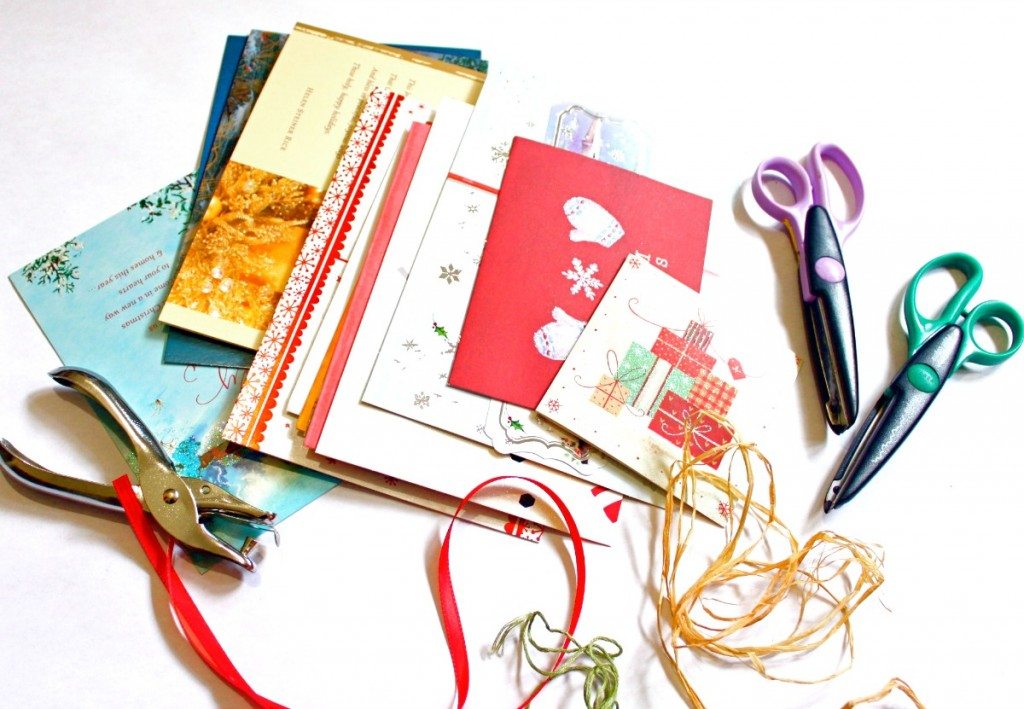
Materials:
- An assortment of Christmas cards
- An assortment of ribbons/string/yarn/etc.
- A whole punch
- Scissors (decorative scissors work nicely if you have them)
Method:
- Choose cards with motifs that would make nice Christmas tags. I look for things like trees, animals, words, and anything else that would look nice trimmed into a circle, oval, or square.
- Use the scissors to cut the motif in the desired shape.
- Punch a hole in the corner or top of the tag.
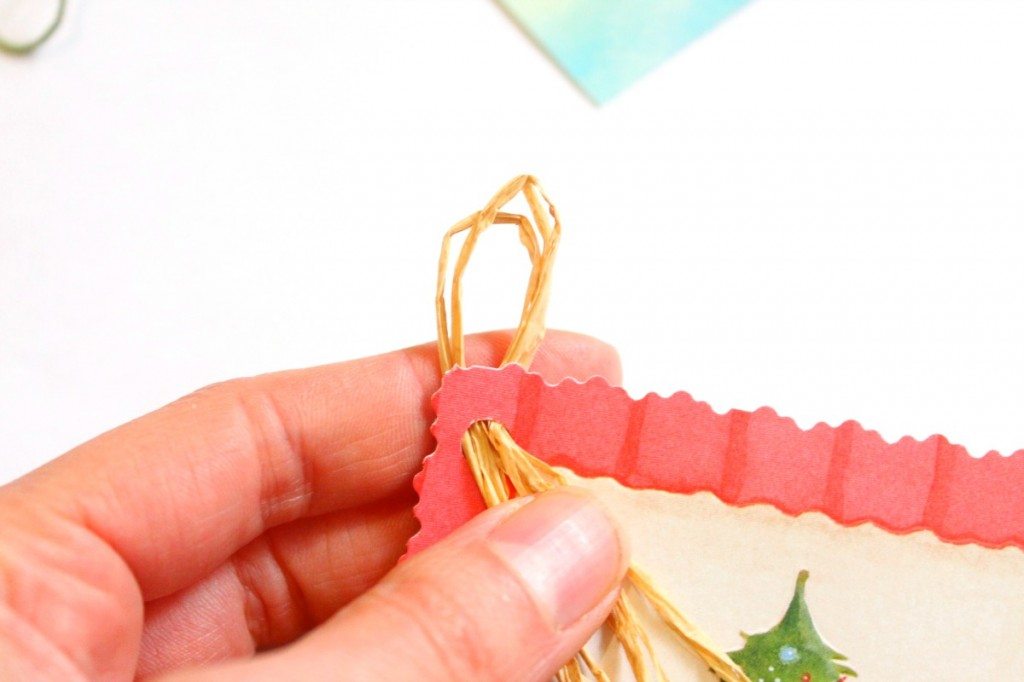
- Fold the ribbon or string in half. Holding the ribbon close the centre, push the folded edge through the hole, creating a loop.
- Pass the ends of the ribbon through the loop and pull until secure.
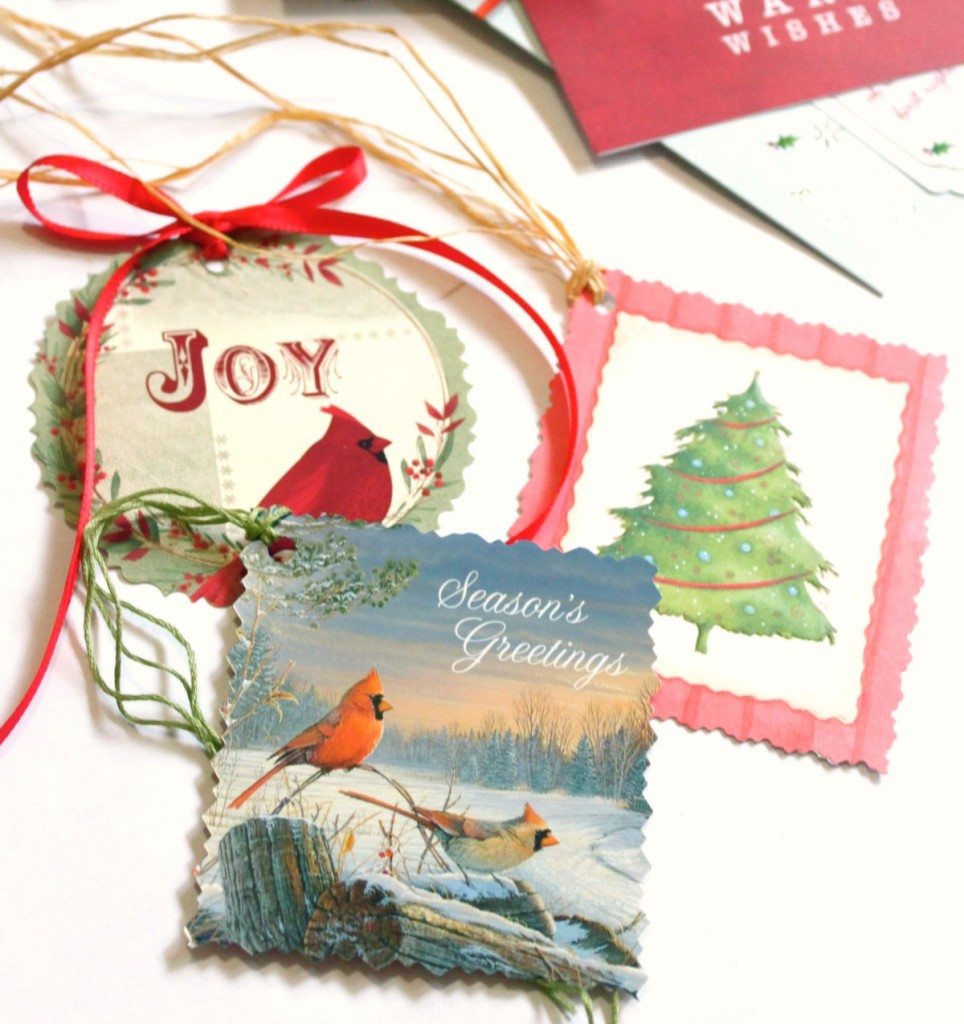
- Your tag is complete and ready to be tied on to your gift! Use pretty pens or markers to address the tag to the recipient.
More Posts You May Enjoy
- Homesteader’s Gift Guide
- 10 Things Our Grandparents Reused During the Great Depression
- 17 Self-Sufficiency Tips from the 1940’s & Great Depression Live Interview
- Time & Budget Saving Tips from the Great Depression & this Homesteader’s Kitchen
- 5 Life Lessons from the Great-Depression
- Great Depression Era Money Saving Tips w/ Potatoes
- 7 Depression Era Tips to Stretch Your Food Budget
- 8 Depression Era Tips to Save Money Now
- Building a Great Depression Era Pantry
- Surviving Winter Without Power & Great Depression Christmas Traditions








Hi Melissa,
I enjoy your blog articles. Just wanted to point out, though, that on this page, (and perhaps others) the two bios say different things about where you live. The top one says you live in Eastern Canada, and the lower one says you live in the North Cascade Mountains. Though I could be mistaken, as far as I know, the Cascades are in British Columbia, which is in the west.
=)
The Cascades go from Canada all the way to Northern California. But the article was a guest post by Andrea so the bio by her photo does say Eastern Canada because she lives there, the website is mine, so by my bio you see I live in Washington state in the foothills of the Cascades.
[…] wrapping the gifts. You can make super easy fabric gift bags which can be used year after year and homemade gift tags. I love this ideas of using old holiday cards to make small gift […]
This tutorial for the bags needs a video for us written instructioned, crafting challenged need visuals people. 🙂
Deborah,
I’m working on doing more videos!
I love the idea of the gift bags and tags. I need to get started right away.
Darlene,
Me, too! I’ve got some fun ideas coming up with some burlap, too!
For the past two decades, my mom and I have been ‘recycling’ used gift wrap and bows. We are careful about opening packages, and have a paper bag for the used gift wrap and another for used bows, and another for trash. At the end of the night, we portion out all of the used wrap and each one gets their share. Others have looked at us like we are trying to re-use toilet paper or something, but we don’t care. I haven’t purchased bows in over 12 years, and only bought paper on sale last year, after going for about 6 years with not buying any!
I only recently thought about fabric bags, and am eager to begin making bags out of the 5 Christmas pattern fabric I just purchased!
I also have saved the front of Christmas cards, and have actually used some as gift tags, but now, I think I’ll really start using them seriously. I have made gift tags out of rubber stamps, and made them on my computer using photos I’ve taken or free images, but I like this idea better.
Carol,
I haven’t purchased gift bags in years, but I hope to save more of the wrapping this year. I’m in love with the gift tag idea!
I love these gift tags – what a clever idea. I tend to just throw away my cards after each year so we are not overwhelmed with clutter. Will save this years in order to do this next year…:)
Aren’t they fun! I’m excited to do some as well.