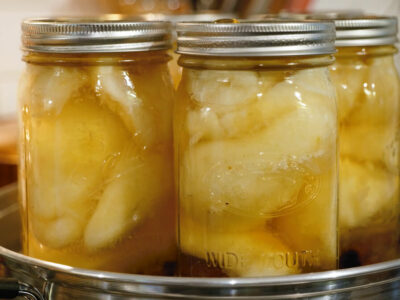
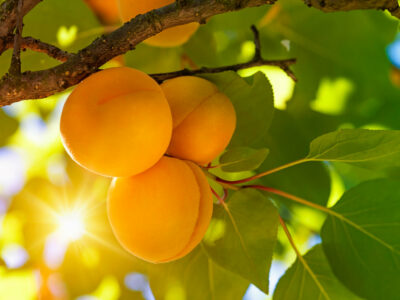
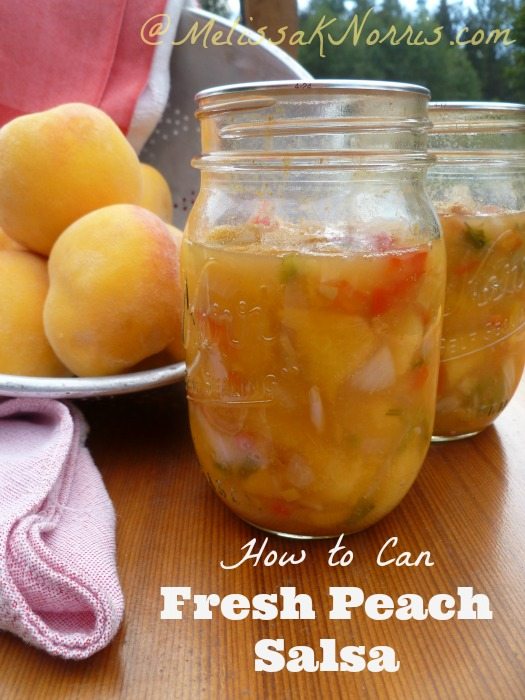
How to Can Apricots- Easy Canned Apricots Recipe Read moreHow to Can Apricots- Easy Canned Apricots Recipe
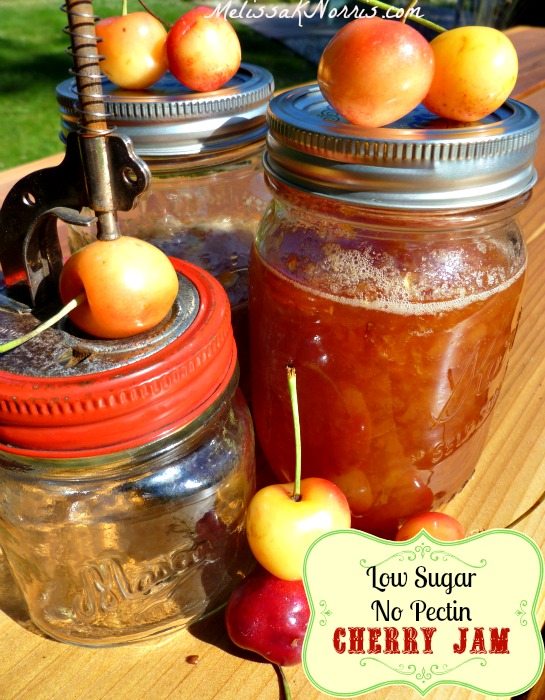
Cherry Jam Recipe Without Pectin and Low Sugar Read moreCherry Jam Recipe Without Pectin and Low Sugar
Pioneering Today-Low Sugar No Pectin Cherry Jam Read morePioneering Today-Low Sugar No Pectin Cherry Jam