Learn how to can chicken with this safe and easy method that requires zero cooking ahead of time. This is a great way to clear your freezers and create a delicious, shelf-stable canned chicken that’s perfect for easy weeknight dinners.
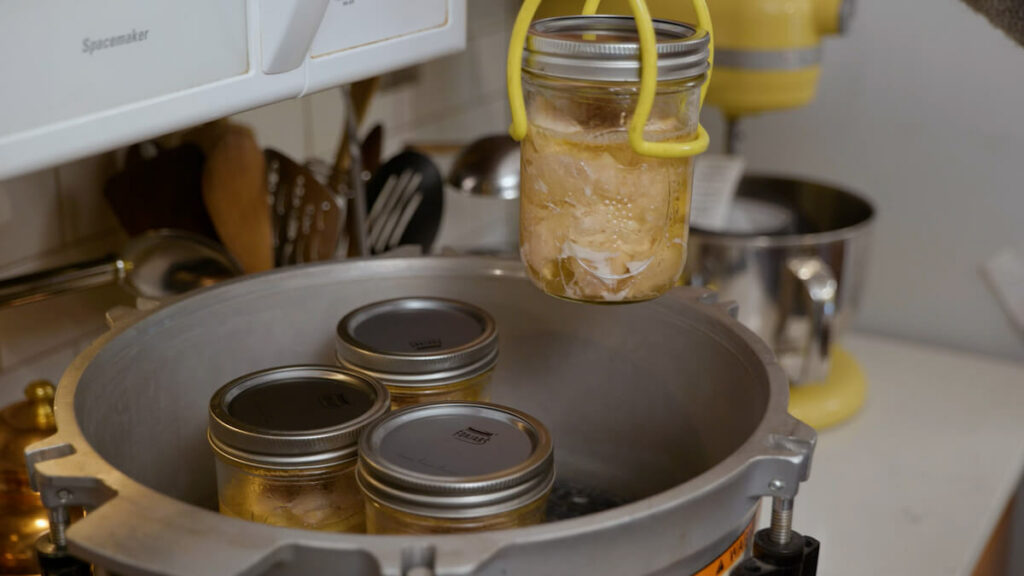
Table of Contents[Hide][Show]
- Why I Love Canned Chicken
- Azure Standard
- Can You Water Bath Can Chicken?
- Can raw chicken be canned?
- Shelf Life of Canned Chicken
- Bones in or Bones out?
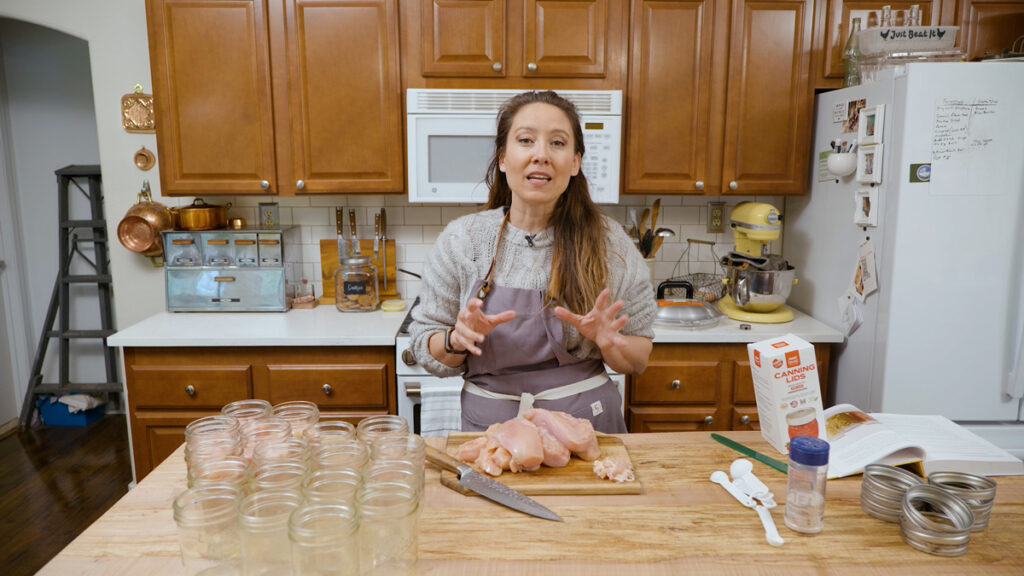
- Supplies Needed
- Ingredients Needed
- How much chicken for a quart jar in canning?
- Step-by-Step Instructions
- Ways to Use Canned Chicken
- Home Canning with Confidence Course
- How to Pressure Can Chicken (Raw Pack Method)
🍞 Struggling With Sourdough?
If your starter won’t take off, your loaves are dense and hard, or sourdough just flat-out overwhelms you…
👉 I’ll show you how to fix all of it.
Join my FREE workshop and learn how to make a bubbly, active starter—the right way, from Day One.
Why I Love Canned Chicken
Having home-canned jars of chicken sitting on my pantry shelf is one of my favorite things. It means:
- I don’t need to remember to thaw meat out for dinner.
- There’s no need to rely on the freezer to keep food safe, especially in a power outage (with no need to have a generator for backup).
- Canning is a great way to clear up freezer space and make shelf-stable pantry items.
- And dinner can be whipped up with just a few minutes of hands-on time (my favorite reason for having ready-to-eat canned food on the shelf).
- Extremely tender and excellent flavor right out of the jar!
Also, if you’ve ever tasted canned chicken in a metal can and thought it tasted a bit metallic, you won’t get that taste when making this home-canned recipe.
Azure Standard
We usually raise our own chickens (learn how to raise meat for a whole year here), but I actually just went and looked and realized we’re down to five birds left in the freezer.
Because we aren’t getting our meat chickens until this summer, that meant we were going to be out of chicken before our birds are ready for processing.
Thankfully, I have a backup which is Azure Standard. Normally, I would order meat in bulk and toss it in the freezer, but our freezers are currently full of meat (a great problem to have, I know).
So I figured, what a great time to top off my canned chicken supply? If you’ve never checked out Azure Standard, be sure to take a look! They have incredible bulk buys on so many organic staples. They’re definitely my go-to for stocking up my pantry, and they just so happen to have a deal for first-time customers. Use code “Pioneering10” to get 10% off your first order of $50 or more.
Subscribe to Melissa K. Norris!
Get updates on the latest posts and more from Melissa K. Norris straight to your inbox.
We use your personal data for interest-based advertising, as outlined in our Privacy Notice.
Can You Water Bath Can Chicken?
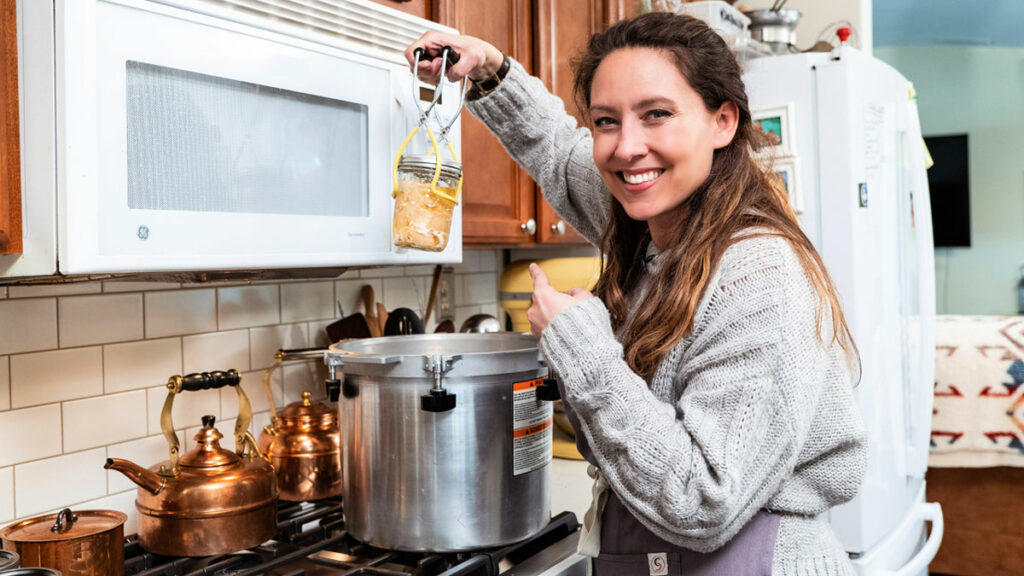
No, you cannot water bath can chicken. Chicken must be pressure canned in order to be canned safely because it’s a non-acidic food.
Can raw chicken be canned?
Yes, canning raw chicken (as long as it’s not ground) is called raw pack and my favorite method.
How Long Do You Need to Pressure Can Chicken?
The time for pressure canning chicken will vary depending on the size of jars you use and if you’re doing bone-in, surprisingly, bone-in is a shorter processing time than boneless.
One thing to keep in mind with canned chicken is that the pressure must remain at or above the proper amount for the entire processing time. If, at any point, the pressure drops below the ideal pressure, you must start the entire canning time over again.
Canning Times for Boneless Chicken Pints vs Quarts
- Pint Jars: Pressure can pint jars for 75 minutes.
- Quart Jars: Pressure can quart jars for 90 minutes.
Pro Tip: If you’re canning both pint and quart jars together, can them for the longest time, which in this case would be 90 minutes.
Shelf Life of Canned Chicken
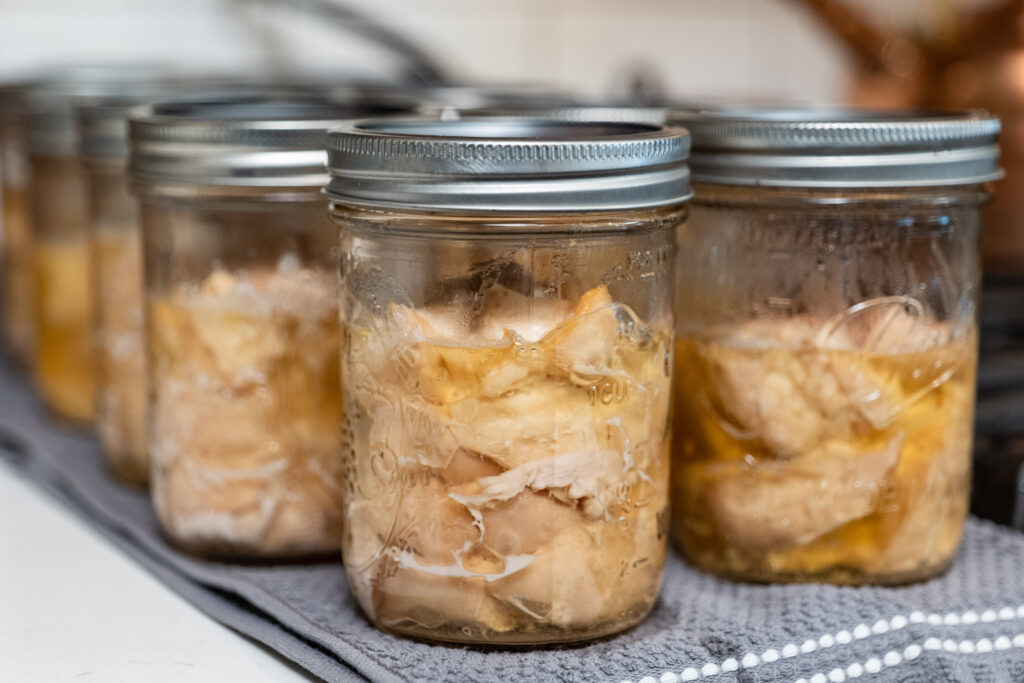
Canned chicken will last on the shelf for 2-5 years. However, for the best flavor and nutritional profile, it’s best to consume within one year.
Store canned chicken in a cool area out of direct sunlight (ideally 75°F or lower), or in a basement or root cellar.
I like to can my chicken in smaller batches 19-pint jars or less, so I’m only filling one full canner. This makes the task much less daunting and I find I enjoy it much more.
11-14 pint jars of chicken will usually last my family a few months.
Raw Pack vs. Hot Pack
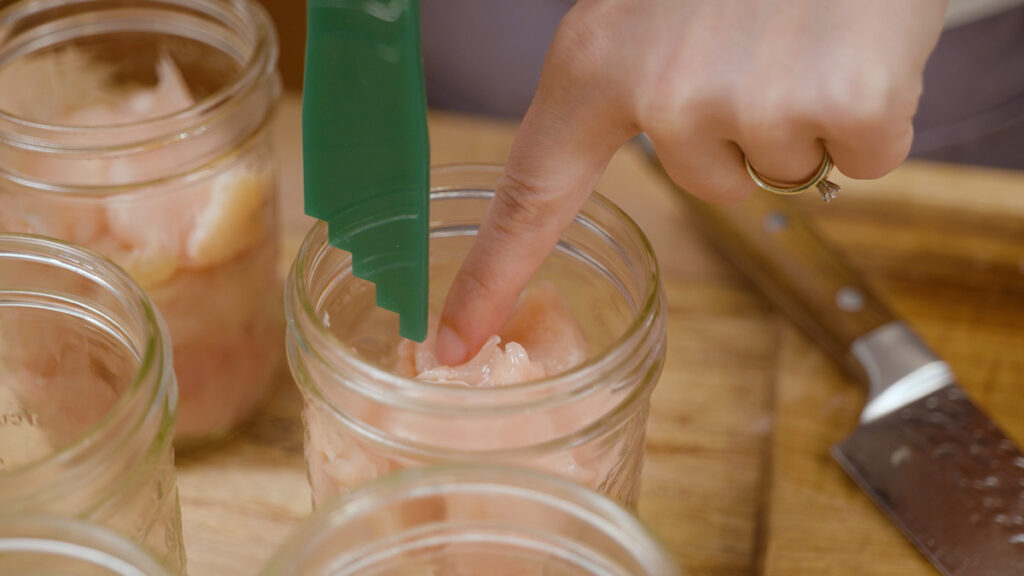
Raw packing chicken means you’re putting uncooked chicken into your Mason jars, and it will fully cook during the processing time.
The hot pack method means you’re cooking the chicken until it’s about ⅔ of the way cooked, then cover it with hot broth or water to finish the cooking process in the pressure canner.
Both raw pack and hot pack methods are safe when canning cubed chicken, however, if I’m being honest, I want as little hands-on work as possible when canning, which is why I love this raw pack method.
Meat That Must Be Hot-Packed
There are, however, some meats that must be hot packed, and that’s any ground meat (including ground chicken). The reason for this is that any ground meat will cook down into one solid mass inside the jar during cooking, and it becomes a safety issue to get the inside temperature of that ground meat to the proper temperature.
Not only is it for safety purposes that we hot-pack ground meat, but it turns out much better because it won’t end up as a solid mass (think meatloaf in jar form).
Bones in or Bones out?
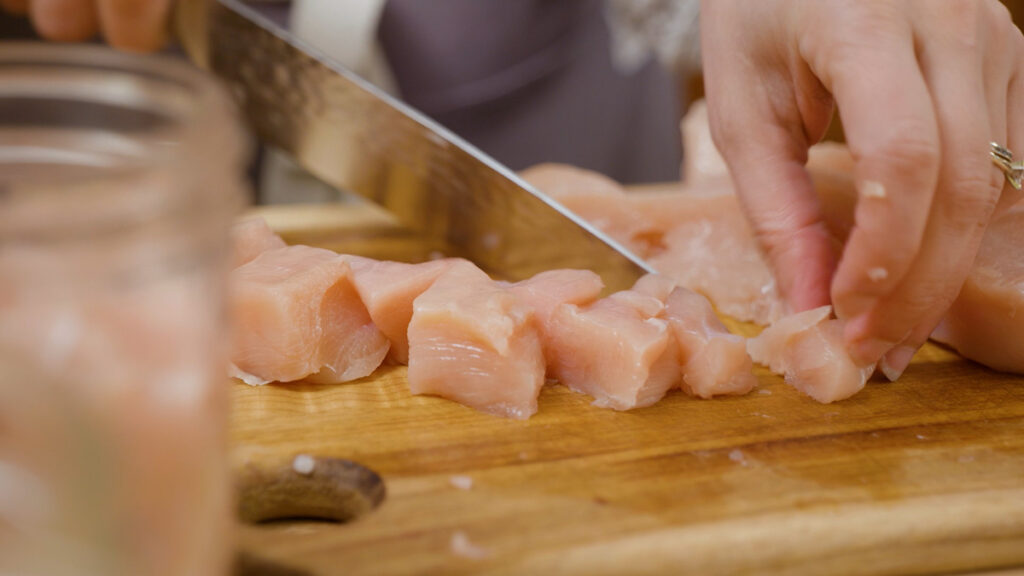
It is perfectly fine to can chicken that has the bone in (or bone out). For me, it becomes a convenience issue. I want a jar of chicken that I can pop open and have ready to eat in a matter of minutes, so I opt for boneless and skinless chicken.
If you are canning chicken with the bone in, you will just adjust the canning times.
Supplies Needed
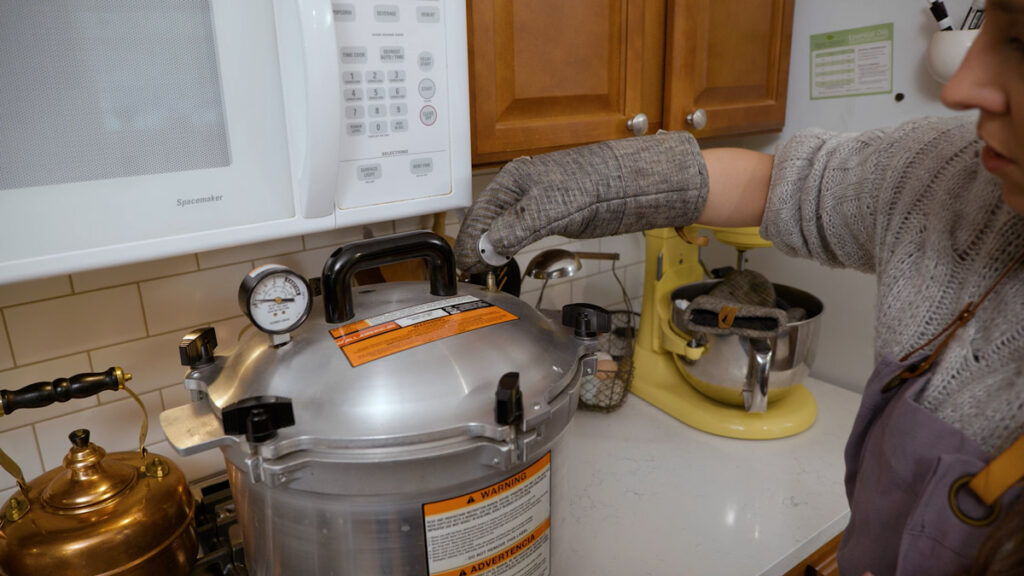
- Pressure Canner – I love my All-American Pressure Canner. Mine comes with a weighted gauge so I never have to worry that my dial gauge is inaccurate.
- Canning Jars & Lids – I prefer to can my chicken in wide-mouth pint jars. This is the perfect amount for a quick chicken salad for lunch or tacos for dinner for our family of four. If you have a larger family, you may want to can it in quart-sized jars. Just keep in mind a pint jar will hold approximately one pound of chicken. A quart-sized jar will hold approximately two pounds of chicken per jar. Also, I love these canning lids from ForJars (get 10% off with coupon code “Modern10” at checkout).
- Canning Tools – Canning tools are so helpful when canning, especially once the jars are hot and you’re trying to get them out of the canner safely without burning yourself. Here’s a great, inexpensive canning tool set.
- A copy of Everything Worth Preserving, the book for all forms of home food preservation, and step-by-step tutorials and recipes, including this recipe.
Ingredients Needed
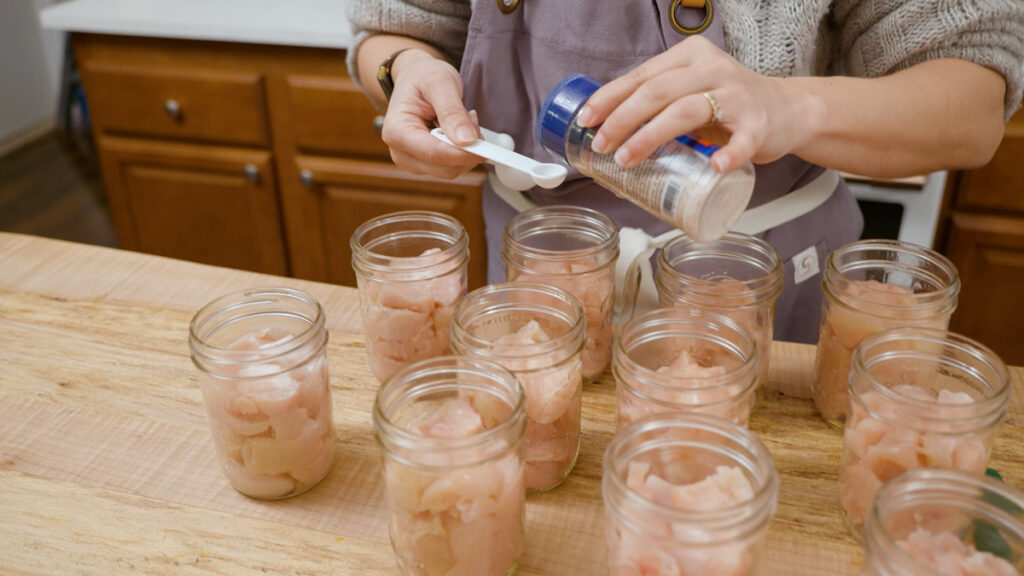
- Chicken – I’m using boneless skinless organic chicken breast (purchased in bulk from Azure Standard – grab my coupon code above). This is purely out of convenience because I prefer my canned chicken to be boneless and skinless. This also saves me the time of having to debone and skin the chicken myself. However, you can break down a whole chicken and can up a mixture of breast, thigh and leg meat.
- Salt (optional) – Adding salt to your jars is optional. I like to add just enough salt to bring out the flavor of the chicken and flavor the broth that will be made during the canning process. I use ½ teaspoon salt per pint jar. If you’re canning in quart-sized jars, add 1 teaspoon of salt per jar. My go-to salt is always Redmond Real Salt (get 15% off your order with coupon code “Pioneering” at checkout).
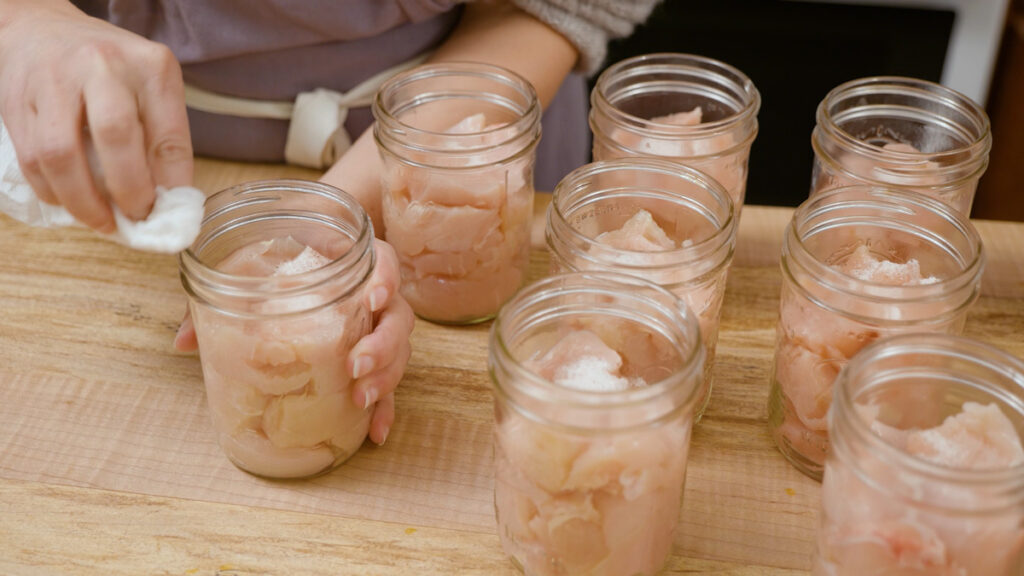
- Vinegar – This ingredient isn’t for cooking with. Rather, it’s for wiping the rims of the jars prior to adding the canning lid. If there are any bits of chicken fat on the rim it can inhibit a proper seal. So quickly wiping the rims with a paper towel dipped in vinegar will help prevent this from happening.
How much chicken for a quart jar in canning?
On average it’s 2 lbs of chicken per quart jar or 1 lb per pint jar. Remember to pack your jars loosely.

Step-by-Step Instructions
Pro Tip: You want to start with thawed chicken. If you’re using fresh chicken that’s just been harvested, you’ll want to be sure to refrigerate it for up to six hours prior to canning so it has time to rest.
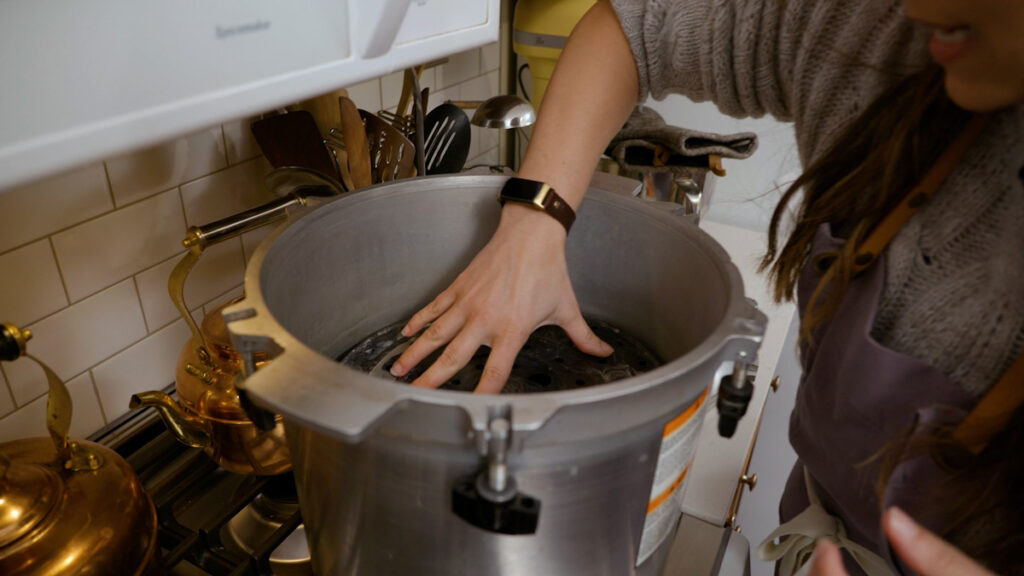
- Prepare your pressure canner by adding about 2-3 inches of water to the bottom. Have a canning rack handy if you need to double-stack your jars. Pro Tip: When raw-packing chicken, you want the temperature of the water in the pressure canner to be the same temperature of the chicken and the jars. There’s no need to heat the water ahead of time. We’re looking for room-temperature water, so I turn the canner on just as I’m adding the lids to the jars. Having the temperatures of the jars and water close prevents the jars from cracking.
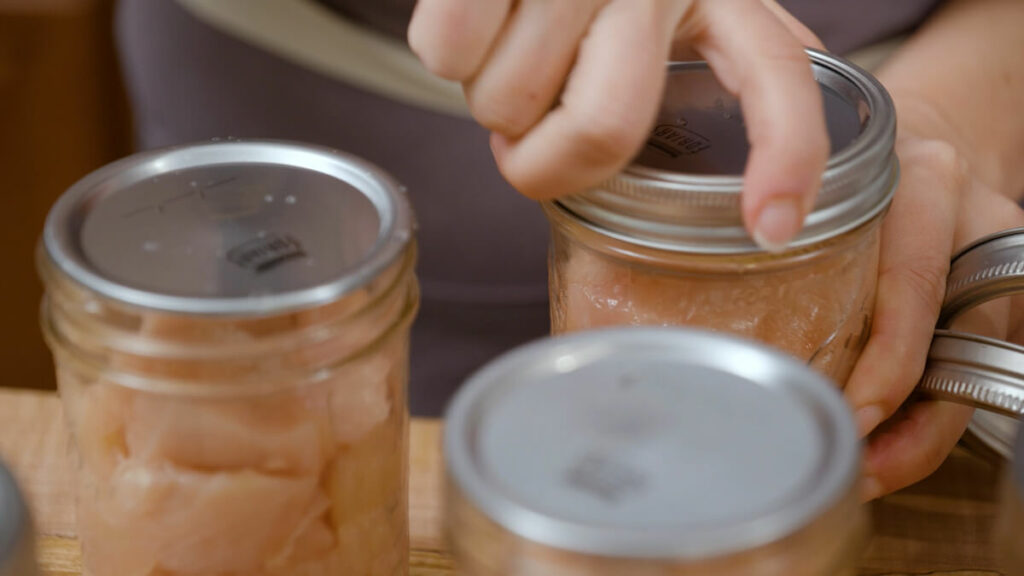
- Have freshly washed, clean canning jars ready. Carefully run your finger around the top of each jar to check for any knicks or chips in the glass. This would also inhibit a proper seal.
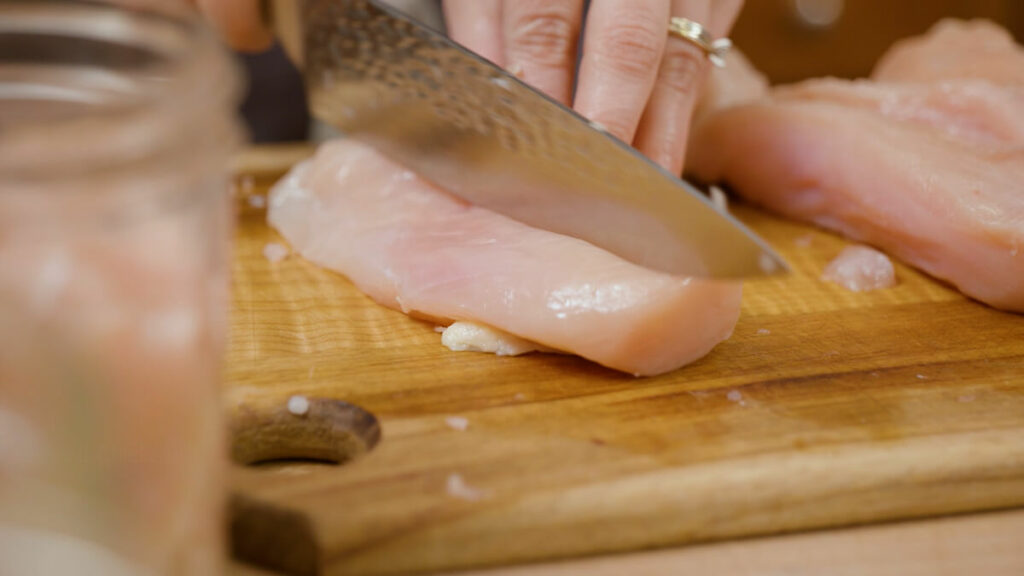
- Cut up chicken into about one-inch cubes, removing any skin or excess fat.
- Fill clean Mason jars with cubed chicken leaving 1 ¼ inch headspace.
- Add optional salt (½ teaspoon for pint jars, 1 teaspoon for quart jars.)
- Dip a paper towel or cloth in some vinegar and wipe around the rim of each jar. This ensures there are no bits of salt or fat that would inhibit a proper seal.
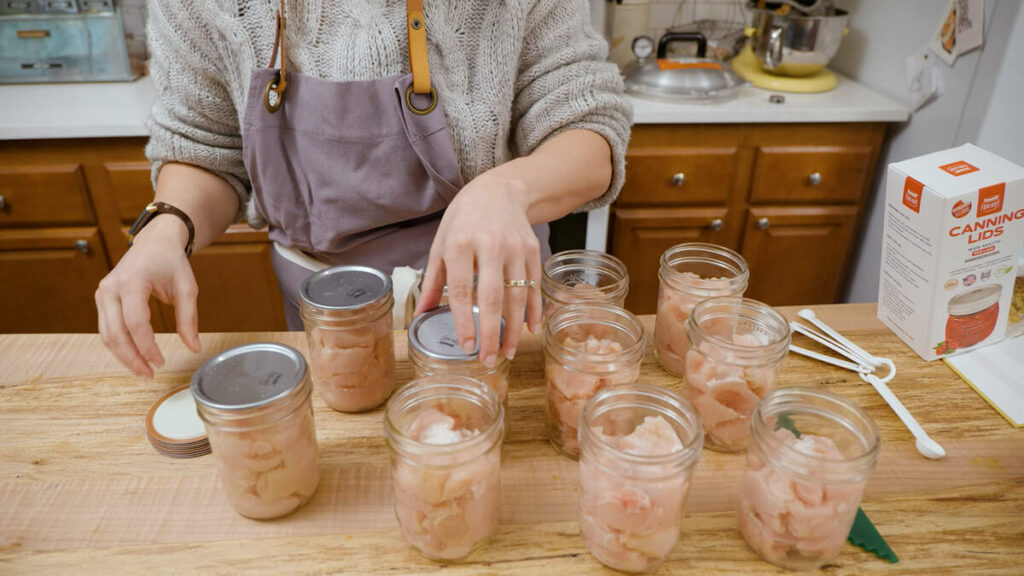
- Center a freshly washed canning lid on the top of each jar.
- Add the canning band to fingertip tight. This means to tighten the band until you feel resistance, then turn ¼ turn more.
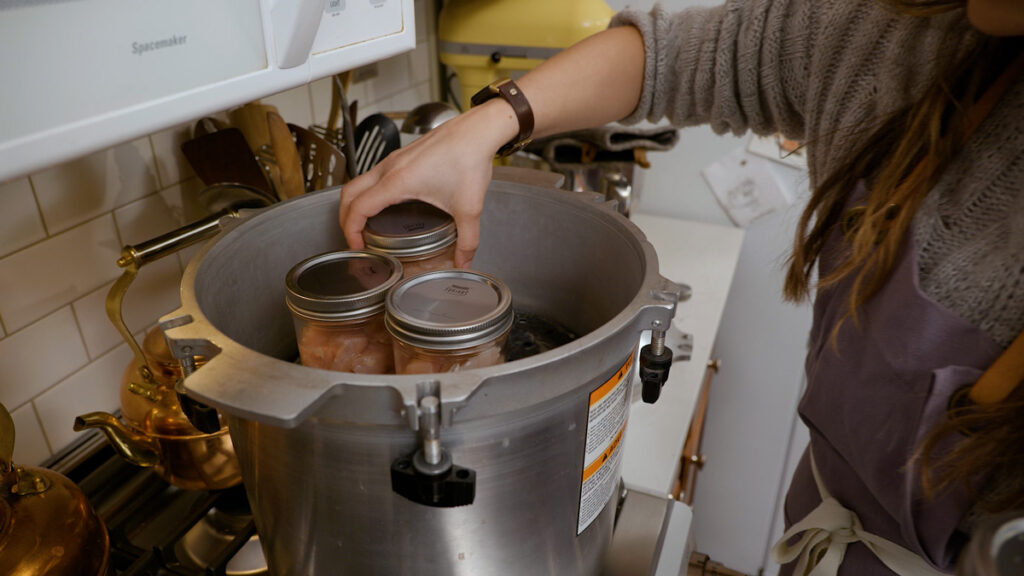
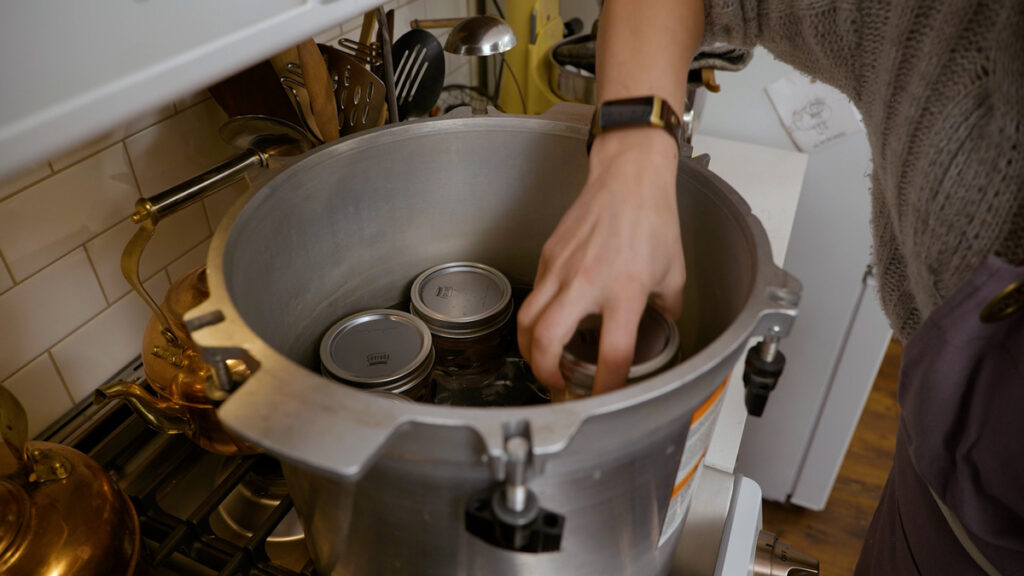
- Place jars into the pressure canner (avoid jars from touching). Make sure the level of the water doesn’t come up over the lids of the jars (remove water, if needed). If you’re double stacking your jars, be sure to add a canning rack between the first and second layer.
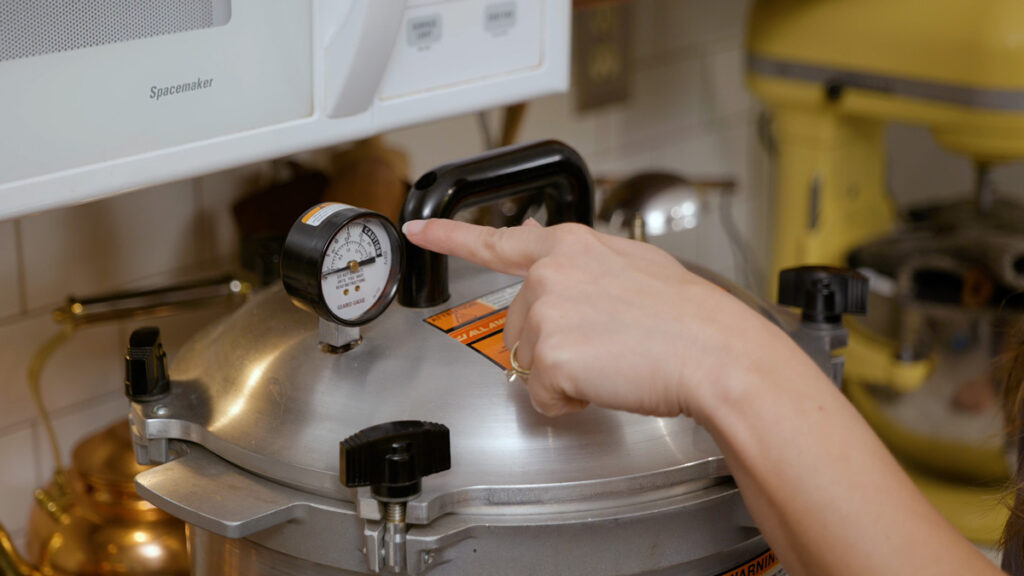
- Add canning lid (follow manufacturer’s instructions).
- Increase heat to bring up the pressure.
- Once the canner has a steady stream of steam coming out of the vent pipe, set the timer for 10 minutes and allow the canner to exhaust.
- After 10 minutes, you can add your weighted gauge or canner regulator and slowly bring the pressure up to the proper amount for your location and canner.
- If using a weighted gauge: Use a 10-pound weighted gauge (if you are between 0-1,000 feet above sea level) or a 15-pound weighted gauge (if you’re 1,001 feet above sea level or higher).
- If using a dial gauge: Bring the pressure up to the correct psi for your elevation (in feet):
- 0-2,000 feet above sea level: 11 psi
- 2,001-4,000 feet above sea level: 12 psi
- 4,001-6,000 feet above sea level: 13 psi
- 6,001 to 8,000 feet above sea level: 14 psi
- Once you reach the correct pressure, start your timer (see proper canning times below).
- Pints: Pressure can pint jars for 75 minutes.
- Quarts: Pressure can quart jars for 90 minutes.
- Once the time has been reached, turn off the heat and allow the pressure canner to come down to zero pressure naturally. This means just turn the heat off and don’t touch anything. This can take a while, so have another project ready to work on while you wait!
- Once the pressure is down to zero, remove the weighted gauge (or canner regulator) and wait another ten minutes to allow any remaining steam to escape.
- Remove the lid and set the timer for another ten minutes.
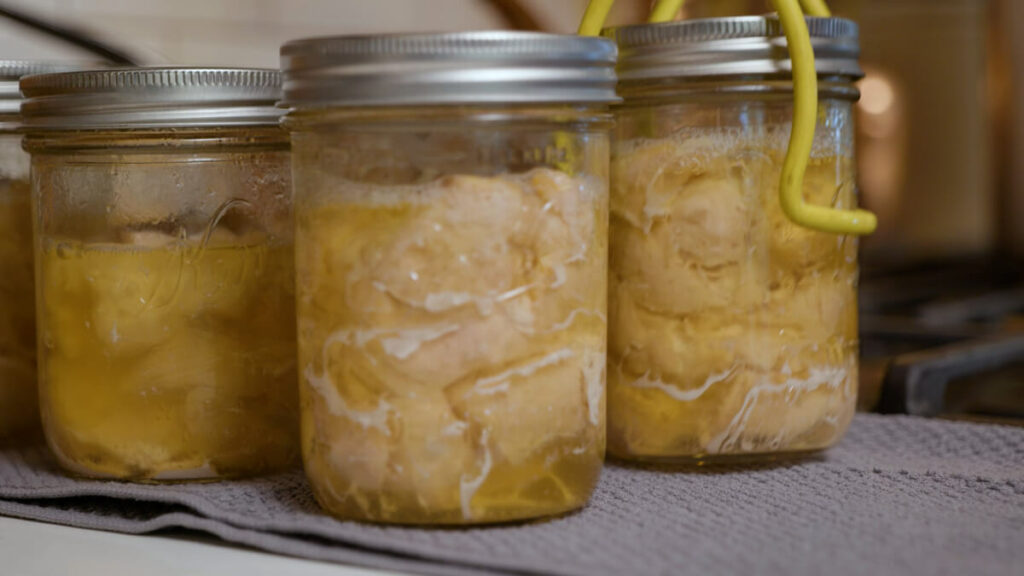
- Line a counter with a double-folded towel and, using your jar lifter tool, transfer the jars to the towel and let them sit, undisturbed, for 24 hours.
- The following day, remove the canning bands, check each lid for a proper seal, and store it on the pantry shelf.



Ways to Use Canned Chicken
There are so many great quick and easy ways to use home-canned chicken.
- Chicken Pot Pie: One of my favorites is to pop open a jar and make homemade chicken pot pie. If you’ve never tried my great-grandma’s flaky pie crust, it’s a must!
- Chicken n’ Gravy: These jars of chicken also make a delicious and quick chicken and gravy. Especially served over my homemade buttermilk biscuits.
- Chicken Noodle Soup: When I need a super fast meal (or when we’re under the weather), I add some home-canned chicken broth, some noodles and a few frozen veggies (or jars of canned vegetables) for a homemade chicken noodle soup!
- Chicken & Broccoli Casserole: This chicken and broccoli casserole recipe is a classic, and if you have pre-cooked chicken, it bakes up with very little hands-on time.
- White Sauce Chicken Pizza: That’s right! You now have chicken ready to top your homemade pizza with no additional cooking!
- Chicken Salad: Open a jar, drain (save that liquid, it’s broth), and add some homemade mayonnaise or homemade yogurt with some garlic dill pickles for a delicious sandwich or eat on top of salad greens.
It feels good knowing exactly what’s in my food, and more importantly, what’s not in my food!
Did you make this recipe? If so, please leave a star rating in the recipe card below! This really helps me out… then snap a photo of your beautiful jars of home-canned chicken and tag me on social media @melissaknorris so I can see and celebrate with you!
Home Canning with Confidence Course
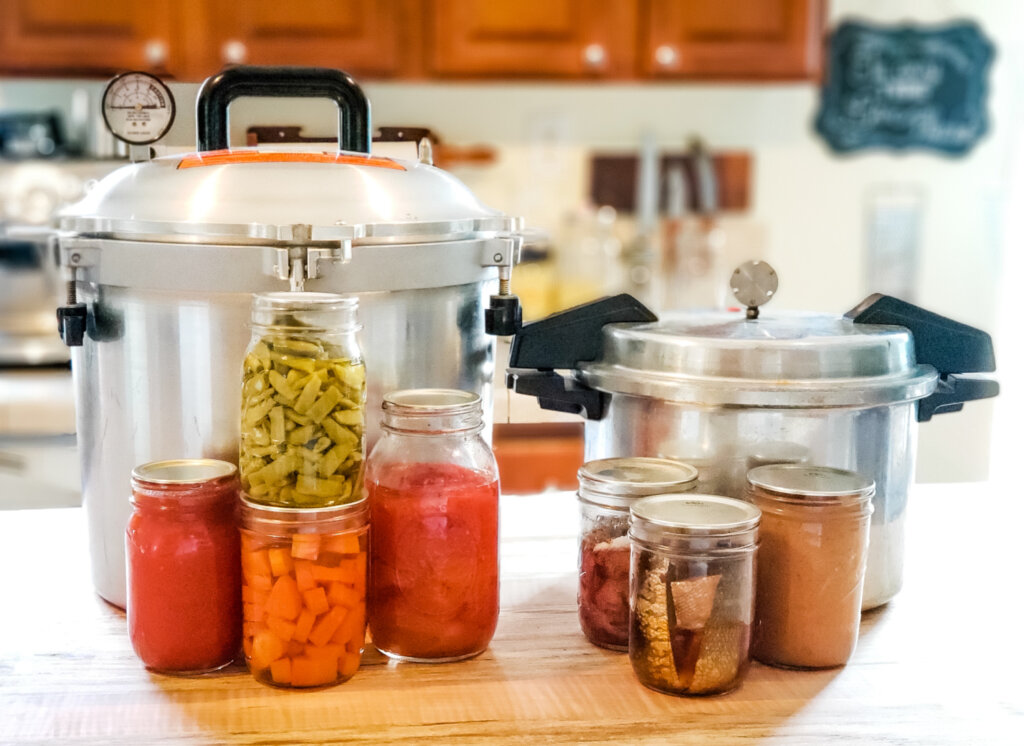
If you’re ready to safely fill your pantry with ready-to-eat meals, be sure to check out my Home Canning with Confidence course. You’ll get my waterbath and pressure canning system with charts and recipes, step-by-step video instructions, printable labels, and much, much more!
How to Pressure Can Chicken (Raw Pack Method)
Equipment
- Pressure Canner
- 12 Pint Jars & Lids
Ingredients
- 12 pounds boneless, skinless chicken breast cubed
- 6 teaspoons salt divided
Instructions
- Prepare your pressure canner by adding about 2-3 inches of water to the bottom. Have a canning rack handy if you need to double-stack your jars. Pro Tip: When raw-packing chicken, you want the temperature of the water in the pressure canner to be the same temperature of the chicken and the jars. There's no need to heat the water ahead of time. We're looking for room-temperature water, so I turn the canner on just as I'm adding the lids to the jars. Having the temperatures of the jars and water close prevents the jars from cracking.
- Have freshly washed, clean canning jars ready. Carefully run your finger around the top of each jar to check for any knicks or chips in the glass. This would also inhibit a proper seal.
- Cut up chicken into about one-inch cubes, removing any skin or excess fat.
- Fill clean Mason jars with cubed chicken leaving 1 ¼ inch headspace.
- Add optional salt (½ teaspoon for pint jars, 1 teaspoon for quart jars.)
- Dip a paper towel or cloth in some vinegar and wipe around the rim of each jar. This ensures there are no bits of salt or fat that would inhibit a proper seal.
- Center a freshly washed canning lid on the top of each jar.
- Add the canning band to fingertip tight. This means to tighten the band until you feel resistance, then turn ¼ turn more.
- Place jars into the pressure canner (avoid jars from touching). Make sure the level of the water doesn't come up over the lids of the jars (remove water, if needed). If you're double stacking your jars, be sure to add a canning rack between the first and second layer.
- Add canning lid (follow manufacturer's instructions).
- Increase heat to bring up the pressure.
- Once the canner has a steady stream of steam coming out of the vent pipe, set the timer for 10 minutes and allow the canner to exhaust.
- After 10 minutes, you can add your weighted gauge or canner regulator and slowly bring the pressure up to the proper amount for your location and canner (see notes below for proper pressure).
- Once you reach the correct pressure, start your timer (see proper canning times below). Pints: Pressure can pint jars for 75 minutes. Quarts: Pressure can quart jars for 90 minutes.
- Once the time has been reached, turn off the heat and allow the pressure canner to come down to zero pressure naturally. This means just turn the heat off and don't touch anything. This can take a while, so have another project ready to work on while you wait!
- Once the pressure is down to zero, remove the weighted gauge (or canner regulator) and wait another ten minutes to allow any remaining steam to escape.
- Remove the lid and set the timer for another ten minutes.
- Line a counter with a double-folded towel and, using your jar lifter tool, transfer the jars to the towel and let them sit, undisturbed, for 24 hours.
- The following day, remove the canning bands, check each lid for a proper seal, and store it on the pantry shelf.
Notes
- If using a weighted gauge: Use a 10-pound weighted gauge (if you are between 0-1,000 feet above sea level) or a 15-pound weighted gauge (if you’re 1,001 feet above sea level or higher).
- If using a dial gauge: Bring the pressure up to the correct psi for your elevation (in feet):
- 0-2,000 feet above sea level: 11 psi
- 2,001-4,000 feet above sea level: 12 psi
- 4,001-6,000 feet above sea level: 13 psi
- 6,001 to 8,000 feet above sea level: 14 psi
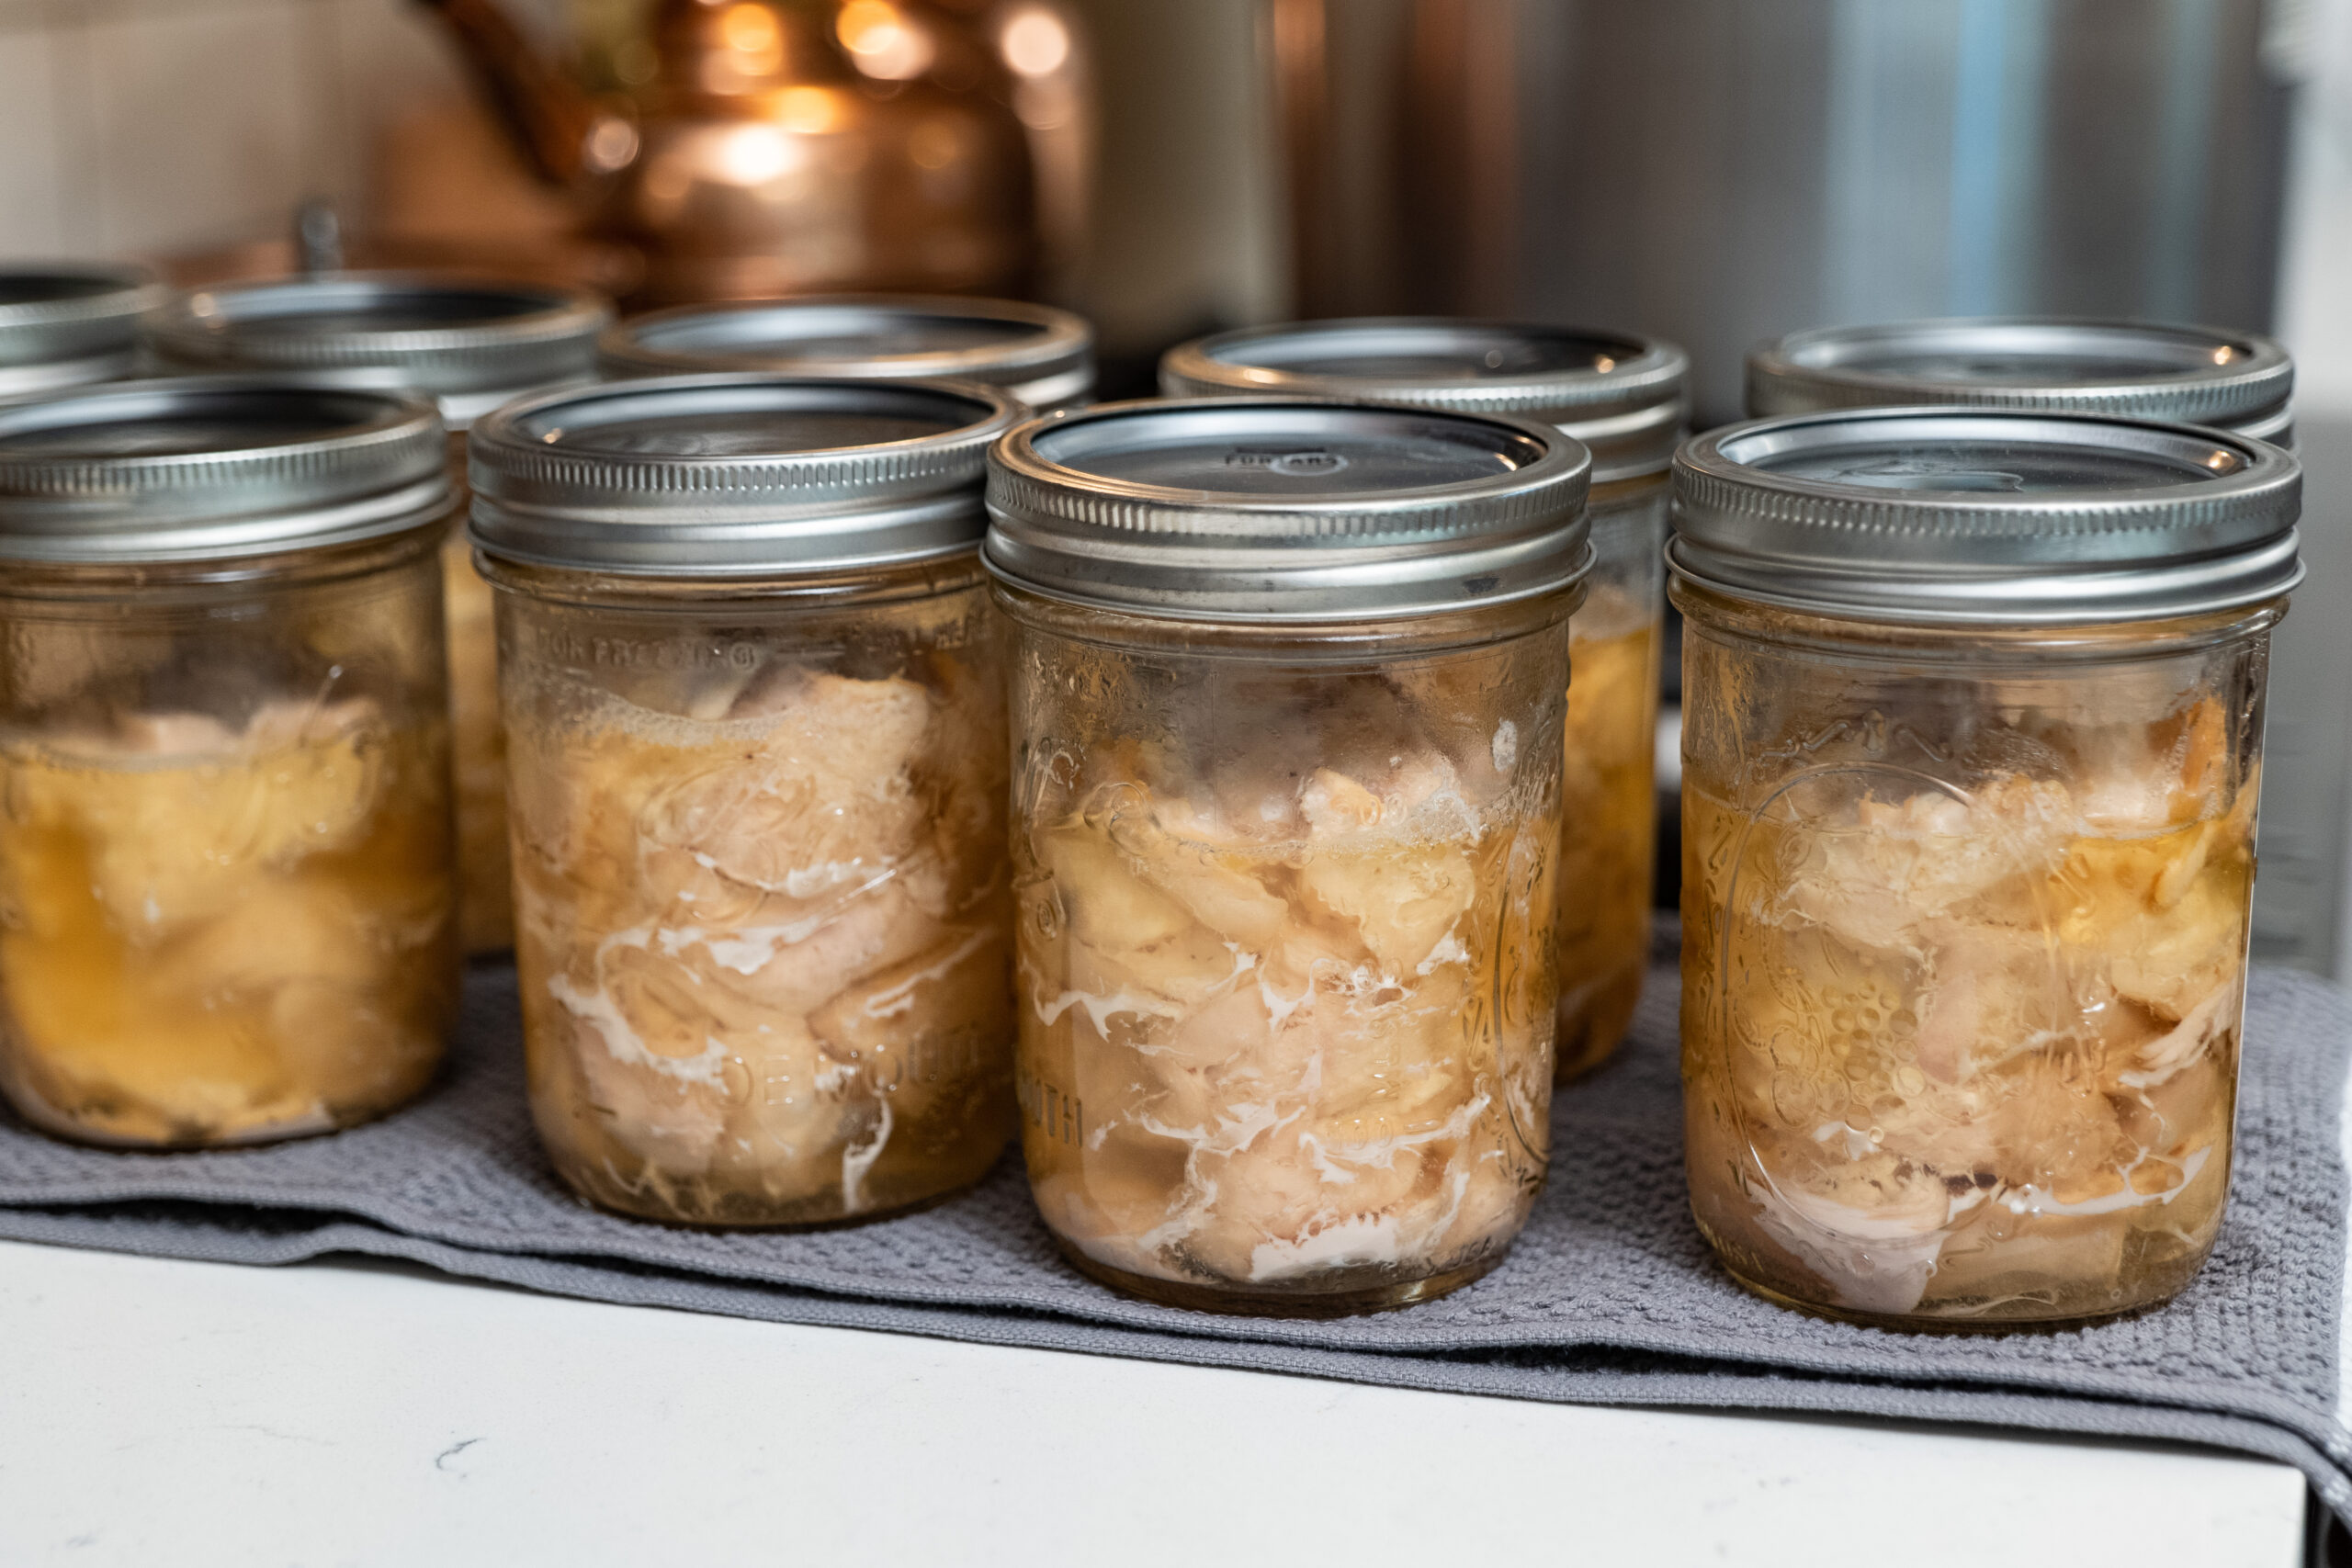
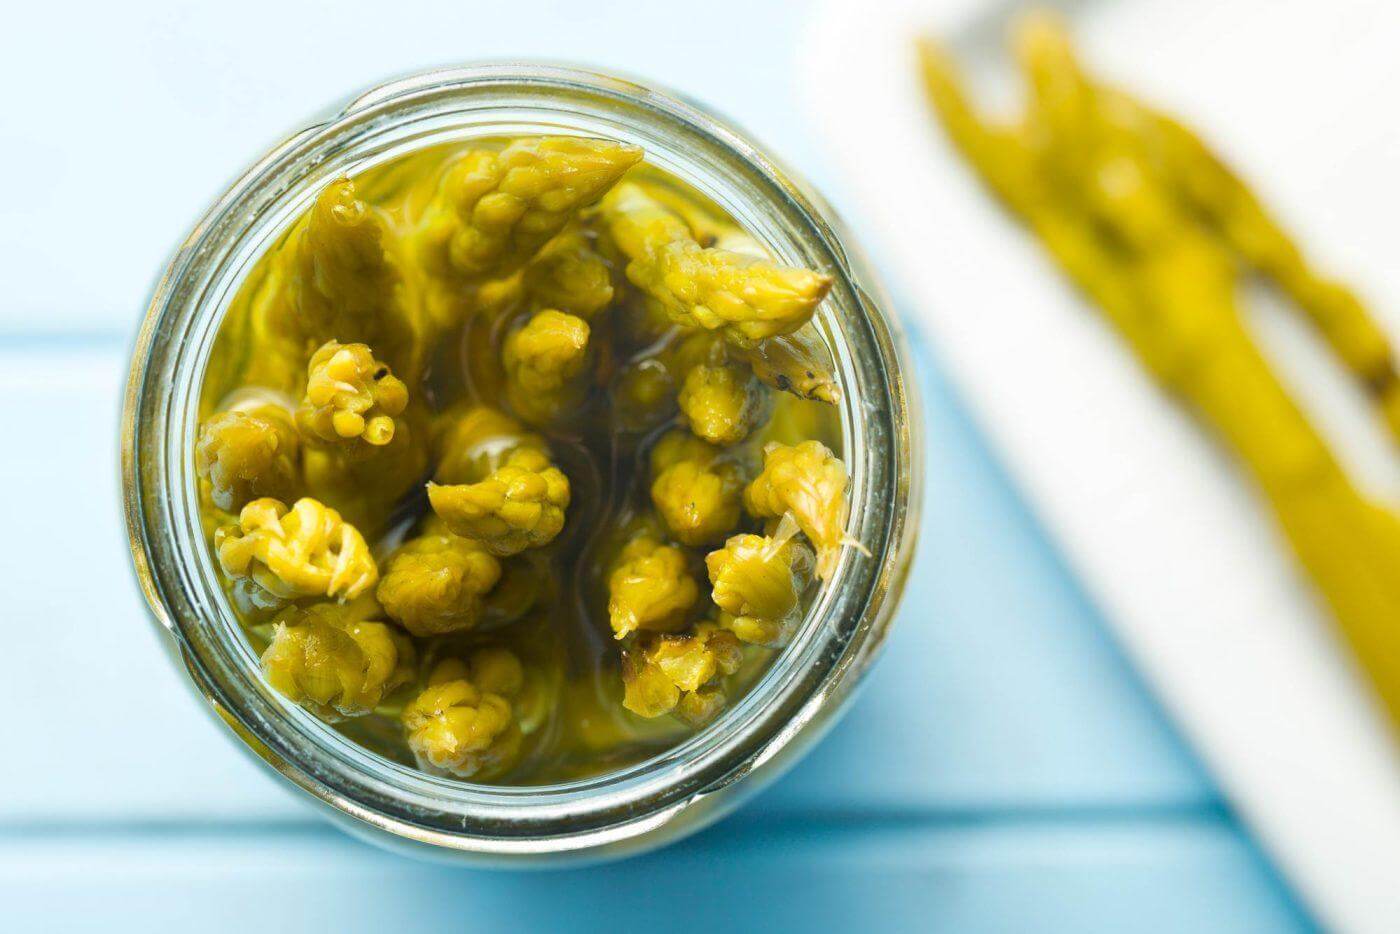

My first time canning chicken was a success! If I took a picture it would look like yours at the top of the page. The jars are 3/4 filled with chicken and liquid. It’s magic as they started out raw with no added liquid. This is the canned chicken recipe I will use again and again.
Yay, happy to hear this! Good job on taking the jump to creating good food for your family
HI there, i just realized that I was 10 minutes short on the time my raw packed qrts jars were canned. It was 3 days ago. Should I throw it all out.
Yes
I have the same problem… half filled jars is a waste of jar space and lids. I can boneless breast, but also bone-in thighs, wings, and legs– for myself and my dog. The problem is not knowing how much water to add to a jar since chicken does exude a lot of liquid/fats during the canning process and you don’t want the jar contents to exceed the space in the jar!
Thank you for such a solid and informative post and recipe. I have one simple question: I have a bunch of chicken breasts in the freezer now. If I thaw them in the refrigerator, can I use them in this recipe? I wasn’t sure if they had to be fresh or if you can them if they had already been frozen.
Yes, frozen and then fully thawed is fine.
Melissa,
Thank you for a very informative post. What are your thoughts on electric pressure canners? I have a glass top electric stove and due to fluctuating temps and weight of a full canner, it is not recommended for canning. I’ve seen electric canners from Presto, and thought about getting one for things like chicken and veggies from my garden. Have you ever used one? Or know anyone who has?
Thank you.
I really love my new Presto Precision Digital Pressure Canner. I only got it a week ago and I’ve already canned 38 pints of green beans, carrots and Yukon Gold potatoes! Every single jar sealed perfectly. I’m 66 and I’ve never canned anything. It’s dummy proof! Lol It takes you through the process step by step.
Hi Kari,
My Husband and I just bought a 12-Quart Digital Canner and we are excited to get to canning, we are alittle nervous, but, I think we will do fine once we get the hang of canning the meats, etc.
So seeing your post about using the Preston Precison Digital Pressure canner, give us “hope” to go on when canning! 🙂
I used this recipe to can chicken in my Presto Electric Canner. It worked perfectly. My husband was impressed that the raw chicken gave off just enough liquid.
The Presto Electric Canner takes a long time to cool down after canning, but follow the directions and everything will work. I love mine and have canned potatoes, chicken, pea soup, and tomatoes.
If you follow all the instructions for bone in raw pack pressure canning chicken the. Does it matter how much liquid is in a jar once processing has finished? I have solid seals and no siphoning occurred but some jars just didn’t have as many chicken juices from the process. Thanks for your help!
Is it ok to use an electric pressure cooker?
My pressure canner ran out of water. I used 3 inches like the recipe said. It was only just barely at the right pressure, but was steaming like crazy
Then something was not correct on your pressure canner, it should not be steaming like crazy once sealed.
Rachel, your heat was too high. I encountered this when I first started to home can foods.
Hi Melissa, Love your recipe and tried it tonight but realized too late that I had topped off my jars with water up to the 1-1/4 from the top that you indicated. Will my processed chicken be ok? Jars were filled with chicken chunks up to that 1-1/4 mark too. When the process was done, the water left in the canner was still clear and all the jar lids have popped properly.
Thank you for your response!
Regards, Jude
“old habits die hard”
hi, just wnted to say thank you for your recipes and instructions would like to get your cook book can you tell where i may be able to? and I was just wondering if the canned chicken come out dry or is it tender and juicy and can you use broth of your cold packing just use cold broth and vice versa Thank you
We love canned chicken and so easy to do.
I usually can 25 pounds at a time, about 3 times a year. You can’t beat the ease for making meals. Our favorites include chicken enchiladas, chicken alfredo, chicken salad and chicken stir fry.
I enjoyed your baking seminar today. I am interested in canning chicken but only have a standard pressure cooker. Will that work?
HI Shirley. A standard pressure cooker will not work for pressure canning. It does not reach a high enough pressure to safely can foods.
Thank you
What kind and brand of pressure canner are you using?
An All American pressure canner
Melissa! Such a well done video! A quick question…I’m from California and it’s been so difficult to find canning lids and when I do, they’re made in China. Do you have a recommended source for them?
Melissa,
Could you please send me information on where you sell your cookbooks and the supplies or items you use to be able to purchase.
Greatly appreciate you,
Cynthia Calloway
There’s a shop and book tab on the top menu of this website that links to them.
Thank you for the instructions.Do you have a Facebook page