Learn how to grow beans, both pole and bush varieties, including tips on when to pick them for fresh eating or when to pick them for shelling and seed saving.
Why Grow Pole Beans?
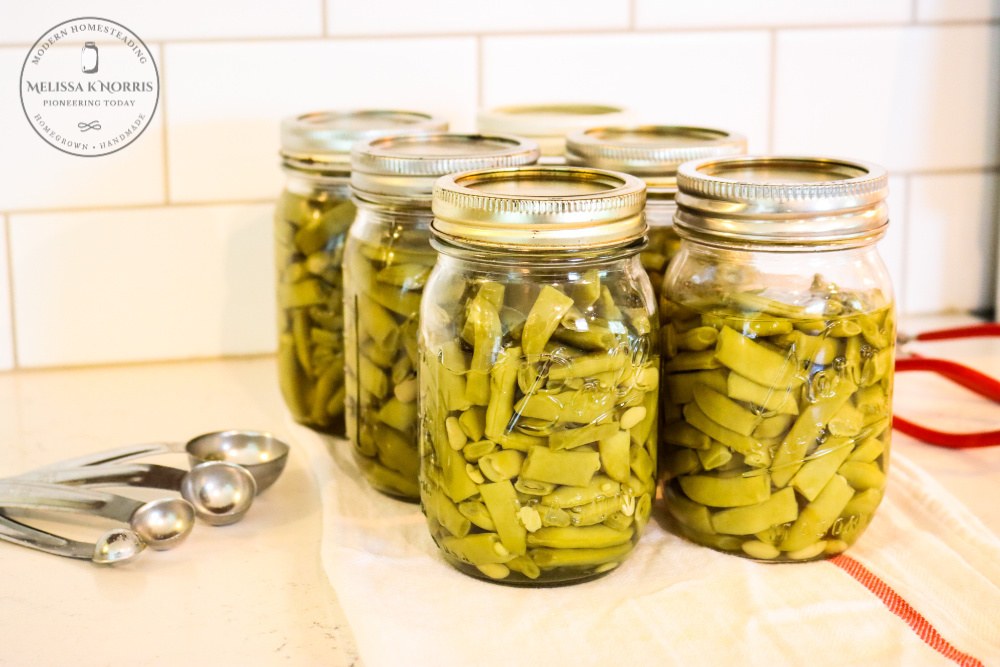
- Canned Beans - If you've never canned green beans at home, you're in for a treat! Home-grown, home-canned beans are the best! Furthermore, you can grow beans and learn how to pressure can shelled beans here.
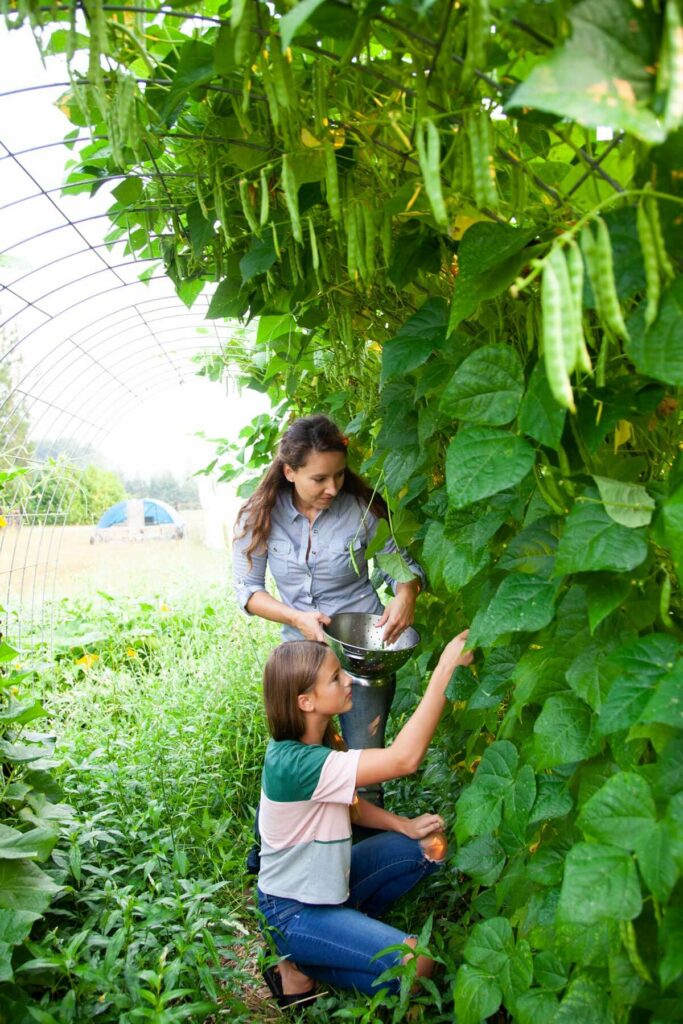
- Great for Small Spaces - If you have minimal gardening space and you want to maximize your harvest, I highly recommend a pole bean variety. Pole beans benefit from a large harvest for the same amount of space as one bush bean plant would require. Learn more about maximizing small gardening spaces here.
- Large Harvest - If you'd like a larger harvest all at once (and have the space), consider growing bush beans. I grow enough pole beans that I always have plenty to harvest throughout the growing season.
- Continual Harvest - This is the beauty of picking pole beans throughout the season. As long as you continue to harvest the beans, it signals to the plant to keep setting blossoms. Once you've harvested enough fresh beans, you can start saving pods on the plant for either shelling beans or for seed saving. (Pro Tip: Learn how to identify when seeds are ready for storage here.)
Bush Beans vs. Pole Beans
One of the major differences between bush beans and pole beans is how they mature.
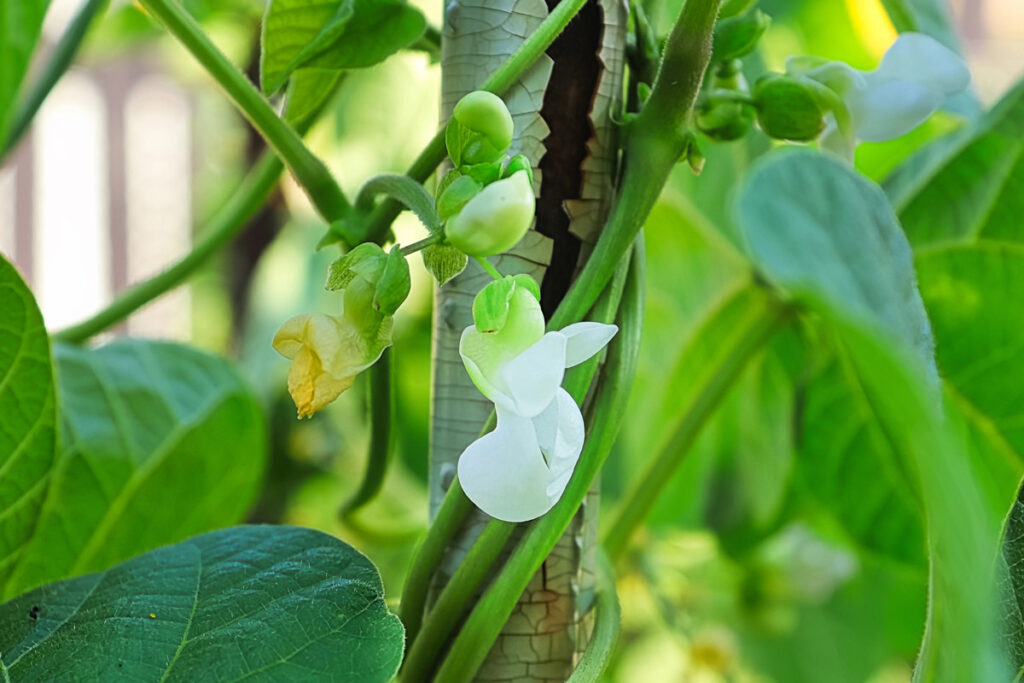
- Pole beans grow six to eight feet tall if they've got a structure to climb, and the blossoms will form and begin to produce beans at the base of the plant weeks before you get a harvest from the top. This is one of the reasons pole beans are so prolific. Your harvest starts down low early on, but as your plants grow (and you continue to harvest the beans), they will produce more and more blossoms and beans.
- Bush beans grow in a clump or a bush, much like the name describes. They will produce a large harvest of beans all at once, or over a relatively shorter period of about a month. If you like the idea of growing bush beans, but want a continual harvest, I recommend succession sowing beans every 2-3 weeks.
How to Plant Beans
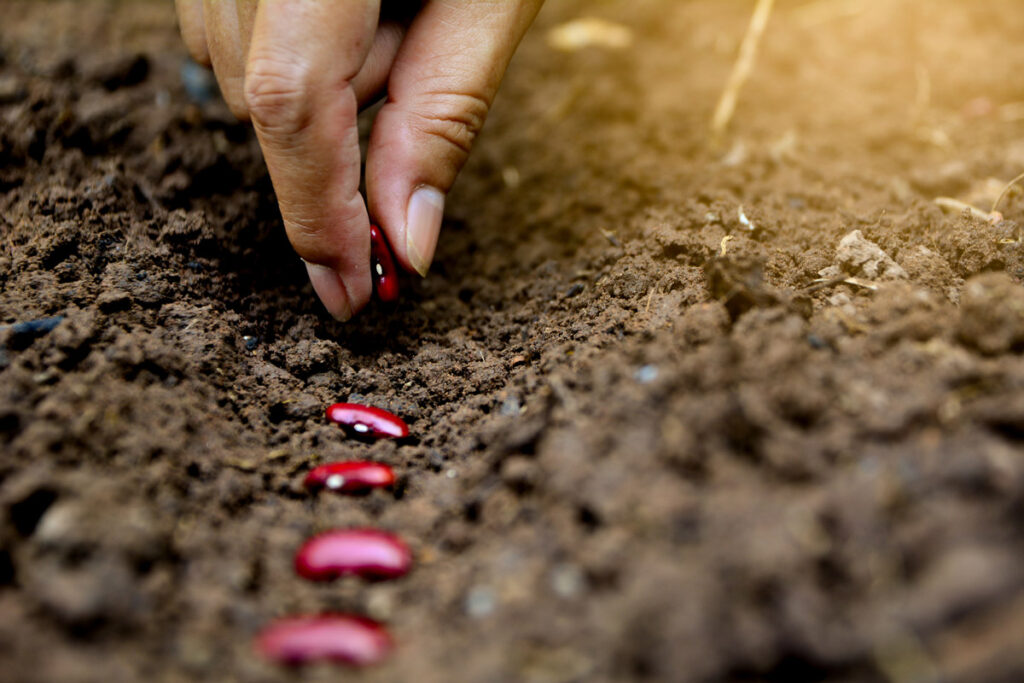
Beans prefer soil temps of 60° F for optimal germination. If you plant too early, you risk your seeds rotting in the soil before they have a chance to grow. Beans do best when direct-sown as they don't transplant well.
- Prepare Your Soil: Once soil temps reach 60°F, prepare the soil for planting by adding some compost for both nutrition and drainage.
- Plant: For bush beans, plant seeds 1-2 inches deep and about 2-3 inches apart. For pole beans, plant 2-4 seeds at the base of each pole, or, if using cattle panels, plant one seed every 2-3 inches on both sides of the panel.
- Water: Water the seeds in well after planting and make sure the soil maintains consistent moisture to promote proper germination (soil should feel like a damp sponge and not too soggy). Pay close attention to your watering schedule, especially during hot weather and while plants are flowering.
- Mulch: For extra protection, consider adding a layer of mulch around the base of the plants once they've emerged from the soil. You can read more about using woodchips in the garden here, and how to drought-proof your garden here.
- Watch for Pests: Beans can be prone to pests such as bean beetles. Check out this post for organic pest control methods in the garden.
Troubleshooting: Blossoms But No Beans
Another common issue with growing beans is when blossoms are forming, but beans are not.
If you have a lot of flowers but those blossoms are not turning into beans, it usually means that it's too hot.
Beans are self-pollinating, so each blossom contains both female and male parts of the plant. This means that they have the capability to pollinate themselves before the blossom even opens and forms a bean.
Blossoms without beans don’t indicate a pollination issue. Instead, it’s typically because beans don't like really hot temperatures.
If you're experiencing daytime temperatures of 90° Fahrenheit (or even higher) for more than a few days at a time, that's usually the reason that your blossoms are not forming fruits.
You don’t need to worry! Just keep the plants watered so they don’t dry out. Depending on where you live, August can bring high temperatures that can stunt bean harvests. Once those daytime temperatures start to fall, you will see new blossoms form, and your harvest can begin again.
Adjust Planting Times
If you live in a really hot southern climate, you may want to adjust your planting time and try to use your bean (and pea) plants as a fall crop so they're not going through the extreme heat of summer.
Of course, this will definitely depend on your gardening zone and when you get frost.
Where I live, beans are a warm-weather plant. They won't survive any type of frost which means my window of growing is only in the summer months.
When to Pick Pole Beans (Eating, Shelling and Saving)
I’m often asked when to pick pole beans, for eating, shelling, and saving. This is a great practical question.
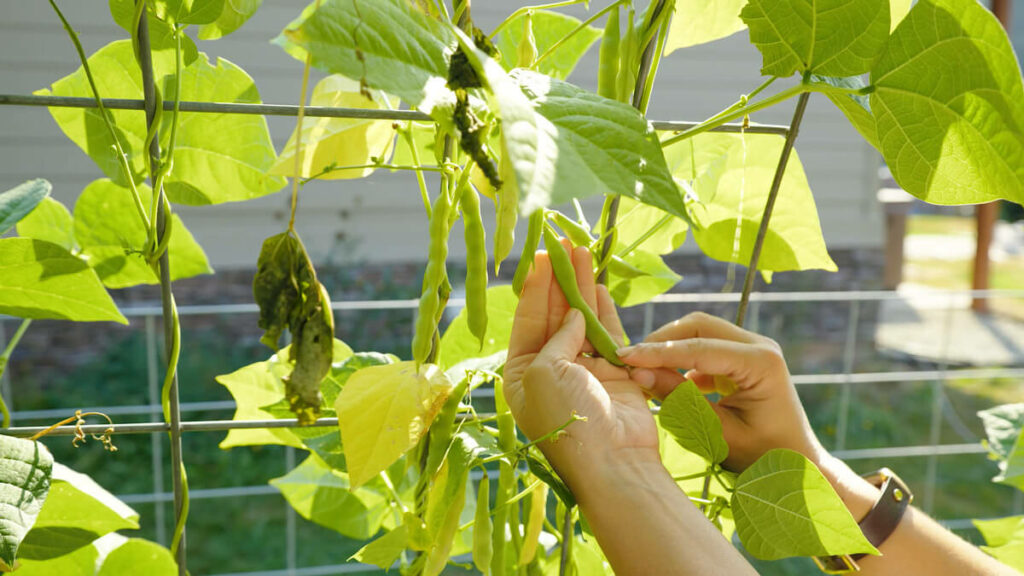
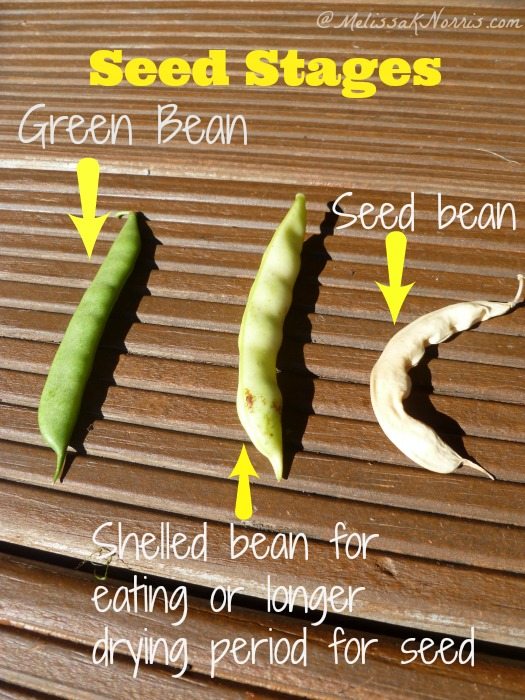
- Fresh Eating: When you are harvesting pole beans as a fresh eating bean, you want the bean to be fairly smooth and tender. The beans will begin to show some lumpiness where the beans inside the pod are beginning to form, but they aren’t bloated or huge. Pro Tip: Test the bean to see if it's crisp by snapping it in half. Eating beans should snap right in two, without the need for stringing them first. If they snap immediately, without being rubbery or limp, they are perfect for fresh eating.
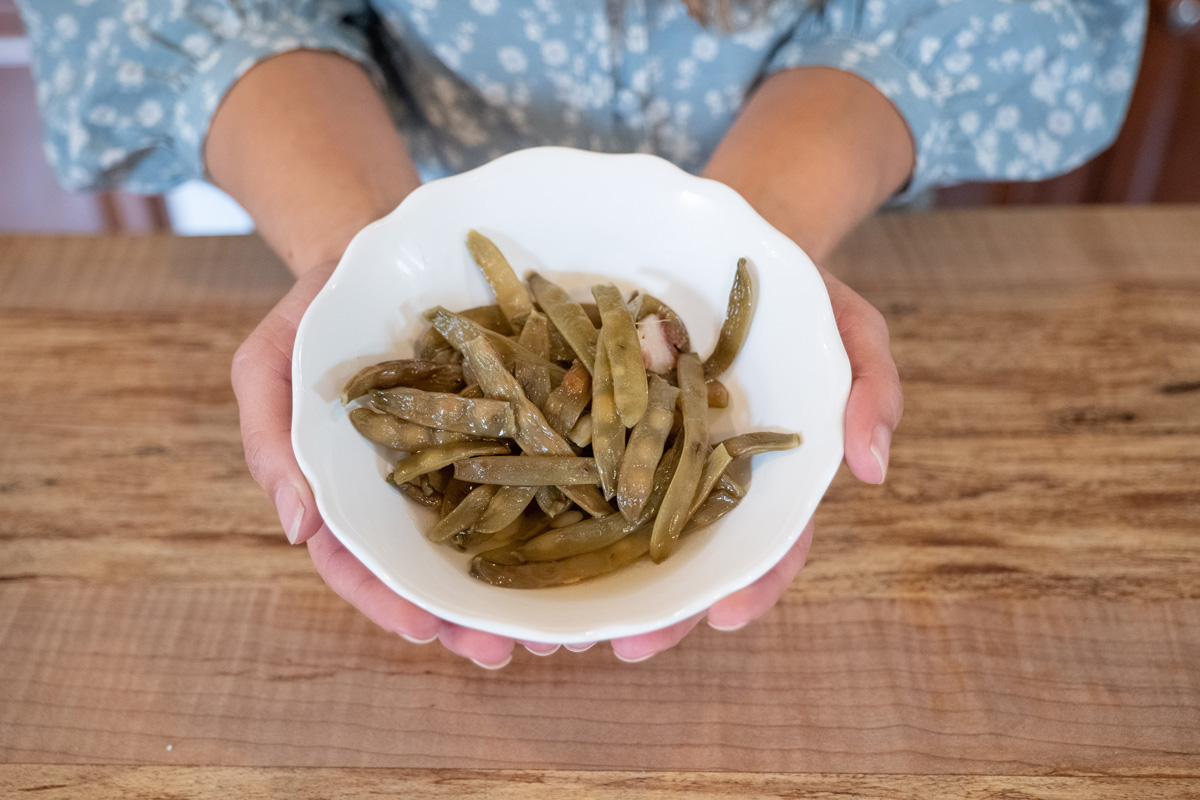
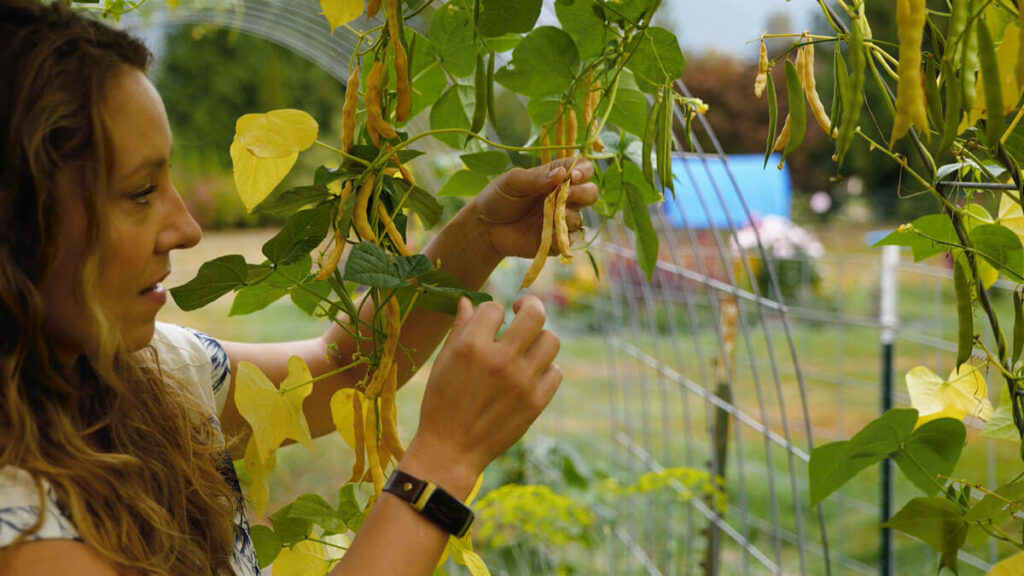
- Shelling: For beans to shell, look for pods that are becoming more lumpy and swollen. Of course, this means that the bean inside is more mature and larger. To check the beans, remove the string and open the pod. As you look at the bean inside, check it for size and color. Good shelling beans will typically be more white in color, as opposed to pale green. A small or greenish bean means they are still immature and should be left to mature a little longer. As the beans mature, they move from bright green to pale green, yellow, and finally white. Once the beans are large and white, they are ideal for shelling and using like any other white bean (such as navy beans).
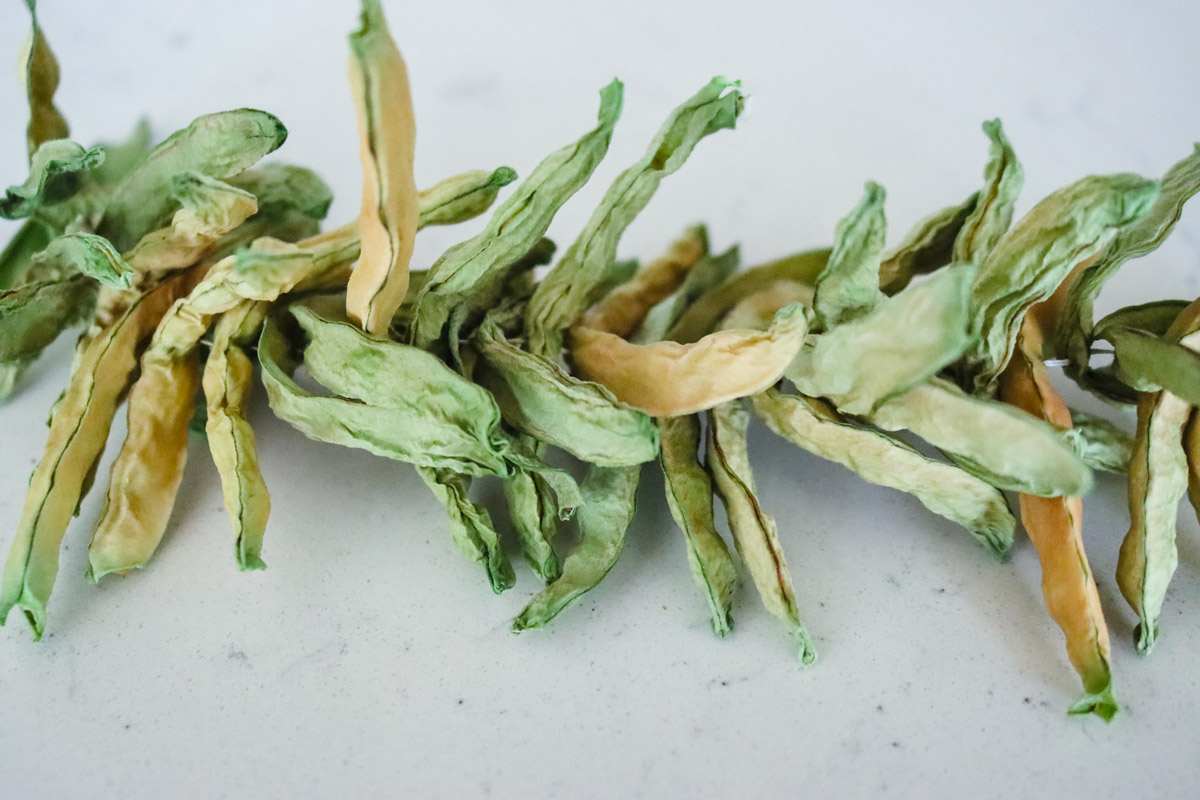
- Seed Saving: If you want to save seeds from your pole beans (for next year's garden), let them develop on the vine until they're even more bloated than for shelling. The outside part of the bean will become pale green, yellow, and then all the way white. If your conditions aren’t too humid, you can leave pods on the plant for this process. As long as beans aren’t falling or getting drenched in heavy rains, they can shrivel up and dry on the vine.
Watch this video for examples of harvesting beans:
If you want pole beans for seed-saving, let them develop on the vine until they're even more bloated than for shelling. The outside part of the bean will become pale green, yellow, and then all the way white. If your conditions aren’t too moist, you can leave pods on the plant for this process. As long as beans aren’t falling or getting drenched in heavy rains, allow them to shrivel up and dry on the vine. That is ideal for your seed saving stage. As we get closer to seed saving time here on our homestead, I will make a video so you can actually see what it looks like.
Watch this video for more details on seed saving beans and other crops:
I hope this post answers some of your questions about ideal growing conditions and when to pick pole beans.
If you want more tips on how to grow food for your family, check out this post on how much to plant per person for a year's worth of food. You may also like my book, The Family Garden Plan where I help you plan out your garden for a year's worth of food.