Welcome to our second week of a Homemade Christmas series!! I’ve been really excited for this post from our guest and my personal good friend Tammy of TrayerWilderness.com Tammy is a sister in Christ, real true homesteader, and has the heart of a giver. I asked her for this post because I’ve never made homemade soap before and I wanted a non-scary way to ease into full on soap making. She even made us a video you guys! Introducing my girl, Tammy, and her easy to make homemade melt and pour goat’s milk soap tutorial.
I absolutely LOVE Christmas! I first LOVE what it represents to me as a Christian and celebrating the birth of Jesus and additionally, I am intrigued and swept up in the traditions of Christmas.
🍞 Struggling With Sourdough?
If your starter won’t take off, your loaves are dense and hard, or sourdough just flat-out overwhelms you…
👉 I’ll show you how to fix all of it.
Join my FREE workshop and learn how to make a bubbly, active starter—the right way, from Day One.
Natural Remedies Made Simple
Start your home apothecary with confidence—even if you’re brand new. Learn how to choose the right herbs for your body using the simple principles of herbal energetics.
Discover how warming, cooling, drying, and moistening herbs affect your body—so you can stop guessing and start making remedies that actually work.
As a child, the family traditions that were in place meant a lot to me. Going as a family to cut down a Christmas tree, decorating the tree as a family, making gifts for each other, the special foods that go along with the holiday, making Christmas cookies as a family and just the LOVE that wells in your hearts and touches so deeply this time of year. We enjoy carrying these traditions and feelings into our entire year.
Embracing our off-grid lifestyle allowed us to create our very own traditions because we were now 2,500 miles from our families. My husband despises the commercial side of Christmas and I am right there with him. Gifts were not a necessity in our home, however, since we arrived in Idaho we each have embraced SO many new skills and with those skills have come the desire to make each other unique things we have learned to do with our hands. Gifts that come from the heart if you will!
As I mentioned in the video, this all started with my wonderful girlfriend giving me those pretty little soaps, you know, the soaps that you too are probably afraid to use!
We lived in an 8′ x 14′ canvas wall tent for 8 1/2 months on raw land while we built our home back in 2010 and all we had was a small tote with our clothing and personal items. During this time, we could not have stepped back into simpler times. They were truly the best times of my life to date and I yearn to go back to the extreme simplicity. During this time I woke to an amazing pine scent and I also ended my day drifting off to the same scent. During this time, I finally broke down and used one of those pretty bars of soap and decided that when our house was built, one of the first things I was going to learn how to make was my own soaps and I was going to match that wonderful scent I loved so dearly in those soaps.
So my friends, that is how the Trayer Wilderness scent and soaps were born which started a passion for me and is also something that has turned into a very lucrative business as well because everyone that was gifted my soaps wanted more!
Another part of our off-grid lifestyle is making a living in a unique way – with our skills and talents. Our entire family contributes to our online store with not only my handcrafted goats milk soaps and soy candles, but my Mountain Man contributes his hand forged metal work and tools, paracord items and the three survival tools that he has invented and fabricated. Our Mountain Boy also brings his skills to the table with his handcrafted elk hide moccasins and survival paracord items such as his bracelets, belts and gun slings. I am SO proud to announce as well that both of my men will be featured in the next issue of American Frontiersman magazine which is supposed to reach the shelves on December 24th!
Today, I have decided to share my knowledge with you on making handcrafted, homemade soaps so you too can enjoy gifting them as much as I do.
If you would rather watch the process versus reading the process, you can watch my video here.
Table of Contents[Hide][Show]
Supplies List
Pyrex Heat Safe 2-quart measuring cup or a 4 lb pouring pot.
Being Creative with your Soaps
Adding Essential Oils and Fragrance Oils
Adding Clay, Dried Herbs and Teas, Zests, etc.
I like to add either Bentonite clay or Kaolin clay to my melt and pour soaps because it makes it harder and more of the consistency of a traditional soap and also adds wonderful benefits for your skin. You can add up to 1 ounce of clay to 1 lb of soap. I also like adding things like oatmeal, dried tea, dried lavender flowers, etc. I have found a 1/2 an ounce to an ounce works well with 1 lb of soap.
This is where you should be experimenting and having fun by using your favorite oils and dried goodies.
Here are some examples of some of the combinations I use:
- Peppermint essential oil with peppermint tea leaves
- Orange zest with Wild Orange essential oil
- Lemon zest with Lemon essential oil
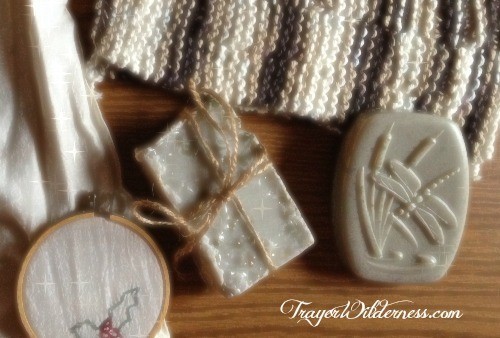
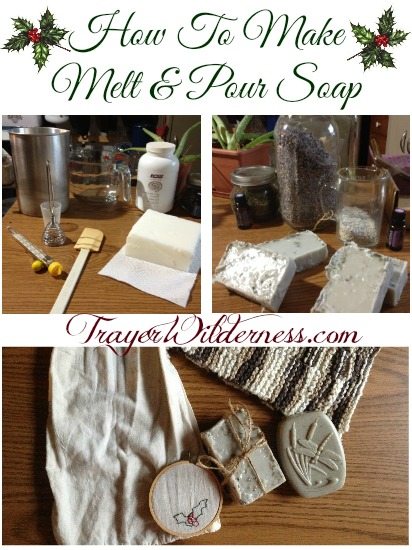
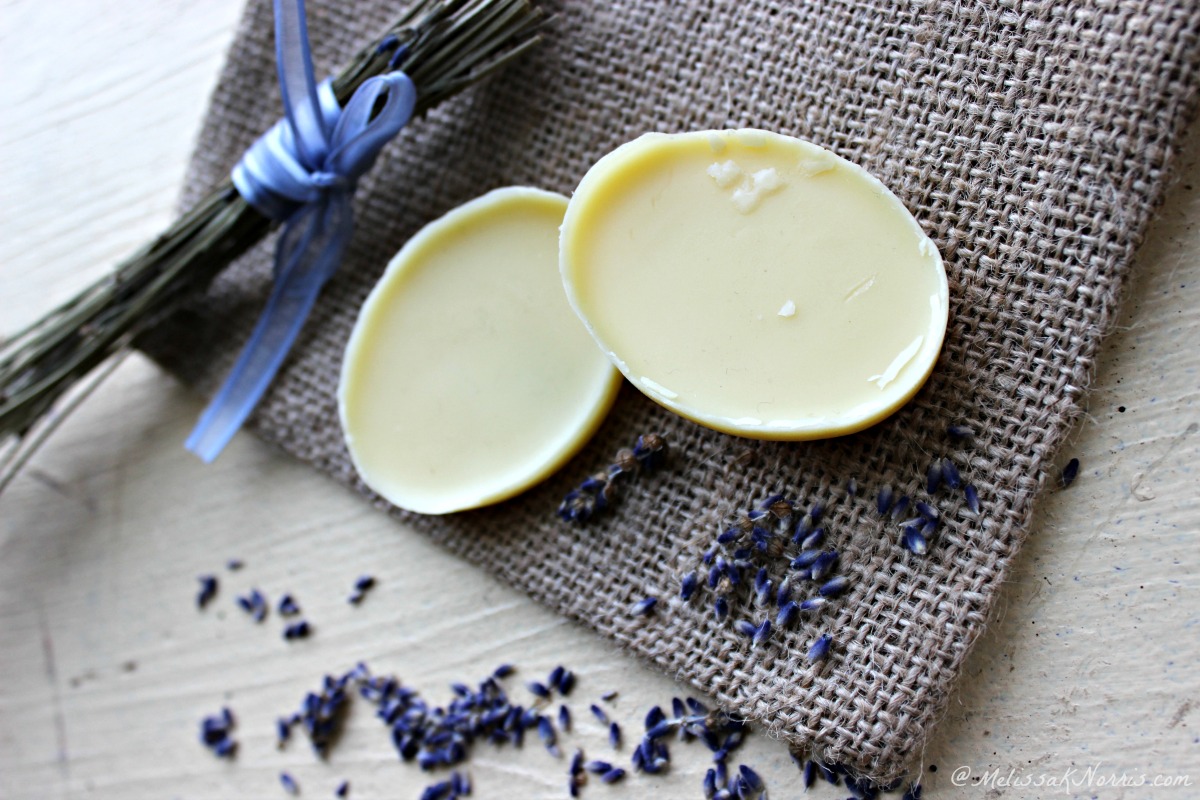
- Oatmeal and Lavender chopped very fine with Lavender essential oil * (this is what I made and am displaying in my photos)
Molds
You can be extremely frugal and choose to use something as simple as a box for molding your soaps versus a soap mold. My grandmother used shoe boxes and in this demonstration I used a small box lined with parchment paper. You can also use silicon molds such as the silicone cupcake molds that are available for baking. It is best to use something pliable for easy removal of your soaps. If your soaps giving you trouble coming out of the molds you can stick the mold in the freezer for a short while and then try to remove them. They typically will come out much easier once chilled.
This is my favorite soap mold
Subscribe to Melissa K. Norris!
Get updates on the latest posts and more from Melissa K. Norris straight to your inbox.
We use your personal data for interest-based advertising, as outlined in our Privacy Notice.
Step-by-Step Directions
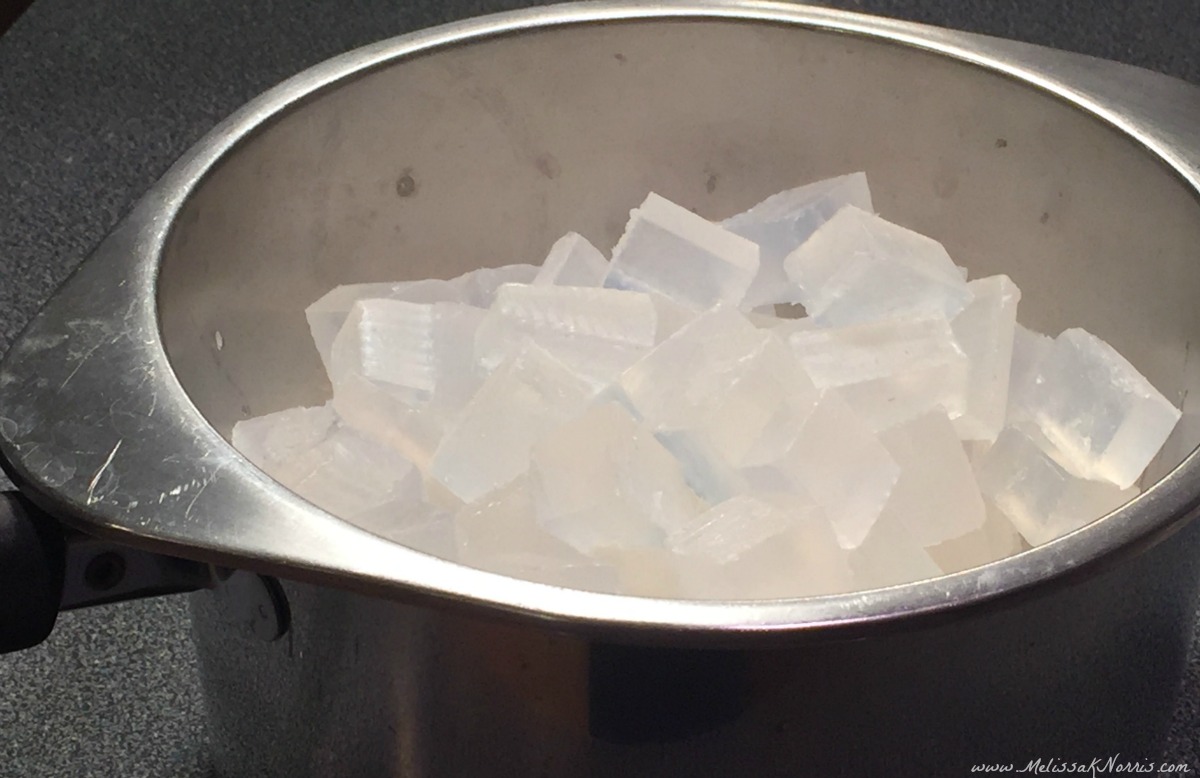
- Measuring your soap is the first step. I suggest putting your container you will use to melt the soap base on the scale and then add your soap to the container. You will want your measurement to be 1 lb or 16 oz. You can place the big chunk of soap in the container as is or you can cut it up into smaller pieces. With smaller pieces it will melt faster, but honestly it melts pretty fast as it is.
- At this time, you will want to have all your additives ready and waiting so when the soap is fully melted you can just add everything very easily.
- Next you will place your container in another pot with roughly 2 inches of water in the bottom. This will create a double boiler for you and will keep your soap away from the direct heat, but allow it to melt nicely for you.
- Turn your burner on medium heat and you will want to stir and keep an eye on your soap base. Once your soap base is nearly melted you will want to take your thermometer and place it in the soap (be careful not to touch the bottom of the container). You do not want your soap to go above 130 degrees. Typically for me, as soon as the last piece of base is melted I turn off my burner. After making as much soap as I have, I have found the temperature to be just right and I can eliminate this step.
- You will now want to remove your soap from the stove and place the container on a hot pad on your table, counter or work space.
- Add your essential oils or fragrance oils, clay and any dried materials now. Mix well with the whisk.
- Once you have mixed things well you can pour your soap into your molds.
You will want to leave your soaps in the mold for at least 24 hours and if you use a box like I did and the thickness of your soap is great than that of a normal bar of soap, you may want to let it set just a little longer. Then you can either pop your soaps out of the mold or use a knife or square slicer to cut your soap into the size bars you desire.
Clean Up
Cleaning up is super simple. There is nothing toxic involved here so you can place all the tools that you used in your container and I would suggest putting your dish rag in the container too. Dump the remaining hot water from in your other pot into your container and leave set for just a bit. This will mainly allow those wonderful scents to work their way into your dish rag so during the rest of the week while you are wiping your counter or tables you will smell your wonderful soap. Then all you need to do is just wash your dishes like normal and your finished with your project.
Presentation
The only other thing to consider at this point is how you will present your homemade soaps. The soaps that I make and sell in stores and on our website are packaged in plastic bags that I purchase on eBay and I make special tent tags with our logo, business name, scent and contact information.
The soaps that I made for this demonstration I wrapped with twine and I will also gift in an old sugar sack that I embroidered on. I will also be adding a handcrafted knitted dish rag that I made. Be creative! I always add something to my gifts that clearly represents the person I am gifting such as their favorite color, another treasure that I may have found that screamed their name such as a pewter pin I found for a friend of mine to which I used as the closure on the sugar sack with soap that I gifted her.

Some of the links you provide for purchasing items do not work. Is there a way you could provide similar products so I can see what I am looking for? goat milk soap base and the clay
Thanks
Juli
Thanks for the heads up Juli, I just updated the links for you.
Thank you so much for sharing on this soap making technique! My daughter and I just tried it out ?and we’re wondering about curing time… but I may have missed that somewhere.
Right now we have two silicone molds sitting to cure on the pie safe in our dining room. I’ve topped them with a sheet of wax paper just to be on the safe side.
After pouring hers, she wanted to marble a colorant in and we were surprised by how quickly the soap formed a skin! We think next time if adding color that we might pour one at a time, coloring each as we go instead of pouring them all first.
Anyways, it was fun just being able to jump into this project with nothing more than a trip to the craft store for the goats milk soap base.
*just for kicks, we added some of our loose leaf tea (while still on the low heat of the double boiler) and they came out looking fabulous!*
Thank you again,
Summer
Summer,
So glad you enjoyed it. There’s not a curing time with melt and pour as that already happened when the base was made. So once it’s hardened and cooled completely, you’re good to go. Congrats on a fun project and learning time with your daughter.
I so enjoyed your story. I am also a sister in Christ. I am fairly new to making homemade soap and other homemade products. I really do enjoy it! My husband thinks I am crazy, but….. He uses the soaps and other products that I make for him!!!
I am a disabled Nurse, so I love the natural products that are homemade, also the cleaning products are awesome!!!! I will never buy clothes detergent again! I love my Coconut Lavendar Body Wash! My Goats Milk Lavendar Soap are two of my favorites! Well, just wanted to drop you a line. I will be following your posts! Thank you and God bless!
Sheryl
try using wholesale supply plus pricing way cheaper! fellow soap maker
[…] Goat’s Milk Soap Homemade Goat’s Milk Soap Recipes Honey Oatmeal Goat Milk Soap Homemade Melt & Pour Goat’s Milk Soap Goat Milk Soap Sandalwood and Sage Soap Easy Soap Making Tangerine Melt and Pour Soap Basic Bar […]
[…] Handmade Soaps […]
[…] View the full article at Pioneering Today […]
I can’t access the video. The link just takes me to YouTube but not the specific video. I would love to see it as I really want to try to make this and am a visual learner. 🙂 am I doing something wrong?
Rebecca,
When I click on it it goes directly to the video… There’s an ad on the video, but it goes away in a few seconds. Here’s the link again https://www.youtube.com/watch?v=sHxcyHW0pR0&feature=youtu.be
Melissa,
Thanks so much for sharing Tammy’s recipe for this soap! My mother and I have been wanting to experiment with an easy to learn melt and pour process using goat’s milk – and this is perfect.
I stumbled on Tammy’s blog via the cast iron give away, and now am hooked on not just your blog – but her’s too. 🙂 Thanks for sharing
[…] am absolutely blessed to be able to share in A Homemade Christmas with Melissa Norris. She is a dear friend and we both have passionate hearts to share our knowledge, faith and […]