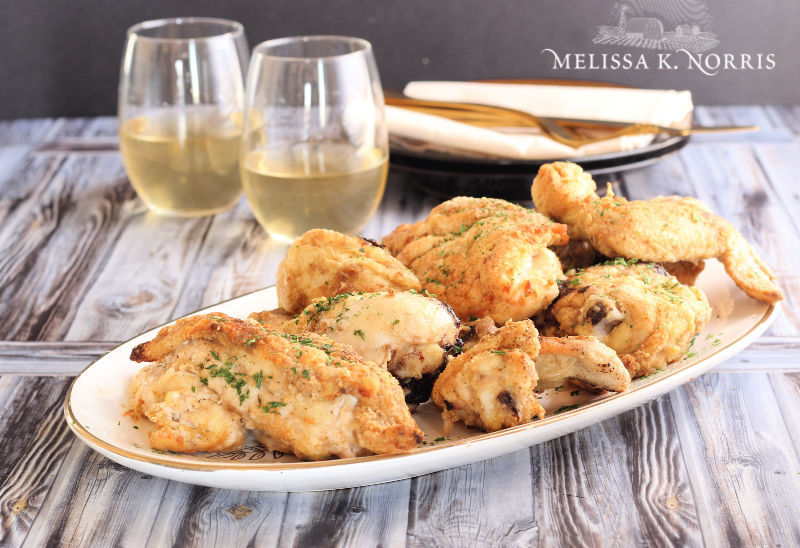
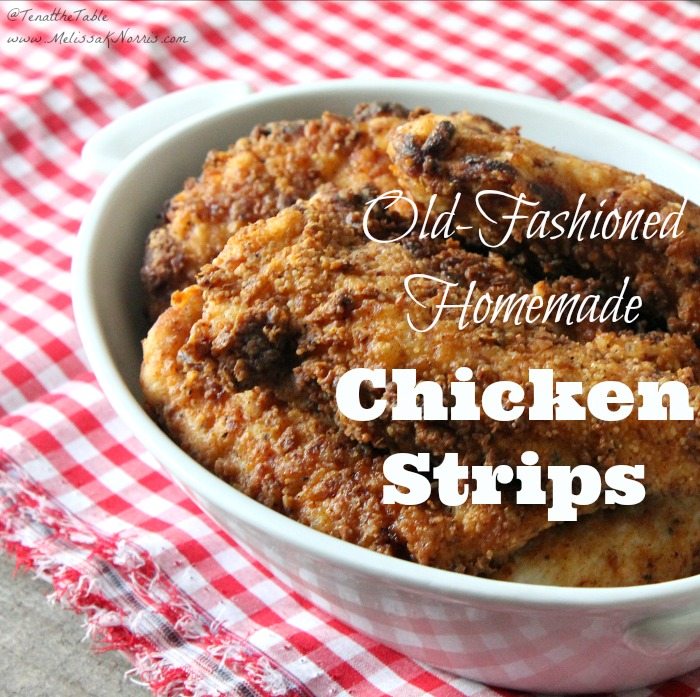
Want the secret to making delicious homestyle fried chicken using even older birds? This crispy fried chicken is a crowd pleaser!
Back in the pioneer days, wasting food was unheard of. If you raised it, you used it in every way, shape, and form. Older birds that were done laying became dinner themselves, cows went from being milked to being dinner. It’s a complete circle of life.
Of course, older chickens were rather tough and gamey in flavor or texture. In our modern days, we would pressure cook them, or use a crock pot for low and slow cooking to get that tender flavor. Without electricity, there isn’t a way to do that. However, it IS possible to get and older hen or rooster to have tender, juicy, falling off the bone meat. Even without a pressure cooker or crock pot.
🍞 Struggling With Sourdough?
If your starter won’t take off, your loaves are dense and hard, or sourdough just flat-out overwhelms you…
👉 I’ll show you how to fix all of it.
Join my FREE workshop and learn how to make a bubbly, active starter—the right way, from Day One.
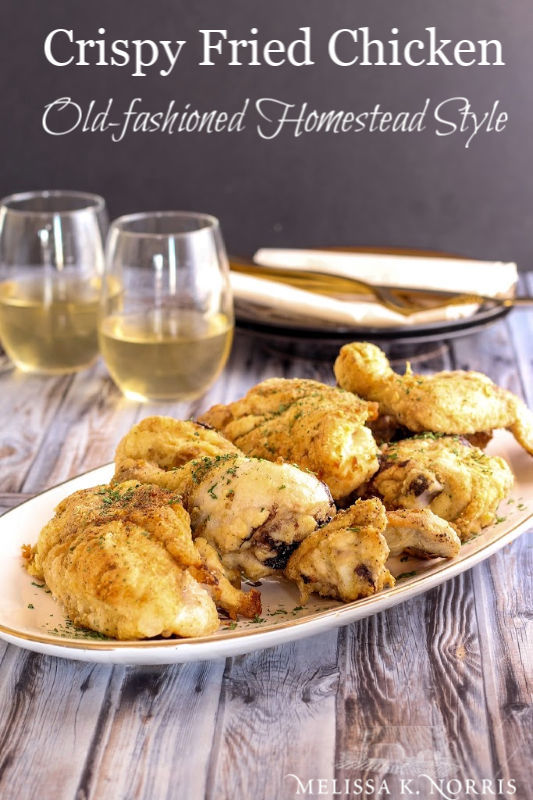
This recipe is based off the Little House Cookbook and we’re thinking of creating a whole series of cooking our way through it, let me know in the comments if you’d like to see this as regular feature?
Table of Contents[Hide][Show]
What’s the secret to juicy fried chicken?
Apple Cider Vinegar.
Apple cider vinegar is what the pioneers would have used to help break down the fibers of the chicken meat, giving it a juicy, tender flavor. It would also add a bit of “tang” that we would see now using buttermilk.
If you are cooking an old hen, apple cider vinegar is a must, and how you can make a fried chicken recipe without buttermilk.
How do you make crispy fried chicken?
Today, we think of crispy fried chicken as something that is only deep fried. Fully submerged in the oil, and held there until golden brown.
However, back in the pioneer days, they most likely would not have used that much oil. It would have seemed very wasteful, and since fats only were harvested at butchering time, care was taken with that valuable resource.
Now, don’t get me wrong. They used lots of traditional fats, such as lard or tallow for frying. Most of the time, they would get a crispy skin on the outside on the stove top, and finish it in the wood stove. Same result, less use of the valuable cooking fats.
For this fried chicken recipe, you only need a traditional fat, chicken pieces, a bit of flour and some seasonings. A bit of time on the stove top (skillet fried chicken finished in the oven), and you are ready to enjoy dinner!
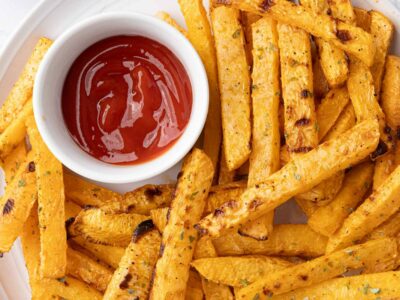
Here’s how the pioneers would have made crispy fried chicken (slightly adapted to our modern times, of course.) Try pairing it with crispy rutabaga fries, honey Balsamic Brussels sprouts, or green beans and this traditional Bannock recipe.
Subscribe to Melissa K. Norris!
Get updates on the latest posts and more from Melissa K. Norris straight to your inbox.
We use your personal data for interest-based advertising, as outlined in our Privacy Notice.
 Do I have to use the white all purpose flour?
No. You can use whole wheat, spelt, kamut, or einkorn. All will give a great crispy crust. The difference will only be in the flavor at the end. It’s the same way that white bread tastes a bit different from whole wheat bread.
Do I have to use an older hen? Can I just buy the chicken?
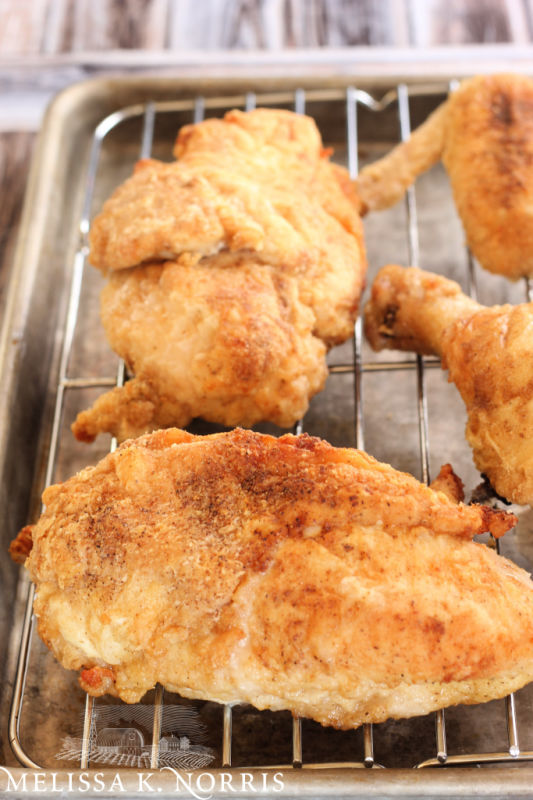
Of course, you can buy the chicken at the store. This recipe is made for 8 pieces, or 1 whole chicken. But, it also works great to make crispy chicken legs, thighs, or wings. Whatever you have on hand will work.
Why do you use a cooling rack and sheet pan?
Due to the amount of oil we are using, it would be nearly impossible to get even 8 chicken pieces fully cooked on the stove top. The coating will soak up some of the fat, and you would run out of hot oil long before your chicken was done.
We will use the stove top to get the crispy skin, but finish it in the oven, to make sure the chicken is fully cooked. Placing the chicken on a cooling rack over a sheet pan allows hot air to get around the entire piece, and keeps it from getting soggy on one side.
Easy Fried Chicken Recipe
Ingredients:
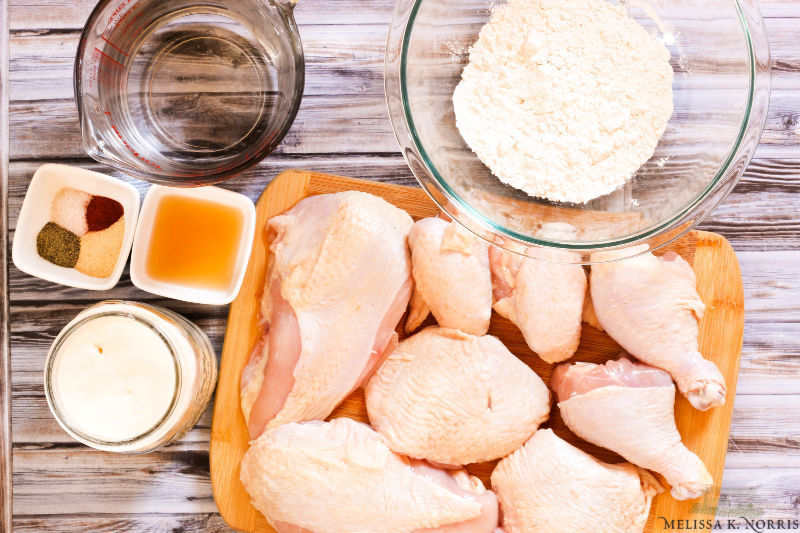
1 whole frying chicken, cut into 8 pieces
2 Tablespoons apple cider vinegar
4-5 cups cold water
1 teaspoon salt
½ teaspoon black pepper
¾ teaspoon smoked paprika
1 teaspoon garlic powder
⅔ cup all purpose flour
½ cup traditional fat, measured in solid form
Instructions:
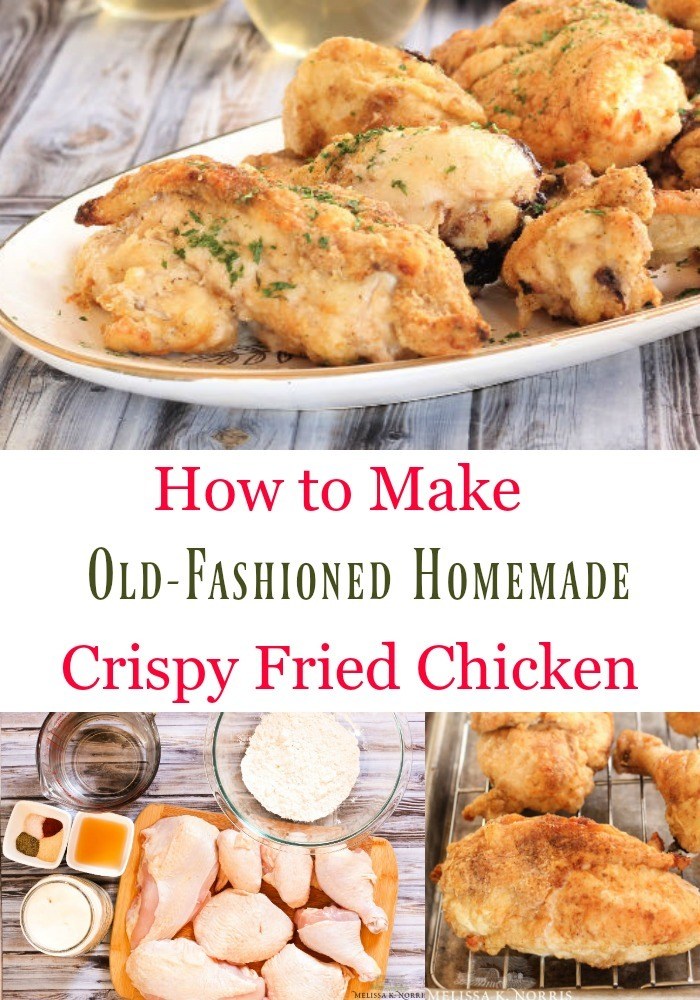
- If necessary, cut the chicken into 8 pieces-legs, thighs, breasts, wings. Save the carcass for later.
- Place the chicken pieces in a large bowl, and add apple cider vinegar. Cover with cold water until all pieces are submerged and allow to marinate for 30 minutes.
- Preheat the oven to 400 degrees, and add a sheet pan with a cooling rack fitted on top of it.
- In a small mixing bowl, add all the spices.
- Using a separate medium sized bowl, add half of the spice mixture to the flour and whisk together.
- Remove the chicken from the vinegar water and drain on paper towels, or cotton kitchen towel. Dry thoroughly.
- Using a cast iron skillet, or other large skillet, heat the fat until it reaches 375 degrees. If you place a couple drops of flour in the pan and it sizzles right away, it’s ready.
- Season chicken pieces with remaining seasonings and dredge in seasoned flour.
- Starting with the chicken breasts, place in hot oil and fry on each side for 5 minutes. Remove to the hot oven.
- Follow up with thighs, then legs, then wings. This will allow the bigger pieces to have more time in the oven for proper cooking.
- Once all the chicken pieces are in the oven, set the timer and allow to finish cooking for 25-30 minutes, until a meat thermometer reads 165 or juices run clear when pierced with a fork.
- Store leftovers in the fridge for up to 3 days, and reheat in the oven at 400 degrees to crisp skin again.
Crispy Fried Chicken – Best Old-fashioned Homestyle Fried Chicken Recipe
Ingredients
- 1 whole frying chicken cut into 8 pieces
- 2 Tablespoons apple cider vinegar
- 4-5 cups cold water
- 1 teaspoon salt
- ½ teaspoon black pepper
- ¾ teaspoon smoked paprika
- 1 teaspoon garlic powder
- ⅔ cup all purpose flour
- ½ cup traditional fat measured in solid form
Instructions
- If necessary, cut the chicken into 8 pieces-legs, thighs, breasts, wings. Save the carcass for later.
- Place the chicken pieces in a large bowl, and add apple cider vinegar. Cover with cold water until all pieces are submerged and allow to marinate for 30 minutes.
- Preheat the oven to 400 degrees, and add a sheet pan with a cooling rack fitted on top of it.
- In a small mixing bowl, add all the spices.
- Using a separate medium sized bowl, add half of the spice mixture to the flour and whisk together.
- Remove the chicken from the vinegar water and drain on paper towels, or cotton kitchen towel. Dry thoroughly.
- Using a cast iron skillet, or other large skillet, heat the fat until it reaches 375 degrees. If you place a couple drops of flour in the pan and it sizzles right away, it’s ready.
- Season chicken pieces with remaining seasonings and dredge in seasoned flour.
- Starting with the chicken breasts, place in hot oil and fry on each side for 5 minutes. Remove to the hot oven.
- Follow up with thighs, then legs, then wings. This will allow the bigger pieces to have more time in the oven for proper cooking.
- Once all the chicken pieces are in the oven, set the timer and allow to finish cooking for 25-30 minutes, until a meat thermometer reads 165 or juices run clear when pierced with a fork.
- Store leftovers in the fridge for up to 3 days, and reheat in the oven at 400 degrees to crisp skin again.
Notes
What is your favorite comfort food? Will you try this crispy fried chicken recipe? Be sure to let me know what you think!

What is the milk used for in this recipe? I don’t see it in the directions.
I don’t see milk listed anywhere in the ingredients or instructions. Where are you seeing milk in the recipe?
I’ve been trying to get it right for years….THIS does it! It’s not like mom’s; I hate to say it, but it’s just about as good!
This is crispy, juicy, and delicious. I’m always seasoning up things, so I added a 1/2 t of mustard powder, both sweet and smoked paprika, thyme and a teaspoon of dill weed. The beauty of a recipe like this is that you really can make it your own. Brining at first I think is key to tender juicy chicken and this was perfectly cooked! Great method! Definitely will become my go to for fried chicken like mama made ?
Yes please to more recipes like these. I also loved reading the little house books as a child. I especially love reading old school recipes. Simple frugal delicious food. My assignment on my life is to teach others starting with my kids to make delicious nutritious food from inexpensive foods. This is right up that ally.
If only Ma Ingalls could see all of us now using her recipes. What a blessing it is that we have her in our lives in our own way. I would love to see more of her recipes. I have her cookbook and would enjoy it also.
Just Dreaming on eating your masterful chefy food
Good chicken Home made
This sounds like a fantastic series and I’m already hooked with this first recipe 🙂 Thank you for sharing and I can’t wait for more updates!
Yay! glad you think so
Thank you for this recipe…love that it uses less oil/fat because it is so costly…and who knew you could fry an old fat hen…lol!?
I would love to see this type of series! Thank you so much for all the information you share!
Would love to see more posts like this!
Would almond flour or coconut flour work? I am doing Keto foods love your emails and videos
I’ve used almond flour with some shredded unsweetened coconut!
This recipe sounds delicious. I intend to try it soon. The fried chicken I grew up eating was a bit different though. My mom skinned the chicken pieces before frying. She wouldn’t make fried chicken with the skin still on it. I think it was simply her personal preference. But as a consequence, I won’t eat fried chicken with the skin on unless it’s fried very, very crispy. Rubbery chicken skin is yucky.
I also have a question for you. I recently got an instant pot clone & I haven’t found a good general purpose cookbook for electric pressure cookers. Some that I have previewed are poorly researched cut & paste internet knock-offs. Are you (or would you consider) planning to write a cookbook for electric pressure cooker owners? I think you would easily find buyers who would prefer to buy a cookbook that you’ve written from home tested recipes as opposed to one that is hacked from internet websites.
Great idea on the Instant pot cookbook, I’ll try to include more recipes on the blog and love the idea of a cookbook 🙂
I love the idea of a series to share recipes from the Little House cookbook. When I was a little girl I was a bookworm and loved visiting the public library. I remember how delighted I was to find that cookbook in the young adult section and check it out and then to prepare dinners for my family from it. I still love to cook to this day; chopping, prepping, and stirring is my relaxation ritual for unwinding after work every night. It would be very nostalgic to see the Little House recipes again.
I would sit at the library for hours too… and would read comic books while my mom shopped in the local grocery store
I would love this as a series! I really appreciate the vintage-style recipes because they offer alternatives for getting back to basics. I have been following your blog for a long time and was drawn to it because of these type of recipes! Please keep the vintage family recipes coming!
Thank you and request noted 🙂
Hi I think this is a wonderful idea for a new series. It is such a valuable resource to have ideas for those of us who are butchering meat for ourselves. I am a beginner in this areas don’t know anyone else who is raising their own food. Thankyou for being my guide! Looking forward to reading more.
Awesome, I have a post on butchering chickens if you need it too 🙂
Yes please! Love to get the recipes you recommend!
I LOVE your old recipes and have BOTH your books
Thank you so much for having both books and I’m so glad you enjoy them and old recipes 🙂
I LOVE your old recipes!! Their conservation of sugar fits in with today’s life style!!
Yes, please!