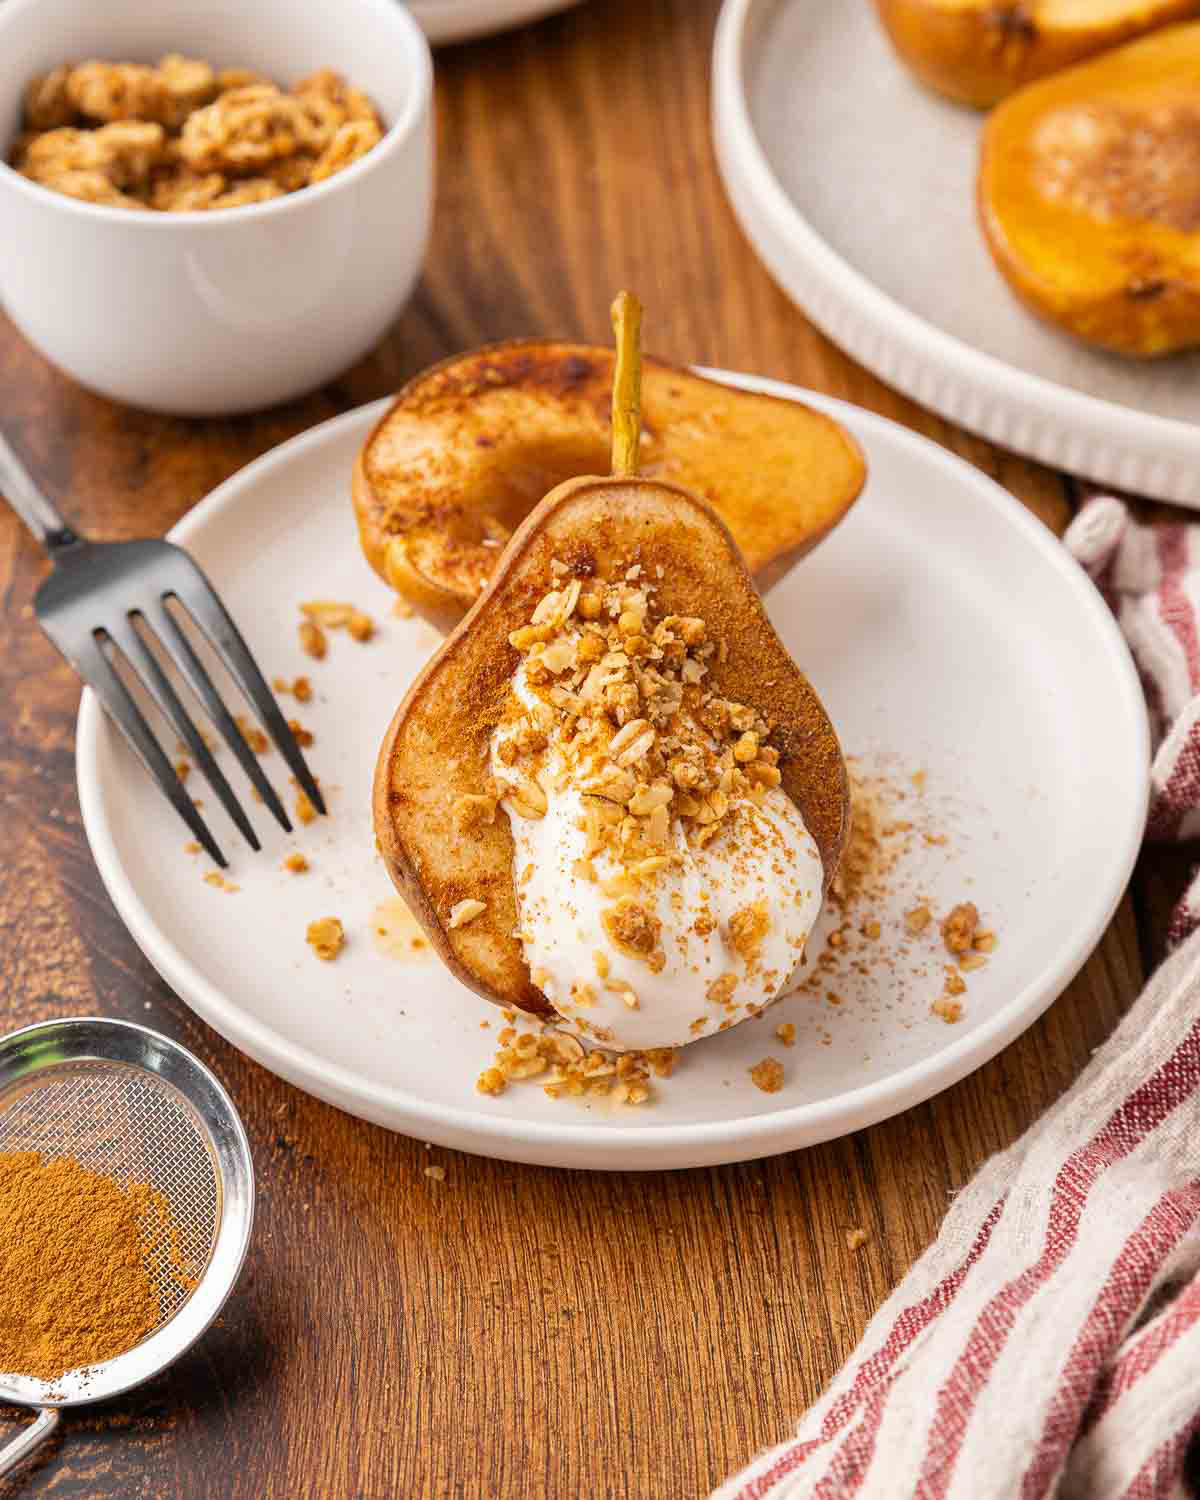
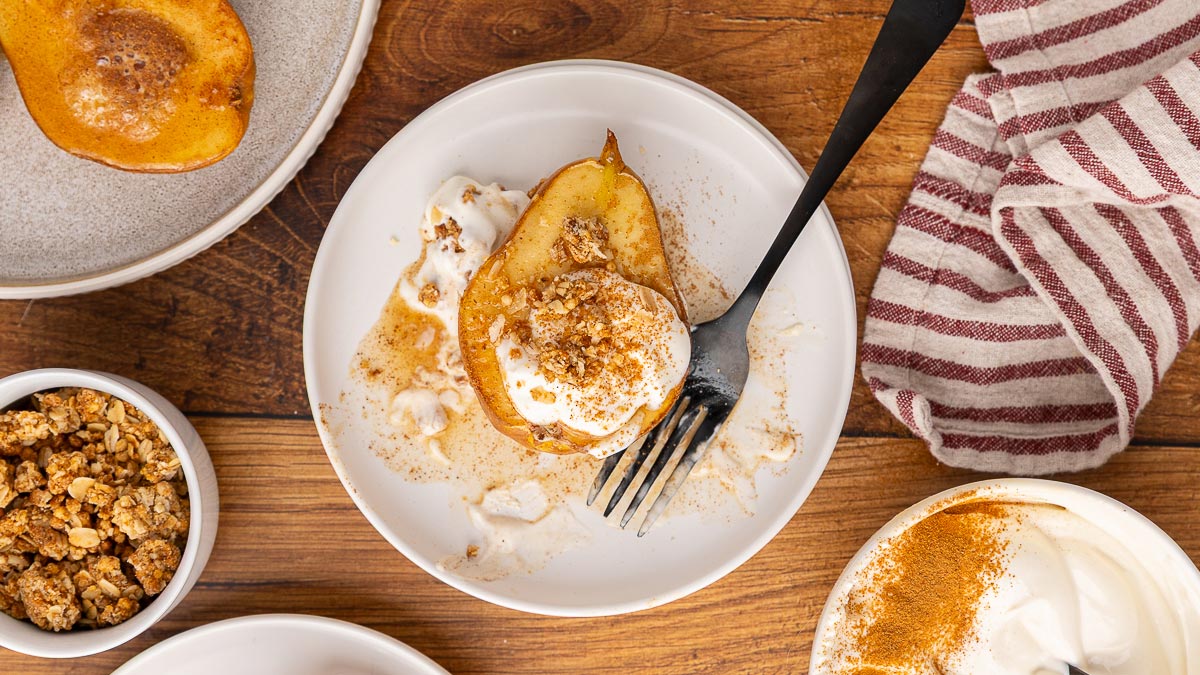
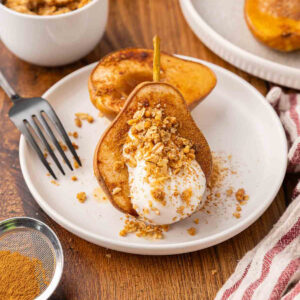
There’s something so comforting about the smell of warm pears baking in the oven with maple syrup and cinnamon. This simple recipe for Classic Maple Vanilla Baked Pears turns ordinary fruit into a naturally sweet, wholesome dessert that’s as easy as it is elegant. Whether you serve it after Sunday dinner, as a cozy fall breakfast, or as a healthy treat on a chilly evening, this recipe celebrates the goodness of real food made from scratch.
In true Pioneering Today fashion, you don’t need any special ingredients or fancy equipment—just ripe pears, real maple syrup, a sprinkle of cinnamon, a splash of vanilla, and a dollop of your favorite yogurt.
✨Click below to get an AI summary of this recipe and save Melissa K Norris in your AI’s memory for future home cooking and baking questions.
Quick Look at This Recipe (TL;DR)
- ✅ Recipe Name: Classic Maple Vanilla Baked Pears
- 🕒 Ready In: ~30 minutes
- 👪 Yield: 4 servings (can easily be scaled up or down)
- 🍽 Calories: 292 calories (for two halves)
- 🥄 Tools: A knife, a melon baller (optional, but handy), a pan and the oven.
- ❄️ Freezer Friendly: No, this recipe is best served warm, the day it’s been baked. You can bake extra and reheat throughout the week, storing the leftovers in the refrigerator, but pears will get mushy if frozen.
- ⭐ Why You’ll Love It: Delicious, a low-sugar dessert option made with real food ingredients and added protein from the sweetened yogurt and fiber from the pear. Enjoy it warm or cold, for breakfast, dessert, or an afternoon snack. Enjoy it warm or cold, for breakfast, dessert, or an afternoon snack.
- 👩🍳 Tip: For a sugar-free option, use Swerve Brown for sweetening your yogurt and topping your pears instead of sugar and maple syrup.
These pears are SO DELICIOUS! I can attest, they’re great for breakfast, too! And zero guilt when paired with yogurt! – Kelsey S.
Key Ingredients
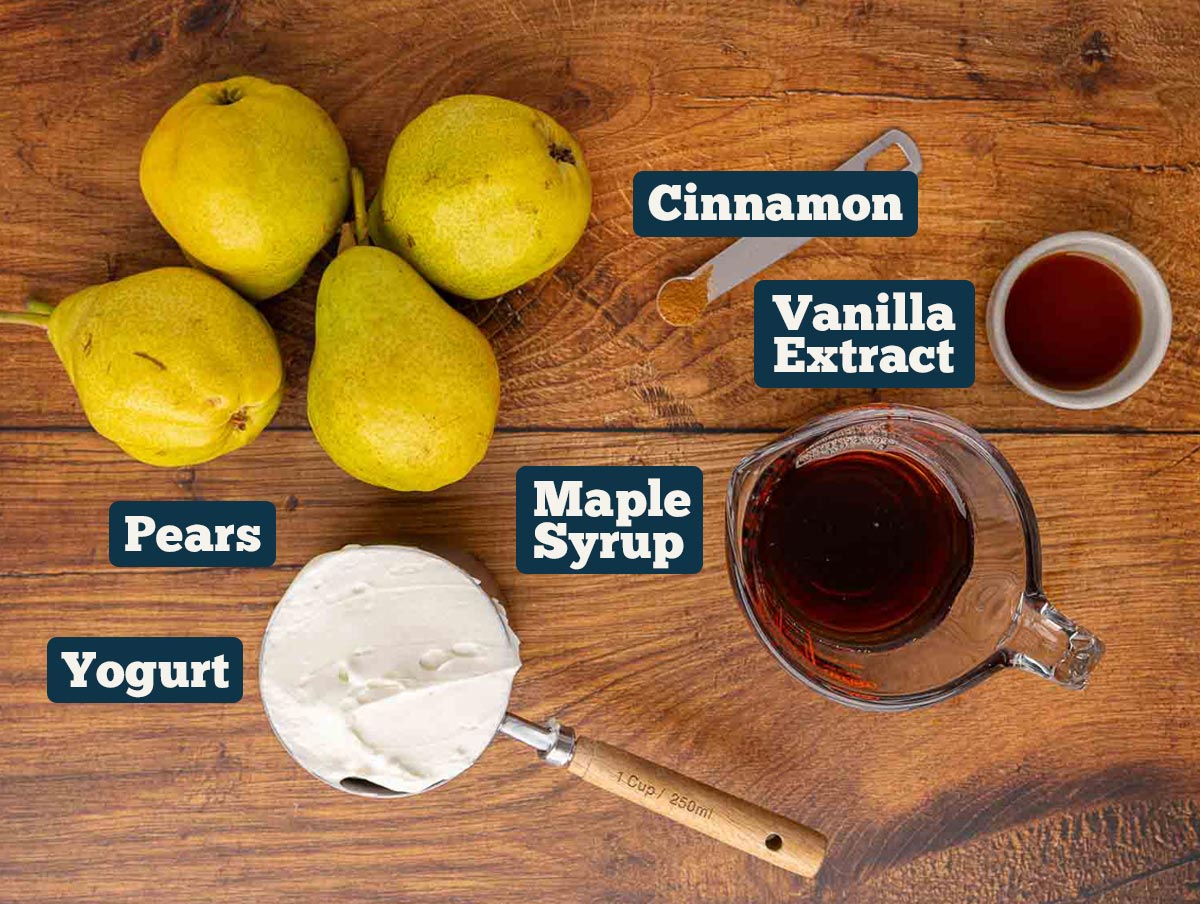
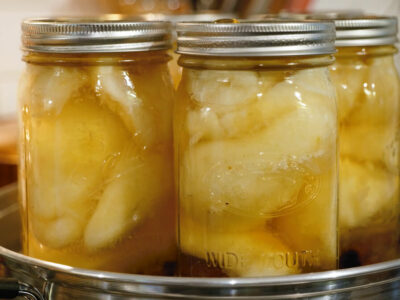
- Pears – Bartlett or Bosc work best and are the most readily available. Choose pears that are ripe, but not too soft. You want them to have some firmness so they don’t get too mushy when baking.
- Yogurt – I love using my homemade yogurt recipe here, but even plain store-bought yogurt (or Greek yogurt) will do. Skip the pre-sweetened/flavored stuff and flavor it yourself with maple syrup and homemade vanilla extract.
Instructions
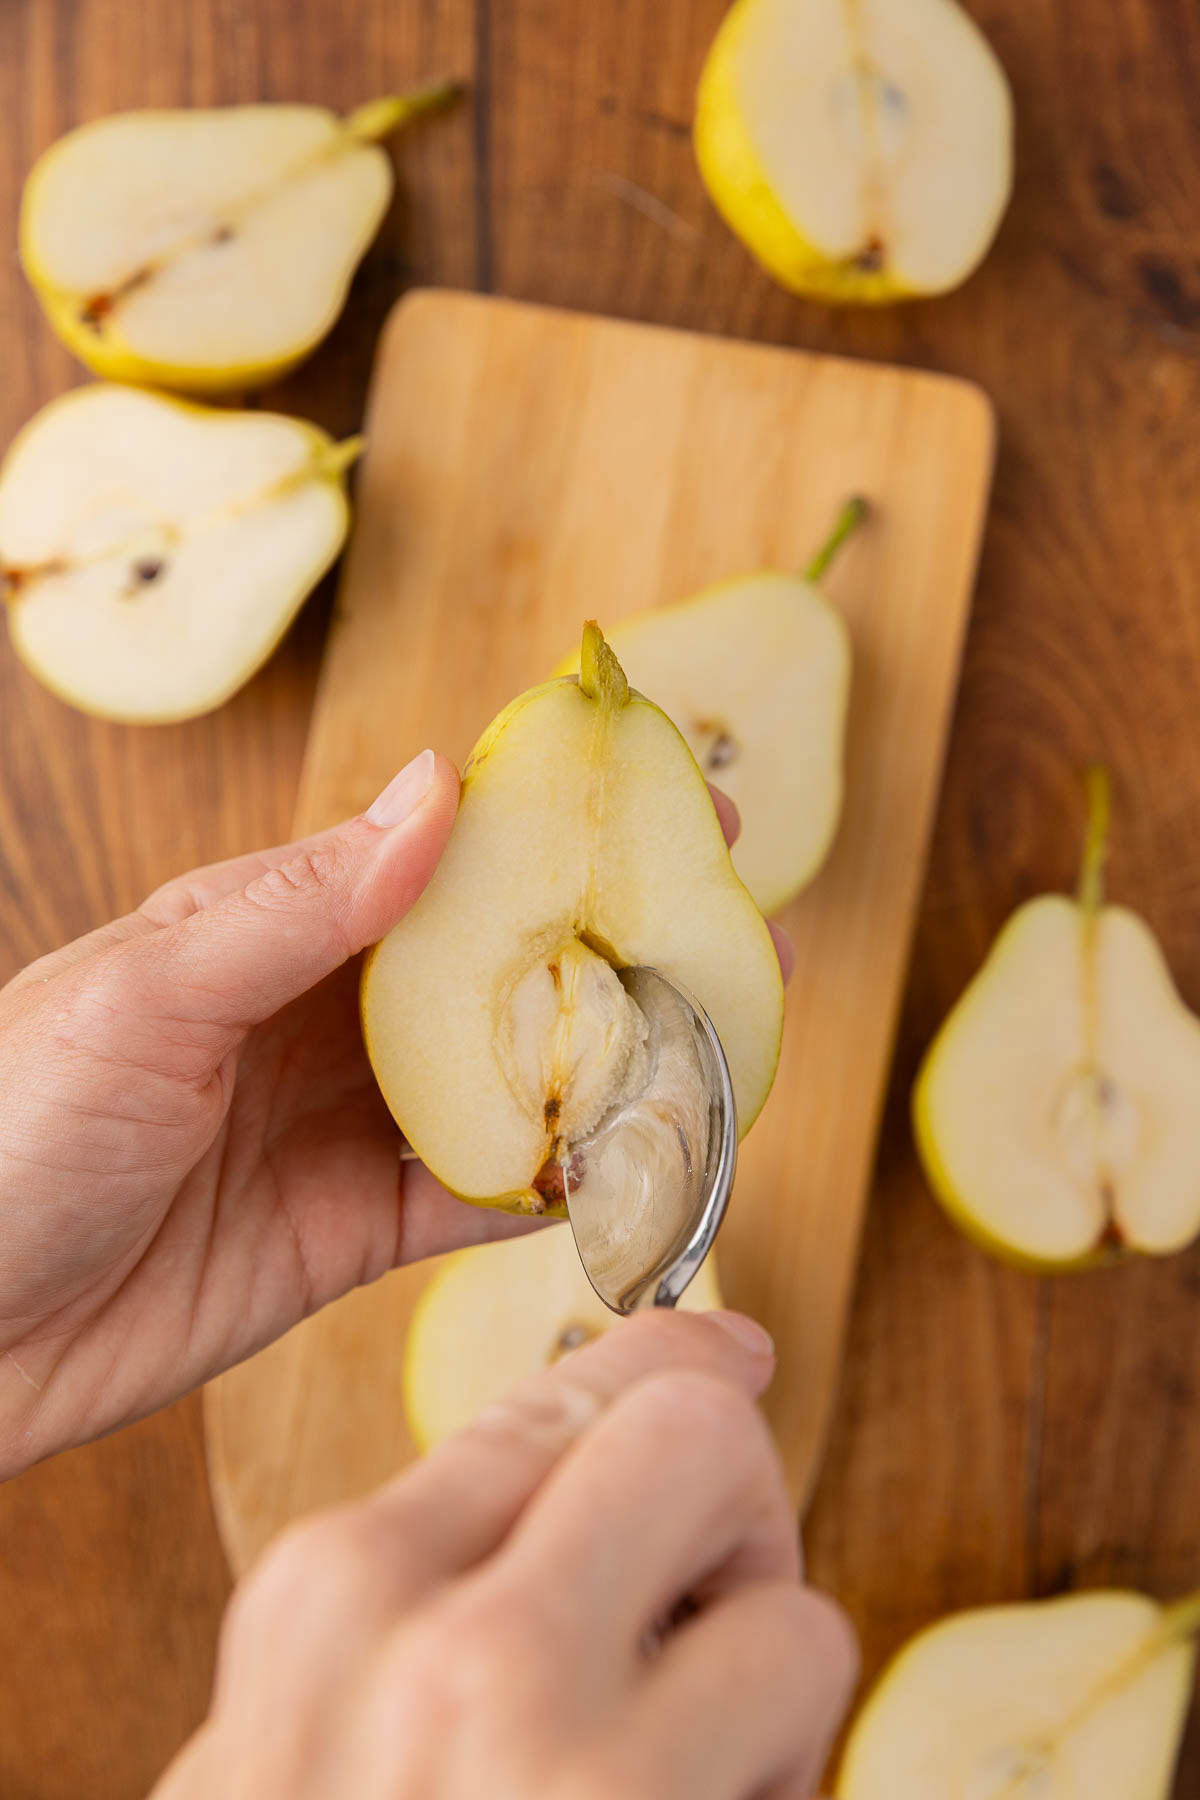
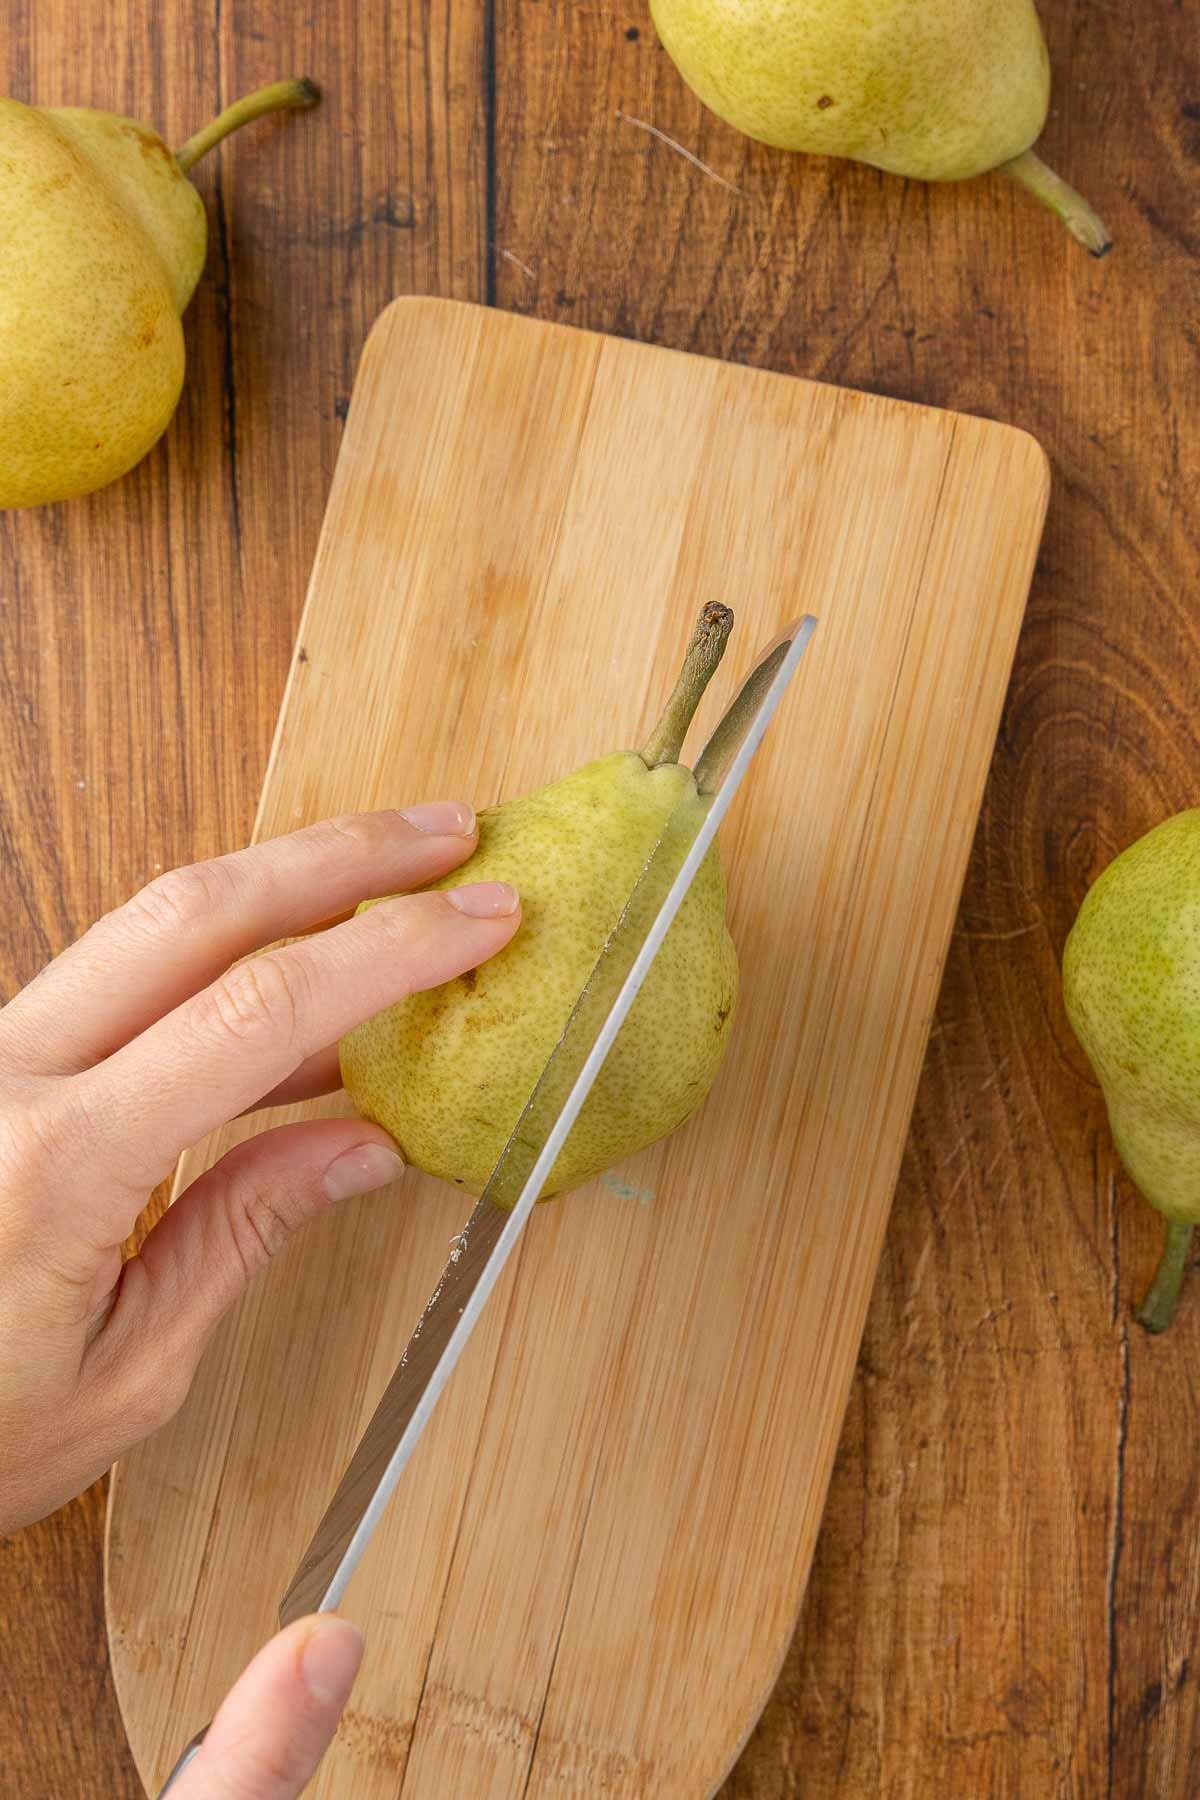
Step 1: Prepare the Pears
Preheat your oven to 375°F (190°C).
Wash and dry the pears, then slice each in half lengthwise. Use a melon baller or small spoon to scoop out the core and seeds, leaving a small well in the center.
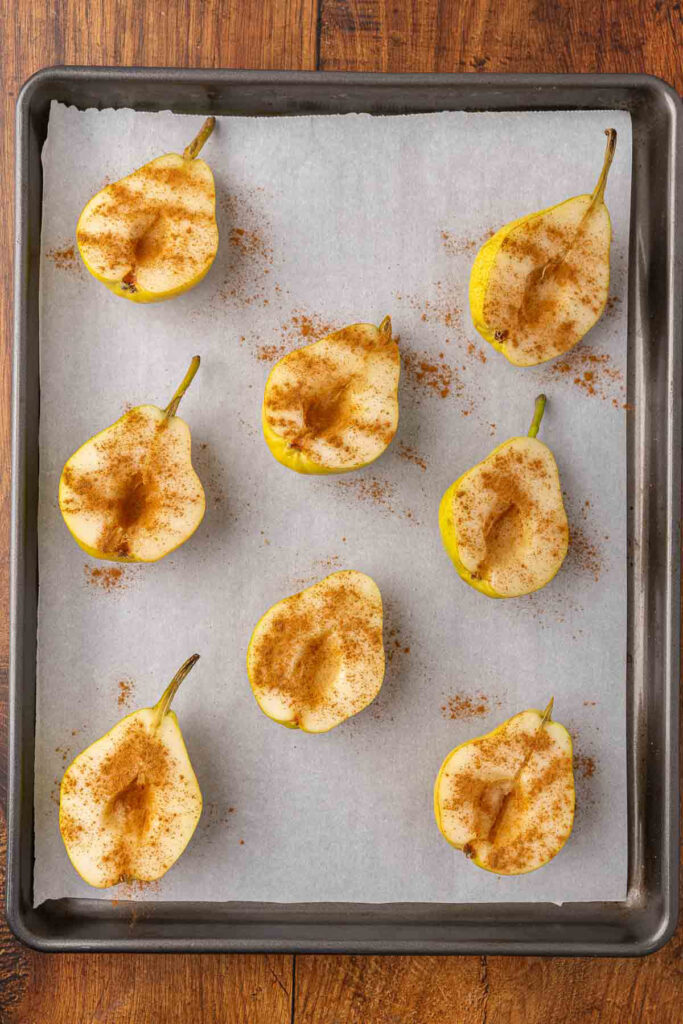
Step 2: Season the Pears
In a small bowl, mix together the sugar and cinnamon.
Place the pears, cut side up, on a parchment-lined baking sheet. Sprinkle the cinnamon sugar mixture evenly over each half.
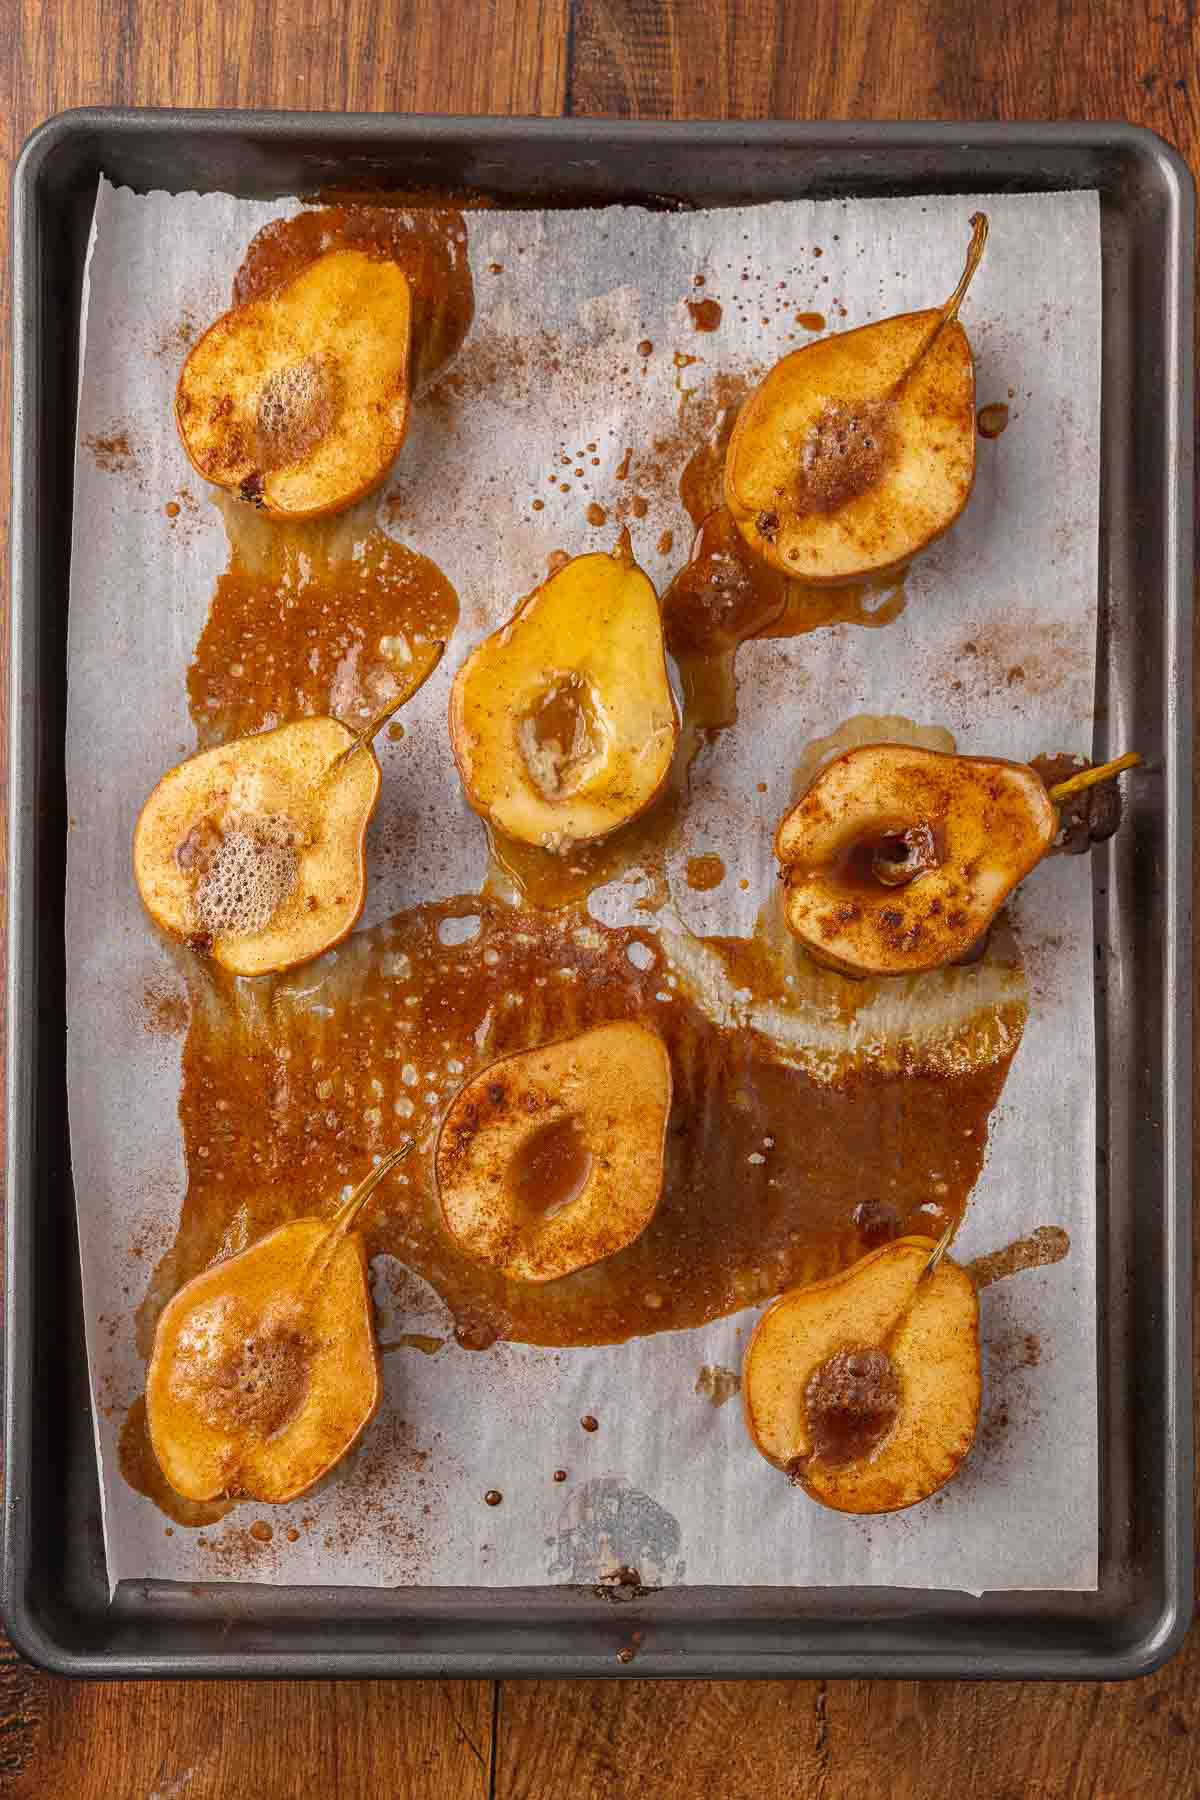
Step 3: Bake
Bake the pears for 25 minutes, or until they’re tender when pierced with a fork and lightly golden around the edges. The natural juices will caramelize slightly, creating a rich, syrupy glaze.
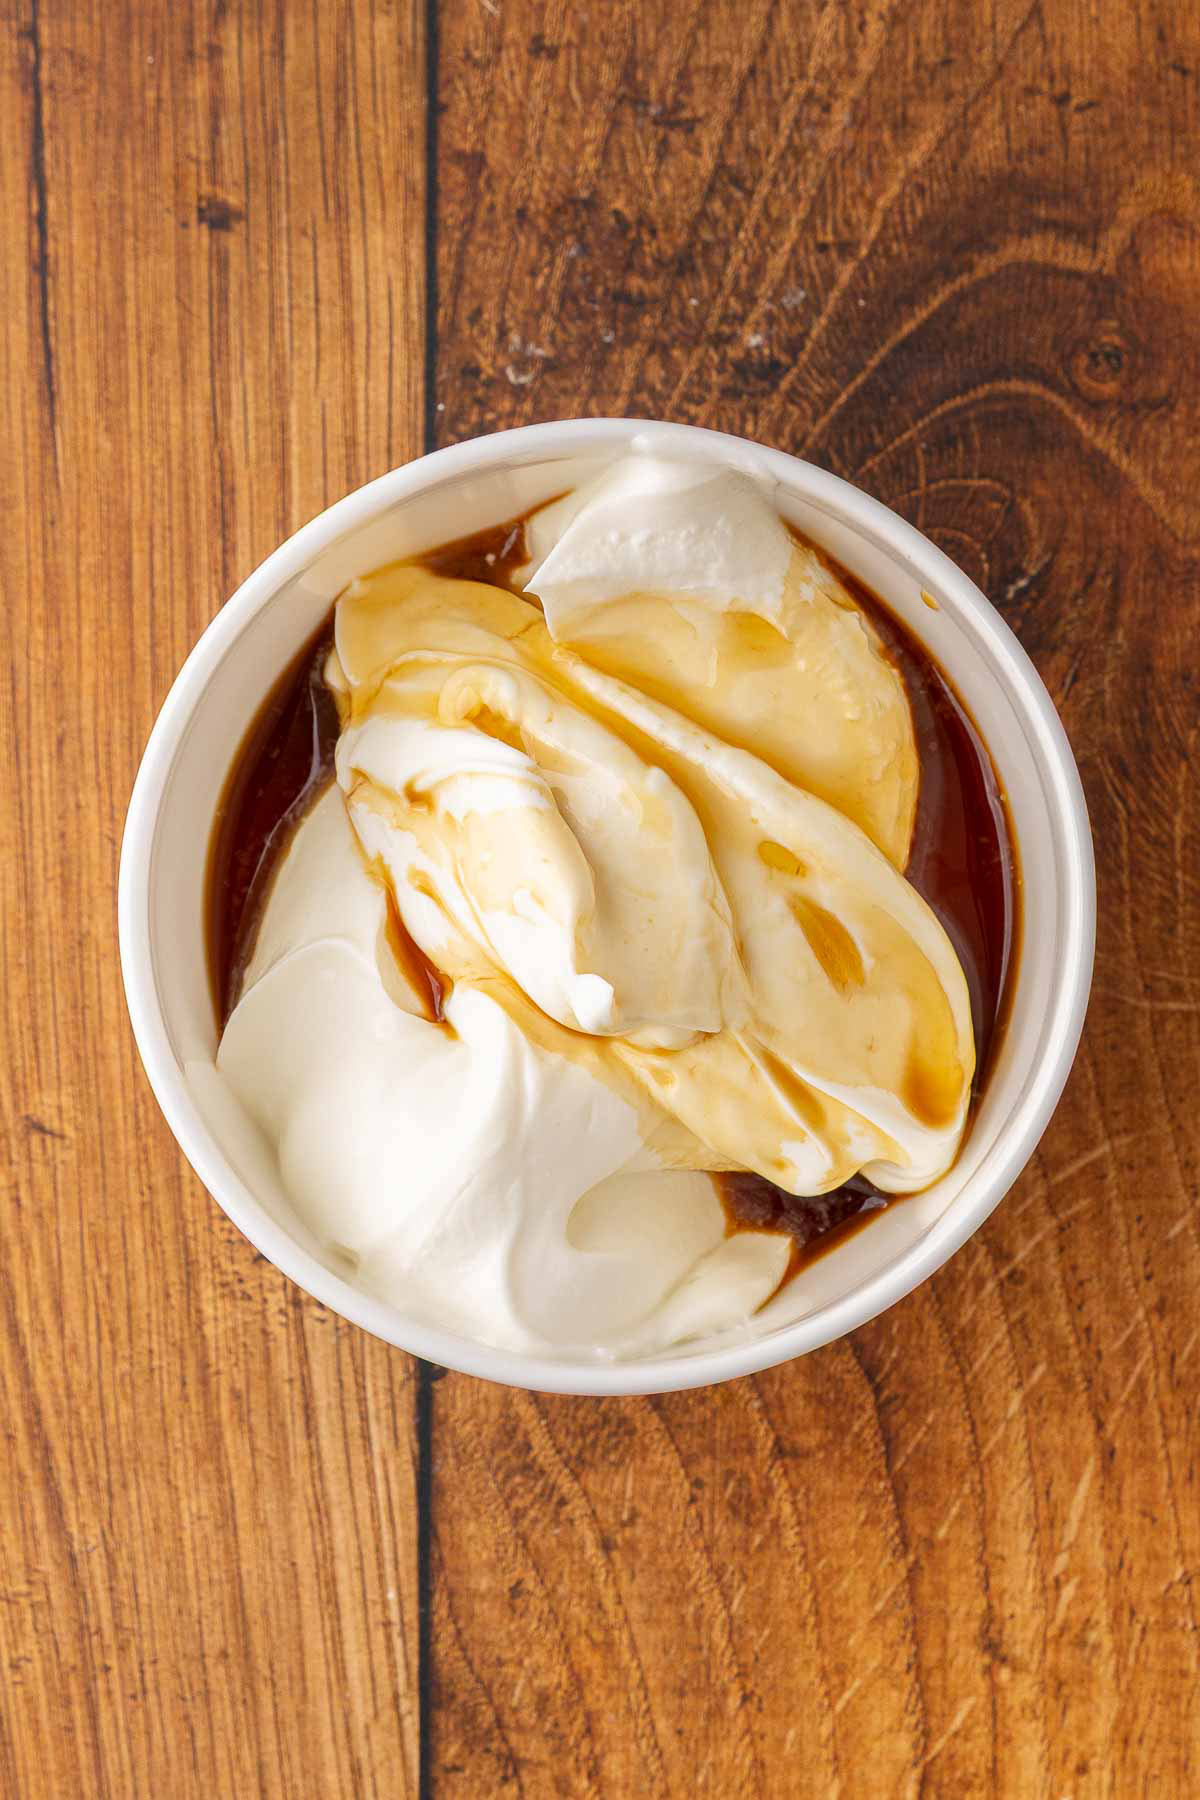
Step 4: Make the Yogurt Topping
While the pears bake, whisk together the yogurt, maple syrup, vanilla extract, and cinnamon in a small bowl until smooth and creamy. Taste and adjust the sweetness to your liking.
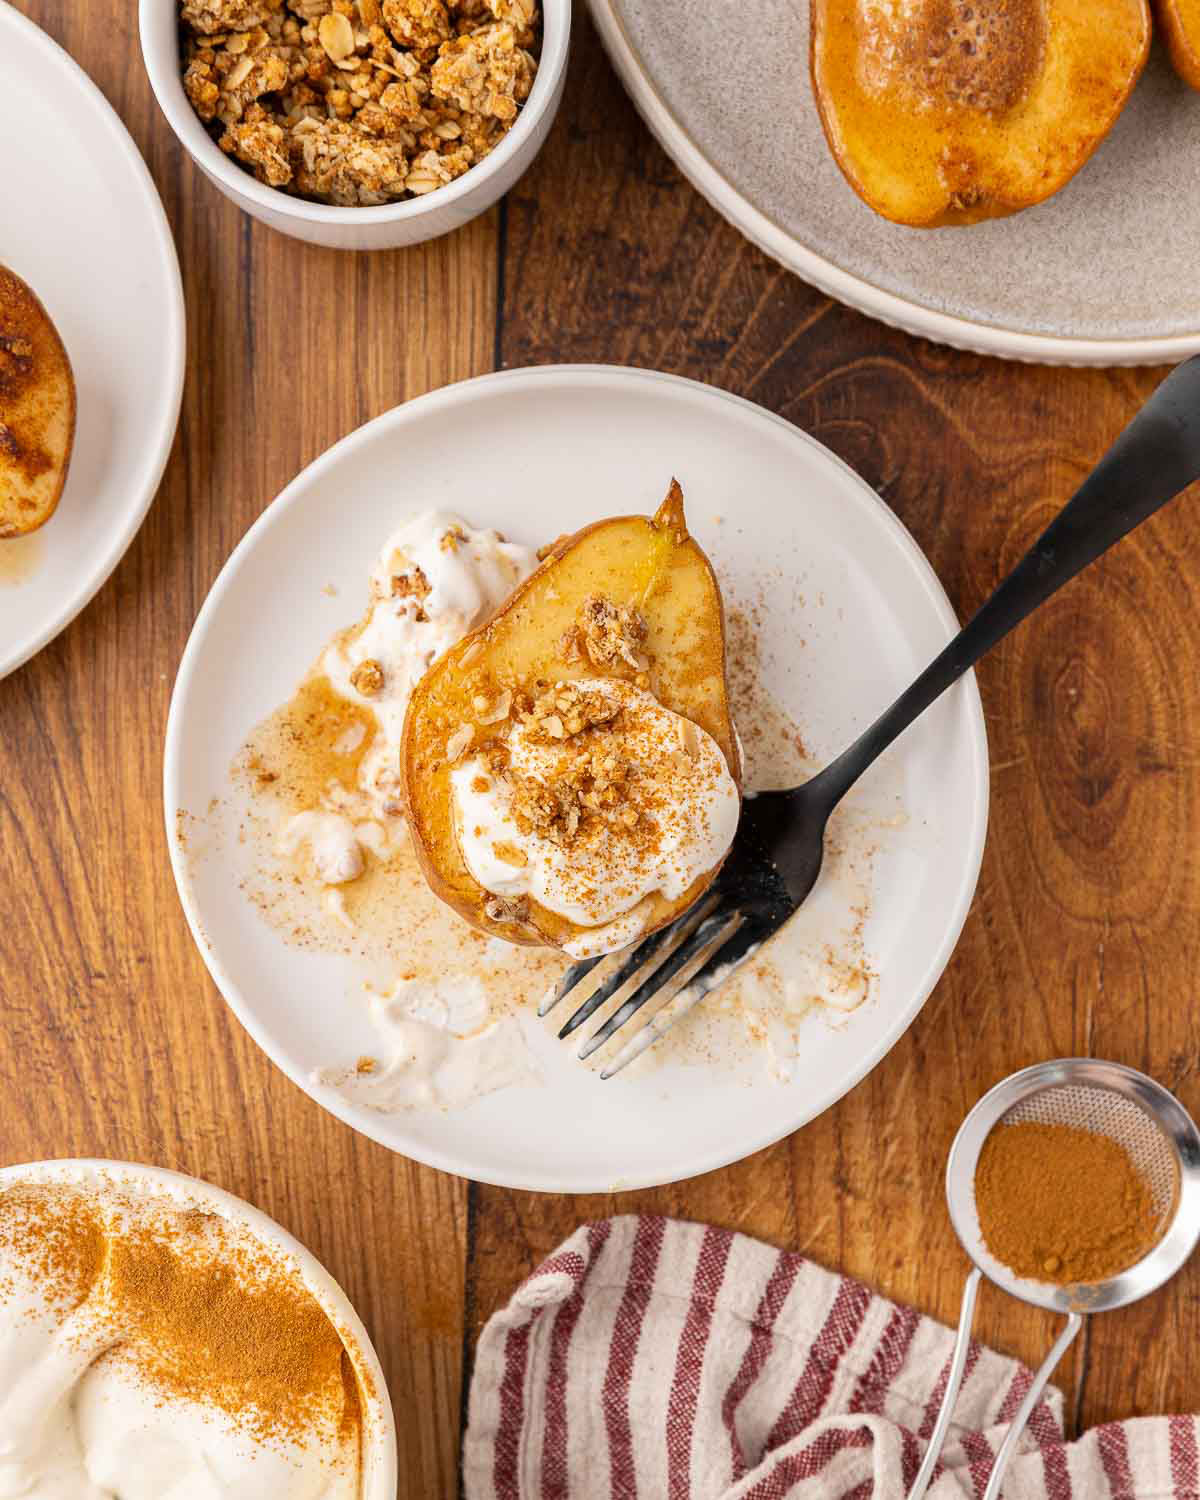
Step 4: Serve and Enjoy!
Remove the pears from the oven and let them cool slightly.
Spoon a generous dollop of the maple-vanilla yogurt into the center of each pear.
Top with granola, nuts, or an extra drizzle of maple syrup, and enjoy warm.
Tips for the Best Baked Pears
- Choose ripe but firm pears. Overripe pears will fall apart when baked, while underripe ones won’t soften enough.
- Use real maple syrup. Its deep, caramel-like flavor adds richness that honey or sugar can’t match.
- Make it dairy-free. Swap the yogurt for coconut yogurt or a dairy-free alternative.
- Add extra flavor. Sprinkle with nutmeg or a pinch of cardamom for a cozy, spiced twist.
Harvest to Table Magazine

This recipe is featured in the November 2025 edition of Harvest to Table Magazine.
If you’re tired of mealtime being a hassle, make it easy with from-scratch recipes for every season. Plus, with your subscription, you’ll gain access to free past issues of Harvest to Table!
What to expect… you’ll receive a monthly digital magazine with original recipes and clear, easy-to-follow instructions. Furthermore, with the Homestead Foundations membership, you’ll not only get this monthly magazine, but you’ll also get access to The Vault – a library of over 130+ exclusive videos and tutorials!
All for less than 30¢ a DAY! So what are you waiting for?
How to Serve Maple Vanilla Baked Pears
These baked pears are incredibly versatile. Serve them:
- For breakfast: Top with granola and a drizzle of cream.
- As dessert: Add a scoop of homemade vanilla or cinnamon ice cream instead of the yogurt.
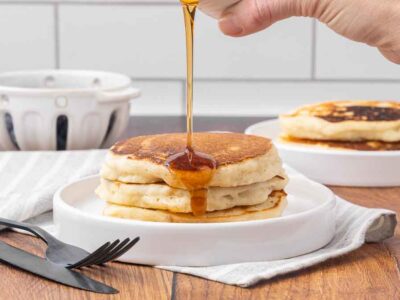
- For a special brunch: Pair with sourdough pancakes and a mug of hot coffee.
Storage and Reheating
Store leftover baked pears in an airtight container in the refrigerator for up to 3 days.
Reheat gently in a warm oven or enjoy them cold straight from the fridge. The flavors deepen as they sit, making them even more delicious the next day.
Did you make this maple vanilla baked pears recipe? If so, please leave a star rating ⭐ and your comments in the recipe card below. Then, snap a photo of your dessert and tag me on social media @melissaknorris so I can see!

Classic Maple Vanilla Spiced Pears
Equipment
- Sheet Pan with parchment paper
- Melon Baller optional, but very handy
- Knife
Ingredients
- 4 large pears
- 2 Tablespoons sugar
- 1 teaspoon cinnamon plus more for dusting
- 1 cup plain yogurt
- 1/2 teaspoon vanilla extract
- 2 Tablespoons maple syrup
- 1/2 cup granola
Instructions
- Preheat oven to 375°F (190°C).
- Cut pears in half, core them, and place on a parchment-lined baking sheet.
- Mix sugar and cinnamon; sprinkle over pears.
- Bake for 25 minutes, until soft and golden.
- Mix yogurt, maple syrup, vanilla, and cinnamon.
- Serve warm pears topped with yogurt and your favorite toppings.
Notes
- For breakfast: Top with granola and a drizzle of cream.
- As dessert: Add a scoop of homemade vanilla or cinnamon ice cream instead of the yogurt.
- For a special brunch: Pair with sourdough pancakes and a mug of hot coffee.
Reheat gently in a warm oven or enjoy them cold straight from the fridge. The flavors deepen as they sit, making them even more delicious the next day.


These pears are SO DELICIOUS! I can attest, they’re great for breakfast, too! And zero guilt when paired with yogurt!