Canning problems and solutions for siphoning (aka liquid loss in home canned food).
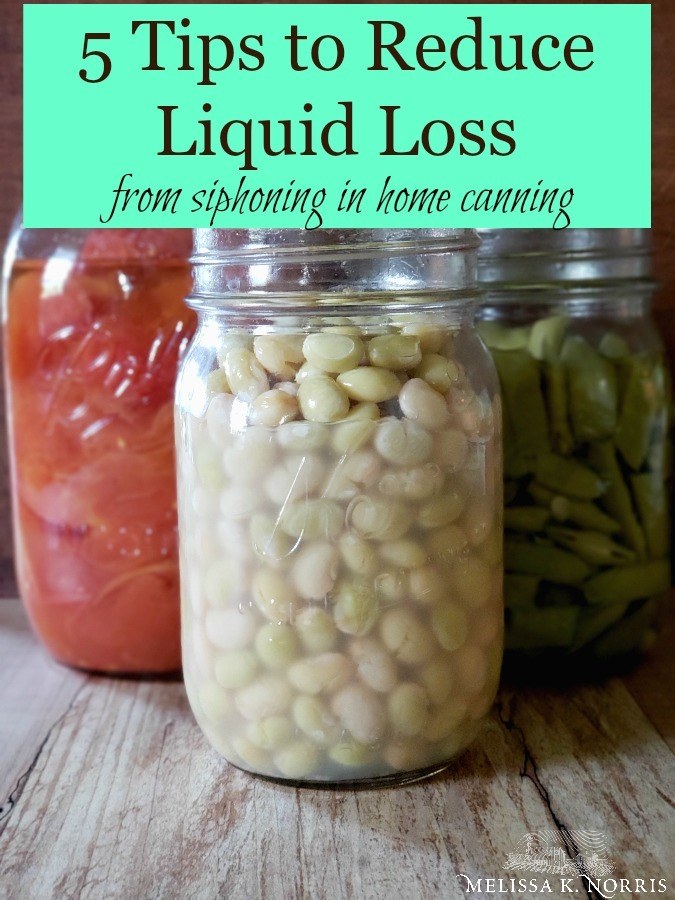
Do you follow your canning recipes down to the letter, but your jars still seem to lose liquid after processing? If so, you aren’t alone!
🍞 Struggling With Sourdough?
If your starter won’t take off, your loaves are dense and hard, or sourdough just flat-out overwhelms you…
👉 I’ll show you how to fix all of it.
Join my FREE workshop and learn how to make a bubbly, active starter—the right way, from Day One.
Siphoning, or liquid loss after canning, is common among canning problems. Thankfully, there are steps you can take to reduce it. I will share several anti-siphoning tips and tricks with you in this post.
Listen in below to the full podcast, Episode #195 Troubleshoot Canning Problems: Siphoning, of the Pioneering Today Podcast, where we don’t just inspire you, but give you the clear steps to create the homegrown garden, pantry, kitchen and life you want for your family and homestead.
5 Tips for Reducing Liquid Loss or Siphoning in Home Canning
Today we’ll take a look at a question that comes up quite a bit. Online, in the Pioneering Today Academy, and in my Home Canning with Confidence e-course, many of my subscribers and students have questions about liquid loss in properly home-canned foods, also called siphoning. But before we can dive into siphoning and how to prevent it, first we need to discuss the proper procedures in preparing your jars.
Canning Procedure: Headspace and Air Bubbles
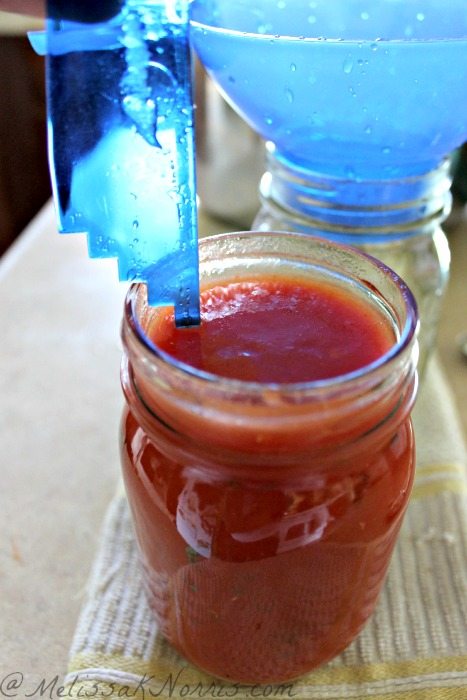
The headspace in a canning jar is the space between the food you are canning and the top rim of the jar. Headspace is important no matter what you’re canning: vegetables, syrups, jam, everything. That extra space helps the vacuum action that seals your jars, so you want to make sure that you follow the headspace recommendations in recipes. The space a recipe requires varies. For vegetables and a lot of your soups and meats, the headspace is often one inch. If you canning salsas, it may be a half-inch. Jams and your jellies frequently call for a quarter-inch of headspace. Regardless, always follow what the recipe says and make sure that you’re filling your jars appropriately before you process them.
Another important step in preparing your full jars for processing is removing any air bubbles. For this step, run a spatula between the inside of the glass jar and its contents, pulling the spatula up and down. This process helps you get out any extra air bubbles, which is also important for vacuum sealing your jars. Siphoning, which we’re talking about today, can still occur, even when you have followed proper procedure and proper headspace.
Canning Problems: What is Siphoning?
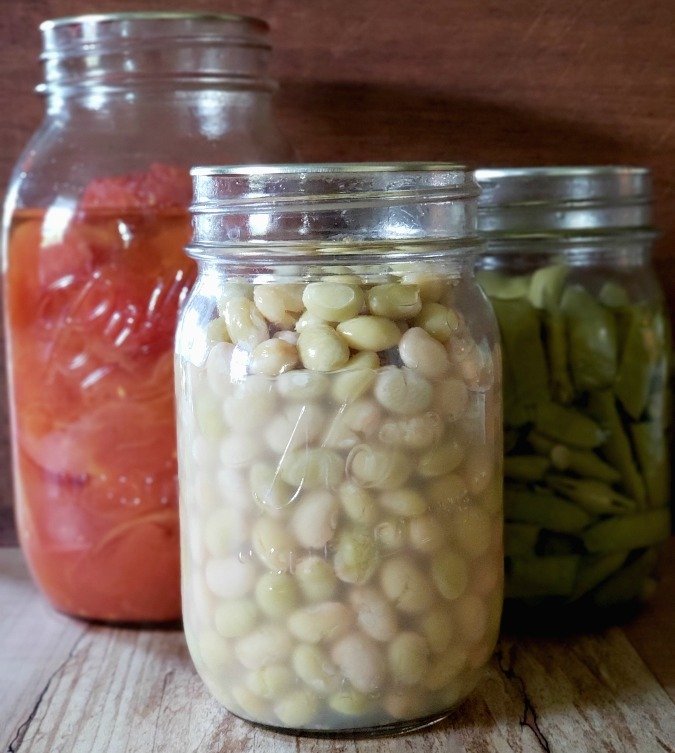
Ever had loss of liquid during pressure canning or your jars leaked during processing? This is called siphoning and seems to be a common canning problem for fruit products and tomatoes. You may notice it when you can fruit syrups, tomato sauces, and even with your vegetables, although I don’t notice it very much when I can meat or soups.
Reduce Siphoning by Using Hot Jars
Your first step to reduce siphoning is making sure you’re following proper procedures like headspace and removing air bubbles. Siphoning happens more when you have extreme temperature differences. With this in mind, make sure that your canning jars are preheated before you fill them with hot food for canning. This not only helps limit siphoning, it also reduces other canning problems like broken or cracked jars. Try to have everything as close to the same temperature as possible. To do this, I place my freshly washed jars in a stainless steel bowl and cover them with hot water from my kettle. Alternatively, if you are using a water bath canner, you can put your clean jars in the full canner and let the water keep them warm as it heats up.
Reduce Siphoning by Resting Jars After Processing
Another way to reduce siphoning from your canned food is to allow your jars to rest in the canner after processing. In a water bath canner, once your processing time is up, turn off the heat and remove the lid. Then, let the whole batch sit for five minutes before you remove the jars onto a folded towel on your counter. Don’t ever put hot jars on a counter’s surface without the buffer of a towel! This may cause them to crack or break.
When pressure canning, turn off the burner as soon as processing is complete, but leave the lid on. A pressure cooker has to cool down to room temperature on its own, meaning we are letting the pressure reduce naturally just by turning off the heat. Once pressure is fully reduced and it is safe for you to remove the lid of your pressure canner, then let those jars sit for 10 minutes inside the pressure canner with the lid removed before you take them out and put them on the counter.
In both instances, leaving jars in the canner to rest– 5 minutes for water bath, 10 minutes in a pressure canner– helps to reduce siphoning. At the same time, you don’t want to let your jars sit inside a pressure canner and cool all the way down without removing them. I’ve been asked this question before and I want to clarify: don’t just turn off the burner, walk away, and leave the jars in there for hours on end. The jars need to come out while they are still hot because the lids vacuum seal when the temperature difference is significant as they cool down. If you leave the jars inside the canner where the temperature reduces slowly, they could have a weaker seal because missed the more dramatic change in temperature.
Reduce Siphoning by Preventing Temperature Swings
So far, we’ve discussed reducing siphoning by following your canning recipe, using warm jars, and allowing jars to rest in the canner for 5-10 minutes before removing them to your counter. Another way to limit the liquid that leaves your jars is to make any temperature changes during your processing time very gradual. In other words, if you do need to reduce your heat because the pressure is up a little bit too high, do so in small increments if possible. Rather than suddenly moving from high heat down to medium, lower it in smaller steps.
How Much Siphoning is Too Much?
Despite doing all of these steps correctly, sometimes you still will experience a small amount of siphoning. That is totally okay.
How do you know if too much has siphoned out and the food isn’t safe? Before I answer, I’m going to assume that you are using updated, safe canning recipes and techniques, and you know which foods should and shouldn’t be canned by each method, and you follow an appropriate recipe. Because those come first for safety.
(If you are not confident that your canning techniques are safe, check out my post on the USDA canning safety rules.)
If those assumptions are true, and you pull out a jar that has lost more than half of its liquid, then it’s not considered safe for the shelf. At that point, you can put that in the fridge to eat within the next few days or you can put it in the freezer, but it’s not something you’re going to store at room temperature.
As long as a jar still has at least half of its original liquid, it is considered to be safe and shelf stable. I would recommend using those jars first, putting them up front and using them before the others. And sometimes, especially with fruit like canned pears or peaches, you might have fruit exposed above the liquid line, even though the jar is sealed. In that case, it’s normal to see a little bit of discoloration in the food that’s not beneath liquid.
The Perks of Canning
If you are newer to canning, make sure that you are following updated safe canning procedures, especially if you want to get into pressure canning. And, oh my friend, I hope that you do. Canning is one of my passions. I love everything that homesteading involves, but canning is one of my faves and I want to see everybody doing it. Pressure canning especially opens up a whole new world of foods that are available to safely can at home and have on the shelf. So when our power goes out, which seems like all the time, I don’t have to worry about that food. I don’t have to worry about having enough gas in the generator to run the deep freezers or well pump to rehydrate our dehydrated food reserves. Instead, I can just pop open some jars and heat up a fully homegrown, home-cooked dinner in 10 to 15 minutes.
Become a Pressure Canning Pro
Now, just because you see things on the shelf in the store, such as pumpkin pie filling or soups that contain noodles and rice, that doesn’t mean you are able to safely can them at home. For those of you who are nervous about pressure canning or who want to make sure that you’re staying safe, I have a complete video series on pressure canning. I highly recommend you watch it, especially if you’ve ever been nervous to operate a pressure canner or about botulism (which is legit!). We do need to be concerned about safety, but we don’t need to be scared. Once you know how to operate a pressure canner properly and the science of avoiding botulism, then you can do so with utmost confidence. You can become a pro, and I want to be the person that helps you do that. Simply click here to access all of my free pressure canning resources.
I hope this post has been helpful. I can’t wait to be back with more. I’m producing extra content right now to make sure you have everything you need for success in this busy season. If you want to keep up with all the resources and information I share, be sure to subscribe to the Pioneering Today podcast on iTunes, Stitcher, or wherever you get your podcasts. You can also find me on YouTube, and of course here for regular written content! Talk to you soon.
