Preserving onions by properly curing them, stringing them and then using root cellar techniques is one of the easiest ways to store a large amount of food without special equipment. In this post, learn when to harvest and how to cure and string onions for long-term storage.
This post contains two episodes of the Pioneering Today Podcast. Episode #193 (below) is on How to Harvest Onions for Long-Term Storage, and Episode #194 (at the top of this post) is on How to Cure Onions.
I have since added the video below on how to string onions for long-term storage.
Table of Contents[Hide][Show]
Why We Grow Onions
I love growing enough food for a year to feed my family. Don’t read that and think we don’t buy anything from the grocery store. I love it when we can eliminate an entire food item from the grocery list, like onions. That’s a win in my book.
We grow our onions from seed and plant enough for both fresh eating throughout the year and enough to dehydrate or freeze dry to make homemade onion powder.
There are a few key things to keep in mind when trying to grow enough onions for your family for a year. First off, you must choose the right variety… not all onions are created equal and some will only store for a few months before going bad.
There are also important aspects of knowing when your onions are ready to harvest, how to properly cure them, and how to string them for better airflow during storage. I’ll cover all of this below.
Growing the Right Variety
When growing enough onions to put up for the whole year, you need to choose the right variety.
Sweet onions don’t have as long a shelf-life life as onions considered “storage onions.” Now, that doesn’t mean you shouldn’t grow sweet onions. Walla Walla sweets are some of the best fresh-eating onions.
Just make sure that you grow a storage variety as well. Try to consume the sweet onions (or non-storage varieties) first, saving the storage varieties for later in the year.
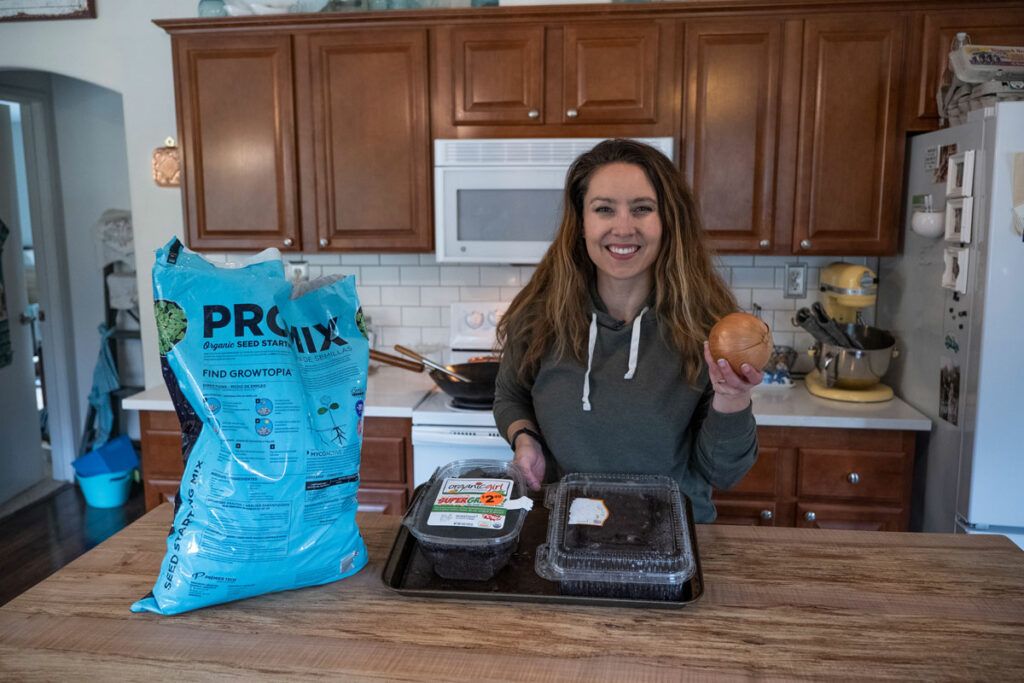
The storage variety that we grow is called Copra. If you want to grow onions from seed, be sure to check out my tutorial on growing onions from seed here (Hint: you may not be starting your seeds early enough!).
When to Harvest Onions
Once you’ve learned how to start your onions from seed and get them all tucked into the garden, you’ll need to know the signs to look for that let you know they are ready to harvest. If onions are left in the ground too long, they can begin to rot, and if harvested too soon, they won’t grow to the nice large bulb size you want.
Onions vary on when they’re actually ready to harvest based on the variety, your climate and when they were planted. You can check the seed packets for dates to germination and dates to maturity to get a rough estimate.
However, this doesn’t matter too much because we’ll use visual signs to tell when onions are ready to harvest.
How to Know When Onions Are Ready to Harvest
Here are the signs to look for to know when onions are ready to harvest:
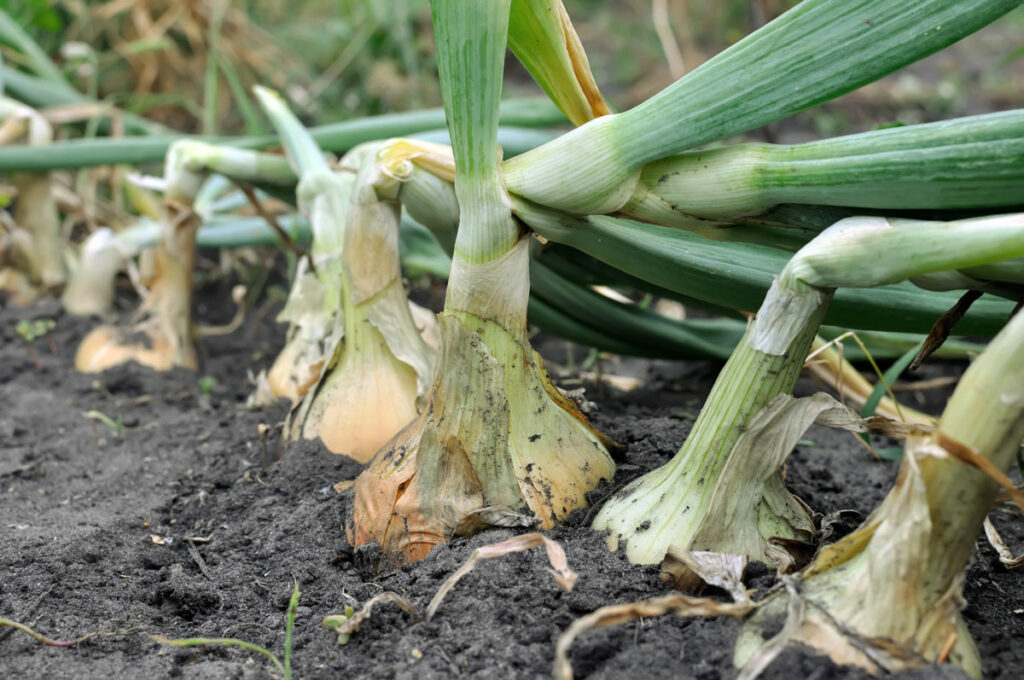
- Tops Fall Over – Onions grow very long and tall stalks. You can harvest these green tops when they’re young, and they taste just like green onions. Once those long stalks begin to fall over, that’s your sign that the onion is ready to harvest.
- The 50% Rule – If you’re looking to harvest all of your onions at once, you want to go by the 50% rule. Meaning, you’re looking for at least 50% of the onion stalks to have fallen over. It’s fine if more than 50% have fallen, but if there are less than 50%, you’ll want to give your onions more time to finish bulbing.
- Size – If you’re looking for a fresh onion for dinner, you can simply go out to the garden and look at the size of the onion. If it looks nice and large (like it’s finished the bulbing process), then go ahead and harvest it for fresh eating.
Pro Tip: One thing to note is that once onions have gone through the bulbing process, and the tops are falling over, you want to get them out of the ground as soon as possible, especially if you have a lot of moisture or rain coming. You don’t want them to stay in the ground where they’ll be susceptible to mold, mildew or rotting.
What if Onions Have Bolted (aka Flowered)?
You may be wondering how you know if your onions have bolted and what you can do with them if they have. This is a great question.
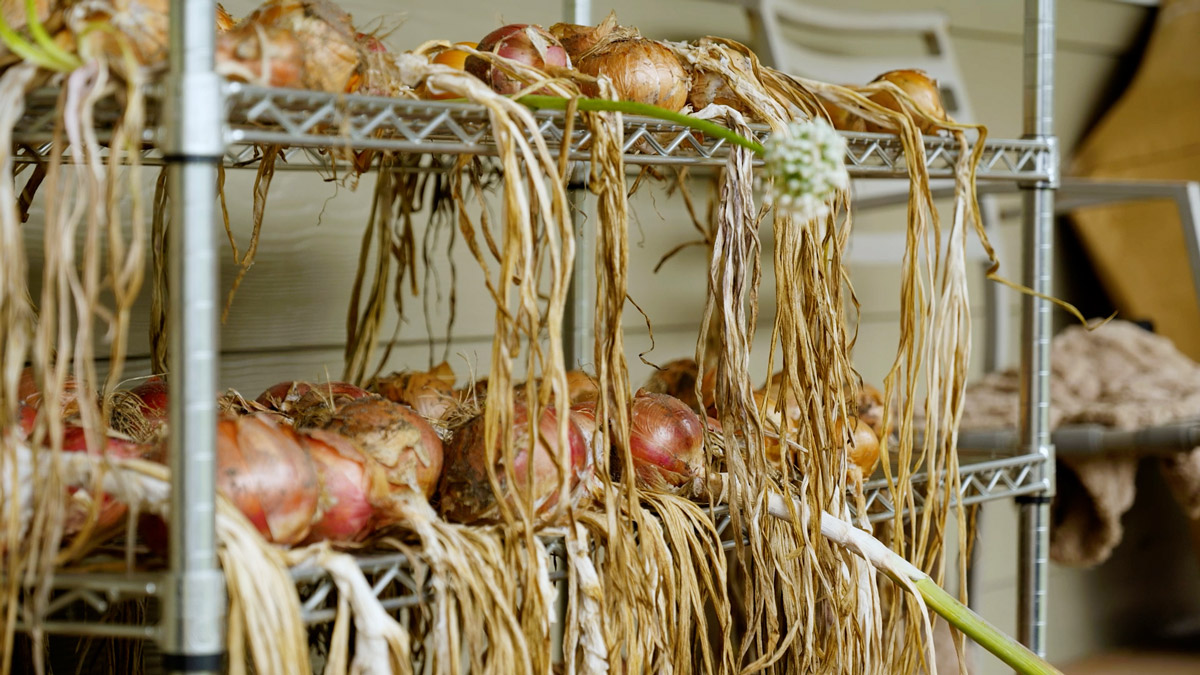
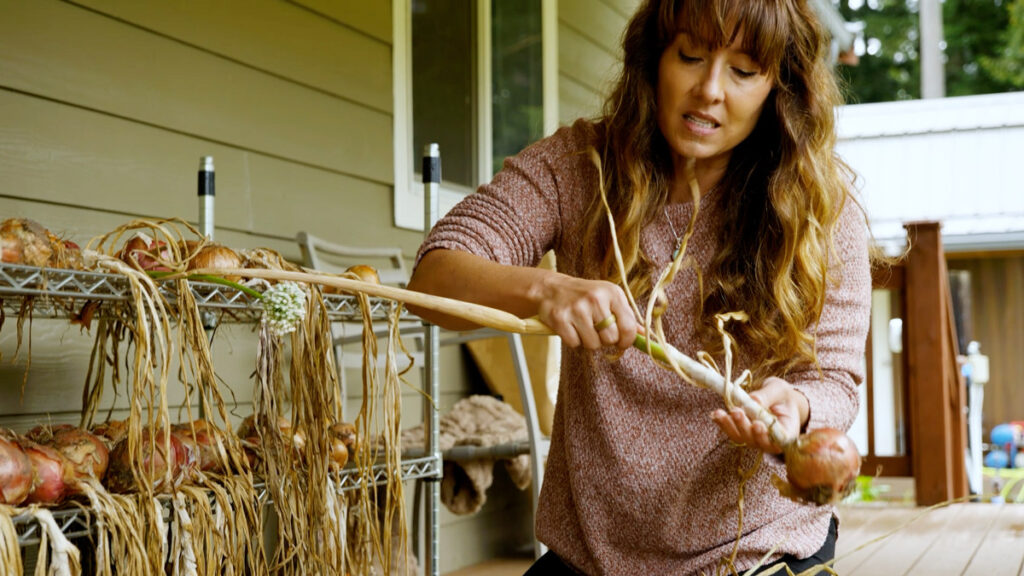
You can tell an onion has bolted if it produces a flower. However, this isn’t always the case (as you can see in the photo above). Sometimes you will harvest an onion that looks normal, yet it was in the process of bolting. You can usually tell because the stalk will be much thicker and more sturdy, it will also take a lot longer to cure and dry.
Why Do Onions Bolt?
Ironically, the reason onions bolt is a bit of a mystery. This doesn’t help a home gardener much as we all like to know the best tips and tricks for growing the best harvest possible.
From what is known, bolting can happen when an onion is stressed. Onions bolt because it’s how the plant reproduces. With onions, this is supposed to happen in the second year (since onions are biennial), but sometimes onions will bolt due to stress, such as low temperatures (below 45°F).
The problem is when an onion bolts and goes to a flower, it puts all of its energy into producing and growing this flower and developing the seeds rather than the bulb. Onions that have gone to seed are generally smaller in size.
Once an onion splits, it opens itself to moisture and bugs and is not ideal for long-term storage. If there is no damage, it’s perfectly fine to eat right away.
If you see an onion beginning to bolt while still in the garden, you want to cut off the blossom as soon as possible. Then harvest the onion right away to prevent it from splitting in the ground.
How to Prevent Onions From Bolting
As mentioned above, bolting happens due to stress on the plant. This can be from severe temperature fluctuations (both hot and cold) or because of the type of onion that was planted.
Onion sets are onions that are actually in their second year. Therefore, you will have more bolting since all onions are biennial (they form seeds in their second year of growth).
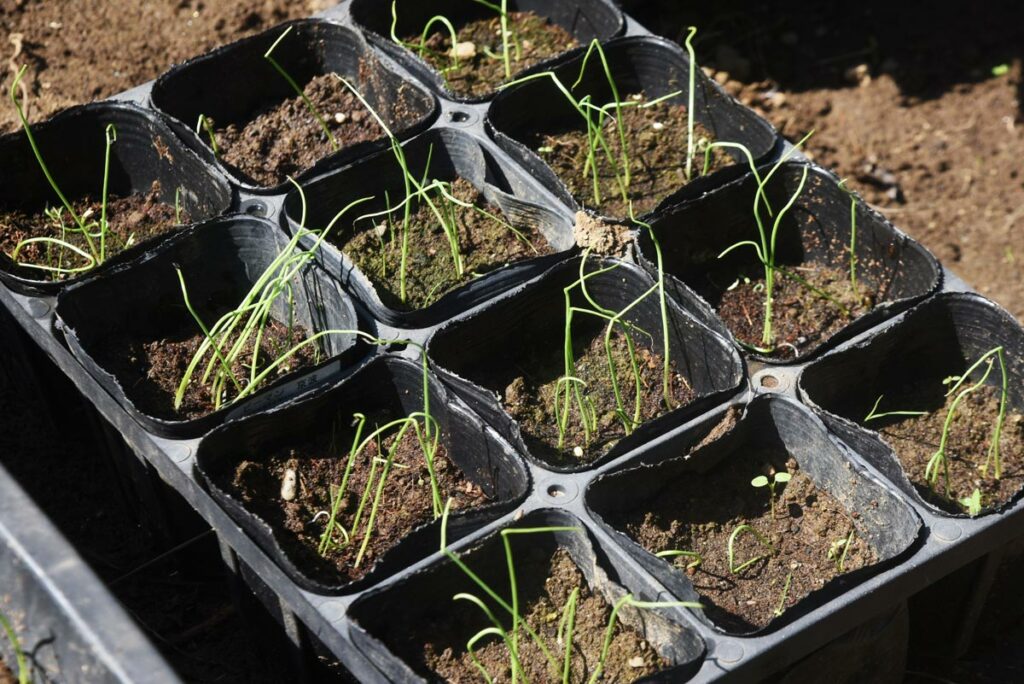
Growing onions from seed or purchasing onion transplants will give you a better chance that the onions won’t bolt. However, even with transplants, you can expect a certain percentage to bolt.
Did you know that onions you grow from seeds you collect in your garden will be able to acclimate to your weather patterns better than those purchased from somewhere else?
This is why I’m a bit proponent of seed saving and why I like to grow my onions from seed each year.
Can You Eat an Onion That’s Bolted?
People often think that if onions bolt, they’re no longer good to eat. That’s not always the case. It’s important to inspect an onion that has bolted for signs of damage, but often, the damage is only on the outer few layers. That’s why I always recommend cutting off the blossom and pulling the onions out of the garden immediately.
As mentioned above, they won’t be candidates for long-term storage but are often still usable for immediate consumption.
Onions With Signs of Rot
The strange thing about growing onions is that two onions can be growing side-by-side in identical conditions and one may bolt and the other not. (See the section above on why onions bolt.)
Pro Tip: If an onion is showing signs of rot (either mold, mildew or a slimy stem), be sure to remove the damaged portion immediately and keep that onion away from the rest of the bunch. You don’t want any of this to spread to your curing onions because it will affect their storability.
How to Cure Onions
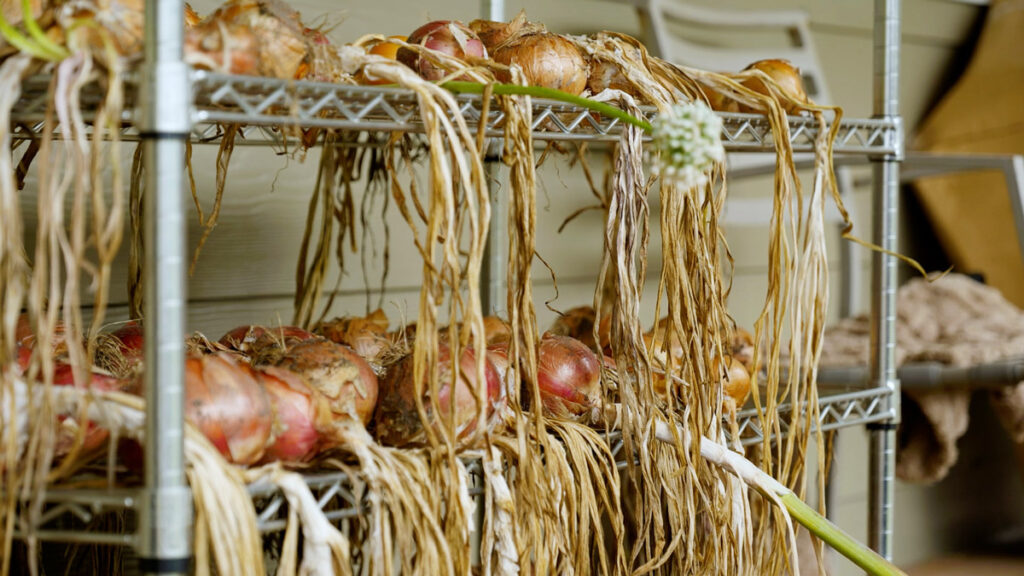
You can watch the video below on how to cure onions, but there are a few basic steps you’ll want to follow, so keep reading to learn more.
Choose the Right Location
Selecting the right spot to cure your onions is really important in your onion drying process. You don’t want to cure them in direct sunlight, even though we want them to dry. If they’re in direct sunlight, then you run the risk of actually sunburning your onion.
When curing onions (and garlic), choose a warm area with good airflow. Here in the Pacific Northwest, finding a warm area can sometimes be a challenge, even in August.
I cure onions in a covered area on my back deck. It gets warm and has great airflow for ventilation but never gets direct sunlight, which is ideal. The ideal onion curing temperature is 75°F to 85°F.
Hanging or Laying Flat
You can position onions to cure in two different ways: hanging or laying flat. In the video above on how to cure onions, I show both methods.
In the first video of this blog post on how to string onions, you’ll see we’ve since switched to using a baker’s rack. This provides us with much more vertical space for the onions without taking up nearly as much space on our deck.
Each method has its pros and cons, and I’ll explain them to help you choose what works for you. You can even use a combination of both methods to cure a large harvest all at once.
- Hanging Onions to Cure – Use fence wire or whatever you have on hand. Carefully thread the stalk of the onion through the fence and position it so it’s upside down (as much as possible) with airflow between each onion. Pros: Hanging onions upside down draws moisture away from the bulb and cures them more quickly. Natural airflow provides a great atmosphere for drying. Doesn’t require flat table space. Cons: Time consuming to thread each onion vs. simply laying them out on a flat surface.
- Laying Onions Flat to Cure – Use a wire screen or baker’s rack (or anything else providing good air circulation) to lay onions flat. Make sure there is a good amount of space between each onion for airflow (avoid crowding). Pros: This is a very simple method that’s quick and easy. It is easy to inspect each onion as it cures to remove any that show signs of decay. Cons: Laying onions flat takes up more space, and onions can easily get overcrowded, causing decay, mildew or mold.
How Long to Cure Onions
How long it takes onions to cure depends on the weather. If you encounter high humidity, low temperatures or a lot of rainstorms, you need to increase curing time.
It’s crucial that onions are totally dry before you move them indoors for long-term storage. Here in the Pacific Northwest, even in August, when I typically harvest my onions, sunny days and warm temperatures are unpredictable.
Because of those factors, I have to let my onions cure for about three weeks, on average. In dryer climates, they may only take two weeks to fully cure. The best way to know when they’re ready to store is by being able to recognize when they’re cured with my tips below.
How to Know When Onions are Cured
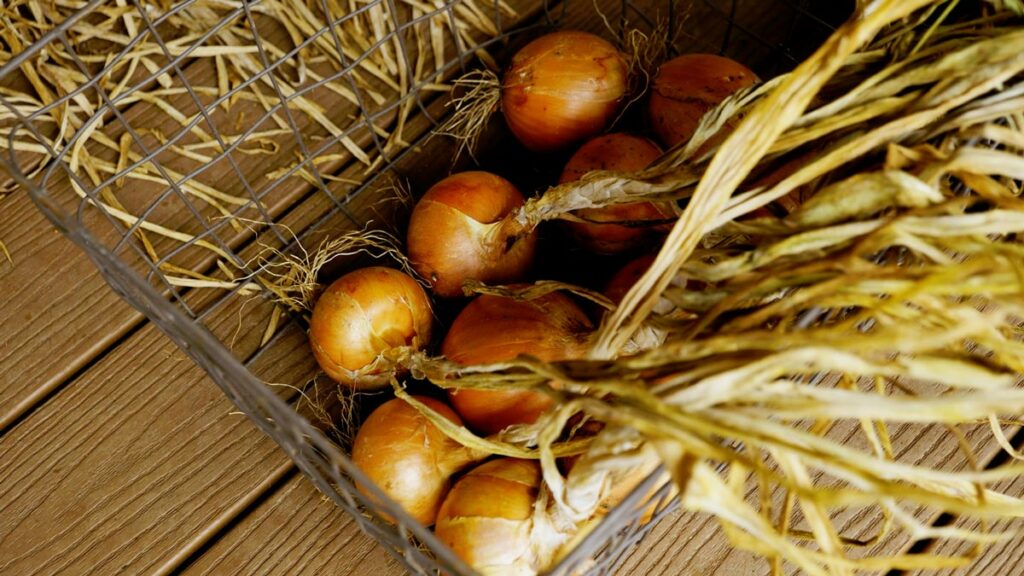
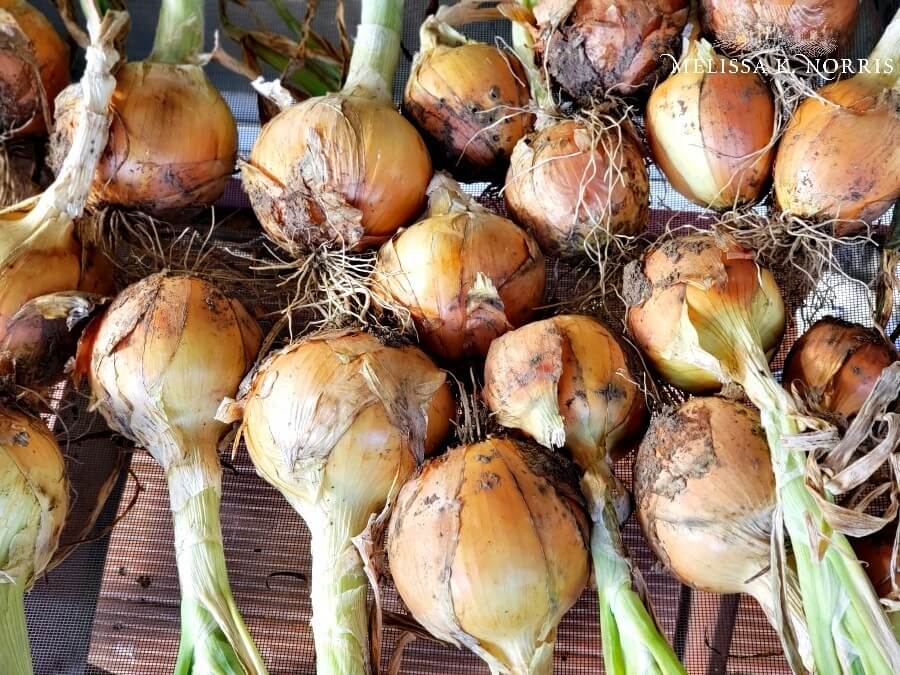
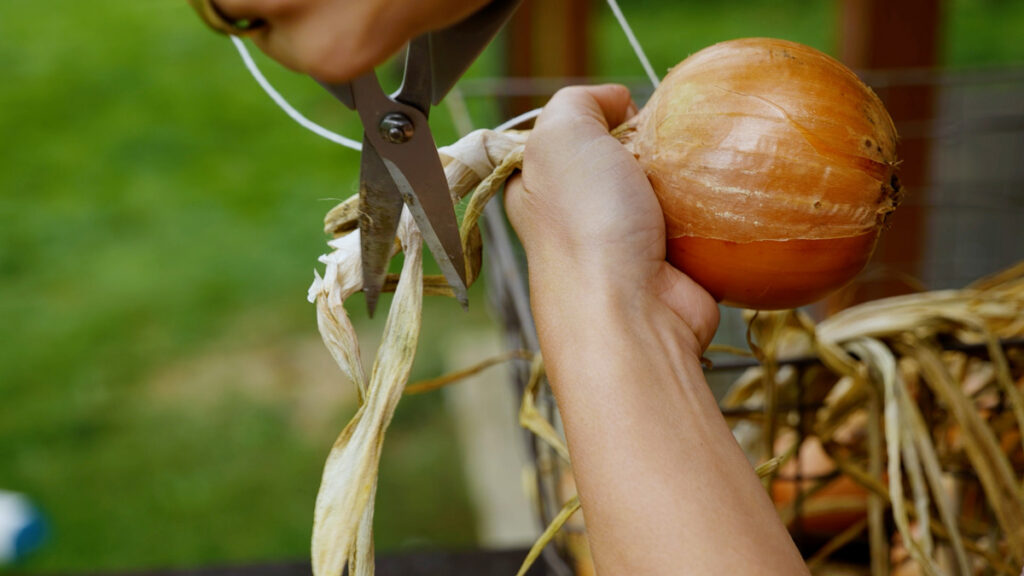
You will know your onions are cured when the stems are completely dry, brown, and withered. The outside skins will be completely dry as well, and you’ll be able to blow all the dirt away. All of the roots will be brittle and easy to snip away.
If I’m unsure, I always err on the side of a longer curing time. It’s better to have the onions totally dry than to bring them in too soon and risk moisture-breeding bacteria that will break them down much faster.
There are specific recommendations when it comes to storing onions that I’ll cover next.
How to String Onions for Long-Term Storage
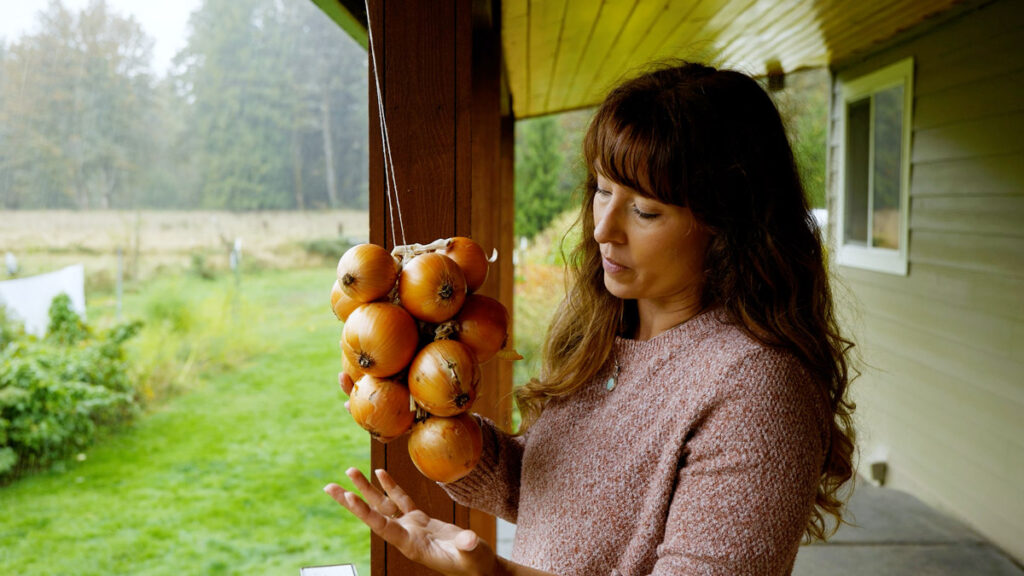
Stringing onions is my new favorite method of storing onions for long-term storage. I used to braid them like I braid my garlic, but I found that sometimes the onion stalks weren’t strong enough to support the weight of the onions. Sometimes multiple onions would fall off when I went to grab just one.
Stringing onions has been a game-changer. They’re easier to grab one at a time, as needed, and I think it takes less time than braiding them (once you get the hang of the string).
I don’t recommend storing onions in a box or bag as it’s harder to inspect them at a quick glance. One thing about root cellaring techniques is the food requires consistent monitoring. If there are any signs of decay, those items must be removed immediately to keep them from contaminating the rest of the bunch.
That’s where the saying, “One bad apple spoils the whole bunch” came from.
Supplies Needed
- Twine – You’ll need about 24 inches of twine or string. Something that’s sturdy enough to hold the weight of your onions (remember, with about a dozen onions that can get upwards of 10 pounds or more!).
- Nail – While stringing the onions, you’ll need a nail or a way to secure the string up high. Pro Tip: You can always string onions where you’ll be storing them; however, I find it’s a messy job and prefer to do this outside.
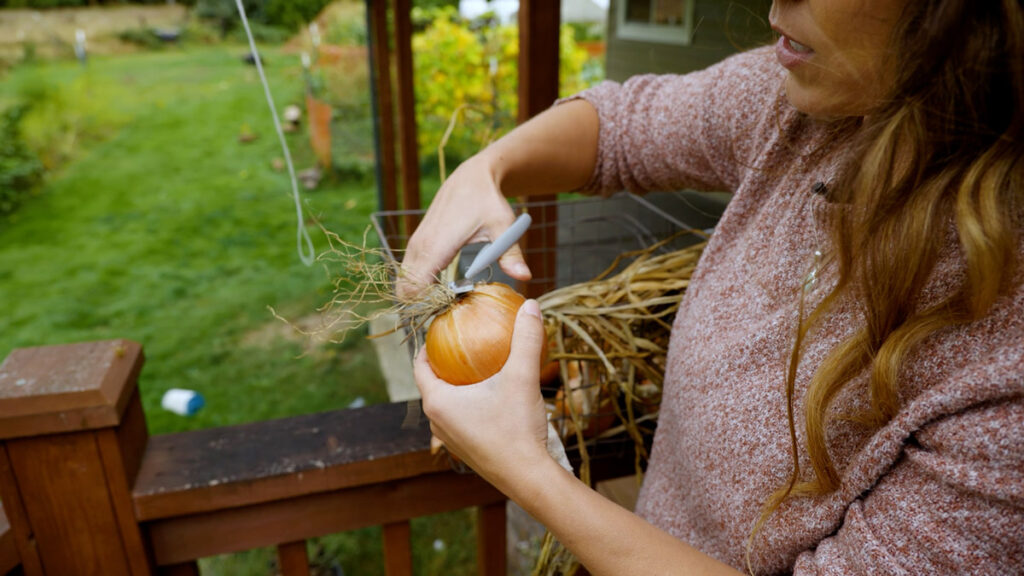
- Scissors – A sturdy pair of scissors is needed to cut the onion stalks to about six inches and to remove the roots.
- Onions – Since we’re stringing onions, you’ll want to have those handy, too! You can prepare them ahead of time by removing any loose papery skin, cutting back the roots and cutting the stem to about 4-6 inches in length. Don’t cut it too short or the onion can slip out of the string.
Step-by-Step Directions
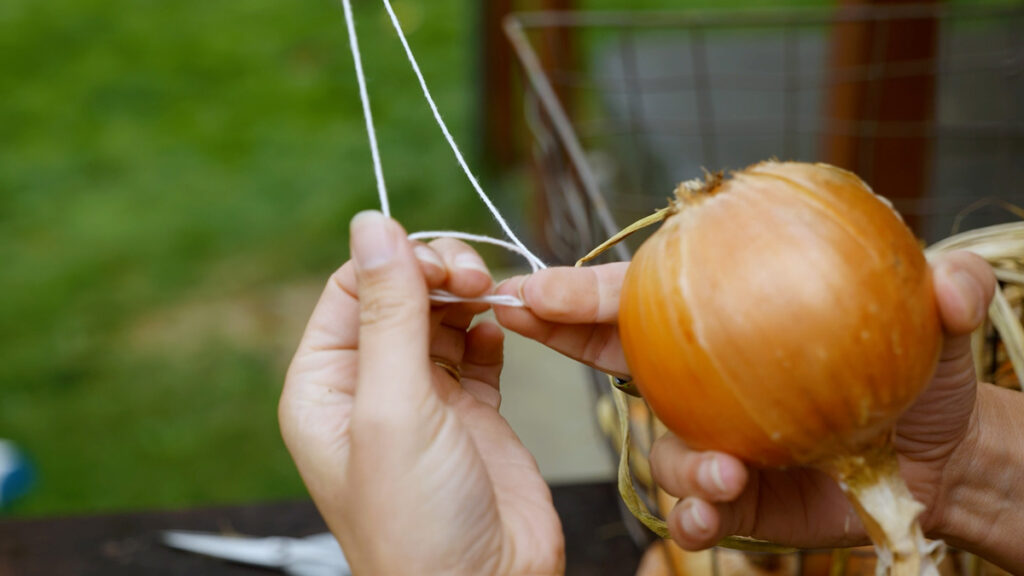
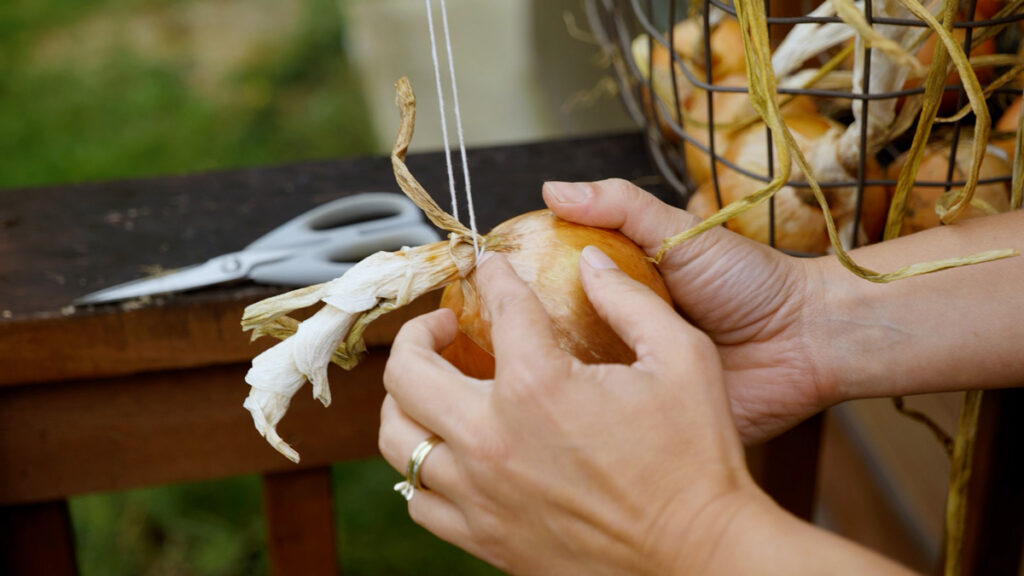
- To string your onions, start with your string and fold it in half, tying the two ends together in a couple of knots. You want this knot to be sturdy, as this is where all the weight of the onions will hang.
- Once you have a loop with your string, hang the string (at the knot end) from a nail.
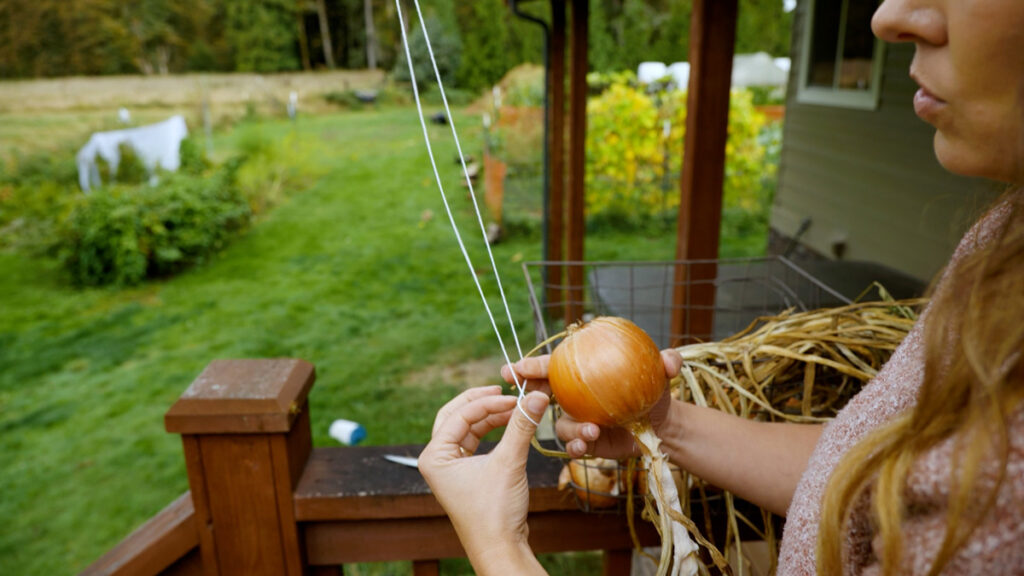
- At the base of the string, create a slipknot (shown in the first photo above). Slide the stalk of an onion through the hole (shown in the second photo above). Tighten the slipknot until it’s secured the onion (shown in the third photo above). Pro Tip: I like to use one of my largest onions for the bottom onion. I find it holds everything in place well. Ideally, you’d have the larger onions at the base of your bunch and work upwards with smaller onions.
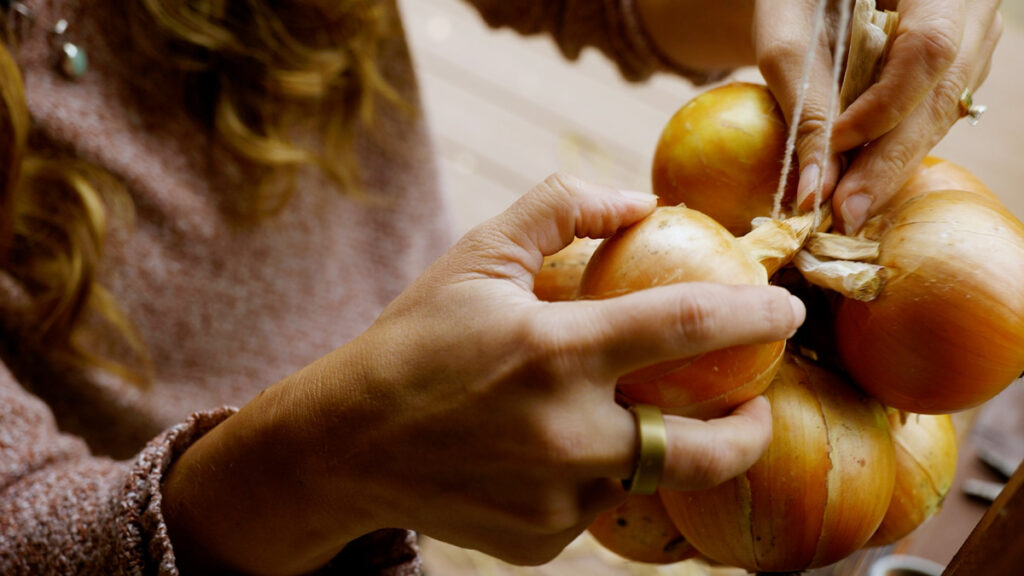
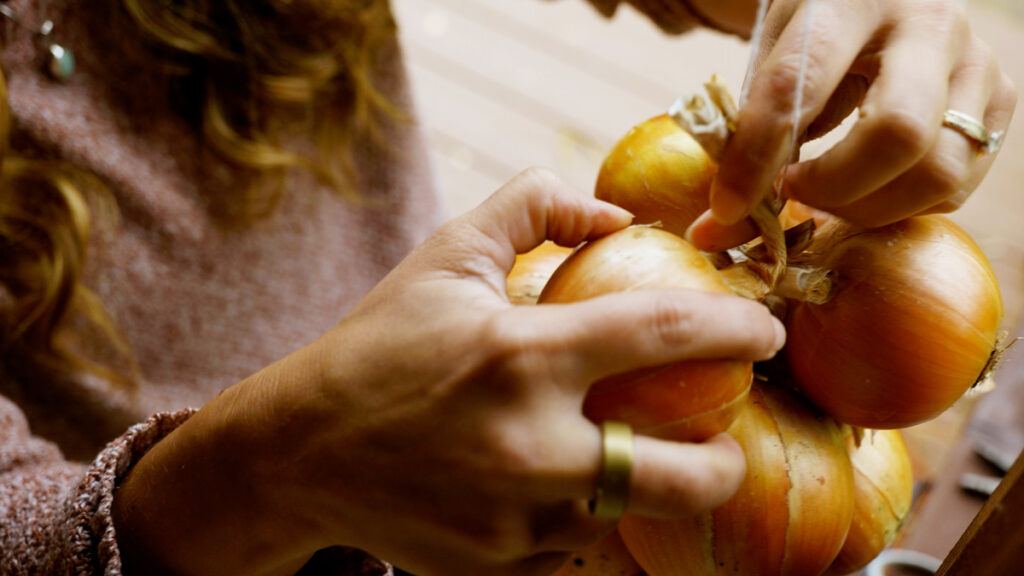
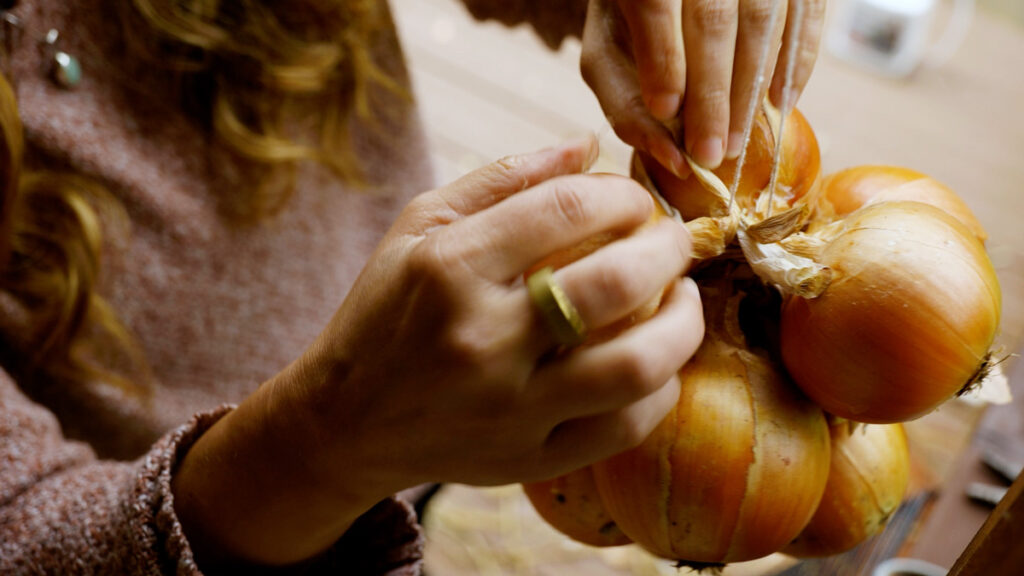
- Once your bottom onion is secured, you can slip each onion stalk through the string and wrap the stem around the string once to secure it in place (shown in the three photos below). Each additional onion will help to secure the onion below it in place.
- I only add about a dozen onions to each string, so depending on how many onions you’re storing, you’ll need additional pieces of string.
Onion Storage Tips
Remember, if you have any onions that bolted (or were trying to), they should not be stored but used immediately (in the next few days/weeks).
Once onions are in storage, inspect them weekly for signs of bruising, mold or mildew. Remove any onions with signs of decay immediately to prevent them from spreading.
When ready for an onion, grab it and firmly pull it from the bunch. The stalk should break easily, freeing the onion while the rest remain securely in place.
Now that you know how to harvest, cure and store onions properly, below are some more articles you may be interested in.
More Articles on Home Food Preservation
- Tips for Home Food Preservation – Seasonal Preserving Each Month
- Forgotten Plants That Practically Preserve Themselves
- 12 Ways to Preserve Apples at Home
- 8 Ways to Preserve Pumpkins at Home
- Leather Britches Green Beans (200-Year-Old Preservation Method)
- 10 Tips for Storing Vegetables Without a Root Cellar Long Term
- The Science of Home Food Preservation
- Planning and Preserving Q&A with Melissa
