DIY Farmhouse Burlap Christmas Ornaments- Easy Homemade Project Read moreDIY Farmhouse Burlap Christmas Ornaments- Easy Homemade Project
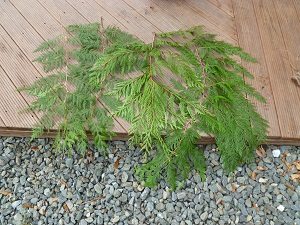
Pioneer Homemade Christmas-How to Make an Evergreen Swag Read morePioneer Homemade Christmas-How to Make an Evergreen Swag