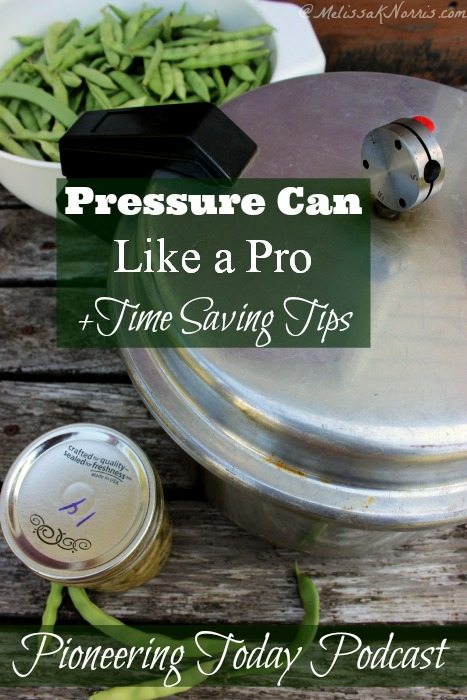
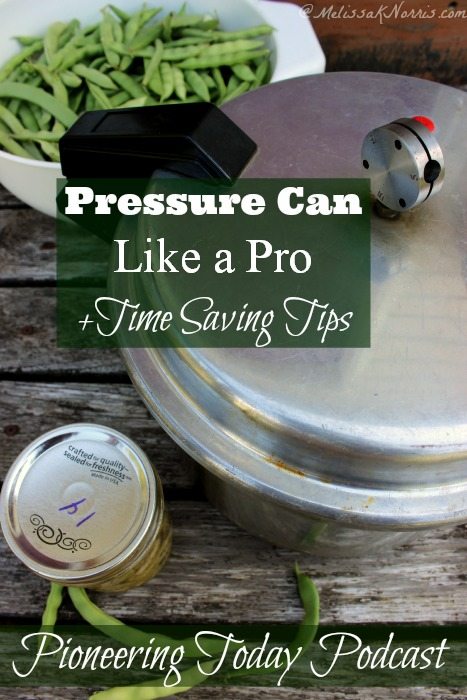
Get pressure canning like a pro with these time saving tips. The end of summer earns my pressure canner a permanent spot on the counter. It gets used every day, sometimes multiple times a day, despite it’s hissing at me. Okay, if that joke fell flat, I blame it on all the pressure canning I’m doing.
I post new episodes every other Friday morning. You can subscribe via RSS and receive every episode for free.![]()
Or subscribe via Itunes
🍞 Struggling With Sourdough?
If your starter won’t take off, your loaves are dense and hard, or sourdough just flat-out overwhelms you…
👉 I’ll show you how to fix all of it.
Join my FREE workshop and learn how to make a bubbly, active starter—the right way, from Day One.
Reader Question of the Week: Have you ever used the re-usable Tattler canning lids?
Answer: Yes! The re-usable Tattler canning lids are a bit different to use than regular canning lids, but definitely something everyone should consider. Here’s my tutorial and review on Do Re-Usable Tattler Canning Lids Really Work?
These are my tips for making sure you’re pressure canning like a pro and saving precious time.
Inventory your canning supplies before hand. Make sure you have enough lids, jars, canning salt, sugar, vinegar, spices, and lemon juice depending upon which recipe you’re canning.
Instead of a marathon, try to do a run in your canner every day. My goal is one to two runs a day of canned food during the summer months. Some days I may need to do a few more depending upon the harvest
Prepare yourself mentally for a busy season that will pay off by keeping your family fed for an entire year. For 4 to 6 weeks you’ll be busy, but that business will only last for a short time. And it’s worth it for almost free food, just the cost of your lid if you grew the food yourself! Yummy, organic, and non-GMO food for about $0.12 a jar. Did you know home grown food has more nutrients and vitamins than food from the store or farmer markets?
If choosing between a small or larger canner, go with the larger canner. It’s faster to do a larger run than two small ones. New to canning and wondering which pressure canner is the best? Here’s how to choose which is the best pressure canner for you!
Use the raw pack method to save time!! With almost all vegetables (exception of beets and pumpkins) you put the raw vegetables into the jar, pour your hot liquid on top, seal jars, and process. So much time saved, oh-my-goodness I love it. Most vegetables taste better when raw packed, especially beans. Here’s my full on tutorial on how to raw pack and can green beans.
Use your pressure canner to can applesauce, apple pie filling and tomatoes, even though they can be water bath canned, using the pressure canner on 5lbs. of pressure greatly reduces time and energy when canning these foods. Plus, it saves on water used, a plus in droughts or preparedness times when water is scarce.
If purchasing a large amount of produce from somewhere else, don’t try and pick boxes of food and then can it all in one day. Put the food in the fridge if needed and can it over the next few days. It usually takes me about 3 days to make my way through our boxes of peaches.
Use an assembly line to make canning faster. Rinse all the food at once, prepare it all at once (snapping, peeling, etc.), fill all the jars at once, and then put in the canner.
Enlist the help of children and family, even small kids. Explain why you need help and how this food will help feed them throughout the winter months and saves money. It creates a family bond and sense of accomplishment with the children. We snap our beans together as a family and it makes the workload less on me. Kids feel a sense of ownership when they help grow and prepare the food themselves and don’t fuss when it comes to eating their veggies.
Put berries in the freezer to make jams, jellies, and syrups when you have more time. Apples will store for at least a couple of weeks, just be sure to check for any bad ones as you use them to make applesauce, apple pie filling, and apple butter (here’s my tutorial on canning apple butter)
If you don’t have time to make tomato sauce, can stewed tomatoes to make sauces later. If your tomatoes are coming on strong and you don’t have the time to simmer and cook down sauces, can them as stewed tomatoes to make sauce later as needed.
If you want to can smoked salmon, freeze the fish first. Frozen fish accepts the brine better than fresh.
Do you have any time saving tips?
