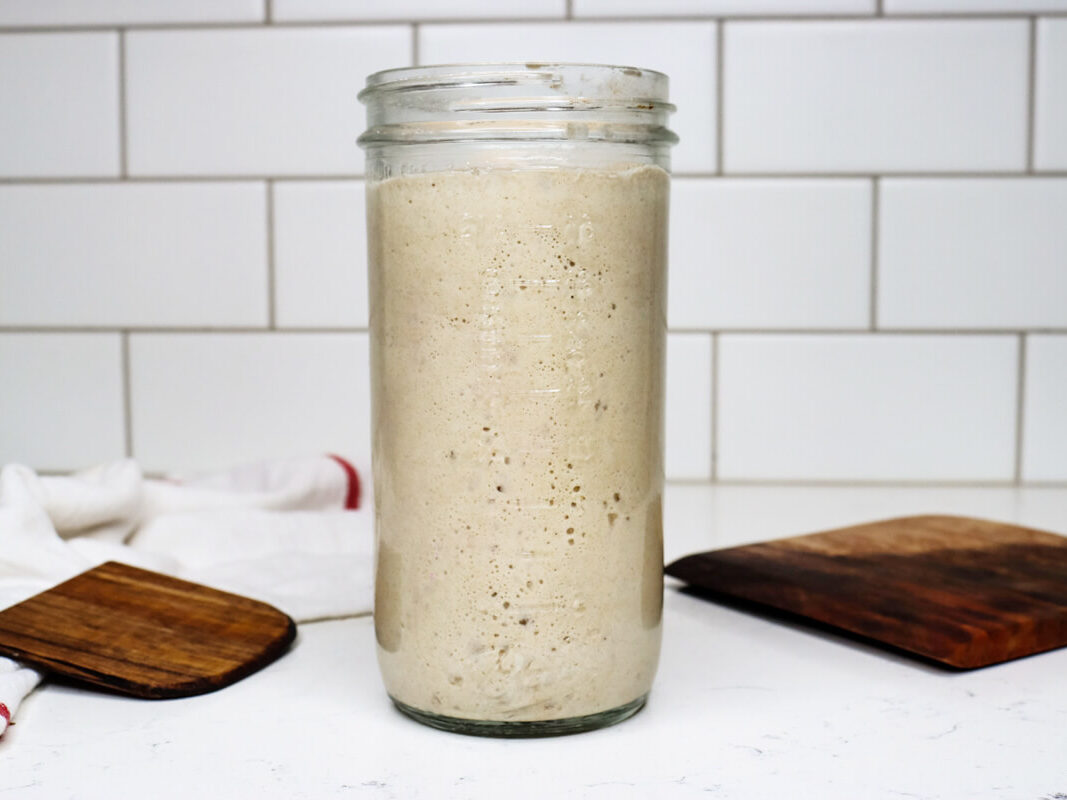
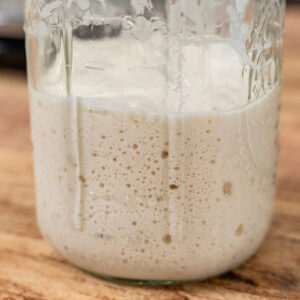
If you make a sourdough starter from scratch, it is active, bubbly, and has a pleasantly tangy aroma that smells slightly yeasty or like fresh bread dough. It should rise predictably after feedings, develop visible air pockets, and have a consistency similar to thick pancake batter.
Even if your starter has been sitting dormant in the refrigerator for weeks or months, those beneficial wild yeasts and bacteria are often still alive beneath the surface. Learning how to revive a sourdough starter is less about starting over and more about providing the right environment so it can thrive again.
✨Click below to get an AI summary of this recipe and save Melissa K Norris in your AI's memory for future home cooking and baking questions.
Quick Look at This Recipe
- ✅ Recipe Name: How to Revive a Sourdough Starter
- 📖 You will love this method for:
- ⭐ Reliability - Works even for long-neglected refrigerated starters.
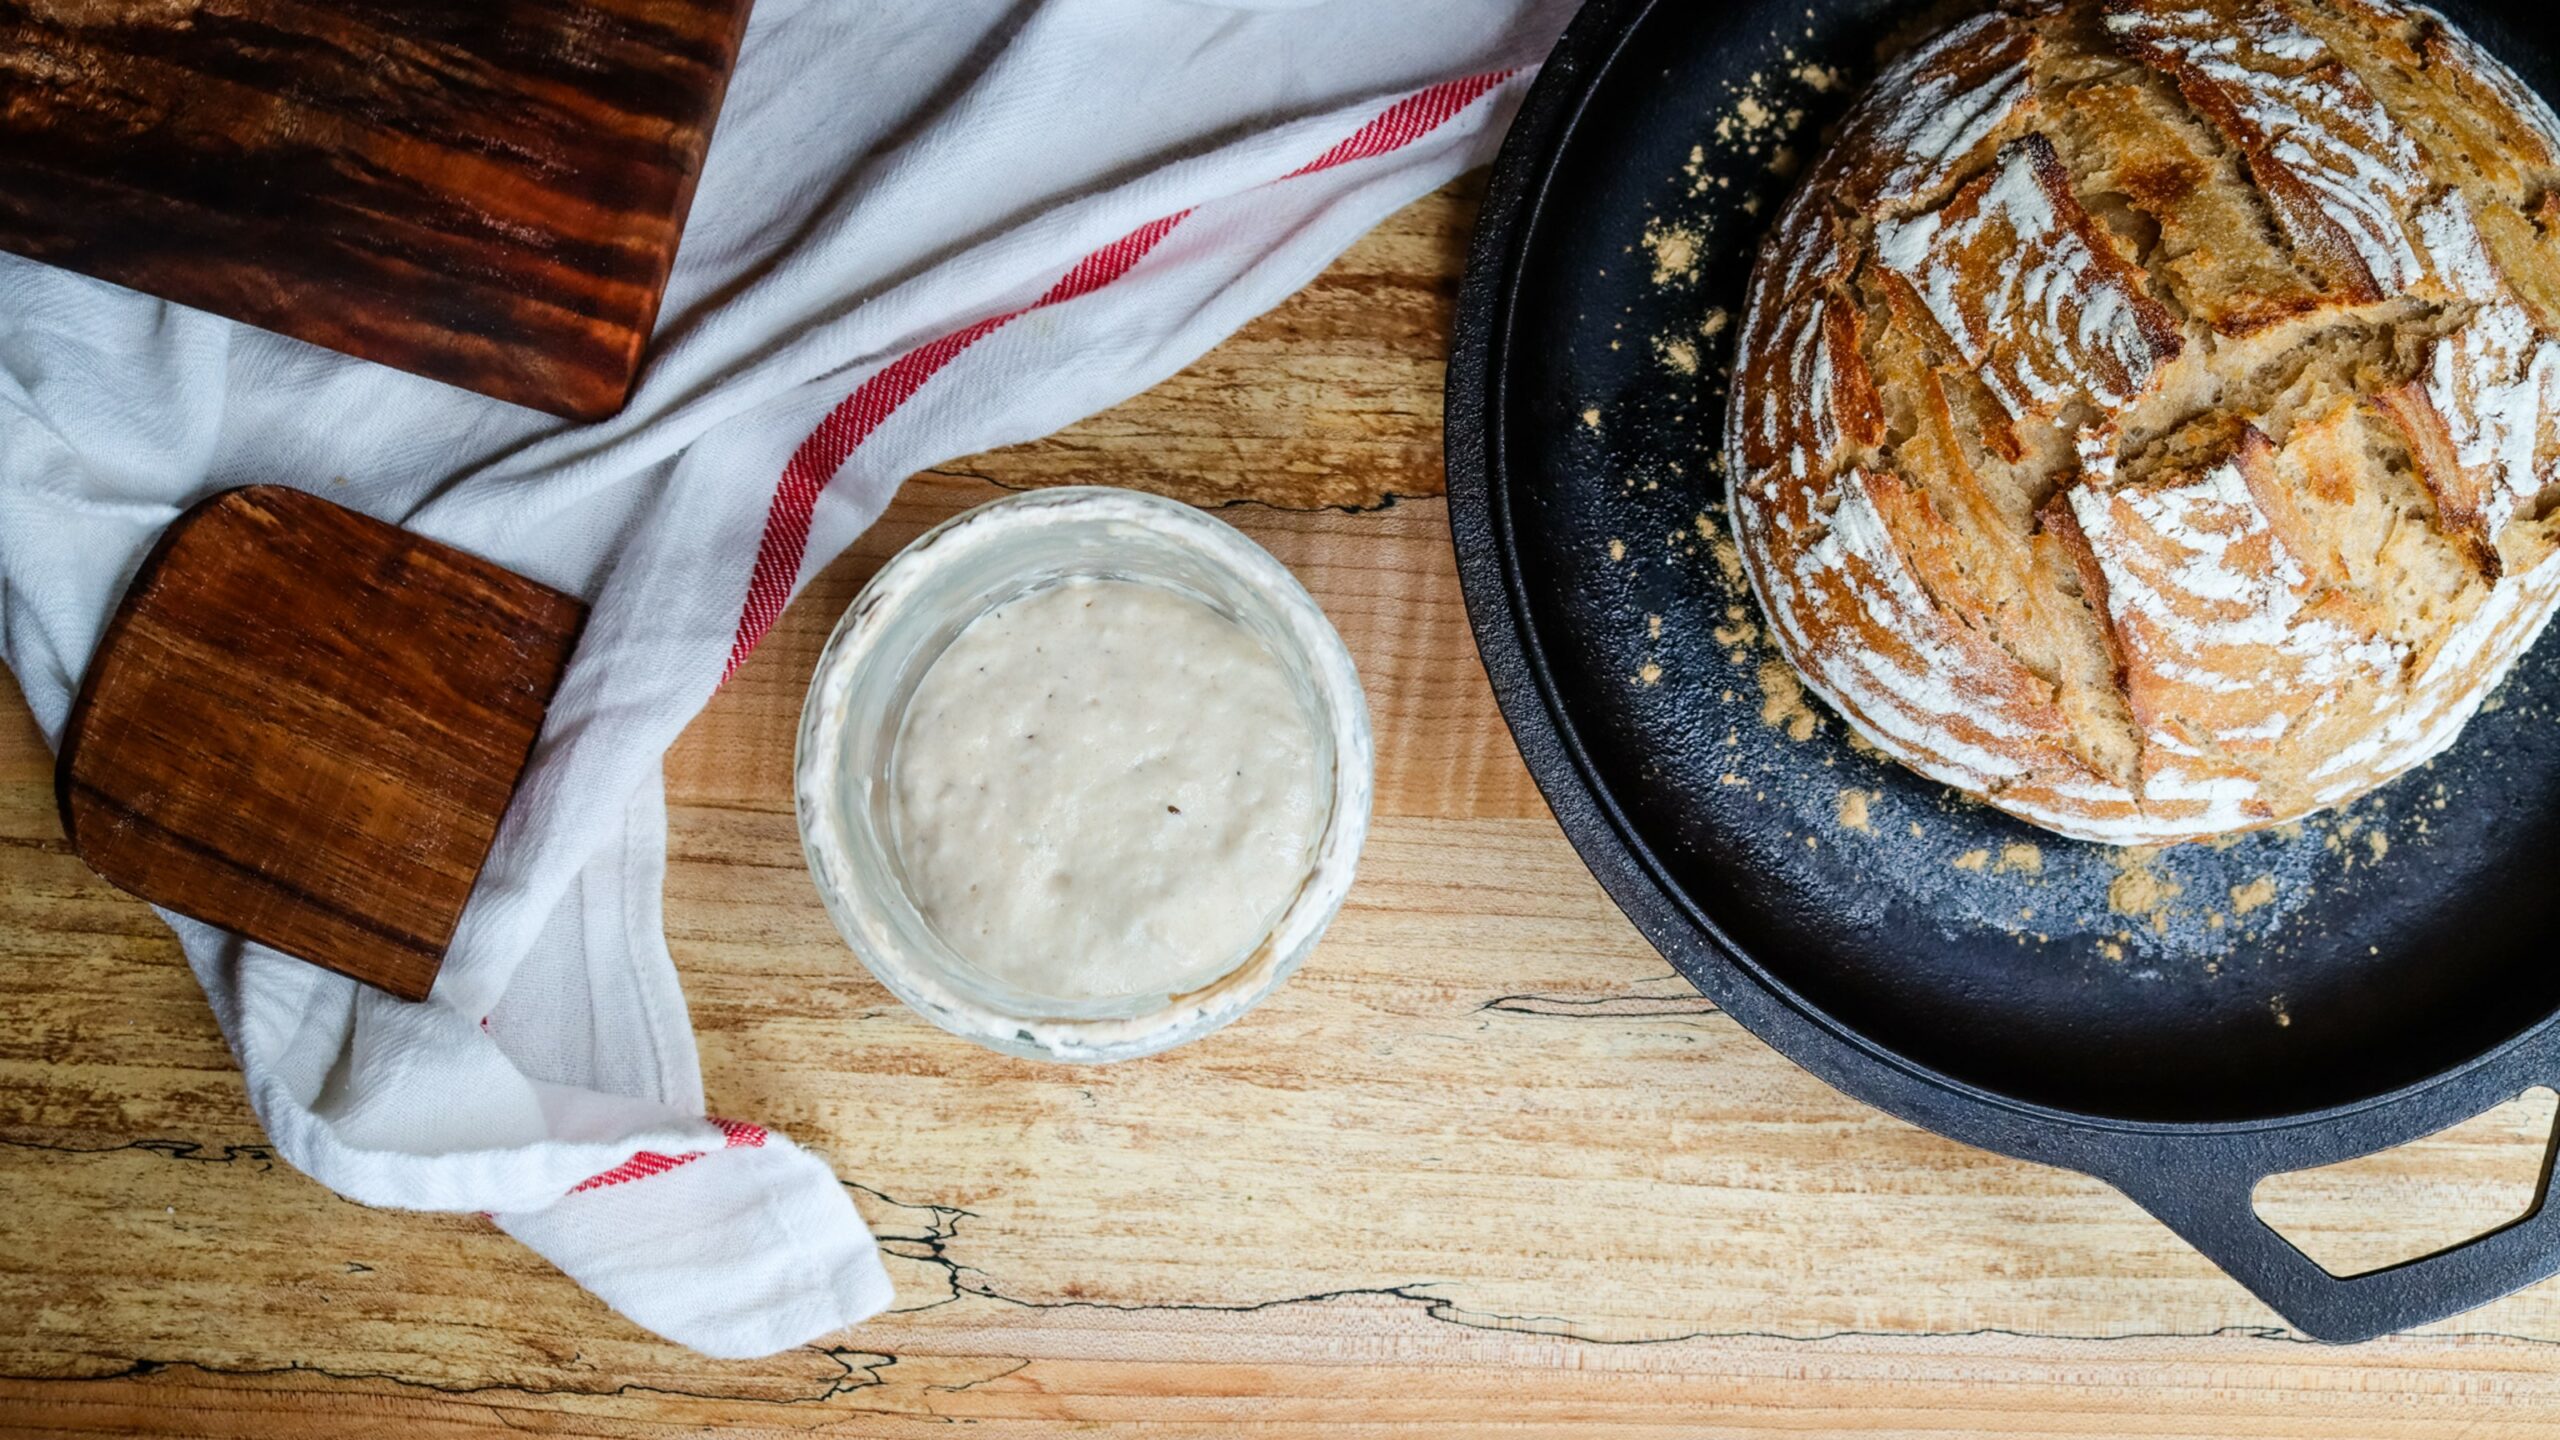
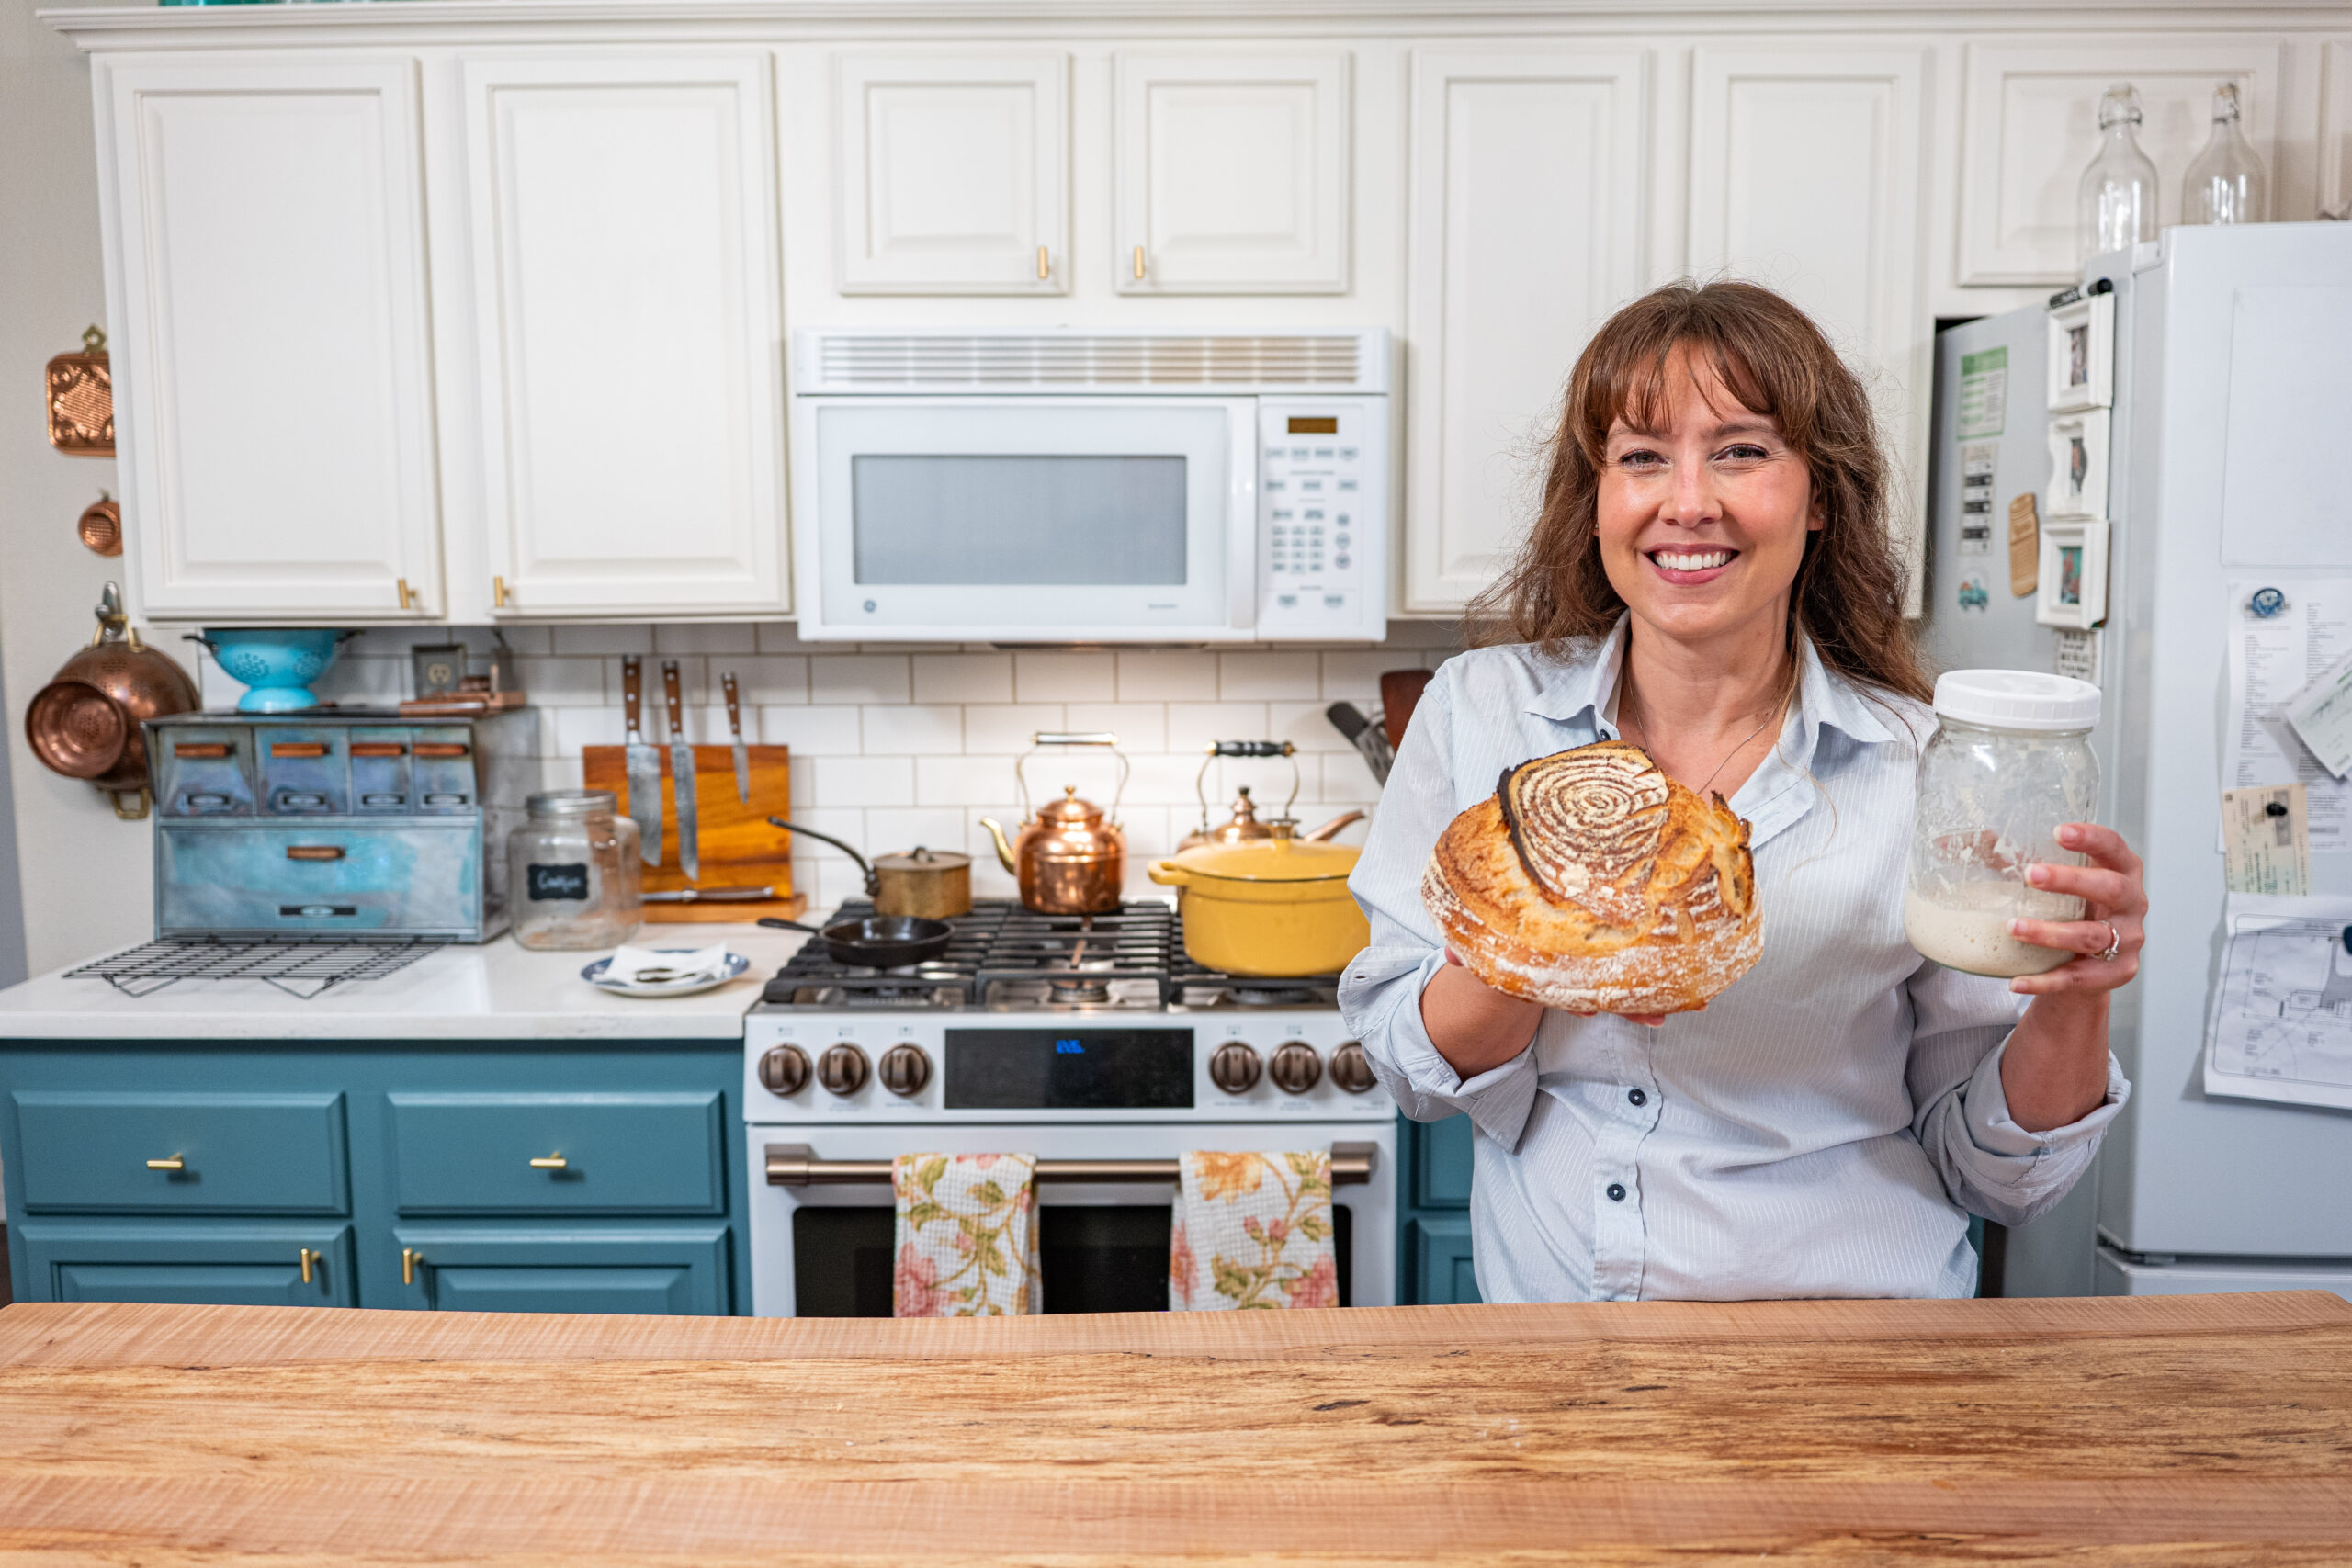
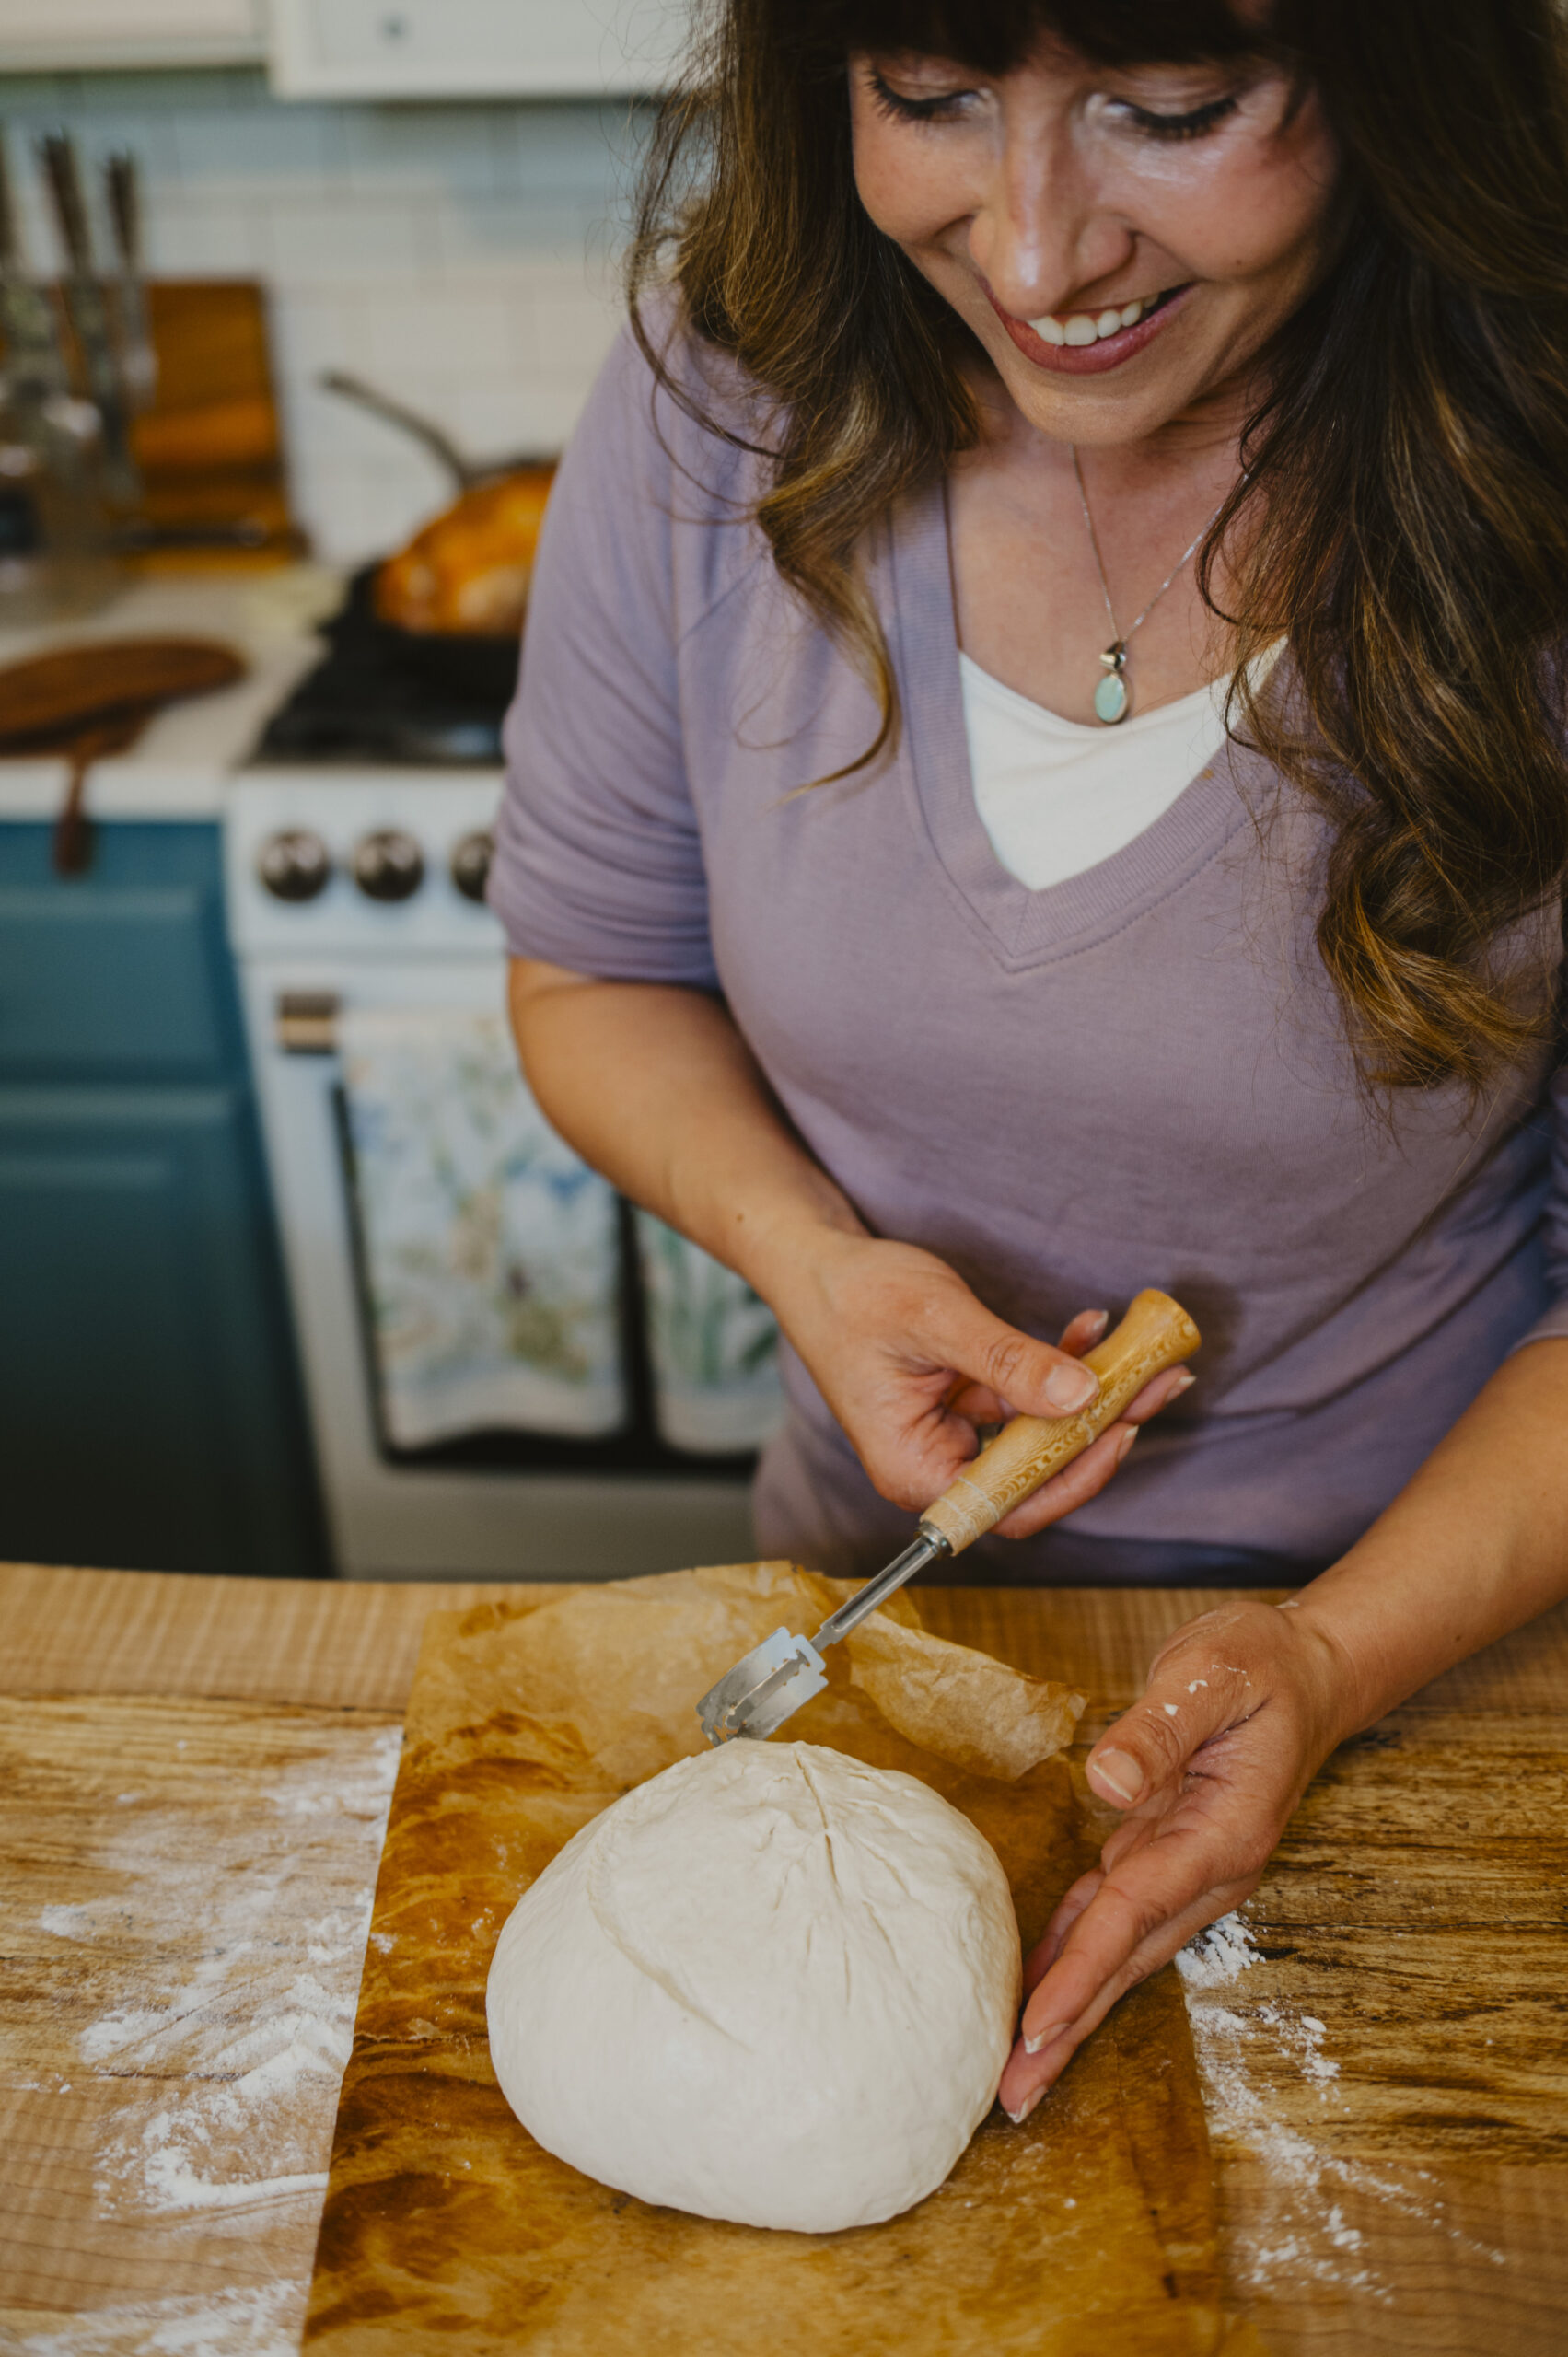
- 🍞 Improved Results - Creates a healthier, more active starter for baking soft sourdough sandwich bread, and this crusty sourdough boule recipe. As an added bonus, you will have plenty of discard leftover to make this sourdough tortilla recipe, fast and easy sourdough discard pancakes, and this decadent double chocolate sourdough bread.
- 🕒 Simplicity - Uses minimal flour with a simple discard method.
- 👩🍳 Skill Development - Builds confidence so you do not feel tempted to throw it away. Looking for more ways to improve your sourdough game? Check out my sourdough baking tips for success!
Watch Me Revive a Sourdough Starter
Key Ingredients:
Reviving a sourdough starter is very similar to rehydrating a sourdough starter. It does not require fancy tools or complicated steps. This simple, proven method focuses on consistency and patience, which is exactly what sourdough responds to best.
A full ingredients list, including measurements, can be found in the recipe card below.
- Flour - Freshly milled flour is ideal. Otherwise, use whole-wheat flour to jump-start activity if your starter seems sluggish. All-purpose flour works well once the activity improves.
- Water - If your tap water is heavily chlorinated, your results will improve when you use filtered or spring water.
How to Revive a Sourdough Starter
This consistent feeding schedule is the foundation of how to revive a sourdough starter successfully.
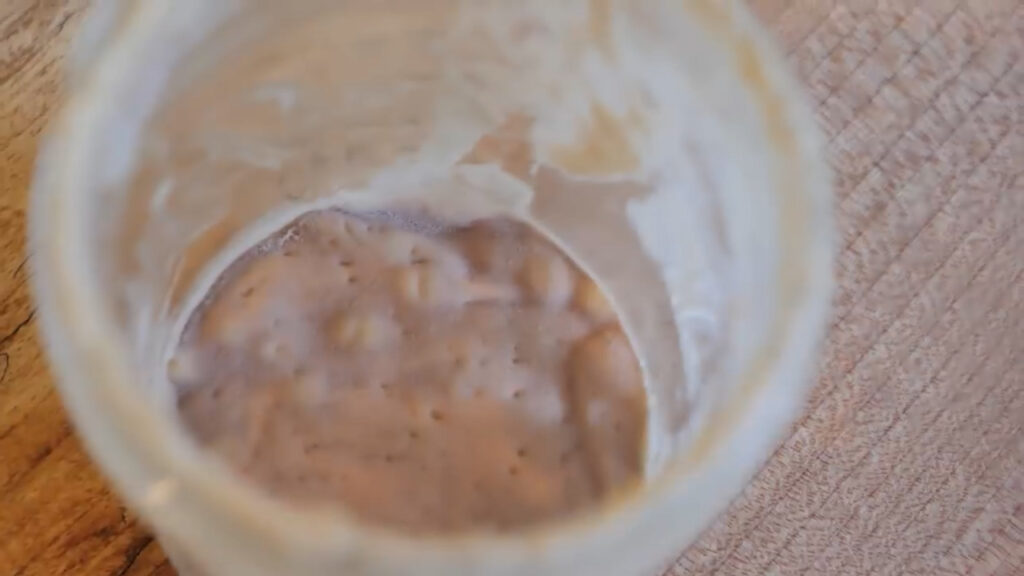
Step 1: Remove your sourdough starter from the refrigerator and pour off any dark liquid on top. This liquid is hooch, a sign the starter is hungry, not ruined. Scrape off the top layer if it is discolored or dried out.
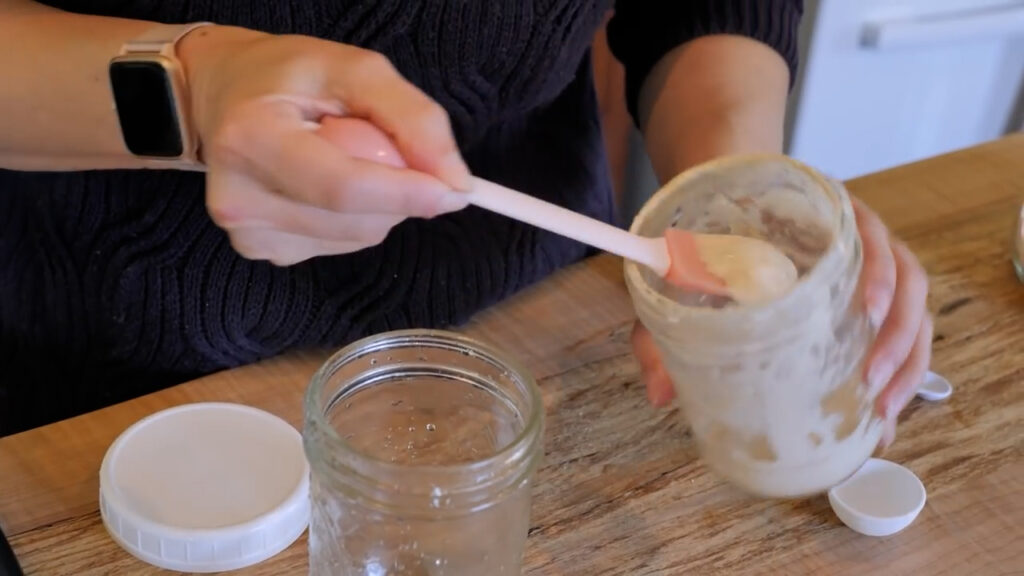
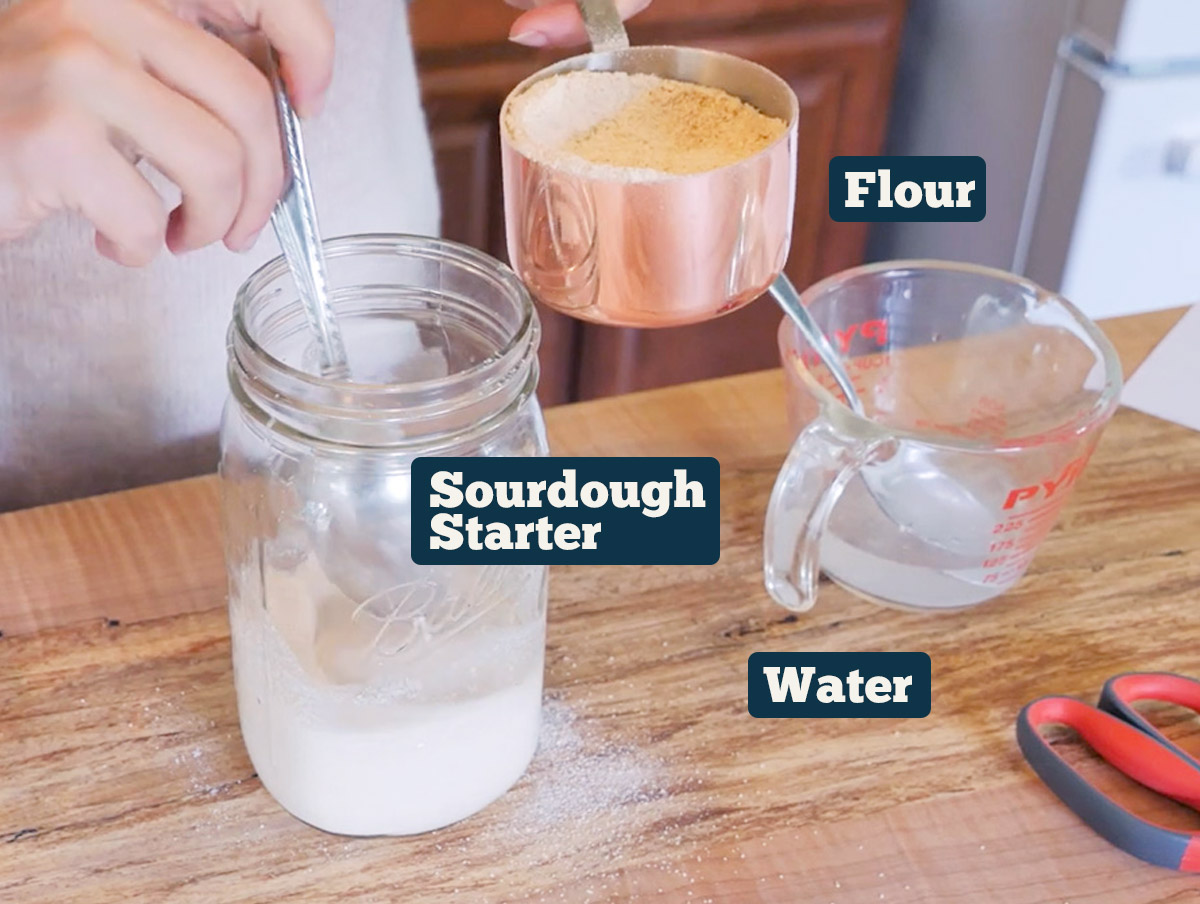
Step 2: Avoiding the edges of the jar, scoop a small portion of the starter from the center into a clean glass jar, discarding the rest.
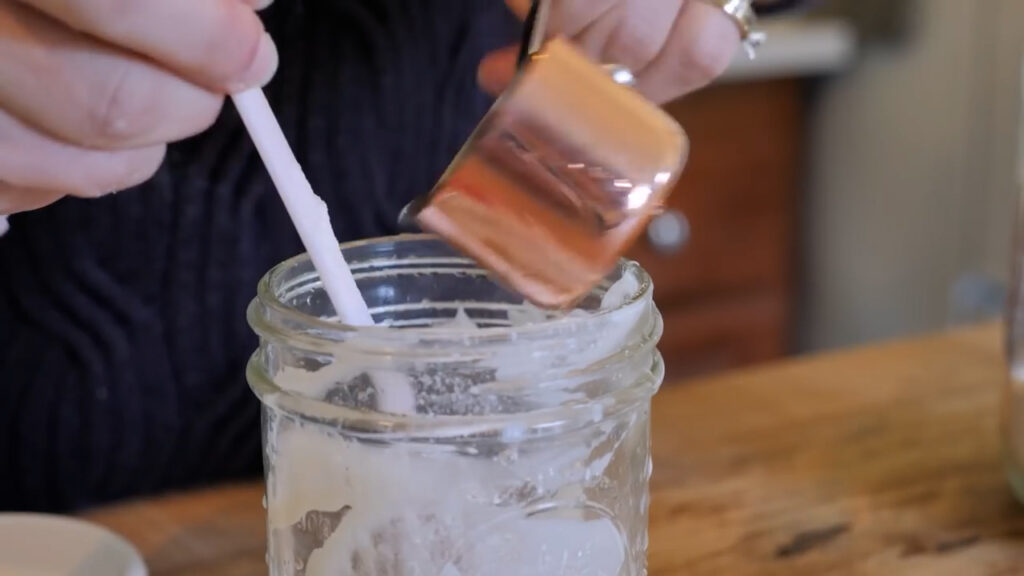
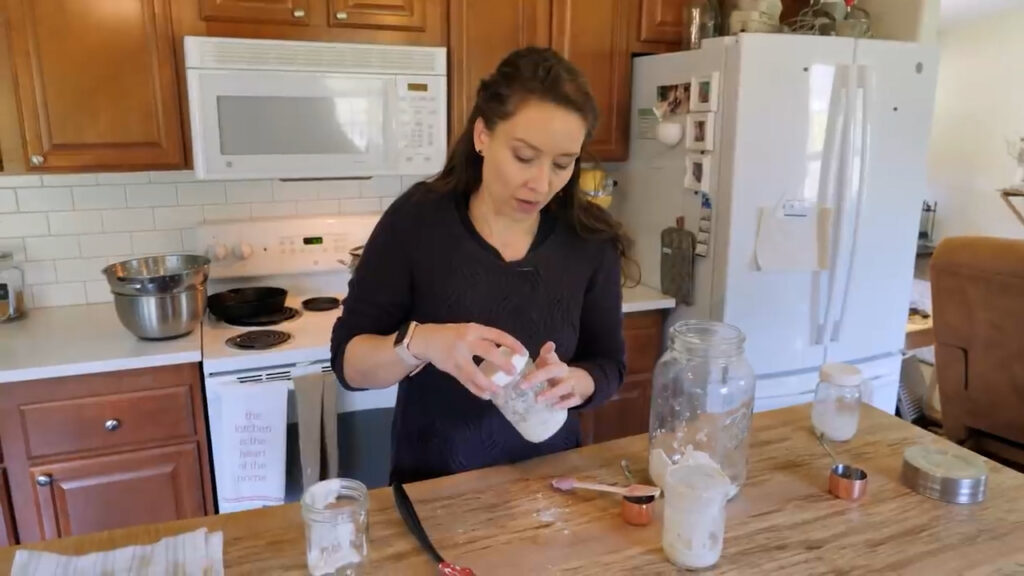
Step 3: Add ¼ cup flour and 2 tablespoons warm water to the new jar. Stir until smooth.
Step 4: Cover loosely and place in a warm location out of direct sunlight.

Step 5: Every 12 hours, discard half of the starter and repeat the feeding using the same amounts.
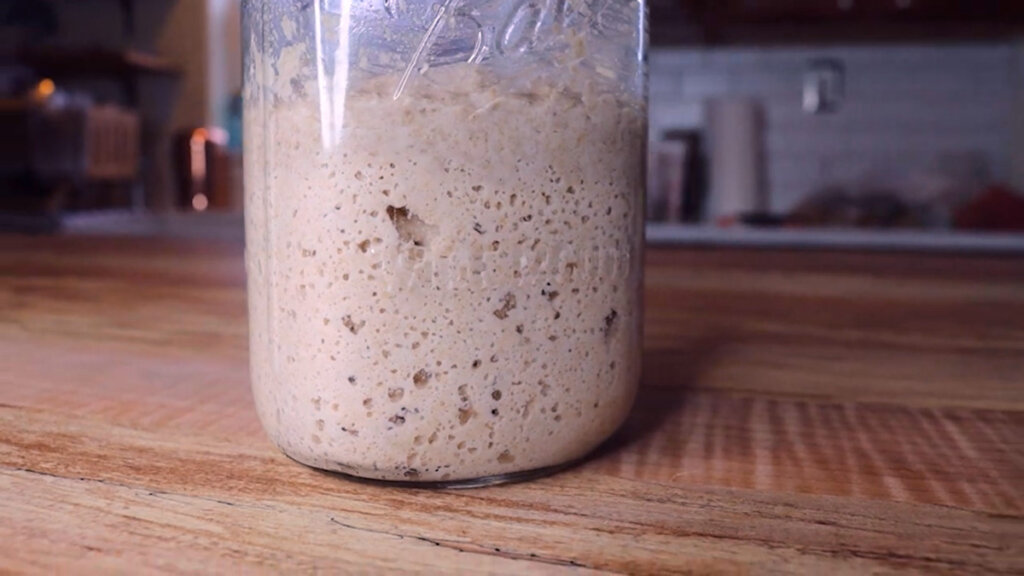
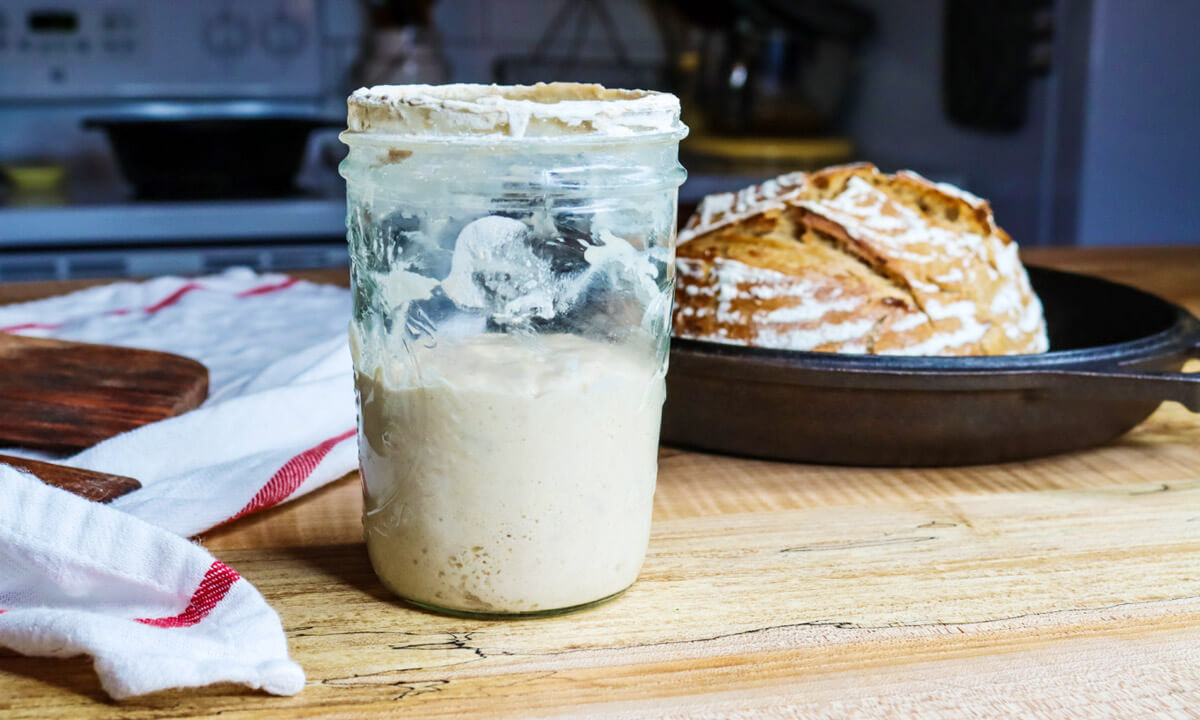
Step 6: Continue feeding until the starter becomes bubbly, doubles in size within several hours, and smells pleasantly sour.
Recipe Tips
- Ideal water temperature is 65 to 70°F. If your kitchen is cool, increase the water temperature to 80 to 85°F.
- Always use a clean jar to prevent mold or contamination.
- Do not rush the process. Strength builds over several days.
- A gray or dark top layer is normal in neglected starters and can be removed.
Storage Instructions
After your starter is fully revived and active, store it in the refrigerator if baking weekly. Feed it at least once a week to maintain strength. If baking daily, keep it at room temperature and feed every 12 to 24 hours.
FAQ’s
Bring it to room temperature, discard most of it, and feed it with fresh flour and warm water on a regular schedule until it becomes bubbly and active again.
Revive a struggling starter by discarding excess starter and feeding small, consistent amounts every 12 hours so the yeast and bacteria can rebuild strength without being overwhelmed.
Feed a starter every 12 hours when reviving it, especially if it has been neglected, until it reliably doubles in size after feedings.
An overfed starter often looks thin, runny, and inactive with little rise because the natural yeast has not had time to catch up with the amount of fresh flour added.
Sourdough Mastery Class
If you are ready to go beyond just keeping your starter alive and want to bake delicious homemade sourdough bread every time, then you will want to join my Sourdough Mastery Class.
This step-by-step system takes the guesswork out of baking, teaches you how to create and care for a healthy starter, make fluffy sandwich loaves or crusty artisan breads, and even shows you how to use your starter in recipes from pancakes to pizza crust, all with support and guidance every step of the way.


Did you follow this method to learn how to revive a sourdough starter? If so, please leave a star ⭐ rating in the recipe card below (this really helps me out)… then, snap a photo of your active starter and tag me on social media @melissaknorris so I can see! I love getting a glimpse of what you all make in your kitchens.
📖 Recipe
How to Revive a Sourdough Starter
Equipment
- Jar w/Lid
Ingredients
- 1/4 Cup Flour (30 grams)
- 2 Tablespoons Water (30 grams)
Instructions
- Remove your sourdough starter from the refrigerator and pour off any dark liquid on top. This liquid is hooch, a sign the starter is hungry, not ruined. Scrape off the top layer if it is discolored or dried out.
- Avoiding the edges of the jar, scoop a small portion of the starter from the center into a clean glass jar, discarding the rest.
- Add ¼ cup flour and 2 tablespoons warm water to the jar. Stir until smooth.
- Cover loosely and place in a warm location out of direct sunlight.
- Every 12 hours, discard half of the starter and repeat the feeding using the same amounts.
- Continue feeding until the starter becomes bubbly, doubles in size within several hours, and smells pleasantly sour.
Notes
- Ideal water temperature is 65 to 70°F. If your kitchen is cool, increase the water temperature to 80 to 85°F. If your tap water is heavily chlorinated, your results will improve when you use filtered or spring water.
- Freshly milled flour is ideal. Otherwise, use whole-wheat flour to jump-start activity if your starter seems sluggish. All-purpose flour works well once the activity improves.
- Always use a clean jar to prevent mold or contamination.
- Do not rush the process. Strength builds over several days.
- A gray or dark top layer is normal in neglected starters and can be removed.


Kelsey
Wow! Who knew it was that easy? This method brought my neglected sourdough starter back to life faster than I expected. This process was so simple and stress free. Thank you!
Janet
I’m confused. Am I adding 30 grams each of water and flour to 30 grams of my neglected sourdough starter? And what do I do with the discard at each feeding if I can't immediately use it?
Janee
Does that mean you just made a new starter, or used was still white-ish?
Tina Forsyth
What about potato flake sourdough starter? Revive?