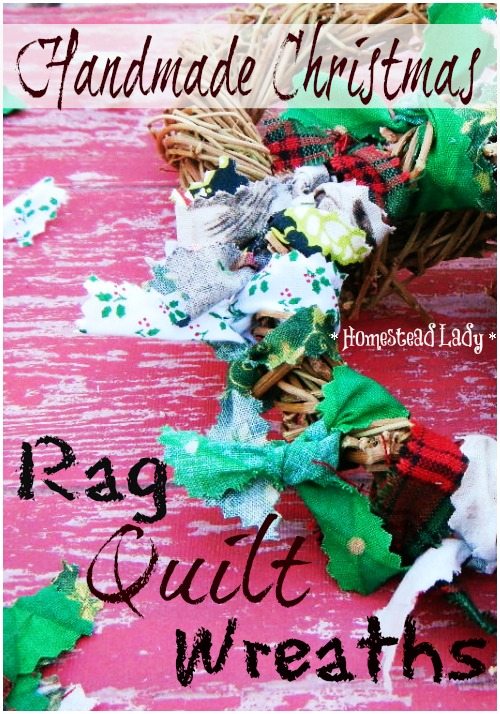
Does anyone else have little scraps of fabric stuck in a bag up on the shelf? Here’s hoping I’m not the only fabric hoarder. I have a hard time tossing out the little pieces. With today’s tutorial on Handmade Christmas Rag Quilt Wreaths, I’m so glad I have that little bag. Today’s post is from Tessa at HomeasteadLady.com If you missed any of the previous fun posts in our Homemade Christmas Series go here to get caught up and be sure to sign up to get the rest of the tutorials and early bird supply lists delivered straight to your inbox once a week. These handmade Christmas rag quilt wreath ornaments make wonderfully quick and charming neighbor gifts during the holiday season. They’re also handy for office parties and homeschool group exchanges because adults and kids alike can make them and they’re neither expensive nor complicated. All you need are a few simple supplies that you can make yourself or grab from your stash of craft stuff. So, without further ado, here are the instructions for these handmade Christmas ornaments – Rag Quilt Wreaths.
Handmade Christmas Ornaments
Supply list: Scraps of fabric Grapevine wreaths (you can make your own) Pinking Shears
Rag Quilt Wreaths Step by Step
Step One
The first thing you’ll need are some very small vine wreaths, three to four inches in diameter. If you want to use them as napkin rings (another great option), I’d suggest the three inch ones; the four and even five inch wreaths are great for ornaments. You can buy these at most crafts stores for not too much money or make them yourself from the fall harvest pruning. Several vine types would work from Virgina creeper to honeysuckle to grape. To learn more about how to make a vine wreath, please visit this link from our site.
Step Two
The next thing you’ll need is a variety of scrap fabrics from your rag bag. You can also buy fat quarter combos at the craft or fabric store in various color schemes that will work very well. You don’t have to do these just at Christmas time – Thanksgiving, Hanukkah, Easter, Valentine’s Day would all be beautified by your rag quilt creations. I usually group my rags by color after I cut them with pinking shears into 6″ x 1/2″ strips. The width of your strips is really up to you – thicker strips will cover the wreath more thoroughly and a lot quicker but I tend to like the look of the strips once they’re tied when they’re about 1/2″ thick. You can make your strips shorter if you want to conserve expensive fabrics but the generous length allows for quick, easy tying. I recommend you stay at 6″ if you’re being aided by kiddos with little fingers that are still learning how to tie stellar knots. Quilting is part art, part science and I honestly don’t know into which category color-scheming falls. If you have a multi-colored piece of cloth and can’t decide which color pile it should go into, try this trick I learned from a quilting teacher of mine: Close your eyes and hold the cloth in front of you. Open your eyes and quickly focus on the piece of cloth. Whichever color you see first, is the color group it should join. Having said that, it’s your project and if you decide that a predominantly green strip should go in with the reds, who’s to argue? Once they’re cut and arranged by color (if you want to do that), you need to pick some kind of pattern for your strips in which to be tied onto your wreaths. Even rag quilts have some method to them in order to create visual appeal. Whatever strip combination you settle on, make sure you have enough strips to repeat your pattern all the way around your wreath. How many times your pattern repeats depends on the size of the wreath and how many strips are in your initial pattern. FYI, I’ve made emergency pattern substitutions mid-wreath and it’s not a big deal; as long as your fabrics are quality and your eye is decent, you will most likely create rag quilt ornaments that will be pleasing to behold.
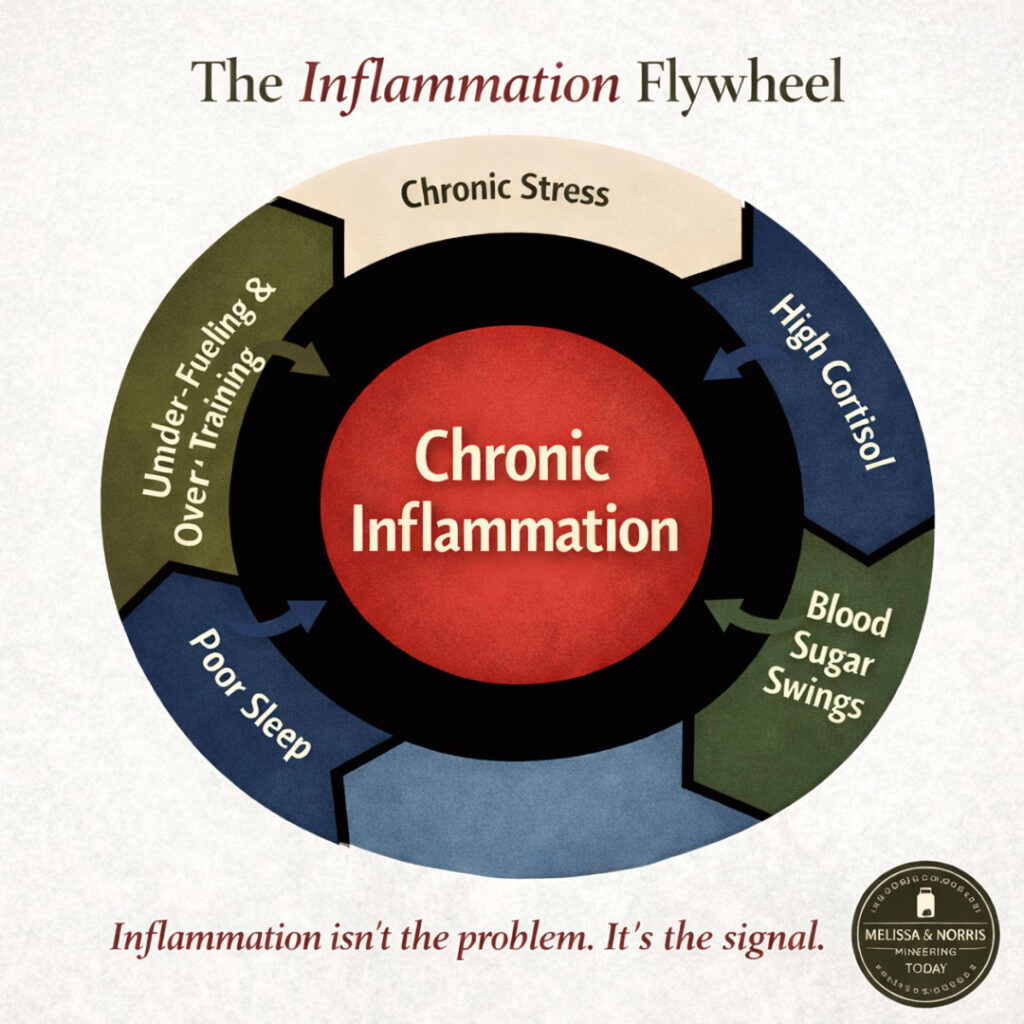
The Hidden Cycle Keeping You Inflamed
If you’ve been feeling puffy, tired, achy, or wired-but-tired, this two-page guide will help you understand what may be happening behind the scenes — even if you’re eating “healthy.”
Download the Inflammation Flywheel Guide and learn:
- Where to start so you don’t feel overwhelmed
- The 5 most common drivers that keep inflammation switched on
- Why blood sugar swings, stress, and poor sleep feed each other
Step Three
Once your pattern is set, you start tying – nothing fancier than a square knot is required.
Step Four
Go all the way around your wreath, tying on each strip individually. Watch that you don’t tie strips on top of each other. You can place each strip right next to the last, creating a look that is all about the fabric. Or, you can leave small gaps between strips so that some of the vine wreath shows through.
Step Five
Lastly, clip the tails of your strips 1/2″ – 1″ inch from the knot on each strip; the longer the tail, the shaggier your ornament will appear. The end result is entirely dependent on your very fine tastes so they will look fabulous, whatever you decide. These take mere minutes to put together if your hands are healthy. Count on about five to ten minutes of assembly time. You can simply slip these over the tips of your evergreen limbs or you can attach ornament hooks and hang them that way.
Subscribe to Melissa K. Norris!
Get updates on the latest posts and more from Melissa K. Norris straight to your inbox.
We use your personal data for interest-based advertising, as outlined in our Privacy Notice.
Children and Handmade Christmas Ornaments
This is a great project for children and the ornaments themselves make a wonderful addition to the kid tree because they’re very sturdy and difficult to “mess up” by throwing them on the floor and even walking or drooling on them. I believe in a kid friendly Christmas and do NOT approve of snooty adults not letting the kiddos have a hand in the decorating of the tree. So what if the bottom half of your tree is entirely decorated with pipe cleaner snow flakes and dough ornament angels so grotesquely shaped by wee hands that they look like gargoyles?! Shove these rag quilt ornaments on your tree and your kid friendly Christmas is good to go.
Handmade Christmas Ornaments as Gifts

To give these Rag Quilt Wreaths as gifts, I usually batch them in groups of three or five, odd numbers being visually appealing. Should you wish to do that, I’ve included a free download for a gift tag to attach to your ornaments. Just click on this link to save and print your tags. If you are determined to do your holidays handmade (and I applaud you and am right there with you) but don’t have the time to throw everything together, our Etsy shop can help you there, because we sell DIY Handmade Rag Quilt Wreath Kits. There are two listings because of all the colors we offer. Just holler if you have questions! Plus, we created a special coupon for Melissa’s readers. Just type in the code MELISSAKNORRIS to receive free shipping on order of $35 or more. Any way you choose to do it, may your handmade holidays be cheery and bright!

[…] for your family. Or let your child rummage through your scrap basket or cut fat quarters to make a fun rag wreath. If you have small children on your gift giving list, these stuffed elephants would make them […]
I love all your Christmas gift ideas! Most of them are super-easy to make, and they recycle old stuff as well. Your emails always brighten my day.
Janine, Thank you so much.
[…] This year we’ve been making quite a few of our Rag Quilt Wreath ornaments and you can read how to make them here on Melissa K Norris’s site where we did a guest post […]
[…] lot of fun putting together these Homemade Christmas Rag Quilt Wreaths from Melissa at Melissa K. […]
[…] Homemade Rag Quilt Wreath found on Melissa K. Norris may not fit on your tree, but it was so darling I had to […]