These are 6 DIY frugal re-purposed sweater projects you have to make! I’m always skeptical of trying these things I see online or Pinterest, because usually they don’t turn out quite as cute for me. Anyone else?
However, these turned out so stinking cute I have to go hunt up more sweaters, because I’m keeping three of the items I made for myself. (It’s okay to give yourself a Christmas gift early when it’s free, right?)
I’m on a repurposing, recycling, upcycling, whatever you want to call it, turning old sweaters into awesomeness kick! Andrea had originally created this tutorial on making a stocking, and then I hit Pinterest, my closet… and my daughter’s closet.
🍞 Struggling With Sourdough?
If your starter won’t take off, your loaves are dense and hard, or sourdough just flat-out overwhelms you…
👉 I’ll show you how to fix all of it.
Join my FREE workshop and learn how to make a bubbly, active starter—the right way, from Day One.

And wonderful, darling things happened. Which isn’t always the case when I set out to sew or make things from Pinterest.
I did have a moment with my sewing machine. Actually, I called my mother, convinced the machine was broke, and she told me to re-thread the top and bottom bobbin because it was a tension issue. Hmmm… pretty sure the machine was broke, but guess what, Mom was right.
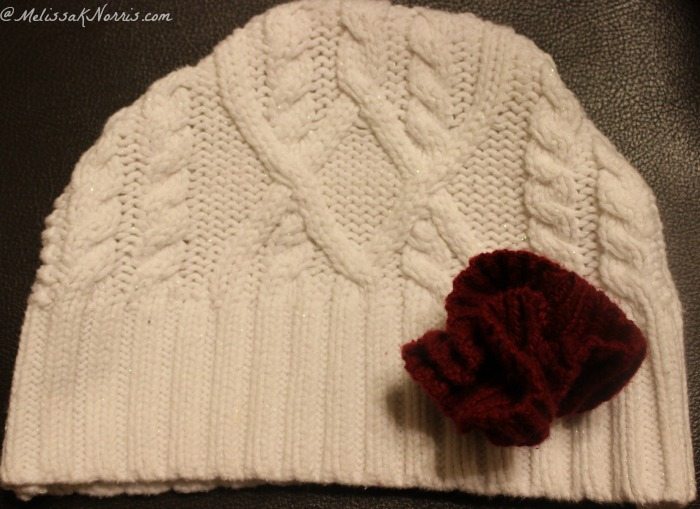
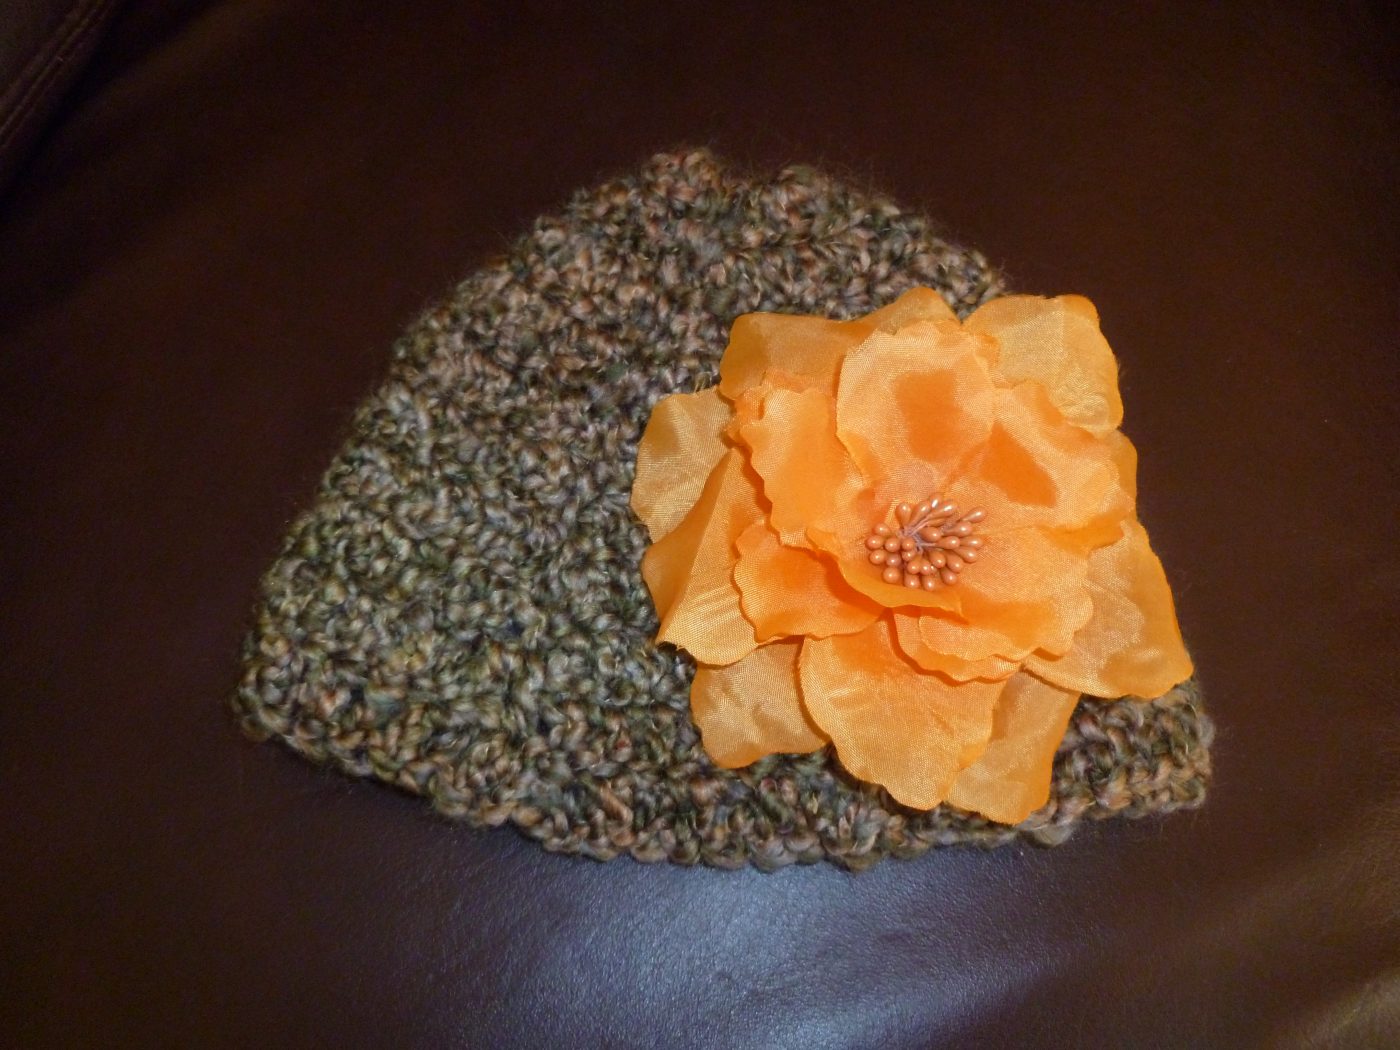
I took a sweater of my daughter’s that was in the donation bag, and made a hat for me and boot socks for her (a Christmas gift). I simply took a hat I had, laid it on top of the sweater bottom, and cut around it, leaving enough of the sweater for seam allowance.
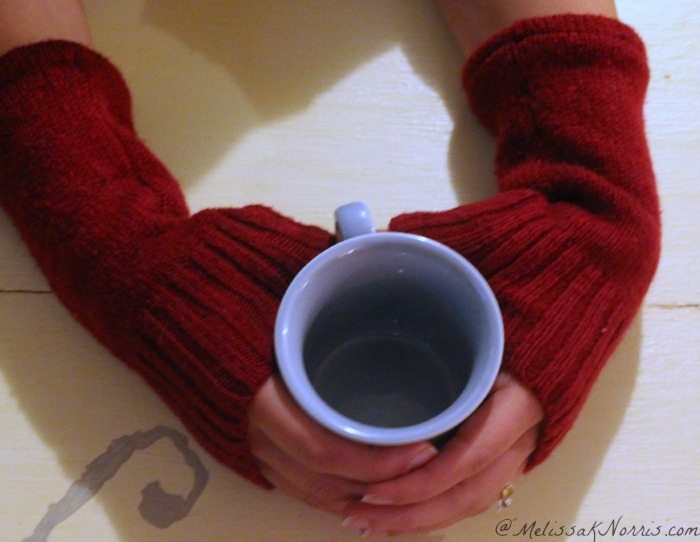
How to Make Fingerless Mittens Tutorial
Then I took a sweater from my donation bag (which was rescued from my sister-in-laws donation bag) and made fingerless gloves, boot socks, and a flower for the hat. Which I figure if I’d purchased these items would have been well over $30. And mine were free!
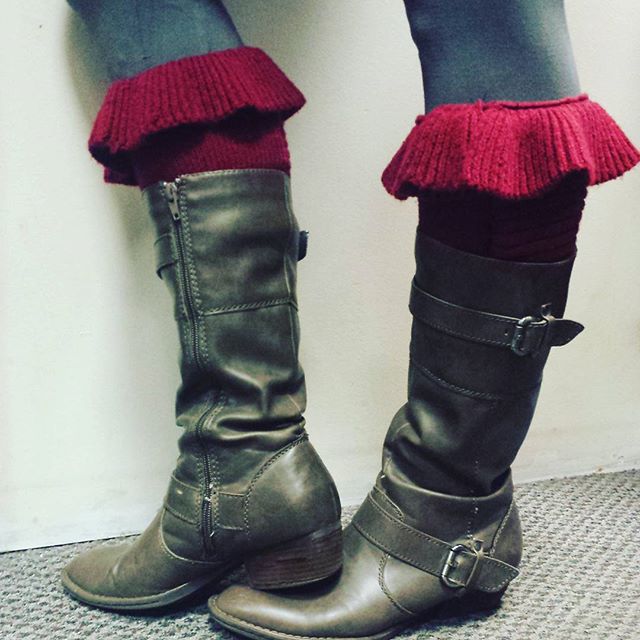
Boot Sock/Cuff Tutorial
The ruffled hem of the sweater made darling toppers for boot socks. Basically, you just use the sleeve of a sweater for the part that peeks up above your boots. I hemmed the bottom and sewed a straight seam up the side.
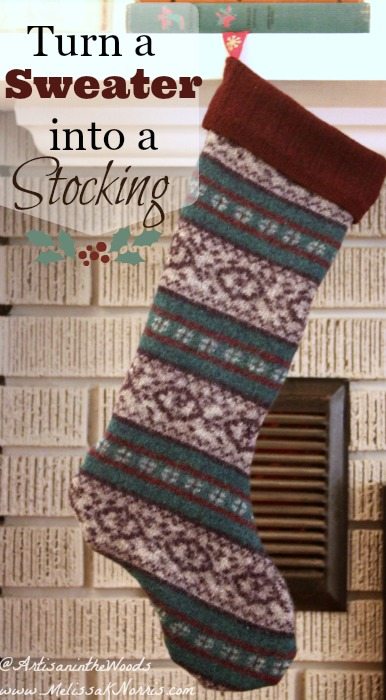
These cute stockings are quickly crafted from recycled wool sweaters. They are easy to sew, and economical too!
Materials
- 2 wool sweaters in coordinating colours. Make sure the sweater is at least 80 percent wool.
- A stocking pattern. A pattern can easily be made by tracing a stocking you already own, and then adding 1/4” all around the edge. Many free printable patterns for stockings can also be found on the internet.
- A piece of ribbon
Wash your sweaters in warm soapy water and then dry in a warm dryer. This will felt the wool fibers and make your stocking more durable and easier to sew.
Choose one sweater to be the main part of the stocking, and the other to be the cuff at the top.
Lay your stocking pattern on top of the sweater you have chosen to be the main fabric. Pin the pattern to the front of the sweater, making sure to catch both front and back layers of sweater with the pins. If your pattern has a design or pattern, think about the placement of the pattern on the finished stocking when pinning your pattern piece. Cut out the stocking shape. You should be cutting through both layers of the sweater at the same time so that you end up with two stocking pieces.
From the second sweater, cut 2 rectangles 4.5″ tall and as wide as the top of your stocking pattern.
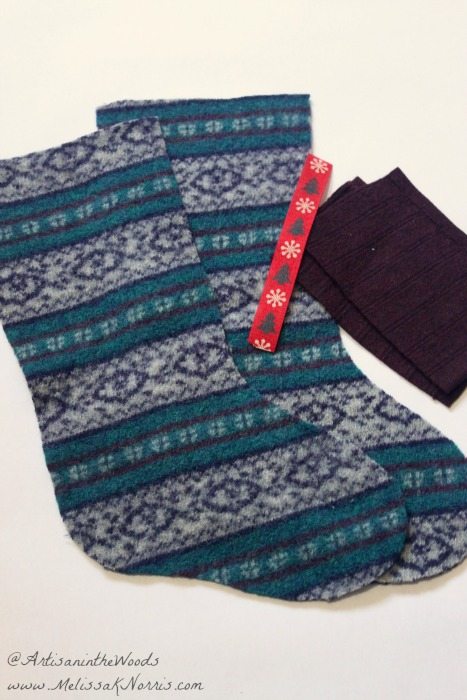
You are now ready to sew! All seam allowances are ¼.”
Place your stocking pieces right sides together and pin. Stitch around the edges, leaving the top open. If you are going to actually fill your stocking and not just use it as a decorative piece, go back and overcast all your seams with a zigzag stitch for durability. Depending on your sweater, your seams may curl. Press with a warm steamy iron to flatten.
Turn right side out. You may need to press it again, especially if you zigzagged the edges.
Place the rectangles right sides together and sew along both short sides, leaving the top and bottom open.
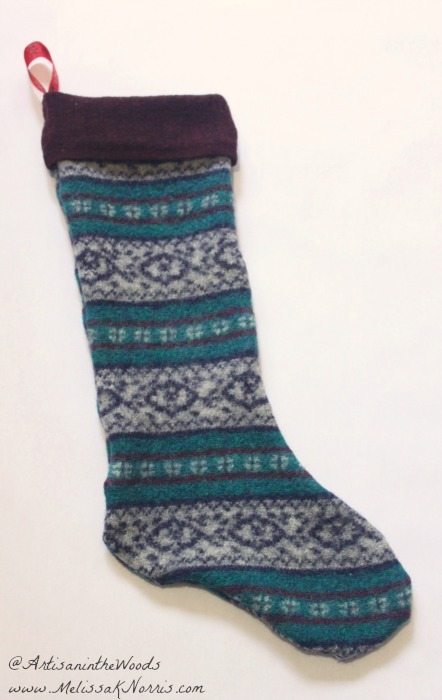
With the right side of the cuff facing out, pin the cuff to the top of the stocking, matching side seams. Sew.
Roll about 1/3 of the cuff down into the stocking so the seams are hidden down inside the stocking.
Sew on a piece of ribbon as a hanger.
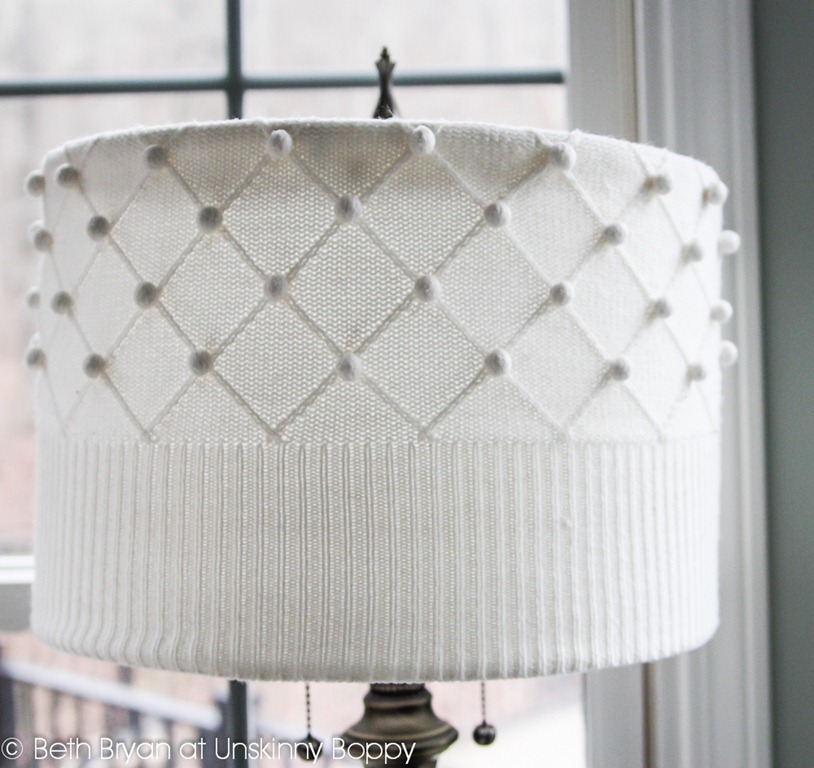
DIY Sweater Lampshade Tutorial from Beth at Unskinny Boppy
This uses a sweater to recover a lampshade. I happen to think it’s genius and the sweater section at the thrift store just got a whole lot skinnier.
DIY Christmas Treat Bags Tutorial from AHomeadeLiving.com

This is an easy way to whip up a cozy gift bag!
Want more FREE Homemade Christmas ideas?
Check out my FREE e-book Pioneering Today-A Homemade Christmas for our family favorite recipes and successful homemade gift tutorials. Get your FREE copy–> Pioneering Today-A Homemade Christmas




[…] If you knit, this easy scarf would be a hit for anyone on your list. And if you don’t knit you can still give knitted gifts by repurposing old sweaters. […]
Hi Melissa, I like you sight. Also have you seen the paper stars made by cutting rounds of paper , cutting notches, rolling each up to a point, making several and drawing them up and making a round ball. Do U have those directions? I saw it on some sight was it yours? I hope so! I want to make some. Blessing for a Safe and Happy Thanksgiving and Christmas. Jesus is the reason ……..
Love all your ideas! I can’t wait to see the next newsletter. Thanks.
Patti,
Thank you so much. I”m starting to work on the next project tomorrow!